Skip to content

Free quilting video tutorials from Missouri Star

Quilting Tutorials
Make a "Happy Haunting" Wall Hanging with Misty Doan on At Home With Misty

Make a "Happy Haunting" Wall Hanging with Misty Doan on At Home With Misty

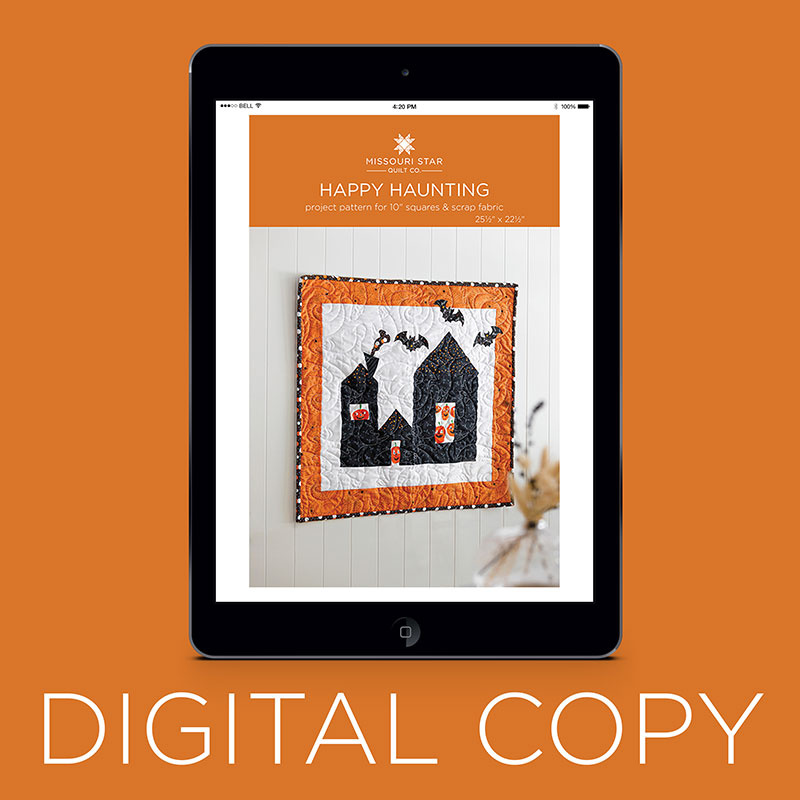
A gourd-geous wall hanging for Halloween! The Happy Haunting Wall Hanging is perfect for showing your Halloween spirit. Follow along with Misty as she shows you how to make this boo-tiful wall hanging. With a haunted house, a pumpkin, and a bat, this project shows off the most iconic parts of Halloween. This cute wall hanging is something you’ll be bringing out year after year!

Instructor

Misty Doan

Misty Doan grew up surrounded by sewing and quilting. She loves spending time sharing tutorials each week each week, and when she’s not stitching up one of her fun sewing projects for home decor, most likely you’ll find her hanging out with her husband and three awesome kids or working on a house project.

Common Questions

What is covered in Make a "Happy Haunting" Wall Hanging with Misty Doan on At Home With Misty (Video Tutorial)?

A gourd-geous wall hanging for Halloween! The Happy Haunting Wall Hanging is perfect for showing your Halloween spirit. Follow along with Misty as she shows you how to make this boo-tiful wall hanging. With a haunted house, a pumpkin, and a bat, this project shows off the most...

How long is the tutorial video?

The tutorial video is 00:30:48.

Are supplies listed for this tutorial?

Yes. The tutorial page includes the supplies and materials connected to this project.

Video Transcript

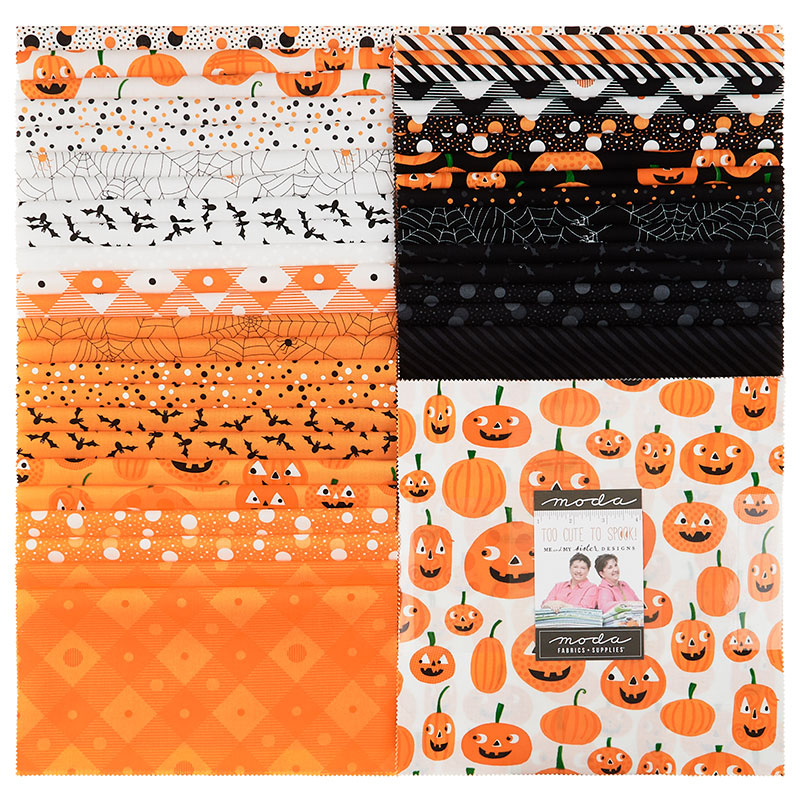
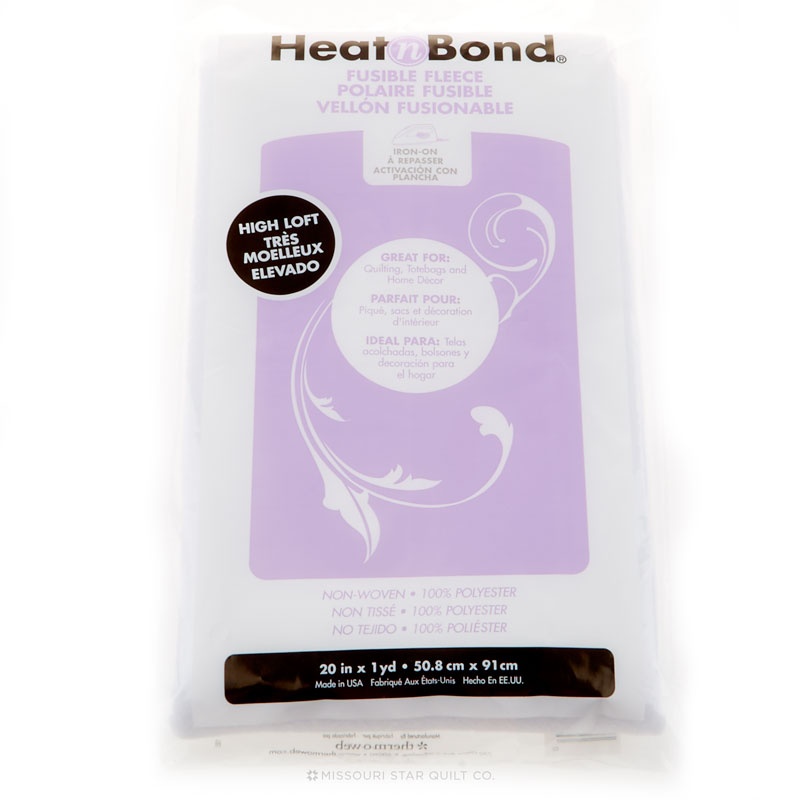
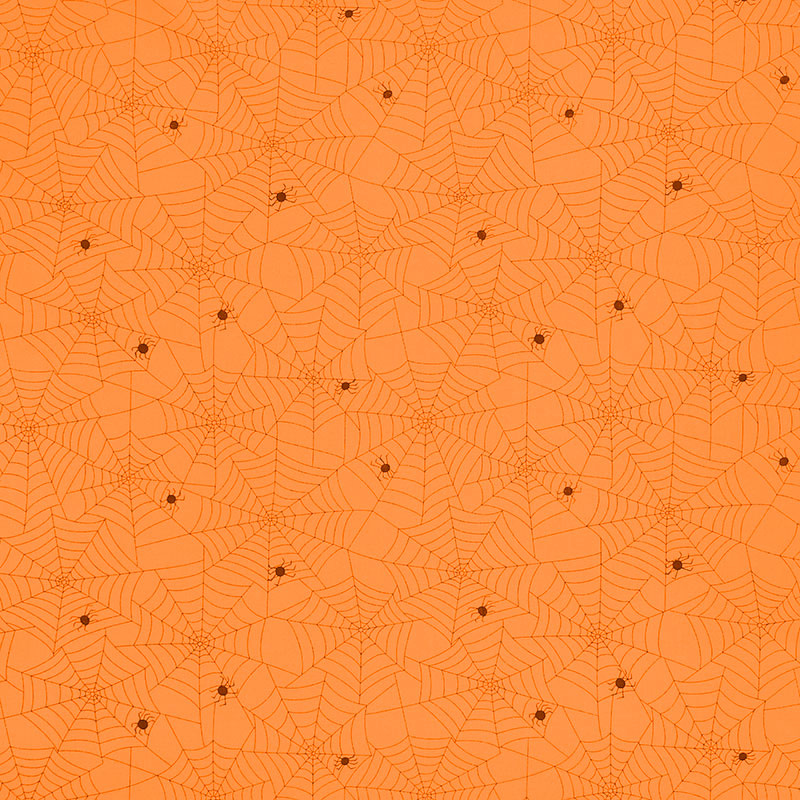
I'm really excited about today's project if you haven't seen my spooky season so long that I did you can check out that quilt over here but I wanted a little wall hanging that would match it so that's what we'll be making today [Music] okay so I love the spooky season quilt it has been so much fun to make and I'm just so glad that I have a Halloween quilt that is my very own now and I needed a little wall hanging to go with it so that I can deck out my house in time for the holidays and so I designed this cute little happy haunting wall hanging that features this adorable little haunted house that's from the quilt so let me walk you through how to make it it's a great scrap Buster project so if you have some scraps lying around this might be the perfect Halloween project for you so let's go ahead and get started I am going to be using some leftover 10 inch squares that I have from this too cute to Spook collection by me and my sister for Moda it's just adorable I made a quilt using this for one of our videos and so I had some leftovers lying around and so it truly is my stash in this case but it's a wonderful line if you you don't have Halloween fabric you're also going to need of course a little outer border and I use these adorable spider webs really cute and I use this cute plaid on the back so that's what I've got going on and you'll need some background fabric as well and I just use white so from your 10 inch squares you're going to need two matching dark squares to be your haunted house this is like the walls of your house you're also going to need one square that's going to be your roof and one square that's going to be the doors and windows and I decided to use these cute pumpkins so that they can be peeking through the doors and windows this time and so that is what I have here so let's go ahead and walk through the cutting if you grab the pattern for this there is awesome cutting diagrams that breaks it down Square by square so let's go ahead and start with our door and windows so I'm going to line this up and I actually need to grab a slightly bigger ruler so let me do that and we are going to measure over four and a half inches just make sure I've got it all straight there we go and that we can set aside so like I said if you have scraps you really only need this four and a half inch piece and then we are going to oh you know what I have to fix this usually this would be fine but because these little pumpkins are directional I forgot I have to turn it to cut my door and my windows my windows will be fine but I'm actually going to now cut my door out of this piece usually you would just cut a three inch strip off of here but then all my little pumpkins would be sideways so we don't want that so I'm going to make another cut which it's okay when we have scraps in our stash right so I'm going to measure over four and a half this way so that my pumpkins will be upright if I had just turned my 10 inch square this wouldn't have even been a thing and then I needed to measure four and a half by three for the door so let's just cut that so there is the door and then from this one I can go back or actually even from this one since I've cut it now but I just need a two by two and a half inch rectangle and then a three by one and a half inch rectangle so I'm going to cut a one and a half inch this way make sure I've got it all lined up there we go and we need this to measure three inches and I want to keep this cute little pumpkin face so I'm going to cut this side there we go so we can be peeking out and then I need a two by two and a half and so let's see I think I'll use this one right here that'll be cute perfect so there are my three pieces out of that so let's grab this 10 inch square and this is what I'm going to use to make my rooftops and this one is pretty easy because I just need to trim off one inch so that this is trimmed down to nine inches on one side oops here we go and then I'm going to turn this and then we're going to measure over five inches so we have one five by nine inch rectangle there's that one and then we need um to cut a two and a half inch strip so that is our extra and then we're going to cut this in half so it measures two and a half by four and a half and we're going to need two of those so there are my rooftops and then let's cut the walls of our house so you're going to cut each of these 10 inch squares remember they're matching but they are cut differently so for the first one we are going to cut a five inch strip so I'm going to measure over five inches there we go and then I'm going to turn this and measure over four and a half so one two three four and a half there's one piece and then I am going to cut a one and a half inch strip here and I'm going to trim this one to four and a half so one and a half by four and a half one two three four and a half try and keep all of my keep pieces on one side and my extra pieces on another just to keep myself straight and then we need a two and a half by four and a half so I love that my ruler is exactly two and a half inches wide and then I can come down to the four and a half inch mark and I can cut and cut all right so there's part of my walls and then from our other strip or Square I should say let's cut that one as well and we need to cut a three and a half inch strip measure over three and a half and cut and then I need to trim off one inch so that it measures three and a half by nine so there's that and that is a keep piece and then I'm going to turn this because I need to cut this should measure six and a half inches now this way and so I need to measure over three and a half inches one two three and a half I always double check and we're going to make two cuts that measure three and a half by six and a half two [Music] there we go and just a couple more little pieces here I'm going to turn this again and we need a two and a half by three and so this is two and a half wide and I have three inches left so there's my two and a half by three and then I need two inch and a half by two inches so since I know this is three inches wide I'm going to cut a two inch strip this direction and then I can turn this and cut it in half so that I have two that measure one and a half by two there we go so there is all of our cutting now we have all of our pieces ready to go I'm going to move my extras out of the way so that they don't confuse me you're also going to need some background pieces so let me show you what I have here I and this is just obviously to make the one haunted house block so you're going to need four two and a half inch squares you're going to need two five inch squares and you're also going to need a four and a half by four inch rectangle and a four and a half by eight and a half inch rectangle so those are all of our background pieces so now let's go ahead and start making our house so we're going to begin by taking our roof pieces so those are our two two and a half by uh four and a half inch rectangles that we have here and then our larger five by nine and our two and a half inch squares and five inch squares are going to be used to make the rooftops so let's go ahead and bring these over these are all going to be made in essentially the same way we're just going to be adding our squares to the corners and snowballing them so let me show you you can draw a line corner to corner and we're going to sew right on that line just like so you can also if you don't want to take the time to Mark you can press a line so I'll just fold my five inch square corner to corner and press that in half and then I can just sew right on that press line either way works it's really just your preference so let's go ahead now and I am going to lay this so that one of my lines is pointing towards the middle of my rectangle and we're going to sew right on that line thank you there we go and now we can trim that off and just leave our quarter inch seam allowance and press that back there we go then we're going to repeat the same thing on the other side this is the one I pressed and so I want to make sure that that line that I either Drew or pressed is going to intersect with the one that I just stitched so we know that that's going to work out just perfect and again we're going to sew right on that line [Music] all right so again we can just trim that off leaving our quarter inch seam allowance and we can press that back so there is our big rooftop that is done and so we're going to do that exact same process here really quickly to do the small rooftops and so that is just using our smaller rectangles and our two and a half inch squares and so I am just going to whip through those really quick and I will meet you back here when it's done all right so we have all three of our little rooftops made our two small and our one large rooftops so now let's go ahead and start assembling the walls of our house so I'm going to set these aside and move some of my scraps out of the way and let's bring all of our pieces so we can start putting this together so let's start with the large section of our house which is right here so we know the big window goes in there and this little rectangle goes below it and then we should have two strips that will go on either side and one large strip that's going to go across the top and so I'm going to begin by sewing this little rectangle to my window I love that these little pumpkins are going to be peeking out so cute just line up my fabric there foreign go and we can press that one back and then we can add these two strips to both sides of that making sure the black rectangle is on the bottom obviously you can flip it around but if you have a directional print you want to be aware of that okay sew that down with a quarter inch seam flip that around I'm just going to finger press for now and then add this one to the other side make sure it's all lined up there we go awesome okay let's give that a press make sure we don't have any tucks or anything looks good and now we can add this larger strip to the top all right let's give that a press there we go that looks great and now on this one we can go ahead and add the large rooftop foreign so I'm just going to match that up along the top there we go now we can just press that and this section of the house is done we'll just roll that back there we go now our first section of our haunted houses is done essentially this is three little houses all together that we're putting together to create our haunted castle and so let's move on to this little one right here so I'll set this aside for a minute let me show you how we're going to make that so let's grab our three by two inch pieces I have those here and then we are going to take our one and a half by three inch piece and we are going to sew those together and then we're going to sew this strip to the top so much the same way that we did the bigger house just smaller pieces here so let's go ahead and sew these together I'm just going to bring them all to my machine so I can just piece one after the other go ahead and roll that back and add this one to the other side and there we go then we'll add this strip to the top press that one back and we can grab our little rooftop so you can see that fits together perfectly I'm just going to go ahead and sew that down there we go and the last piece we want to add to this is our background rectangle so that's this one and it measures four and a half by I believe it was eight and a half yes wanted to make sure I tell you right add that there and we'll press this whole section there we go and now that's going to match up just right with our first little section that we made so let's go ahead and undo this last Tower as I like to call it so our large piece goes on the bottom and remember all of these are four and a half inches wide these last two sections that we're working with and so if you're looking at it and you have the five inch piece side to side you're going to want to rotate that so that it will match up with the rest of your pieces and so we have that turned and then we have our two little pieces and they go with the tall sides the taller sides up and down and then we have our little pumpkins oh no see this one's turned the other way I cut it wrong I have to fix it because we've got these cute little pumpkin faces let me grab another piece these are the things that sometimes when you have directional fabric you don't think of so this measures two by two and a half so we are just going to fix it with this little guy right here and I want to Center him up in there so that he is just going to be peeking out sometimes on projects like this it's worth it to take that extra time make sure you have what you want so there we go oops this needs to come down so it's two inches tall there we go and then just trim off this little bit there we go much better crisis averted there he is two by two and a half inches and then our last rectangle is going to go there across the top so let's go ahead and sew these together and then we'll add these pieces to the top and the bottom if you didn't have directional fabric you wouldn't have to worry about any of that at all and honestly maybe you don't have to worry about it anyway but I feel like when there's a little face that you can have peek out of the window you just really want to use it go that's sewn together so we can press that all right and then this goes to the top [Music] go go ahead and press that one back and add this rectangle to the Bottom now just make sure it stays lined up all right there we go so now we just need to add the roof and our last little background piece so let's add our rooftop and I'm just gonna finger press this back to add our last little four and a half by four inch piece here all right and let's give this a good press so everything is laying nice and flat and then we can sew together our three sections of our haunted house so let's go ahead and put these two together first but I want to take a minute really quick before I do that in my spooky season sew along Facebook group one of the ladies that was making the quilt she actually made all of her houses different so there's a few houses in the quilt as you can see and mine are all made exactly the same they're like this and then on one of them we just swap it so the Castle's on the other side but it's always Tower little house big part of the house the orientation is essentially the same and she made hers all different which I thought was so fun she made a few like this so just play with it maybe your house looks different than mine and that is totally fine but we're just gonna stick with the original design this time so I'm going to sew these two together a quarter inch seam thank you there we go and I can kind of fold that back and add it to this large section here and sew those together as well thank you all right let's give this a press make that seam go the way that I want it to there we go it doesn't really matter but when I have this high contrast um black fabric with the white background I really do try and roll my seams to that dark side so that they're hidden there we go look how cute that is isn't that fun but wait we're missing a little bit of the fun and Whimsy we need to add our chimney and our smoke and we even have some cute little bats that are fluttering around um so let me show you how we did that in the pattern there is a page that has all of your traceables on them and so I went ahead and I traced those onto our Missouri Star lightweight fusible I keep that in this little container I love it and so you can see I've got all of those pieces and then I went ahead and I just cut them out and ironed them on to whatever fabric I decided I wanted to use for those different pieces so I've done that here let me go ahead and cut this out to show you these are our bats you have three bats one chimney and one smoke per house and I just traced this onto the fusible if you're not familiar with this and haven't done the iron-on applique before it is really easy to see through and to trace and so that is all I did if you have any trouble you can always hold it up to a window whatever works for you and we're just going to go around this with our scissors I'll get some of that bulk out of the way these little bats are kind of tedious to cut but they sure are cute once it's all put together there we go just a few more curves here there he is adorable okay so like I said I have three bats here they are one chimney and one little puff of smoke and so the bats actually go on very last but we can add our chimney and our smoke to our block and so let's just take this over to the ironing board and I'll show you how we do it they're all attached the exact same way and you can kind of decide if there's a certain place where you want your chimney to be because this is your house you can make it your own so let's just peel off this paper backing and if you kind of crease it it allows it to kind of Pop loose you can get my finger under there there we go and then we will just set that on there and I like to overlap the the roof so it gives it a little bit of Dimension before you press it down no you want to add your smoke because I tuck that behind the chimney so that's just going to be coming out of my chimney just like so isn't that cute so we'll go ahead and press that and you really truly want to press you don't want to iron because you don't want to take the risk of lifting that up and getting that adhesive on your iron so there we go we have added our little smoke and chimney which just gives it a little bit more Dimension and so from here you can go ahead and blanket stitch or do a satin Stitch or a little zigzag to finish that off if you don't mind the raw edges you could totally just do a straight Stitch so to finish off my little wall hanging I went ahead and added a two and a half inch inner border all the way around and then a three inch outer border to the outside of that and then I actually have my bats going from the background out into the Border just so it gives you even more Dimension and those are added the exact same way that I just added the chimney and the smoke so I hope you guys enjoyed this project it's super fun and super quick and if you still want to buy a kit for my spooky season sew along you can do that the videos will be available for a long time so you can make both the quilt and this adorable wall hanging so thank you so much and I'll see you next time hey everyone it's Misty thanks for watching at home if you aren't already a part of our Missouri Star Family be sure to subscribe and hit the Bell if you want a notification every time we release a new video I'll see you next Monday on the newest episode of at home [Music]

More Layer Cake tutorials

See all