Jenny teams up with designer Edyta Sitar of Laundry Basket Quilts to demonstrate how to put together the "Harmony" Block of the Month quilt. (Fun fact: Edyta designed this quilt exclusively for Missouri Star!)
This project is available by subscription only, so be sure to click the link below to sign up. Right away, we will send everything needed to make the first block. After that, you will receive the supplies for one additional block each month until your quilt top is complete!
Jenny Doan is an American quilter, author, and YouTube personality. Jenny started Missouri Star Quilt Company in 2008 and today it is the largest quilting supply vendor in the United States.
What is covered in Make a "Harmony" Block of the Month Quilt with Jenny and Edyta Sitar!?
Jenny teams up with designer Edyta Sitar of Laundry Basket Quilts to demonstrate how to put together the "Harmony" Block of the Month quilt. (Fun fact: Edyta designed this quilt exclusively for Missouri Star!) This project is available by subscription only, so be sure to click...
How long is the tutorial video?
The tutorial video is 00:27:15.
Are supplies listed for this tutorial?
Yes. The tutorial page includes the supplies and materials connected to this project.
Video Transcript
Jenny: Hi everybody, it’s Jenny from the MSQC. And I am delighted today to be here with Edyta Sitar from Laundry Basket Quilts. Is that how you say your name, Edyta? Sitar? Edyta: Yes it’s Edyta. Jenny: Edyta? Edyta: Yes but if you cannot pronounce my name you can call me Sweetheart or Doll or Honey. Jenny: There you go. That’s perfect. Edyta: Yes. Jenny: Well Doll! So Edyta has designed for us, exclusively here at MSQC, a block of the month. And this is it right here. So one of the cool things that she does is these are all, you get them like this, cut, pre cut. They’re ready to go. . So we want to show you how to do this and how to make this. And Edyta is going to walk it right through it. Edyta: Thank you so much for having me. And it was a pleasure to design this quilt for you. Jenny: Thank you so much. Edyta: You’re welcome. Edyta: And it’s Jenny: It’s a pleasure. I’ve admired what you do for so long and it’s just delightful to have you here at MSQC with us. And this is so cool that you did this for us. Really neat. Edyta: Thank you. So the quilt is designed from our collection called Sequoia from Andover. And the fabrics are just beautiful. Jenny: They are beautiful. Can, I’m just going to have to touch them for a minute. Edyta: Go ahead. Jenny: We’ve got to touch them. Edyta: But then put them away and pay attention to me. I’m going to Jenny: Ok Edyta: to teach you how to make a block. Jenny: Ok I will, I will. Oh my gosh. They are beautiful. Edyta: Ya, there’s some big print that is just perfect for the border. Jenny: Yep Edyta: Yep beautiful pieces. So every month you will receive a package. And in the package you have in the bag all of the pieces that you need for your applique. In the back you find a background, inside the background there’s a layout that it’s folded. Jenny: So this is what it looks like. Like this right here. Edyta: Yep, yep. And I have one open so you have the layout. You have your background and all of the pieces. So what I start with is I take my light table, I place it on my table. And I place my layout right on it. I look at the word, there’s an X right through the middle. It gives me the sign where I have to place and center my background. I take my background and press it. And your background is cut a ¼ inch bigger all the way around than the required size. So that way after appliquing you have room to trim it and square things out in case something has frayed or pulled a little bit. Jenny: That’s a good idea. Edyta: Ya Jenny: So it’s just a ¼ inch bigger all the way around? Edyta: Yes Jenny: And you’re just going to kind of center it over the paper. Edyta: Yep. I’m going to fold it in half and I’m going to fold it in half again Jenny: Make the little, make the little X. Edyta: Yes Jenny: Brilliant Edyta: And then I’m going to match it up. Jenny: And I think this will go a little bit lighter. Edyta: Perfect Jenny: There we go. Edyta: I need my glasses now. And coincident, notice how the top of the paper and the bottom of the paper holds with the edges of your fabric. This looks really nice. Yep we’re right in the center. And what I like to do, I use those little clips. Jenny: Oh ok. Edyta: Ya. Jenny: Just clip them on there? Edyta: Ya clip it. Jenny: Do you do, like, do you do them all the way around or just a couple? Edyta: No just a couple Jenny: The top and bottom? Edyta: Just the top and bottom. Oh you’re doing so good Jenny: See I’m doing so good. I can clip. Edyta: Yes and now we’re going to pull the pieces and I spill them right in front of me on my table. And I usually start with the pieces that I can notice it that there is a dotted line from this leaf going under the stem. Jenny: Ok let’s see if we can look at this a little bit. Edyta: Ya Jenny: Oh so right here you’ll see. Maybe we can see on the top cam this little dash, dash, dash. Edyta: Yes, yes. It symbolizes that this piece needs to go under the next piece. Jenny: Needs to go under. Ya. Edyta: And very simply. I find the edge, a nice long one and I just crease it. And I wait that the paper separates with the piece Jenny: Oh my goodness. Edyta: Yes. Then I put my fingers into it and notice it’s a little sticky because we have Steam a Seam too on it. Jenny: Ya Edyta: And I’m going to start by placing right there and laying next to the lines. And I can tell your Jenny: First applique, done Edyta: Would you like to try one? Jenny: I do. You’ll have to tell me where it goes Edyta: And what’s nice about this is all the colors, everything is matched exactly to the original quilt. So your picture when you finish your block will be exactly the same Jenny: This crease and waiting thing is really cool. That actually really worked. So they stay in place Edyta: Stay in place, see. Jenny: Oh mine’s a little off. Edyta: But that’s ok. You can pull it back. Jenny: I’m a beginner, I’m a beginner at this kind of thing so. Edyta: I like that. I like being with beginners. Jenny: Oh. Now it’s off the other way. Wait a minute. I can do this, I promise. Edyta: You can do it. Jenny: There we go. Edyta: And now I’m going to take the stem. And notice that I gently just creased it and pulled the paper away. And I’m going to start placing on one end and sticking it down, following the lines. And creating a really cute little stem right there. Oh I think you are ready for a flower. I’ve got one with a bird. Jenny: Oh I got one with a flower Edyta: The work is so beautiful from Sequoia. Jenny: So we’re just bending. Edyta: Yep. Jenny: And creasing Edyta: Remember paper up. Jenny: Oh paper up. Edyta: Paper up. Jenny: Ok Edyta: Bend it. Jenny: Crease. Oh there, perfect. That’s much easier. Paper up. So remember that. Edyta: Ya paper up. Jenny: Alright, here’s one right here Edyta: Super. And I’m going to place one as well. And we have flowers. Then we follow out with circle and soon enough we going to have the whole block done. Jenny: I’m pretty sure I can, we can finish this like right now. Edyta: Oh I’m so excited about that. Jenny: Let’s just do it. Alright paper up. Edyta: Yes and lay some pieces just to see the coloring. I like to grade it from dark into light because you know on the top of your flowers the coloring is always a little lighter. Jenny: Ok now do you worry there’s like three of these that are the same? So do we worry about that? Edyta:You have options. Jenny: Ok you can go there. Edyta: We have some for the center. Then the lighter ones, it ties it nicely together if you do that. And it kind of follows through the Jenny: And it doesn’t really matter where they go. Edyta: See how quickly now how you know how to peel them. You learned this technique. If you keep that paper on the top and just squeeze the edge you don’t have to scratch with a needle or anything else. You just Jenny: That is. That’s, that’s an awesome trick right there because that takes, that takes a lot of time. I do spend a lot of time trying to crease the paper up. Edyta: Yep. Jenny: And bent and just wait. And where does this tiny guy go? Edyta: I think he goes right there. Jenny: Across from here. Edyta: Yes and you could always lift the paper and double check. Oh G, G is a small circle pink and red. Jenny: Oh look at that Edyta: Ya because you have a chart right there on how many stems and what you need. And if you ever decide Jenny: Look at that. Edyta: Decide to make more than just one block you know how many pieces to trace it or do it yourself because we also included the pattern for this block of the month where all the pieces are in it as well. Jenny: So you can trace your own and cut more? Edyta: Yes, yes, yep. Today I’m spoiling you. Jenny: That’s terrific. You are spoiling me.. Edyta: And I pay attention to some of the directions of the fabric. I like my flowers to go up. Jenny: Then I better, I better re-peel this one and turn it up. Edyta: Ya. Jenny: Oop, there we go. Edyta: You want it to look nice. Jenny: I didn’t even notice. Edyta: Want it pleasing to your eye. Sometimes you don’t notice as you’re putting the pieces down. Then you walk by it. This is nice because you can lift it. Oh this one we didn’t peel it. Jenny: Uh oh. Edyta: So let’s finish. Yep then you know which one are down. And what I do is I lift it up and look at it on my design wall. And I can check that everything is pleasing me. Good I’m ready to press. I’m going to take those two off. Just grab the block. Move over to my ironing board. Jenny: So are we done with this little table right now. Edyta: Yep we’re done with it. Jenny: I’m going to take this off. Edyta: We’re going to clean this up a little bit. Jenny: Alright so we’re ready to iron. Edyta: Yes and Jenny: And our iron is right over there. Edyta: Yep. Perfect. And what I love with this is we don’t have water in this. Jenny: No water. Ok Edyta: Nice and dry, that’s what we need. And what you have to remember is on the package right here it gives you a direction. Fuse in place with dry iron. Cotton setting. Three seconds. Do not over press. Don’t over press. Jenny: That’s interesting. Ya so I tend to think the longer I hold it the better it’s going to be. But this. Three seconds Edyta: The more you hold the fusible melts away and the pieces will fall off. Jenny: Ok. So less is more. Edyta: And what you have to. Yep. Jenny: One, two, three. Edyta: Lift. Push down. Lift, push down. You need to do this because if you’re sliding the iron you can pick the pieces. Jenny: Sure Edyta: And you don’t want to do that. So just lift it and look what I’m going to do. I just did a few seconds. I’m going to flip it. And now from the back, one, two, three, done. Ok. Less is better. If during the process of stitching something is coming off I can go ahead and repress it. Jenny: Ok Edyta: But if I press too much I have Jenny: Well that’s good to know. And so all that information is right here. It comes on every pack to remind you. Edyta: Yes. On the back of the package you have directions, sizes of your block. Remember you’re going to be trimming the block to the right size because your back may be a little bit bigger. So once you receive the pattern you know exactly what you need to do. For now just make your beautiful blocks and focus on lifting and light gentle pressing. And I’m going to give you a little tip. When I finish pressing I let my block to cool off. And then I take it this way and I roll it and I can see if any of my pieces are popping. So they’re opening if they’re not it means I’ve pressed it really good and I can throw that. Jenny: Oh my goodness. I have to say I wasn’t sure they were really stuck on there without seeing that. You passed the test. Edyta: Yes, thank you, thank you. So the next thing that we’re going to focus on Jenny: So I”m just looking at these stars and they’re just here. That’s so cute. That’s just darling. Really sweet. Edyta: Isn’t that sweet? So every block has a little bit of a different design. Jenny: Same kind of stem but then this top is so Edyta: Just fun and whimsical. And we add the words so that way it gives it a little bit of a special message with every block as you go through the blocks and through the year of six months of making them. Jenny: And you could even, like if you wanted to, you wouldn’t have to put the words or you could make a whole quilt with, just kind of with one block or something couldn’t you? Edyta: Yes Jenny: Or a pillow Edyta: We actually have directions for just one block but it’s framed so you could make a small wall hanging and change them on your wall in the kitchen or your dining room. Jenny: Oh sure. This would be so cute like Valentine’s Day and Jenny: Perfect. Edyta: So next step that we have to go through is we’re going to decide on our stitches for applique. Jenny: Ok Edyta: So I’m going to talk to you about this for just a moment. There are multiple ways of applique. And I prepared some options for you. So now we have our block. And what we need to do is decide. This is called fusible applique Jenny: Ok Edyta: Because we use fusible webbing. Now fusible applique breaks to two different appliques, raw edge or finished edge fusible applique. So if you love finished edge you need to put a stitch around the edges. And I brought some examples right here. You can use a cotton thread in a bobbin and you use invisible thread. And there are a variety of invisible threads. And there are Wonderfil Invisible threads, Manofil Invisible threads, polyester, nylon. Choose your favorite. Jenny: You know, it used to be invisible thread was terrible because it melted, it didn’t hold together. But it’s so much better now. Edyta: It’s so much better. And also you’re using a cotton thread in the bobbin. And I always use a nice beige cotton thread so it hides. And when I’m pressing my pieces I would press from the back. Jenny: Right. Edyta: I would not touch my thread with the iron Jenny: Ok good idea Edyta: On this side. If I press from the front I would put a pressing cloth Jenny: Ok Edyta: So I”m using a small zig zag, cotton thread in the bobbin, invisible thread on the top. Embroidering you don’t because embroidery you know is made for fusible webbing so it’s going to give you good results. Microtex needles are always also so good. But sometimes it grabs too much of the fusible and it starts like collecting on the needle. Jenny: Oh ok Edyta: If that ever happens to you, wipe it with alcohol wipes. It works wonderful. Jenny: Ok, perfect. Edyta: So that would be our first stitch. Jenny: So the invisible. Edyta: Yes. Invisible. If you don’t want to do invisible you love cotton threads and you have such a lovely selection from MSQC of threads that you can use around the edges. You can again do the same light like a beige thread on the back and match colors. Jenny: And just switch your top thread. Edyta: Yes. So if I have a red look at how beautifully this matches. Jenny: Um hum. Edyta: If I have the green I can switch to the greens. With the black branch I can add the black thread and switch and do that. Jenny: Perfect. Edyta: And there’s also another stitch that we could use and that one calls a blanket stitch. And many of our machines come with that stitch. Jenny: Ya they do. Edyta: It’s just lovely. If I’m doing this stitch I like to accent my applique. So I make sure that my thread shows what I’m doing because I want to show off my stitches. So for the pinks I would still use a little bit more red to show up the stitches and then emphasize that. Jenny: What’s your favorite? Edyta: My favorite is raw edge applique so fusible applique breaks to two finished edge, raw edge. And that’s the last stitch I want to show you. Why do I like this? Because I can do things really fast. Jenny: It’s fast. Edyta: Ya and it gives me a little bit more artsy feel to my quilts. Jenny: Uh huh. Edyta: And I really don’t have like a favorite, favorite because I use my stitch depends on what I’m going to do with my quilt. Jenny: Ok Edyta: If I’m going to do a wall hanging it would be raw edge. If I want to stitch something for a table runner I would do invisible. Jenny: Because it has to be washed. And you want it to hold together. Edyta: Yes. If I’m doing a baby quilt, cotton on the front, cotton on the back because the baby’s face will touch it. We don’t want plastic thread. Jenny: Ok that makes sense. That’s really good information. Edyta: If I want to show off stitches and do something super special I would add the blanket stitch. So I keep going back and forth between the stitches. And sometimes in a quilt I can use multiple stitches. Depends how difficult the design is. So around the circles you’re going to find that you have to stop and go more often so you’re going to shy away from doing something around. You maybe want to do just the raw edge. Just stitch one edge on the inside. It will hold your pieces in place and create a beautiful project. Jenny: We did ours is a tiny zig zag and it’s the invisible thread because it’s a wall hanging. You know and so it will hang up. And it’s not going to be washed a ton. But ya that’s great. Edyta: But even with washing, when you wash the quilt the edges fray just gently. But it gives a little bit different flavor to the quilt. Jenny: That’s true. Ya that’s really true. Edyta: Yep and this works great because you can do it over the weekend. Enjoy yourself and do a really fun project. So once we choose our stitches now we are ready to stitch around the edges. Jenny: Ok Edyta: And next step will be we have a little word that we’re going to add a embroidery to it. Jenny: Oh ok. Perfect. Edyta: So now I’m going to use my light table one more time. Jenny: Ok let me grab that. There we go. Edyta: And you can leave the embroidery for the last part and do all of the blocks the same time. And in your pattern you’re going to find a simple design for a stem stitch that is the one I use. And what I do is I place a block back on the light table and with a pencil. And I use a saw line pencil. I’m going to draw lines to get my design where it’s going to go. And I have a needle right here waiting for me already. So I would just draw very gentle. You don’t want to go too dark. And just draw it all of the lines really nice. And now we are ready to turn the light box off and do a little bit of embroidery. And they’re simple stitches. I did a three strength of a thread. And in your first package with your first block of the month, this thread was included. Jenny: Oh cool. Edyta: Yes and Jenny: So you get the thread. That’s nice. Edyta: Yah it’s matching thread for all of the month the thread is from Aurofil. It’s a lovely quality. And I break a small length. Jenny: Just a small piece. Edyta: Yes. I usually measure from my finger to my elbow Jenny: Ok Edyta: You don’t want to go any longer than that because it starts tying in knots and you get frustrated because it’s too long. So from your finger to your elbow, that’s the length of the thread you should use it. And I make a lovely little knot right there in the beginning. And I’m going to place this right there. Place it right here super. And I don’t even use a hoop. I just gently hold it and make little slip stitches just like the directions. And just tiny and grabbing just about less than an ⅛ and another. Do you see it? Jenny: You always keep your thread up to the top, stitch back toward it. Edyta: To the top and stitch. And gently pull it. You don’t want to pull it too tight because it’s going to crinkle your fabric. Jenny: Sure. Edyta: And cinch it a little bit so you want to be nice and gentle. Another cute little stitch. Jenny: My grandmother was an embroiderer. And she just did amazing work. Edyta: You see we’re bringing the tradition back. A little handwork. So look at it. In one block we have that laser cut pieces. All this new innovative stuff and we’re going back in time. Jenny: Going back to the handwork Edyta: Really our message is Faith, Hope, Love and stitching and taking some time and enjoying the journey. Jenny: Oh perfect. Edyta: I think that’s so special. Jenny: That is really sweet. Edyta: Now I think we’re ready to layout our quilt. Jenny: Alright. Edyta: Time to prepare our blocks. Jenny: We’re clean off our area here. Edyta: And I just want to bring to your attention when I do my appliques many times I make myself a little swatch where I practice my stitches. And I write on this piece of fabric so I can remember, the first month, oh I used this. And then second month I come back, oh this is my favorite. I’m going to use this again. And then I don’t have to reset my machine. Jenny: That’s a great idea. You know the whole world doesn’t do that. We just go through here 20 times sewing 20 different things. It wastes a lot of time. You’re a smart girl. Edyta: Set and reset the machine. And many times when I work on a project I slip this with my pattern. Jenny: That’s a great idea. Edyta: So that way I know where it is and Jenny: Everybody, that’s smart. Do your stitch, write the number down. Because I’m forever, I’m just like, was it this, was it this? What was it? You know and that’s great. Edyta: I had one of my machines I took a permanent marker and marked it on my machine what were my favorite stitches. Jenny: Sure, good idea. Edyta: Because it goes with my machine all the time. Ok so just another tip, when I do my blocks I keep them with my layout. Why because they stay nice and stiff. So when it’s time to layout our quilt, I pull the layout away. My block is not crinkled. Another block and we have just done all of them. Look at how much fun they look. Jenny: They are adorable. Edyta: Now we have to follow the layout on the wall so we started with faith. Jenny: This on the bottom. Edyta: Yes. Jenny: And joy. Edyta: I’m going to let you do that. Jenny: Faith and joy. Faith is up here in the top corner. Put these over here. Edyta: We maybe don’t have enough room for all of them. Jenny: We’re close Edyta: Close. Dream. Oh I love this block. Did you notice this one? Jenny: Oh with the hearts? All so cute. Edyta: Dream is right here. Oh perfect. Ok. So this gives us an idea. Hope goes right here. Jenny: It gives us hope. There we go. We’ve got hope last of all. Edyta: So notice that how the blocks have red, red, red, blue, blue, blues. So it’s a lovely layout. If you don’t agree with it you can change things around. If you wanted two joys, please do it. And, but I laid this this way. And now we have to start by making our pieces for our quarter square triangles right here for this little Ohio star that’s sitting right here. And what I do is Jenny: I’m going to move joy for a minute so you can work right here. Edyta: What I do is I cut my fabrics first. And you will find the directions for cutting for the border in a border, for all your pieces in the pattern with your last month. And with the last month you will receive all of this fabric for the blue stars, your sashings, your invisible inner border and your border right here and your binding as well. Jenny: Oh the binding even. Edyta: Yes Jenny: That’s very nice. Edyta: So we’re going to be making a unit called quarter square triangles also known as broken dishes. So we have cut them already for ourself. And what I always do is I start by sewing them into a chain like this. So once I have them I fold them right sides together and then I sew them this way, a cute little chain. Jenny: Yep. Edyta: This allows me to take this to my ironing board, open it up beautiful and press it. Jenny: Ok Edyta: And all the seams are going the same way. And I’ve done already some of those. Look at those already pressed. I’m going to place them together. And now I”m going to nest that seam in the middle. Put a lovely pin and start sewing from here straight down. If you worry about the center you can always start from the center out and from the center out again. Jenny: Alright. Edyta: And my favorite part of it is where I take this piece and open, this one is already sewn for us. Open, pull this gently apart, look at this. And I get a really cute square right here in the center. Jenny: That’s so cute. Edyta: Ok and I pressed one already. Jenny: Very cute. Edyta: Trim, trim, trim. I have a nice unit. This unit is going to end up to be a part of our sashing and our borders right here. Notice in the border, the inner border, I have a different color. So some of the pieces are going to have this darker brown. And all your directions in the pattern so you Jenny: Oh yah Edyta: I switched the colors around just a tiny bit to give you like a hidden invisible inner border. So some of them are going to be this way. Some of them are going to be just with the light ready set go. Now we can lay this quilt out. Once we make those pieces. Jenny: Alrighty. We’re so close. Edyta: Ya you and me are going through this really fast. I got us ready. Jenny: You did. You came with everything ready. Edyta: So I”m going to let you layout some of it but we’re going to layout this side of the quilt. Jenny: Ok Edyta: So go ahead and notice that this Jenny: These go in this way, don’t they? Edyta: Yes. No this way. This way they’re going to be little stars, right here and Jenny: Oh on the sides yes. Edyta: We’re building the little stars Jenny: And they go here. Edyta: Yeh. Jenny: And this guy goes where? In the middle? Yep. Edyta: Yep Jenny: And then here. And one more. I need one more. Edyta: Please. And notice that you have Jenny: Oh wait this goes Edyta: Yes so he’s going to belong onto the outside. Jenny: I was almost fired right there. She almost said nope, nope. There we go. Edyta: So we start laying those out Jenny: So cute. Edyta: And creating a really nice layout for the quilt. Look at that little square. And here. So look at what’s happening with the sashing and we have a long and this for the sides. And ya once I have my blocks completed I layout my whole quilt. And then I proceed with making it. This is in the corner, we’re running out of space on this table. So make sure you have a big design wall to do this. Jenny: It’s so fun though. And you know what’s so interesting about this is that these are show stopping panels. They’re just beautiful. But when you put this in it just adds so much. Edyta: It really does. Notice, look how quickly you have this. It just brings Jenny: It just adds so much. It’s just so beautiful. Edyta: Look at and if you have finished your block. Square them out beautifully to the right size too. The pattern gives you all the directions for how to square them up. Layout, prepare your little broken dishes unit to make those cute little Ohio stars for the setting pieces for your cornerstone. And now layout your whole quilt and all that you have to do is sew this to this, this to this, this to this, this to this, start sewing rows. Jenny: And you are ready to go. Edyta: In rows, rows together and then adding a border to the quilt what is our last step would be that finishing touch. And this border is absolutely gorgeous. Jenny: It’s a beautiful print. Edyta: Fabric. Where we just add that right here. And when I sew long pieces like this I make sure I do a lot of pinning. Jenny: Yeah. Edyta: Measure, cut it to size and pin, pin, pin. Jenny: So this is our block of the month. It’s called Harmony. It’s a six month block of the month, right? Correct? Edyta: Yes. Jenny:And it just went together super easy. It looks adorable. They’re going to learn some new skills and things like that. I mean it’s just a great idea. I love that you included the binding. That was really fun. Edyta: It matches beautifully with the stars and in your last month you will receive the border, all of the fabric that you need to finish your quilt. Focus on your block. Learn a new technique. Enjoy it. With a little faith, hope, joy you may be are having something new to learn and enjoy in your kitchen or on your wall. Jenny: Thank you so much Edyta. Thanks for coming Edyta: You’re welcome. Jenny: And we hope you enjoyed this tutorial on the Harmony quilt from the MSQC.


 Jenny Doan
 Harmony Quilt Pattern$17.75Shop →
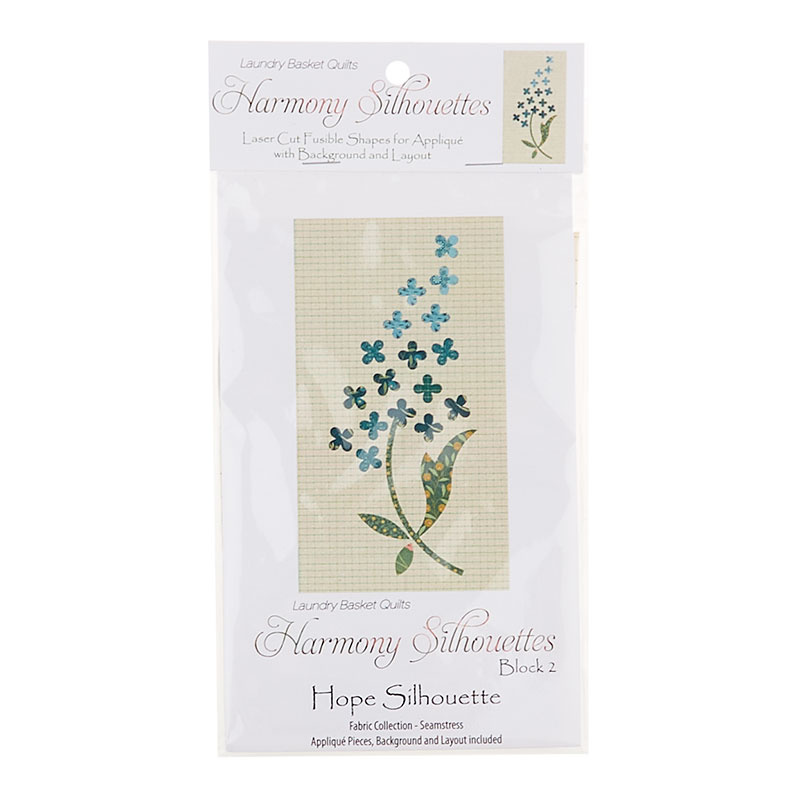 Harmony Hope Silhouettes Laser Cut Fusible Appliqué Shapes$17.75Shop →
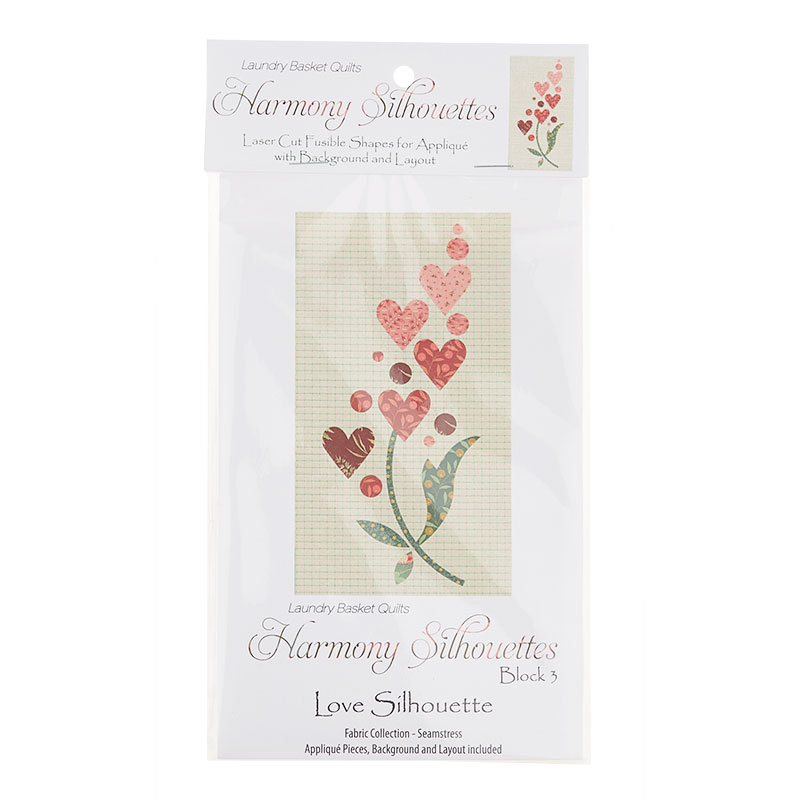 Harmony Love Silhouettes Laser Cut Fusible Appliqué Shapes$17.75Shop →
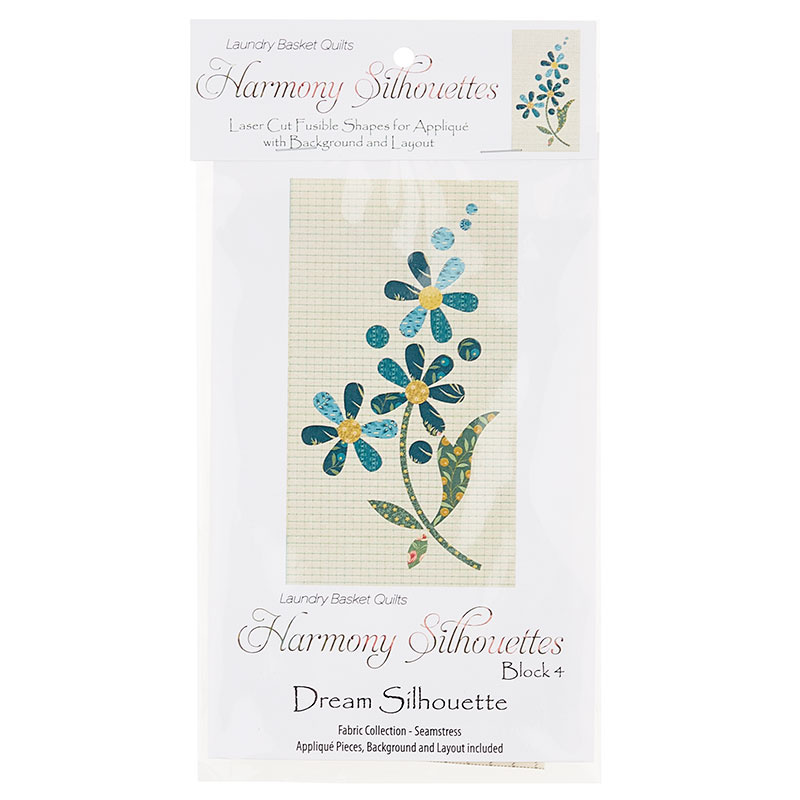 Harmony Dream Silhouettes Laser Cut Fusible Appliqué Shapes$17.75Shop →
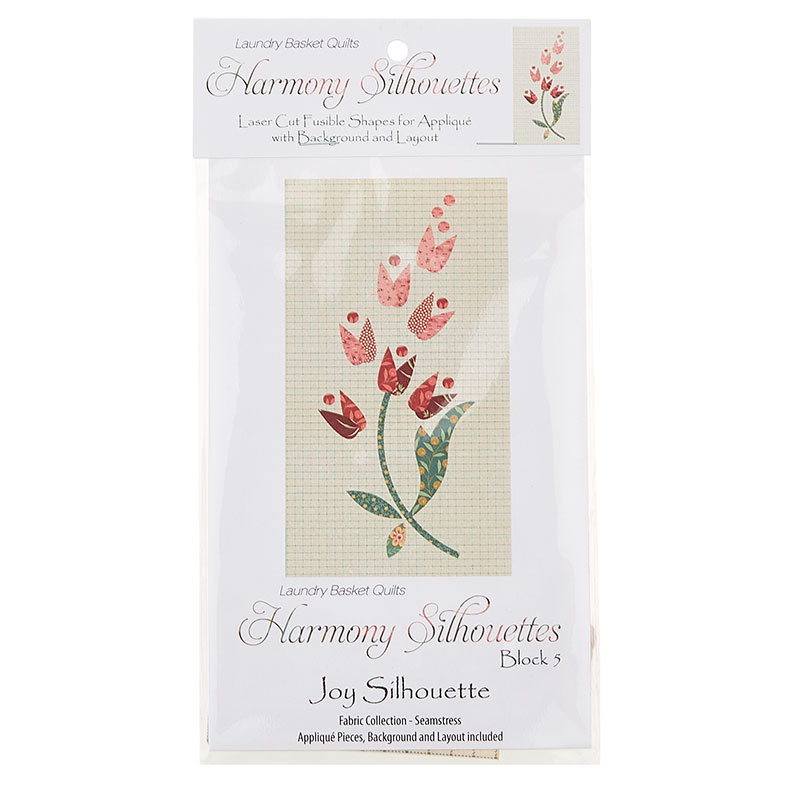 Harmony Joy Silhouettes Laser Cut Fusible Appliqué Shapes$17.75Shop →
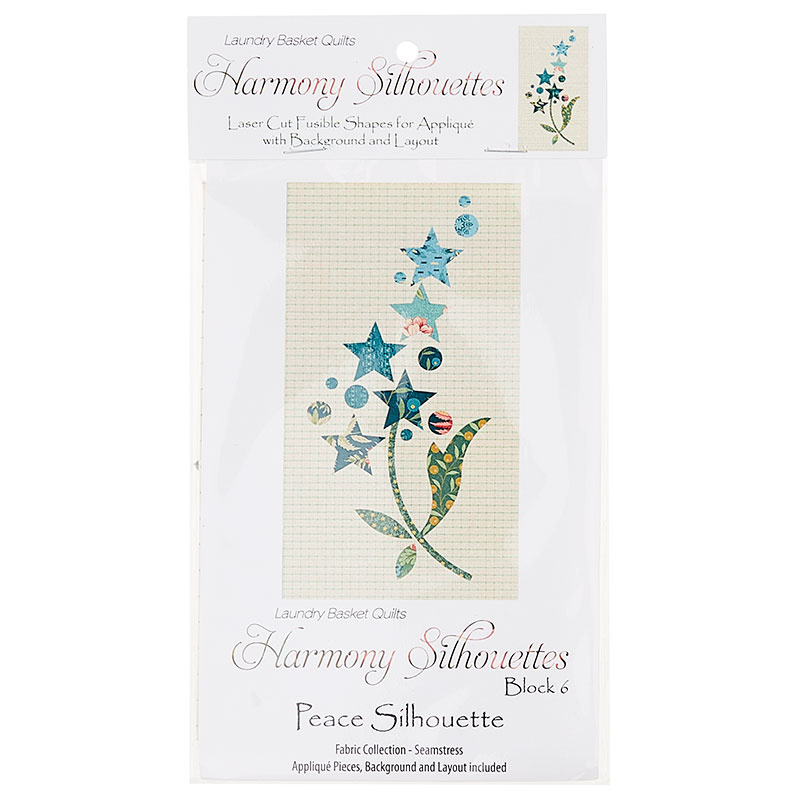 Harmony Peace Silhouettes Laser Cut Fusible Appliqué Shapes$17.75Shop →
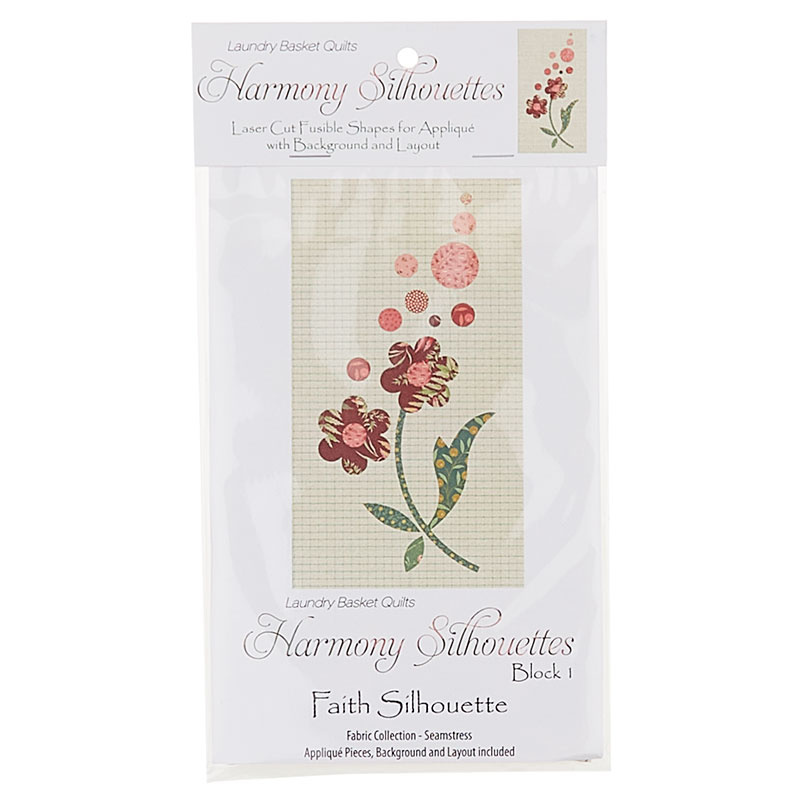 Harmony Faith Silhouettes Laser Cut Fusible Appliqué Shapes$17.75Shop →
 Olfa Splash Aqua 45mm Rotary Cutter$18.75Shop →
 Olfa Splash 24" x 36" Cutting Mat Navy$68.95Shop →
 Missouri Star 2.5" x 8" Ruler$10.95Shop →
 Missouri Star 5" x 15" Ruler$15.95Shop →
 Exclusive Missouri Star Jenny TG1600 ProPlus Oliso Smart Iron$199.99Shop →


