

Make a "Josh's Star" Quilt with Jenny and Josh Doan!
 Jenny Doan
- Layer Cake
- Modern
- Twin
- Quilt size 73" × 73"
Jenny and her cute son, Josh, demonstrate how to make a unique star quilt using a Large Dresden Plate Template and 10 inch squares of precut fabric. They used Makers Home 10" Squares by Natalie Barnes of Beyond the Reef for Windham Fabrics.
Instructor
Jenny Doan
Jenny Doan is an American quilter, author, and YouTube personality. Jenny started Missouri Star Quilt Company in 2008 and today it is the largest quilting supply vendor in the United States.
Shop this tutorial
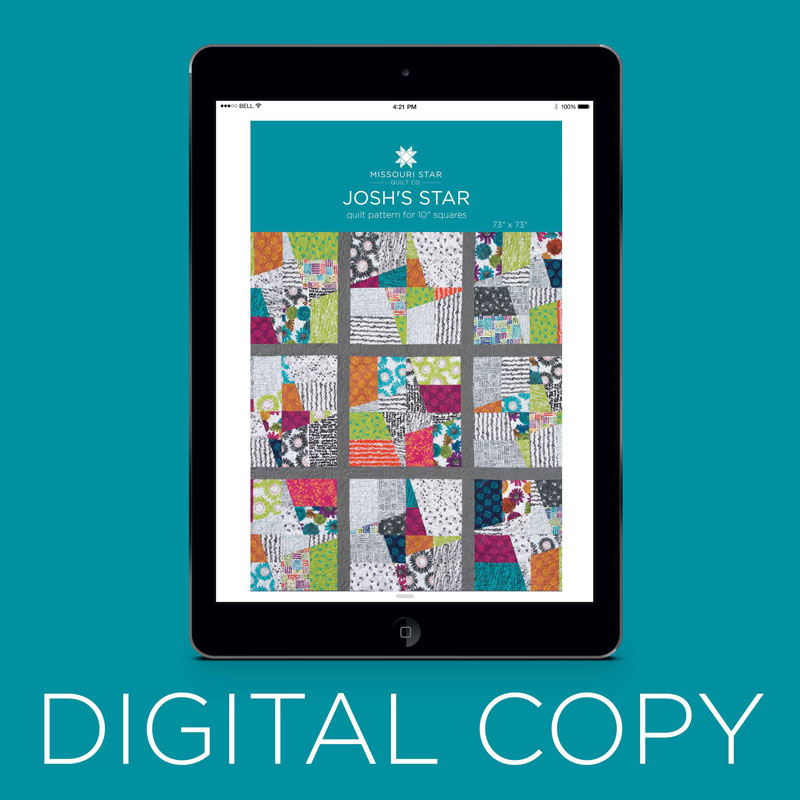 Digital Download - Josh's Star Quilt Pattern by Missouri Star$4.95Shop →
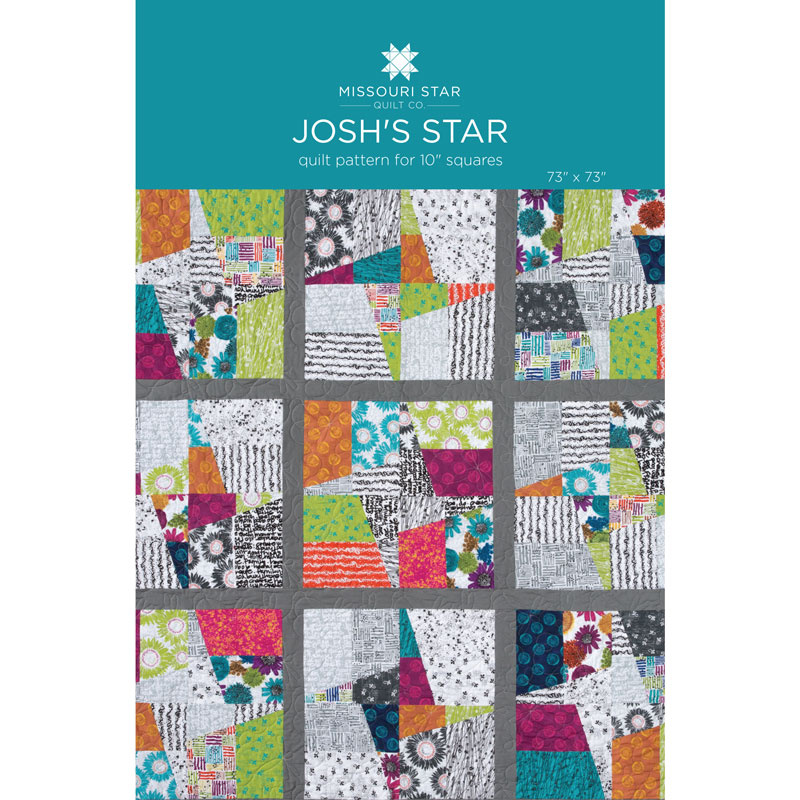 Josh's Star Quilt Pattern by Missouri Star$6.95Shop →
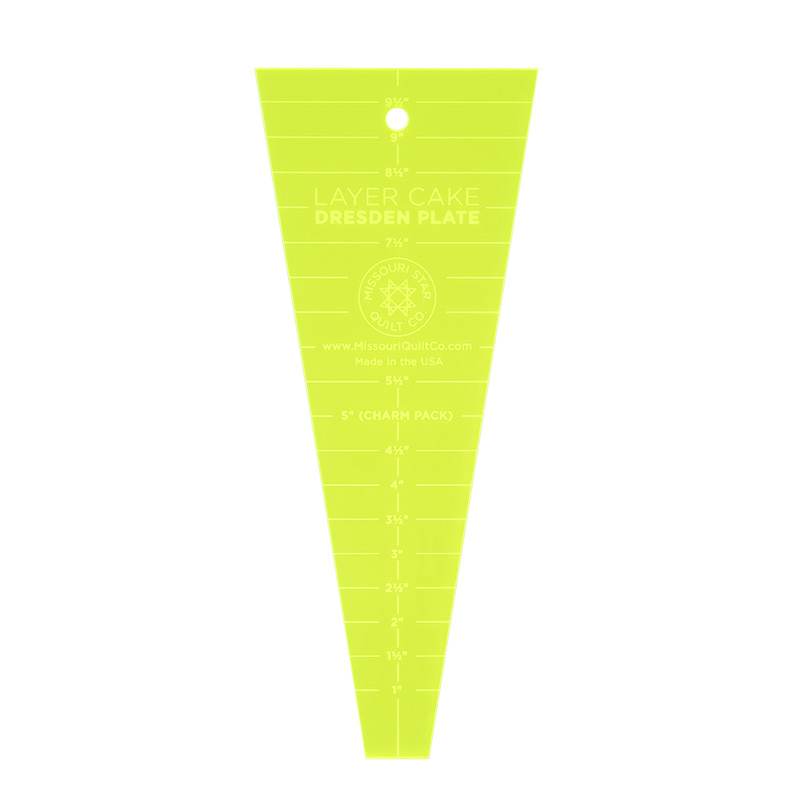 Missouri Star Large Dresden Plate Template for 10" Squares$9.95Shop →
 Olfa Splash Aqua 45mm Rotary Cutter$18.75Shop →
 Olfa Splash 24" x 36" Cutting Mat Navy$68.95Shop →
 Missouri Star 2.5" x 8" Ruler$10.95Shop →
 Missouri Star 5" x 15" Ruler$15.95Shop →
 Exclusive Missouri Star Jenny TG1600 ProPlus Oliso Smart Iron$199.99Shop →
 Extra Long Ball Point Pins (100ct) - 1 1/4" (32 mm) Size 20$3.95Shop →
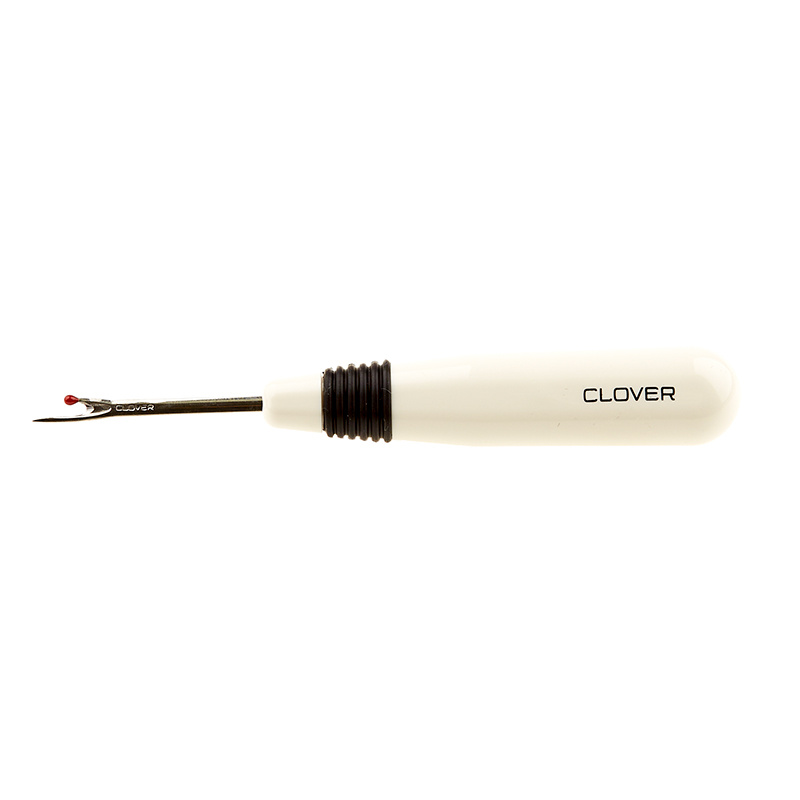 White Seam Ripper from Clover$5.45Shop →
Common Questions
What is covered in Make a "Josh's Star" Quilt with Jenny and Josh Doan!?
Jenny and her cute son, Josh, demonstrate how to make a unique star quilt using a Large Dresden Plate Template and 10 inch squares of precut fabric. They used Makers Home 10" Squares by Natalie Barnes of Beyond the Reef for Windham Fabrics.
How long is the tutorial video?
The tutorial video is 00:10:59.
Are supplies listed for this tutorial?
Yes. The tutorial page includes the supplies and materials connected to this project.
Is a transcript available?
Yes. A written transcript is available on the tutorial page.
Video Transcript
Josh: How’s it going?
Jenny: So this is so much fun for us. I get to tell a story about him which we mothers like to do. One day Josh was on a date, exciting time for us moms as well. And he stopped by the retreat center and he thought he would see if this girl was interested at all in sewing. And so they decided to try and come up with a new quilt pattern. And they actually did. And I actually like it so we are here to tutorial that today for you. Josh actually brought in his quilt. Josh, why don’t show them your quilt?
Josh: Ya
Jenny: So, so tell me about that, Josh.
Josh: Well we had some leftover fabric and decided that we were going to try to make, put this together.
Jenny: It’s so cool, isn’t it? I love this little kind of star motif that it does in here. I love that it was separated by the sashing. Just, it’s just really fun. And so when I saw it, I was like, ya I really like that. So this is ours right here that we’re going to show you. And we are using, to make this quilt what you’re going to need is one packet of ten inch squares. And we are using Maker’s Home by Natalie Barnes for Windham. And I mean it’s just a great line. It’s really bright and happy. And you’re going to need some sashing. And we used a yard for the sashing. And that takes care of the inner border. And that outer border right there, here Josh, the Vanna Man. It’s a six inch border and we used a yard and a quarter for that. Josh could you show them the back, please?
Josh: Yes absolutely.
Jenny: It’s so nice to have a helper, isn’t it? This is a really darling back. I even love the quilting pattern. I hope you can see that. We did it in dragonflies and it’s just really cute.
Josh: Oh that’s really cool.
Jenny: Isn’t that fun? So you’re going to need about 4 ½ yards for that back. This is going to make a quilt that is 73 by 73. So let’s show them how to do it, shall we?
Josh: We shall.
Jenny: Alright. So because this line had a lot of color and a lot of black and white, we decided that if we swapped every other block out with one where the star was the color and one where the star was black and white that it might show up better. So if you look back here on the quilt you can see we’ve got color here and the star is black and white. The next one the background is black and white and the star is color. So this is one of those that you need a little contrast for. So we’re actually going to each make one of those blocks and show you how to do that.
Jenny: So to make the block what you’re going to want to do is you’re going to want to grab two background squares. And we have these two right here. And we’re going to put them right sides together. You just stop me if I do anything wrong, ok?
Josh: Alright.
Jenny: He’s pretty good at this. I know people are always asking me if my sons sew. And they do. They all sew. So we put them right sides together like this and we’re going to sew just down the sides. So do you want to sew or do you want me to that.
Josh: I’ll let you sew. I’ll do the ironing.
Jenny: Ok, alright. Sounds like a plan. So we’re going to sew a quarter of an inch right down the side here on both sides of this square. There’s one side and I’m going to bring it around to the other side and sew a quarter of an inch again. And now what we’re going to do is cut these in half. So let’s go ahead and lay our ruler on this edge. And we’re going to cut this right in half. And then you go ahead and press that open.
Josh: I’ll go ahead and iron this down.
Jenny: Perfect. Look at how good. He set the seam and now he’s rolling it back. They’re so well trained.
Josh: Momma taught me to press to the dark side.
Jenny: That’s right, that’s right.
Josh: Here you go.
Jenny: You have a little fold here though, you don’t want that. That will change the size of your block so make sure, make sure when you’re ironing guys, make sure you don’t have any of those little pleats or folds in there. Now for the other block, the colored block, we’re going to take again two ten inch squares and do the same thing. Again just sew on the sides. So I’m going to do that right here. And I’m just going to start and then I’m going to re-line this up. Make sure that they’re nice and straight on the edges. And then we’re going to turn this around and do the same thing to the other side. There we go. And a quarter of an inch right down the side. Alrighty. And again we’re just going to cut this one in half like this. And Josh, will you do the honors?
Josh: I will.
Jenny: Alright. The next thing you’re going to need for this block is you’re going to need your dresden template right here. The dresden template. And I’m going to put these so that the pieces are opposite of each other but both right sides up. And I’m going to wait until Josh is done ironing because we’re going to add those other two. Because you can actually, if you have a good, sharp blade you can cut four or eight layers pretty easily.
Josh: There you go.
Jenny: Perfect. So we’re going to put the green at the top on this one and the green at the bottom. This is actually really personal preference. You’ll want to try a few, you know, and see what’s going on. But it’s pretty much personal preference. Then what we’re going to do, let me make sure these are lined up pretty good. Alright, there we go. Then what we’re going to do is we are going to lay our dresden blade right along the edge, our template I mean. Our dresden template right along the edge like this. Alright? So then we’re just going to go ahead and hold that down and we’re going to cut right across here, just like this. And you’re going to do that to your whole pack. For this quilt you’ll put the lights together and then you’ll put the colors together and you’ll do this to the whole pack. Now what we want to do is we want to sew black and white ones to the colored strip or to the colored blocks. And we want to sew colored blocks to the black and whites. And they should be opposite because we laid them opposite. So I’m going to go to the sewing machine and just chain piece these through. If you’ll get those ready, lay them on top of there.
Josh: Ya.
Jenny: Oh here I want to show you one more thing before we get going. So right here when you lay this on here you’re just going to want to match this up as close as you can. So there might be a little bit of overhang on either side. But just get it as close as you can. And then we’re just going to sew a quarter of an inch right down the side. Now when I’m done with these Josh, if you’ll pull them and iron them. I’ll just keep sewing and you can iron.
Josh: Ya. Sorry about that.
Jenny: There we go. And there is the last one. You want to make sure that you do sew the curved edge in. So that, because if you sew it so the curve goes the other way. You’ll know right away if it’s wrong, believe me. Alright I have two, another set of blocks over here that’s already done. And as soon as Josh gets done ironing these, I’ll show you how they go together.
Josh: There.
Jenny: So the trick to this, which I thought was really cool, because Josh actually explained this to me, is that something we’re also taking a seam this way. So you block should be square.
Josh: Ya
Jenny: It should be
Josh: Should be.
Jenny: It should be square. Alright so what we’re going to do here is we’re going to take the ones with the background square and they’ll make one pile and the ones with the colored square will make another pile. And these are two separate blocks now. We’ll get two blocks. So I’m going to take this right here. And you leave your fat part to the middle. And we’re going to turn this right here so it makes a star. I want you to be able to see this. Just like this. And then this part is going to go here. And this part is going to go here. How cool is that. It just makes that cool star instantly. I love it.
Josh: Ya
Jenny: I love how it comes together. . Then you’re going to sew it together like a four patch. So you’re just going to lay these two on top of each other, sew down. These two on top of each other like this and sew down. And we’ll do that real quick so we can make this block. And well I’ll stop talking for a second so I can sew. And one more. Now the lines on the sides where your, where your blocks come together, those aren’t going to match up. So don’t worry about that.
Josh: Here I’ll iron that for you.
Jenny: Alright. Then you’re just going to sew these together in the middle. It’s going to sew together like a four patch. And you’re going to get a block that looks just like this. So Josh while you’re ironing, come back with me to the quilt and let’s look at the quilt for a minute. So we have three blocks across here. Three big blocks. These make like an 18 inch block. So it’s a really good size block. And we have three across and three down. And it makes a beautiful, beautiful block. It’s fun to see the alternating colors. I want to show you, I did a couple in another colorway too. Oh that’s pretty, Josh. Isn’t that fun?
Josh: That looks awesome.
Jenny: Yep. So these right here, I wanted to do it with a solid to see what happened if I just took a plain solid. And look how cool these come out.
Josh: Oh that’s really cool.
Jenny: Aren’t they fun? Yes sometimes it’s fun to see, you know, just what else, what else, you know another idea. So this was the colored background with the white star. And it just looks really fun. So I’m just really tickled that you came up with that.
Josh: Ya it’s pretty exciting.
Jenny: It was fun. He’s not still dating the girl. That’s alright. But it was a fun night. And got to learn a fun new pattern. And we hope you enjoyed this tutorial on Josh’s Star from the MSQC.
Josh: Hey mom, will you show me the pattern again back here, what we’re going to be doing?
Jenny: Ya sure.
Josh: Alright perfect.
Jenny: So, what did you do?
Josh: Nothing.
Jenny: What are you doing to me?
Josh: I was just patting your back. Don’t worry about it. You’re good. You’re good.
Jenny: Are you sure?
Josh: So how are we doing this?
Jenny: He’s doing something. He’s doing something.
Josh: Nothing happened. You’re good. You’re good. We’re just going to stand here like this. Alright.



