
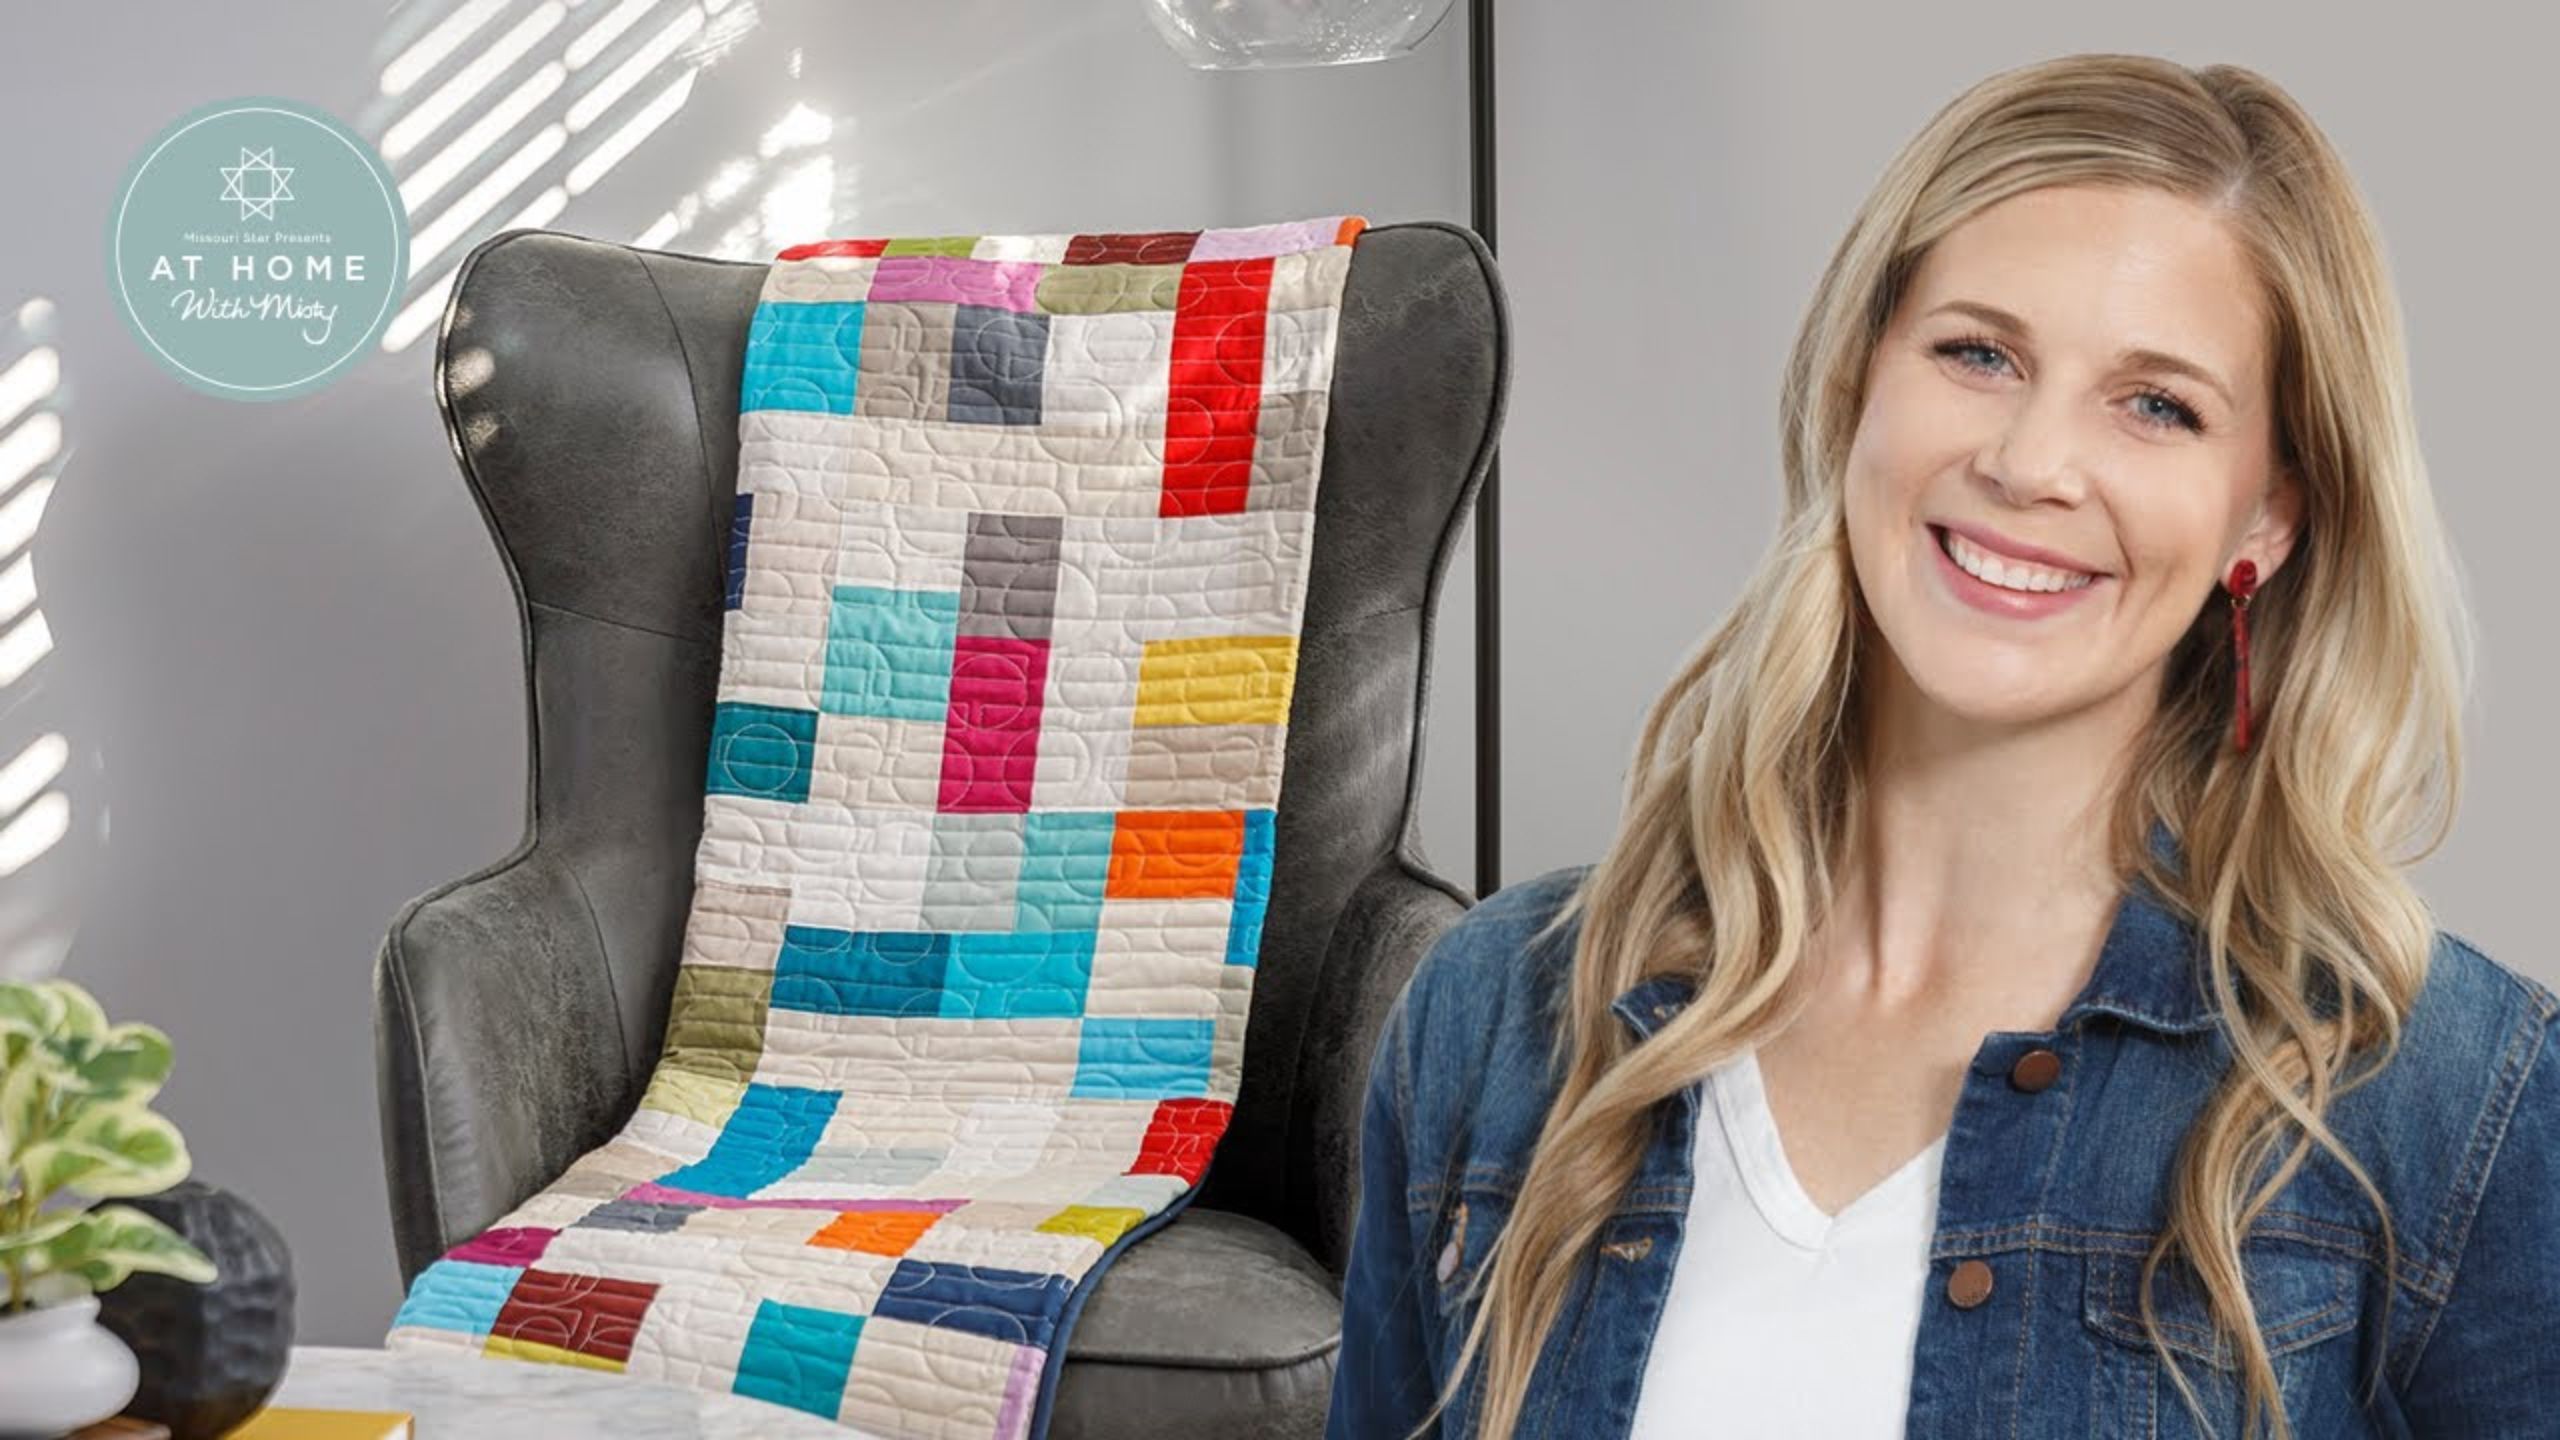
Make a "Kaleidoscope" Quilt with Misty on At Home With Misty
 Misty Doan
- Layer Cake
- Modern
- Lap / Throw
- Beginner
- Quilt size 59" × 76"
Gaze through a kaleidoscope into a world filled with unexpected color and pattern with Misty. She took inspiration from this classic children's toy and created an easy to make quilt design that is simply bursting with beautiful colors and interesting shapes. It's the perfect day for a colorful project!
Instructor
Misty Doan
Misty Doan grew up surrounded by sewing and quilting. She loves spending time sharing tutorials each week each week, and when she’s not stitching up one of her fun sewing projects for home decor, most likely you’ll find her hanging out with her husband and three awesome kids or working on a house project.
Shop this tutorial
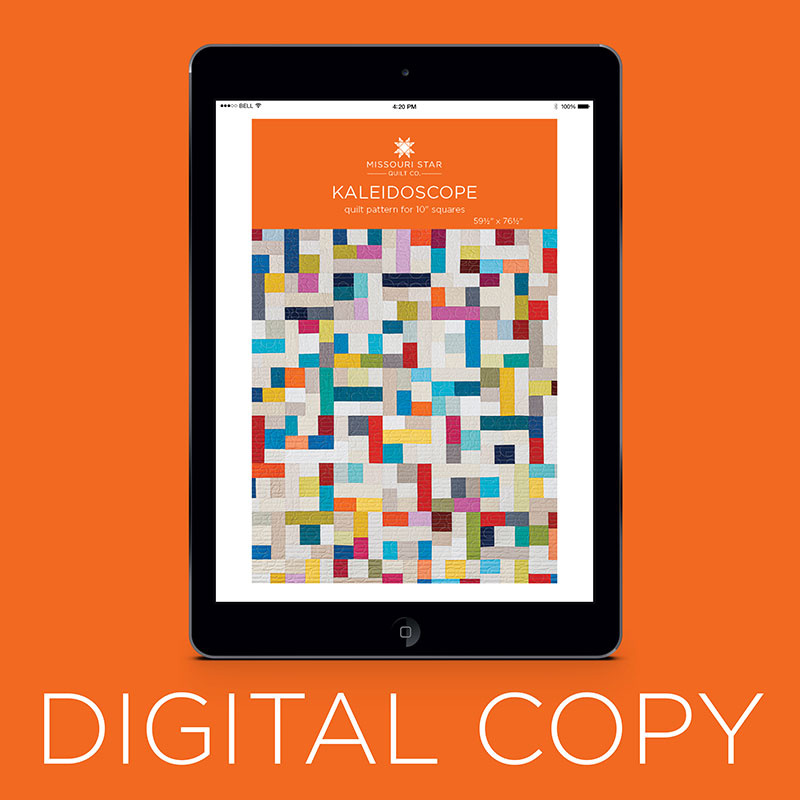 Digital Download - Kaleidoscope Quilt Pattern by Missouri Star$4.95Shop →
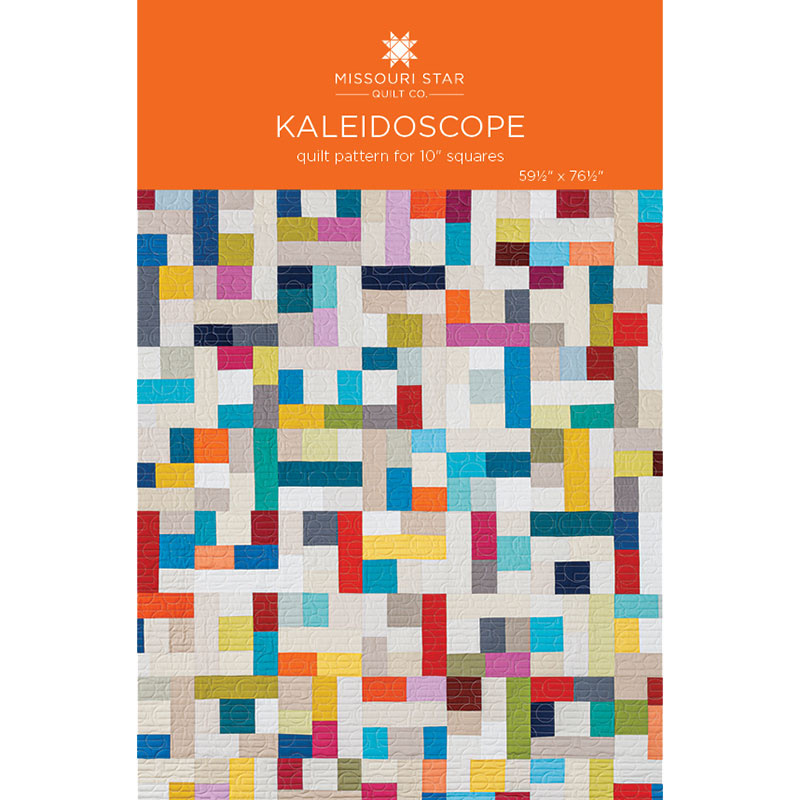 Kaleidoscope Quilt Pattern by Missouri Star$6.95Shop →
 Kona Cotton - Paintbox Basics Ten Squares$30.95Shop →
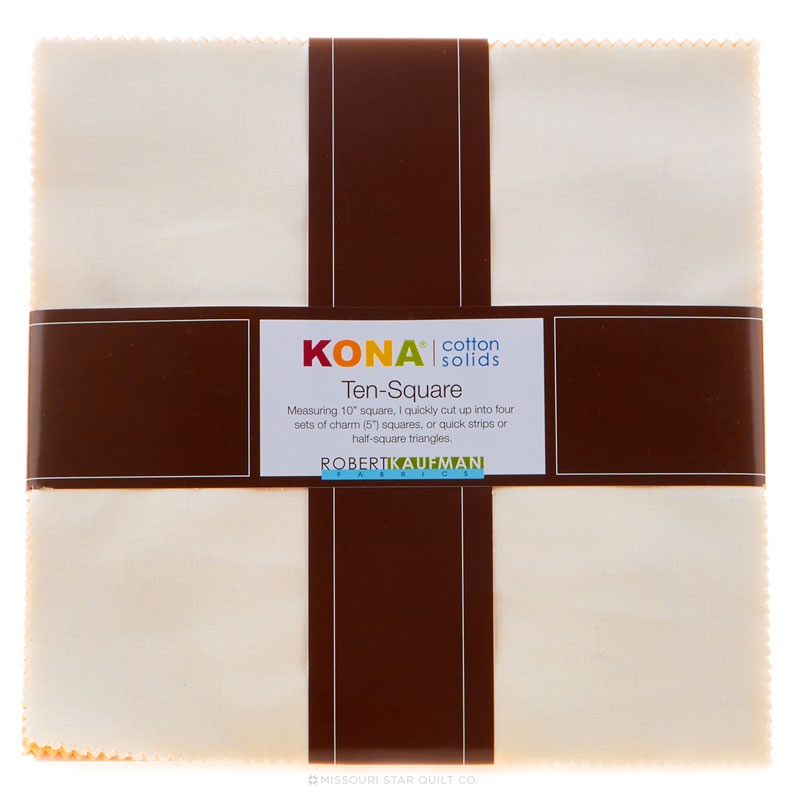 Kona Cotton - Not Quite White Ten Squares$30.95Shop →
 Kona Cotton - Navy Yardage$7.28Shop →
 Kona Cotton - Bone Yardage$7.28Shop →
 Missouri Star Quilter’s Best Blend Twin Batting$26.45Shop →
 Missouri Star 10" x 10" Square Ruler$19.95Shop →
 Missouri Star 2.5" x 8" Ruler$10.95Shop →
 Missouri Star 5" x 15" Ruler$15.95Shop →
 Missouri Star 50 WT Cotton Thread White$6.95Shop →
 Olfa Splash Aqua 45mm Rotary Cutter$18.75Shop →
 Exclusive Missouri Star Jenny TG1600 ProPlus Oliso Smart Iron$199.99Shop →
 Missouri Star Wooly Betty Board - 17.25" x 25.5" Orange Border$98.95Shop →
 Elan 8" Dressmaker Scissors$20.95Shop →
Common Questions
What is covered in Make a "Kaleidoscope" Quilt with Misty on At Home With Misty (Video Tutorial)?
Gaze through a kaleidoscope into a world filled with unexpected color and pattern with Misty. She took inspiration from this classic children's toy and created an easy to make quilt design that is simply bursting with beautiful colors and interesting shapes. It's the perfect d...
How long is the tutorial video?
The tutorial video is 00:09:52.
Are supplies listed for this tutorial?
Yes. The tutorial page includes the supplies and materials connected to this project.
Is a transcript available?
Yes. A written transcript is available on the tutorial page.
Video Transcript
Hey guys! It's Misty. Welcome to At Home. I'm really looking forward to the
project this week. Take a look at the quilt over on the design wall. This is what I'm calling Kaleidoscope. It's really fun, really modern, and really easy.
I think it would be beautiful in prints, but we've chosen to make it using solids today. You're going to need two packs of layer cake squares. The first pack is this Paint Box Basics Coordinates, and it's all these beautiful
Colors. Then the other pack we went with is the Not Quite White. It's this awesome neutral palette anywhere from cream to true white. just so we have some variety in that background.
I also went ahead and made a cutting diagram because we're going to cut all of our squares the exact same way. Let's go ahead and show you how
we're going to do that.
I've got my layer cake square here. Remember that it measures 10” by 10”. Then we're going to go ahead and cut all of these down. The first cut we
want to make is we're going to measure over three inches. You could cut a few of these at a time if you wanted to. There's that first cut. We can pull that aside and then from there we're going to measure over three more inches. There we go. Then that leaves us a four inch piece on the other side.
So that first strip that we made, we're just going to put that in a pile just like it is. We're not going to cut that down anymore right now. Then the second three-inch strip that we have, we're going to cut that in half so that we have two three by five rectangles. I'm just going to lay my ruler on here and cut that in half and then I'm just going to make a pile of those.
Now our third strip. We're going to begin with…I'm going to go ahead and turn it to make it easier on me. We're going to begin with a four inch square since this is four inches wide. We're going to cut it four by four. So I have that first cut and then the next two will be four by three. So I'll just cut that in half like so. Then we're just going to add this to the piles that we have here.
Now the fun part of this quilt is you can just take your stacks and we're just going to make our single strip…our sets of two and our sets of three. So I'm just gonna grab a couple from my sets of two. I'm going to go with this beautiful teal and one of my neutrals and we're just going to sew these together.
Remember if you're using a print you want to have your right sides together. We're going to sew with a quarter inch seam and we'll just make a bunch of sets of two, just like so. Just give that a nice press, and then I've made a pile here of my two sets that you can see is growing.
Then we're going to do the same thing with our sets of three, but remember we do have some variety in our sizing there so let's just mix this up a bit. I'm going to go with one of these a little bit darker neutrals and how about this blue. So when you're playing with these, you can order them any way you
want. You can put the two three inch pieces together with the four inch square at the bottom. You can put the four inch square in the middle. However your heart desires. You can mix this up and that's one of the fun things about this block. There's a lot of freedom to play with it and to put the colors that you like where you want them as long as you're working in these rows.
I'm going to go ahead and sew these and then I'm going to add the purple
onto this side and we can press these back. There we go. So now we have three strips that we've made. I'm gonna pick a different color - what do I have in here? Let's do this kind of burgundy one and we'll pull in the yellow. Actually I'm even going to swap this out because I like the difference in this background color here. That's why I like that we have so much variety.
I'm going to begin by just sewing this three set to my one set…one strip…I don't know what to call it, but one, two, three, you get the idea. You'll notice that this hangs over. I'm not worried about that; I'm going to square that up at the end. I'm just lining up the bottom side - better double check that because it was hanging down a little far - now we'll sew quarter inch seam straight down the side. Now we can press that back and we can add our other piece.
This is where you can decide, do I want this to go here or do I want it to go here? Where do I want to put it? I think I'm going to put it on this side. So I'm going to flip that around and I'm going to sew this direction. There we go. Now we can press that back and all we have to do from this point is square this up to 9 inches. All of our blocks are going to be squared to 9” and. Since I have a nice square corner I like to put that down in the left-hand corner (since I'm right-handed I find that to be easier orientation) and I have my ten inch square ruler here that I'm gonna use to trim this up. So I'm just going to lay this so that it will trim up to 9 inches and I'll cut off that and that and there we have this awesome nine inch block!
You can see I have a bunch more made. I want to lay some of these out because I think it's really fun for you to see how different they all look. Because it's hard to see the blocks themselves when it's in the quilt because they all come together to make this beautiful kaleidoscope effect.
So let's go ahead and lay a few of these out here so you can see. I want to point out to you every single time, we still have the one, the two and the three sets in each of these blocks but they look so different. One, two, three. Once you know that, you can spot it in the quilt behind me, but you can see how there's so much freedom and movement in this and you can orient them any way you want.
If you go to the quilt - let's go ahead and go over here - you'll notice that it is seven by nine so one-two-three-four-five-six-seven across, nine down. Let's go ahead and set a block in here. L:et me grab one of these so you can actually see it.
Like I said, it kind of disappears, but here is our block. It just sits in just like so and works all the way across the quilt. I love this beautiful quilting pattern!
I think this is a really fun quilt for a boy's room. I know my sons would love it and another fun thing that you should note is we didn't use all the blocks. There's blocks left over and I have a fun little thing that I'm excited to share with you. A little bonus!
So here's what we did with our extra squares - isn't that so fun? This is still a great quilt; it ends up 59” by 76.” It's a wonderful cozy-up-and-watch-a-movie size and you could make it bigger if you wanted. There's plenty of fabric with those two layer cakes, so lots of options. The quilting is called Circles and Lines.
I hope you enjoyed this video on the Kaleidoscope Quilt!



