
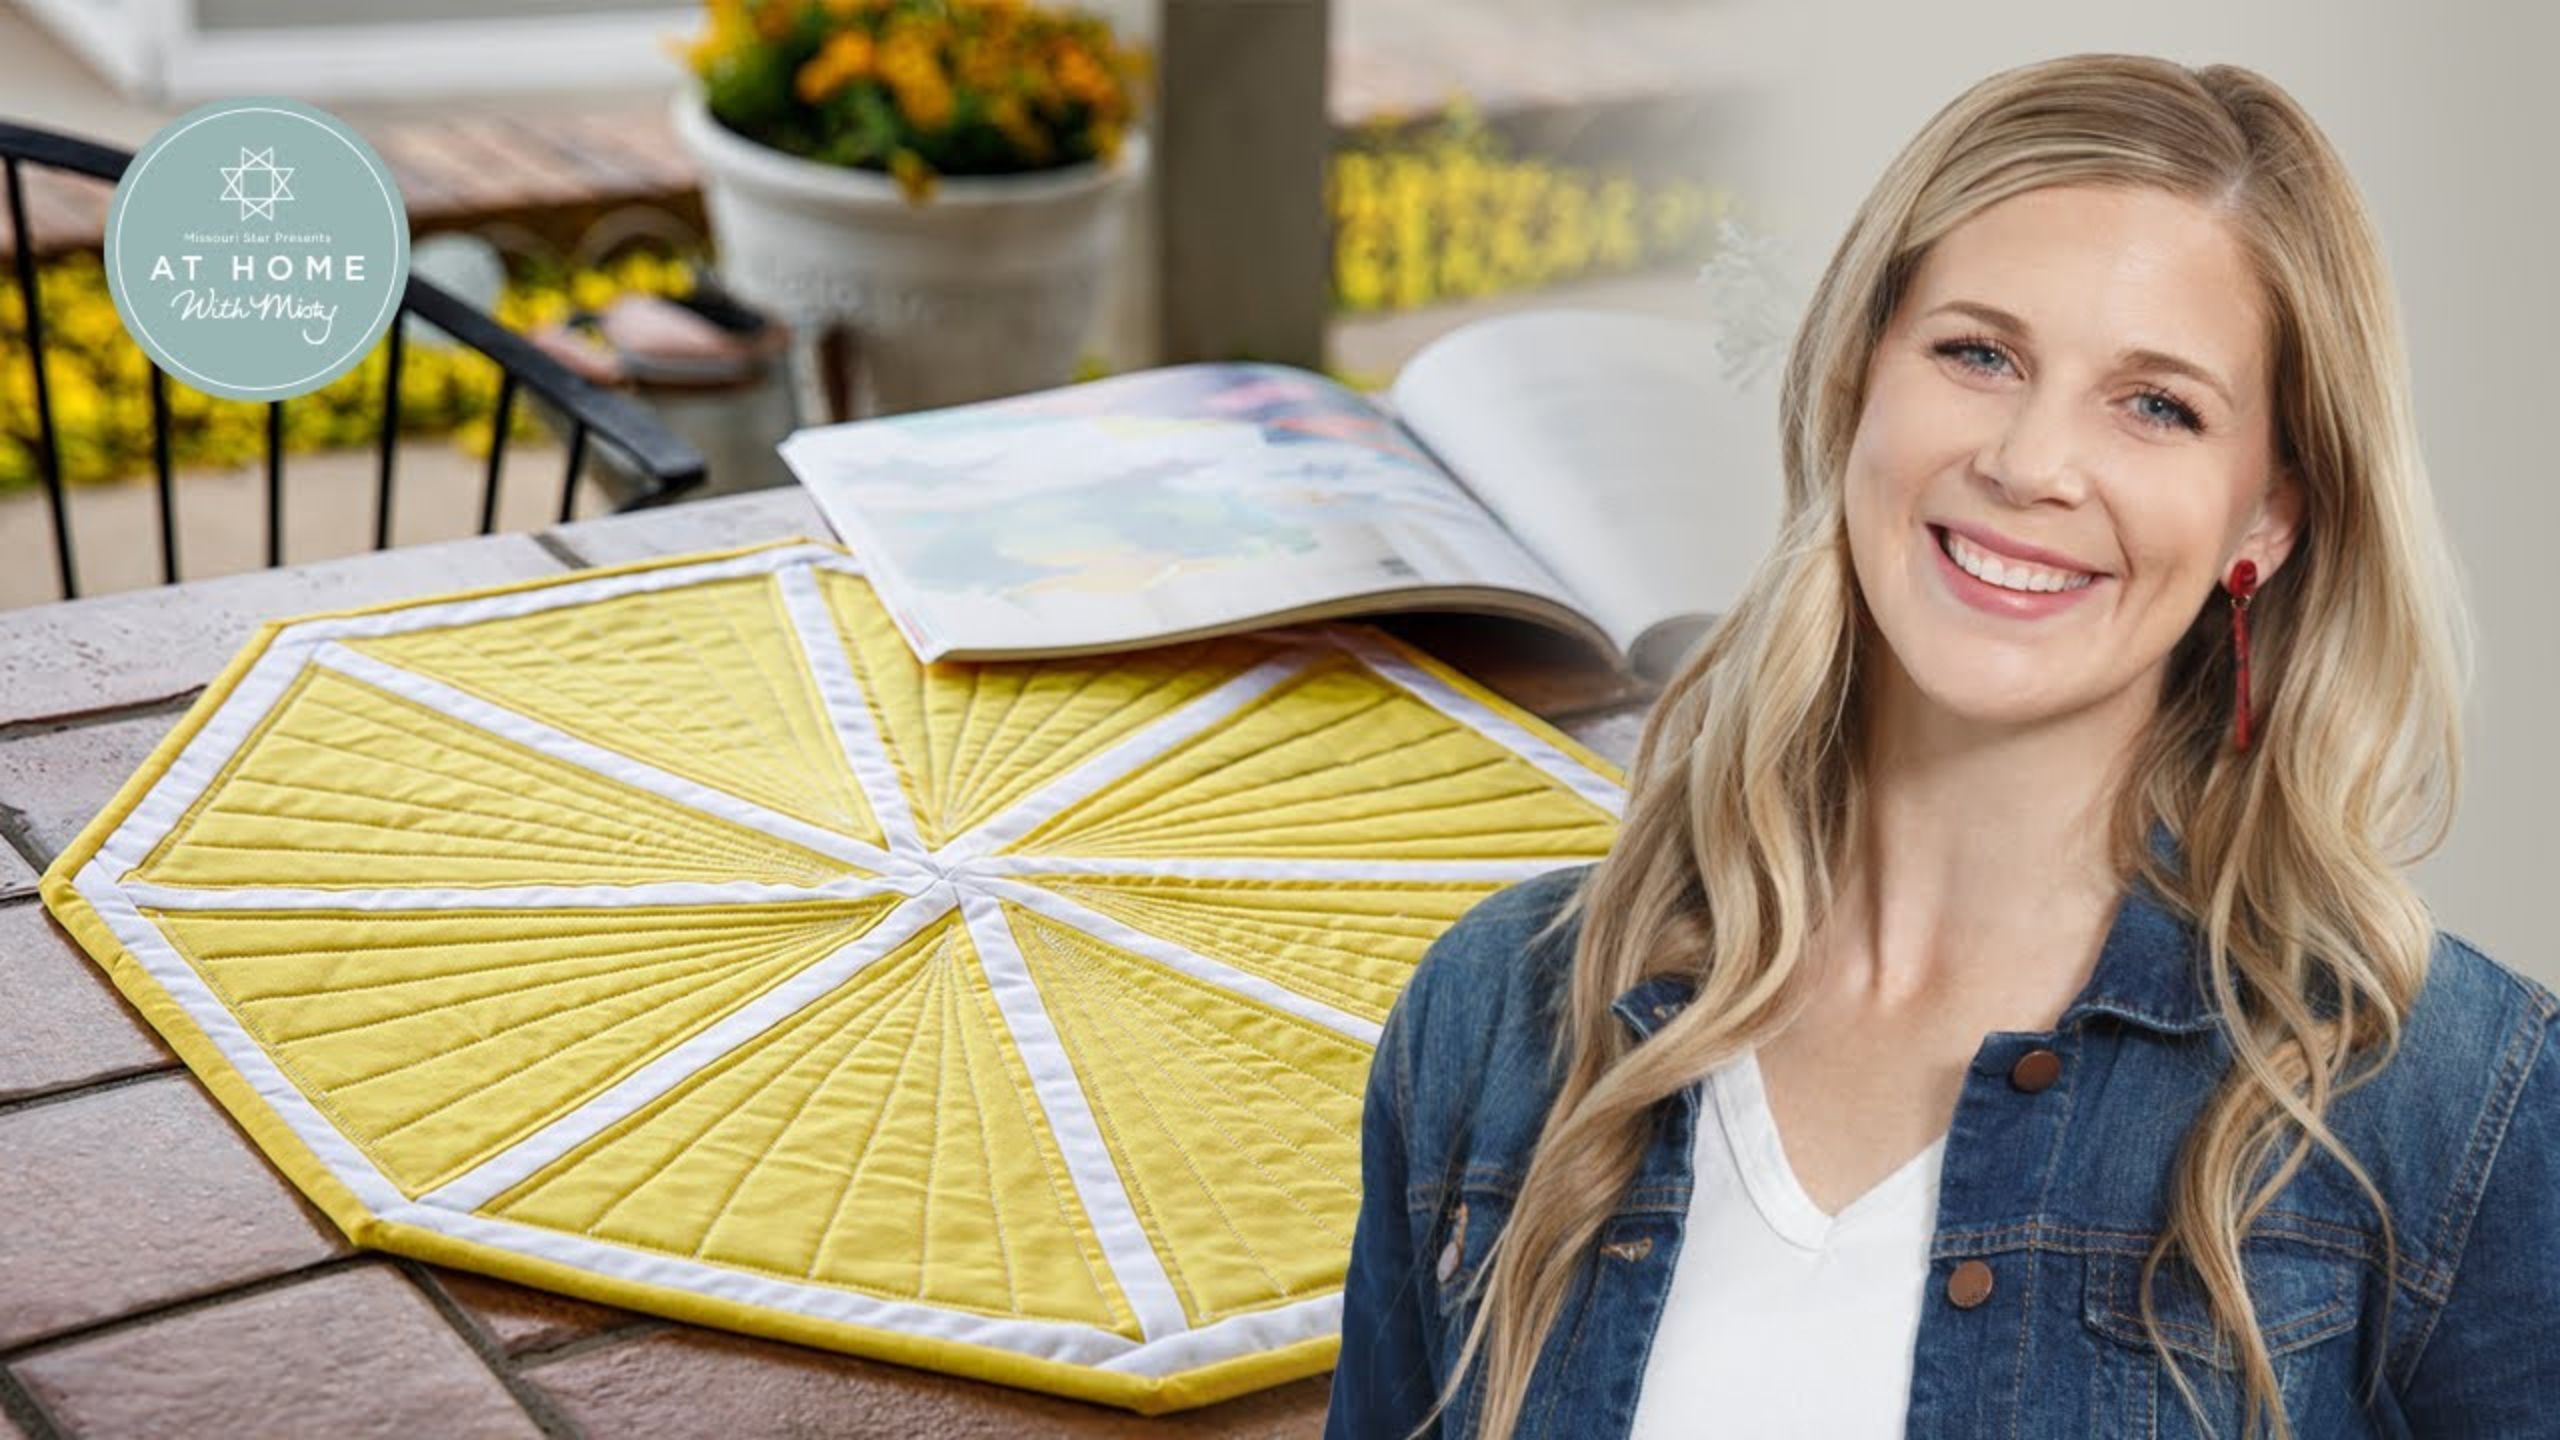
Make a "Lemon Squeeze-y" Table Topper with Misty on At Home with Misty!
 Misty Doan
- Fabric by Yard
- Modern
- Table Runner
- Beginner
- Quilt size 21" × 21"
This applique project is easy peezy, lemon squeezy! Get ready for summer with Misty as she shows you how to make this easy and oh-sew-cute tea towel and table topper set! Watch as Misty walks you through how to make summery kitchen tea towels with fun embellishments and hanging loops, plus a coordinating table topper for your dinning room. The Lemon-Squeezy table topper and tea towel will add a sweet finishing touch to your table for those special summer occasions!
Instructor
Misty Doan
Misty Doan grew up surrounded by sewing and quilting. She loves spending time sharing tutorials each week each week, and when she’s not stitching up one of her fun sewing projects for home decor, most likely you’ll find her hanging out with her husband and three awesome kids or working on a house project.
Shop this tutorial
 Kona Cotton - Citrus Yardage$7.28Shop →
 Kona Cotton - White Yardage$7.28Shop →
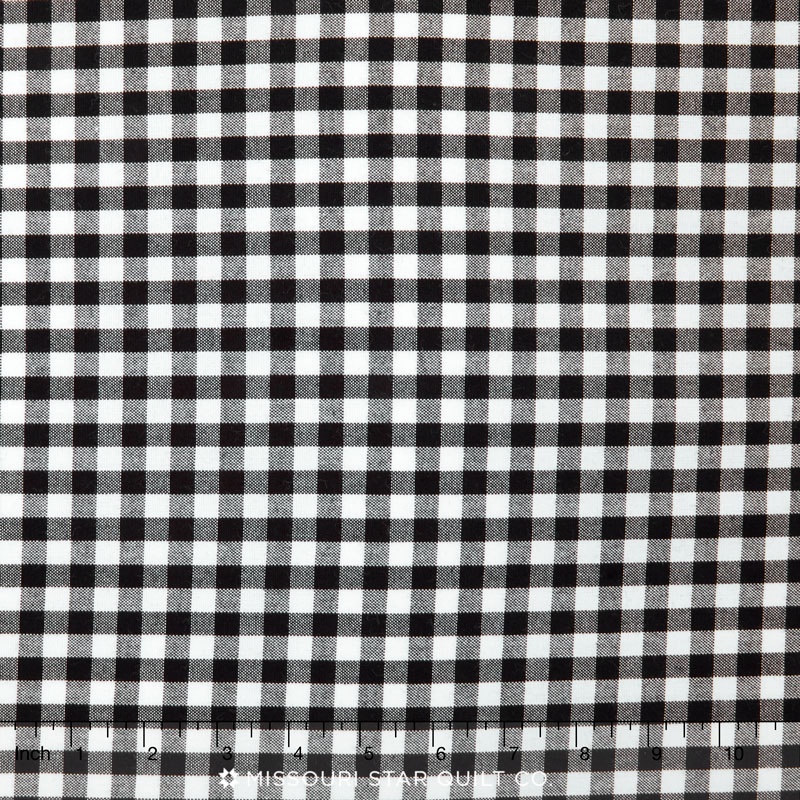 Carolina Gingham - 1/4" Check Black Yardage$9.84Shop →
 Missouri Star Large Simple Wedge Template for 10" Squares$11.95Shop →
 Missouri Star 2.5" x 8" Ruler$10.95Shop →
 Missouri Star 5" x 15" Ruler$15.95Shop →
 Missouri Star 50 WT Cotton Thread White$6.95Shop →
 Olfa Splash Aqua 45mm Rotary Cutter$18.75Shop →
 Olfa Splash 24" x 36" Cutting Mat Navy$68.95Shop →
 Exclusive Missouri Star Jenny TG1600 ProPlus Oliso Smart Iron$199.99Shop →
 Missouri Star Wooly Betty Board - 17.5" x 17.5" Aqua Border$88.95Shop →
 Elan 8" Dressmaker Scissors$20.95Shop →
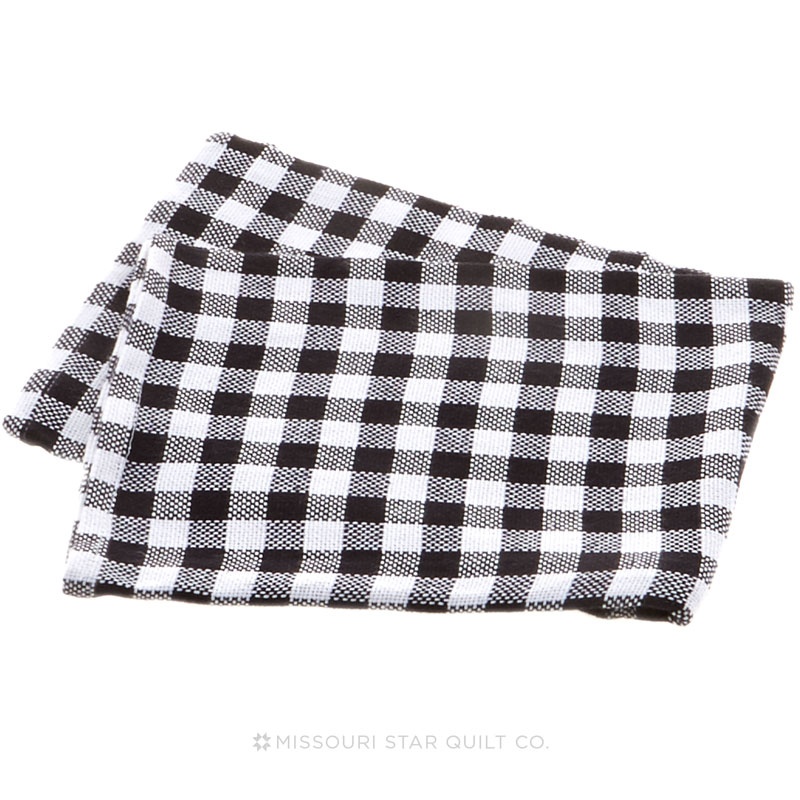 Tea Towel - Gingham Black/White$4.75Shop →
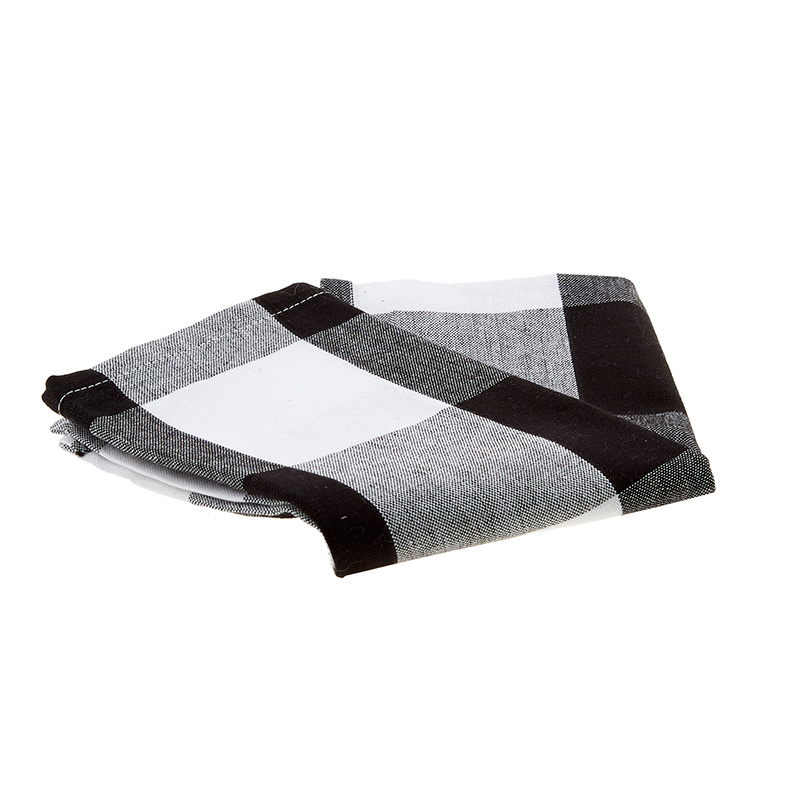 Tea Towel - Farm House Check Black and White$4.75Shop →
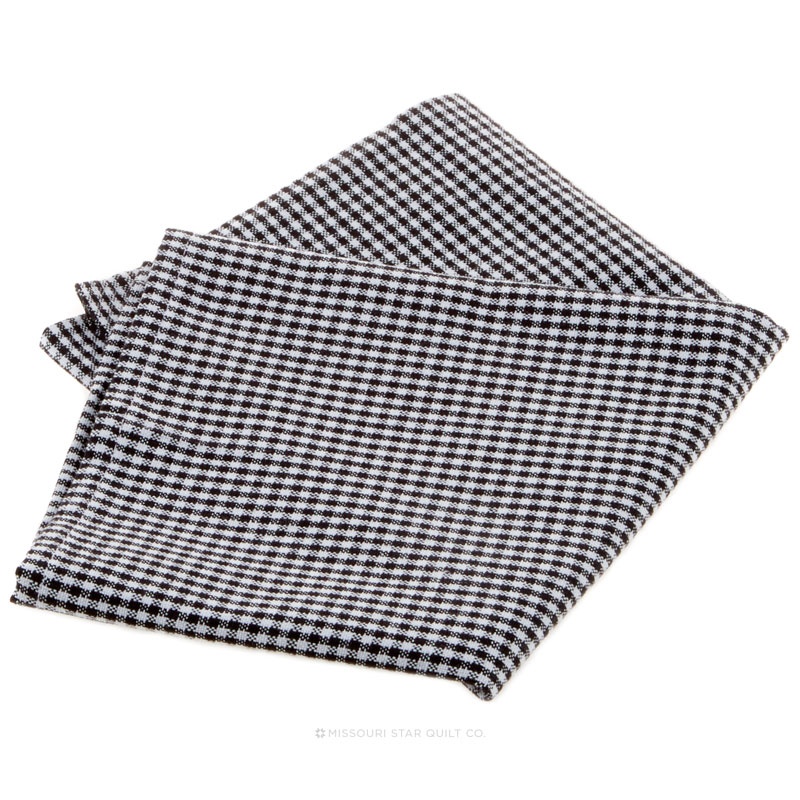 Tea Towel - Black & White Mini Check$4.75Shop →
Common Questions
What is covered in Make a "Lemon Squeeze-y" Table Topper with Misty on At Home with Misty! (Video Tutorial)?
This applique project is easy peezy, lemon squeezy! Get ready for summer with Misty as she shows you how to make this easy and oh-sew-cute tea towel and table topper set! Watch as Misty walks you through how to make summery kitchen tea towels with fun embellishments and hangin...
How long is the tutorial video?
The tutorial video is 00:24:10.
Are supplies listed for this tutorial?
Yes. The tutorial page includes the supplies and materials connected to this project.
Is a transcript available?
Yes. A written transcript is available on the tutorial page.
Video Transcript
There is nothing better in summertime than a fresh cold glass of homemade lemonade, and I love to decorate my kitchen with lemons in the summertime. So we are going to be making this great little table topper. It's super quick and easy. I did it, start to finish. I even did the quilting, so I'll walk you through that.
So let's get started! You're, of course, just going to need some yellow yardage, some white one-inch strips, the large simple wedge template, and I use this great gingham on the back which I think is just really fun. So let me show you how we're going to do this.
To start, we are going to take a strip of yellow or a piece of yellow (this measures nine and a half inches tall) and we are just going to use our simple wedge to cut out our shapes. I'm going to flip this around because there's a little nick out of the fabric, so I'm going to start on this side. Just line this up with the straight edge, and make my first cut. And then now I can flip it around this way, because I'm right-handed, so I'm going to slide that up to the straight side and make a cut. You could just cut all the way down the width of your strip. I have a few already cut out.
To make this, you're going to need eight of the wedges, so that's the number that you're looking for. So I just cut those all out and have them stacked up. The reason that this comes together so fast is because we are going to do some chain piecing.
I like to start by grabbing my stack of yellow wedges. I'm going to put them down and I'm going to take my one inch strip. Yes this is just one inch, but I promise you can do it. I know sometimes that makes people a little nervous.
We are going to line this up along the long side of this wedge and we're going to sew with a quarter inch seam straight down the side. Now when I get to the end, I'm just going to sew so I have about an inch and a half in between and then I'm going to slide another wedge in there. And with every one inch by width of fabric strip, you should be able to get four of these wedges along the long side. One more…there we go.
So now you can see these are all strung together. They kind of look like a pennant banner but we're just going to go ahead and roll back these strips. I like to do this before I cut them apart because we want to keep our angles. We want to go ahead and press these back. I'm just going to roll one after the other make sure there's no pleats or tucks in there, everything's laying nice and straight. There we go, and one more.
All right. Now we're going to take this over to the cutting mat and I am going to use my 5” by 15” ruler (any little rulers with a straight edge will work here) and I like to go ahead and cut the tops first. So I'm just going to line up the edge of my ruler along the straight edge of the wedge and I'm going to continue that cut out into the white so that the angle stays the same. There's that first one.
I'm going to go ahead and move down and do this one, and this one,
and one more. There we go. Now that I have those cut apart, I can go back
and I kind of flip these around because now I'm going to use this other
long side of my wedge again line my ruler up so everything is running nice and straight down this side and then I'm just going to cut off this
point right here. So now there's an angle on my white piece on both sides,
and that one's ready to add the next strip. We'll go ahead and trim these as well because it goes really quick.
You can see if you chain piece all eight of these, trim all eight of these, have them ready to go - it makes this a super fast project. So we'll trim this bottom edge and then we can chain piece the second strip of white. So these are ready to go now and I will grab another one-inch strip and just like we did on the long side, we're going to do the same across the top edge of the wedge. We do need to make sure we have a little bit of overlap because again, when we fold this back we're going to continue that angle, so give yourself a little bit of room in between just like we did on the long side. Just make sure it's laying nice and straight. We don't want the fabric to get folded underneath there. Take a few stitches line up the rest…there we go, and one more. There we go now, the tops are all sewn together and it really looks like a banner now.
Okay let's go ahead and roll the top back just like before, making sure we don't have any pleats or tucks and that we've got it all rolled back and it's nice and straight. Now these are all pressed back, we're going to go ahead and trim these. Same idea as before - we're just going to line our ruler up
along the straight edge, making sure it's all nice and straight (this one's getting a little wonky on me so I’m gonna just adjust slightly), then trim off this top edge. Then I'll turn, do the same thing on the other side. So it's the same basic shape that we began with but we've just added those strips to the two sides to make it a little larger.
I'll go ahead and cut one more and then I have some others ready to go. So again, we're just going to line our ruler up along this straight edge, trim the top there, flip it around, and do the same thing with this side. Now I have a bunch of the rest of these ready to go.
So just remember you're going to need eight of these wedges to complete this little table topper. We're going to start sewing these together in sets of two now. I'm just going to grab the first two off my stack and I want this yellow side to match up with the white side that we added. Every single set should sew together just like that.
I'm going to start by lining up my top. I like to start at this flat side and end at the point. So I'm just going to take a few anchoring stitches, then line up my bottom edge together and sew down the side. You do want to be careful not to tug too much on this because you do have a little bit of bias, so just let the machine do the work for you. You can starch if you're worried about it.
So we're going to sew four of these sets. There we go, now I can just clip those apart. I can go ahead and open this up, and I'm going to go ahead and sew these together now so that I have sets of four. I think I've got it to nest the way I want. Just like when you're sewing half square triangles, you can see these two little edges. I want to be going in opposite directions because I want those to nest at the the bottom.
Now we can just sew from the top down. We'll go ahead and do the same thing with the second set. I'm going to go ahead and press these ones just to give you a better idea of how those are going to nest. I like to roll this back towards the yellow side, and the same on this one.
Maybe if I show you over here…I want to make sure you guys can see what I mean with those seams nesting. So we're going to lay those right sides
together and here is that center seam and the center seam. We've got this
little bit of overhang - that happens. You can trim that off. I'm going to go back and do that at the end but we just want these two seams to kind of lock in together. That's what I'm looking for, and you can kind of feel it
when they nest. That feels great to me, so I can pinch it in between my fingers and take this back to the machine.
I still always like to end on that narrower side so I'm going to start
on the wider side and just sew down all the way to the end. There we go.
Now I can trim these apart and then, like I mentioned, you can go ahead and trim off those little dog ears just to get rid of some of the bulk. Because all of these seams are going to meet together in the middle, I've trimmed off one side and the other. Let's go ahead and do that again here
on this one. There's that side and that side. So that just gives us a really clean center and gets rid of some of the bulk there.
We just have one more seam to press, so we'll press that open. And this half of our lemon slice is ready to go! We'll set this over here, and this one we haven't pressed yet, but I want all of it to go to the yellow so I'm just going to start on this side and kind of roll around gently so that all of my seams are going to the yellow and when we press them all the same direction like this, when I put these two halves together they're actually going to be going opposites because it's spinning around the middle. It makes it easier to manage those seams in the center.
So now I can just match up my two halves - you can see how they're going to fit together like that. We'll lay these right sides together this is where you really want to check. Here's our center seams, and we're just going to make sure those nest together nicely I am going to go ahead and put just one pin right there in the middle. Just to hold it where I want it until I get to that place. Then I'll line up my top edge here and start sewing down, just making sure my pin is completely out of my way because we do not want to sew over that.
Then we're going to line up this bottom edge. Now that we've gotten to the center, I'll just sew all the way down that side. We can take our pin out
and ta-dah! A full lemon lemon slice. Let's just go ahead and press that
center seam - there we go looks really nice. Give it a little steam, make sure it's laying flat, and that looks so great!
So now all that we need to do is sandwich this together and quilt it. I
did decide to quilt this on my domestic machine with just some straight line quilting and you can see I'm not an expert, but this was really satisfying to
be able to start and finish this whole project in one day.
So to do that, like I said I use this adorable gingham on the back and I have this ready to go here. I already have my piece of batting fused with my Quilter Select Free fused to my backing. Then let's go ahead and put this over on the ironing board and we will fuse our lemon slice to this.
Let's go ahead and move this, lay this here and we can just work one half at a time. Since I have kind of a smaller work surface here, just give myself plenty of extra with my batting and backing and so I'll just sit this here, and I'm going to fold this back. If you're not familiar with the free fuse powder, it is a semi-permanent fusible powder. You just sprinkle it on like a salt shaker essentially and then when you hit it with the heat of a hot iron it activates the glue and holds your layers together. There's no odors - it's just super convenient and a little bit really goes a long way.
I'm going to start there sprinkle that on, roll this back and just hold my iron to let that glue start activating. I'm going to do that all the way across this. Now that I've done that top side, I can fold up and start adding more across the bottom. So we'll fold this back, iron some more and really this semi-permanent fuse is perfect to just get us from this point to quilting.
Once we add our quilting, it's going to hold all of these layers together. Now I can slide this up and you can see each step it starts sticking a little bit more. So let's just do this last little section here. We'll roll that back
and fuse it down.
Now that that is all fused we can take this over to the machine and we can
add our quilting so this foot. I'm using The Baby Lock Accomplish, the one that comes with the machine. It's just a very narrow foot and I'm using it as my guide for my first set of quilting.
What I've done is I'm just lining up the edge of my foot. If you have a quarter inch foot that would totally work here. We're just going to line up the edge of our foot with this white and we're sewing into the yellow just the width of the foot. I always start from the middle out, so I'm going to stop here at the edge with my needle down and pivot and again lower my foot. Again pivot, and lining up with the seam there and then meeting up with where my stitches started on the other side. There we go - that is my first set of quilting.
What I did is I did kind of opposite wedges. I did the quilting on this starting from the center then I came over here and then you know did the middle and finished all of those outside edges first. Once I had all of that done, and the reason I did that is to just manage any type of movement or shifting that sometimes comes when you're doing quilting, I just split the difference to try and make all of the shifting happen evenly in this top but I want to save some time.
You can see I went around each of these and now we're going to go back and add these little rays, if you want to call them that, from the center. So we're just going to flip this around again. You do want to go ahead and trim any of your threads that are lingering. Let me see if I can get some of these out of the way before we add some more stitches. Now I just added five lines. I did not measure - I did this totally random and at first I was a little nervous but I'm super happy with how they turned out.
I think it just kind of lends itself to the beauty of a lemon that's a little uneven inside and different. Now we're just going to start that first line
and I'm just aiming up straight to the top of my other line of stitching and I'll stop there. Again I kind of try and trim my threads in between so that I'm not getting a bunch of bulk.
I'm trying to get close to the middle here - that's the goal. We're not looking for perfect, we're just playing. You can see why if you don't take time to trim your threads it kind of gets caught in those other stitches and then gets harder and harder to trim later, so take the time in between.
So then we've got two more lines of stitches. We're gonna do that one,
trim, and our last little ray of straight line quilting and you can see how great that looks! It turns out beautiful as you work your way all the way around. Then I just trimmed this up and finished it with a little yellow binding and I think it looks just like a lemon slice.
I'm really happy with how it came together and like I said, it's great to have a project that you can make start to finish at home.
But wait - I do have a little bonus! Sometimes when you have a new little
table topper for your kitchen you need some dish towels to match! So we
have these great little gingham prints in different sizes: small, medium and large. And we have this great free printable to add a little lemon applique so let me just show you really quick how to do this.
The printable looks like this. There's a few different lemon options and all I did is trace the one that I wanted onto some of our Missouri Star Fusible. So I've got my two little lemons here and a leaf, you know on yellow and green, and then I've ironed that to the fabric.
Now we can just cut these out, iron it down and then I just did some basic top stitching. I decided I was okay with some raw edge applique. If you're
not a fan of raw edge applique, you could totally satin stitch or blanket stitch around this.
One thing I do recommend is be sure you wash your towels before you add the applique, because they will shrink a little bit and you will be disappointed if you don't.
Anyway I hope you enjoyed this easy project and that it brightens up your kitchen just a little bit! Have a great week and I'll see you next time.


