Skip to content

Free quilting video tutorials from Missouri Star

Quilting Tutorials
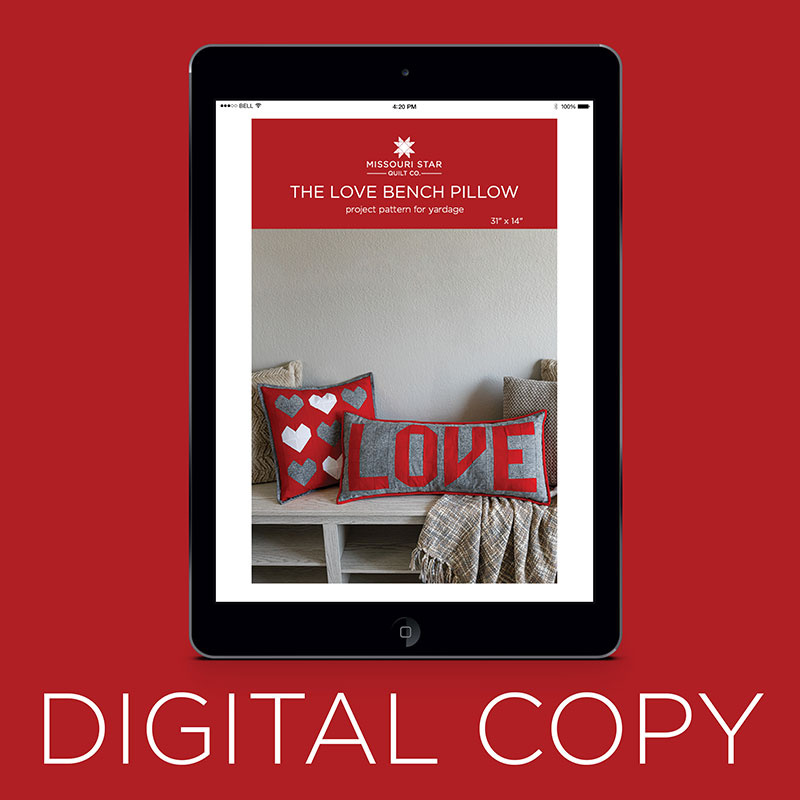
Make a "Love Bench Pillow" with Misty Doan on At Home With Misty!

Make a "Love Bench Pillow" with Misty Doan on At Home With Misty!

Join Misty for a new project and adorn your home with plenty of love just in time for Valentine's Day! This darling bench pillow set features two pillows with pieced designs created from simple half-square triangles. When you see how easy they are to create, you'll want to make more as gifts for your family and friends. And remember, love doesn't have to be perfect, it only has to be true!

Instructor

Misty Doan

Misty Doan grew up surrounded by sewing and quilting. She loves spending time sharing tutorials each week each week, and when she’s not stitching up one of her fun sewing projects for home decor, most likely you’ll find her hanging out with her husband and three awesome kids or working on a house project.

Common Questions

What is covered in Make a "Love Bench Pillow" with Misty Doan on At Home With Misty! (Video Tutorial)?

Join Misty for a new project and adorn your home with plenty of love just in time for Valentine's Day! This darling bench pillow set features two pillows with pieced designs created from simple half-square triangles. When you see how easy they are to create, you'll want to mak...

How long is the tutorial video?

The tutorial video is 00:25:04.

Are supplies listed for this tutorial?

Yes. The tutorial page includes the supplies and materials connected to this project.

Video Transcript

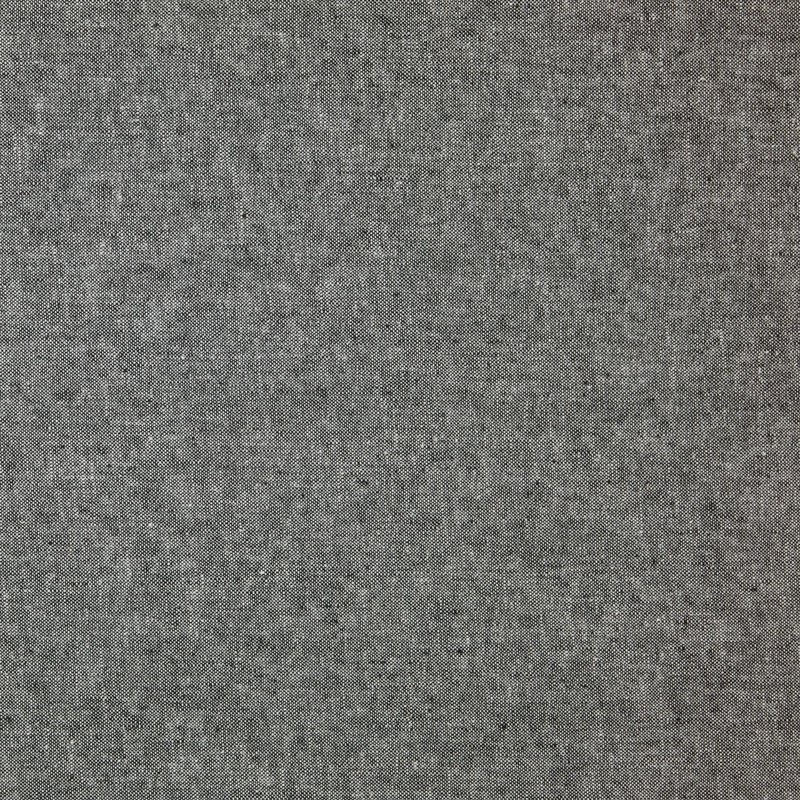
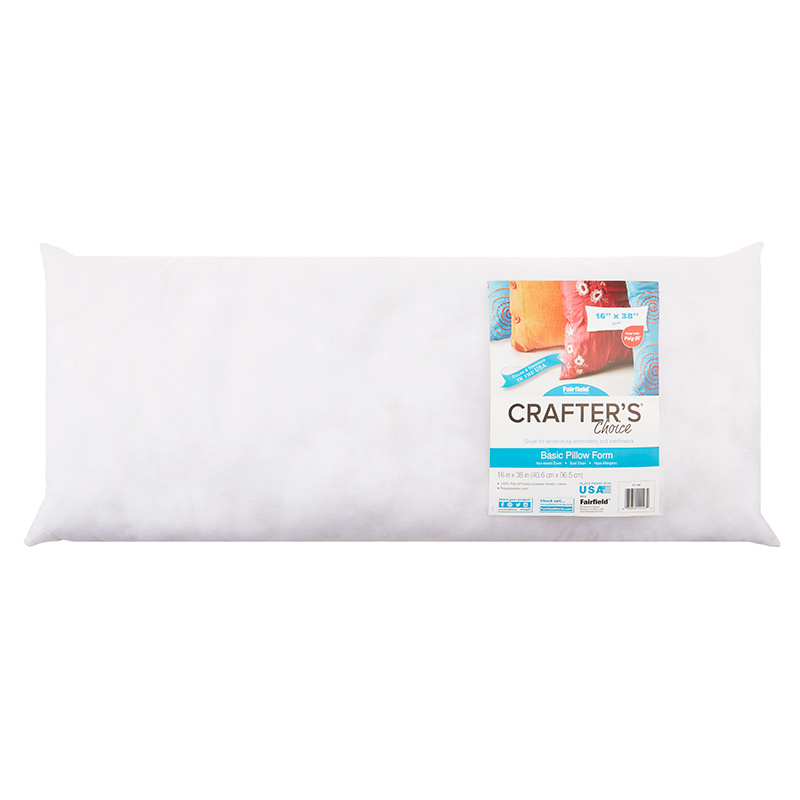
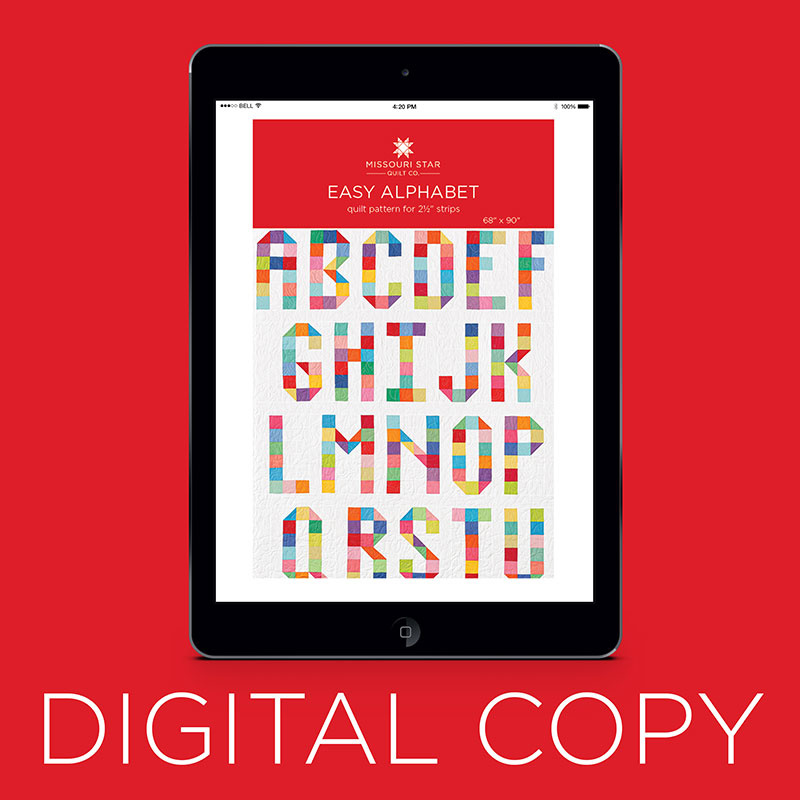
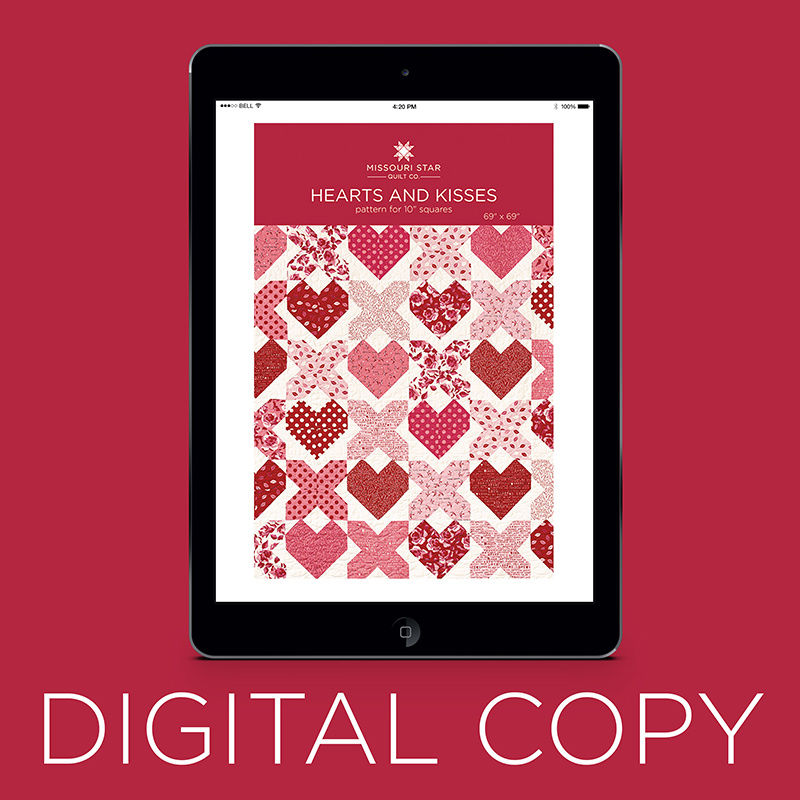
i don't know if you guys are anything like me but i love to decorate my home for the holidays just to make it feel extra special around the house so i've got a really fun project just for that [Music] so this week we're going to be making this love bench pillow which was inspired by this easy alphabet quilt you see hanging beside me i love anything with words and letters on it and so when i wanted to come up with something for valentine's day for around the house i thought why not use those great letters from this pattern to make a pillow and i couldn't resist making a bonus heart pillow as well so i'm going to walk you through all of that so let's get started the supplies you're going to need to make both of these projects are one yard of the red fabric you see behind me one and a quarter yard of the essex linen which is that beautiful gray you see in the background of the love pillow and then a quarter yard or just one ten inch square of an accent fabric and that's to do these hearts that you see here but one ten inch square will give you all four of those you're also going to need an 18 inch pillow form for your square pillow and a 16 by 38 inch pillow form for the bench pillow so that should just about cover it and let's get into making this so on the letters you'll see in the quilt behind me that they are all either three or four squares across by six squares down and all of the squares are two and a half inches for the pillow i decided that it needed to be just a little bit shorter and so they are all three squares across by five squares down so let's go ahead and make one of our letters i figure we can start with the o because it's got a good mix of half square triangles and regular squares so to begin with let's go ahead and make our half square triangles we can see on the pillow behind me that it takes four one in each of these corners to do the o so that we're going to need four of the half square triangles so let me grab a couple of both my red and my gray and you'll note that when you put right sides together you can take your ruler and draw a line if you're not super comfortable making half square triangles you can also eyeball this and just do your best but you do want it to be very accurate and so you can sew directly on that line that you've drawn corner to corner so we're going to do that that becomes our stitch line [Applause] or you might notice on my machine i have this tape that's running this is called diagonal seam tape it comes in a package like this and it will last you a really really long time and if you note on this seam tape there's a red line that runs down the center so that is your center line when you put the tape on your machine you're going to line that up with your needle and we can actually use that line as our guide when we're working on half square triangles so i am just going to put the first corner right in line with my needle and the back corner is going to be right on that red line and as long as i keep it on that all the way through the machine i will have a perfect half square triangle sewn point to point and i didn't have to mark it so that is my favorite way so then we can cut those apart we can take it over to our cutting mat and trim off our extra leaving a quarter inch seam allowance there we go you can see i've got a few already made but let's go ahead and press these so i'm going to press these back just like so and the reason that we want to sew right on that line is because we want these to finish up still two and a half inches square and so that's what we've got here so let's go ahead and lay this out now i've got the rest of my half square triangles a few of my background pieces and a bunch of my red two and a half inch squares so i know that i'm going to have a half square triangle in each corner and then i can lay this out oops see if i can keep it from going all crazy there we go just like that and so there you can see how the o is going to take shape so now i'm just going to quickly sew each of these columns uh together and then i will meet you back here as soon as that's done okay i have all three columns sewn together here i'm just going to trim those apart and then we can press these back so i like to make sure that my seams are going opposite directions when you have all of these little squares together it's really nice to have places where they can intersect and so if we press our seams in opposite directions then those seams are going to nest together and we can line each of those little junctures up and it makes it so much easier so now i'm actually going to flip this one over so that these seams are going up and these are going down and then press this last one so the seams are going up there we go and now i can sew these three together i just like to stop and line up each little intersection okay we'll add our last row there we go all right now we can give this a press if you're not familiar with the essex linen that we've used it is a little bit of a heavier hand than traditional quilting cottons but it sews beautifully and i love that it's just a little bit different texture i think it lends itself really well to these home decor projects and it just feels really natural about that linen weave i like it so then let's talk about laying this out i have the rest of our letters ready to go so here's my l and my o but in between each one of these we're going to put a one and a half inch sashing strip so i've gone ahead and cut these this is an inch and a half by ten and a half because that's what my blocks measure if for some reason yours don't measure ten and a half inches just measure the height of your letter blocks and cut your sashing strips to that size and so now i'm going to go ahead and attach one of these to the right side of my letters so that i will have sashing in between each of them so let's go ahead and do that [Applause] i'll add it to the o as well [Applause] awesome now we can just press that back on both of these so now i can go ahead and sew these two together because remember my sashing is always going to be on the right hand side so this side of my letter o isn't going to have a sashing on it so i'm just going to place these right sides together and sew these down okay then we can give that a press and now we're ready to attach the rest of our letters so i have these here my v and e and then our whole word will be complete ta-da look at that isn't that so fun it comes together so quick all right so i'm going to go ahead and press that last seam so everything lays nice and flat and i don't know if you noticed here but on this end of the e i've actually added a 10 and a half by a two and a half inch strip and that's because the outer border on this pillow all the way around the outside of the letters is two and a half inches so i've added it to that side i'm going to go back and add it to this side of the l as well make sure it's all lined up perfect press that too and now we can just take another two and a half inch strip on either side to finish our top and bottom borders and so i'm gonna go ahead and do that and i'll meet you back here when that's done so before i put this second side of this border on i do want to tell you that you could cut your strips exactly to the size that this is supposed to be which should be a two and a half inch strip cut to 31 and a half inches long i personally prefer to just cut a strip the full width of fabric and just lay it on my project and i come back and trim it after the fact you can do it either way of course this way gives you a little bit more waste as opposed to just attaching one long big strip and cutting it to the size you need but i like that there's no seams in the border and it just makes for easy mindless sewing which is sometimes what we want okay i have both of those strips sewn on you can see they're just hanging over the edge i've pressed them back so now i'm going to take it to the cutting mat and we can trim this off square so i'm just going to use my ruler here and i like to you know watch my seam lines because that helps me make sure everything is still square i just cut off that end and slide this up and do the same on the other side then i can turn it around trim up this side there's that one oops got a little wonky there but that's okay and this last little bit all right so now the whole front of our pillow is complete so from this point you could very well quilt this you would just sandwich it with batting and backing quilt it however your heart desires i actually didn't i'm hoping i don't regret it because of course quilting it and having these seams enclosed is going to make it even more washable and usable i guess but i was just in a hurry to have these done so let me show you what i did to finish this off so i wanted to have two pieces to make an envelope back and we actually put together a great cheat sheet for you guys it's our envelope pillow fabric cutting guide and so this breaks you through basic sizes of both square and rectangle pillows it tells you what the front pieces should measure or if they are close you can get a good idea what your back pieces need to be so that you can turn any block any project into a pillow if you have an idea of where to start so be sure to grab this pdf it'll be in the link below and i think you'll find it really handy to keep around so for this particular project because it measures 14 and a half inches tall i knew that my fabric needed to be my backing fabric i should say needed to be 14 and a half inches tall as well but um i only wanted it to overlap just a little bit and so this is actually 18 inches wide so i cut two pieces 14 and a half by 18 inches and then what i've done here is i just turned under the edge and you can see i'll just go ahead and show you i turned under the edge about a half of an inch i pressed it and then i turned it down again and i'll press it again i just don't want to have any raw edges there that's going to be the opening of the pillow and so now we're just going to top stitch this down just to give it a nice finished edge there we go and i already have the other one ready to go on that so now we can just sandwich this together and you do want to make sure when you're doing this that you put the wrong side of the seam up if you plan to flip it and so if you were going to flip this and not have a bound edge you would just overlap them like so and you would sew all the way around the edge and flip it i actually opted to do it differently i decided i wanted that extra detail of the binding on the outside edge and so i'm actually going to flip this over and then i'm going to put the right side of the pillow back up and then we would just pin this in place let me grab my pins don't know where they've run off to here's a few we'll put some pins in here just to keep it from shifting around oops there we go and now i'm actually going to top stitch all the way around this outside edge i'm going to do a little bit less than a quarter of an inch because then i'm going to come back and attach my binding so consider this just like a basting stitch so again i'm definitely a scant quarter inch and we're just going to sew all the way around the outside edge [Applause] [Applause] okay so imagine we've gone all the way around this i'm going to go ahead and jump to this finished pillow so you can see how great this turns out and by attaching the binding i just went ahead and attached it to the front and flipped it around and i did hand bind this and um you know went all the way around by hand on the back and you can see that just gives us a really nice clean edge and if i had quilted this front that would mean that there were no raw edges inside at all so this would be super washable great if you have kiddos that are going to have sticky fingers that are going to be touching it all the time you don't have to worry about it because you can just throw it in the machine and you can see how great that turned out i do want to show you on this bonus pillow whoops on this bonus pillow that i machine bound this one and so as opposed to attaching it to the front and bringing it around back i did the opposite so in that case you attach your binding to the back pull it around to the front and then you top stitch all the way around that edge it it gives just as good of a look i think you kind of have this little almost like a flange edge in there which is a really great little detail but i know you guys are going to want to know how to make these little hearts they were inspired by the same hearts and kisses table topper that we made just a couple weeks ago and this is just the miniature versions of the hearts that you see there but let me show you how quick and easy they are to make because they come together super super fast so again they're all based on two and a half inch squares but in this case the red is the background as opposed to the linen and so let's go ahead and make one of our linen hearts so the base of that is just two half square triangles these are exactly like the half square triangles we made for our letters so you're just drawing exactly point to point just like we did before so i've got two of those ready i'm just going to go ahead and sew them together so the bottom half of my heart block is ready to go there we go then i can press that and it will be ready as soon as i finish the tops of the hearts so there's that one and then we're going to need two more of our essex linen two and a half inch squares that i've cut and then we're going to need four of the red one and a half inch squares and we're going to use these to make the tops of the hearts so it's going to take two per square and so i'm going to begin by just placing this in one of the corners and we're going to do the same idea sewing point to point but our points no longer match up so we've got this little point of the red we're really just following the red square that's lined up on that essex background there's one and then i can just slide this other one in behind it lining up this outside corner and the sides of my squares there we go and we'll trim that again trimming off so we only have a quarter inch seam allowance there we go and then we're going to go ahead and press these back because i'm working with smaller pieces if you remember from the hearts and kisses table topper that we made these squares didn't overlap on those but on this project they do overlap so we have to stop and press in between and so you can see here i've got those pressed back and then now the squares are just going to go on the opposite side same idea point to point and one more there we go so same thing we can go ahead and trim off that selvage edge or the seamed side i should say not selvage we're going to trim off so we don't have any of that bulk in our seam and then we can press these back and we can easily finish our little hearts there's one and two [Music] now i can sew these two together so the tops of our hearts are lined up just going to take some time and make sure everything's lined up okay and so now that we have these done we can pair that with the part that we sewed earlier and we'll just put these right sides together just nesting up that middle seam if you want to press it of course you can i'm just too excited for you guys to see this little finished heart there we go and now we can press this back just like so and we've got this great little four and a half inch heart block isn't it so cute so you can see in this pillow i made five of the linen hearts and four of the white hearts and then in between is sashed with a one and a half inch strip just like we did on our letters same size and again a two and a half inch outer border around this finishes at 19 inches square and i think it turned out so so cute so i hope you guys enjoyed these pillow projects and that they will help you make some last minute fun decorations for your house to celebrate the holiday so until next time have a great week

More Fabric by Yard tutorials

See all