

Make a "Lovely Words" Quilt with Jenny Doan of Missouri Star
 Jenny Doan
- Layer Cake
- Lap / Throw
- Beginner
- Quilt size 57" × 66"
October is Breast Cancer Awareness Month, and Jenny is ready with pretty pieced hearts and words of encouragement. She’s using Charisma Horton’s pattern, the “Hope & Heart” layer cake by Island Batik, and an exclusive Missouri Star panel printed with inspirational words. This month - and always - we’re sending love, support, and virtual hugs. May the Lovely Words quilt wrap you and your loved ones in endless hope and comfort!
Instructor
Jenny Doan
Jenny Doan is an American quilter, author, and YouTube personality. Jenny started Missouri Star Quilt Company in 2008 and today it is the largest quilting supply vendor in the United States.
Shop this tutorial
 Lovely Quilt Pattern$11.75Shop →
 Hope & Heart Batiks Stacks$38.95Shop →
 Words Have Power - White Panel$8.95Shop →
 Kona Cotton - White Yardage$7.28Shop →
 Hope & Heart Batiks - Hearts and Ribbons Black Yardage$11.96Shop →
 Hope & Heart Batiks - Roses and Leaves Geranium Yardage$11.96Shop →
 Missouri Star Quilter's Best Blend Throw Batting$20.95Shop →
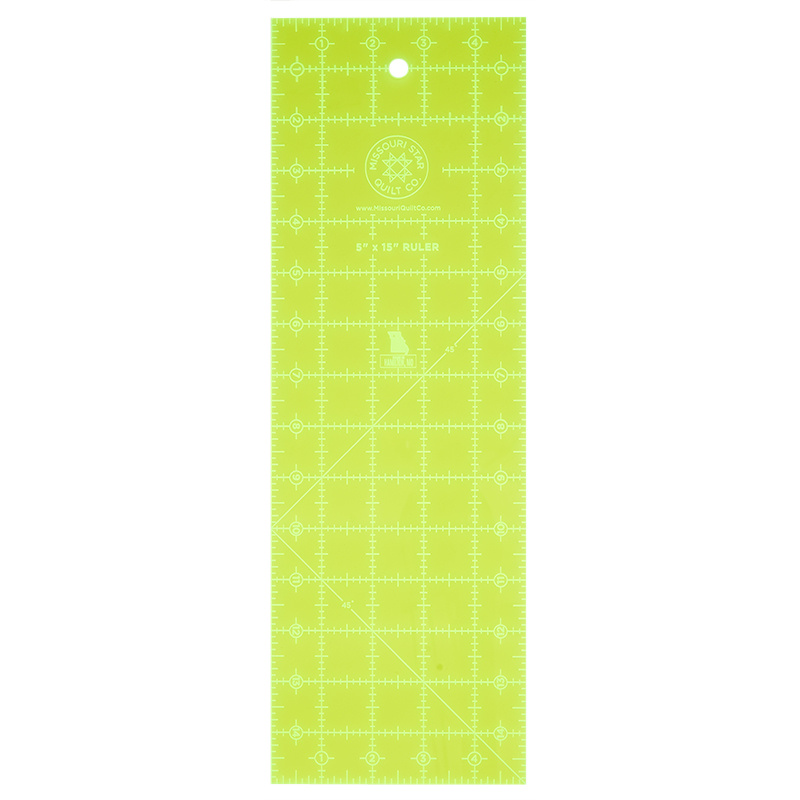 Missouri Star 5" x 15" Ruler$15.95Shop →
 Missouri Star 2.5" x 8" Ruler$10.95Shop →
 Baby Lock Accomplish - 1500 SPM Straight Stitch Machine$999.00Shop →
 Missouri Star 50 WT Cotton Thread White$6.95Shop →
 Olfa Splash Aqua 45mm Rotary Cutter$18.75Shop →
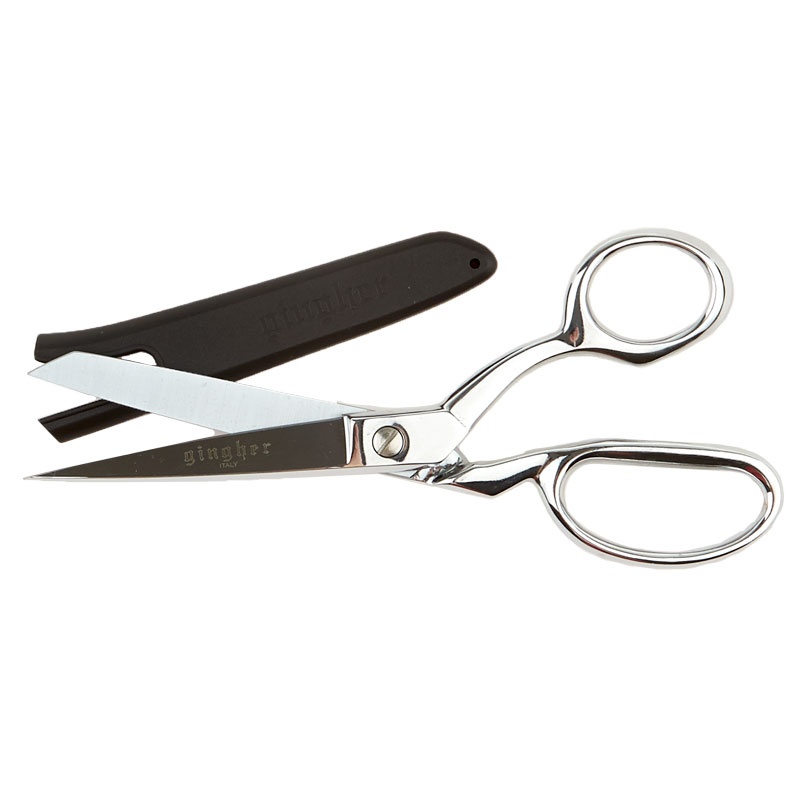 Gingher 8" Knife Edge Bent Dressmaker's Shears$55.95Shop →
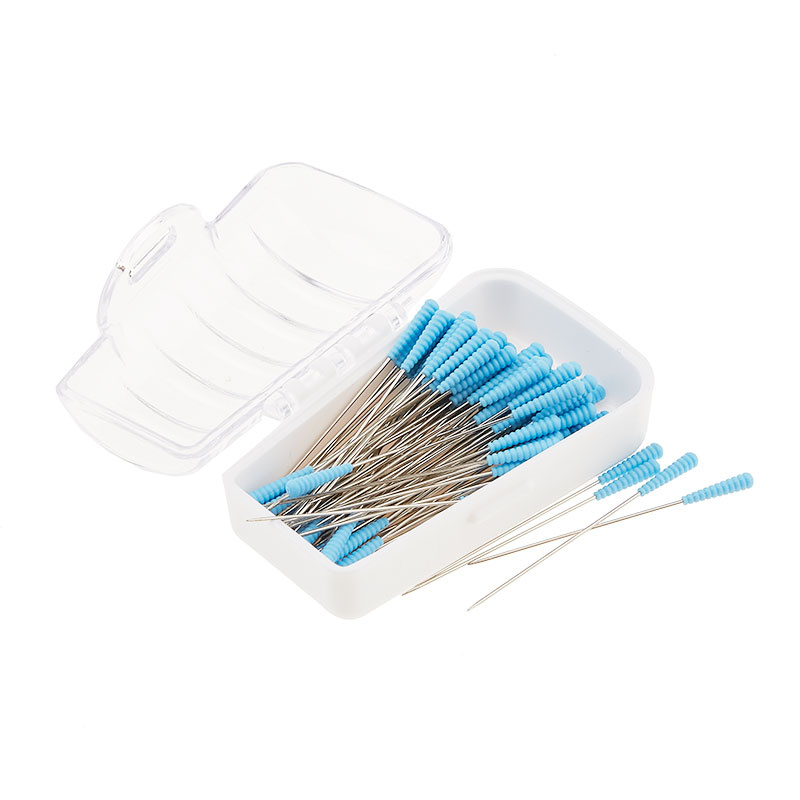 Magic Pins™ Quilting Pins - 100 count$18.75Shop →
 Exclusive Missouri Star Jenny TG1600 ProPlus Oliso Smart Iron$199.99Shop →
 Missouri Star Wooly Betty Board - 17.25" x 25.5" Orange Border$98.95Shop →
Common Questions
What is covered in Make a "Lovely Words" Quilt with Jenny Doan of Missouri Star?
October is Breast Cancer Awareness Month, and Jenny is ready with pretty pieced hearts and words of encouragement. She’s using Charisma Horton’s pattern, the “Hope & Heart” layer cake by Island Batik, and an exclusive Missouri Star panel printed with inspirational words. This...
How long is the tutorial video?
The tutorial video is 00:15:47.
Are supplies listed for this tutorial?
Yes. The tutorial page includes the supplies and materials connected to this project.
Is a transcript available?
Yes. A written transcript is available on the tutorial page.
Video Transcript
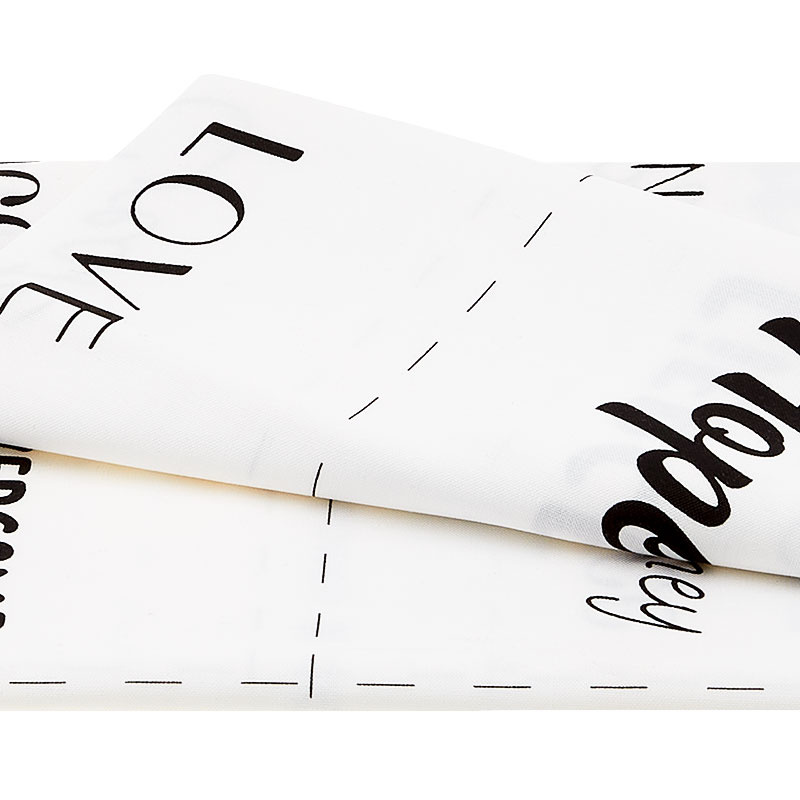
So I am super excited to share with you my quote for this year. This year we've come out with a panel, and it's called Words Have Power. And I am a firm believer that words have power, that words help you get through things. So let's look at the quilt behind me. So I firmly believe, a hundred percent, that words have power. And you never know what word you'll need per-day. And so there are 48 different, words and we have chosen 30 to use on this quilt that will hopefully bring hope, or courage, or help you to feel calm or maybe you just need to take a breath. But all these words are on here.
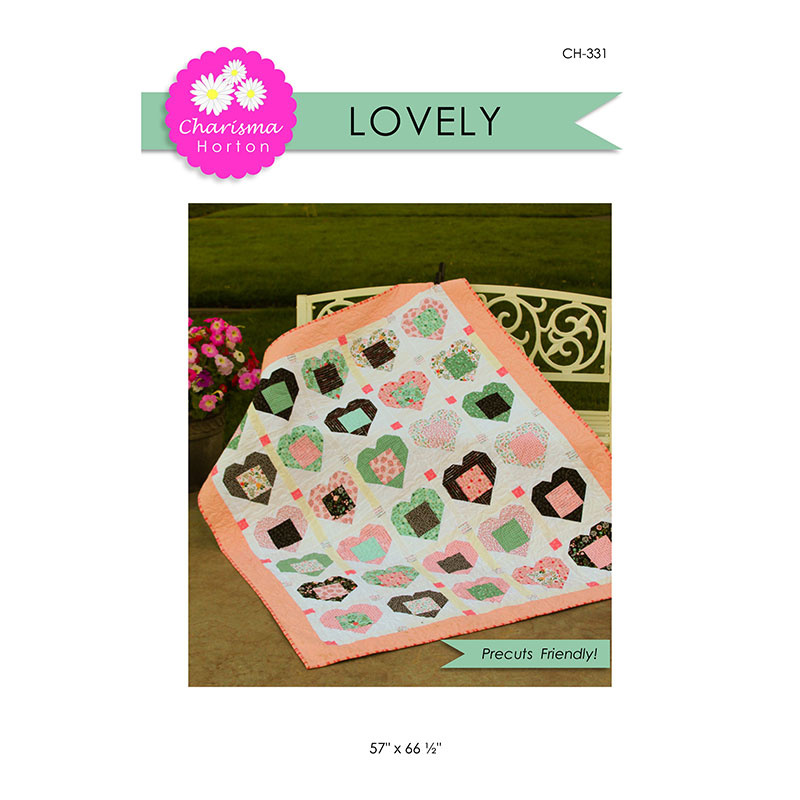
We've used a pattern by Charisma Horton and it's called Lovely. And hers is actually a heart pattern. And the center of the heart is filled in with a square that that's where we have chosen to put our word. So let me show you how to make this.
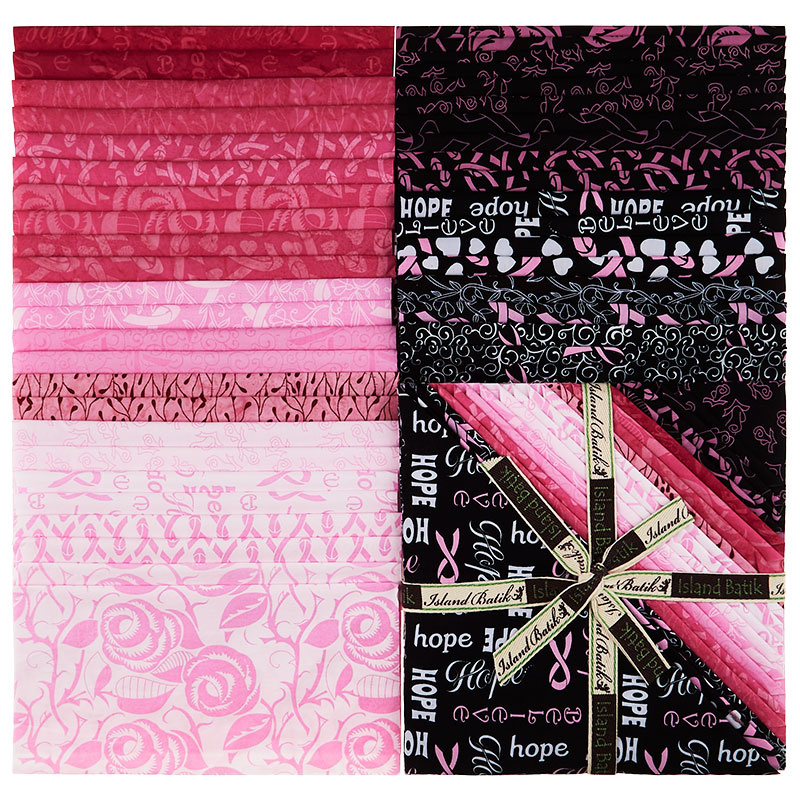
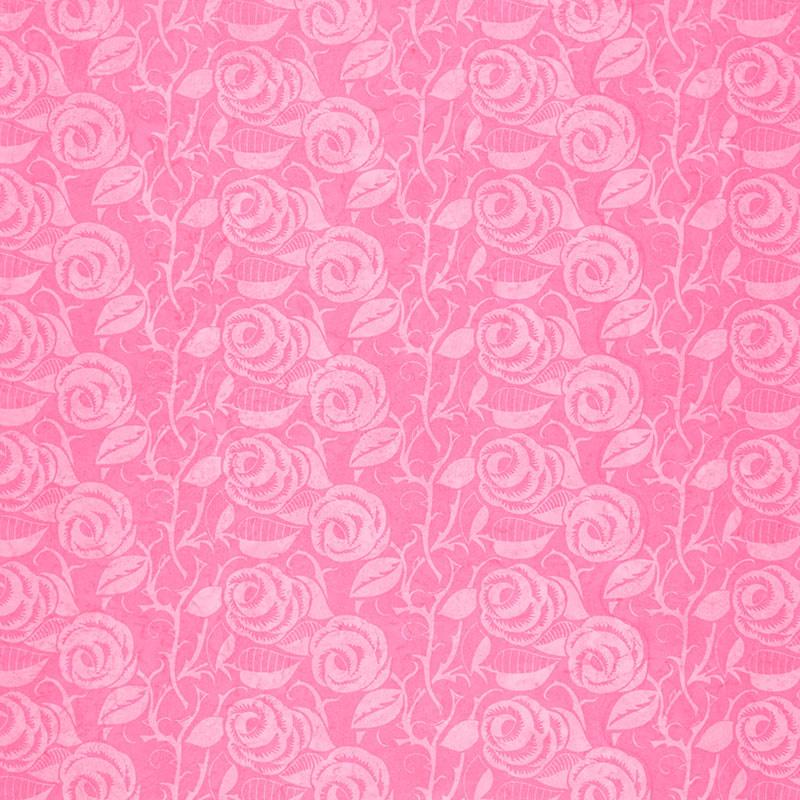
So to make this quilt, you're going to need one packet of 10-inch squares, and we have used Hope and Heart Boutiques by Kathy Engel for Island Boutiques. You're going to need a Words Have Power panel. You're going to need some background, you're going to need two-and-a-quarter yards. For your outer border, you're going to need one-and-a-quarter yards, and that is a four-and-a-half inch border. And for your backing, you're going to need four yards. And we've used this lovely rose.
You're also going to want to use Charisma Horton's pattern, Lovely.
So let me show you how to make this quilt. I'm going to walk you through Charisma's pattern. It's called Lovely, and it is lovely. And she of course includes the square here for the center of the heart, which makes a beautiful quilt. But we have for you all these words. And so what we're going to do is, we're going to take our 10-inch square. And we're going to cut the pieces we need out of that for our heart. And we're going to cut two, two-and-a-half inch strips like this. Let me scoot this back a little bit. We'll move that over, and another two-and-a-half inch strip like this.
And then we're going to cut, turn it. And I'm going to cut two, two-and-a-half inch square. So this should be a two and-a-half by five inch rectangle. And we're going to just cut these in half like this, so we have two squares right here.
And then up here you're going to need four, four-and-a-half by two-and-a-half-inch rectangles. Let me just look over here. So we're going to go four and-a-half from the side, and there's two. And then we need four-and-a-half again. And these are the other two. Set that aside.
And normally you'd cut your center square out of this piece right here, but we don't need that center square. So we're just going to set this aside for now. And then we're going to cut some background pieces. And what I did with mine, because we need several different sizes, I just cut out of my background, some strips. So I have a one-and-a-half-inch strip, a two inch strip, and a two-and-a-half-inch strip.
And so out of the two-and-a-half, let's start there. Out of the two and-a-half, we're going to need some two-and-a-half by four-and-a-half-inch rectangles and two-and-a-half by four-and-a-half-inch squares. So anytime I'm cutting two-and-a-half, I like to use my two-and-a-half ruler. So I'm just going to trim off my salvage, and I'm going to cut a couple of squares right here.
And then I'm going to cut a couple of the rectangles here, four and-a-half. There we go, one there. And then let's stretch this out here. And I like that even when your fabric has a fold in it, when you lay that ruler down, it straightens everything out. Out of our two-inch piece, our two-inch strip, you're going to need two-by-eight-and-a-half-inch pieces. Now these are for the sashing pieces. I'm going to cut my salvage off, and then we're going to cut this at eight-and-a-half. Right here.
So we'll need those pieces. We are also going to need some two-by-two squares, and I'm going to cut a few of those right here. Like that. And let's cut just a couple more like that. Then out of our one-and-a-quarter-inch strip, I'm sorry, one-and-a-half-inch strip, I'm going to cut my salvages off of that one. And this one, we just need one-and-a-half-inch squares. And so we're going to go ahead and cut those at one and-a-half. We'll just cut a few of those so we can get started here. Just like that. So I'll set these aside up here, we'll put these down here, and we are on our way.
So let me show you how to put this together. So this is just a heart block. And the way she does it is really cool, because it all stems around a square. And we had them make these at five inches so that they actually will work with any precut you want to put them next to. But for this one, we're going to cut these down to four-and-a-half.
So I have a little four-and-a-half-inch ruler right here. And I like to use that when I cut because you can center it up on there. So you have plenty of room on all four sides to trim this out. And so I'm just laying this over, eyeballing it, and I'm going to cut this out so it's just exactly four-and-a-half. Let me turn this around right here.
And you're going to choose the words that you want. And I just want you to feel, honestly, I know it might sound a little strange to some of you, but I believe words have power. When you tell somebody, have a great day, that changes their day. Or it can, it has the power to. And so I love these words, and I love that we get to use them in a quilt that's going to bring comfort, or strength, or togetherness or it's going to help them thrive. Whatever it is when they read that word, it's just going to be helpful to them.
So here's what we're going to do. We're going to take our little center square, and I'm just going to line these up so you can see. So one strip of color on either side, and these are our two-and-a-half by four-and-a-half-inch rectangles. And then we have one of these across the top as well, like this.
And then down here on the bottom, we're going to put our two, four-and-a-half by two-and-a-half white rectangles on the bottom to make the heart. So now we have our frame set up, and to make it a heart we need to snowball some corners. So our one-and-a-half-inch squares are going to be the middle of these two, right here. These are going to be one-and-a-halfs. Our two-inch squares are going to be out here on the sides like this, just like that.
And then down here, fabric B, which is our two-and-a-half-inch square, is going to be on the end of here like this. And these will be sewn just like this to bring that heart together. And then down here at the bottom, we're going to take our two colored squares that are two-and-a-half, and we're going to put those right here in the middle. And we're going to sew from the outside to the inside here. And I like to lay this out so I can see which way all my angles are going.
So these two pieces right here, I'm going to take this one and I'm just going to sew corner to corner on these two pieces. And I can just cut my thread, and then rotate my block and sew the other side.
And this is one where they're opposite. So you need to make sure that you lay them out, and that they're going the right direction. And I'm going to set that back over there. And this one we're going to bring over. And I'm going to start on the large side right here, and sew corner to corner. And clip my thread, and then I'll come over here and sew this little square down.
All right, so now let's do the sides of this one. And so I'm going to come over here, and I'm just going to sew corner to corner, from the inside to the out here. And I will lay that one back. And you want to make sure that all of these are coming into the center. And so this one will go from the outside in.
Several of them, when I first started making them, I did them and they were ... I did them all the same direction and they were wrong. We had to redo those. But that's all right. So this now goes down toward the center. And then these over here, we're going to go from the outside, in. And these little mantras, when I say outside in and things like that, it has to be words that make sense to you. To my brain, that means I'm starting from the middle of the strip and sewing toward the outside.
And then this one too, over here. We're going from, wait, let me look, inside to the out. So I say a lot of those words and funny things like that, but that's to help me. And if it doesn't help you, or you need to say whatever you need to say, just make it make sense. Because what we're doing is, we're making these turn in, both point into the center, and they'll be pressed opposite ways.
So I'm going to iron this out like that, and I'm going to trim this off and press it out. And then we're going to trim this off and press it out. And you'll see, as I start ironing these back, you'll see how this heart comes together. Aw, and together's our word, it's perfect.
And then up here, I'm going to trim both sides. So I'll trim this side off and this side off. And we will iron these out right here. And the same thing over here. Trim this one and trim this one. And there it is right there. All right, so I'm going to start by sewing rows together so that I can put my whole center together, because this is obviously one whole block. So I'm going to sew these two up here, and do sections. This will be my top row.
And we're starting at quarter-of-an-inch, right along the edge. And then I'll finger press this open. And then around the word, we're going to sew the two pieces to either side. So we'll sew this one, quarter of an inch. And this one also a quarter of an inch. Make sure you get it on there the right way. And then I'm going to finger press these out to the outside.
And then this one right here, again, we're just going to sew this bottom one together like this. And then of course, we can now sew the whole block together. So we'll lay this piece on here. And there is no seam to match up on this, so just make sure that it's even across the top. And I like to make sure my ends match up. And then we can go right across the top. If you have one side that's a little bigger, you can put that side on the bottom. And then it will draw, the feed dogs will draw in that fabric and make it fit. There we go. And if it fits, you know your quarter inches are pretty good.
All right, now let me press this. Oh, it's so cute. And just like that, look at that. We get this cute little heart. It's a darling little heart, and it's a little heart that now has a bit more power to it because it has meaning with the word in the middle.
So let's talk about how many of these we need. We have one, two, three, four, five by one, two, three, four, five, six. So 30 blocks. We've chosen 30 of our squares to make this heart out of. And you can make it bigger if you want to. And this is just a straight-edge sashing. So right here we've used two-inch sashings. And your block here should be, let me see what size it is. I was going to say should be eight-and-a-half, but I'm not sure about that exactly. Yes, it's eight-and-a-half by eight-and-a-half. So you're going to cut your little two-inch strip, eight-and-a-half right here, and sew this row together.
And then this little row, you're going to do a two-inch square that we cut from our layer cake, and then our eight inch sashing, or eight and-a-half-inch sashing, two-inch square, eight-and-a-half-inch sashing. So just like that. And the whole thing comes together.
We did an outer border, so we started our sashing with a little square and put a sashing on the outside of this. And then we have a four-and-a-half-inch border out here. Let's look at the back. The back is the rose back, the boutique. It's beautiful. And this has, our quilting pattern is the hearts and ribbons. And this makes a quilt that is 57 by 66.
Now, while I have done this to bring awareness to breast cancer, there are lots of illnesses and lots of sicknesses that are out there, and most of them have a color assigned to them. And so you can make this in any color you want.
I feel like this panel is just such a gift. Because as you have this over you, maybe while you're going through chemo, maybe while you're just struggling to keep your food down, or maybe while you're watching your loved one, these words are the words that are going to help you through. They have power, they mean something. And as you put this quilt together, I hope it blesses your life in some way.
So we hope you enjoyed this tutorial on the lovely quilt from the Missouri Star Quilt Company.
Hi everybody, It's Jenny from the Missouri Star Quilt Company. We hope you enjoyed watching this video. If you aren't already part of the Missouri Star Quilt Company family, be sure to subscribe so you won't miss a thing. And if you click that bell, it'll notify you every time a new tutorial comes out. See you next Friday.



