

Make a "Nellie Brown's Valentines" Quilt With Jenny Doan Of Missouri Star
 Jenny Doan
- Layer Cake
- Holiday
- Double
- Beginner
- Quilt size 62" × 72"
What is your most treasured family heirloom? For our “Queen of Quilt Retreats,” Susan Brown, it’s a shoebox filled with pretty antique valentines. They belonged to Susan’s grandmother-in-law, Nellie, and they are absolutely precious. Last year, Susan shared the box with designer Janet Wecker Frisch, who recreated each darling illustration for the Be Mine Valentine collection. Now, Jenny is using those prints to make a Valentine’s quilt with layer cake squares and easy appliqué hearts.
Instructor
Jenny Doan
Jenny Doan is an American quilter, author, and YouTube personality. Jenny started Missouri Star Quilt Company in 2008 and today it is the largest quilting supply vendor in the United States.
Shop this tutorial
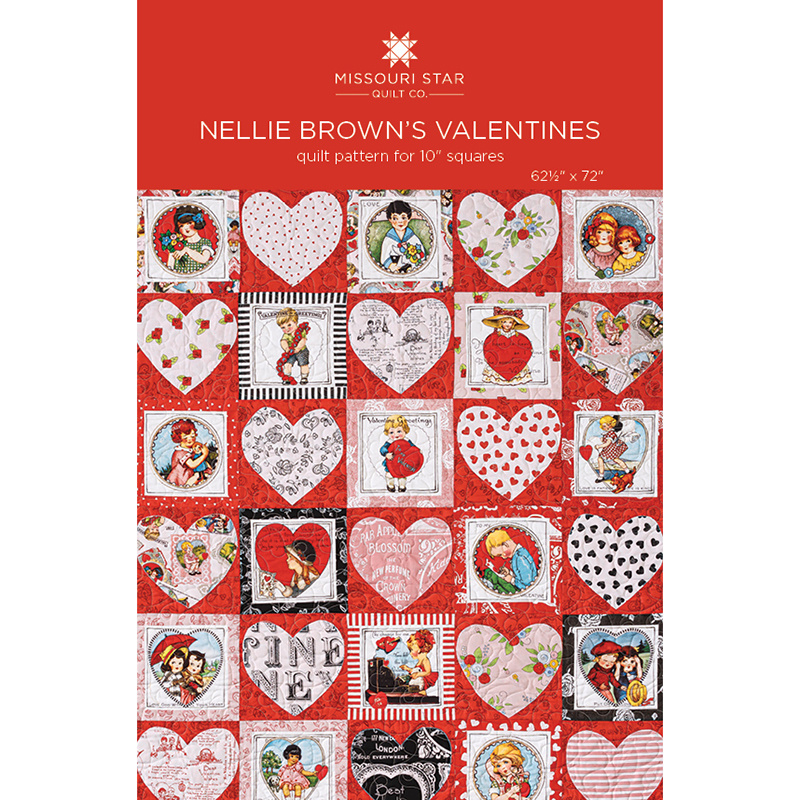 Nellie Brown's Valentines Quilt Pattern by Missouri Star$6.95Shop →
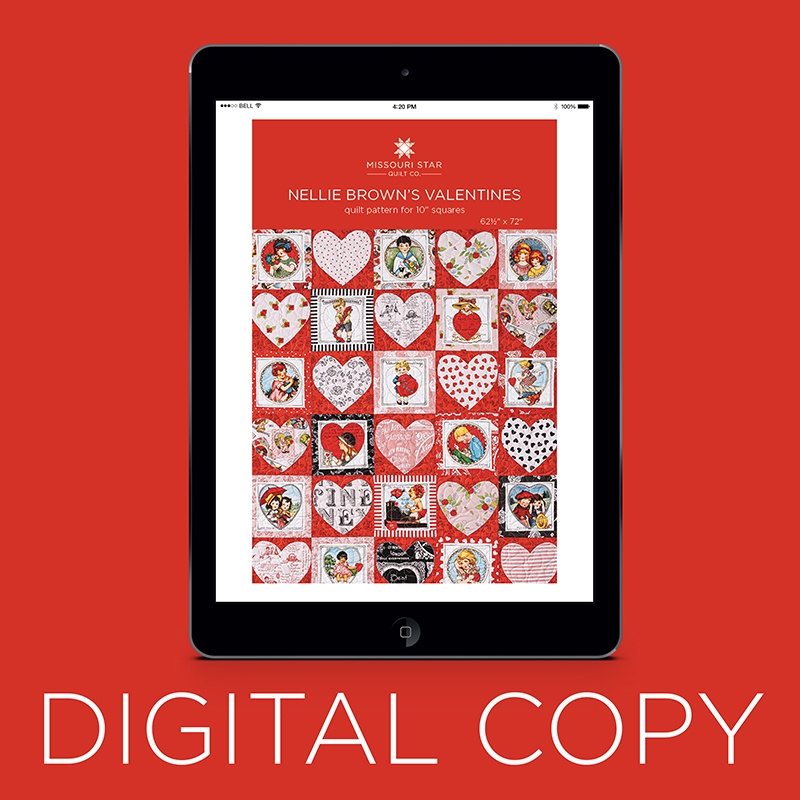 Digital Download - Nellie Brown's Valentines Quilt Pattern by Missouri Star$4.95Shop →
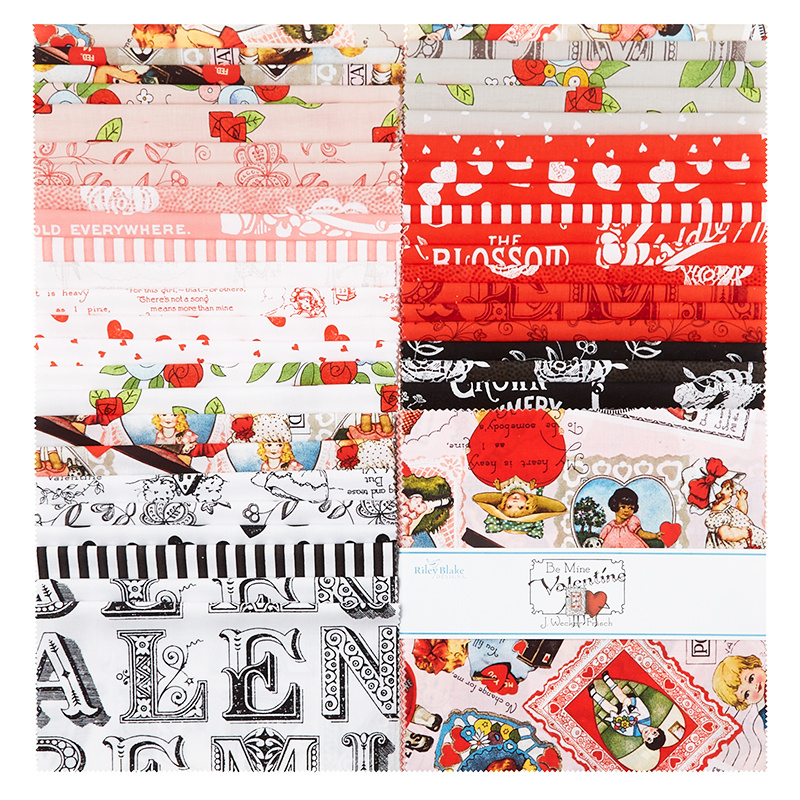 Be Mine Valentine 10" Stackers$39.95Shop →
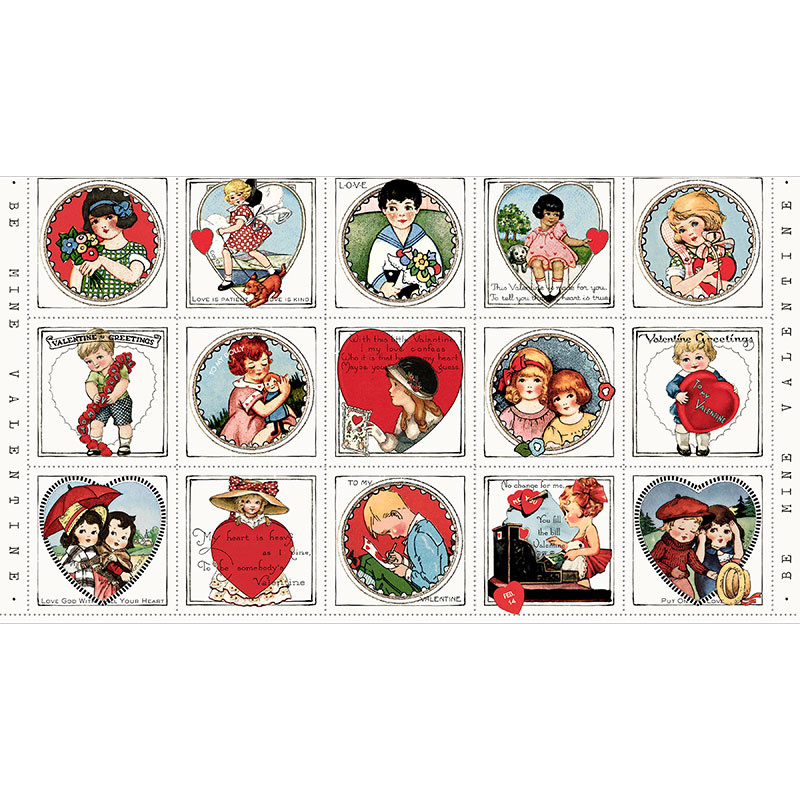 Be Mine Valentine - Valentine Multi Patch Panel$6.20Shop →
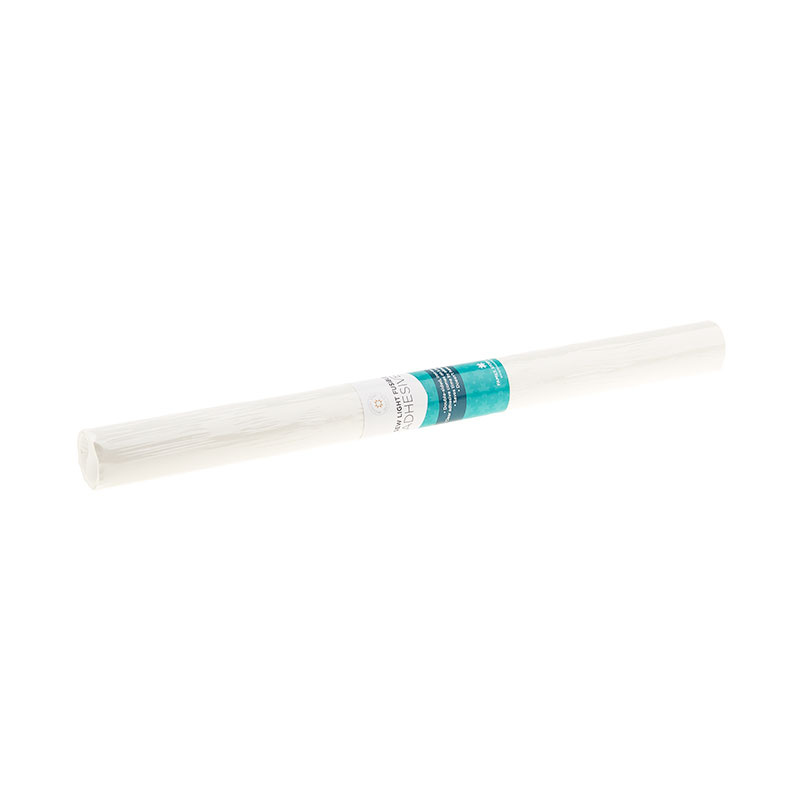 Missouri Star Sew Light Fusible Adhesive - 17" x 2 yards$4.95Shop →
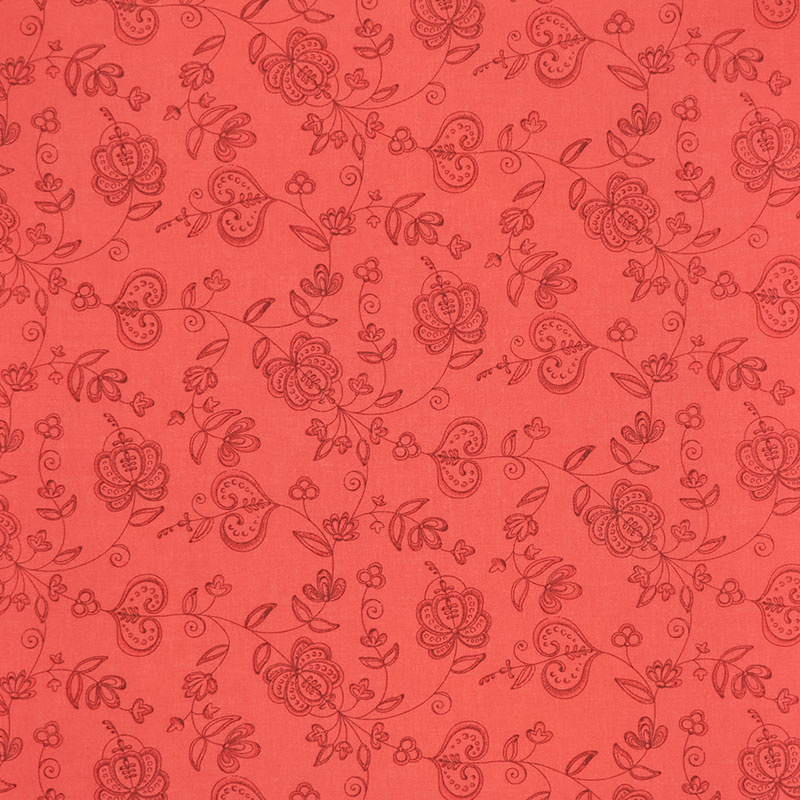 Be Mine Valentine - Hearts And Flowers Red Yardage$11.96Shop →
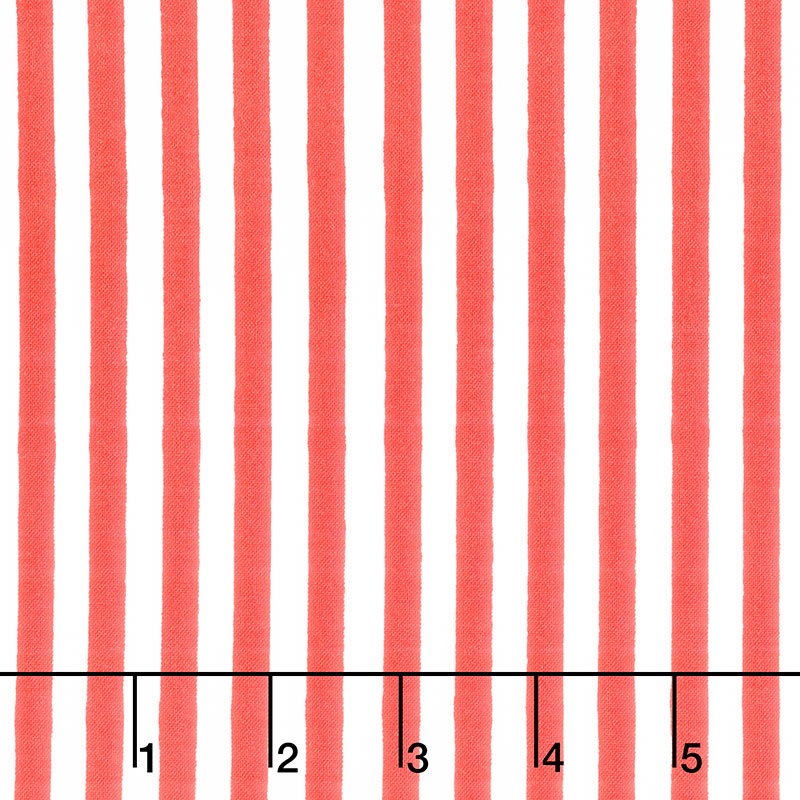 Be Mine Valentine - Candy Stripe Red Yardage$11.96Shop →
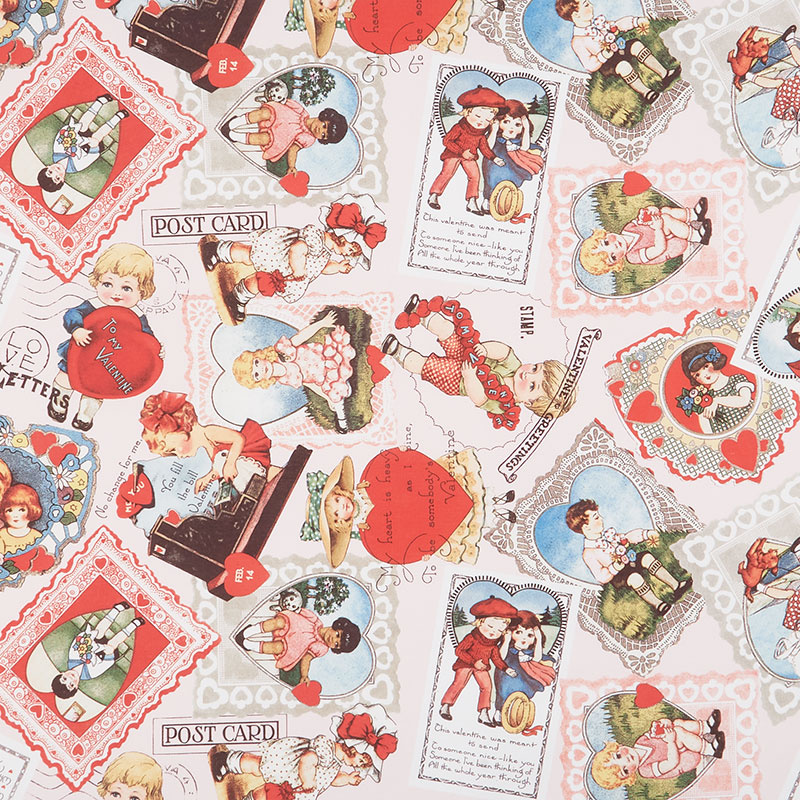 Be Mine Valentine - Vintage Valentines Blush Yardage$12.64Shop →
Common Questions
What is covered in Make a "Nellie Brown's Valentines" Quilt With Jenny Doan Of Missouri Star?
What is your most treasured family heirloom? For our “Queen of Quilt Retreats,” Susan Brown, it’s a shoebox filled with pretty antique valentines. They belonged to Susan’s grandmother-in-law, Nellie, and they are absolutely precious. Last year, Susan shared the box with design...
How long is the tutorial video?
The tutorial video is 00:11:05.
Are supplies listed for this tutorial?
Yes. The tutorial page includes the supplies and materials connected to this project.
Is a transcript available?
Yes. A written transcript is available on the tutorial page.
Video Transcript
Look how cute this is. You're going to need some background fabric. Now we opted for our background fabric on the hearts to use a fabric from the line. This is what I'm calling background fabric. And I also used it in the border out here. And for that you will need two and a half yards of background fabric. This is our backing, and I have to say it's four and a half yards. And I love this backing. Isn't this absolutely adorable? It's so cute and it has all those darling Valentine's on it. And of course there was a darling red stripe in this line, and so I used that for the binding. And you'll need three quarters of a yard for the binding right here. We have a free printable that goes with this and that will give you the heart shape. But basically I just traced this on paper and you're just going to need a heart that fits inside the 10-inch square and gives you plenty of room on the edges for your seams so that you don't cut off your hearts.
So you're also going to need about two yards of a fusible interfacing. And we have used Missouri Stars So Light Fusible. So let me show you how to make this because it was really quick and easy. So the first block we're going to tackle is our heart block. And the heart block right here, you're going to need 15 of your pieces from the layer cake and choose the ones that are your favorite, that have good contrasts that are going to stand out. You're also going to need 15, 10 inch squares that we cut from our background fabric. You'll also get one in your layer cake to make the hearts with. And what I did was I actually took my little paper, my little heart right here. And of course I didn't choose red to go on red, so I went through and I chose like this one right here.
And what I did was I folded this in half like this, and then I folded half a heart like this, and I actually drew the line on here. So let me grab a pen and I'm going to draw the line and I cut these out with a scissor. You can actually cut these out with a rotary cutter, but you'll get a free printable for this heart right here and be able to do this. And you'll notice that I'm not putting it all on the fusible. I'm not drawing these on the fusible. I didn't feel like the heart needed a full heart fusible. And so I literally just cut some strips out of my fusible to attach to the back of my heart so that it would just stick on there while I sewed it down.
So I took this right here like this and put it on here. Make sure that you have enough room on your sides for your seam. You don't want to catch your heart in your seam, just like that. And then I just took some of my fusible right here and I just went ahead and cut some strips and I just did like this and cut some strips, just randomly cut a few strips so that I could glue it on there. And then what I'm going to do is, I'm going to put these on my heart and just glue them down. And I attached one to each side like this. Let me put this down here. All right, so what I'm going to do is I'm just going to press these on here like this and make sure they've adhered, and then I'll just, this needs a little bit more pressing to release that adhesive. Let me move this too.
So you can see. Going to peel this back like this, and then I'm going to take it and I'm going to put it on my square. And again, I just kind of eyeballed it. If you want, you could fold your square and in half and in half again, so you make sure you're getting it right in the right spot. But I just did this and I just ironed it on here. Now you're going to applique this down and you can do the applique stitch. You can do a tiny zigzag, you can do a straight stitch, whatever you like. But you are going to make 15 of these blocks right here and your quilts' half done. So mine, I used a tiny zigzag on mine and they're just going to go in here like this. And so 15 of those, and you're done with that. Now the next block is all made from our panel. So let me move these over here.
And the panel, I wanted it to come out to be 10 inches to match my heart blocks. And the Valentine's on this panel happened to be eight inches. And they are set up on here. You can actually cut on the little dotted squares and it comes out to an eight-inch square. So let me go ahead and trim one of these out. And they're so cute. They are just so darling. And by the way, this is releasing to give you plenty of time. You have a month to make this quilt for Valentine's, and I just think it would be so delightful to make this. So I'm just cutting out this little panel right here, just like that. And you're going to again, use 15 of those. And then what we're going to do is we are going to border these so that they come out to 10 inches.
So what I'm going to do is, I'm going to take another little square here, one that I want bordered, one that will show up next to my red square and next to the white square. So I'm going to use this little black square to border this one. And what I'm going to do is, I'm going to cut four strips that are an inch and a half. So let me just trim these here one, and I could have folded this in half and made two cuts, but I'm just going to do it this way for you guys. So you're going to need four of these, two you can trim down to eight inches because that's the size of our square. But I just went ahead and sewed them on and then just clipped them off with my scissors. All right, now save this for later. And what we're going to do now is we're going to put two pieces on the sides like this, and then one across the top and the bottom.
And that should measure 10 inches. So let's go ahead and we're going to sew this a quarter of an inch right down the side. Here we go. Just line it up on the edge. I got a little thread caught here, and I'm just going to sew both sides on and then I'm going to trim them off. Now again, you can measure it's eight inches. We know it's eight inches, and you can go ahead and do that and cut them ahead of time if you want. But I'm just going to take my scissor and I'm going to trim this off right here. And I'm going to trim this off right here. And then I'm going to press those back, like this. And then I'm going to put one of these on the top and one of these on the bottom. And that's going to frame our little Valentine's. I can't even tell you how much my mother would've loved these little valentine quilts. She loved those little things.
All right. And I just think it's so cool that these are Susan's Valentine's from her husband's grandma. I just think that's so cool. Little Nelly brown. All right. And then this, we're going to press up. And then what I like to do, because my seams are never perfect, is I like to take this and I'm going to take my 10-inch square ruler, and I'm just going to lay it over to make sure that it's going to match my block over here, my heart block, and it will. And so then all you're going to do is make 15 of these. So once you get your blocks all done, you're just going to put them together in rows of five and six rows, and that makes 30 blocks. And then we're going to do this inner border right here. For this inner border, I just went through my pack because I had a lot of the light ones left over, and I cut those into two and a half inch strips and sewed them together in a long chain. And because they're 10 inches and our squares are 10 inches, they match up just perfectly.
I put a little two and a half inch square in the corners and just form that inner border all the way around. And I just think it makes a darling look. This outer border is a nice big six inch border. And of course, again, I used the stripe on the binding and the quilting pattern I used on this is the large hearts, which I think obviously is perfect, it's hearts. And then we have this darling backing again, I showed you in the beginning. It's so cute. Anyway, it makes a quilt that is 62 by 72, so that's a decent size quilt. And again, remember, if you want to make a bigger quilt, then just double up on your precut. After I got the quilt done, I thought this would've been the perfect quilt to make it a scalloped edge, because when we think of Valentine's, we think of that lacy scalloped edge.
And a scalloped edge is very easy to do. And I wish I'd done that, but I was already done with the quilt, didn't want to remake it again. So I really enjoyed making this quilt, and I love these little Valentine's that belong to Susan Brown, and I just hope you love it as much as I do. And I hope you enjoyed this tutorial on Nelly Brown's Valentine's from the Missouri Star Quilt Company.
Hi everybody, it's Jenny from the Missouri Star Quilt Company. We hope you enjoyed watching this video. If you aren't already part of the Missouri Star Quilt Company family, be sure to subscribe so you won't miss a thing. And if you click that bell, it'll notify you every time a new tutorial comes out. See you next Friday.



