

Make a "Nightfall" Quilt with Jenny Doan of Missouri Star
 Jenny Doan
- Layer Cake
- Modern
- Twin
- Beginner
- Quilt size 59" × 70"
Jenny demonstrates how to make a lovely Nightfall quilt with 10 inch squares of precut fabric. For this pattern, she chose the wintry hues of the Nightfall collection by Maywood Studio. This intricate layer cake quilt is a disappearing half-square triangle pattern. And, like all disappearing quilt blocks, it is "sew" much easier than it looks!
Instructor
Jenny Doan
Jenny Doan is an American quilter, author, and YouTube personality. Jenny started Missouri Star Quilt Company in 2008 and today it is the largest quilting supply vendor in the United States.
Shop this tutorial
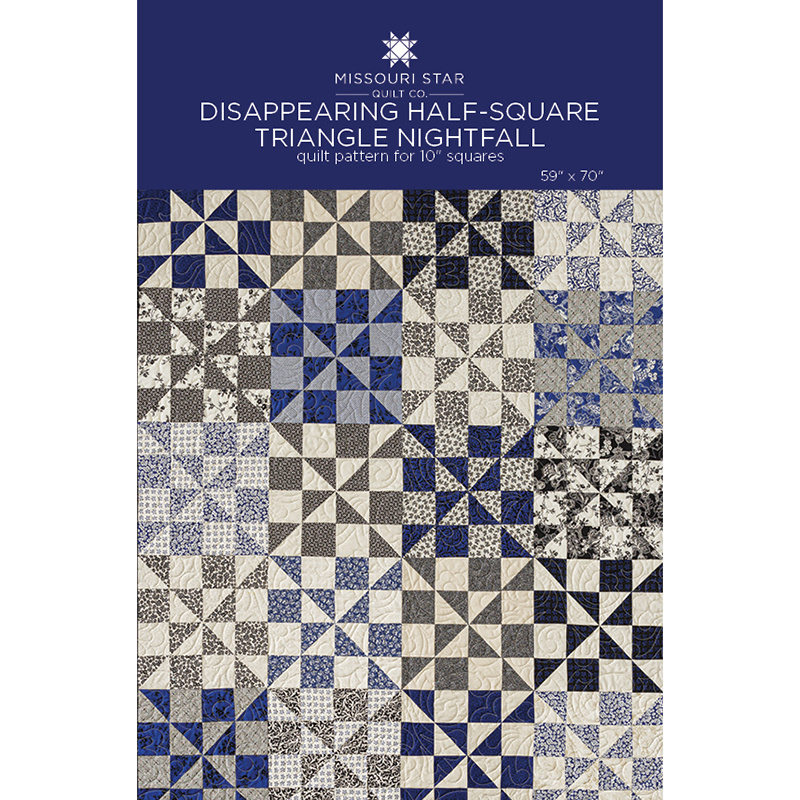 Disappearing Half-Square Triangle Nightfall Quilt Pattern by Missouri Star$6.95Shop →
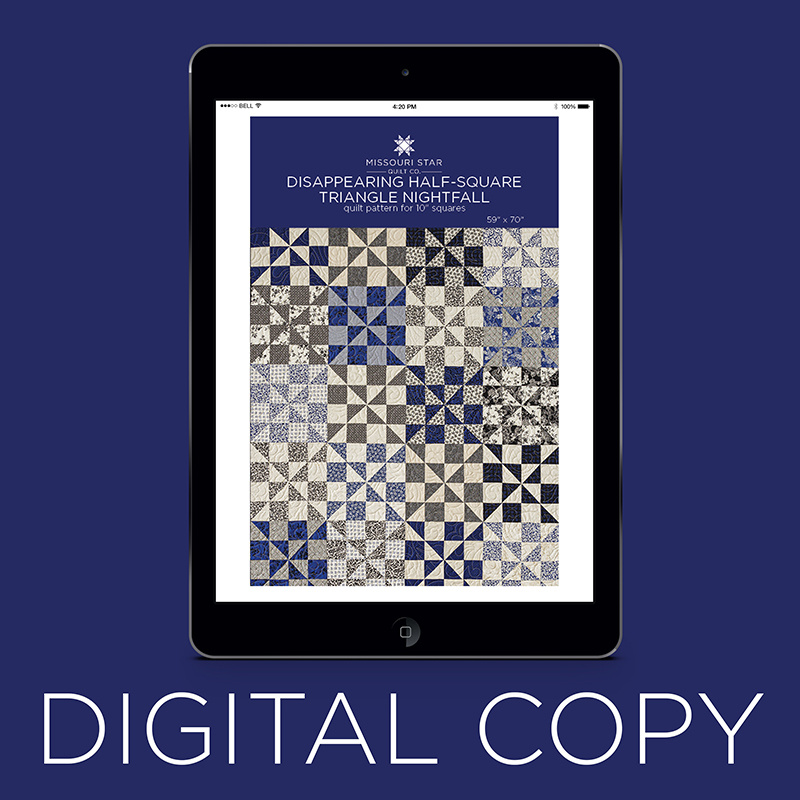 Digital Download - Disappearing Half-Square Triangle Nightfall Quilt Pattern by Missouri Star$4.95Shop →
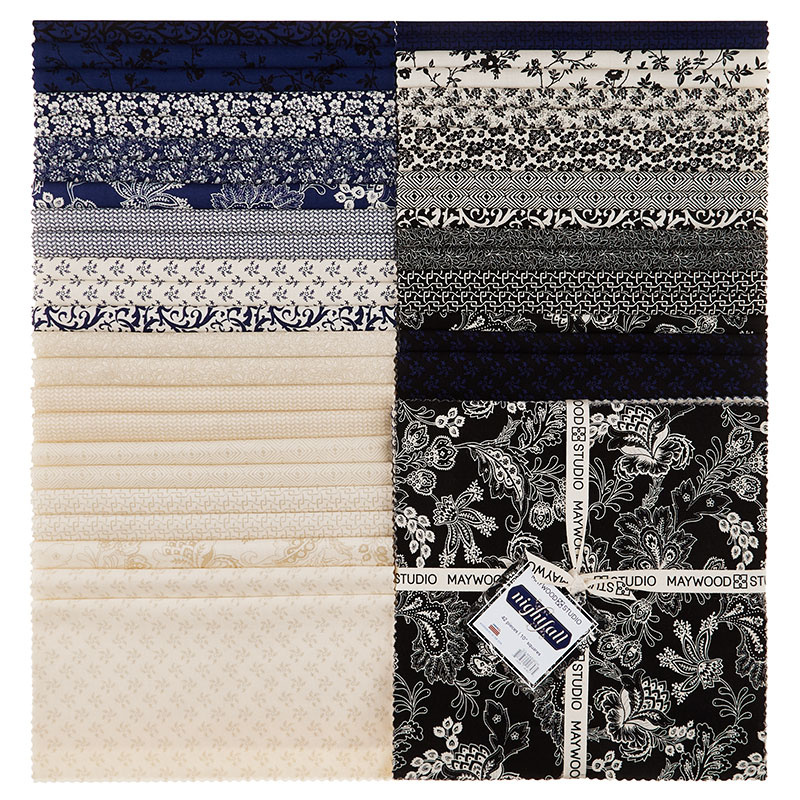 Nightfall 10" Squares$41.95Shop →
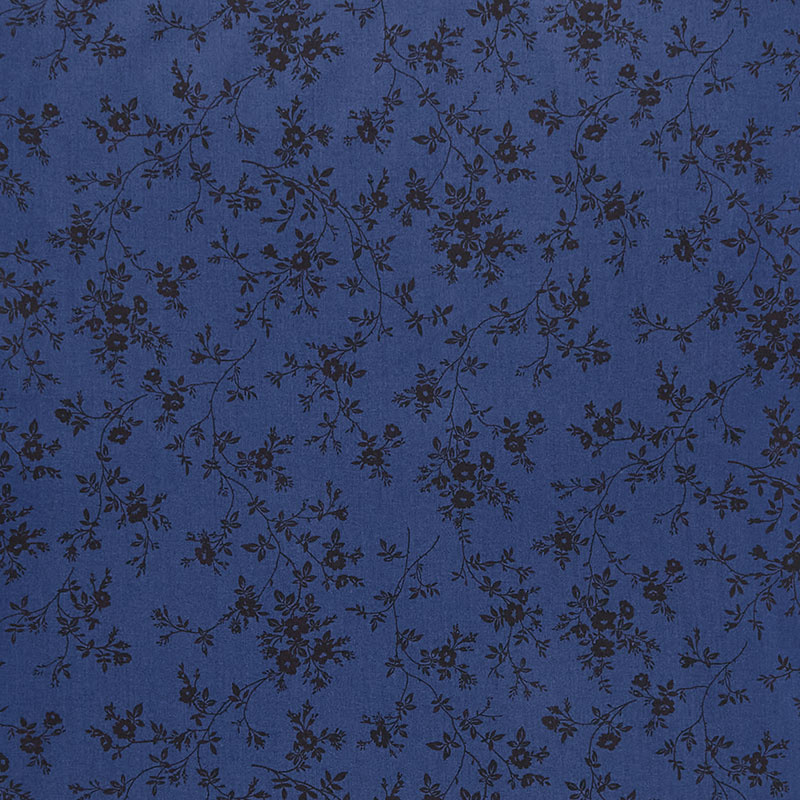 Nightfall - Vine Floral Navy/Black Yardage$11.24Shop →
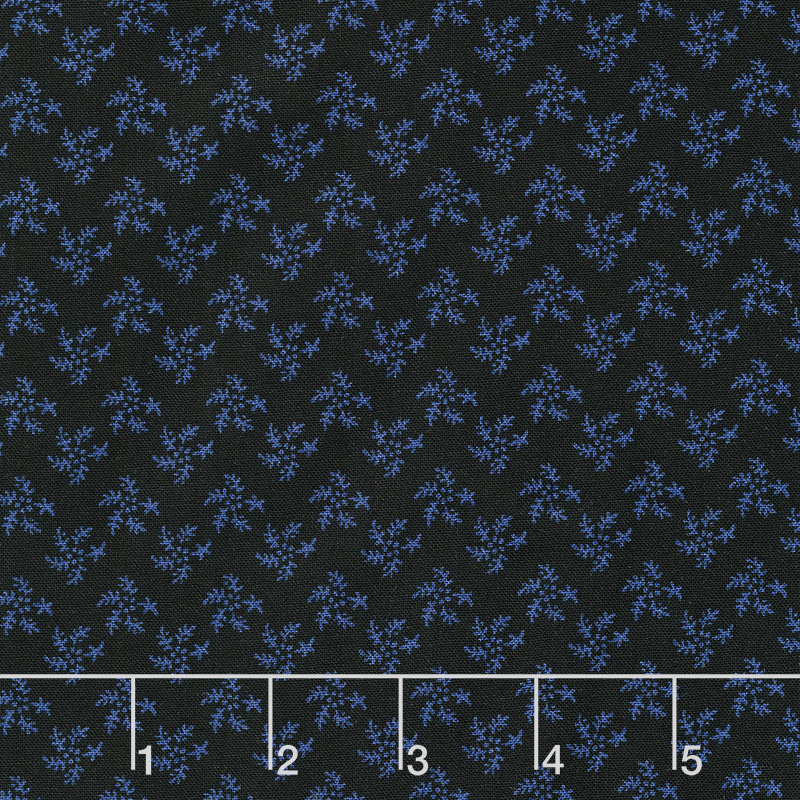 Nightfall - Sprigs Black Navy Yardage$11.24Shop →
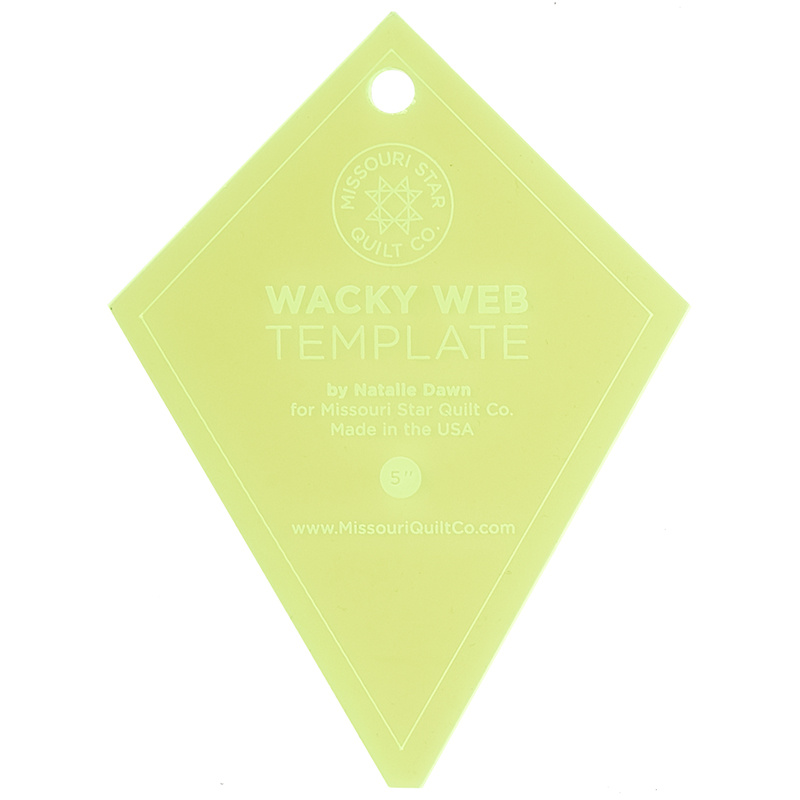 Missouri Star Small Periwinkle (Wacky Web) Template for 5" Charm Packs$7.95Shop →
Common Questions
What is covered in Make a "Nightfall" Quilt with Jenny Doan of Missouri Star?
Jenny demonstrates how to make a lovely Nightfall quilt with 10 inch squares of precut fabric. For this pattern, she chose the wintry hues of the Nightfall collection by Maywood Studio. This intricate layer cake quilt is a disappearing half-square triangle pattern. And, like a...
How long is the tutorial video?
The tutorial video is 00:11:33.
Are supplies listed for this tutorial?
Yes. The tutorial page includes the supplies and materials connected to this project.
Is a transcript available?
Yes. A written transcript is available on the tutorial page.
Video Transcript
So to make this quilt, you're going to need one packet of 10-inch squares and we have used Nightfall by Maywood Studios. You're going to need an inner border, so 1/2 a yard of black, and we made a 2 1/2 inch border for that inner border just to frame that up. The outer border is 1 1/4 yards, and it is this gorgeous blue, and it is a six-inch border. Our backing is going to be three and three quarter yards, and it just looks great. Let's take a look at this backing.
Now, the quilting pattern I used on this quilt is called Variety. And when you look at a quilt, sometimes you just have to go, "Is this a whimsical quilt? Is this a fancy quilt? Is this a florally quilt?" What do you want the quilting to tell you about the quilt? And so for me, this is a little bit more fancy, and I just thought variety was perfect for this fabric, and for this pattern.
Now it'll be helpful if you have a Bloc Loc ruler or a 6 1/2 inch squaring tool because we're going to need to square our half square triangles to 6 1/2 inch. So let me show you how to make this.
So to make this quilt, you're going to need a packet of 10-inch squares, and I used just one layer cake, no background squares. I pulled my backings from this layer cake. And so because of that, we're dealing with 20 blocks, which means that you have to have 20 background squares, and 20 of your contrasting squares. That makes a quilt that is 59 x 70. And so it's a great size quilt, but remember if you want it bigger, if you add another layer cake, it's going to double the size.
All right, so this is a disappearing half square triangle quilt, but we're disappearing the half square triangle from the half square triangle block. We're not sewing anything together, so we're going to need to make some of those. So we took a 10-inch square of color, and a 10-inch square of background. We used this light little leaf here. We're going to put them right size together. We're going to sew all the way around it, and we are going to make four half square triangles.
So let's go ahead and sew all the way around. You can run off the edge or pivot whatever you like. And one more side. All right, so now what we're going to do is we're going to take our long ruler, and this 5 x 15 works great for this. We're going to put it corner to corner, and make a cut. Let me put this over here. Corner to corner again and make a cut. Now, you can use your clearly perfect slotted trimmer to square these to 6 1/2 at this point, or you can iron them open, and use your Bloc Loc.
I'm going to use the Bloc Loc today and basically any 6 1/2 inch block will work, well, anything even over 6 1/2. If I can get a ruler that's the same size as the block I'm trying to square, I love that. So it makes it easy for me, because a lot of times the bigger rulers, they'll have a half an inch, and I am liable to make a mistake if there's a half an inch.
So now we have these four half square triangles, just like this. We're going to square them and make sure that they are exactly 6 1/2. And so what we're going to do is we are going to trim this here and here, and then I'm going to turn this, and we're going to lock it back in, and I'm going to trim it here and here. These should all come out to be 6 1/2. So now we're going to square these other two. And if you can, you can slide your ruler all the way to this bottom edge. And if it lines up perfectly on these two sides, you only have to trim the other two. This one looks great.So we're going to trim these two and we don't even have to turn it around.
If you want to nip off that little piece sticking out, you can. This one over here, I'm going to see if it'll line up perfectly on the side, not quite. I'm going to have to shave a little bit off this other side. So I'm going to change hands, and do this, and do this right here. I was barely shaving those other sides, but I wanted them to be right. So this is now a 6 1/2 inch block. Now what we're going to do is we're going to divide this in half. And so half of 6 1/2 is three and one quarter.
So lay your ruler so the three and one quarter comes right along the edge like this. And we're going to make a cut here, and then we're going to turn our ruler, and do three and a quarter. So we're cutting right down the center like this. And so this is your block right here. And now what we're going to do is we are going to swap these two. Look at that. And just like that, you get this cool block. So we're going to go ahead and sew these together like this so I can show you the finished little block. And basically this now becomes a four patch. And so you're going to just line them up, and sew down, and sew across the middle like this. And you will do this to all four.
All right, now let's press it. All right, there we go. Now, I have a pile over here, some are done except not this top one. So we're going to do that again, and we're going to look at this and see if it's squared. So here is, we've got to square this up to 6 1/2. There we go. And so we need to trim this and this side. And it looks like I have to trim all four sides so I'm going to twirl that around. Don't ever find yourself cutting in a weirdly positioned because that's when you get hurt. So be really careful about your cutting and make sure that you don't have your hand in a weird place.
Use a rotating mat, rotate your piece. If you don't have a rotating mat, you can pick up your little mat and rotate it, whatever it takes. All right, so this block is now 6 1/2. And so we're going to come in three and a quarter from the edge, and that takes us right to the center, and three and a quarter from this edge, and it takes us right through the center. And so then what we're going to do is we're going to take this and swap them, and we're going to sew this little block together. So again, just get sewn together like a four patch. Here we go. And this one too.
All right, let me sew down this center seam. We're just going to open these up, make sure everything's in the right place. And then we're just going to sew across here. And this is such a terrific way to make a fun block. I mean, imagine this in baby fabric, red, white, and blue Christmas fabric. I mean, anything will work at this and it comes out so cute. All right, so now you should have go ahead and make all four of these, and you can put them together loads of different ways.
I mean, literally you can put them together like this. You can put them together like this. But what I'm going to do is concentrate on these half square triangles, so I'm going to turn this to the inside, and I'm going to make a pinwheel in the center of my block. And just like that, you get this very cool block that looks like you did a lot of work, but we really didn't. So let's go ahead and sew this together. It'll sew together also like a large four patch.
And we'll just go ahead and ... Wait, let me see. Make sure one to be on one side and one on the other. And then we're going to sew this down this side, and then we will open these up. And so our big block together, making sure that our pinwheel is perfect and it is. All right, hang on. Going to line this up. And just like that, we've got this really fun block.
Now, remember, it takes two 10-inch squares to make this. So what happens if you only have eight-inch squares, can you make this? Absolutely. It will just change the size, so don't be afraid to play with this because this is all based on a square. So you people out there who love tiny, start with a five-inch square, and see what happens. You'll be cutting tiny little pieces, but all you're doing is cutting that block in half and swapping those two pieces, and then you can put it together in a myriad of ways.
So here's our block, and let me show you how this goes together. So your whole block is here. Now, you could make this scrappy, but I liked the look of the whole block coming together. And so we've got 1, 2, 3, 4 x 1, 2, 3, 4, 5. So that's five blocks times four is 20 blocks, two layer cakes per block, that's 40. So you'll have four leftover, which would make a great table runner.
This is a fun way to make a new block and to do something different with those half square triangles. And we hope you enjoyed this tutorial on the Nightfall quilt from the Missouri Star Quilt Company.
Hi everybody, it's Jenny from the Missouri Star Quilt Company. We hope you enjoyed watching this video. If you aren't already part of the Missouri Star Quilt Company family, be sure to subscribe so you won't miss a thing. And if you click that bell, it'll notify you every time a new tutorial comes out. See you next Friday.



