

Make a "Peek-A-Boo Pumpkin" Quilt with Jenny Doan of Missouri Star Quilt Co
 Jenny Doan
- Layer Cake
- Wall Hanging
- Beginner
- Quilt size 72" × 85"
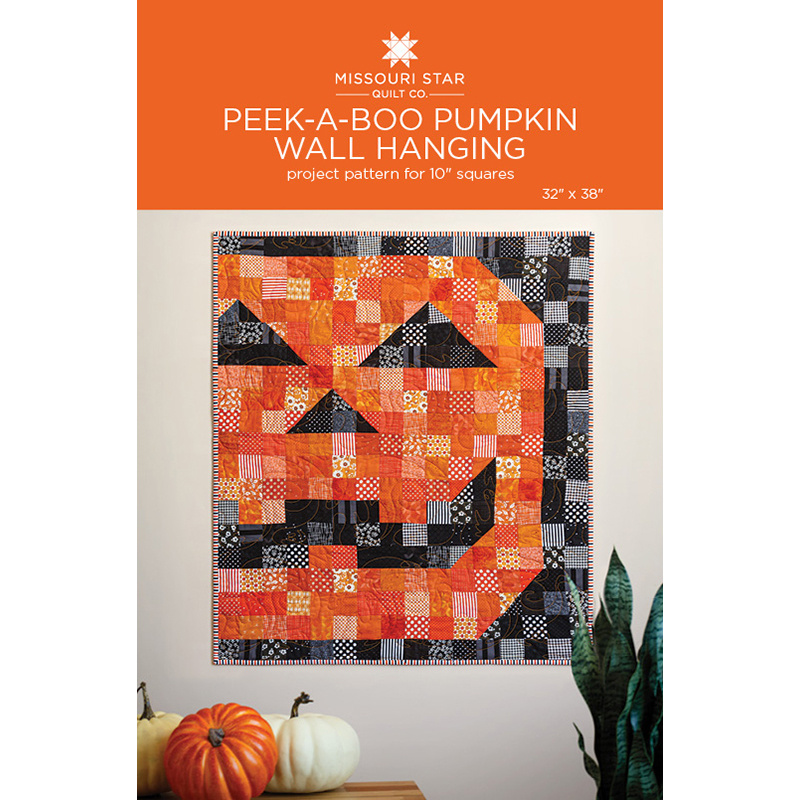
This quick and easy Halloween quilt pattern is made with simple squares and half-square triangles, and it was quilted by our long-arm quilters with a spider-web pattern. It's the perfect size for a porch quilt or lap quilt, and it's such fun to make!
Instructor
Jenny Doan
Jenny Doan is an American quilter, author, and YouTube personality. Jenny started Missouri Star Quilt Company in 2008 and today it is the largest quilting supply vendor in the United States.
Shop this tutorial
Common Questions
What is covered in Make a "Peek-A-Boo Pumpkin" Quilt with Jenny Doan of Missouri Star Quilt Co?
This quick and easy Halloween quilt pattern is made with simple squares and half-square triangles, and it was quilted by our long-arm quilters with a spider-web pattern. It's the perfect size for a porch quilt or lap quilt, and it's such fun to make!
How long is the tutorial video?
The tutorial video is 00:06:22.
Are supplies listed for this tutorial?
Yes. The tutorial page includes the supplies and materials connected to this project.
Is a transcript available?
Yes. A written transcript is available on the tutorial page.
Video Transcript
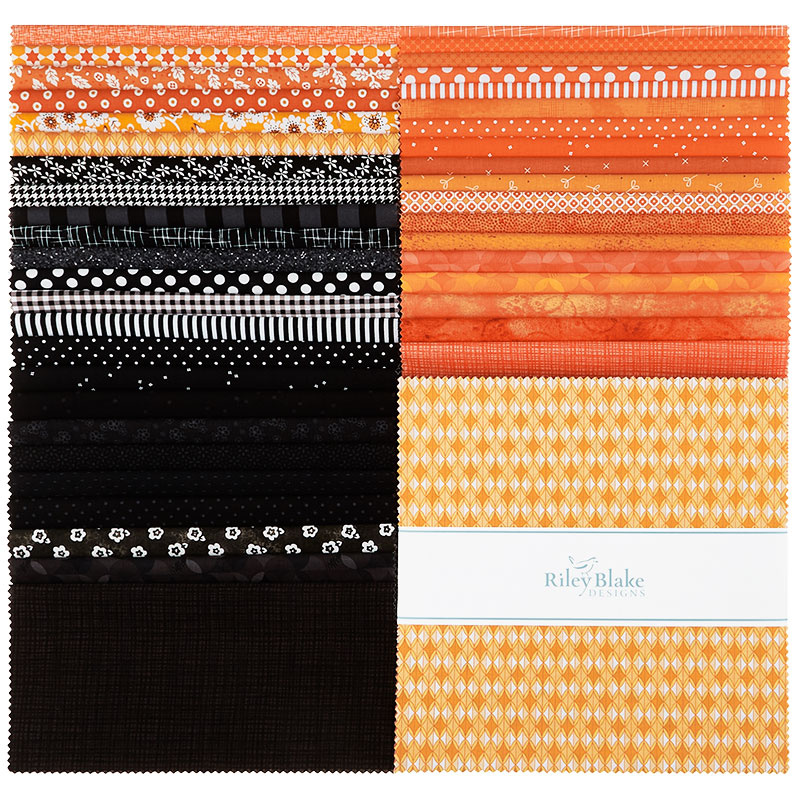
And so let’s talk about how you make this. So we have this little diagram and basically all you’re doing is sewing squares together until you get to the half square triangles. There are 24 half square triangles on here and let me show you how we did these because I didn’t want to cut all my squares into 4 ½ inch pieces. I wanted to leave them five inches. And so what we’re going to do for our half square triangles is we are also going to make those so they come out five inches. So we are going to take our layer cake pieces and we are going to put a black with an orange. And we are going to cut those in two just like this. And then we are going to sew right on the line. So we are going to draw a line. I’m going to flip these over because it will be easier to see the line. So you’re going to cut your two squares into five inch squares and we’re going to draw the line just like this, corner to corner. And we are going to sew on the line. So if you sew to either side your half square triangle will be 4 ½, which you could do but then you would have to cut your squares at 4 ½ because they all have to match and be the same size. So I did mine, I left mine at five and what I’m going to do is sew right on these lines and trim the part off. Now don’t get rid of this because we’re going to come up with something amazing to do with that. All of us are, I just know it. And I may do something amazing and show you at a later date. You know I have that baggie of half square triangles. So I’m going to sew right on the line and I’m going to do that to all four of these. You’re going to want to put six pairs together of ten inch squares because you need a total of 24. And one more. Alright now what we’re going to do is we’re going to trim off this side, just like this. And if you want to you can go ahead and sew like a half an inch over from that line and then those little squares will already be sewn together as well. But for the sake of today’s video I’m just going to show you how to do this. Alright.
Now what we’re going to do is we are going to go over to the iron and we are going to press these open. And I’m going to lay the black to the top so that our seam hides behind the darker fabric. Alright, and then you’re going to do this. So you’re going to do this to six sets. And then when you put them in, what you want to realize is that you can use either side. So it can go this way like this, you know, or over here it can come like this. So, you know, you’ll use either the orange in or the black in for whatever it is that you’re going. And you’ll need 24 of those total to make it because we’ve got some here, around the mouth. We’ve got some around the nose, around this side of the eye. Up here in the corner there’s a few. And we’ve used the black to border it.
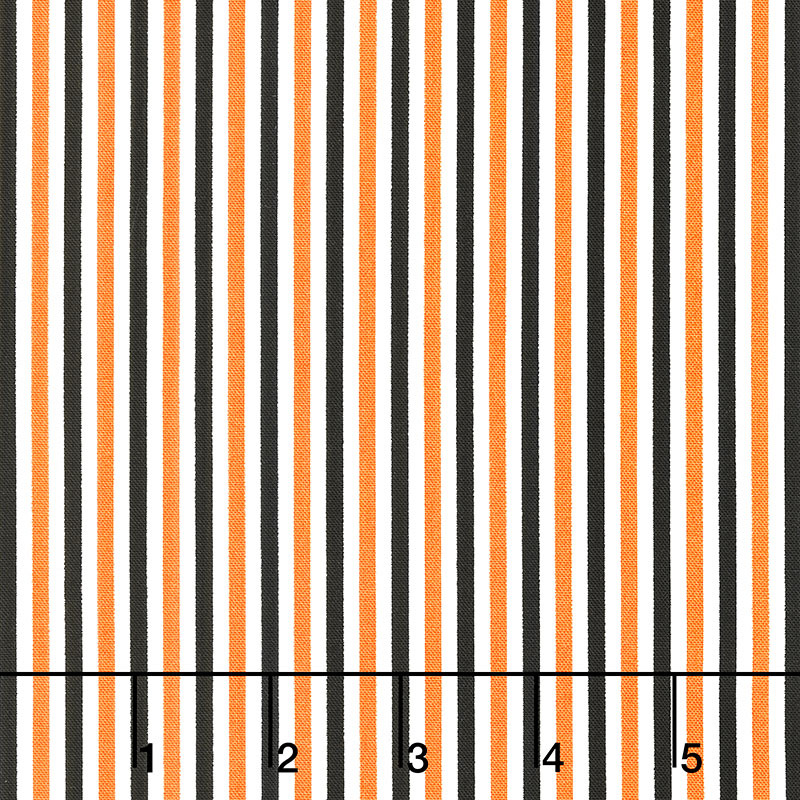
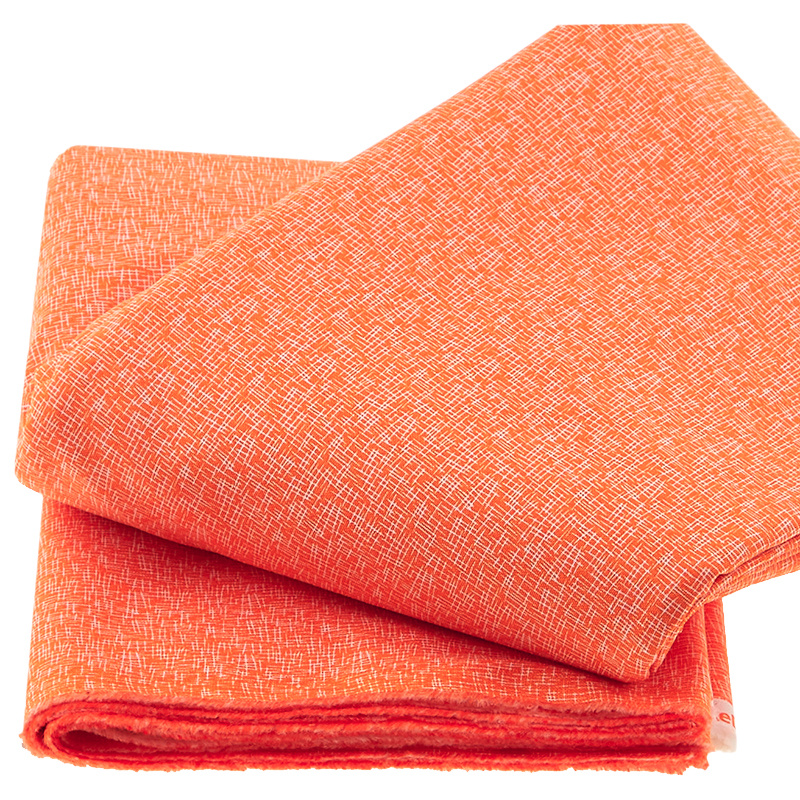
Now across the top we’ve got one, two, three, four, five, six, seven, eight, nine, ten, 11, 12, 13, 14, 15, 16 by one, two, three, four, five, six, seven, eight, nine, ten, 11, 12, 13, 14, 15, 16, 17, 18, 19. So it’s 16 squares wide by 19 long. We didn’t put a border on it. We just bound it. But look at the binding. I asked them, I said, if I could have a stripe for the binding I would love it. And of course Riley Blake found a stripe for the binding and it just looks adorable. The backing on this is that nice orange that I showed you. And if you look carefully, especially on the black, the quilting we used on this was our Spider Webs quilting. And it shows up so perfectly in the black. And we used orange thread. It makes a great quilt. The size of this quilt is 72 by 85 so it’s a great size, perfect for hanging on your porch. I have several friends that have birthdays on Halloween. This would be a great gift for them. It’s something that you’ll be able to make easily before that day arrives. And we hope you enjoyed this tutorial on the Peek-A-Boo Pumpkin from the Missouri Star Quilt Company.
We hope you enjoyed watching this video. If you’re not already part of the Missouri Star quilt family you can hit the subscribe button below so you won’t miss a thing. And if you click that bell it will notify you every time a new tutorial comes out. See you next Friday.



