

Make a "Petite Antique Lace" Quilt with Jenny Doan of Missouri Star
 Jenny Doan
- Layer Cake
- Traditional
- Double
- Beginner
- Quilt size 71" × 83"
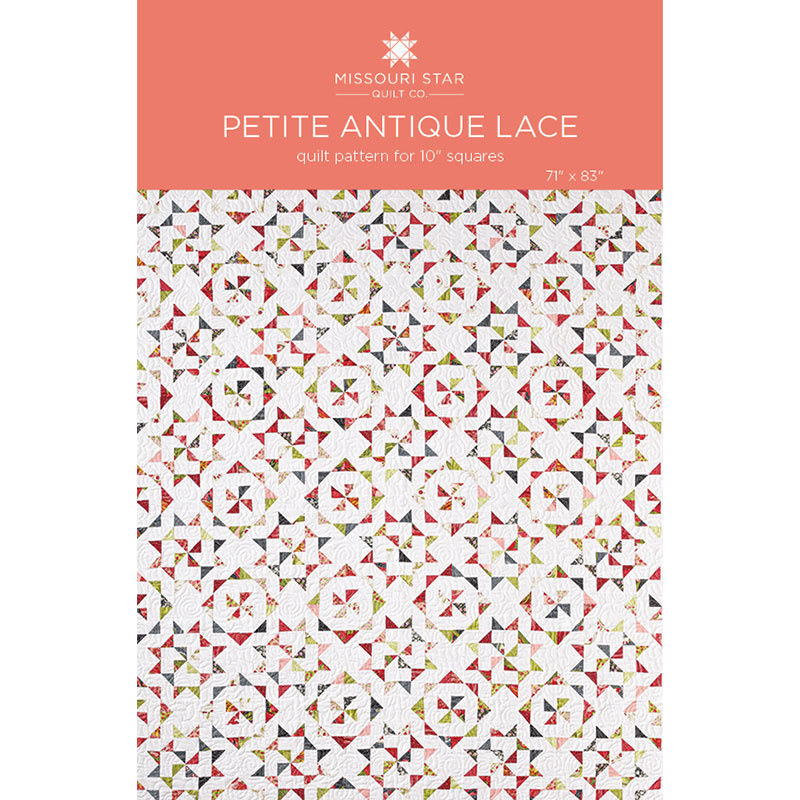
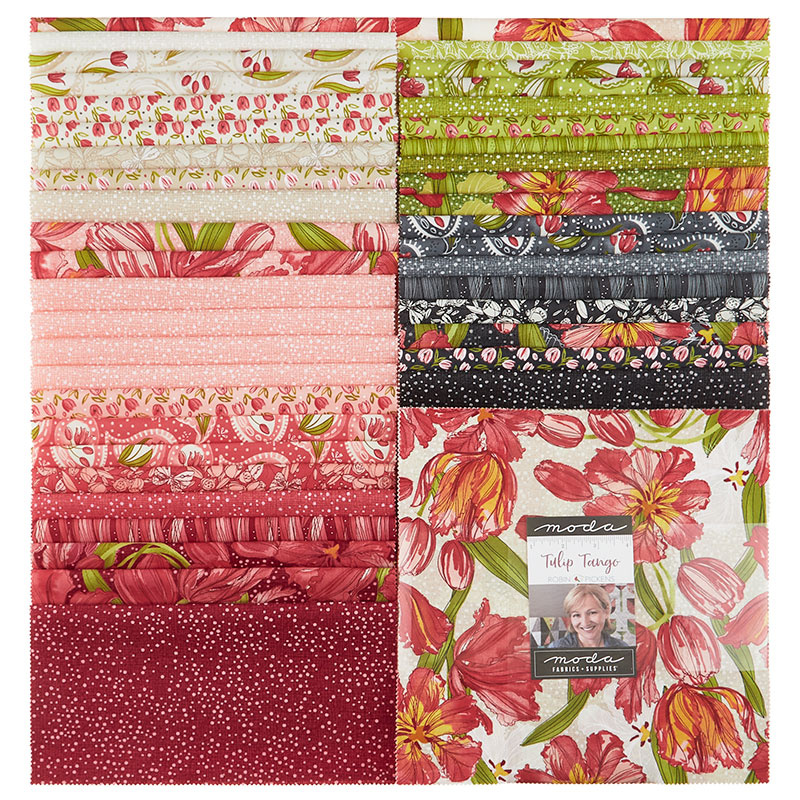
Jenny Doan demonstrates how to make a miniature version of our beloved Antique Lace quilt block using 10 inch squares of precut fabric. For this project, Jenny chose the Tulip Tango Layer Cake by Robin Pickens for Moda Fabric. Jenny whips up 32 itty bitty half-square triangles at a time using the easy 8 method. She stitches tiny pinwheels and flying geese. And, when the quilt is complete, she has enough leftover pieces to make a second quilt!
Instructor
Jenny Doan
Jenny Doan is an American quilter, author, and YouTube personality. Jenny started Missouri Star Quilt Company in 2008 and today it is the largest quilting supply vendor in the United States.
Shop this tutorial
 Petite Antique Lace Quilt Pattern by Missouri Star$5.95Shop →
 Digital Download - Petite Antique Lace Quilt Pattern by Missouri Star$4.95Shop →
 Tulip Tango Layer Cake$42.95Shop →
 Bella Solids White Layer Cake$40.95Shop →
 Bella Solids - White Bleached Yardage$8.24Shop →
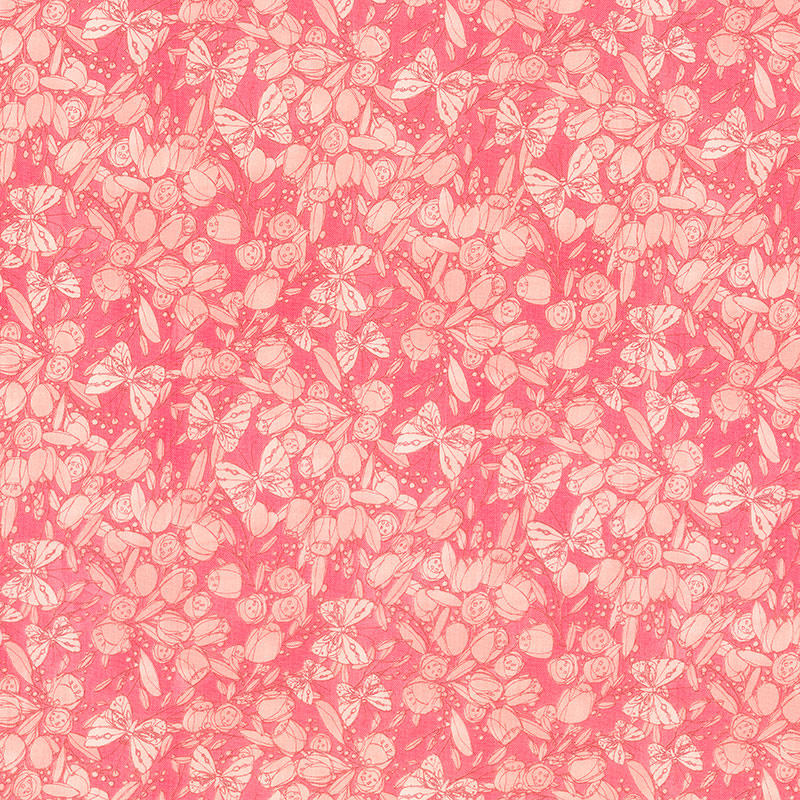 Tulip Tango - Love Butterfly Tulip Yardage$11.24Shop →
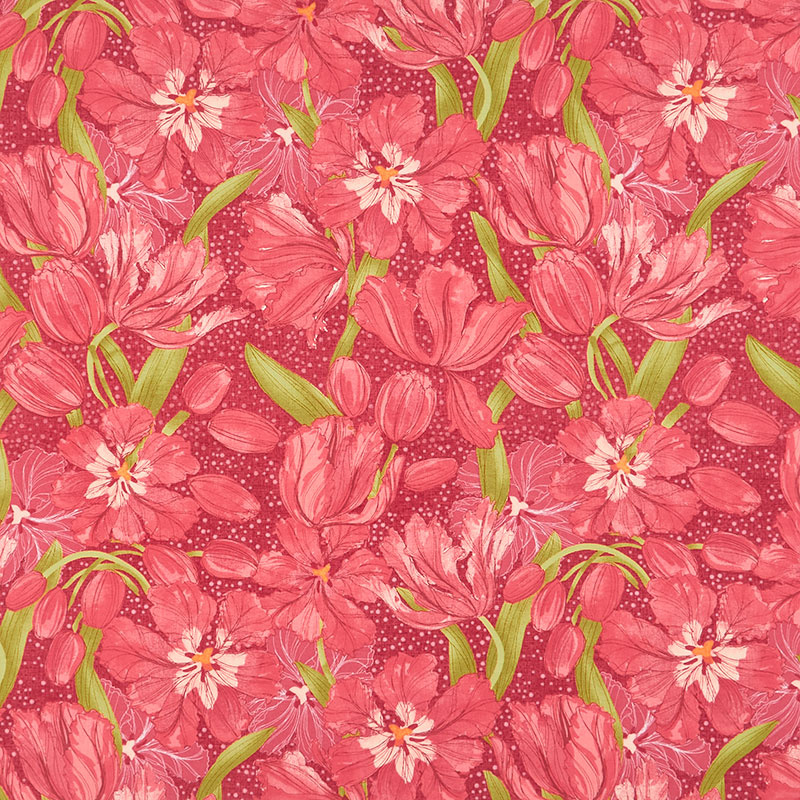 Tulip Tango - Tulips Cranberry Yardage$11.24Shop →
Common Questions
What is covered in Make a "Petite Antique Lace" Quilt with Jenny Doan of Missouri Star?
Jenny Doan demonstrates how to make a miniature version of our beloved Antique Lace quilt block using 10 inch squares of precut fabric. For this project, Jenny chose the Tulip Tango Layer Cake by Robin Pickens for Moda Fabric. Jenny whips up 32 itty bitty half-square triangles...
How long is the tutorial video?
The tutorial video is 00:23:12.
Are supplies listed for this tutorial?
Yes. The tutorial page includes the supplies and materials connected to this project.
Is a transcript available?
Yes. A written transcript is available on the tutorial page.
Video Transcript
So this is petite antique lace. Each of these little squares are two inches. No, don't be afraid. We can do it. I'll show you how, it's really easy. I love the patterns and the secondary patterns that appear in this quilt.
So to make this quilt, you're going to need one packet of 10 inch squares. And we have used Tulip Tango by Robin Pickens from Moda. You're also going to need one pack of background squares, 42, 10" squares, and then you're going to need some yardage that matches that, three yards of it. And that includes your inner border, which it's a little 1.5" inner border. And then all the other pieces that we need to cut to make our block come together. Your outer border is a nice big 5" border and it's 1.25 yards. And for your backing, you're going to need 5.25 yards or 2.75 yards of a 108 because the quilt comes out to be 71 x 83. So it's a great sized quilt.
Let me show you the back on this before we get started. This is just a beautiful line of fabric and beautiful fabric. And the quilting pattern we've used is curly twirly flowers. And I love how it just swirls around and yet adds that wonderful pop of floral fun. So let me show you how to make this.
All right. So to make our quilt, we're going to take two 10" squares and we are going to get 32, 2" half square triangles out of those. So let me pick a piece out of here. I'm going to pick a piece that's going to show up real nice. And what we're going to do is we're going to take this and we're going to lay it with one of our background squares. Now there are 42 squares in a packet of pre-cuts, and I used 30 to make this quilt behind me. And I'll show you later what I did with the other 12, but obviously you could make this quilt using all 42 because it takes one square of background and one square print to make the block. And so you could make it 42, but I wanted to show you something a little different. So I have two quilts to show you and we'll get to that in a bit.
So we're going to lay our pieces right sides together. And we are going to cut this in fourths. Now, there's several ways we can do this. We're doing the easy eight, but we're going to do it on a charm square. And so you can do it and leave it whole, but the way my brain works, I'm going to go ahead and cut these in half, both directions like this. And then I'm going to just scoot these apart and I'm going to leave them kind of close together, so you can see that if you wanted to leave them whole, you could. Because what we're going to do now is we're going to draw lines diagonally on both corners. So here to here, and then we can come up here to here. So you could see if I had left this whole, you could draw that line. And then we're going to draw this line right here, and then this one.
And then this is the other part that comes in where if you want to leave it whole, you can do this. But for me, it worked better to cut them apart because our next diagonal lines are corner to corner this way. And so I'm going to put mine this way, and obviously you could do this if it was all still together, but I loved the idea of having them be separate already. And going ahead and marking these lines. And one more here. Okay?
So what you're going to do now is we're going to sew on both sides of both of these lines on all four pieces. Now, I have some pieces made, so I don't need to do it on all of them, but you'll be able to see what I'm doing. So I put my press or foot right next to the line, because we're sewing on both sides of the line. This way and back down. Now we're going to flip this this way and go on the other line like this. And you'll do this to all your pieces in your block, because you will need 32 half square triangles. And I'm going to set these over here because I have some already done.
So now what we're going to do is we're going to cut this in half like this. And I always cut where there's no line. So you're going to make four cuts with this and we're going to cut it in half vertically, in half horizontally, like this, and it should... This is a five inch square. So it should cut at the two and a half line. And then we're going to cut on our lines like this. And one more over here. And the reason I wait and do the lines last is if your squares shift a little bit like mine just did, you can actually just pull them out because you have the line to mark on.
All right, so now we have these darling little... Look at how cute these are. But they're still too big so we need to trim them down. So what I'm going to do is, and this is really helpful, any squaring tool that you'd like, the block lock works fine, a square with a diagonal works fine, I'm using the clearly perfect slotted trimmer B and I'm going to cut it at two inches. And any time I can lay my seam line on their seam line and butt it right up next to the edge and just cut one side, I feel like that's a win for me. And then, also, people always ask me, "What are the little slots for?" The little slots cut off the little dog ears, or these little pointy edges out here. And so you can do that. And then your little half square triangle will open and not have any little flippy corners up.
And then we're just going to press these and we're going to press them to the dark side. And I'm going to move this paper. And so you will need 32 of these to make your block, and I have some already done here, and I just have them in piles. And what you'll want to do is... For this quilt behind me, I really scrapped it up. Every block was different. And so you'll just want to pile your colors. I piled my same colors together and put some pins in them and then I just build my blocks.
Now this block, to make this block, we're going to make like three different blocks. So let me show you how I did that. We're going to start with our pinwheel in the center. That's our very center of our block. So let's take a look back here. So see this pinwheel right here. This is the center of our block. And so we're going to make our pinwheel first and I'm just going to pick four random blocks here. Let me close this so nobody gets cut. We're going to go this way, this way, a red and this dark one. So we have four here. And my mantra with pinwheels is all seams to the center, light, dark light, dark, light, dark. And so we're going to put them together like this. All seams to the center and I'm going to look and...
Oh, I have that one wrong and I don't love the two grays here. So I'm going to swap them over here like this. And so we're going to start by making this pinwheel. So I'm going to put these right over here, we'll sew right down this side and then right, continue on the .25" on this side. And then we will sew those two blocks together and it will make a pinwheel. And one more here and then we're going to open these up like this and make sure it's still pin wheeling. And then we're going to put our blocks right on top of each other and sew those down. Match up your center seam. So here's this one right here and I'm going to lay one seam one direction and one seam the other. All right. So here's our little pinwheel. This is the center of our block. Make sure that lays down nice and flat.
All right, the next thing we're going to do is the outer pieces that connect to the pinwheel. So for those, what we need is we need to sew two of them together to make a flying geese. This is the unit we're making right here. And so I'm just going to put two of these together, and I think I'll do this green and this beige, and we're putting them together with the white together, like that. All right. So we're putting these together with the white together. So we'll just go over to the sewing machine and you're going to need four of these to make your block.
So there's one. Let me grab a couple more here. And remember, your whites are going to go together. Two. And I have those little mantras so that I don't get... Put your backgrounds together, your backgrounds together, so that I don't get off and do something crazy. All right. So now we have our backgrounds together and we have four of these. And then, what we're going to do is press these open, because we're going to need four per block. And then what we're going to want to do is we're going to want to cut some of our background fabric. So all the pieces in this block are going to end up being 2". So you'll cut a bunch of 2" squares and strips, 2" strips. And you'll just cut those into 2" squares except for the piece that sits on top of these little flying geese.
So we have this piece and this piece. They're still 2" wide, but they're going to be 3.3" long. So out of your 2" strip, you're going to cut some 3.5" pieces like this and you'll put those in a stack and then you'll have a bunch of blocks, 2" squares in a stack as well. So on our little flying geese, what we're going to do is we are going to add a 2 x 3.5" piece to the top and the bottom of our flying geese, like that. So we'll just head to the sewing machine and add a piece on the top and the bottom. And you're going to do this to four pieces. So this one is on the top and this one here is going to be on the bottom.
There we go. And you'll need four of those. And so I have some other ones made here. One, two, three, four. So now I'm going to take my pinwheel here and we are going to line up our four blocks on either side, like this, and like this. So now you can see our next part is going to be this corner square right here. And this is what this square looks like. And once you get these made, you literally want to sit it there and put every piece in just as the block is because it's really easy to get confused on this block. And so, what we're going to do is I'm going to move this up here. And I have three of these made, but of course I'm going to walk you through a block. And so what we're going to do is we're going to take our pieces over here and we're going to do... And I talk to myself the whole time I'm doing this to make sure it's right.
So I have color up, and a 2" square. Let me get this stuff out of the way. And then I have color down. And then I have a 2" square of plain and then I have a little one color up in the middle, like this, and another 2" square that's plain, like this. And then I have one plain square right down here in the bottom like this. And then I have two pieces that actually... To me, they look like rocket legs. So call them the rocket legs on the bottom. They go in like this. Oh, I'm going to put this one over here. In like this and in like this. So it's like the little rocket legs. And then I check it. I check it against my block to make sure I have them going the right way.
Now, what I'm going to do is I'm going to go and sew these two, these two, and these two together, and then I'll come over and add this third one over here. And also, when I started doing this, when I got into it and I was really making a lot of these, I literally stacked up like all my pieces that I needed to go this way. I stacked up four because I did one block at a time. So I'd had four here, four plain here, four, and then I could just pick them off the rows and sew them together as I went. And that worked for me pretty well, because some of this, this block particularly, feels a little tedious, but you will get to where you can do it without even thinking about it because you've done it so many times.
All right, there is those three. And then I'm going to slide these back up and I'm going to add the other one. And I do the same mantra, color up, color down. And then this one should be color to the left. Oh, and white on the other side, like that. And then we have this one here where it's rocket leg in, rocket leg in. It's funny how these pieces start looking like something to you and that's how you think of them in your brain, but I know there's a lot of people out there who think like me.
So now what we're going to do is we're going to, again, look to make sure this is all going the right direction. And then we're just going to put the rows together and sew each row on. It's pinned, you're going to match up at your little seams, make sure one of your seams is going one way and one is going the other. And then this one should go this way. I'm going to add this last row on here. Make sure my seams are laying over. And anytime you're working with little pieces like this, just remember, it's not harder, it's just smaller. And so don't stress over it. Just give yourself a chance to learn because it's very fun and you don't finish this quilt in a day. You really don't. Even I don't finish this quilt in a day.
All right. So you need four of these for your block and I'm going to set mine right over here. All right, so here's our block that we have so far and now these corner pieces are going to end. Now all your corner pieces are oriented in this pile going the same direction. But when we put them into the block, this center square is always going to go toward the middle. So it's going to take a turn every time. So here's this one. This center square goes to the middle. So this square has to go to the middle so we're going to turn it and put it there. This one also wants to come into the middle. So we're going to turn it and go there. So this last one, again, this color goes to the middle, so we're going to turn it so the color goes to the middle, just like that.
Now right here, I have two reds together and here I have two grays. So I'm going to swap those because I just want to keep it a scrappy look. All right. So now what we're going to do is we're going to sew this top row together. And again, I'm going to sew two this way and then add it onto the other one. And so let me just put this on here like this, and you can match up your little seams, and then I'm going to open this up and I'm going to put this piece on here, like this. And make sure we... I know I'm working from the top, and so remember that those pieces, those corner pieces go into the middle. So here's your top row, right here. And then now this secondary row right here, I'm going to put in here. And it's just one of these on either of our pinwheel, like this, match that up.
And this one was easier for me by the row. I was able to keep track of what I was doing with things. At one point, I made a whole bunch of pinwheels and then a whole bunch of flying geese. And I started to put whole units together because I actually... You get comfortable with what you're doing and I was able to do that. But when you're starting off, you want to make a block, make sure you've got it right, and literally, you'll see in the design, if you have one turned, you'll be like, wait, what's wrong right there in that corner? And you'll see it. And the secondary design on this block, to me, is just phenomenal. I love the secondary design.
All right. So here's our three, right here, and now we can sew these blocks together. So I'm going to put this one up on this and just sew down the side. I'm going to match up my seam. This is where it's important to have a consistent quarter inch seam because when you're dealing with little pieces, it matters even more. So work on that consistent. It actually doesn't matter what size it is. It matters that your seam are the same. And so, in quilting we shoot for the .25", but you just need to make sure that your seam allowances are the same.
Alrighty, and your first block is done. Look at that. Now, let me iron it and I'll show you how it fits in. Alrighty, so this is our block. You're going to make 30 of these and that's going to make a quilt this size. Here's how it fits in right here. Just like that. Let me make sure I got it there. There we go. And you'll notice, there's things I look for. So these little geese line up here. This makes it another pinwheel here in the corner and you're going to stack these next to each other and you're going to have 5 x 6 down, because I used 30 of the blocks in this quilt. And the only reason I did that is because I wanted to show you another thing.
Now, when we taught the original one, the original one was made with a jelly roll strip and we cut all of our 3" triangles out of that. With this one, I had a layer cake and I discovered that out of a charm, I could get eight. And if I have four charm pieces that are the same... So you can buy four charm packs or you can buy one layer cake. But I was able to get eight out of each one, which totaled 32, which is the number in here that we have of half square triangles, which sounds like a whole bunch. But when you get them going, I mean, it just looks so cute.
So this one I did scrappy, completely scrappy, but remember I have 12 more blocks that I still didn't use. So I put them together, not scrappy. I put them together in this quilt right here. So this is the quilt right here. And with this one, you can see that each color got its own block. And so I thought it was fun to see the difference. I didn't actually know if it would make a huge difference or if it would just make a little difference, but it actually is really cool-looking when you keep all the same colors together. And so, as you're thinking about how you want to lay out your quilt, don't overlook this and then just remember if you want a really big quilt, you're going to add these on there and it's going to be six by seven.
So you have everything that you need to make both of these quilts in the yardage I gave you, except for the background. You're going to need a little more background. You're going to need an additional yard and a half if you want to do both quilts and then you're going to need .75 of a yard for your outer border. And your backing is only going to be 3.25 yards on that because it's a little bit smaller quilt, but it's a great size.
So I really enjoyed remaking this antique lace in a smaller version. It was really fun. I surprised myself by liking and enjoying it. You guys know I love big blocks, but I surprised myself and I really enjoyed this smaller look. I felt very accomplished when I finished this quilt and so it was really cool to do and I hope you give it a try. And I hope you enjoyed this tutorial from the Missouri Star Quilt Company.
Hi everybody, it's Jenny from the Missouri Star Quilt Company. We hope you enjoyed watching this video. If you aren't already part of the Missouri Star Quilt Company family, be sure to subscribe so you won't miss a thing. And if you click that bell, it'll notify you every time a new tutorial comes out. See you next Friday.



