

Make a "Pinwheel Wreath" Quilt With Jenny Doan of Missouri Star
 Jenny Doan
- Layer Cake
- Holiday
- Queen
- Beginner
- Quilt size 91" × 91"
Jenny demonstrates how to make a lovely Pinwheel Wreath quilt using 10 inch squares of precut fabric. For this project, she chose a Nutmeg layer cake by BasicGrey for Moda Fabrics. The pinwheels come together quickly, and they're squared to perfection with the Clearly Perfect Slotted Trimmer B.
Instructor
Jenny Doan
Jenny Doan is an American quilter, author, and YouTube personality. Jenny started Missouri Star Quilt Company in 2008 and today it is the largest quilting supply vendor in the United States.
Shop this tutorial
 Pinwheel Wreath Quilt Pattern by Missouri Star$6.95Shop →
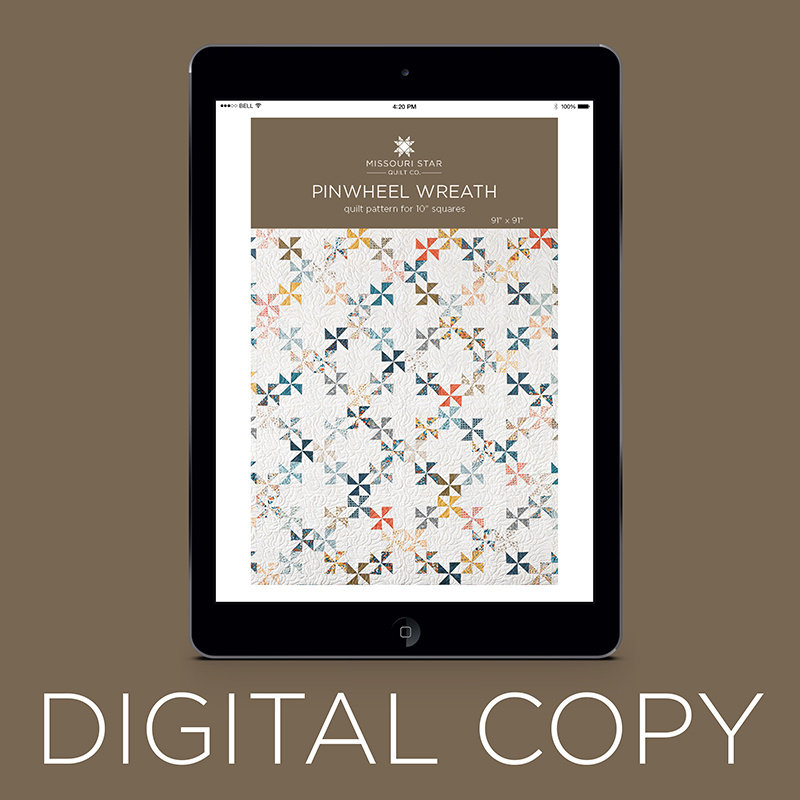 Digital Download - Pinwheel Wreath Quilt Pattern by Missouri Star$4.95Shop →
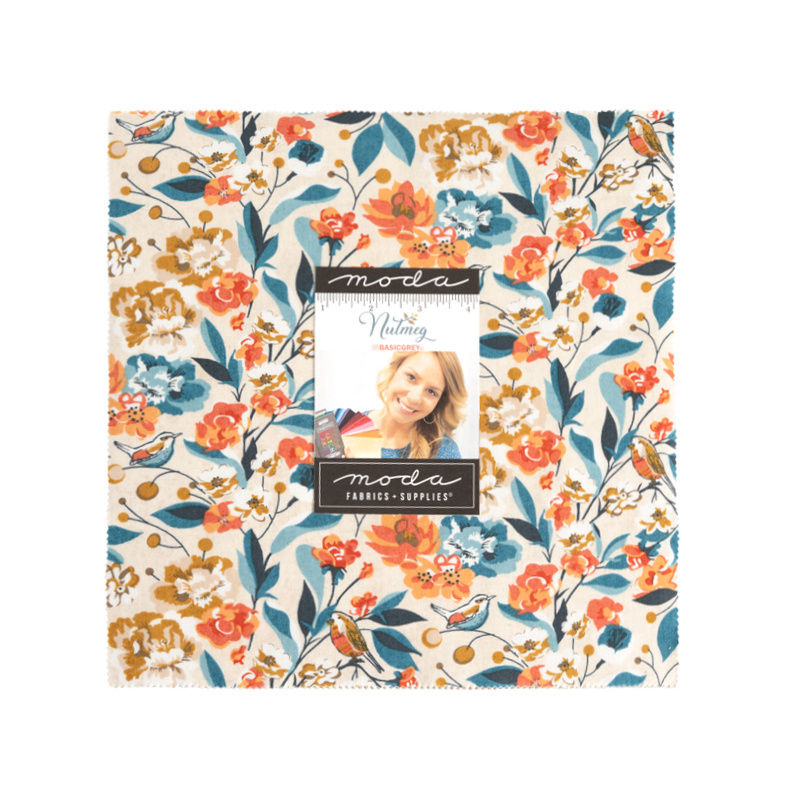 Nutmeg Layer Cake$45.95Shop →
 Nutmeg - Grunge Roasted Marshmallow Yardage$11.96Shop →
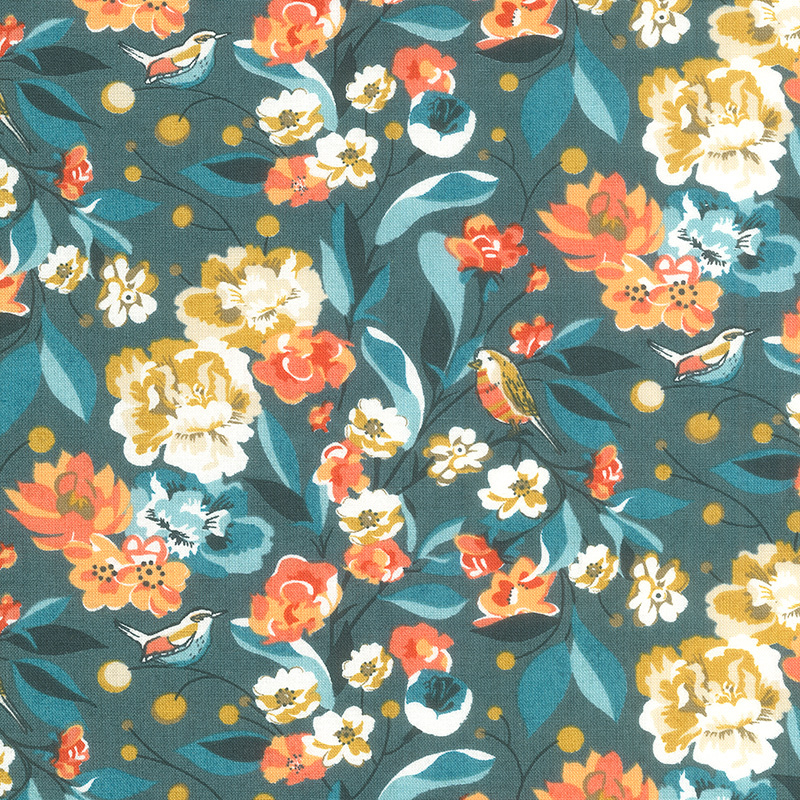 Nutmeg - Cornucopia Evening Yardage$11.96Shop →
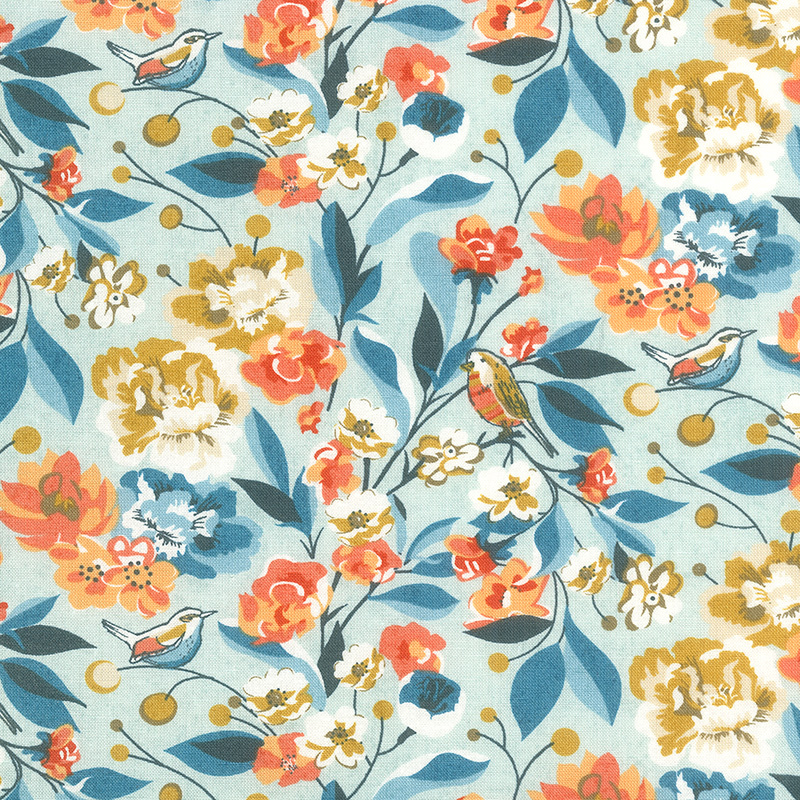 Nutmeg - Cornucopia Frosted Crumble Yardage$11.96Shop →
 Clearly Perfect Slotted Trimmers$31.95Shop →
Common Questions
What is covered in Make a "Pinwheel Wreath" Quilt With Jenny Doan of Missouri Star (Video Tutorial)?
Jenny demonstrates how to make a lovely Pinwheel Wreath quilt using 10 inch squares of precut fabric. For this project, she chose a Nutmeg layer cake by BasicGrey for Moda Fabrics. The pinwheels come together quickly, and they're squared to perfection with the Clearly Perfect...
How long is the tutorial video?
The tutorial video is 00:18:29.
Are supplies listed for this tutorial?
Yes. The tutorial page includes the supplies and materials connected to this project.
Is a transcript available?
Yes. A written transcript is available on the tutorial page.
Video Transcript
So to make this quilt, you're going to need one packet of 10-inch squares, and we have used this beautiful packet called Nutmeg by BasicGrey for Moda. You're going to need some background as well, you're going to need about five-and-a-quarter yards, or five-and-a-half yards, of background. And we have also used this Grunge, and it's called Marshmallow. And so it's just a beautiful color, goes well with the pack. For our border, it's a big six-inch border, and you're going to need a yard and three quarter for that. And on the backing, you're going to need eight-and-a-quarter yard. This is a big quilt, it is 91" by 91". Let me show you this backing. Isn't this great? It just looks beautiful on there. And the quilting pattern on this is little birds, and you can see the little bird here. And I use these little birds because there's several fabrics that have little birds on it, and I just think the birds are so adorable. So, let me show you how to make these pinwheels.
So to make this quilt, what we're going to do is we're going to need to make some pinwheels. So we're going to take our Layer Cake squares, and we're going to cut them into fourths. So just lay your five-inch ruler right along the side, and just cut them right into fourths like this. And you can leave it whole, and do that easy 16 or whatever, but this is just easier for my brain. And so what I'm going to do is I'm going to take five inches of a background square, and my five-inch square of this, put them right sides together... Put them right sides together, and we are going to sew all the way around the outside of this. And this is how we're going to make our pinwheels. So what I'm going to do is I'm going to line these up, and sew all the way around the outside. Sew a quarter of an inch, you don't have to be too precise on this because we are going to be squaring them all up.
And for mine, you can see in my circle of pinwheels, this is my block that I made right here. In the circle of pinwheels, I used all different pinwheels. So you're going to make a few before you put this block together. But what we're going to do now is we're going to square these to three inches, and I have this, my squaring ruler, right here. And you can actually cut it diagonally both directions, or you can just lay your tool on the edge right here, and you can cut it here just like this, and you're squared. And you can do it on this side, and you might be able to slide it right up to that one edge right there, which I can, if you get your angle just right, you can do that. And this is the Clearly Perfect Slotted Trimmer B. And these are squared to three inches, so you can use any squaring tool, and just cut your block diagonally and use that squaring tool to square your squares to three.
So once we get this done like this, then what we're going to do is we're going to press these open. And see, this is the block we're talking about right here. I think I forgot to show you that in the beginning, but it's a nice, big... It's like 20 inches, it's a big block. And so we're going to just open these up, and press them to the dark side. And when you do your pinwheels, one of the things that you want to pay attention to is making sure that they all rotate the same direction. A lot of times I'll get sewing, and I'll forget to make sure that they rotate all the same direction, so you just want to make sure they all rotate the same direction.
Now, I'm just going to lay these on top of here. And while I was cutting with my Clearly Perfect Slotted Trimmer, I could have cut off all those little dog ears, but I just neglected to do that. People always say, "Why don't you use that?" I always forget. So I'm just going to trim them off right here, one fell swoop, and trim these off here. And then what we're going to do is we're going to put these together. Now, once I make a block, I leave that block right there and I line it up exactly like the block, so that my pinwheels are all the same. And so I know when I put this together, this color has to go down, and then this one goes like this. And so when you do a pinwheel block, you just need to get that first one lined up, and then the rest of them will fall into place, as long as you've got light, dark, light, dark, light, dark, all seams to the center.
So there's our pinwheel. We'll go ahead and sew that one together, so I'll lay my pieces like this and like this, and we'll just sew them right down the side. And I love pinwheels, they're just such a happy little block. And so this was fun for me to remember. And it's not 3D, so we don't have to worry about quilting that or anything like that. It's nice and flat. And I was so glad when Misty said, "Well, I did that one. I have all the measurements." And I'm like, "Ah! Perfect." All right. So I sewed my two sides together and sewed my block together without thinking to stop and show you in between. But we're making a little pinwheel block like this, and you're going to make a whole bunch of these, because if you want to do them scrappy like mine, then you're going to need a whole bunch of different ones before you do it.
Now, from your background fabric, you're going to cut a three-inch strip, and you're going to have some three by five and a half. This should measure five and a half now. And this one, let me see right here. This says, oops, other way. There we go, five and a half. And so what we're going to do is we're going to take our stack of pinwheels, and you need 1, 2, 3, 4, 5, 6, 7, 8 pinwheels for this block. So let me count how many I have here. 1, 2, 3, 4, 5, 6, 7. We need to sew one more together before we can put our block. And so I'm going to sew this little birdie one right here. And again, I'm going to look at how my block goes. So there goes that way. I'm a little angley challenged. Light, dark, light, dark, light, dark, light, dark, all seams to the center. There we go.
All right, so now we're going to sew these seams together and these seams together, and then we're going to sew this cross seam, and I'm going to clip off that little bit of a little peak sticking out right there. All right, here's this one. And here's... Oh, let me open it and make sure, better to check than to be wrong. Let me make sure here. Nope, that's still right. And then we're going to sew this one together. All of a sudden, I thought I got it turned, but nope, we're still fine. We are golden, as they say. All right, we're going to open this up right here. Make sure that it still makes a pinwheel, and just fold it over and sew down that line. Match up your center seam. And so now that I've got a few anchoring stitches, I'm going to pull this down, make one seam lay one way, and one seam the other, so they're nesting up nice and tight, and sew down the side, and then we'll press it. There we go.
So we have eight of these. Every single block gets a five-and-a-half by three-inch rectangle, every single one. And so we're just going to sew these right down the side and just chain piece these one after another after another. It doesn't matter what side of the block they're on, so you don't have to think about that, just sew it on, make sure they're right sides together. Sometimes with this Grunge, it's a little bit hard to tell, so just make sure that they're nice lined up with our right sides together. And we're just going to keep sewing these down here like this. And whenever you add this block, these little half square triangles that make up our pinwheel, those are on the bias. So whenever we add a strip to a block that has bias blocks in it, it will strengthen it and keep it in shape. So it's always a good thing to do so it doesn't stretch, things don't get too wonky.
All right, just a few more here. And if your pinwheel is a little bit bigger than your block, don't worry too much about that because with the feed dogs on the bottom, it will draw more fabric in, and so at the end of your seam, they will pretty easily match up. And one more here. Let me see, what side? There we go. Just have to make sure I got the right side going on there.
All right, so now we're going to trick cut these apart and press them back. And we'll head over to ironing board now and just press these open, and just roll them back. And then one more. All right. So now four of these are the corner blocks, and they need an additional strip. So it's three inches wide, and it's going to be, let's see, eight inches long, and so it should match up right to the corner. So I just like to see them laid out and make sure that all my colors and my patterns are in the right places. So what we're going to do is we're going to put these middle ones right here, and we're just auditioning now, we're just trying them out. We have a middle block that is out of the background, that's five and a half, and we're going to put these here. And the background piece goes toward that center piece up here. Let me move these out of the way.
And then our corner blocks out here, we have to decide if these are the ones that we want for the corner. And so they're going to come together. Let's see. And once I get my corner pieces in there, I'll know for sure if that's what I want in my corner. I actually think that's going to look pretty good, so I'm going to take these four corner ones right here, and I'm going to put my eight-inch strip on the side of all four of those. So let me grab a little stack of these. And again, it doesn't matter what side you're putting the strip on, because we're going to turn it to fit. Just lay it right along the side, and add your eight-inch strip. Oh, this way. Let me grab one more of these. Oh, goodness gracious, they're stuck together. All right. One more, sewing a quarter of an inch, making sure our right sides are together, right down the side. Now we'll clip these apart and we will press them open, and I will show you how they lay in there so nice.
All right, let me move this stuff over here. We're just going to press these, roll them back, press them... And then we're going to put these in the corner. So our block is going to go like this, and see how it fits in there so nice? Like that. And this one, let's see, this one over here maybe? And this one over here. And then audition it, make sure it looks right to your eye. Make sure you don't have two colors or two prints, things close together that you don't like. And then we're going to go ahead and I'm just going to sew this top row together up here like this, the one whole row.
So we're just going to sew this together, make it line up at our... You can make these seams line up, make sure that's still right. And then we'll put this on here. Because your little half square triangles are three inches, and your setting strips are three inches, they should line up at all those little junctions. So then this one, we're just going to sew these two to the middle square right here. And then I'm going to open this up, and put this one on this piece, remembering that this background piece goes to the center. It throws you a little bit sometimes, because you think, "Oh, I'm putting the same colors together." But that's what sets our pinwheels out to the side and makes it appear circular. So there's that one, and this one right here. So this one goes out, these two are coming in, and we're going to sew these together. And out of each Layer Cake, you're going to get four pinwheels, and it takes eight to make a block. And so that's just a good way for you to remember how many you're going to get out of a Layer Cake.
All right, now we're going to sew this together. And again, watch your middle block, that's where you want to make sure that your seams are nesting and fitting right together. That's what keeps us all lined up. I just think this would be so cute in Christmas fabric, wouldn't it? With all the little wreaths. I called it pinwheel wreath because it circles around. But of course, wreath you think right away of Christmas. But any little thing would be fun. Any fabric would be fun to do it. Even 4th of July would be fun with these circular pieces. But I do love this Nutmeg line, it's a very, very pretty line. All right, one more here. All right, now let's press this open.
I was so pleased at how this came together, how quickly it went together, and what an easy block it was, and yet how much ooh, aah factor it had. All right, so let's take a look. I have some of these blocks already made up here, so let's just take a look at how they fit together. I literally just attach them right together, one next to each other like this, and I have some more down here. I think this would be a darling baby quilt as well. Take four of these, and it makes this darling little quilt right here. These blocks are so big, I don't even have room on my table for all the extras that I have, but you can get that general idea. It makes this secondary little block swirl up here in the middle.
So let's take a look at this. I've got 1, 2, 3, 4 of these big 20 inch blocks across here, and 1, 2, 3, 4 down. So four by four, so it's 91" by 91". Really, a nice, big quilt. Makes a lot of blocks, and it's just quick and easy. Pinwheels circling up, darling block. I can see it in so many different fabrics. And I hope you enjoyed this tutorial on the pinwheel wreath from the Missouri Star Quilt Company.
Hi everybody, it's Jenny from the Missouri Star Quilt Company. We hope you enjoyed watching this video. If you aren't already part of the Missouri Star Quilt Company family, be sure to subscribe so you won't miss a thing. And if you click that bell, it'll notify you every time a new tutorial comes out. See you next Friday.



