

Make a "Quarter Square Pinwheel" Quilt with Jenny Doan of Missouri Star
 Jenny Doan
- Layer Cake
- Traditional
- Lap / Throw
- Beginner
- Quilt size 32" × 65"
Jenny demonstrates how to make a beautiful double pinwheel quilt with split quarter square triangles made from 10 inch squares of precut fabric. Learn how to make scores of half square triangles quick-as-a-wink using the "easy 8" method. Those HSTs become easy 1/4 square triangles with just two seams, and they're trimmed to perfection with the Clearly Perfect Slotted Trimmer B.
Instructor
Jenny Doan
Jenny Doan is an American quilter, author, and YouTube personality. Jenny started Missouri Star Quilt Company in 2008 and today it is the largest quilting supply vendor in the United States.
Shop this tutorial
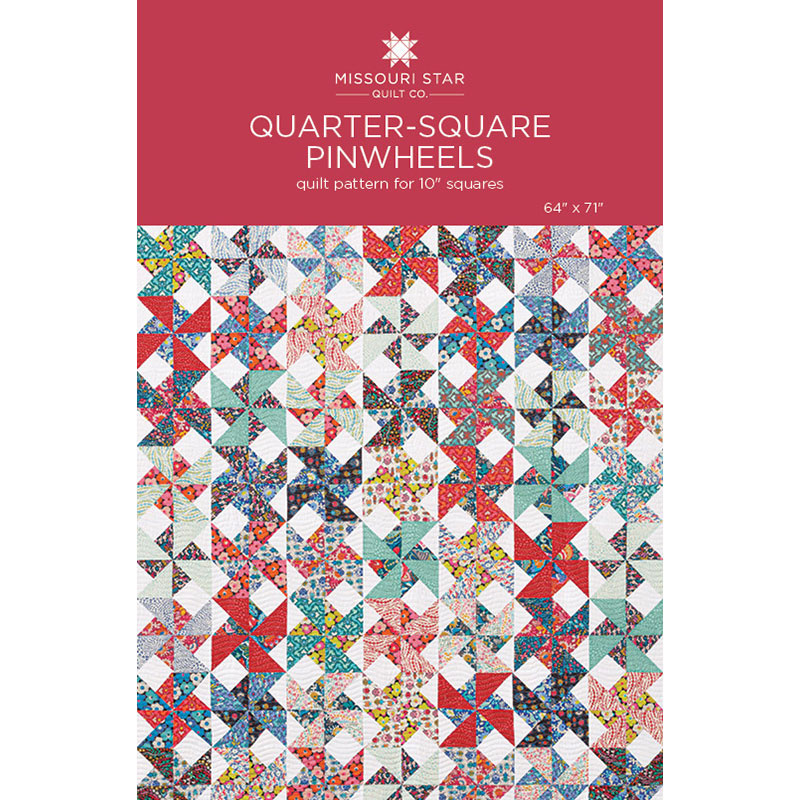 Quarter-Square Pinwheel Quilt Pattern by Missouri Star$5.95Shop →
 Digital Download - Quarter-Square Pinwheel Quilt Pattern by Missouri Star$4.95Shop →
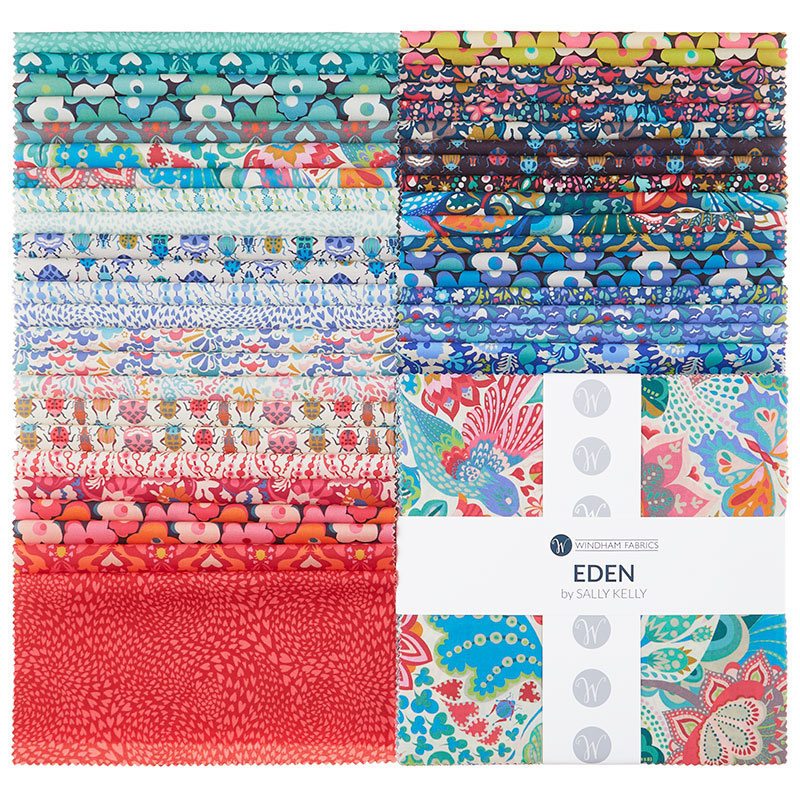 Eden 10" Squares$37.95Shop →
 Kona Cotton - White Ten Squares$30.95Shop →
 Kona Cotton - White Yardage$7.28Shop →
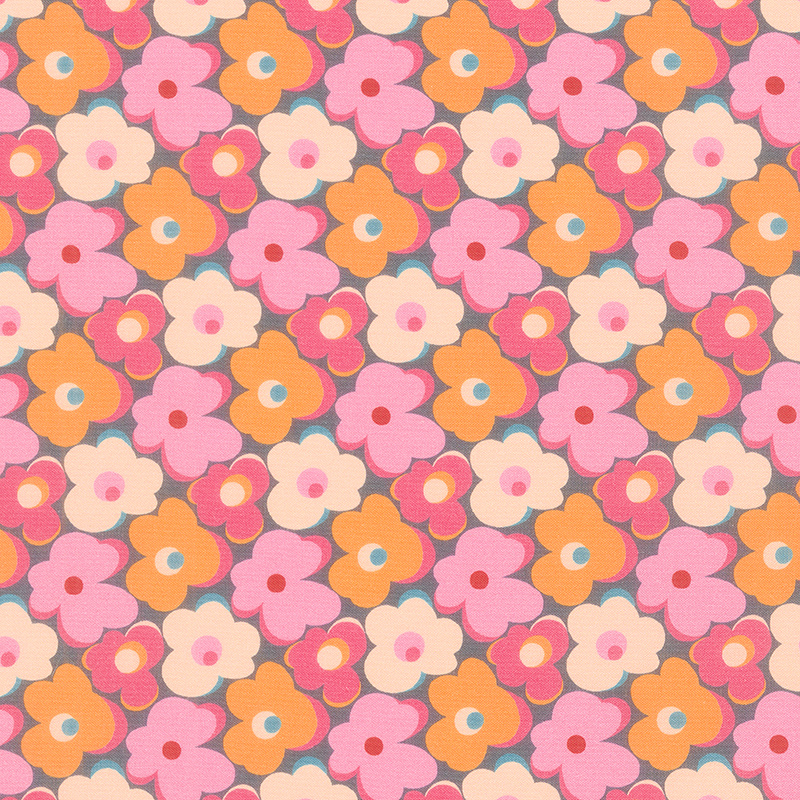 Eden - Flower Bump Pink Yardage$11.24Shop →
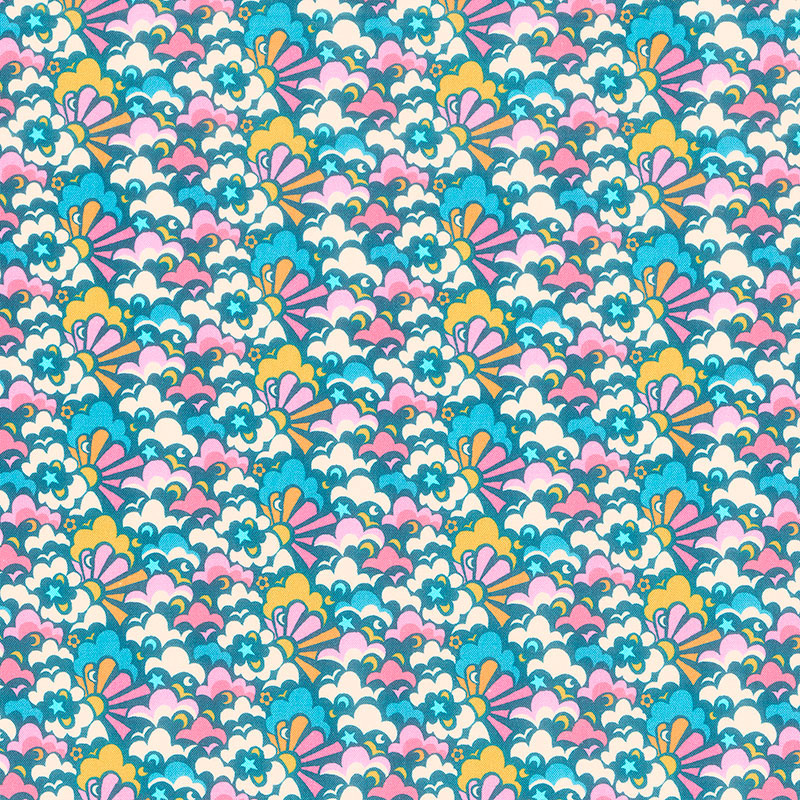 Eden - Cloud Puff Pink Yardage$11.24Shop →
Common Questions
What is covered in Make a "Quarter Square Pinwheel" Quilt with Jenny Doan of Missouri Star?
Jenny demonstrates how to make a beautiful double pinwheel quilt with split quarter square triangles made from 10 inch squares of precut fabric. Learn how to make scores of half square triangles quick-as-a-wink using the "easy 8" method. Those HSTs become easy 1/4 square trian...
How long is the tutorial video?
The tutorial video is 00:16:38.
Are supplies listed for this tutorial?
Yes. The tutorial page includes the supplies and materials connected to this project.
Is a transcript available?
Yes. A written transcript is available on the tutorial page.
Video Transcript
So this is the block we’re talking about. And each time you put together a set to make a block, you’re going to get two of them. Now one is going to turn one direction and one is going to turn the other but we’ll talk about that in a minute. You’re going to need primary print like this that’s a dark. You’re going to need one background square. And you’re going to need two other prints that are contrasting to your main color. Out of the background piece we’re going to make the easy eights. So choose one of your pieces and draw a line on it corner to corner both directions. And what we’re going to do is we’re going to sew on both sides of this line and both sides of this line. And we’re just going to leave this one right here for now. So I’m going to center this up on here. A lot of times you’ll notice when you get pre cuts they have the little pinked edge. And sometimes they don’t match the other pre cut that you have. So just center it up. Choose one edge to follow. I’m choosing to follow my pattern, my printed edge and then I’m just going to sew on both sides of this line and both sides of this line.
So line it up on your machine and just sew down one side and down the other. Alright now we’re going to go on both sides going the other direction. And just use your presser foot as your guide. You want to be pretty close to a quarter of an inch but you have a little bit of play here so now worries. Alright, now what we’re going to do is we’re going to bring our piece over here and we are going to cut this eight times. We are making half square triangles. And we’re going to go ahead and cut it in half vertically. Now our five inch ruler, if you lay it along the edge, it goes right down the center. You can look and make sure that it criss crosses where both those drawn lines come together. We’re going to cut it this way. And we’re going to cut it this way. The reason I like to cut these directions first is because if my block gets disturbed and moved around, I have the lines on all the other parts. So I don’t have to worry about that. So I make those two cuts first. And then we are cutting on both lines like this and like this. And then what we’re going to do is we’re going to press these open. So we’re going to come right here to the iron and we’re going to press these open. I’m going to leave them dark side up and we’re just going to press this so that seam is hidden in the other side. If you ironed the seam to the white side it would show through so that’s why we try to press to the dark side. And we’ve got a few more here. And you should get eight. This is a really easy way to get eight half square triangles. And it works on any size block too. So don’t be afraid to try that.
Alright, so now that we’ve pressed these all open we are ready to cut our other squares. So grab your other two squares. And we are going to go ahead and cut these in half vertically and horizontally. And so here’s our first cut right here. And we’re making five inch squares. Now I chose two different prints because that will make these blocks look all different as I go along. You can use identical prints but then you’ll have eight blocks that are identical. I wanted mine a little more scrappy. So what we’re going to do now is we’re going to draw lines on the backs of all these squares because we are now making our quarter square triangles . So we’re going to take our four of each one like this. Four of one color and four of another. We’re drawing a line on every single one.
So now we have all of our lines drawn and we’re not squaring these up yet. What we’re going to do is we’re going to something contrasting fabric. And we’re going to line up here. And the line is going to go, our seam goes this way, our line is going to go the opposite direction. And we’re just going to center this up on here. You’ll see that, you know, it’s a little bit smaller and that’s ok. So we’re going to center this up and if you feel like you need to put a pin in here that is fine. And then we are going to sew on both sides of the line. And what I did was I lined mine up so the white part was at the top and that seam naturally lays down when I’m sewing through it. So we’re going to do this to our little stack of them. And I’m going to sew down one side of all of them and flip the whole chain and go up the other. So there’s one. And I’m just going to lay this square on here like this. Make sure that my line is across the top like this. And you’ll make a whole chain of these. Make sure you keep putting them right sides together. That’s an easy thing to forget. And again if you press to the dark side and you lay your white piece to the top, that middle seam will just lay down nicely as you sew across it. And we just have two more here. Now we’ve chain pieced our whole row and we’re going to swing that row back around and we’re going to start up the other side. And I’m just going to set them in my lap here so there’s no pull. And this side should go really easily. Alright so now our row is done. And we are ready to square these and trim them apart because this is where the next work comes in.
You want to keep the four background ones together in one pile. And I’m just coming across here, cutting my threads apart in between. So I have these in two different stacks because we are making two different blocks. And so now what we’re going to do is we are going to cut the line on these like this and then these are going to get squared. Ok, so every time you cut one of these blocks in half, when you open them up you’ll see that there’s a pinwheel that is going one direction and a pinwheel that is going the other direction. And you also want to keep those together. But before we do any of that we’re going to square these. One of the reasons I like the clearly perfect slotted trimmer for this is because it has a line this way and it has a line this way. So we’re going to lay our line, my seam line matches the seam line going both directions. And then we can just trim this. So up this side and down this side. And then come in here to the little slots, you can cut your little corners off. And we’re going to do that to four of them and I’ll show you how these blocks go together. But you’ll see right here, so here’s one of our finished blocks and this one is going to be the same on the same side. But half of these are going to go the other direction. So you want to keep, you know, just line it up like this so you have the reds on this side and then all your reds on the opposite side. That will help you keep things together as you’re trimming so you know exactly what you’ve got going on because you’re going to get two sets of blocks from each one of these.
And so, let’s go here and trim this one. Again I’m lining my seam line up with theirs and across the middle. And it’s not always perfect. My seams aren’t always 100% really straight so they’re not always perfect. They’re really close, much closer for me and much easier for my brain to use this than it is for me to use a regular squaring tool. Alright so we’ve got this one done and this one done. And we’ve got one more here. I think I grabbed one off another pile. I’m going to have to fix my piles again. And you’ll get into a real quick rhythm of this. This part tends to go very fast. And it’s nice because you really only have to square your block one time. You know, we don’t do it as we make the half square triangles and we don’t do it any other time, just we’ve got all of our blocks together. We square them once and we’re good. Alright so we are going to finish this last two up here. Here’s our last one. And we’re cutting at four inches. And we’re lining our line up, our seam line matches their seam line. And let’s see, we’ve got one, two, oop here’s my guy who strayed. Alright now we’re going to press these open and I’m going to use my bigger half square triangle as the piece I’m going to lay back. And I’ll show you what I mean by turning two different directions because it does really work out interestingly. And I thought maybe I was going to have to make two different quilts with this because I wasn’t sure what I was going to do with them. But I came up with a really fun solution. And really what happens when you get a pattern where they run opposite ways, you never know what secondary block is going to appear. So when I talk about that what I mean is, when we put this together as a pinwheel and this part comes into the middle. So with a pinwheel all your seams go into the middle. That’s one of the first mantras I do. And so if I have one like this, so actually I want to turn these because I want my red to form the second pinwheel. So see how that’s forming a secondary pinwheel? And this one, I have to remember my red goes in and my seam goes in. My red goes in and my seam goes in. And just like that we have that pinwheel there so that makes a double pinwheel. The same fabric but cut on the other side of the block is going to make a different pinwheel. Even though we put it together the same way but it’s going to turn the opposite direction. And so let me show you what I mean by that. Let me scoot this guy down. Wait for it. There we go, alright. So see how this pinwheel is, the points are all going this way? On this one they’re all going the opposite way. So let’s go ahead and sew those two together and I’ll show you how they fit into the quilt.
So we’re going to pick this up just like a four patch. We’re going to sew the two of them together. And I always lay them out before I sew them, otherwise I would just have a mess on my hands because I am not one who can do that. So we’re just going to sew these together. And we’re going to open this up and make sure that it all still works, put them right sides together. There aren’t any seams to line up on these except for the center seam and so that’s all you’re watching on this. Alright now we’re going to do this one. And so again I’m just going to fold this over and I’m going to do the top row. And it’s just four blocks. And then this is the bottom row. And then we’re going to go ahead and open these up and make sure it’s right. It is. And put those together. Alright now let’s press these open. And so we’ll come over here. Actually I’m going to press on this a little bit so it lays down nice and flat. And I love this little block. I think this is a fun little block and there’s so many different things you can do with it. It’s a very old block, easy way to make quarter square triangles.
Alright, so here we have our two blocks. Now you’ll notice this is from the same easy eight. Here’s the same fabric right here but I haven’t even trimmed these and already I have two. So we’ll get two out of this side as well. And so what I’m going to show you now is how I set them. And I played with this a bunch of ways. So I hope you guys have fun and play with these because there’s a lot of different things you can do including making two whole different quilts. But this row right here, let me grab this one, I started with these. And you can see, see this point is going this way, this point is going this way. This whole row points this way. So this whole row up here points this way. And then this next row pointed the opposite way. So here’s this one and see the little peaks right here, the little noses, they all point that way. Now if you didn’t think as it’s laying down there, there were several times where it was like, wait a minute, that one is not right. You know, it’s very easy to get this confused. And so that’s why I decided to do one row this way, one row this way, one row this way, one row this way. So we’re going to get one, two, three, four, five, six, seven, by one, two, three, four, five, six, seven, eight. It makes a great size quilt. It’s 64 by 71. We’ve got a 2 ½ inch border out here on the inside, a nice big six inch border out here. And the backing, look how fun that backing is. Isn’t that a great piece of backing? Just adorable and this is one of our new quilting patterns that we’ve just added. It’s called Wavy Lines and it’s just really pretty. And we hope you enjoyed this tutorial on the Quarter Square Pinwheel from the Missouri Star Quilt Company.
Hi everybody, it’s Jenny from the Missouri Star Quilt Company. We hope you enjoyed watching this video. If you aren’t already part of the Missouri Star Quilt Company family be sure to subscribe so you won’t miss a thing. And if you click that bell it will notify you every time a new tutorial comes out. See you next Friday.



