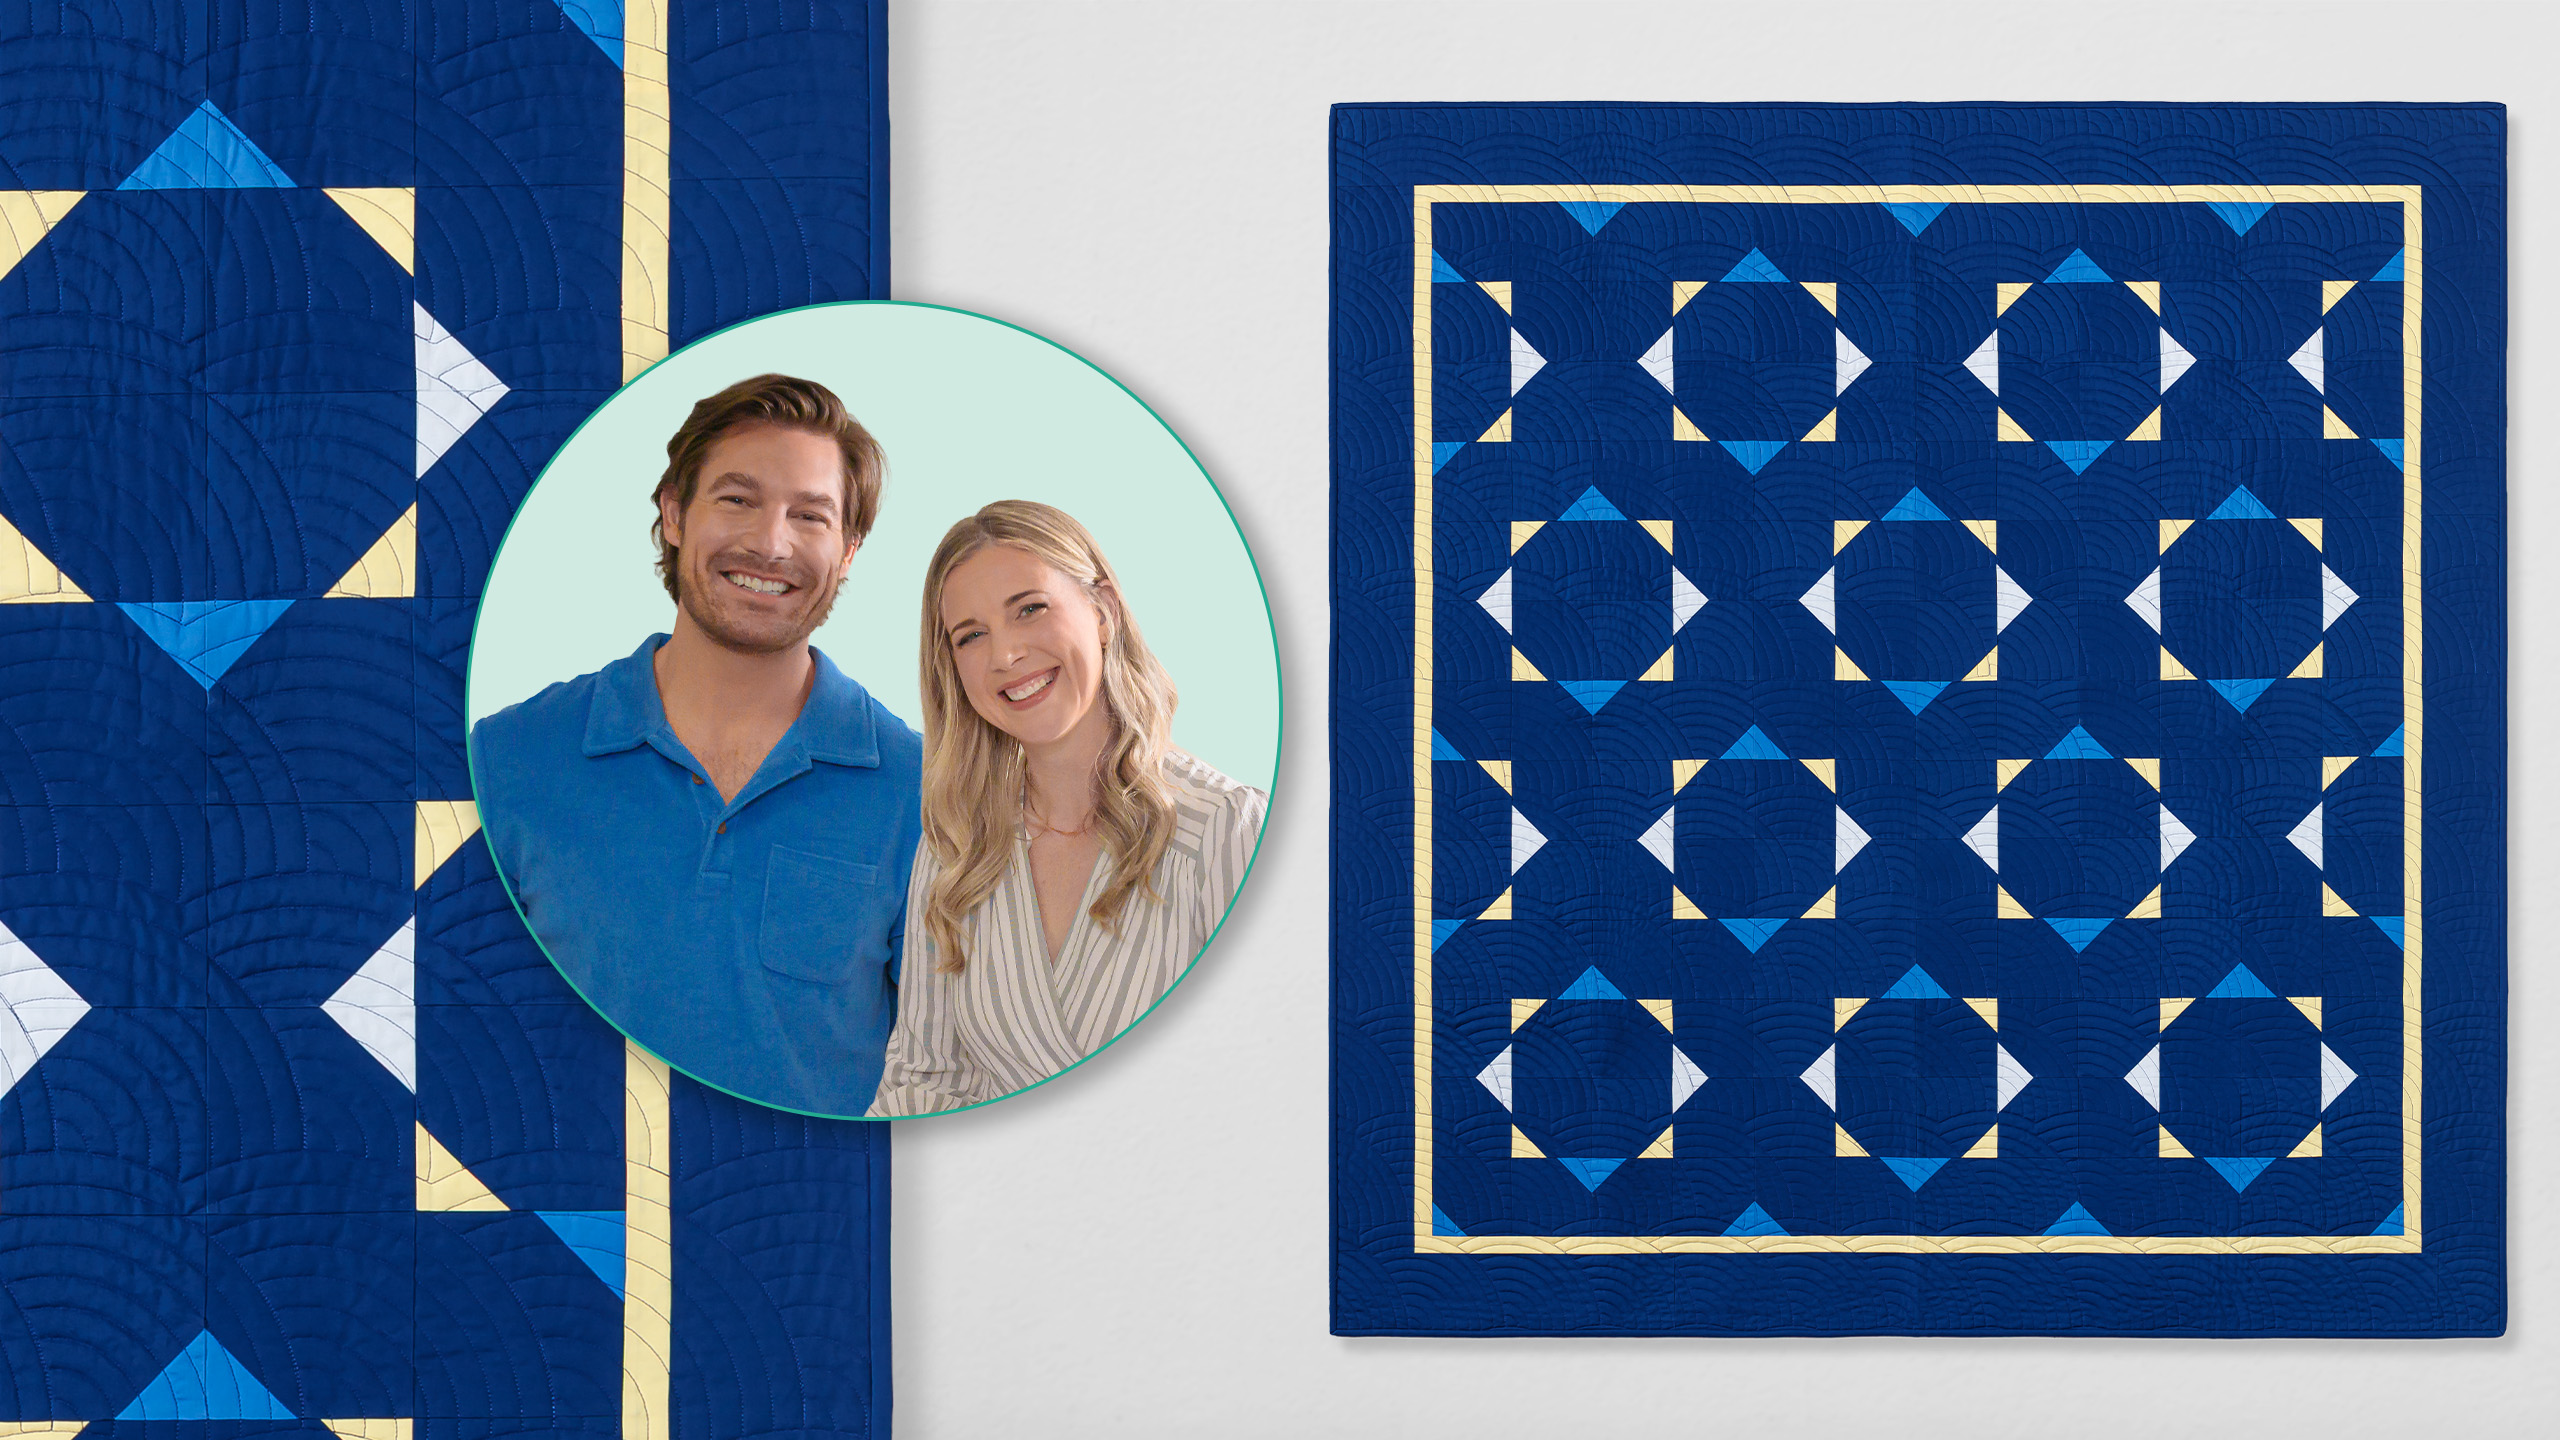
Make a modern quilt with Craig Conover of Sewing Down South! Clean lines, simple geometric shapes, and lots of negative space are used to create his Pecking Order quilt. The result is striking!
Misty Doan grew up surrounded by sewing and quilting. She loves spending time sharing tutorials each week each week, and when she’s not stitching up one of her fun sewing projects for home decor, most likely you’ll find her hanging out with her husband and three awesome kids or working on a house project.
Make a modern quilt with Craig Conover of Sewing Down South! Clean lines, simple geometric shapes, and lots of negative space are used to create his Pecking Order quilt. The result is striking!
How long is the tutorial video?
The tutorial video is 00:16:34.
Are supplies listed for this tutorial?
Yes. The tutorial page includes the supplies and materials connected to this project.
Video Transcript
[Music] All right, Craig, welcome back. Thank you. It's It's been a wonderful visit to Hamilton. I hope you're enjoying it. I really am. It's a nice like kind of slow pace here in our small town. Really finding inspiration in all the stores. I think I'm intimidated of the big project, but I shouldn't be cuz everything you've taught me so far has gone great. Yeah. Well, I think you're going to be really surprised because I sent you some quilt patterns to choose from when we were uh gonna gonna do this together and you picked this quilt called pecking order, which I have to tell you, I was so excited because it is so easy to make. It's not why I picked it. I had no idea. Well, you didn't know. I think it's just it's like whimsical and it reminds me of a blanket or a quilt that I had um from my grandmother that was always on my bed and again I didn't have the appreciation for it but it just always felt cozy and of course safe and this just reminds me of that. So I think to make a quilt that matches our spring line, our lemons line from sewing down south would be great and to make a quilt would be a huge accomplishment. So well you're going to do it. I have faith in you. So let's dive right into it. So, we we used these beautiful samples um to pick out some fabric at Penny's. And so, these were the the fabrics that we chose that matched them. Now, we get to kind of divvy it up and decide how we're going to use them in this pattern. Okay, great. And so, I did make a few little changes to kind of make it easier. And so, there's this great printable that we made that explains the difference between this first pattern and the quilt that we're going to make together today. And so, as you can see, this one's really scrappy. Yes. And we're using this palette that matches your collection. And so, it just takes you through and tells you how much of each fabric you're going to need. So, to begin with, we're going to need 38 of a yard of this kind of medium blue. Okay? Then, you're going to need a third of a yard of this light blue. You need 5/8 of a yard of the yellow. And I also decided to add an inner border. And that includes this. Oh, cool. And then we're going to use this dark blue as the background, which is going to give a really nice variation to this first one. Um, and so for that, you need four yards of your background fabric. And so now we can dive into making this. Yeah, let's do it. All right, so to begin with, I think we selected the colors perfectly. I think so, too. Don't they look great together? So, we are going to open this up and I'm going to let you cut just like you did before, but I'll help prep this a bit. And so, from this color, our background color, all we need to do right now is cut some 5 in strips. And then we're going to subcut it into 5 in squares. Okay. So, you did this before on our runner. So, same concept. Should I give us a clean edge? Yeah, absolutely. Okay. All right. And then we'll go five inches. There we go. Perfect. I used to sew at my dining room table when I started and would have all of this like out. But I obsessed over the cutting and making sure it was precise with the pillows because I didn't really understand forgiveness at the time. Yeah. So much easier when you're nice to yourself, like you said about So true. And that'll be enough for us to get going for now. And so I'm going to have you take two of those strips that you cut and stack them up. Um, but I like to stack it to make sure you can see the salvage because we're going to want to get rid of that. So I'm just going to fold this a little bit farther over. Okay. We'll just make sure that's hanging past. And then you can just trim off all of that salvage and that first fold. Okay. And then we're gonna hopefully this isn't too many layers. If it is, well, we'll see. Well, you can you can see I I'm like living on the the wild side, you know, like right here. Yeah. Just to get rid of that. Perfect. There we go. And so we're just going to cut it into five inch squares. So if you want to slide it over there for you. Yep. It must be funny watching someone else cut and count. It's good. They're doing it. Okay. One, two, three, four, five. Yep. So, you just have a little bit left there. And if it's helpful, you can flip that around. Whatever is easiest for you. Let's go. Switch. All right. Ambidextrous. That's right. Perfect. All right. So these five inch squares, believe it or not, are like the base of our entire quilt. So pretty magical. And so then from our other accent colors, we're going to cut some 2 and 1/2 in strips. And so to save a little bit of time, I actually cut them for you. So I have some ready to go here. I guess all the seam work and the patchwork adds structure to it and like body to it cuz I was always like, how does this turn into a quilt, right? it all cutting it into small pieces. All of the mini layers together adds all the fun details. And so these are just two and a half inch strips. And I just cut one of each color to get us started. Okay. And we are just going to stack these up like this. And then you can lay your ruler across them all at one time. And we are going to cut them at 2 and 1/2 in. So, if you want to cut off the fold to begin with. Okay. And then make your way across. Great. Then two and a half. Two and a half. Yep. Perfect. This cutting board really makes things easy, doesn't it? Yeah. I found that I like a mat that doesn't have a ton of lines on it. There's like just enough on this one that I can really see what I'm looking at. Right. Um, which makes a big difference for me. We actually can do one more there. One more. Perfect. Okay, looks good. Look at all those squares. Yeah. So, I'll take those scraps and toss them under here. And so then now we are just going to stack these up in their little color piles. Okay. Yeah, I noticed you do that every time. It just helps me keep them all organized. So now this entire quilt we are just going to take one of our 5 in squares and we are going to set our 2 and 1/2 in square on one corner and we're going to sew from point to point. Okay. And that's literally all you're going to do however many hundreds of times we need to to make to make this quilt. Yeah. Oh, cool. So there really is a lot of love and care and attention put into each quilt. Absolutely. So if you receive one as a present, you should really should absolutely cherish it. Someone has spent a lot of hours to make this this happen. And so to help, let's just go ahead and draw a line here. And so any any marking tool will work. This is going to be in your seam. And so you're not going to see it on the finished quilt. So I've just got a little pencil here. And so you're going to sew right on that marked line. And I'll just keep prepping a few of these. And you can just put one in the machine right after the other. And we're just going to make a whole bunch of these little blocks. And when it all comes together, I'll show you how to lay it out. [Music] Beautiful. There's that one. The lines on this machine really help. Yeah. That's called um diagonal seam tape that we put on there. Oh, and so yeah, actually we can pick some up while you're in town and you could add it to your machine. We're just going to keep marking and sewing until we have a whole bunch of these ready to go. All right. And so then while you finish that one, I'm going to go ahead and trim this off. And so we're just going to leave a quarter inch seam allowance on the outside of our stitch line. So you can see here, I'm just going to lay my quarter inch mark here and trim off this excess. And then every single one of these, we're just going to roll this back so that it makes a point. Makes a point. And this method is so great because your squares stay 5 in. And so even though you've added this little corner, all your squares are going to match up with one another. Yeah, the ironing trick is something I will take home. You'll use that, huh? Think to do it from the top. When someone showed me that for the first time, it was like a game changer. And it's so simple. you feel so silly, you know, but it really does make like, why did I not put this? Make a huge difference. All right, so let's just keep on going and then once we have a whole stack, we'll lay it out. So you have a whole bunch of these ready to go. And our stacks look different. Yes. Yeah. So we just divvied them up by color cuz we're going to play with some color placement a little bit with this block whereas the original pattern was just completely random and scrappy. And so for this, I'm gonna start by putting two of these together on the top. And then this color. Make sure I'm turning it correctly. I made myself a little color guide here so we can check. So actually then the yellow comes in next. And then these go out here. Oh wow. And so you can see this is all just our simple squares. And then we do another one of these blues in the corner just like so. And a yellow. It's really crazy how comes together, especially when you know it's just this one block. Yeah. And so once you see that, it's pretty magical. And so then these will be all We'll do one for every pillow collection. There you go. That'll be so fun. All right. And a few more of these on this bottom end. The challenge is going to be when I don't have you with me trying to figure this out. Oh, that's all right. I think laying it out is the key. Oh, absolutely. Even if it's on your floor or whatever it may be. I mean, I have that big workspace now, too. Now you have plenty of room to lay it out. And so this is our block. So would you do make this column and then make this one? So actually when I have a block like this, I like to start in like columns of two. And so I'll fold this over. And remember how we talked about chain piecing where you can put one right after the other. This is a great opportunity to do that. So you'd sew this one and then we'll add this right behind it. And then once we add these, we'll open it up and add this next column. Just keeping it all in a row. And that helps keep your block like all the way it's supposed to be and you don't get, you know, twisted when you take one thing from the machine to the other. So, I like to do it that way. They're mer you merging seams with these or not yet. That's the other thing that's super great is when you're sewing these together, you're really not lining anything up. And so, then you can just start by sewing on that side. And I'll just keep handing them to you. And then that one goes in right behind like this. Yep, exactly. There's that. Team stitching is That's right. Her team quilting. Do have to say um quilting is more fun with friends. Am I worried about pinching that or I'm not. It's always good to to just readjust, you know. Might as well. There's one more. And we'll just keep on going until we have our block all together. And then cut for the Yeah. For one row. Exactly. And so then we can bring this back over here. And you'll see when we open it up, it just keeps everything in the orientation that we started with. And so then we can just add this one first. And then we'll just make our way down the row. Okay. My first quilt. And it's really like it's just every project is made out of putting a bunch of quilt squares together. It really is. And and once you figure out these techniques that you you've learned as we've worked on this together, you realize it's really just about the quantity of these blocks that you make. So that'll open there and this one will sit next to it. There you go. And it's not really any harder. It's just going to take a little bit longer cuz you're making more blocks. Right. So, have you been doing this before and realized you sewed the wrong block in the wrong place? Oh, of course. I actually love to remind people that even though I've been quilting for years, I still can't think of a single quilt that I've made where I haven't had to use a seam ripper at least once. Like, that's just part of it. So, that one goes like that. Yeah. So, this is really just something to be like patient with yourself and enjoy. And remember, it's not like a race like That's exactly right. Part of the value comes from the time that you put into it. Exactly. And mistakes are just part of life. And the more we can just kind of let those roll off our back and enjoy the process, the better it goes. Yeah. And that's what a seam ripper is for. I think our first time we talked on stage, I said that was my favorite tool. I think you're right. And so then we'll add this last column. And then once we have all of those together, then we'll sew our rows together and our block will be done. Wow. All right. All right. Look at that. Let's see. That looks awesome. That's how you make a quilt. That's right. That's pretty great work. What do you think? I think it's awesome. It's fun because I like checking things off like a list or boxes and each piece of this feels like an accomplishment. Yeah. Like you don't have to be overwhelmed with it. You can do this and then go have dinner or go to bed for the night or Exactly. do it and then be like, "This is fun and it's an ongoing project and tomorrow make a second one." And but today we're making all of them. Today we're going to make all of them. So, let's let's, you know, talk about that. So, if we look at the journey, it's like a it's small little victories. I love that you mentioned that cuz that's so true. Like, we need to just Yeah, this feels like a win. It is a win. So, we need 1 2 3 4 5 6 7 8 9 10 of these whole blocks. So, you're getting there. Making good progress. We need a lot more squares of this. That's true. So, we'll have to cut a little bit more. And then we're also going to make four of these little half blocks. Um, but then we're just going to put this all together, add the borders, and this quilt top will be done. Okay, great. Well, I think I know where to go after making this one. So, I'll leave you to it. Thank you. All right. Oh my goodness. The final seam. All right. I feel like I need to hold this up so you can see it. Look at what you've made. See, that's crazy. Look at that. The border looks so good. I think it turned out really fun. So, that's another like slight change we made from the original pattern. We did this little one and a half inch inner border of that yellow and then a all like skills and techniques that you pick up that you can fully customize. Exactly. So, look at all those. This already feels like so much. It feels like a quilt instead of just like one big thing of fabric. Like feel I mean I know you know but like it's all together. It's just so that that euphoric feeling of creation, I guess it's called, when it all comes together. I mean, this is really really special. I think so, too. So, let's go ahead and take this to machine quilting so we can quilt it all up and you'll have a finished quilt to bring home with you. So, everybody, please join us for our final episode next time where we're going to take this to machine quilting. He'll pick the thread and the stitching pattern, and we'll finish this beautiful quilt for him to take back to Charleston. [Music]

 Misty Doan
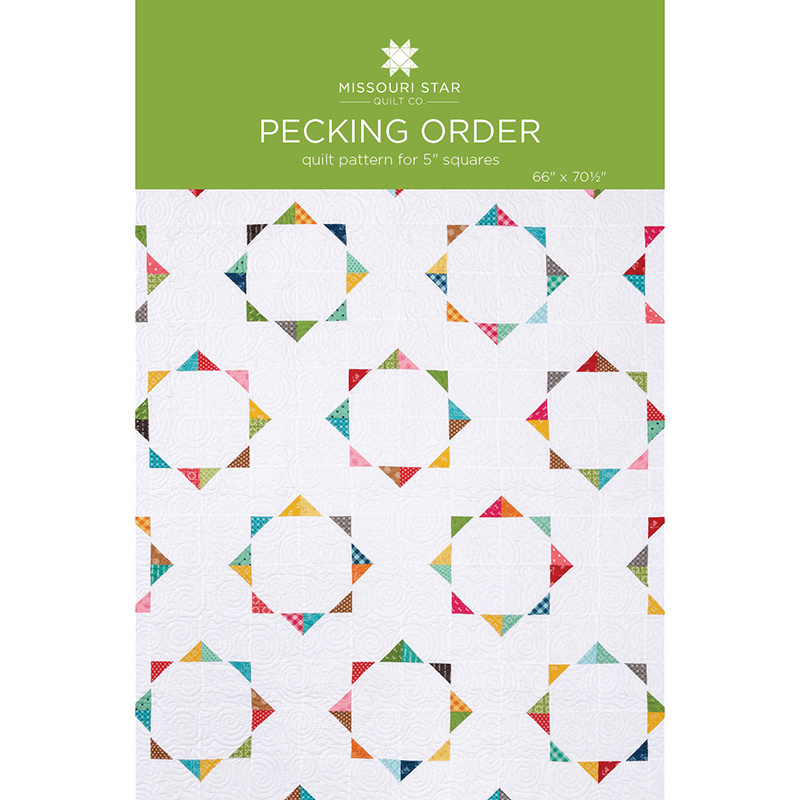 Pecking Order Quilt Pattern by Missouri Star$8.50Shop →
 Digital Download - Pecking Order Quilt Pattern by Missouri Star$6.95Shop →
 Kona Cotton - Harbor Yardage$7.48Shop →
 Kona Cotton - Sky Yardage$7.48Shop →
 Kona Cotton - Lemon Yardage$7.48Shop →
 Kona Cotton - Prussian Yardage$7.48Shop →
 Essex Linen - Black Yardage$11.96Shop →
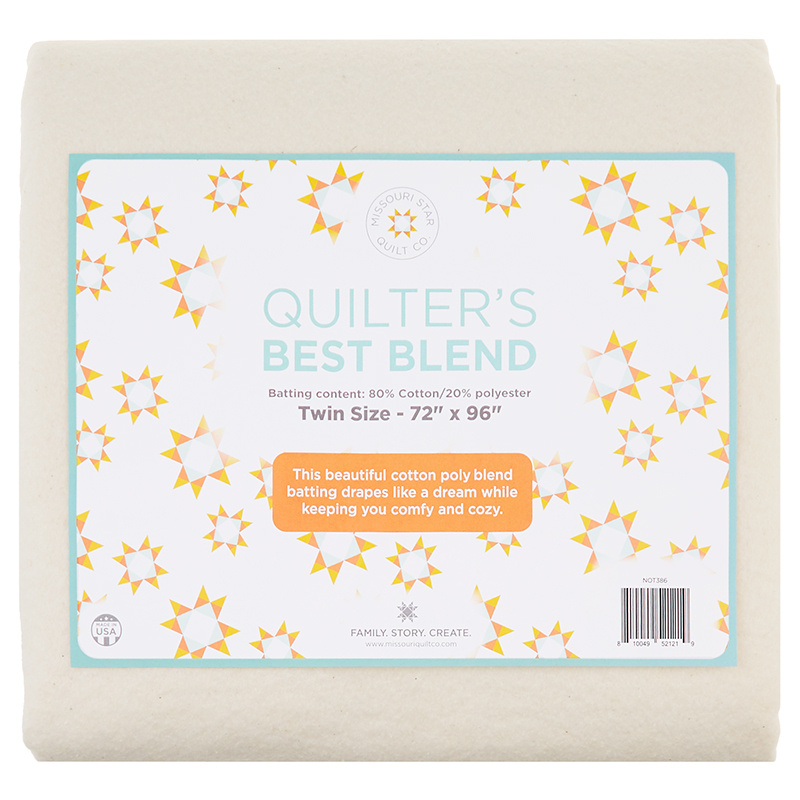 Missouri Star Quilter’s Best Blend Twin Batting$26.95Shop →
 Missouri Star 5" x 15" Ruler$19.95Shop →
 Missouri Star 45mm Rotary Cutter - Olga$19.95Shop →
 Missouri Star + Oliso TG1600 ProPlus Iron$209.95Shop →
 Missouri Star Wooly Betty Board - 17.25" x 25.5" Orange Border$99.95Shop →
 Bernette 77 Sewing and Quilting Machine$1549.00Shop →


