

Make a "Rocky Mountain High" Quilt with Jenny Doan of Missouri Star
 Jenny Doan
- Layer Cake
- Modern
- Double
- Beginner
- Quilt size 73" × 81"
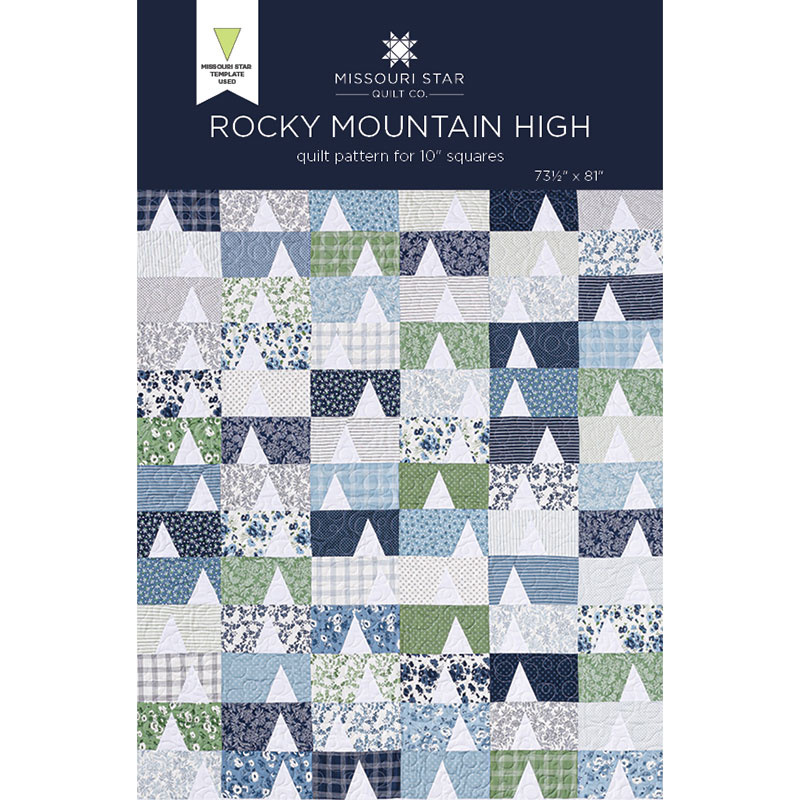
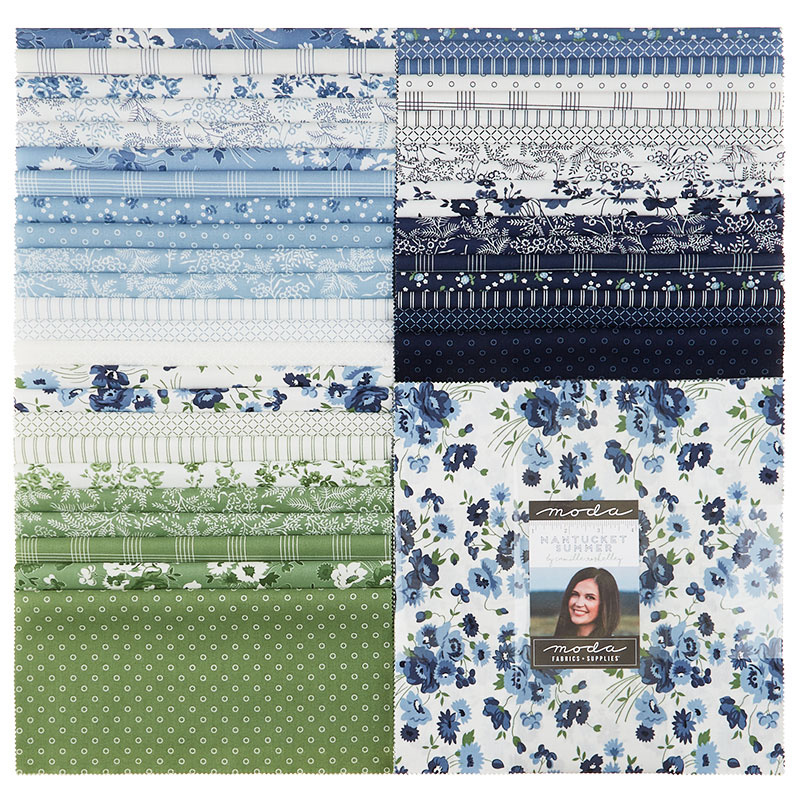
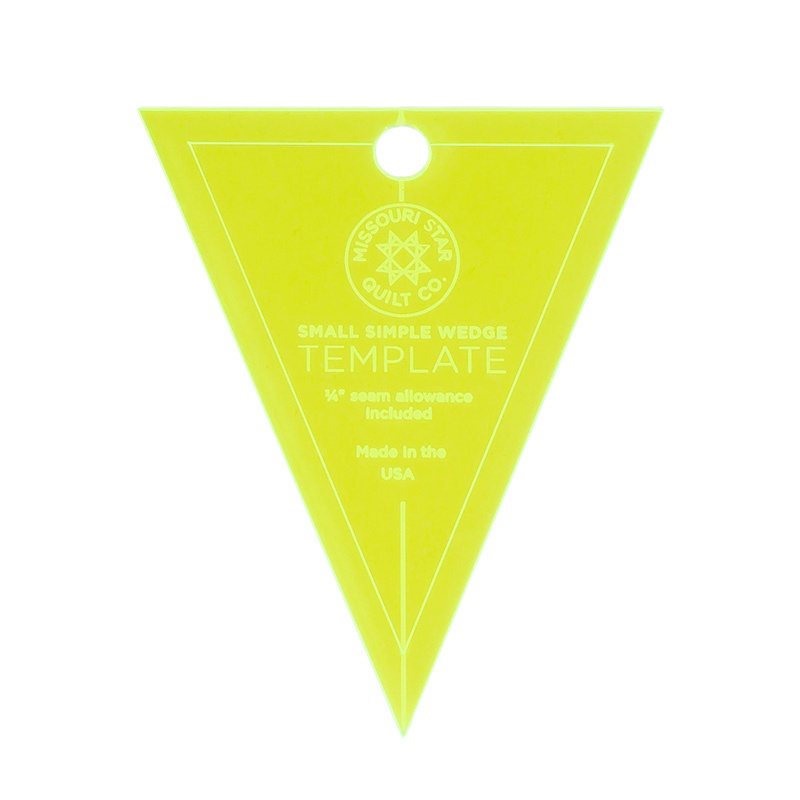
Jenny conquers majestic quilty mountain peaks with 10 inch squares of precut fabric and the Small Simple Wedge Template. For this project, Jenny used the Nantucket Summer Layer Cake by Camille Roskelley for Moda Fabrics. These little mountain quilt blocks are framed with a charming mountain peak border. This is one quilt that even John Denver would love!
Instructor
Jenny Doan
Jenny Doan is an American quilter, author, and YouTube personality. Jenny started Missouri Star Quilt Company in 2008 and today it is the largest quilting supply vendor in the United States.
Shop this tutorial
 Rocky Mountain High Quilt Pattern by Missouri Star$5.95Shop →
 Digital Download - Rocky Mountain High Quilt Pattern by Missouri Star$4.95Shop →
 Nantucket Summer Layer Cake$45.95Shop →
 Bella Solids - White Bleached Yardage$8.24Shop →
 Missouri Star Small Simple Wedge Template for 5" Charm Packs$5.95Shop →
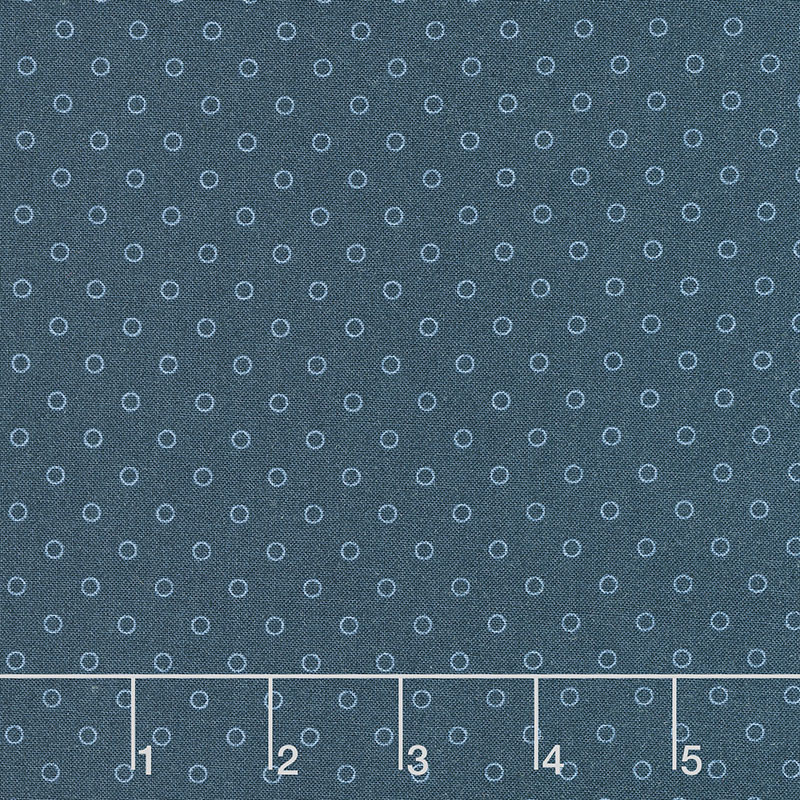 Nantucket Summer - Smitten Dot Navy Yardage$11.96Shop →
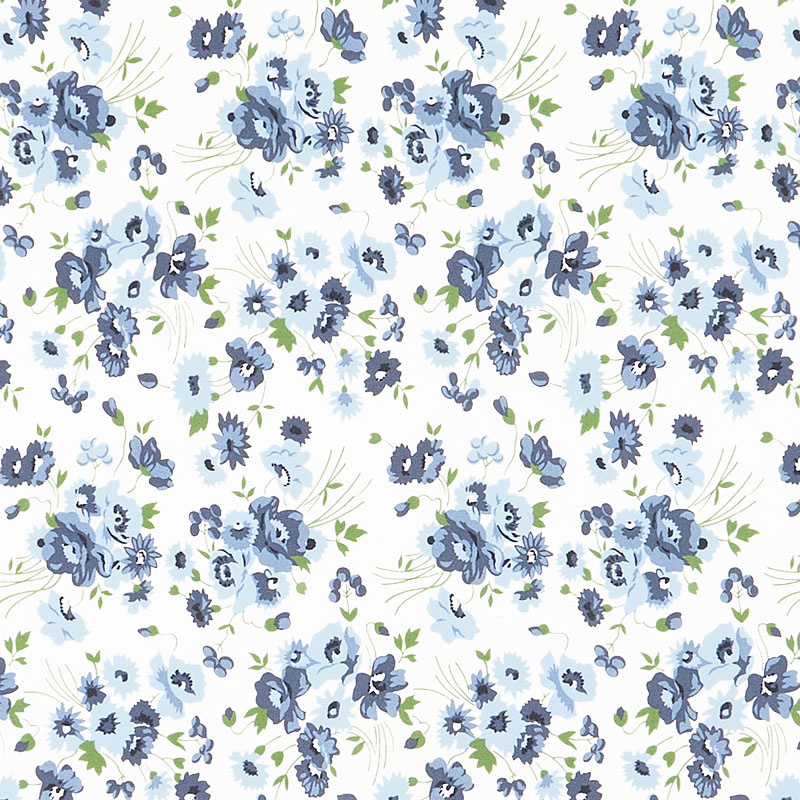 Nantucket Summer - Somerset Cream Multi Yardage$11.96Shop →
Common Questions
What is covered in Make a "Rocky Mountain High" Quilt with Jenny Doan of Missouri Star?
Jenny conquers majestic quilty mountain peaks with 10 inch squares of precut fabric and the Small Simple Wedge Template. For this project, Jenny used the Nantucket Summer Layer Cake by Camille Roskelley for Moda Fabrics. These little mountain quilt blocks are framed with a cha...
How long is the tutorial video?
The tutorial video is 00:14:49.
Are supplies listed for this tutorial?
Yes. The tutorial page includes the supplies and materials connected to this project.
Is a transcript available?
Yes. A written transcript is available on the tutorial page.
Video Transcript
So let me show you how to make this. So this is really fun. So to start, you're going to open up your pack of fabric. And I kept my pieces together just like they are in the pack because we're going to take out about six at a time. So I'm just going to go through here and I'm going to grab a little stack. And it feels like, I'm not going to tell you a hundred percent, but it feels like it's about six pieces. And what we're going to do, first thing, is we're just going to cut these in half like this.
So you're going to go ahead and cut your whole layer cake right in half in pieces like this. Now, one of the reasons I like to keep them in a little stack of a few is because it's pretty easy to cut these pieces a few at a time, and then you actually have quite a few done at once. So then you're going to take your small, simple wedge like this. And you're going to decide where you want your mountain to fall on this thing. And this is entirely up to you. And maybe you want it over here. Maybe you want it smack in the middle. Maybe you want it over here. So let's look at the quilt back here, because this one is middle-ish. This one is to the right. This one, where's one here to the left. Wherever you want them.
And because I kept these in order, these colors are going to fall in different places on the quilt. And so even if they match up, it's not a problem. But what we're going to do is we're going to lay our little simple wedge on our piece, like this, match it up on the bottom, and we're just going to make a cut. And we're going to cut all the way across. Now, when you get to the tip right here, you just got to be daring and go all the way across, just like that. Leave your template where it is, and then we're going to cut the other side.
So pull this apart. Now, this part right here that has the little notch on it, that's the part we're going to sew our new white mountain to. So this piece right here, we're going to put up at the top because that's going to become our border piece. So set these over here. Out of your background fabric, you're going to cut a four and a half inch strip. And that should just be just almost perfectly the right size for this little template. And what I went ahead and did is I just cut as many as I could get out of a strip.
So we're going to cut this way and we're going to cut this way and we're going to slide this out. And then I'm just going to turn this template over here and cut, cut again, and turn it and cut. And we're just going to do this to the whole strip so we can get lots of mountains, lots of these done at the same time. And then on this one right here, you can open it up and get one more set of two cut. Make sure that's nice and straight. I veered a little bit.
So then you're going to stack these up and then we're ready to sew these together. Now each set of six that you do, like maybe this one over here, I'm going to cut my mountain way out of the right-hand side over here. So each time you pull up a stack of these and you cut them right in half, and then you're going to cut them in a different place across, which determines where your mountain is. Because no mountains line up. We have a friend right now that is hiking the Pacific Crest Trail, and she gives us an update like every day. And it's so fun to see where she's going. And I just had her in mind when I was making this quilt.
So now we're ready to put our little mountain in the middle. And what we're going to do is we're going to take this piece right here and make sure you only have one. And we're going to lay this little mountain on here like this. Now we want to make sure that when we overlap it, that it stays straight with the bottom. So you're going to hang it over just a little bit, about a little less than a quarter of an inch, just a little bit so the peak sticks off just like that. And then we're going to go to the sewing machine and we're going to sew these on. And you can do the whole side of yours to chain piece them. So we chain piece a whole bunch of at the same time.
So just hang off that little edge a little bit, and then we're going to sew right down here. We'll add the next one in. So when you're sewing these on, make sure that you get your mountain going the right way, and this helps if you chain piece, because you'll do the same thing over and over again. So my wide part of my mountain is going at the narrow part of my cut layer cake square. And so we're just going to sew up here.
And a lot of times I will actually set these up here how it makes sense in my brain for them to go. And so this one right here, this is my narrow part. My wide part's going to go up there. And I'm going to hang it off just a little bit. And we have just two more and let's go ahead and do those. And I'll show you how fast this comes together. One more little mountain up here. Now, it's a good idea to head over and iron these. And I'm just going to trim them apart like this. And then I'm going to head over here to the ironing board and iron these. And I am just going to press this wide open like this.
So then what we're going to do now is we're going to add the other side. And so I'm going to take this one right here, this piece, and I'm going to put it right here. And so I'm just going to lay this back and I'm going to line it up. I'm going to let this little peak stick out just a little bit, and then we're going to go up here. Now, you'll see this part sticking out up here, you can trim that off if you want. I don't worry about it. I just go ahead and sew my little side piece right on there like this. And I just keep my foot along the quarter of an inch. And I always turn it over to make sure I have it going the right way, because I'd rather check than pick.
Then we got this one. And we are going to lay that right on there like that. And then these. And there are a lot of doubles in this, which I think makes it kind of fun because we're cutting them up. And you'll see in a little bit, I'll talk about how many rows I have. There are actually 13 rows. I didn't do a full 14 rows because there were some white fabrics in here and they didn't show up with the mountains. So I opted for a few less blocks because I wanted all my mountains to show up.
All right, so let's clip these apart and then we'll iron them open. And again, I'm just going to fold this back. And as long as you have your little corner peeking over just a little bit, they should be fairly straight. If they're not, just trim them up. And as long as your blocks stay the same size widthwise they'll work perfectly. So now you see, we have these darling little mountain blocks. How easy was that? All the different colors. And then your next set, you just want to make sure that when you cut your next set, you move this template. Don't leave it in the same place. Move the template so that it's in different places.
Now, I have some pieces over here already cut. And so as we go to put this together, it's so simple because we're just going to line it up in rows. So we have here, we're just like this, and you can see the next row's going to come in and they're just going to match up and they're going to be in a different place. Your mountains are going to be in different places. And you're just going to line them up.
So we actually have 1, 2, 3, 4, 5, 6 across, and then we have 13 rows. And again, the 13 was because we had some pieces that were like this one right here. This wouldn't show up. It's a gorgeous piece of white on white, but it wouldn't show up with our little mountain. So I opted for a few less pieces. So now we have this whole pile of these little mountains that we've left sitting out, and I wanted to use those in the border. I just thought it added such great interest to that border. And so I have a bunch of these little pieces over here. And you're just going to save your whole stack. And then we're going to put them together in rows like this. And what we're going to do, if you want to sew these together by two, here is the trick.
You have to make sure that your mountains are going the same direction and you're putting them on, on the same side. If I were to sew this to this side, then these wouldn't work. I wouldn't be able to stitch them together. So I always put my mountain peak down here and my colored piece you put up, so this is the narrow part, you put the wide side to the top like this, and you put it right alongside it like that. And I always did my white on the bottom. That was my mantra for remembering how to do this.
So let me just show you how I did a few of these, so you can see how that goes together and how easy it is. So this triangle lays pretty much right in that corner. And again, I'm going to take a white piece, a white mountain, and then we're going to put this one on top of it and the wide part to the top. And I have one of these. So let me grab one of these because I wanted all different ones next to each other. But I do think it does a stunning thing to the border.
All right. So we've got a few here that I can show you with. And we're going to press these open. You can finger press if you want and keep going. But you should end up with pieces that look like this. And then what we're going to do is we're going to start sewing these pieces together. And you see how easily we get that whole big, long finished border. So let's go ahead and sew a few of these together. So again, you can see how easy they are. Again, they're going to fit right in there and we're just going to sew a quarter of an inch. And I did a bunch of twos. Then I did a bunch of fours. And then I did a bunch of eights. And then you can literally start just pulling them all together into one long piece. And so we're going to lay this in here like that. And see how fast this is coming together. And you want to make sure that you have a colored wedge in between a solid wedge and then you get this cool border like this. How fun is that?
So here's what we did. We have six across, 13 down. I put a white border, a small two and a half inch border, on first. And then I added this border in there. And I just think it looks so good. On the sides, I have 21. And then across the top and the bottom, there are eighteens. And I put a little four and a half inch square in the corner up here because I couldn't figure out how to get that peak in there. But when you're ready to cut the sides of your border, you're just going to cut down the center of your white square like this.
So just line your ruler up along the bottom and get a little offset of this point right here, and then just trim this right here. And then you can sew this straight into the seam when you get up here on this top side right here. And again, this is a four and a half inch square, whatever size your border is. If it's a four inch border, it's four inch square, four and a half inch border, four and a half inch square. So whatever size that is. Nice, big six inch border out here. I bound it with the backing fabric. Look at this back. Isn't this gorgeous? Really pretty, pretty floral back. And just great.
The quilting pattern on this is loops and swirls. It's just kind of a fun, all over pattern that I really like. And it makes a quilt that is 73 by 80. So if you have anybody who loves the mountains like I do, and like I have friends that love the mountains, this is a great quilt for them and just a really quick, easy project. And we hope you enjoy this tutorial on the Rocky Mountain High Quilt from the Missouri Star Quilt Company.
Hi, everybody. It's Jenny from the Missouri Star Quilt Company. We hope you enjoyed watching this video. If you aren't already part of the Missouri Star Quilt Company family, be sure to subscribe so you won't miss a thing. And if you click that bell, it'll notify you every time a new tutorial comes out. See you next Friday.



