

Make a "Room at the Table Runner" with Misty Doan on At Home With Misty
 Misty Doan
- Layer Cake
- Table Runner
- Beginner
- Quilt size 80" × 16"
Colorful, fun, and perfect for Thanksgiving! Watch-and sew along with-Misty as she creates the Room at the Table table runner. This pattern by Missouri Star features simplistic geometric shapes to create a dynamic table runner. Add some bright colors to your table setting with this beautiful table runner!
Instructor
Misty Doan
Misty Doan grew up surrounded by sewing and quilting. She loves spending time sharing tutorials each week each week, and when she’s not stitching up one of her fun sewing projects for home decor, most likely you’ll find her hanging out with her husband and three awesome kids or working on a house project.
Shop this tutorial
 Missouri Star Quilter's Best Blend Bed/Table Runner Batting$14.95Shop →
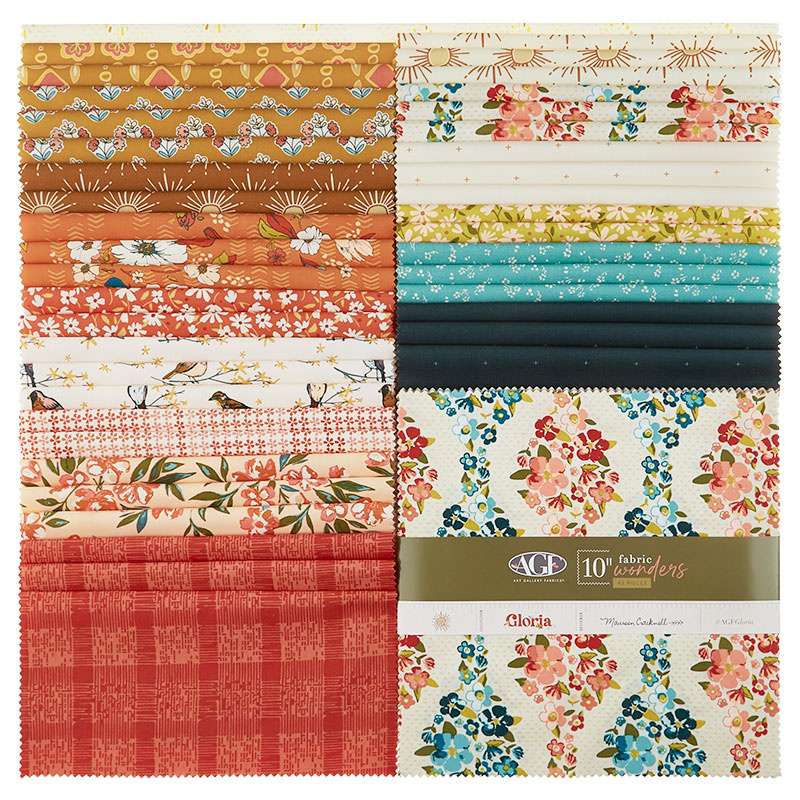 Gloria 10" Squares$49.00Shop →
 Gloria - Handstiched Linen Off-White Yardage$12.44Shop →
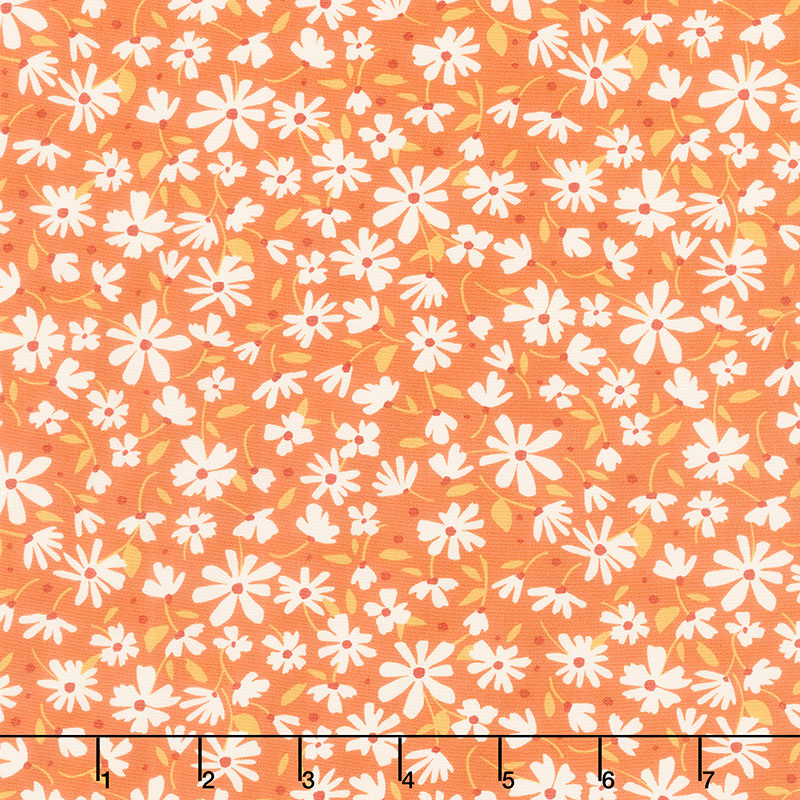 Gloria - Nostalgia Meadow Rust Orange Yardage$12.44Shop →
 Olfa 45mm Deluxe Ergonomic Rotary Cutter$32.95Shop →
 Lori Holt 18" Design Board - Prairie Denim$25.95Shop →
 Missouri Star 2.5" x 8" Ruler$10.95Shop →
 Missouri Star 2.5" X 15" Ruler$13.95Shop →
 Olfa Splash 24" x 36" Cutting Mat Navy$68.95Shop →
 Exclusive Missouri Star Jenny TG1600 ProPlus Oliso Smart Iron$199.99Shop →
 Missouri Star Wooly Betty Board - 17.5" x 17.5" Aqua Border$88.95Shop →
 Elan 8" Dressmaker Scissors$20.95Shop →
 Corner Trimmer Template$4.75Shop →
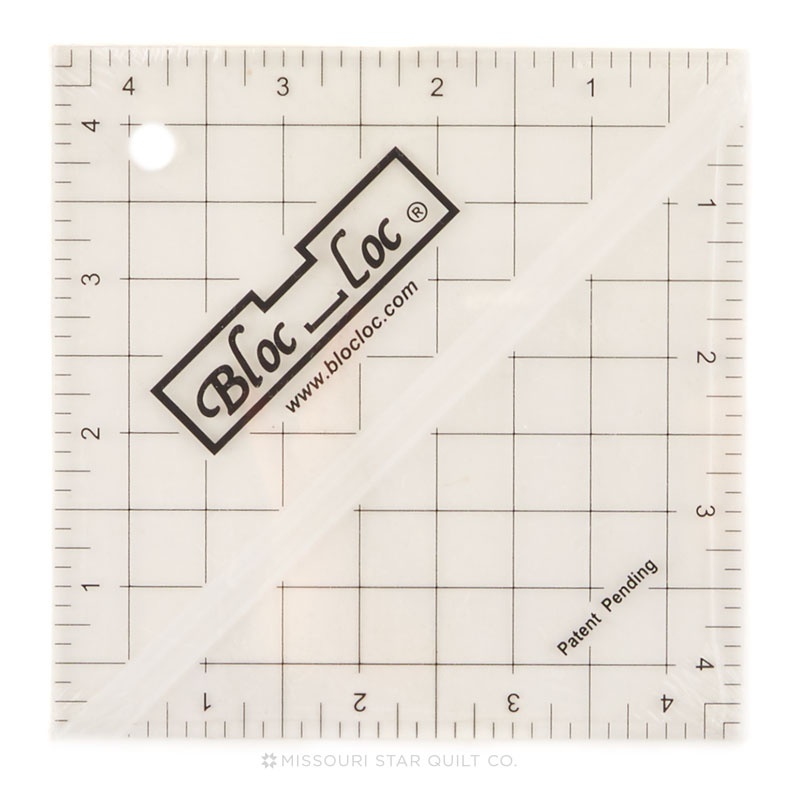 Bloc Loc 4 1/2" Square Up Ruler$23.60Shop →
 Digital Download - Room at the Table Runner Pattern by Missouri Star$4.95Shop →
Common Questions
What is covered in Make a "Room at the Table Runner" with Misty Doan on At Home With Misty (Video Tutorial)?
Colorful, fun, and perfect for Thanksgiving! Watch-and sew along with-Misty as she creates the Room at the Table table runner. This pattern by Missouri Star features simplistic geometric shapes to create a dynamic table runner. Add some bright colors to your table setting with...
How long is the tutorial video?
The tutorial video is 00:29:04.
Are supplies listed for this tutorial?
Yes. The tutorial page includes the supplies and materials connected to this project.
Is a transcript available?
Yes. A written transcript is available on the tutorial page.
Video Transcript
So I'm calling this project the Room at the Table Runner because there truly is always room for one more, right? We can just throw another chair on, invite another person over and we're always happy to have more people at the table. So let me show you how to make this block. I think it is so pretty!
The fabric line I used is called Gloria by Maureen Cracknell for Art Gallery
Fabrics. It's such a beautiful, rich fall line. I love all of the colors that she
put together here and I really enjoyed working with it.
So to make the block the first thing I did was I kind of picked what I wanted to be that center accent fabric. So I just had two different fabrics that I used here. You can see on these kind of red and turquoise-y blocks, I use this pretty floral in the center, and on the orange and green blocks I use this floral in the center.
So you're just going to take both of those 10 inch squares from your pack and we're going to cut them down to four and a half inch squares. So I'm just going to lay my ruler along one edge. It's a little crooked, let me straighten that out before I make my cuts. We're going to measure over four and a half inches and make a cut. You can go ahead and do that again
and we can get four of these four and a half inch squares out of each of our layer cakes.
So we can just stack those up and then now I can sub cut those into four and a half inch squares. So we'll make cut number one, and cut number
two, and that gives us four that are all the same. If you wanted to make all of them scrappy you could, I'm only using 15 of the layer cake squares out of this pack to make this runner, so you would have more than enough to make two runners or you know make it a little bit longer or shorter and just go however your heart desires!
But either way, four and a half inch squares is the center of our block. So now we're going to move on to making our small flying geese units that you see here and our four patches. Those are going to come out of the same 10 inch square so let's grab one of those.
I'm using that green, and so to begin with we are going to cut our 10 inch square in half and from this first half I'm going to turn this and I'm going to cut these into two five inch squares. Since my ruler is just five inches I can put that right along the side and I have those ready to go. Then on
this other half, make sure it's still nice and straight, we're going to measure over two and a half inches and I'm going to cut it in half long ways like that.
Then I can stack these up, make sure they're all lined up nice and straight,
and then we're going to measure over so that we can get a total of four two and a half by four and a half inch rectangles. There's cut number one and cut number two. Now I have those ready.
So to begin with you're going to use your five inch squares and we're going
to pair those up with a five inch background square. And we're going to start by sewing a quarter inch seam on opposite sides. So let's go ahead and take this to the sewing machine.
Make sure I'm all lined up, and we're going to sew straight down this side. Then we can turn this around and go down the opposite side. Now we can take this back to the cutting mat and I'm going to use my little ruler for this just because it makes it really easy. Because I want to cut this exactly in half, since this is five inches, I know my two and a half inch ruler will be
right down the middle. Now we're going to press this to the dark side on both of our units.
So now that I have these both pressed to the dark side, let me bring this over here so you guys can see. I am going to take them so that the dark sides are on opposite sides and I'm going to lay them right sides together
just like so and I like to kind of feel with my fingers that those seams are
going to lock in place and they just nest together really nicely. Now
we're going to sew on opposite sides this direction, intersecting that center seam that we did earlier. So let's go ahead and take this over to the sewing machine.
This is just a really quick way to make four patches without having to cut them all into little squares. Just double check that I'm still lined up and it feels great. So now we can sew down this side as well. There we go. Since this side still measures five inches across we can use our ruler again to cut that in half and we'll get two four patches out of each set of our five inch squares. Of course, you're going to need four of these for your block, so you'll repeat that same thing, but I have some already done. Let's just go ahead and press these so they'll lay nice and flat. So I can just add those to my stack and we will come back to these in just a
second.
Now let's make our small flying geese units. Those are the ones that are in the center of our block here around our accent fabric. So we are going to take those two and a half by four and a half inch rectangles that we have
cut from that same square and we're going to take some two and a half inch background squares. I do want to point out I use this really cute print
from the line that has these little kind of stitched looking X's into the fabric
which is just really fun - it adds a fun detail. So you're just going to need
one yard of that background fabric. We're going to place this right sides together and we're going to sew corner to corner.
So if you want to draw a line or press the line, you can. I am going to use my diagonal seam tape, so I'm just going to line this up line my needle up with this side line, the opposite point up with that red line and stitch down.
Now you're going to do this four times, so you could chain piece these one after the other. I have some of these ready to go so I'm just going to do this once. We're going to press that back now, just like so, and we're going to add the other two and a half inch square to the opposite side. So now I'm going to sew from this point to this point intersecting that first one that I added on. Press it back, just like so.
All right, so now we can go ahead and start assembling the center of our block. So let's do that. So we have our four and a half inch square that we
chose and we are going to add one of our flying geese to each side of that.
Then we're going to need a two and a half inch background square for each of the corners. You can see how this is going to fit in, just like so.
So let's go ahead and start by sewing these two to the middle, one on either side. I always take a few stitches and then make sure everything's lined up. Now we can turn and add this one to the opposite side. I'm just going to set that aside and I'm going to go ahead and add my two and a half inch background squares to either side of these flying geese so that they are ready to go as well.
Perfect. All right, now we can go ahead and press all of these. So for the center, I kind of like to roll the seam under that accent fabric, so that's what I've done here. Then for our flying geese I like to just press these out and this will help the seams nest up when we go to add these together. I feel like this is the way the fabric naturally wants to go on these blocks so I'm just not going to fight it.
Now that we've pressed those, we can sew these to either side. So we'll just fold this one over, make sure everything is lined up and nesting, and sew it down. Flip this around, add the other side. It lays nice and flat. There we go, now the middle of our block is complete.
Let's go ahead and make our large flying geese units. To do that you are going to need a 10 inch square of whatever fabric you want for the flying geese and a 10 inch square of your background. I'm just going to put those right sides together, make sure they're lined up and then I'm going to grab a pin and we are going to draw an X corner to corner here, that direction. And then again this direction. I'm gonna play with this a little bit just so it will line up a little better. Now I'm going to sew a quarter inch seam on either side, both sides to be specific, of these lines that I've drawn in both directions. Sew a quarter inch away here and here and here and here. Let's take this over to the machine and do that. And then now we're going to go the opposite direction, do the same thing. Now we can flip this around and go down the other side.
So you can see we sewed on both sides of the lines that we drew. I'm gonna go ahead and press this just to relax it a little bit. Sometimes that happens if you get too speedy which you know I can be guilty of. Now we are going to line this up on our mat and I'm going to use my ruler and we are going to cut this in half this direction. And turn and cut this direction as well. And then now I can cut on that diagonal line that we drew.
So using this method this gives us eight half square triangles like this. Let's
go ahead and press some of these back. I have a few of them done but I want to show you how I squared them up because you do want to square when you use this method. They get a little bit wonky, so I'm going to press to the dark side and I'll take this back over here and show you how I decided to square it. I like to use the Bloc Loc, especially when I'm
working with half square triangles but if you have a Clearly Perfect Slotted
Trimmer you could totally use that. You would just trim it before you press.
So with the Bloc Loc if you press to the dark side the words are always going to be on your background fabric. You can see here how I've got a lot to trim off because this is a four and a half inch ruler and that's the size that I want this to end up. So I'm going to start by squaring off these two sides just like so, and then if you have a rotating mat, it's kind of handy to have it, but you don't have to have that. Since this is now my straight sides, I've got these towards me. I'm going to line my ruler up again on that bottom edge and I can trim off the opposite two sides. There we go and now it is nice and square, looks much better than our first little wonky one.
Now set them together and we're just going to make this flying geese shape and sew them together, right sides like so. Let's take this over to the machine, press this and ta-da! Now we have a big flying geese unit and we made them both different ways, which is really fun to know you have options there.
Now what I'm looking for is I want the block to look like this. So I am going to snowball these corners. I decided to use the same two layer cake squares out of my pack in order to do all of these accents. Because you're going to need two per flying geese units, I just picked all of the 10 inch squares that were this pretty blue color and I sub cut them into two and a half inch squares. I have some ready to go right here.
Now we're just going to set these on the outside corners and we're going to sew point to point, so we're intersecting that flying geese unit that we've added. Set's go ahead and take this to the machine, make sure everything is lined up. And again you can always draw the line or press the line when you're snowballing like this. It's just whatever you prefer. Now we can trim off our excess fabric, just leaving our quarter inch seam allowance. Let's go ahead and roll those corners back.
Isn't that fun? I love how these turn out so pretty. You're going to need four of these to complete the block so let me go ahead and move some of my extra stuff out of the way. Now all that you have is our center that we assembled, four of these large flying geese units, which are going to fit around this just like so, and then those four patch units that we made earlier. Those are going to sit in with your color to the corner every time,
just like that.
Now we can sew our block together. I like to always start in the middle - I
don't know why it just makes sense to my brain. So I'm going to sew this onto either side of my center section. And you do kind of want to eyeball, there's not actually a seam to nest with in the middle here, but I just like to make sure that my center seam on my large flying geese is matching up with the point of my small flying geese. I'll show you after I finish this one
what I mean.
So let's go ahead and sew down. So I am trying to get this center seam
to match really close to this point here. When I'm laying this over
I just kind of fold this back and eyeball and I can see that that center
seam is lined up with the point. If it helps you, you can put a pin in there
or a clip, but I just look for it as I take it to the machine. It doesn't have to be perfect but it's one of those things that technically should line up.
Now I can press that one back and we just need to add our four patches
to these units. So let's bring these over. Remember, the print color of your four patch always lines up with your snowball that you've added. You don't want it up here or it won't all connect the way we want it to. So print goes to background. We can go ahead and chain piece these and then add it to the opposite side. Then we will have this block all together and press I am trying to make my seams nest so that everything will lay nicely.
Then we can bring this over and these are going to attach to the two opposite sides. Let's go ahead and sew those on. I'm watching that center spot again here, and then these outside corners, and the last side. We are almost done. Take a few stitches, line up that seam, match up the middle. I always like having places on a block where I can kind of reset and make sure that I'm where I need to be. So I really like that about this block.
There we go, now we can just press that and our block is all done. Let me press it so it lays nice and flat - it's almost too big for my pressing mats.
A nice big block, it's 16 and a half inches unfinished and I just think it
turns out so pretty!
I did want to kind of balance the colors in my runner so you'll notice I did three identical blocks just like the one that I made here and then I did two that were the same in the center. So you get this beautiful Runner that measures 16” by 80”. It's a wonderful size! You could easily add one more block if you wanted and still have it machine quilted.
The pattern I chose from our quilting department here at Missouri Star is called variety. I just like this swirl - it's kind of got a paisley feel to it which I thought was perfect for Thanksgiving. I hope you enjoyed this
project and I will see you next time on At Home.



