

Make a Slanted Half Hex Quilt with Jenny!
 Jenny Doan
- Layer Cake
- Modern
- Double
- Beginner
- Quilt size 76" × 77"
Jenny demonstrates how to make a fun angled hex quilt using the Missouri Star Large Half Hexagon Template and 10 inch squares of precut fabric. We used Berkshire Garden 10" Stackers by Lila Tueller for Riley Blake.
Instructor
Jenny Doan
Jenny Doan is an American quilter, author, and YouTube personality. Jenny started Missouri Star Quilt Company in 2008 and today it is the largest quilting supply vendor in the United States.
Shop this tutorial
 Digital Download - Slanted Half-Hex Quilt Pattern by Missouri Star$4.95Shop →
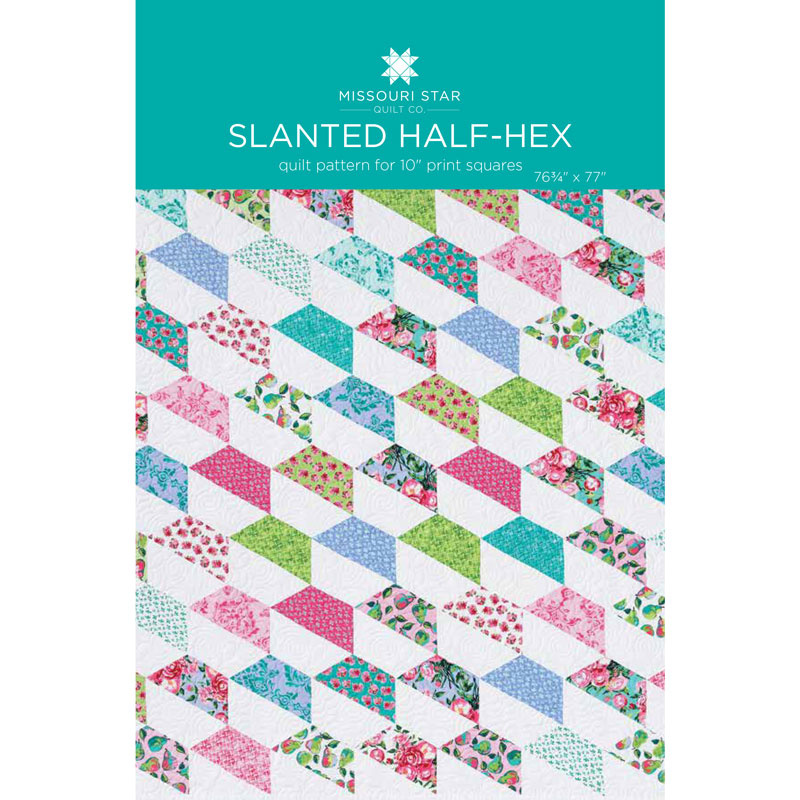 Slanted Half-Hex Quilt Pattern by Missouri Star$6.95Shop →
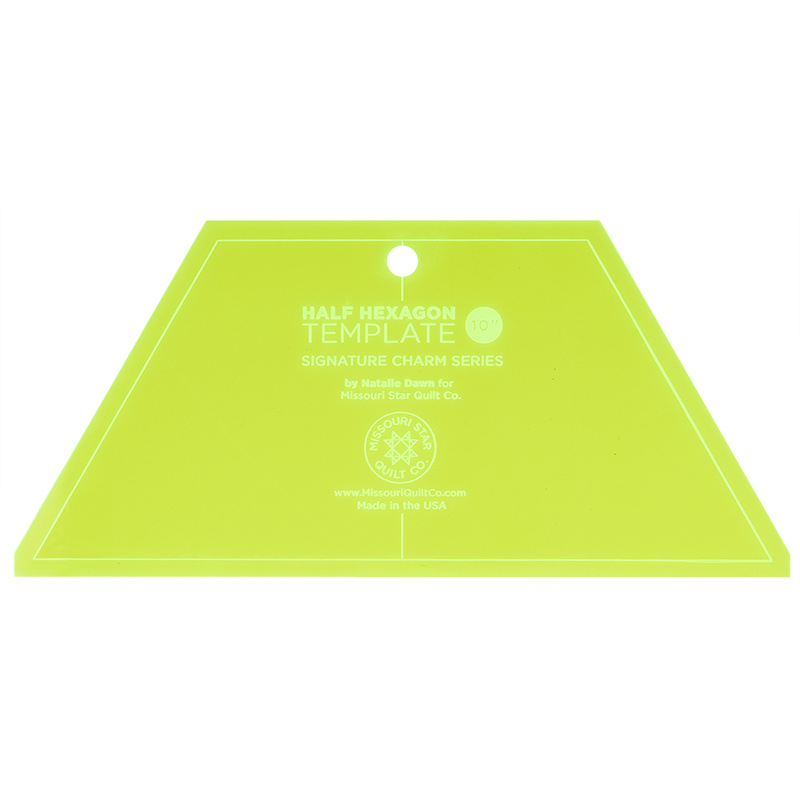 Missouri Star Large Half Hexagon Template for 10" Squares$11.95Shop →
 Olfa Splash Aqua 45mm Rotary Cutter$18.75Shop →
 Olfa Splash 24" x 36" Cutting Mat Navy$68.95Shop →
 Missouri Star 2.5" x 8" Ruler$10.95Shop →
 Missouri Star 5" x 15" Ruler$15.95Shop →
 Exclusive Missouri Star Jenny TG1600 ProPlus Oliso Smart Iron$199.99Shop →
 Missouri Star Wooly Betty Board - 17.5" x 17.5" Aqua Border$88.95Shop →
 Elan 8" Dressmaker Scissors$20.95Shop →
Common Questions
What is covered in Make a Slanted Half Hex Quilt with Jenny!?
Jenny demonstrates how to make a fun angled hex quilt using the Missouri Star Large Half Hexagon Template and 10 inch squares of precut fabric. We used Berkshire Garden 10" Stackers by Lila Tueller for Riley Blake.
How long is the tutorial video?
The tutorial video is 00:09:19.
Are supplies listed for this tutorial?
Yes. The tutorial page includes the supplies and materials connected to this project.
Is a transcript available?
Yes. A written transcript is available on the tutorial page.
Video Transcript
Alright so what we’re going to do is we’re going to take our whole pack and we’re going to cut it up into half hexagons. We need about 72 to make this quilt. And I failed to mention it makes a pretty good size quilt, it’s about 76 by 76. So it’s kind of square and just a great size. So what we’re going to do is we’re going to take some squares. And I like to stack them because it makes cutting more efficient. So I have four here. And you know what let’s do, let’s go ahead and try four. If you have a really, a really good blade you can do four because we’re going to fold these in half and it’s going to be eight. Normally I would probably only do six, you know, but let’s try it and see what happens. And then we’re going to lay our template on there. And I like to lay it on there like this. We’re going to cut these edges off right here and then cut this little strip because if I can save that little tiny strip right there to do some string quilting later on. So let’s go ahead and cut that and see how that goes. So we’re just going to come right through here on this edge and cut. And I do have a nice sharp blade on mine so it’s going to be great. Now the way the hexagon template sits on the fabric, it should give you these nice straight edges right here on the sides. So you don’t have to actually trim those off. You’re just going to, you’re just going to trim across and because it’s laid right on the edge, it will, it will be that, it will be that nice square shape which is what we want. Because we’re going to actually pair these up with white hexagons.
Now the trick to this quilt is all in the layout. And you can see, our rows don’t go straight across, they’re going at a diagonal. So that’s where, that’s where the layout comes in and that will be, you’ll have a diagram in your pattern that will show you that layout and it will be great. So let’s look at how we sew these together. So I’m going to take my white half hexagon right here and I’m going to pair it with a colored one. And what we’re going to do is we’re going to pair it like this. It kind of looks a little bit like an L. And you’ll see on here the little, the little edges on our half hexi, they don’t actually line up with anything. That’s just where they cut but I always try to make things fit, you know, so I have a little pattern for myself. And this little point here I put right where the cut starts that’s where I start my fabric here. And then where this little one ends that should be right up there on the point that one should start at the top. So it should stick off a little bit at the top and stick in just a little bit at the bottom. And we’re going to go to the sewing machine and sew a quarter of an inch. Now you can do this with, with all your pieces. I did a whole bunch, just chain pieced a whole bunch so then you can start laying out the rows because again it’s the layout on this that makes the difference. Alright now let’s look at, let’s look at how close we got lined up. That’s pretty good. So see how I’m just a tad bit off right here in here. I’m ok with that because that will fit in that quarter of an inch seam. So as you start putting them together, you know, you’ll get better and better at noticing where they come together. And I’m going to do another one right here. And we’re going to see, I’m going to take, leave just a little less hanging over and a little less over here and then we’ll do another and see. You know by the end of it I’m telling you I was lining these up. They were just lining up. But I don’t worry about that little bit because it will fit in that quarter of an inch seam. Alright and this one is perfect. So just like that you get to figure it out. Alright so I”m going to press these. And I have to say that when I started laying them out I did have to take some of my pairs apart to make sure they lined up right. So let’s, and I’ll show you what I mean in a second so we’re going to start here with this layout.
And what I’m going to do is I have two sewn together starting up here from this corner right here. So we have these two right here. And you can see a little piece of fabric up here and that needs to be another hexagon on the top. So I’m going to put this up here. And our hexagons match together just like normal. We’re putting a color to a white just like this. And we’re going to go ahead and sew this one on. Now there’s nothing to line it up to so we’re just going to match it up exactly on here and sew a quarter of an inch down. So we’re going to start right here and we’re just going to sew a quarter of an inch down here even though there’s nothing over here because we need that little piece in the corner to make it square. And I’ll show you why. There’s a little bit of waste with this but not a ton. And the pieces that you get off, they’re kind of a fun shape. You could actually use those in a, in a different project. You know I don’t like waste very much but, but this was such a stunning layout I just thought it was worth it just worth it. Alright here we go.
Alright so again if you know me at all you know the diagonal thing is a little hard for me but what made this easier is I’m matching up white with color and then the color with white, you know, on those. So this is how our corner goes right here. And then we’re just going to keep laying them out. And I’m just going to lay some out. And once you get it all laid out on your design board you’re going to, you’re going to be able to, you’ll see what I mean as far as cutting goes. So we’re going to come down here and do this one and every other one is just white, color, white, color. And I’m going to put another. So this next row we’re going to start with the white here. And you have to add another one up here on the top because because that’s where you’re, where you’re going to see you’re going to cut that off straight to make a straight edge on there. So let me go ahead and put some of these in here. I’ve got this one sewn together, this one sewn together like this. And you see how it starts laying out and the diagonal rows are coming.
Well when you get all your rows done and sewn together then you’re going to grab your ruler and you’re just going to lay it along right on the edge of this. And these are the little pieces that we’re cutting off. And we’ll come piece to piece and we’ll go all the way across. So it leaves this kind of triangle piece right here like that because we’ve used this edge. We’ve just cut it off straight. Now on the side over here we’re going to do the same thing. And we’re going to use this edge of our template, of our half hexi as our guide and that’s going to be that way all the way down. And so again we’ll come over here on this side and. Because one side will have a white hexi that will be the guide, this side over here. And then the other side over here because it’s just how it ends up. And hopefully and hopefully you can make that work. So you’ll come along and you’ll just trim straight off the sides and straight across the top and the bottom. Then you’re going to add your little 2 ½ inch sashing out here and your border and you’re good to go.
So again with this quilt the key is in the layout. And your rows are going to be set in here long and angularly like this. And you’re just going to sew those long rows together. And when you sew the rows together you’re just going to match top and bottom. And it goes together really easily and quickly because these are nice big hunks of fabric. And it just has a stunning layout and gives you a stunning design. So I hope you enjoyed this tutorial on the Slanted Half Hex Quilt from the MSQC.



