

Make a "Spoolin' Around" Quilt with Jenny Doan of Missouri Star
 Jenny Doan
- Layer Cake
- 1930s
- Lap / Throw
- Beginner
- Quilt size 63" × 75"
Jenny Doan demonstrates how to make a beautiful old-fashioned spool quilt using 10 inch squares of precut fabric. Spoolin' Around is a recreation of an antique quilt top Jenny discovered while antiquing. She took the top home, had it quilted, and added a 1930s reproduction binding. It turned out so lovely, Jenny knew it had to be shared! This pretty layer cake quilt comes together quick-as-a-wink, just as sweet and timeless as the original.
Instructor
Jenny Doan
Jenny Doan is an American quilter, author, and YouTube personality. Jenny started Missouri Star Quilt Company in 2008 and today it is the largest quilting supply vendor in the United States.
Shop this tutorial
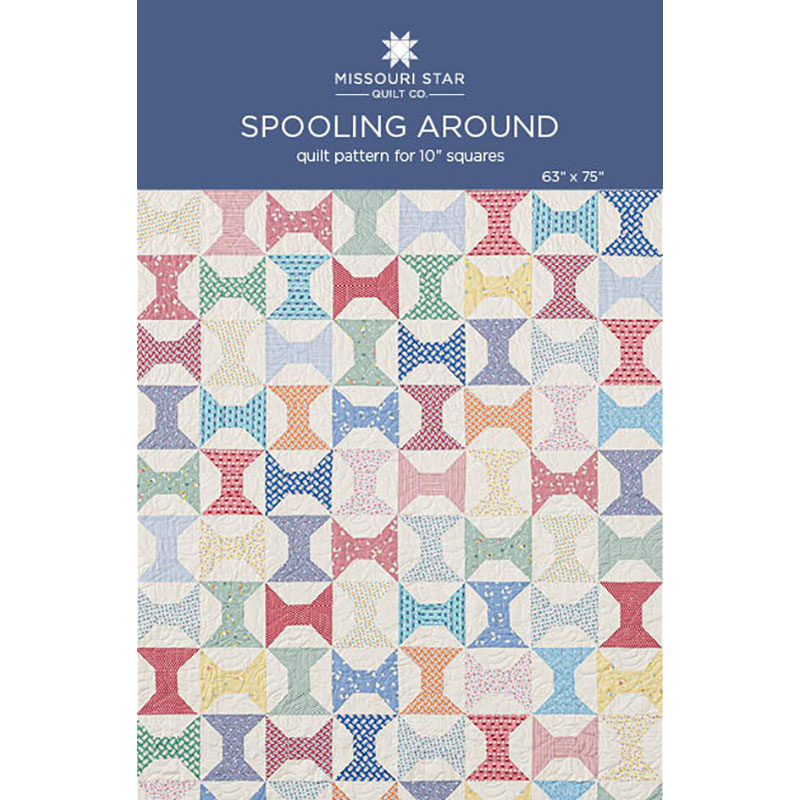 Spooling Around Quilt Pattern by Missouri Star$5.95Shop →
 Digital Download - Spooling Around Quilt Pattern by Missouri Star$4.95Shop →
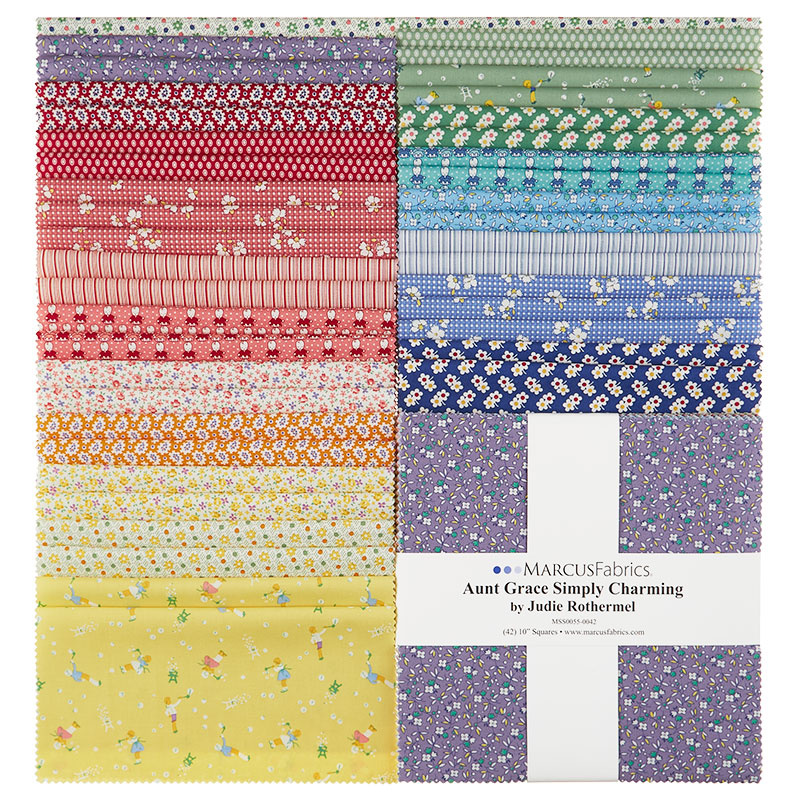 Aunt Grace Simply Charming 10" Squares$37.95Shop →
 Kona Cotton - Cream Yardage$7.28Shop →
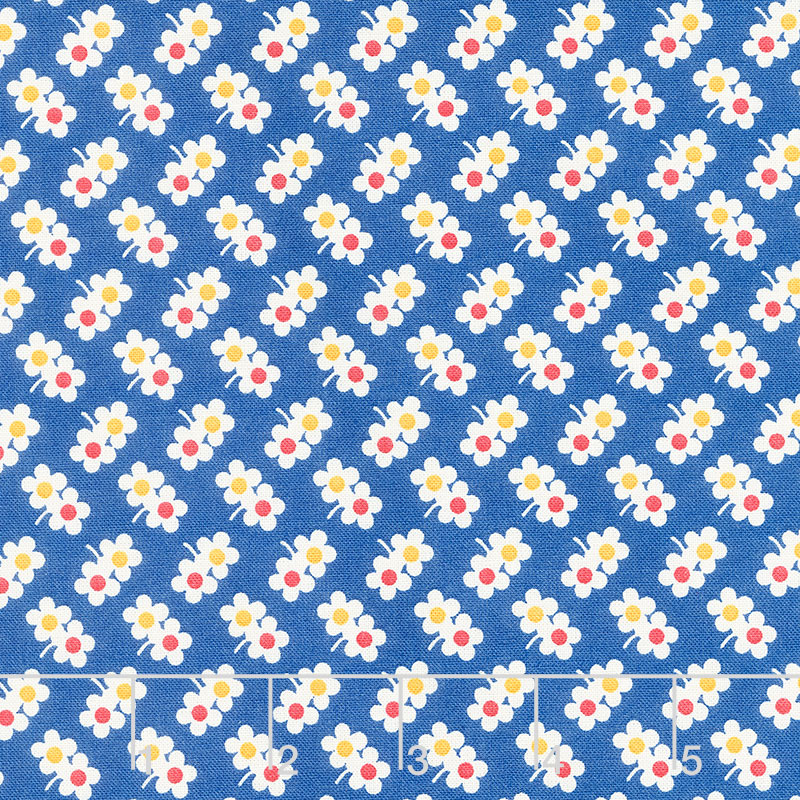 Aunt Grace Simply Charming - Double Flowers Navy Yardage$10.96Shop →
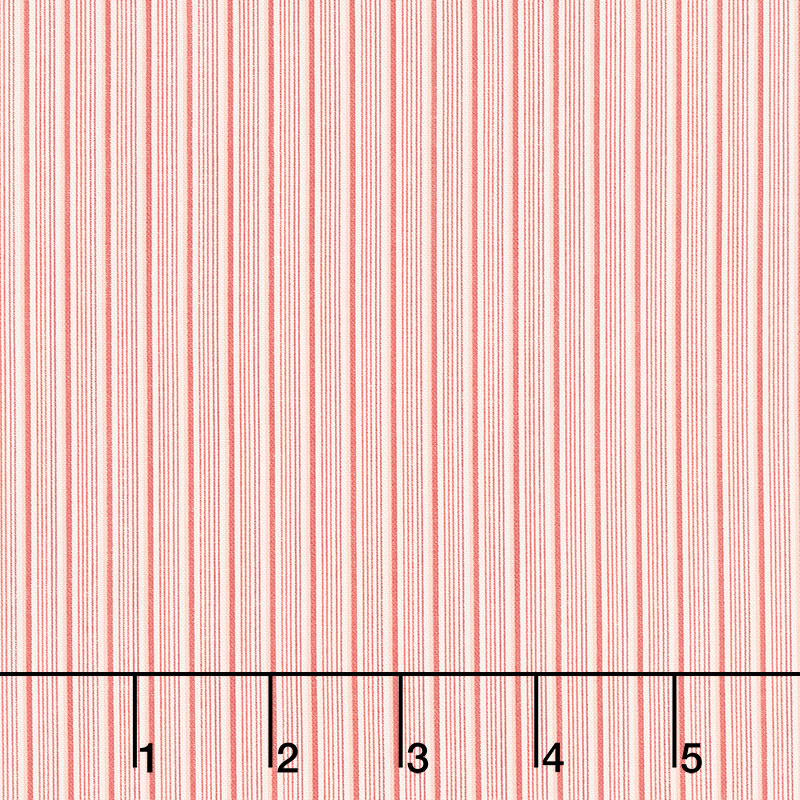 Aunt Grace Simply Charming - Lawn Stripe Red Yardage$10.96Shop →
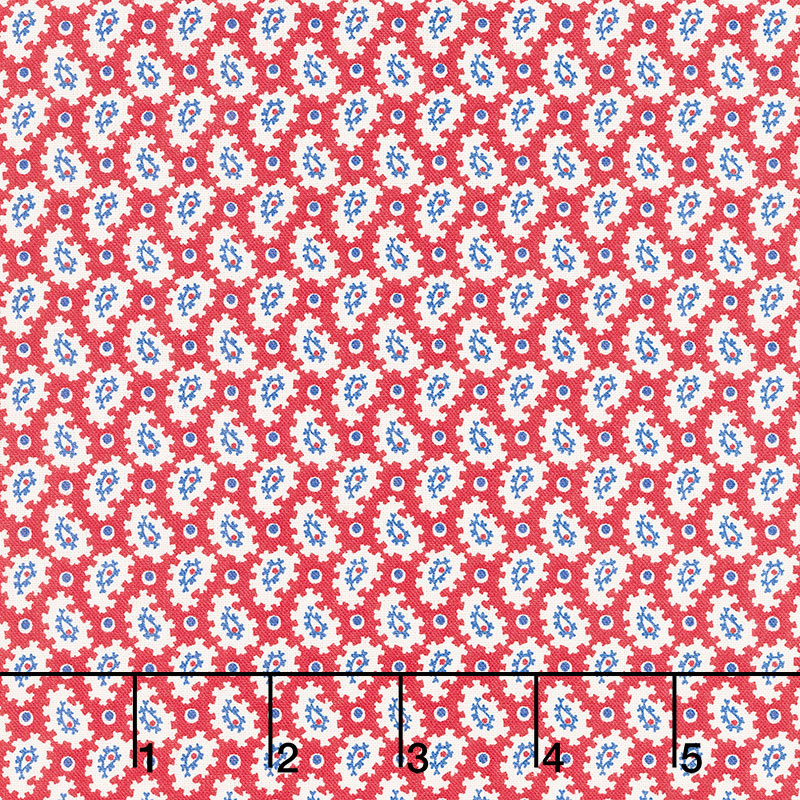 Aunt Grace Simply Charming - Little Paisley Red Yardage$10.96Shop →
Common Questions
What is covered in Make a "Spoolin' Around" Quilt with Jenny Doan of Missouri Star?
Jenny Doan demonstrates how to make a beautiful old-fashioned spool quilt using 10 inch squares of precut fabric. Spoolin' Around is a recreation of an antique quilt top Jenny discovered while antiquing. She took the top home, had it quilted, and added a 1930s reproduction bin...
How long is the tutorial video?
The tutorial video is 00:13:26.
Are supplies listed for this tutorial?
Yes. The tutorial page includes the supplies and materials connected to this project.
Is a transcript available?
Yes. A written transcript is available on the tutorial page.
Video Transcript
So we’re calling this quilt Spooling Around and that name actually came from somebody on the All Stars Facebook page. And I loved it when she said that and we kept it. So to make our Spooling Around quilt you’re going to need one package of ten inch squares and we have used And Grace So Charming by Frothermel for Marcus Fabrics. You’re going to need one package of print squares for that. You’re going to need, your background is 2 ¼ yards of background fabric. That includes your inner border. You could also use a roll of 2 ½ inch strips. Your outer border is 1 ¼ yards. Your backing is 4 ¾. You know if there’s a stripe in the fabric line I’m going to use it on that binding. So for the binding you’re going to need ¾ of a yard.
So this is the block we’re talking about right here, our little tiny spool block. And it just replicates our antique block perfectly. So obviously you could make this with 2 ½ inch strips because these are all cut into 2 ½. But I have a layer cake so I want to show you it with a layer cake. And so what I’m going to do is you can cut several of these at one time because it’s all the same cuts for your blocks. And out of each single layer cake square you’re going to get two spools. And so I’m going to lay some different colors up here because I like to, once I get my spools done, I sewed them right together in four patches like this. And that’s the big block for our quilt. So I’ve got a red, let’s see, a white. I’ve got a purple. Let’s go with something yellow down here. Alright. So the cutting on this, this is how I got the most out of my little layer cake. And what I did first was you want to make sure they’re lined up really straight. And then I’m going to come in and I’m going to make a 6 ½ inch cut first. So I lay my ruler along the edge, that’s five. I go over 1 ½ inches, that’s 6 ½ inches right there. And I have four pieces stacked up. So I’m literally cutting eight blocks right here. And so I’m just going to cut this off right here. And then I’m going to turn this. And this is all going to be put into 2 ½ inch strips. So we’ll get four of those out of a piece. So here’s one. I’ve got two and three and four. Alright so set these aside up there.
Then we need our little centers because I know I’m getting two blocks out of each of these squares, I need 2 ½ inch squares. So I’m going to cut this five inches across like this. And then I’m going to cut this down to 2 ½ inches like this and cut it across 2 ½ inches to make my two center squares of my spool. Alright so here’s my two little center squares of my spools. This is my waste because this my friends is a prize for later. So make sure you put all of those in a stack and put them over there and I’ll show you how to make the spool. So you’re going to cut some 2 ½ inch squares. You’re going to need six of those for each block that we made. Two of them are going to go on either side of this right here. And that’s going to be the center of your block. And you can see right here if you look very closely, this is the edge of my selvedge. Now I don’t want that to show in my quilt but I know it’s less than a quarter of an inch so I am not going to waste that block. I’m going to put it on here and I’m going to make sure that my quarter of an inch catches that in the seam and I don’t waste that. So we’re going to go ahead and sew this middle together. And I’m just going to lay my block on the quarter of an inch and then I’m just going to open this up because you put two background blocks on either side of that center block.
Now for the outside edges of our spool we’re going to take two of these like this. And this is going to make our spool and here’s our middle. What we want to do with these squares is we want to put them on the sides like this and we want to sew into the middle so that it makes the spool that looks like this. So that that fabric is in there and makes that spool. So I’m going to take my two pieces here, my two little squares on the edge and I’m going to put them on here. And I’m just going to remember that I’m going to start sewing from the outer corner to the inner corner and I want to do these both the same. We’re going to flip them and put one on the top and one on the bottom and if you do them the same then it will enable us to flip. So line your edges up. And you can draw the line on one. I’m going to follow my diagonal seam tape. And I’m just going to start a few stitches here and I know I’m sewing right to the middle. And then I’m going to come and sew from the middle to the outside on this side. Just like this. Alright and this one is the same. So line them up so you know which way you’re starting. So we’re going to put this one and sew right from the outer corner into the middle. And then this one over here, go from the middle to the outer corner. Alright.
So now I’m going to cut the edges off and we are going to press this open just like this. Come over here to the iron. And I’m just going to roll this back, these side pieces. And do the same to the other side. And this one over here. An then here’s our center piece and I’m going to make my center seams go toward the middle. So I’m going to press this one like this and then I’m going to bring this one around. Just lay them so they lay in the middle. And then what we’re going to do here now is that we are going to lay these on either side just like this. And when you lay them together like this you should see the whites on the end because we’re going to sew that a quarter of an inch and it’s going to tighten it and make it look like a spool. It’s all going to line up. Now sometimes when you do the flipped corner like that, sometimes it gets a little wonky. And if you ever feel like the strip is not quite straight you can lay your little ruler on there like this and make sure and see how, you know, if it needs to be trimmed any place at all. Mine seems to be ok on this one. But I did have some that just got a little wonky on me so I just straightened it up a little bit and sewed it across. So I’m going to go ahead and sew this on. Let’s see here. And then I’m going to open it up and see how that looks. And it looks pretty good. Again on this side. You should like up edge to edge and be able to just sew this across. Alright let’s see how we did now. I just think this quilt is so darling. And I’m so glad that all of you loved it and asked for it. You know I often buy antique quilts with the hope of making a tutorial out of it because it’s real something. Alright look at our little spool. How cute it that?
Ok so now what we’re going to do is we’re going to make all of them. And we’re going to put them together in a four patch. So I have some made here. And this is something that you want to look at. When you start, see how mine right here, this one goes over and this one is up and down. You want to make sure that all your blocks are the same and they start that way. Otherwise you’ll have some straights together and some not. And so I just tell you the things that I know where something I had to think about. Alright. So we are going across and up and down and this one is up and down and this one is across. Now these have the same pattern but different colors. And I have to decide if that bothers me or if that’s ok with me. And I think I might just put this one up here. So this one will be straight, this one will be across like that. I think it gives it a better weight of deeper fabrics and softer fabrics as well. So I’m going to now sew this four patch together. And you can put these together in rows of blocks but it goes together really easy in a four patch. For me it’s way easier to sew, you know, a bigger block in than it is to mess with all the little tiny blocks. Alright so then this one here. We want to make sure that I’m still the right way. I can’t tell you. I did have to take a few of these blocks apart because I got one going the wrong direction because you know, you get in a flow and you’re sewing them together and sewing them together. And all of a sudden you’re like oh wait a minute. Something doesn’t look right. And so for me I check that often. Ok, so now we’re going to sew these together. The only seam we’re worrying about is the middle seam. You can actually feel these two outer where the two miters comes together, you can feel them nest. And that’s fine. But the only other next match is the center. So we just want to watch that. Alright now let’s iron this open and see how we did. There we go. Looks pretty good. Alright we’re going to press this nice and flat. And I will show you how it fits into the quilt.
Alright so here we are at the quilt and this is how it goes in the corner right here. Each one of the four patches goes in there. Now if I line this up and there’s two, say I had two right next to each other then I can just turn it. So if I don’t love this this, so if I turn it. Nope, don’t like that. Too close still. Put it over here. And it’s totally ok. So you have four options every time you put a block together. And so we’ve got one, two, three, four of these and one, two, three, four, five down. So 20 blocks, 20 four patch blocks. 20 times four is 80 blocks total. So that’s a lot of little blocks up there and it makes a darling quilt. So out of one layer cake you’ll get a quilt that is 63 by 75. So we add a little 2 ½ inch inner border and a big six inch outer border. But here’s what I want to tell you about. Here’s my backing, but keep looking. Look at all those little pieces. I sewed them together in two long rows and put this fun row of stitching right down the middle of the back of my quilt. I just didn’t want to waste them and I just thought it added fun and surprise on the back. I like it when you do that. That’s all of these little pieces here that we cut off our extra piece. I just sewed two, two, two, four, four, four and made long chains of them. Cut my fabric right in half and sewed these right down the center of the back of my quilt. And this makes a fun little surprise plus no waste, right?
So because this is a quilt of spools, the quilting pattern we chose is spools of thread and it’s just adorable. Anyway I have loved doing this tutorial. I’m so thrilled that you guys loved the antique one. And I was so thrilled that we could remake it in such a great, you know, great look a like. I think even the back looks identical. So take a look at this. Have you lost me here, am I blending? Anyway, we hope you enjoyed this tutorial on the Spooling Around quilt from the Missouri Star Quilt Company.
Hi everybody, it’s Jenny from the Missouri Star Quilt Company. We hope you enjoyed watching this video. If you aren’t already part of the Missouri Star Quilt Company family be sure to subscribe so you won’t miss a thing. And if you click that bell it will notify you every time a new tutorial comes out. See you next Friday.



