

Make a "Squirrel in a Cage" Quilt With Jenny Doan of Missouri Star
 Jenny Doan
- Layer Cake
- Batik
- Twin
- Beginner
- Quilt size 69" × 83"
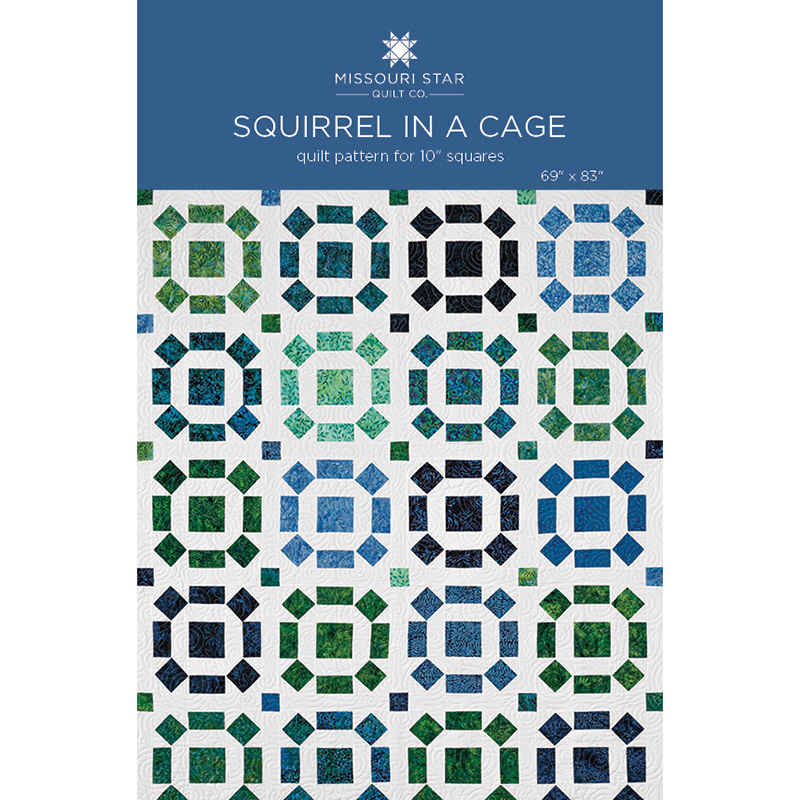
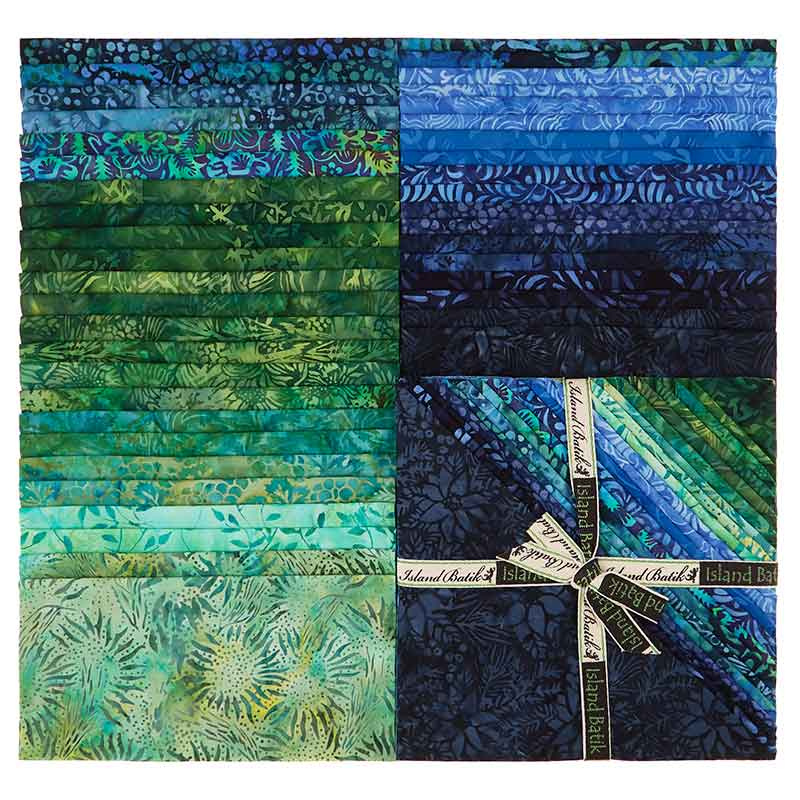
Jenny is stitching up a wonderful old quilt block with 10 inch squares of precut fabric. She's using Luscious Batiks Stacks by Island Batiks for Island Batik, with its beautiful greens and blues. This traditional quilt pattern dates back to the 1800s, and is also known as Broken Wheel, Wagon Wheel, and Rolling Stone. Of course, Jenny makes it easy with precut layer cakes and a pinch of Missouri Star magic!
Instructor
Jenny Doan
Jenny Doan is an American quilter, author, and YouTube personality. Jenny started Missouri Star Quilt Company in 2008 and today it is the largest quilting supply vendor in the United States.
Shop this tutorial
 Squirrel in a Cage Quilt Pattern by Missouri Star$6.95Shop →
 Digital Download - Squirrel in a Cage Quilt Pattern by Missouri Star$4.95Shop →
 Luscious Batiks Stacks$39.95Shop →
 Kona Cotton - White Yardage$7.28Shop →
 Luscious Batiks - Berries Blue Storm 2 Yard Cut$23.92Shop →
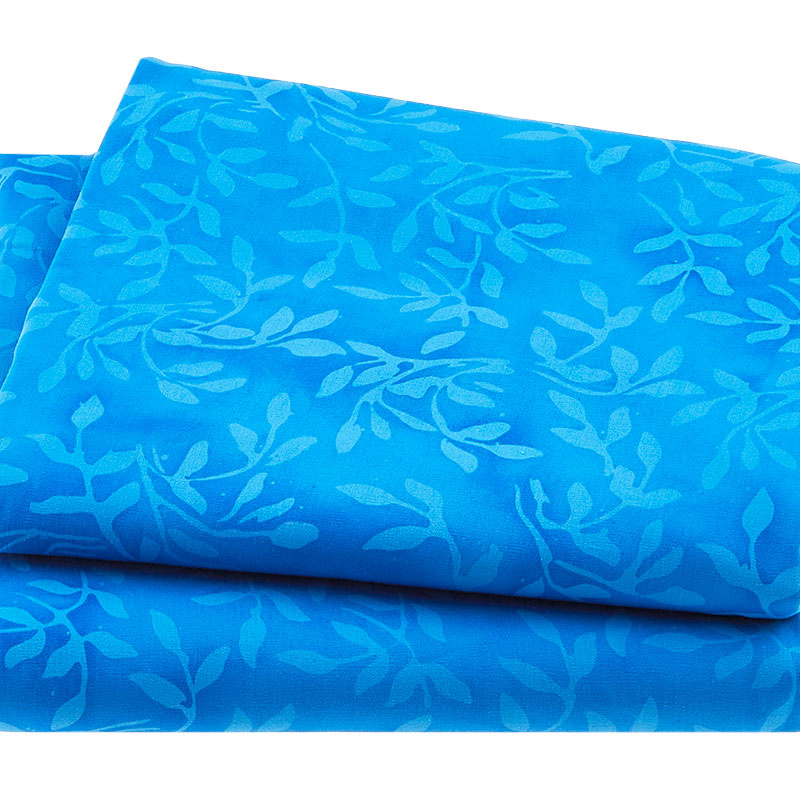 Luscious Batiks - Mini Leaf French Blue 5 Yard Cut$59.80Shop →
Common Questions
What is covered in Make a "Squirrel in a Cage" Quilt With Jenny Doan of Missouri Star?
Jenny is stitching up a wonderful old quilt block with 10 inch squares of precut fabric. She's using Luscious Batiks Stacks by Island Batiks for Island Batik, with its beautiful greens and blues. This traditional quilt pattern dates back to the 1800s, and is also known as Brok...
How long is the tutorial video?
The tutorial video is 00:15:24.
Are supplies listed for this tutorial?
Yes. The tutorial page includes the supplies and materials connected to this project.
Is a transcript available?
Yes. A written transcript is available on the tutorial page.
Video Transcript
So let's take a look at this quilt. Isn't this fun? Now it's a really easy block and it's fun to make and it's just one of those blocks that makes my mind go, What if? So to make this quilt, you're going to need one packet of 10 inch squares and we have used this gorgeous pack called Luscious Batiks by Kathy Engel for Island Batik. You're also going to need some background. We used three and a half yards of background of this white. Our border out here is one and a half yards, and our backing is five and a quarter yards, and it makes a quilt that is 69 by 83. Now I've used this cool pattern, quilting pattern called sticky buns, and anytime I have anything that's kind of blocky, I like to do kind of a curved pattern. So it's just really fun to make. Let me show you how.
So this block is really fun and it's very simple. The first block we're going to tackle are these outer corners out here because all of you're going, Oh no, oh no. But they are easy to make. So we're going to start by getting two 10 inch squares that are the same. And if you don't have the ones that are the same, this center square could be different. I just made mine the same and because my pack had two squares, it worked out well. And this is an exclusive pack for Missouri Star by the way. And so it's fun when we have those packs that are handpicked.
So first we're going to make a cut that is four and a half inches from the edge like this, and we're going to cut four and a half inch squares from this. So line your ruler up so it hits the four and a half inch line right there. And we'll just cut that. We're going to set them up here and then we're going to cut this one too. And then this is your little leftover right here. And we need one more four and a half inch square. So I'm going to come off the side right here and cut one four and a half inch square right here. Wait, I only need one. So I'm going to take these apart just like this and cut one four and a half inch square. And because you need five for the block.
All right. Now out of this piece right here, what we're going to do is we're going to cut a two and a half inch strip and cut two, two and a half inch blocks. And those we're going to use later in our cornerstones right here in our sashing blocks. So two, two and a half inch blocks right here. So there's one and there's two. And then out of this piece that's left over right here, we're going to cut two strips that are two and a half by 10. So let's cut that one and then we'll cut this one. All right, and put this extra over here to the side because we won't be needing that for this project. So the first thing we're going to do is start with these four outer squares out here and we've got four, four and a half inch squares here and we're going to snowball them on all four sides.
Now to do that, you're going to need some two and a half inch squares. Now anytime that we use different cuts of background yardage, we will list it as yardage. But the cuts on these are actually two and a half inch squares, which you can get in a pack like this and two and a half inch strips, which you can also get in a roll. Now you won't use the whole thing for these, but if it's more convenient for you to get those, get them. Because I love having fabric that I don't have to cut. So if you do use these, you won't need your background fabric or as much anyway. So what we're going to do is we are going to snowball all four corners of these, and we're going to start by snowballing two corners on each square. And so we're going to put one square here and you can draw the line, iron the line or use your diagonal seam tape.
And we're going to put one here and we're going to sew on this line as well. So right down the center, not on either side or both sides, but right down the center, line up your needle. I line up my corner with my red line out here on my diagonal seam tape and I can just sew straight across and I'm going to turn it and do the other side. Here we go, line up my point with the red line, and we're going to do this to four of the squares. Now I have two already done, so I'm just going to do it to two, but you will need four.
All right. Here's this one. Corner to corner right down the middle, and then put my other square over here and corner to corner. All right. Now what we're going to do is we're going to trim these off and I have my other ones over here already done so you can see what we're going for right here. So I'm going to trim this off and this off and then we'll press that back and I'm going to trim these off as well. And I don't actually measure a quarter of an inch, I just cut it off a little bit away from that seam, and so I don't worry about that too much. All right, then we're going to roll these back and roll this one back.
And then we're going to put two more squares on these on the other corners as well. And so this will go this way and this will go this way, and we're going to do that on all four of our squares. All right. We're going straight on the line. So put your needle right at the point and then sew straight across, keeping your point lined up with the little red line on your diagonal seam tape. And you can draw the line as well. Some people find that much easier. It's just how our brains work. We all think differently.
All right. There's that one and this one, we need two more blocks. And when I do these, when you get to doing these, you'll do all four blocks. You'll just chain piece all of one side, and then you'll flip it around and chain piece all of the other, and you'll get four blocks done at a time. That is the easiest way to do it in a row way. I'm a row sower, so I do the same thing over and over. And some of you're like that and some of your block at a time. We're all just different, aren't we? All right. Now, let's trim these and put that up there and trim this side and trim this side. There we go.
All right, now let's press these open. And this should give you good leeway in your corner so you don't lose your points. That's one of the reasons I did this, this way. The other reason is I saw Natalie do this and all of a sudden I was like, Oh, snowballing, I can make the block. Now, one of the things that I want to point out is that I am rarely perfect in my sewing, so I tend to square things up. So if you have a four and a half inch ruler, these blocks should measure four and a half. So you can lay this down on here and see, make sure it measures at least four and a half. Mine is a little bit short over here, so I'm just going to take mental note of that and fit it into the seam. And this one over here. Yeah, these look pretty good.
These two, I had to actually square up a little bit because my corner lines weren't exactly straight. So you're going to need four of these and we're going to set these aside while we work on these bar blocks here. Now for the bar blocks, we have these two pieces that are two by 10 inches, and we're just going to take a two and a half inch strip and we're going to sew them down the side. And so we are going to just lay this on top of here like this and go ahead and sew straight down the side, just one side. And then I'm going to lay my other piece right on top here.
So we're going to trim these up and these are going to be four and a half inches. So I'm going to leave them. I'm going to not press them open yet. I'm going to cut them before I press them. So I'm going to lay my ruler here for four and a half, and you're going to need four of these pieces for the block. So there's those. We'll trim this little piece off here, and then four and a half and four and a half, and then we'll set this aside and we'll press these open and I'll show you how this block out. All right. So you need four of these bar blocks and four of the square blocks, and then you need one block for your middle.
So let me show you how that goes together. So these go in the corners out here like this. We're turning the white to the center like this on all four sides, and that makes our squirrel in the cage block. But before we sew it together, I want to make sure because it will go together much easier, I want to make sure that my bar blocks are the same also. So these are four and a half. Let's measure them all quick to be sure, because sometimes one of the things I have noticed is that when you use a jelly roll strip that has a pink edge, it's going to be a little bit bigger than your cut strip. So you just want to make sure that these are all four and a half and they look pretty good.
So let's line this out again. Put our whites to the center toward our color block and our four corners in there. And then let's just sew this together. I'm going to go ahead and lay it like this and sew it all the way down one side, one column. And so we're just going to come over to the sewing machine and sew a quarter of an inch from the edge and line them up nice and straight and put this one to the center, making sure that your white goes to the center. If I'm going to make a mistake, it's going to be on the bar block. So I've actually done that several times. And so then this one comes down here and we're going to sew a quarter of an inch. And if you've squared them all to four and a half, they should just go together so easy.
All right. So now what I'm going to do is I'm just going to flip these around and I'm going to add my block to the other side like this. And my threads are holding my rose together, so it's kind of like I'm pinning, but not really. There's that one. And again, white to the middle, and then my corner block right here. All right. Now I missed my quarter of an inch a little bit, so I'm going to go back over that and sew it a little deeper. Watch my quarter inch line a little better. There we go.
All right. So now you can see, because I haven't cut my threads, it's all kind of holding my block together. And what I'm going to do now is just lay this over here and sew that side, and then we'll sew the other side. I like that kind of how the thread holds it together when I do that. Let me make sure this is lined up. You want to line up at the junctions and if you've made sure you're blocked to the same size, this will go together very easily. Then I'm going to flip this around and open this up and lay this over here like that. And then I'm going to make sure these seams nest nicely and these ones also nest nicely. There we go. Now it's time to press our block and see how we did. This is a really forgiving block and it's a fun block too.
So just with a little snowballing and some bar blocks, you've got this great little block. So let's come over to the quilt and look at how many we have. So we have one, two, three, four by one, two, three, four, five. So five because we use two layer cakes for each square. So you'll have two left over, but I'm sure you can find something to do with those. Now, in between our blocks, we added a sashing. So in between each block you're going to add this sashing strip right here. Now your block should measure about 12 and a half. So your sashing strips will be 12 and a half. Measure your block and make sure and then cut them that size. And then this sashing strip will also be 12 and a half, but you'll put a little cornerstone at each junction.
So let me show you how you put these together. So you're going to take your block, which is 12 and a half, and your 12 and a half inch sashing. You're going to sew it on here, open it up, and attach the next block to it like this and open that up and you'll do this so you have four across. Actually, this would be a great quilt if you wanted to make a big quilt for a bed. This would be a quilt that gets big really fast. And so we've got this like this. When you're ready to put the next sashing in this block here, this sashing strip is also going to be 12 and a half. And then you sew your little cornerstone and then you put your other little 12 and a half inch sashing on it, and you're just going to do that all along that row. So this row, this is one row, and then this little sashing row is the next row that you're going to put up. So this is a nice big six inch border out here.
And then our back of course is just beautiful. Love the quilting pattern, love these colors of blue and green. They're the colors of life. So I hope you enjoy this tutorial and I hope you have fun making this squirrel in a cage block from the Missouri Stark Quilt Company. Hi everybody, it's Jenny from the Missouri Stark Quilt Company. We hope you enjoyed watching this video. If you aren't already part of the Missouri Star Quilt Company family, be sure to subscribe so you won't miss a thing. And if you click that bell, it'll notify you every time a new tutorial comes out. See you next Friday.



