
Make a "Stargazer Pumpkin" Quilt with Jenny Doan of Missouri Star
 Jenny Doan
- Layer Cake
- Holiday
- Double
- Beginner
- Quilt size 68" × 77"
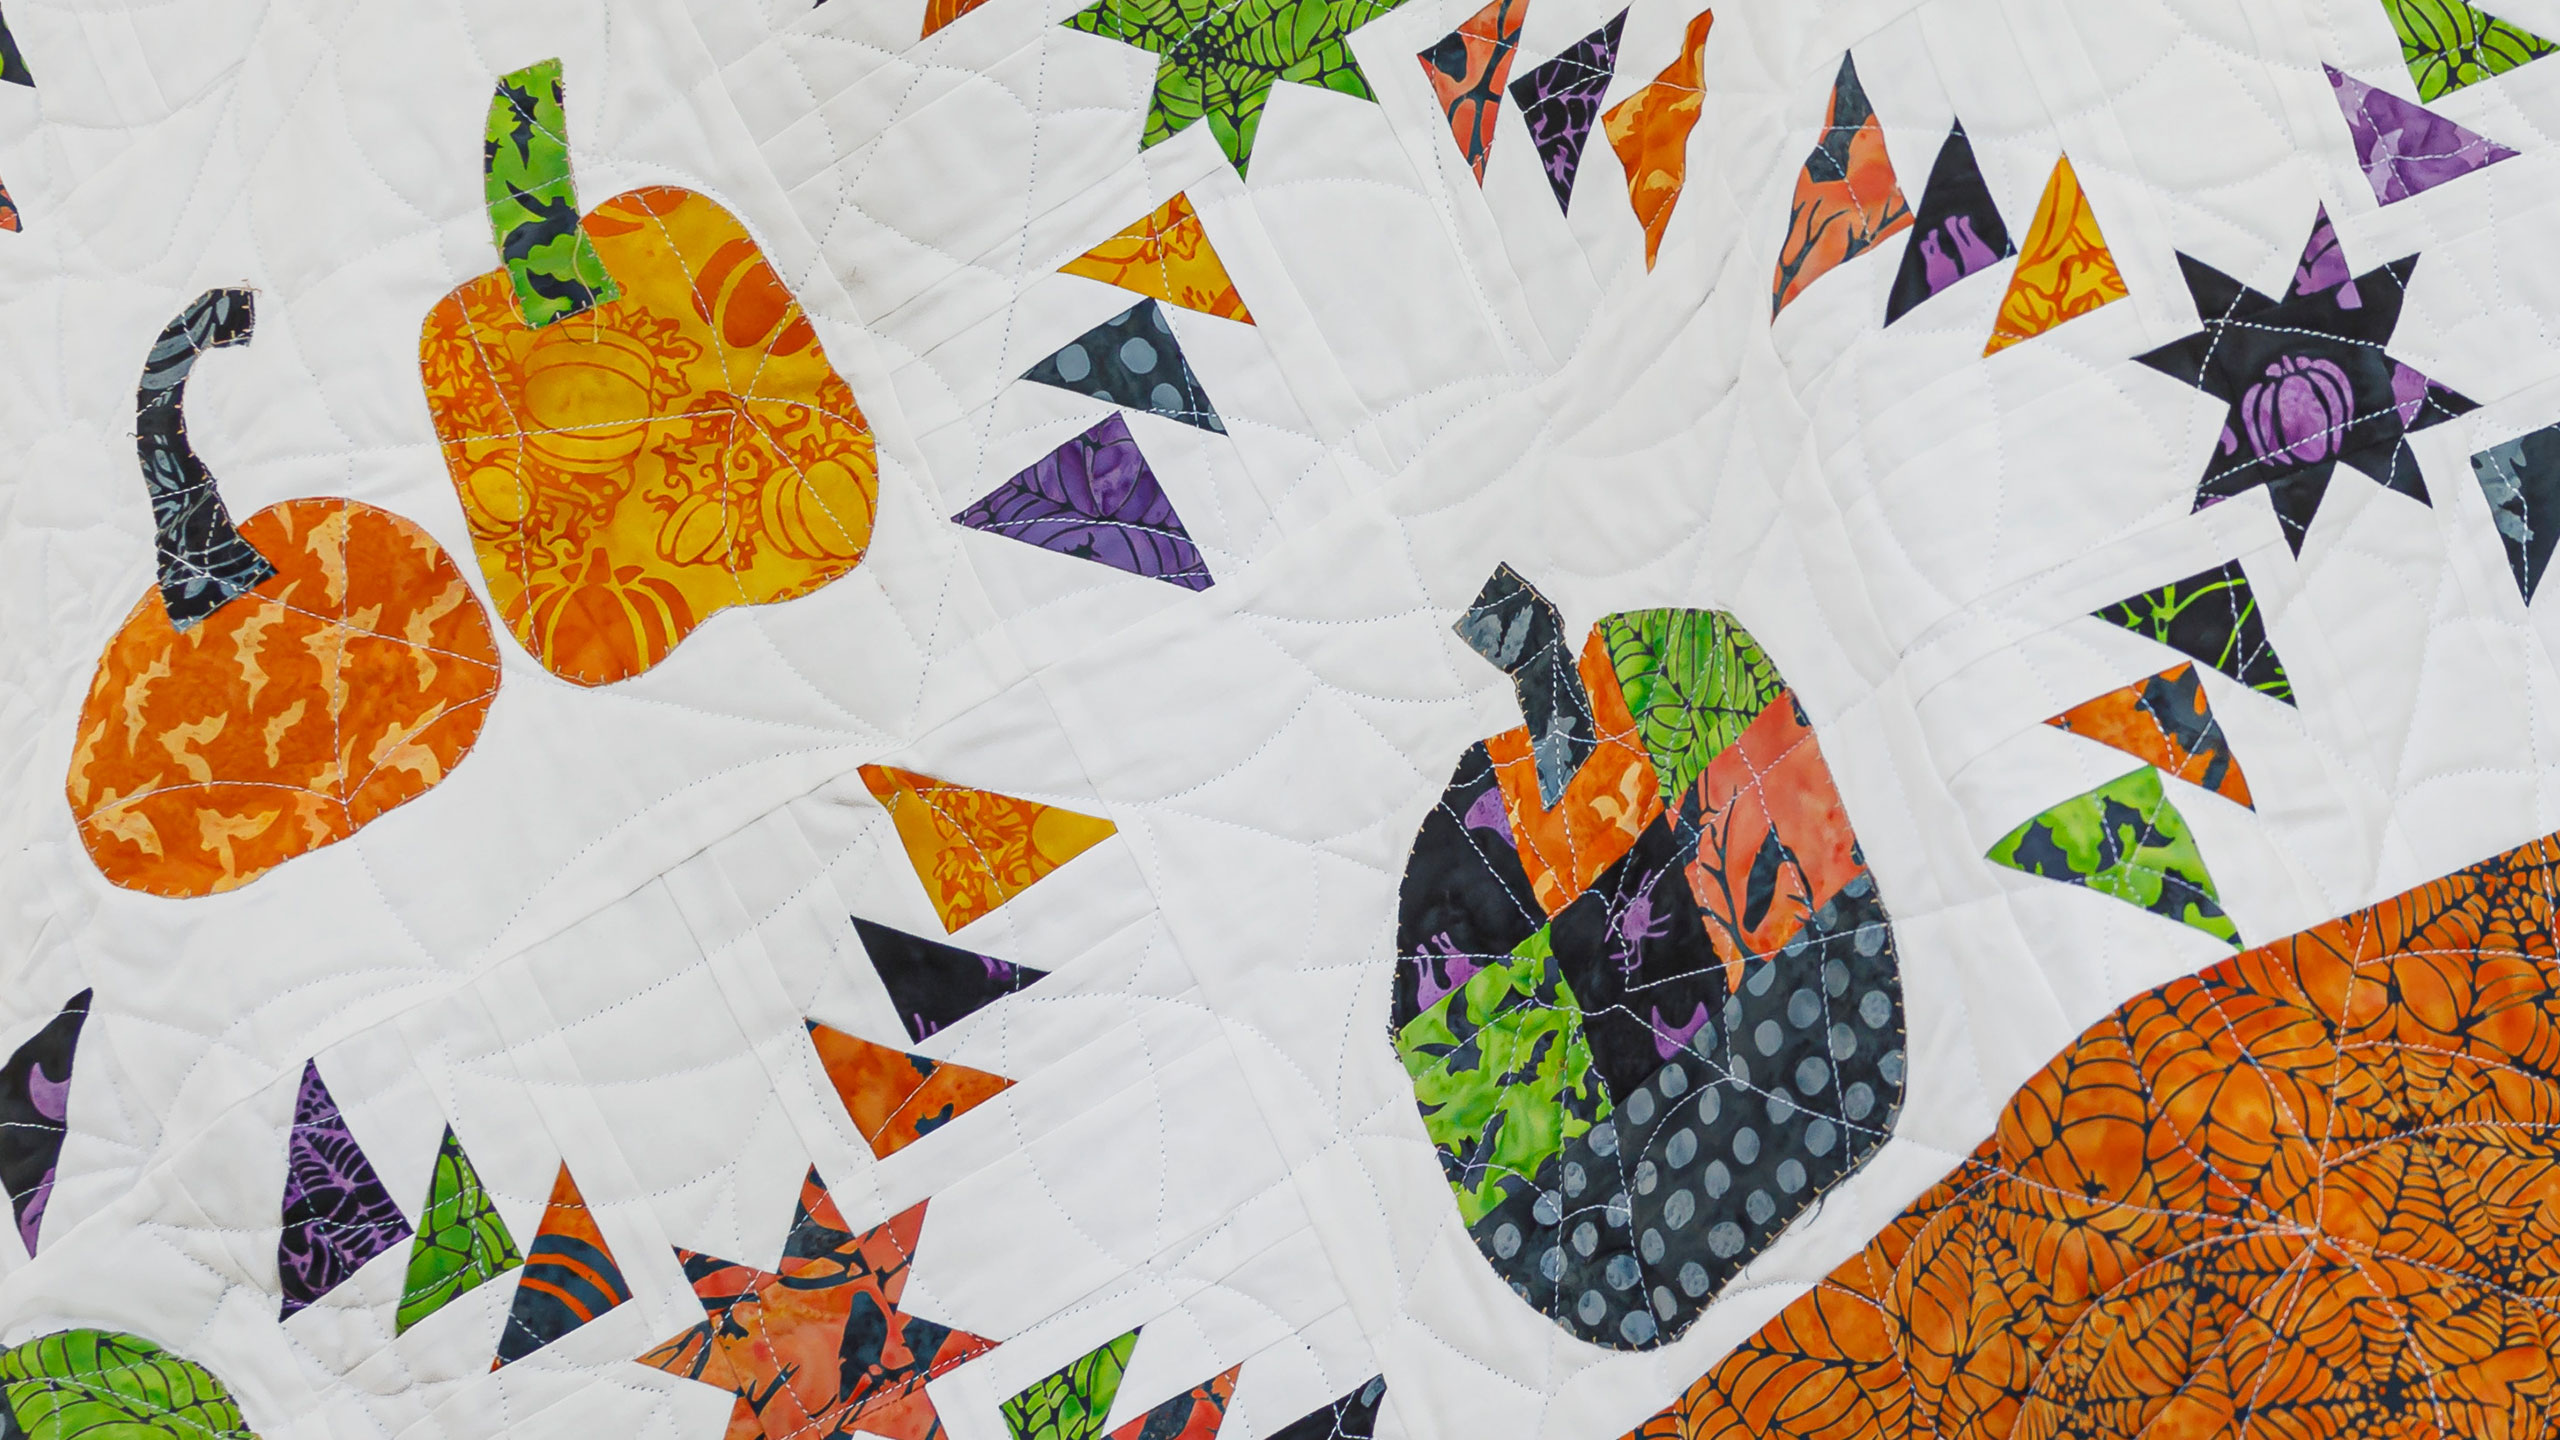
Jenny Doan demonstrates how to make a boo-tiful new Halloween quilt with 10 inch squares of precut fabric. She's using an exclusive layer cake, custom made just for this project. It's called Stargazer Pumpkin Batiks Stacks by Kathy Engle for Island Batik, and it's a Halloween delight! The Stargazer Pumpkin quilt comes together like a simple log cabin with snowballed corners. The applique pumpkins are freestyle and the machine quilting looks like spiderwebs. This is one spooktacular quilt!
Instructor
Jenny Doan
Jenny Doan is an American quilter, author, and YouTube personality. Jenny started Missouri Star Quilt Company in 2008 and today it is the largest quilting supply vendor in the United States.
Shop this tutorial
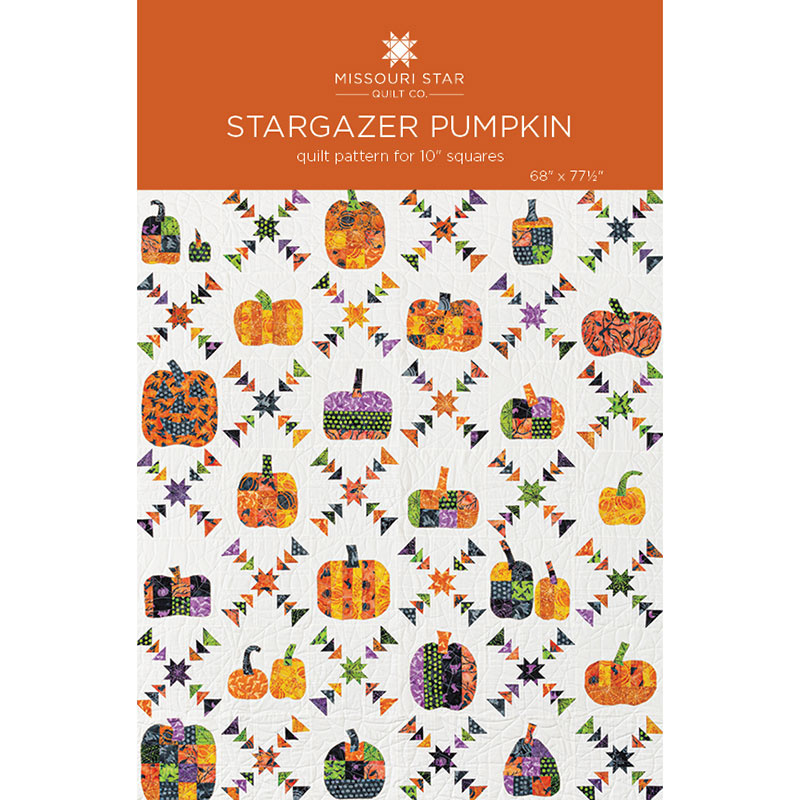 Stargazer Pumpkin Quilt Pattern by Missouri Star$5.95Shop →
 Digital Download - Stargazer Pumpkin Quilt Pattern by Missouri Star$4.95Shop →
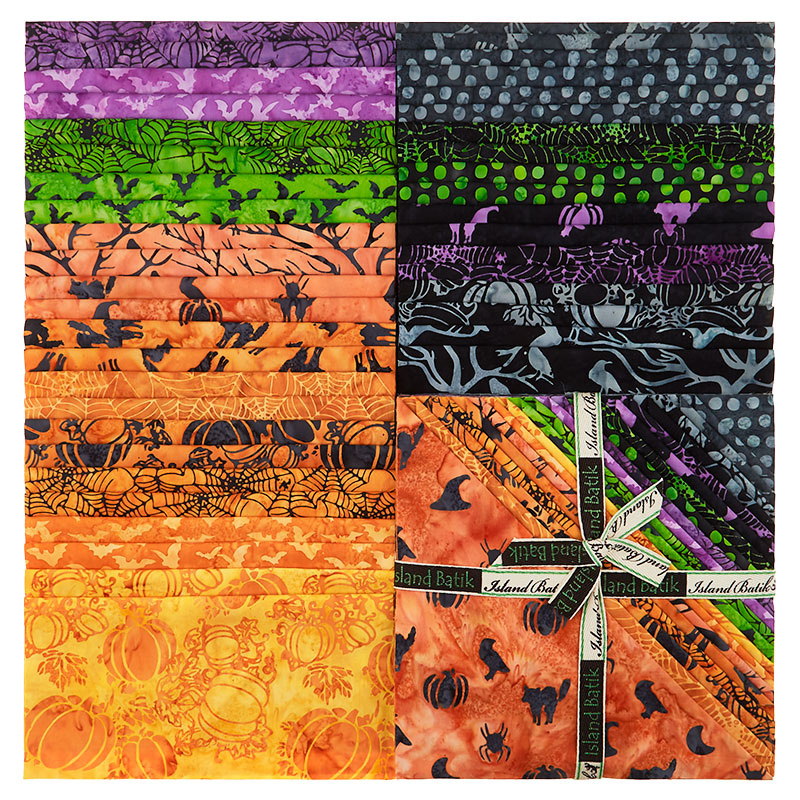 Stargazer Pumpkin Batiks Stacks$38.95Shop →
 Kona Cotton - White Yardage$7.28Shop →
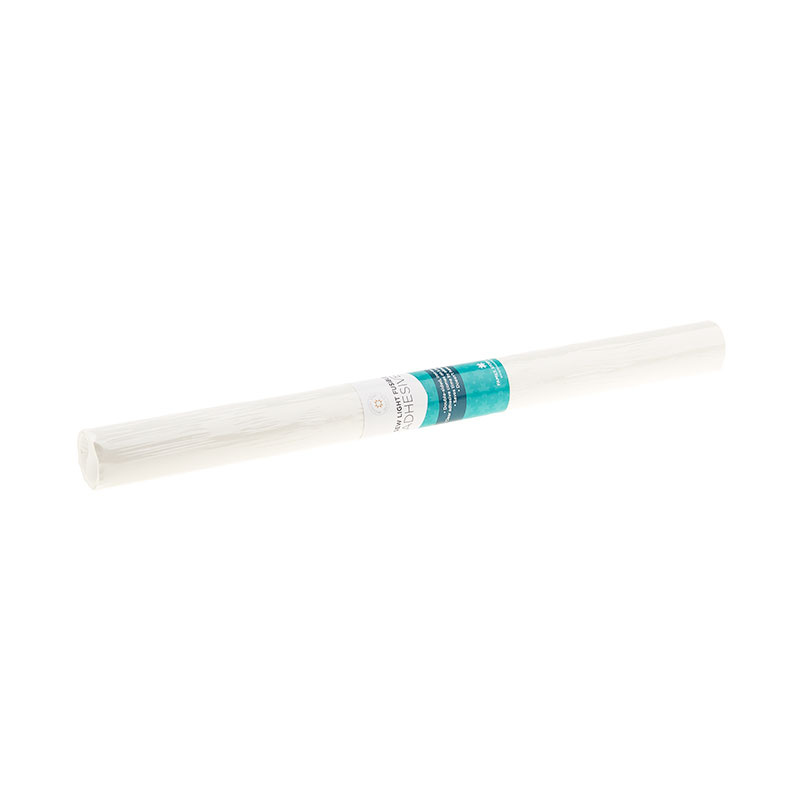 Missouri Star Sew Light Fusible Adhesive - 17" x 2 yards$4.95Shop →
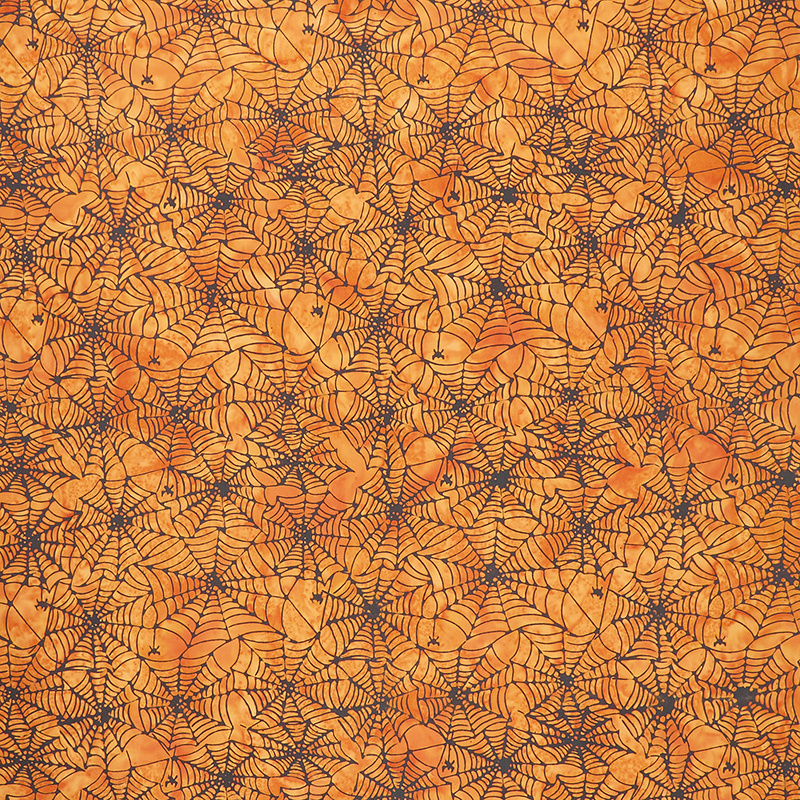 All Hallows Eve Batiks - Spider Web Orange Pumpkin Yardage$11.96Shop →
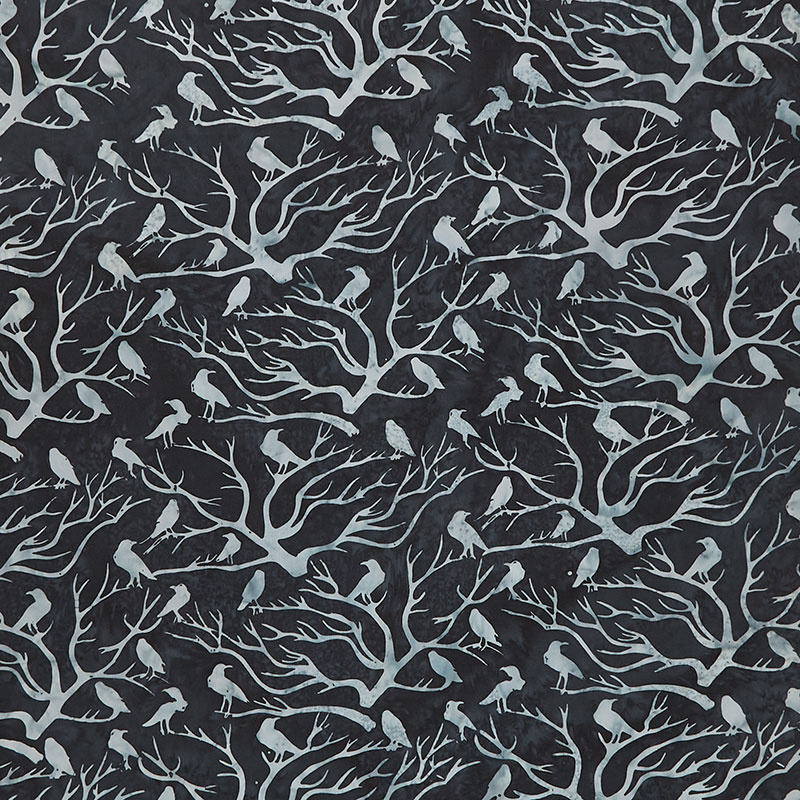 Stargazer Pumpkin Batiks - Raven on Trees Black Yardage$11.96Shop →
Common Questions
What is covered in Make a "Stargazer Pumpkin" Quilt with Jenny Doan of Missouri Star (Video Tutorial)?
Jenny Doan demonstrates how to make a boo-tiful new Halloween quilt with 10 inch squares of precut fabric. She's using an exclusive layer cake, custom made just for this project. It's called Stargazer Pumpkin Batiks Stacks by Kathy Engle for Island Batik, and it's a Halloween...
How long is the tutorial video?
The tutorial video is 00:27:16.
Are supplies listed for this tutorial?
Yes. The tutorial page includes the supplies and materials connected to this project.
Is a transcript available?
Yes. A written transcript is available on the tutorial page.
Video Transcript
So to make this quilt, you're going to need one packet of 10 inch squares and we have used this darling line called Stargazer Pumpkin, and it is exclusive for Missouri Star and it's made specifically for this quilt. I love it when we do that because it's really, really fun fabric and it's fun to have something that you know is going to get you this exact result. You're also going to need some background fabric. You're going to need four and a half yards of background fabric. You're going to need some border. We used one and a quarter yards and this is a nice big six inch border out here. For our backing, we used four and three quarter yards and it's such a cool back. It's like all these birds in trees and it's just really a great back.
Also, the stitch pattern that we used on this is spiderwebs and you can see the spiderwebs on the back here very well. It's very cool and spiderwebs is good with that spooky Halloween look. You're also going to need some Missouri Star Sew Light Fusible adhesive. Anyway, I'm calling this Stargazer Pumpkin and this quilt happens to be 68 by 77.
So this quilt is actually a quilt I made years ago and it's called the Stargazer Quilt and it is a gorgeous block. This block right here, this is the stargazer block, and it was made out of one and a half inch strips and it made it 12 and a half inch square in the end. I love things that chain and this actually double chained because every block was a stargazer block. When I was working on that quilt, I happened to set one of the pumpkin blocks I was working on at the same time up next to it for a completely different quilt and saw that that would be awesome to put in between there. Well, you know I love precuts and so I actually remade the stargazer block so that it would be smaller so that it would match up exactly to a 10 inch square.
So now you can put any precut in there that you want and it will just change with the whole thing. So for this one, of course, I chose pumpkins and we'll get to those next, but first I want to concentrate on the stargazer block. The pieces are a little smaller in here, so it's not harder. It's just smaller and so there's a little bit more things you have to pay attention to. But other than that, it's made exactly the same way. So the first thing you want to do is you want to select 21 of your blocks that you want to use in the stargazer block. Now, we made these look really scrappy. So while we cut pieces all out of one layer cake square, we mixed them all up when we put them together.
So here's how you're going to cut that. Here's my little graph right here and I will show you how we did that. So let's take one of these cool green ones here with the spider webs. If I didn't know better, I'd think this glowed in the dark. All right. So now let me grab my ruler and I will show you exactly what's cut on here. Now, I always cut my largest squares first and so the first thing we're going to do is cut two and a half inch squares, and we're just going to come along the edge like this, and we've got one two and a half inch strip right here. Then we're going to cut it into four squares. So we've got here one, two, and make sure when you line these up ...
Mine isn't even lined up on the mat because I'm using my ruler, so make sure that you're lined up corner to corner on the square and then your blocks will be square. Then these are our four two and a half inch squares. Then we're going to need some two inch squares so we're going to cut some two inch strips right here. There's one, here's the next one. Then I'm going to stack these on top of each other and we are going to cut some two inch squares for this. These are for the edges of our block. This block is put together just like a log cabin.
Here I'm going to use my little ruler for this, because a little easier for me to handle and I'm just going to cut these in two inch squares and we have stacked them so we're getting two at a time. We'll just go along here and you should be able to get five out of this. There's three, there's four and there's five. All right. So we're going to stack those up. Our last cut here is going to be a one and a quarter inch strip and that is right like this. One in a quarter, and this is one of those where you measure twice and cut once, make sure that it's right, one and a quarter, and then we're going to cut some little squares off of that and we've got one in a quarter inch squares.
These are going to be for our little star sashing that's in the center and we're going to cut this all up. What I'm going to do actually is I'm just going to fold this in half so I can make quick work of it. Again, I like my little ruler because it just feels so much easier to handle than the big ruler, for these little things anyway. One and a quarter and we should have one more that's one and a quarter, and we do. Ta da. All right. That's how you're going to cut up 21 of these squares.
All right. Then we need some background strips cut from our background and we need several strips. We need a two inch strip for our sashing and I'm going to open this up like this and your fabric comes like this folded and the salvage to salvage part I keep at the top, and then I fold this up and just put it right under that line of pin dots. I put my piece right there and I'm going to cut a two and a half inch strip. You want to make sure that this edge is nice and straight, that you can clean up the edge if you want to. Mine looks pretty good so I'm going to go ahead and cut a ... let me look at my measurements here. I need a two and a half inch strip because we need some background squares to start our little stargazer block.
We need a one inch strip and then we're going to need a one and a quarter inch strip. I just cut these strips actually as I need them. I'll cut several at a time and then as I need more of them ... I mean, it tells you the exact amount in the pattern, but as I need more of them, then I will just cut them. I'm kind of a rote sewer, I do a block at a time and so we get it all put together just maybe a little. I don't know. I think it's faster for me, but it's how my brain works. All right. Then what we're going to do is we are going to make a half square triangle to start the center of our block and so I'm going to cut a set of blocks right here. Use my little ruler and it's two and a half. So I don't even have to look at the measurement. I can just put it on side.
All right. I'm going to set this up here, keep all my little blocks together here and you'll do this to all 21 of yours. Just have a big, happy pile of scrappy pieces and you'll just pick some from each pile. All right. What we're going to do on this right here is we are going to make a half square triangle to start our stargazer corner. This is the block we're working on right here. This is our stargazer, this is what I call the corner and the other blocks are just going to be put around like this and then we just cap them off each one with a little snowball. It's a very easy block. What we're going to do here is we're going to put this on here like this and then I'm going to sew right on the line because I want this to stay at two and a half. Draw the line, iron the line. I'm going to use my diagonal seam tape here and I'm just going to sew straight down.
Then we'll trim off this edge and then I'm going to open this up right here and press it open, press to the dark side. This now is the beginning of my stargazer block. It's this square right here. The next thing we're going to do is we're going to take our one and a quarter inch strip and we are going to border both sides of it. Here's our one and a quarter and the reason these measurements changed again was just so that for me that I could make this smaller so it would end up 10 inches and I could put any square with any applique, with anything I wanted to. I think that this is a great connecting block and I think you'll really enjoy having this block under your belt to do more quilts with.
I'm going to come here. Now, you can cut one and a quarter by two and a half inch pieces. I tend to like to do it on the strip like this and then I'm going to finger press this over like this and then I'm going to sew another piece on. I will do at least four, if not eight of these, I'll do a bunch at a time because I'm sewing all the same side over and over and over and that just makes it really easy to do a bunch. I love the chain piecing.
All right. Now let's press this back and you can see this is the beginning of our little square. Now what we're going to do is we are going to take our little pieces here and I have some already started and so I'm just going to start ... I'm just going to use some of these pieces so that we can make our little blocks. Right here, I have this little block made. I'm going to put this little two inch square right here and I'm going to sew corner to corner on this.
All right. So again, draw the line, iron the line. Boutiques are so nice to iron. They're just so crisp. Like that, and then we'll press that back. See how quick that went together? Then next we're going to border both sides again and you're going to do this three rounds, so three times, and I'm going to start right here and we'll just cut this off right here. Then we'll put this on the other side. Close my rotary cutter. Might owe somebody a quarter if I'm not careful. All right, here we go. All right. Now let's trim this off and we'll press it open and just add another corner square.
Then you want to keep it nice and straight. I'm just going to trim this up a little bit, make sure this stays nice and straight. Then we're going to add our corner in the center. Let me see. Here's a nice green square, two inch square. These are our two inch squares up here. Actually, I'll just grab one of these. There we go. Now I'll put this up here and again we're going to sew it diagonally corner to corner, then we'll trim that off.
All right. Now we're going to press this open. Now we have three triangles. One, two, three. The next strip you add is going to be your inch strip and that's what brings it up to 10 inches. I'm going to trim this little salvage edge off right here and then I'm going to put this little inch strip around here. So we used a two and a half, a one and a quarter and now we're at one inch and we're just going to put this around the top like this, line this up right here.
Hang on there. I'm going to press this back and now we'll put this other side on. All right, trim this off. This is our corner block right here and you'll need four of those for each stargazer block. Here's one of these and then I have one made. I have a couple more made over here. Let me grab them. The next part we're going to do is our sashing and I've got those pieces here. So many little pieces. I'll tell you what, by the time I got done making this, my whole desk was just covered with little bits, but I had this great quilt up there to show for it and it's okay to be a little messy if you need to.
All right. So I have one, two, three of these and I have started my sashing strip so I'll show you how to do that on these blocks right here. These two, all your little geese, if you will, these little flying geese, they all fly to the center and what we're going to do is we're going to make a little sashing to go down the center of our block and that gives us this little star and that's this little star right here. We tried them scrappy, but I think they actually pop more as one color so just remember we did the one color. Your blocks right here should measure four and a half inch square and so that means we can, we're going to put a two inch sashing in between the blocks like this, but we want to make it a star so we are going to add star legs to each end of our sashing.
These are our little one and a quarter inch squares and you can see I've drawn the line on here and we're going to put one on here and sew across, we'll fold that back and then add the other square. We're going to sew this little one and a quarter inch square right across here. All right. Just clip this off and then I'm going to lay this back right here, finger press it, and then I'll add my other one and a quarter inch square and sew diagonally on that line. Line it up on the corner of your strip, let that be your guide, and then we'll just come right across here like this. We'll clip it off like this and we will press this out.
All right. Now what we're going to do is we're going to sew our two pieces together like this and I actually have one already sewn to this edge so I'm going to go ahead and sew this one onto here and we'll just quarter inch it right down the side. Again, your block should be four and a half inches and mine is pretty close. All right, now we'll press this open and you're going to do that on two sides like this, let me press this one as well. He's been folded in a baggy. All right, let me move these out of the way. We have this one and now we have this one and now what we need is our sashing down the middle. We've got one piece here, our center square, and one piece here. What we're going to do with that is we're going to actually take this little sashing out and sew the middle to the legs.
Now, this is a two inch square for the center because our sashing strip is two inches, and so this is now two inches and then I'm going to open this up, finger press it back, and then sew on the other side. This will now go right down the center of our block and it will make the star that is right in the center. There we go. I'm going to clip off these threads and press this out and now we're going to add this right in the middle. So we will just lay this on here like this. All right. We're going to put this on here on the edge and I'm going to sew across quarter of an inch and I'm going to go ahead and nest this seam right here in the center. Where your little two inch square is, that's the nesting point because that matches up with the sashings and that's the part you want to fit right together.
I almost find that sometimes when I do these smaller things, that I'm a more accurate sewer because I'm just a little more careful and with the big ones, I'm like, "Whatever, let's just sew this up." But when you do these little pieces, you have to just pay attention a little more. I do find I'm a little more careful. I watch those quarter inch seams.
Then you have your little block and I actually really love the little one inch sashing just before the end, because to me it just kind of highlights that little block. Here's our block and you're going to make 21 of these and they're just going to go every other one. Every other one, and then in our blocks, I've chosen to put pumpkins and that is because of the nature of this fabric. It's pumpkin, love and fabric. I don't know that there is going to be an actual pattern for the pumpkins because as you see, they are all different. I made one out of solid fabric, I made one out of little four patch with a little strip on the top. This one is all patches. This one is strips, just straight strips. This one is strips up and down different sizes.
I'm just going to walk you through a couple of pumpkins that I did so that you can make them too. The fun part for me was I got to do all kinds, even a little Jack-o'-lantern over here and so whatever it is that you want to do with your pumpkins, this is where your creativity needs to come out. Right here, I have sewn a bunch of patches together and I did use 10 inch background squares that were precut. If you do that, you won't need as much background yardage, but that was precut and that was good for me. What I did was on this one, I'm going to do nine patches together, I'm going to press it good and I'm going to add a little piece of Sew Light so that it will actually stick to my square. I'm just going to cut off a little piece right here.
Because I was just going at this however I wanted to, I didn't even press the whole thing on here. I would cut a square, just a random square, and I just want to tack it on so that I can machine applique it down. I wasn't worried at all about the size of it or it coming all the way out to the edge. You can if you want to, it's totally up to you. What I did was I took this and I just ironed a square on the back like this and then what I did was I folded it in half so that my pumpkin would be symmetrical. No pumpkin is symmetrical, but I don't know, I'm symmetrical. Right here, I'm going to come in. Most of the pumpkins have a little dip in the bottom. See this right here? There's a little dip and there's a little dip on the top.
So what I did was I just took my pumpkin and I just came in and I came out and then I rounded off my corners like this and just rounded them off. Then I had a dip on the top as well, and then I'm going to pull this paper off and then I'm going to look at my pumpkin and I'm going to see if I like it. If it's too square, which it appears a little bit square and I'm sure there are some square pumpkins out there, but I'm just going to round this a little more. This is, to me, the fun part of this, because your pumpkins are your pumpkins and nobody else will have pumpkins just like your pumpkins. So there's mine. I'm looking to make sure that it is evenly centered and I'm also looking to make sure that I have room for a stem.
So I'm just going to press this down and then I'm going to take a little tiny piece of this and I'm going to put it on the back of a little square to make a stem like this. Generally what happened was, as I cut my pieces of the fabric to make my pumpkins, I ended up with some pieces that had the fusible on it still and so I didn't even have to fuse these little pieces. All right. Then what we're going to do here is we're going to cut the shape of a stem and I'll tell you what, stems are all different sizes. I'm just going to lay this on here like this, stick this little stem on here and press it down. Then I would take this little pumpkin over to my sewing machine and I would applique stitch all the way around it. I used a little, it's just a little buttonhole stitch, a little applique stitch. You can use a tiny zigzag. You can even straight stitch around it and you're going to make 21 of these.
Let me walk you through a few more because I had some fun pieces going here. I cut some into strips like this and I sewed. Some of them, I cut the strips and put them back together as squares. This one has strips on two sides with a row of strips in the middle. This one is all strips and some of them were all fabric. Let me just show you, let me do this strip one right here. When you do the four strips, I could run this pumpkin this way or this way, and you can see even over here ... let me see, where is it? Oh, right here. I have two, and so do whatever you want. Have fun with this. This was really one of my favorite parts.
I just have a little sticky on here and I think I'll probably need a bigger piece because I do like to adhere it to my background. This is a great place. Every time you use heat and bond, you're going to end up with a pile of little scraps that you didn't use on your pattern. Stick those in a baggy. All those little scraps are great to use on this kind of thing. We'll do this and again, I'm going to fold it in half. Don't fold the sticky side together, because it will stick. Right here again, I'm just going to make that little divot. I'm going to come out. I'm going to make a rounded edge here. If you want to put a coffee cup or a saucer to get that just rounded edge, you can do that. Anything works.
Pumpkins, if you look at pumpkins, they are all different shapes and sizes. Here's a pumpkin. Then this one, I can decide if I want my wider end at the top or my wider end at the bottom like this. Again, you just look at it and see if it makes you smile, if it makes your heart happy, that's awesome. You can also ... like this one right here, I'm actually going to cut it before I add the fusible because it doesn't matter. So I'm going to cut it long ways and this is going to be a really tall pumpkin.
This is how this pumpkin will look right here. With a tall pumpkin, you can see he has a little bit too big of shoulders for me so I'm going to trim him down. You can even use your rotary cutter for this if you're very, very brave. All right. There's my tall pumpkin and you'll notice that I start losing stem room and so here's what I did to counter that. I took a ... where is the little square? Oh, one of these. I took one of these pieces. Now, on the stem. I did try to get me a little piece of adhesive on there first, because if you wait, it's hard to glue adhesive to a tiny little cut stem. It's easier to glue it to a bigger square. What I did here is I'm going to come out here. I'm going to leave this up top because I can. We'll cut it, it's kind of a big triangle-y piece and to make sure that it didn't go off the end of my fabric, I set it down in.
I set it in there just like that, where it will go. Now this pumpkin, if I had cut my divots here and here, this would make a great sideways pumpkin as well. Don't be afraid to play with those, have fun with those, look around your house, see what's the right corner shape or whatever, and just cut and trim those. It just makes all kind of fun pumpkins and it really makes a great thing. And, as far as I was concerned, the hard work of these blocks was done. Not that this is hard work, but it was a little more tedious than my pumpkin play. You're going to need 21 of these. You're going to need 21 pumpkin blocks and I felt like there was enough white fabric that I didn't need an inner border so I just added a nice big six inch border to the backing here.
I used my backing as the binding out here. I had enough backing left over for my binding and a I like that a dark little frames it up just so nice. Anyway, this is a great quilt, a fun project, and just in time for fall. I hope you have some fun with the stargazer pumpkin quilt from the Missouri Star Quilt Company. Hi, everybody. It's Jenny from the Missouri Star Quilt Company. We hope you enjoyed watching this video. If you aren't already part of the Missouri Star Quilt Company family, be sure to subscribe so you won't miss a thing. If you click that bell, it'll notify you every time a new tutorial comes out. See you next Friday.



