Skip to content

Free quilting video tutorials from Missouri Star

Quilting Tutorials
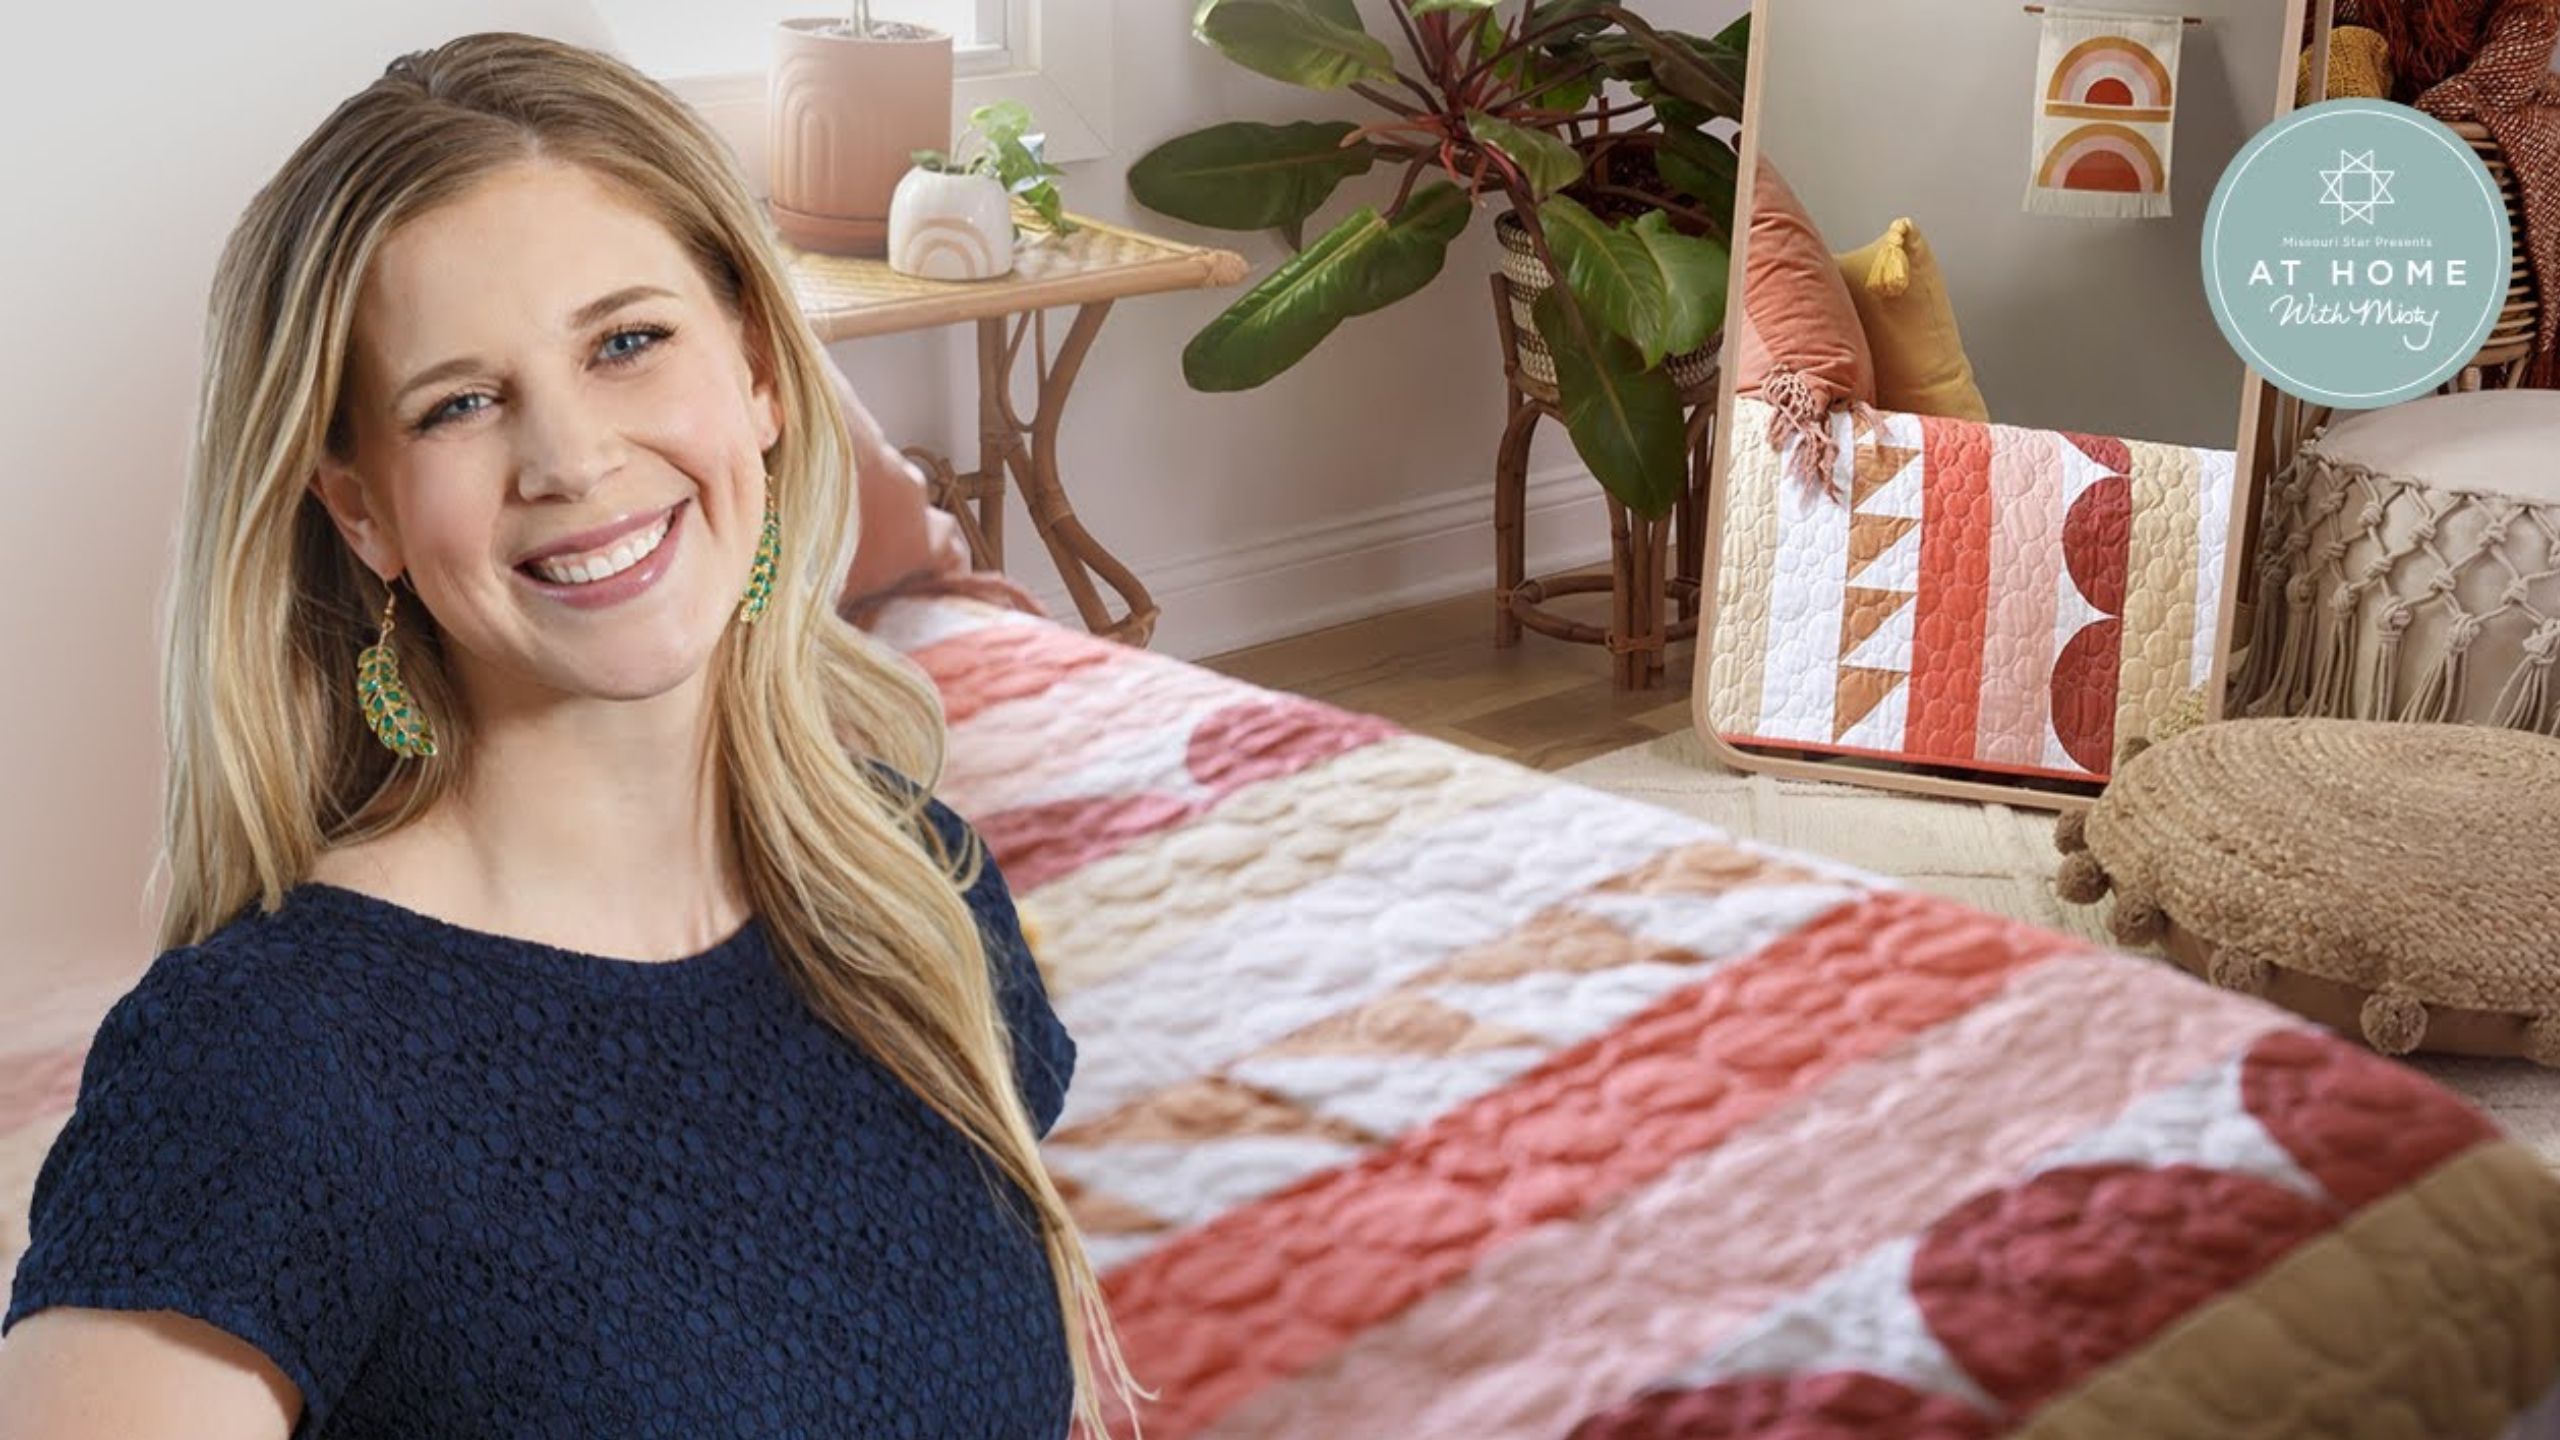
Make a "Summer Sky" quilt with Misty Doan on At Home With Misty

Make a "Summer Sky" quilt with Misty Doan on At Home With Misty

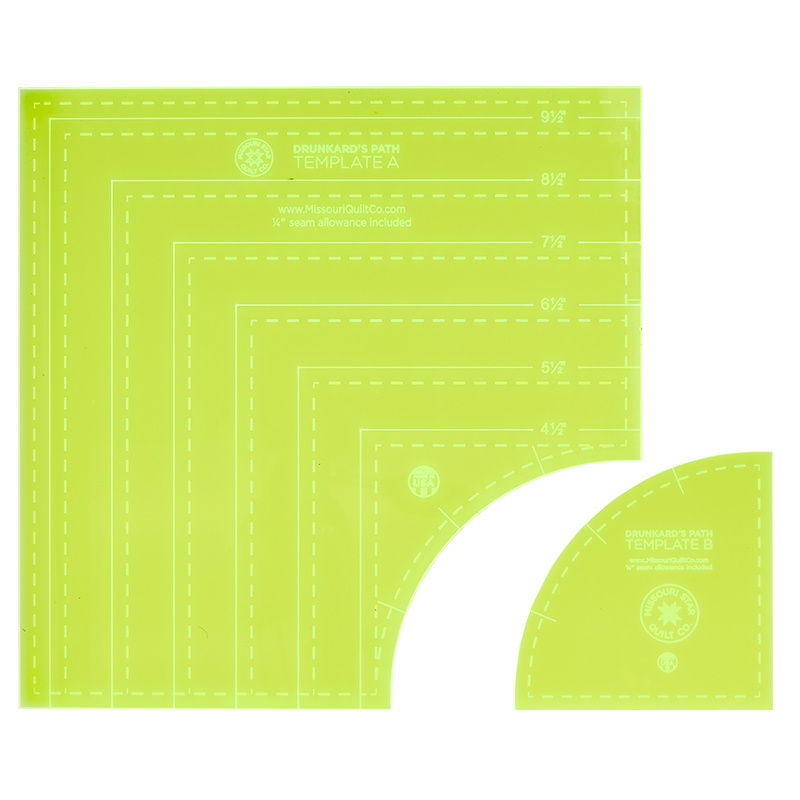
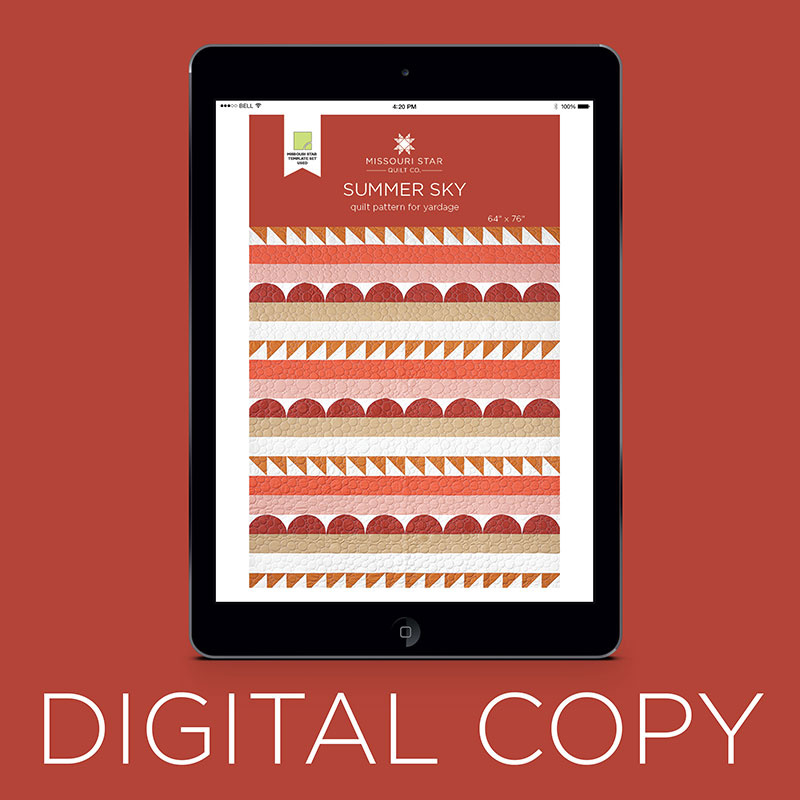
Watch and follow along with Misty as she uses gorgeous Kona Cotton solids to make the perfect summertime quilt! Using various warm shades of solid yardage and the Missouri Star Drunkard's Path Template Set, Misty will show you how to achieve the eye-catching rows of triangles and scallops. Summer Sky will surely become your favorite quilt to display all summer long!

Instructor

Misty Doan

Misty Doan grew up surrounded by sewing and quilting. She loves spending time sharing tutorials each week each week, and when she’s not stitching up one of her fun sewing projects for home decor, most likely you’ll find her hanging out with her husband and three awesome kids or working on a house project.

Common Questions

What is covered in Make a "Summer Sky" quilt with Misty Doan on At Home With Misty?

Watch and follow along with Misty as she uses gorgeous Kona Cotton solids to make the perfect summertime quilt! Using various warm shades of solid yardage and the Missouri Star Drunkard's Path Template Set, Misty will show you how to achieve the eye-catching rows of triangles...

How long is the tutorial video?

The tutorial video is 00:17:22.

Are supplies listed for this tutorial?

Yes. The tutorial page includes the supplies and materials connected to this project.

Video Transcript

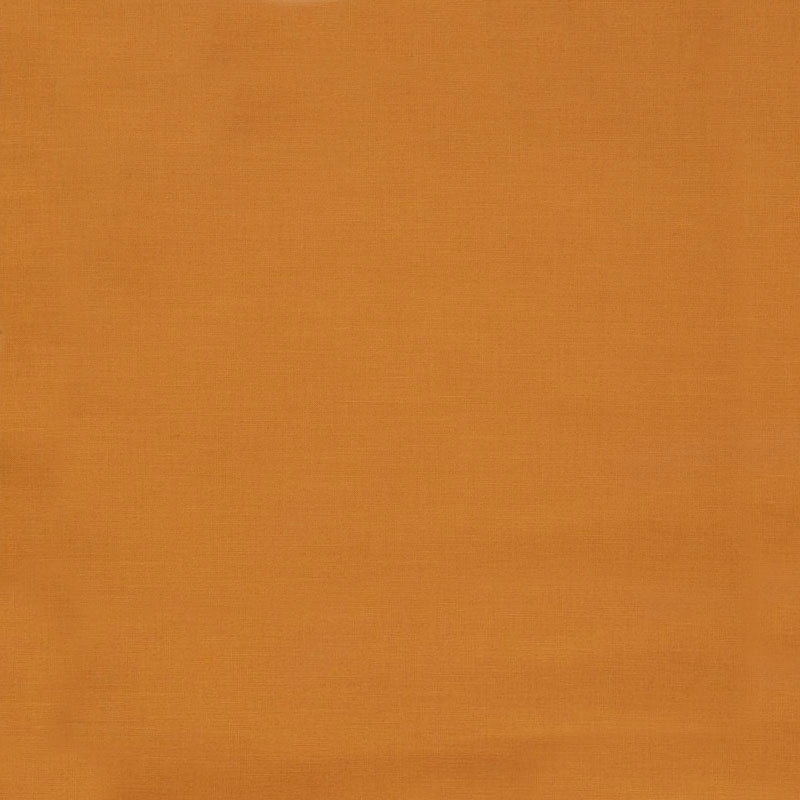
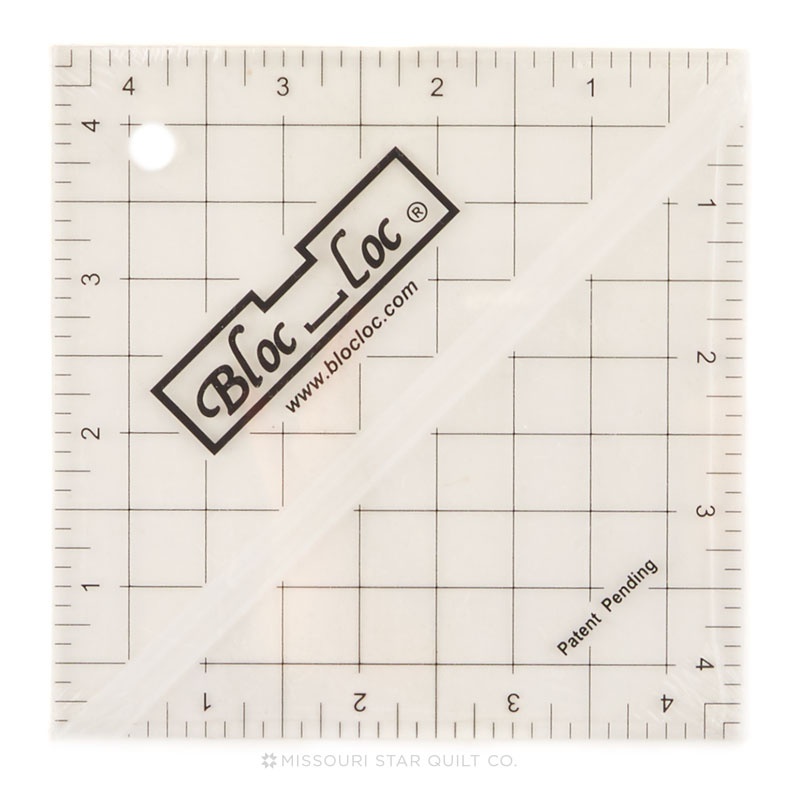
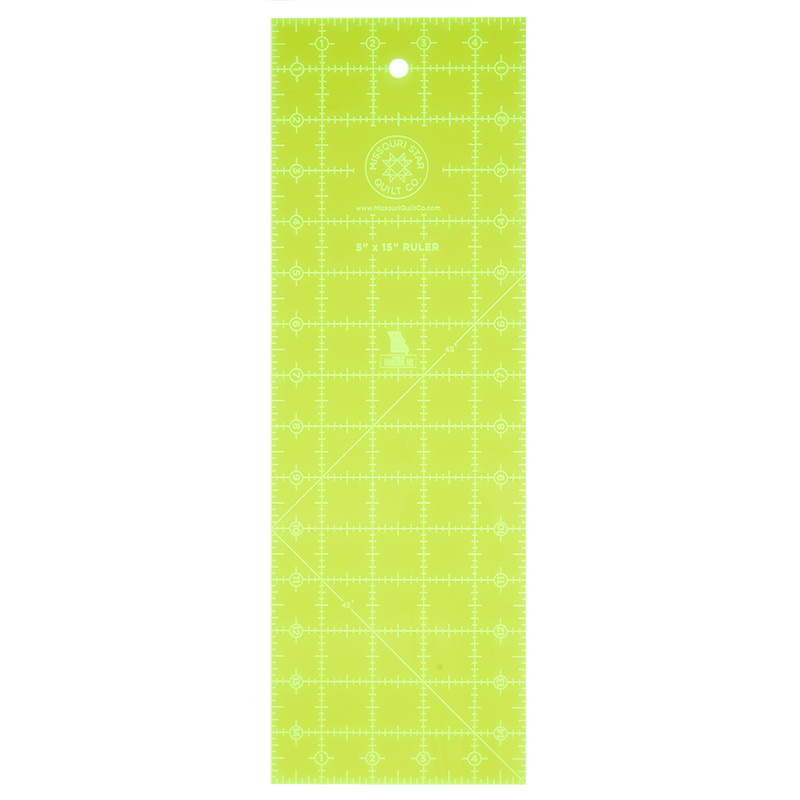
hey everyone it's misty and this week we're making a super fun quilt inspired by my daughter [Music] this quilt that you see hanging beside me is inspired by my daughter ashlynn if you have a teenager i'm sure you've heard all about aesthetic and hers is like beachy desert vibes she loves all of that and so this quilt is called summer sky and it's got all these great warm tones i designed this quilt to use yardage which you can see i have all the beautiful shades stacked here and let's just go through those i have peach nectarine amber scone sienna and white these are all kona solids and of these first four you're going to need three quarters of a yard of this beautiful sienna you'll need one yard and of the white you'll need two and a quarter yards to make this beautiful top that you see here so like many of the things i design this was intended for yardage but you could use pre-cuts because we're using a lot of the same wonderful quick hacks that we have here at missouri star so let's start with our half square triangles to do that we are going to use a 10 inch square of our background and of this amber color all of the half square triangles are made using these two shades and we are just going to stack them one on top of the other and then we're going to draw a line corner to corner in both directions so let's start by doing that and then we'll make one the other way just like so now once i have that done we're going to take it to the machine and we're going to sew a quarter inch on each side i've gone ahead and done that here just to save us a little bit of time but you can see there's that center line that i marked both ways and i used a contrasting thread for you so you could see those stitches a quarter inch away on either side and so now we can cut this apart so it's perfect if you have this 5 by 15 ruler you can just lay it right along the side of our 10 inch square and i like to start by cutting this into squares so i'll make this cut make sure it stays lined up and then we'll make this cut across here and the reason i like to cut both of those first is now i've got these individual squares that i can turn and cut that diagonal line it just makes it a little bit easier to work with so we'll just cut all of those apart and you can see how quickly we get eight half square triangles which is what i love about this method so i'm going to go ahead and take these and we're going to press them to the dark side so that just means we're going to hold the darker fabric and roll that back so i'll actually flip these over so that i have the dark up makes it easier to work with and roll and roll i'm just going to press a few of these because i have some already made so we'll start there and then let's go ahead and square these i'm using a four and a half inch block lock ruler and when you're using the block lock you always want the words on the ruler to go on your background side so that's the white for me and then we're just going to trim off this excess so that all of my half square triangles will now measure four and a half inches so you can see how quick and easy that is let's do a couple more just to show you and on this one i'm actually going to rotate it because i need to cut both sides this is just a little wonky down there there we go and taking the time to square these blocks will just save you so much time and headache in the long run there we go and let's go ahead and square one more there we go all right so now let's talk about how we're going to assemble those into rows we have two different ways that the half square triangles are set in this quilt so if you look in both versions the amber color is going up but in half of them it's up into the right and in the other half it's up and to the left and there are one two three 5 6 7 8 9 10 11 12 13 14 15 16 of these four and a half inch blocks all the way across our quilt so let's just go ahead and talk about that layout a little bit so we know this first row it's going to be up and to the right just like this and the entire row 16 across is going to go just like that so let's go ahead and sew a few of these together just so we can make the start of that row so i'm just going to fold these together just like this and i'm going to stitch on this side and take this to the machine just going to take some time make sure it's lined up [Applause] and we can chain piece these in sets of two [Applause] there we go now i'm just going to go ahead and open this up here and sew these together just to save some time [Applause] there we go and now you can see there's our first row of half square triangles like i said you would continue so that you have 16 in a row but let's go ahead and press this so that it's ready for our next one and i like to press so my seam is hidden behind that dark part of the half square triangle pressing to the dark side like usual so there's that one and now let's go ahead and make our other half square triangle row that's going in the opposite direction so i have a few more of these done and so remember this first one is going up and to the right so we know the next one needs to go up and to the left so we're just going to turn it just like so and we'll do the same thing and sew these in sets just like we did before and press them open [Music] and then once i finished this and had 16 all the way across in both of these versions you actually need two of each of these strip sets so keep that in mind two going this way with 16 across two going this way with 16 across so let's just go ahead and set these aside for now and now let's move on to this drunkard's path these little half circles that you see arcing they kind of look like a sunset or a sunrise depending on the time of day so let's make those for those blocks you're going to use this beautiful sienna fabric and we have cut them into five inch strips and then cut them down into five inch squares and we've done the same with some of our background yardage so you can see i have those set together just like this and then we're going to use our small drunkards path template and that looks just like this and so i like to start with them stacked up nice and straight and i always like to cut this big curve first so i'm going to lay this in the bottom corner and cut out this curve and just take your time it's a nice gentle curve there we go so i have that ready for the quilt i'm going to be using this piece here and this one i'm going to set aside for a bonus project that i'll show you later and then now we need to cut the opposite curve from these pieces here i nudged them a little bit so i just want to make sure that they stay lined up but we're going to be using the four and a half line on this ruler let me turn this over so you can actually see that mark where it says four and a half right there there we go and to begin i like to cut off these little bits that hang over on the end just get those out of my way and then the same thing this nice gentle curve on the inside there we go all right so i'm going to set this dark piece with my other one for my bonus project and these are the pieces that i need for the quilt itself so let's go ahead and sew these together let me show you how i do it i like to fold this in half so that i have the center of my curve and i'm going to do the same thing with my background piece fold it in half give it a little finger press to find the center and then i like to just kind of line these up to begin with and you can pin here if you're not comfortable with curves it's totally okay to put pins i find they just get in my way and i end up poking myself a lot so i just take my time and so i'm actually going to start now that i have that marked and i'm going to just line this small curve up straight with the top of my large circle here or half circle here quarter circle whatever the right shape is we'll get there eventually you know what i mean i'm going to take a few stitches and then i'm going to gently pull this around you don't want to tug too hard but we have a little bit of bias and so once i've taken those first anchoring stitches i'm going to pull this around and take that middle point and match it back up and then i'm just going to slowly sew this curve with a quarter inch seam i'm just holding that center point with my finger and once i get there i kind of stop then i can take this curve again and match it up to the end and i make it just kind of lay down and continue around if you have a stiletto or a toothpick or a chopstick it can be helpful for this narrow end as you're finishing up but i find if i just take my time i can stitch it and so we got all the way around that curve and now we can just press this back i know it looks kind of crazy but i'm always so surprised at how nice these lay down so we're just going to press this all right and that looks so great but let me show you one more time how to do this curve just because i know this is probably the trickiest part of this whole quilt so i'm going to grab one more of my quarter circle we'll just put that finger press right in the center and then our background piece and press that center line as well now we're going to line up these two ends and i'm going to start stitching right on this straight side and just take a couple anchoring stitches to get me started and then i like to pull around that center mark we're just going to ease this in and i kind of stop again once i get to that middle and start pulling the second half around to line up you don't want to tug too much it's just little gentle guidance all right so now let's just press this and roll that back there we go so now we're going to take the two of these that we made and we are going to put them together to create our half circles or our little sunset view that we're looking for and i like to kind of see which sides are my best because they're not always going to be perfect but i think i'm happiest with these two to be the top of my little half circle so i'm going to line those up and we're just going to sew a quarter inch seam down this side there we go that looks great and we can press that back see just like so so now for each of these rows you're going to have eight of these half circles that are going across and there are three of the drunkards path rows so that's what you want to make for that and then the rest of this quilt is just made up of four and a half inch strips so let's do a little bit of layout here so you can see how this comes together let me clean some of this stuff out of the way and i will show you so to begin with we are going to start with our half square triangles let me just look at the quilt to make sure i've got it right we're going to be up and to the right for our first row and then next comes this beautiful nectarine stripe four and a half inches and so you'll just piece this by the width of the quilt and then we have this peach color that comes next just like so and then we have our half circles i have a whole row done here but i'll just fold this in half so you can see better slide this up a bit so that it will all fit there we go and then after that is this beautiful scone and then a strip of our white and then you can see in the quilt behind me how this pattern just continues so then white comes next and then from there you're just going to pay attention to the quilt layout itself and it's just all pieced together in these beautiful four and a half inch strips the quilt finishes at 64 by 76 it's perfect for picnics or to throw in the car and take on your adventures but wait i do have a little bonus project for you remember when we were cutting out our drunkards path blocks we had these opposite pieces that we set aside well you can make your same quarter circles your drunkards path blocks out of those and you will actually have enough to make the center section of this table runner twice with your leftover pieces in this quilt so you'll just need to pick up a little extra of this yardage to do your border and it just makes this darling little table runner that's just a bonus in this project so i hope you enjoyed this quilt and i can't wait to see your version of it so until next time have a great week hey everyone it's misty thanks for watching at home if you aren't already a part of our missouri star family be sure to subscribe and hit the bell if you want a notification every time we release a new video i'll see you next monday on the newest episode of at home [Music] you

More Fabric by Yard tutorials

See all