
Skip to content

Free quilting video tutorials from Missouri Star

Quilting Tutorials
Make a Table Runner

Make a Table Runner

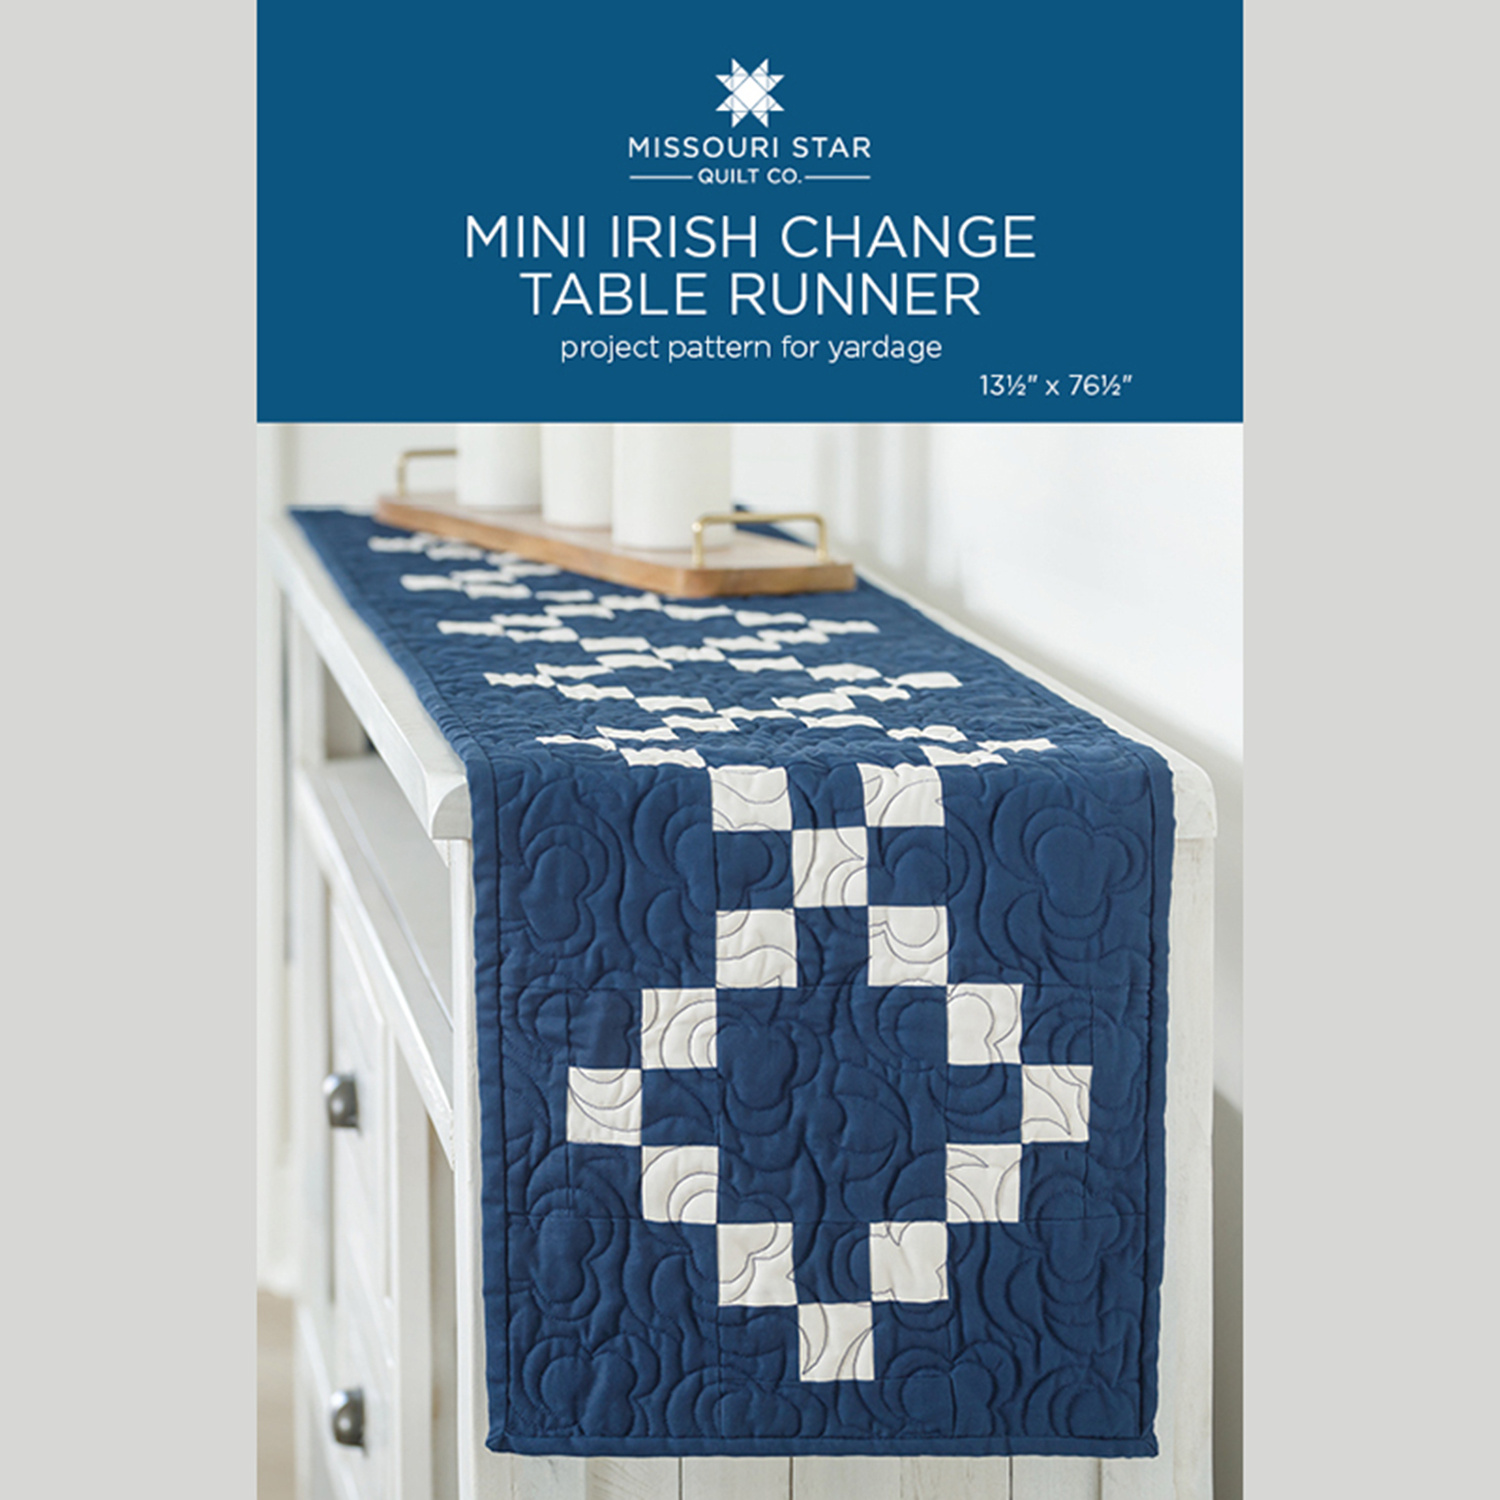
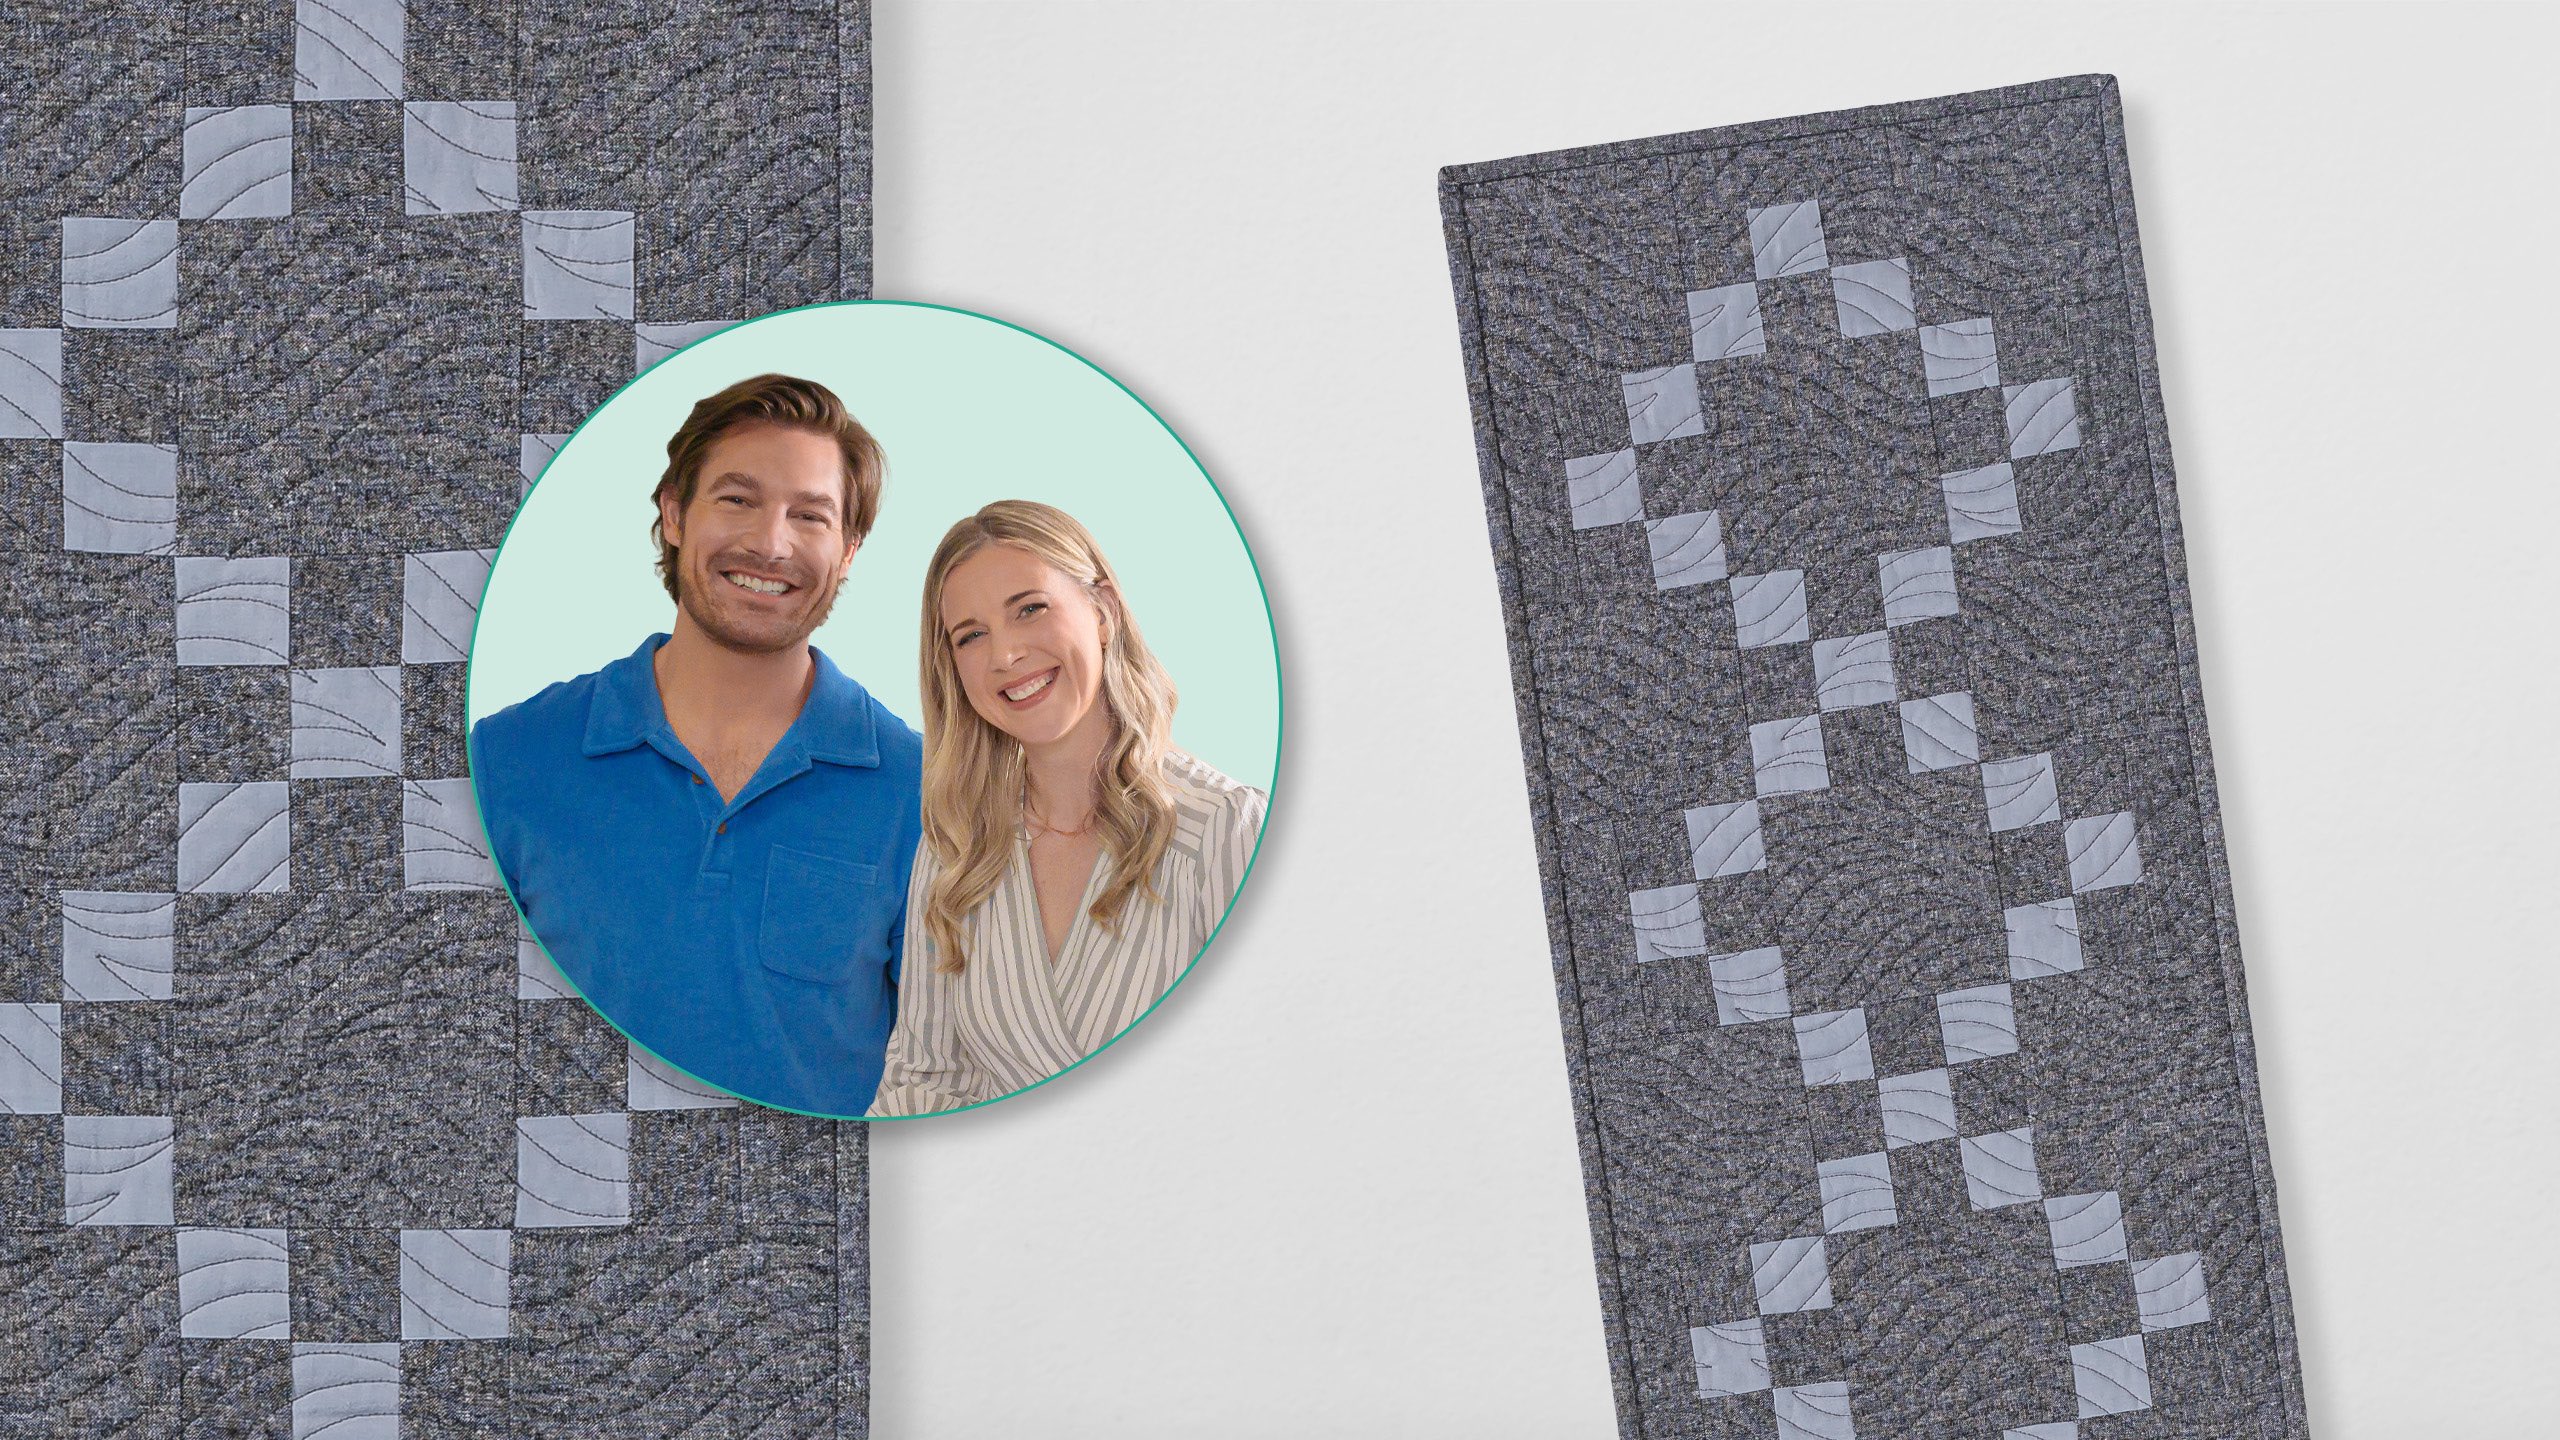
Join Craig Conover of Sewing Down South to make a Mini Irish Change Table Runner. The Missouri Star pattern uses strip sets to make nine-patch blocks. When put together, the blocks form a table runner that puts a fresh twist on the classic Irish chain.

Instructor

Misty Doan

Misty Doan grew up surrounded by sewing and quilting. She loves spending time sharing tutorials each week each week, and when she’s not stitching up one of her fun sewing projects for home decor, most likely you’ll find her hanging out with her husband and three awesome kids or working on a house project.

Common Questions

What is covered in Make a Table Runner?

Join Craig Conover of Sewing Down South to make a Mini Irish Change Table Runner. The Missouri Star pattern uses strip sets to make nine-patch blocks. When put together, the blocks form a table runner that puts a fresh twist on the classic Irish chain.

How long is the tutorial video?

The tutorial video is 00:28:40.

Are supplies listed for this tutorial?

Yes. The tutorial page includes the supplies and materials connected to this project.

Video Transcript

[Music] hi Craig how's it going Misty good how are you welcome back to Hamilton i know it's so great to be back oh I'm glad you made it and now I actually I have such a better appreciation for all the stores oh I hope so i didn't understand them before i want to go shopping for fabric and see all the projects and Perfect so I thought we would start here this is our Penny Shop and so it's named Pennies because this was J C Penneyy's 500th store this is where he grew up actually is here in Hamilton and so it's just a little nod to him and this is where we keep all of our solids and blenders fabrics so I thought we would come in here and pick out some fabric for your projects you can teach me what all of that stuff means inside [Music] i saw this through the window so I actually have one of these in my bedroom at home do you really yeah at my parents house you have an old travel machine huh yeah this is crazy so it was my great-g grandandmother's and when I was home a couple weekends ago she told me that she has my great-g grandandmother's patches oh my gosh that we put together that she made on the machine craig that's amazing so she's going to pull from the attic some of these like unfinished quilts that my great-g grandandmother made and I was like it's crazy that it comes full circle it really is well so this is Pennies and so like I said it has all of our solids which you can see walls and walls of solids fabric and then blenders are kind of those tone on tone prints and stripes and polka dots and things like that and really everything that's in this store it just means you can get it consistently it's reorderable so I know you mentioned that you wanted to make a runner for your table so I thought we could start by picking out some fabric for that yeah I would love to i do have a blank glass table downstairs that I'd love to put a table runner on and you told me that that's one of the things you can do through quilting absolutely you can so let's go pick something let's do it so what do you have in mind as far as like colors go we always have blue hydrangeas okay set around the house and on that table so maybe maybe I should shift more to or lean more to a blue okay awesome i I think I've got something in mind so it would be this way so let's head over here this color here I think would be really beautiful for your runner and then we can just pick kind of a a softer blue or a blue gray to contrast against that and then it will just really tie in with your decor and it'll be a great um kind of basic neutral you really have a great eye for this don't you well thank you i love doing it so it's a lot of fun good and so since this has some texture maybe let's do a regular solid for the the contrasting fabric and so let's move back down this way so you really your home must look really put together like if you have a table runner for everything i mean I don't know about that you have to remember I've got three kids and a dog and two cats chaos at my house i think like the small custom items like that you do throughout the year would Yeah i think it it brings a little touch in for sure and I love doing that i think those little simple things can really just add so much character to our homes and a little bit of our own personalities we can bring to it well we'll see how simple the table runner is i think you're going to be surprised seasonally or if this is the only one i hope it's easy so I think this blue gray would be really nice contrast and so I picked up this pattern this is one of my designs it's called a mini Irish change table runner and it's really simple yeah i mean it's a little intimidating to think how we go from here to here but I'm excited i know you can do it so you made the saw to start this is even simpler it's just squares okay so I You'll do great i feel like it's riding a bike you know once you do it once you start to exactly remember stuff to fall off a couple times and I think you'll be shocked at how easy this one is and so when you are quilting on our patterns you flip it over and it tells you exactly how much you need and so we're going to do the two-color version which is down here so it says we need a half yard of fabric of this color and 1 and 1/4 yards of our background so we'll cut this one first there we go when you're reading the card the width is just standard you're just cutting off a bolt with quilt fabric yes it's it's typically about 42 wide 44 wide so then on this one we need a yard and a quarter and so actually it looks like somebody put this back on the bolt and it's exactly what we need which is pretty awesome so we will just take that cut as I learned with the scraps last time you were in Charleston nothing goes to waste in quilting no exactly you can just hold on to it and it'll be your next project before you know it okay cool so here is our fabrics and our pattern and so let's go make it all right so hard not to buy all of these gadgets well yeah i mean there's all kinds of goodies shirt is great this is Chuck is it that is that who it is that's our Missouri Star kind of mascot okay cool well here's your selections happy sewing thank you Teresa we got some projects to work on it's an awesome shop how many of those do you all have so there's actually 16 different shops here in town and so they are all kind of themed around a different fabric so like this one was for solids this one we're walking by now is for license so any of those kind of like novelty like cartoon characters and things like that oh cool and so then we have a whole shop dedicated to sewing machines and all of the gadgets that go with them oh wow and we have kids and baby boutiques florals it's funny i guess back in the day way more people were seamsters and seamstresses than people remember but I found out that my great-grandfather reupholstered the furniture in the White House in the basement and I was like "Mom why have you where where's all this sewing history coming from?" You have so many great stories in your family and my dad was like "Yeah so you've got some sewing in the history." Apparently my parents are just remembering all of it well I'm sure even more stories will come out as you uh spend more time doing this it's pretty awesome so this is our little welcome to Hamilton mural Find Your Happy Place it's kind of a nod to the quilt and we had this wonderful local artist who has unfortunately since passed away his name is Kelly Polling and he he painted all the murals that you see in town so it's got Zach Wheat baseball hall of famer a little nod to our high school mascot the Penny Hornets and then of course J C Penney it's his boyhood home and so again that's why we named that shop that we were in after him a little nod to him it's just a great way to welcome people to town here in Hamilton that's so cool i know i didn't know he was from here yeah absolutely people are pretty proud of that here in Hamilton so I just thought you'd like to see it so let's let's head to the studio you guys have made your mark on the town so we try [Music] [Applause] [Music] craig welcome to my studio i love it i'm so glad you could come so this is where I film all my tutorials and I'm so glad you could be here really great this is a dream to have a content studio like this and um I mean you kind of you set mine up really well i don't feel left out at all okay good i'm glad so we have our fabric and our pattern to make the runner so let's go ahead and pull this out of here i just don't know how we're going to go from there to here today but I'll walk you right through it easy peasy so we are going to start by opening our pattern oh wow and it it takes you through kind of step by step um what you need to do and remember we're doing the two-color version so it says we need to cut six 2in strips across the width of the fabric from our um light color so I'll let you go to town okay and if you want to You're a lefty so you get to start from that side i'm like I would have to trim this up over here how's that looks great so if you just want to cut Wait that is 2 in right yeah yeah yeah you got it i was like I doubted myself for a second so if you just want to cut a few more okay slow and steady that's right all right and so then we'll set this aside for now until we need the rest of it okay and so then we can open up our background fabric now and of this one we're going to make three 2-in cuts and then we need one 5- in cut as well crafting in front of people is exciting new journey well you're doing great so far so no pressure okay one 2in strip let's go ahead and cut three of those as well just like we did of the other color beautiful so then just like before this is enough to get us started so I'll set this aside for now okay and then we are gonna subcut this into five inch squares so if you want to just turn it so it's faced that way yep and then you can use this ruler to just trim off this edge make sure you get the fold as well perfect there we go slide it over i think right there it's always better to you know count and double check though right measure twice cut once that's right and then go ahead and do one more even though it's going to cut that edge off yeah that's just going to be our little bit of waste oh okay so no worries beautiful all right so now we have all of our cuts done and now you get to start sewing it's so simple it's super easy and so the first thing we're going to do is we're going to take our strips that we cut and we're going to make two different strip sets so the first one we are going to do our background and then our accent and then our background and so you'll just sew these long strips together one after the other and then the other one we're just going to do just the opposite and so we'll do accent background and accent okay and so that is the first step so if you want to stack these up oh yeah right side to right side well the beauty of these fabrics is there really isn't a wrong side so you can't get it wrong okay and so you're just going to sew with a quarter inch down one long side and then we'll just keep going until we have both of our strip sets done all right you've got this just take your time can be a little tricky sewing on a machine that's not the one you're used to yeah but it's kind of exciting it's like driving a new car that's true take it for a test drive you're doing great thank you you're riding a bike someone else is iron the seam while you're doing that sure to the dark side that would be great can I show you a little uh hack yes okay so if you actually put this up and I'm right-handed so I'm going to start here and you put whatever color you want it to press to to the top and then roll it back like this then your seams are going to go to that side oh look at that and you just don't have to fight it and you don't have any waste yeah and you don't have to fight it i was worried that it wasn't pulled enough and I was going to get that crease exactly and if you press it from the top first then you know you've got all of that out of the way and then it just lays super nice and then when we flip it over it's all to the dark side see those are the easy tricks that save you so much time when you're taught by someone what you're doing that spend a little bit of time doing this right that's why like have like learning from other people just there's nothing wrong with it why figure it out if someone else has already done it that's right and so just like before we're going to add this to the other side of our darker fabric here and we're just going to sew all the way down again and we'll then repeat the exact same thing with this set so we have two sets ready to go oh okay cool yeah you got it just stacking it all right let's see if I do it right this time do you put the presser foot up first before you cut it uh it doesn't matter either way perfect all right let's see if I can do the iron trick yeah so in this instance since you want it to be pressed towards that dark you'd actually flip it over and start with this side up and then you'll roll it back that way so your seam's going to to the center you roll it back this way yep and just kind of keep this I like use the weight of the iron to kind of guide it and then just roll it so then both of my seams will be pressed towards that okay darker middle pressing sort of does matter in quilting it can make your life a lot easier by consistently pressing to the dark side especially on a block like this your seams will nest do you remember when we talked about that when you join them together and it just kind of reduces that bulk and makes your life easier in the long run that's great it's just part of the process awesome okay so this looks amazing and so now we're just going to repeat this exact same thing with this other set um but we're going to press it towards the dark side so that'll be out instead of towards the center okay so we'll I knew that the ironing part would be my challenge today all right so it doesn't matter yep you just put them together together and we'll just set I'll take it to the machine perfect all right so we have our strip sets made i went ahead and cut them in half just to make it a little bit easier for you to handle when we're cuz we're going to cut this down some more okay and so from this I feel like we're always sewing something and then cutting it down that's kind of the trick cutting up perfectly good fabric to sew it back together you know all right and so from each of these we are going to cut um just a bunch of 2in strips so if you want to you stack them or no I don't like to you can but I just get nervous when there's a seam that it's going to get wonky so I just do one at a time i want to do it the right way the other thing is I'm trying to think how this would go with you being left-handed but I love to use my my ruler as the the cut guide so I would just slide it here and then use the edge to cut against smart yeah and so honestly you could flip it around cuz this one is already clean and then and then you'd come from here right i don't know i've never done it that way if it makes it harder I apologize no no no it's fun to try a new here let's square it or why I'm getting nervous oh don't be nervous you're doing great there we go i actually think that little bit of salvage will end up in the in the seam so that'll be fine to use all right perfect so then we can stack these up and we're just going to make a pile for now and then we're going to do the exact same thing and cut this other strip set sweet my great grandmother so she did the top of a quilt what's that called that's a quilt top you got it quilt top okay it's hexagons oh awesome yeah and I was looking at it and I was like "Oh my gosh I have not gotten to this level yet." I wonder if it's hand pieced a lot of hexagons are you'll have to be the judge of it when I bring it eventually oh I can't wait to see it um the seam spacing is very consistent through it but it's wide so Okay yeah you'll be able to tell i'm curious i'm sure I will i can't wait to see it that's awesome so because I've learned triangles and squares so far but yes it was I mean it it added an entire set of seams that you had to do for each piece i mean it was crazy move all those out of the way for now we'll just put them in a pile down here and finish that last little I feel like back in the day way more people made their own stuff i think they certainly did and it was out of necessity right it's just so many more people used to grow a garden and keep chickens and things like that and I think that's the thing that's coming back now it's like what just because it's not out of necessity doesn't mean it's not good for you i think that one will work you're fine i think we had a spot there we go all right so this is what's going to make up the nine patches um and so to do that we are just going to take two of these and one of these and when we sew these together in sets of three this makes a block that we call a nine patch and you can see it's just you know yep nine little squares together we're going to cut one more off of our 2in strip we need some 2x5 in rectangles okay so I'll have you cut that as well move this up away perfect and that's enough to get us going okay all right and so then the secondary block in this uses one of these and one of these and then one of those five inch strips and this is all in the pamphlet and this is all in your pattern and so the entire quilt is made up with this block here this block here and then solid 5 in squares that we already cut and that's it so if you want to start sewing this together then we can lay out your quilt okay let's see if I do this right so the first one I'll do here that's right and run the seam here yeah and let's just remember you want these these little seams where they meet up in the middle that's where they're going to nest and since you did such a great job pressing them they're uh they're nesting perfectly and so those just kind of lock in place there and you're just going to do your quarter inch right down one side i feel like you're fibbing about I'm not they look great okay so locking together just means the seams are literally the same well they're Yeah they're going opposite ways and so that means that your seam line is right in line with one another yeah if you just line up the edge with this diagonal seam tape on these you want to make sure your seam is just a little bit scant because we want them to end up right at 5 in so the black line or the white the black okay yep all right like that i think just to the inside of it a little bit more of the black line so I can see the black line correct all right there you go now we're getting a little less forgiving a little more precise beautiful and now at this point you don't even have to really press it yet i just like to kind of fold it back and finger press just to get it to stay out of my way okay and then we're going to bring in that other strip and add it to the opposite side just like before making sure that those seams are going to line up and then you're just going to go straight down that side okay this is such a fun thing to graduate to um like pillows are great but I can even I could quilt a pillowcase you absolutely could amanda are we going to start selling quilted pillowcases you think we could source that what if I promise to make 10 a week you don't want to do that to yourself keep it as just for joy you know yes for special gifts that's right creations around the house i will say that everyone's very into the enhanced clothing oh that's so fun i'm so glad they're they're liking it it's fun to do possibilities are endless they really are right amazing all right so I will give this one a press and just like we sewed this together look how good that looks not bad you did amazing they they your your little points match up great okay and so just like we sewed this one if you want to go ahead and sew this together and then we're just going to repeat until we have a bunch of these blocks ready to go and then I'll show you how to lay it out this is what I thought it'd look like when I started the pillow company a bunch of people in my garage just knocking out patterns yep i love that and I mean I know we're sitting here and teaching everyone or allowing them to follow along as I am taught but when you're sitting at home and you have time to kill I mean what better way than to sit around and make something for you or your family or it's calming it's so satisfying to learn a new thing and to just be able to hold it up at the end and be proud because you did it right like every single strip I make I'm like "Okay cool okay so let's see if I Yeah remember what side it goes to right here correct yep that's right now I have to do my seams you have such a touch Well with it i think you'll be surprised at how quickly you pick it up i've been doing it for a few years now so it's kind of second nature at this point but yeah how long have you been sewing i started sewing when I was a little girl my grandma taught me and so I I think I was probably like eight or nine when I first started sewing um but I've been quilting consistently for gosh 15 years now so Well it's a good story and I think people really want to make it a part of theirs too cuz it's something you can do with your family exactly all right look at that so let's give this a press beautiful all right so here are our two blocks and so now we just have to make a bunch more so let me give you some more of these and you can get to work are we done cutting them apart we are okay so now we're just putting them in now we're just sewing so we'll just keep at it and then we can lay this thing out all right i'll keep matching seams and creating new ones all right so we have a pretty decent stack of these done so I thought I would go ahead and show you how they start to lay out yeah so all of these that have the solid strip they're going to be your ends and your edges of this runner which here let me lay it out so it makes This is the border exactly and just like you made little nine patches we're essentially making larger nine patches for this quilt so we're going to put a solid in the corner and then this gu is going to come in like this and then a solid square and remember all the edges get these little strips okay so this one comes in here and another solid square in the middle and how do you know where to put these well I'm following the pictures see so here's our end see how it's starting to take shape and so then the full nine patch that's going to come in next and so that's going to create this continuous chain that gives us the look of that pattern that we picked gotcha and so this slides in here and we're just going to continue laying this out as we go and so just like you sewed you know three little squares together now we're going to sew these you know in columns is how I typically do it and we will just keep going cool it really starts to come together yeah it really does and that's it that's how this entire runner is made and so we'll just make this as long as you need and once you have it all sewn together I'll help you get it quilted and finished up so if we were starting here I would do this exactly and do this seam that's right and then you'll come back and add the other one all right i mean it's really not time intensive it feels it because we're filming a little Yeah we're filming it while we go but once you sit down you really get into a rhythm of it and it goes pretty quick so quarter inch that's right beautiful so so then we'll open that back up and then this needs to go on the opposite side there you go wait right here yep this edge okay it's easy to get turned around i really do like the no rush part of it though that's exactly right just enjoy the process be kind to yourself you know as you're figuring it all out is huge that's when I started with pillows nothing was ever good enough and it started to affect like me being happy with it where I was like became such a perfectionist and I feel like as you do this more and more you're like it all like comes out it does look how great it looks it's amazing doesn't matter what that looks like this is it okay so there's a column that's right and so then we'll just keep going so I'll have you sew this one and then we are going to Oh sorry i almost told you wrong right there on that side all right knock this out yeah we'll be done before you know it all right and so then let me press these for you and I'll show you how to sew these two together okay and then you can just continue on so I'm going to roll these out to the dark side i'm going to roll this one into the middle i'm not a Star Wars knowledgeable person but every time you say that it makes me think of Right yeah that's about all I know too i know there is a dark side that's right and so then I like it but we are just I mean this is exactly like you did on the small block again so you're just you're just going to kind of nest those seams if it's helpful to pin this you absolutely could you don't have to so and this pattern in particular is so forgiving just sew down that side and so then once we have all of our columns together we're just going to continue for the length of runner that you want to make for your table can do this with any machine absolutely that's awesome as long as it will sew a straight line that's all you need see oh it's looking so good Craig that looks amazing feels like legit feels like something you bought at the store which I know it's the same thing it's just handmade yeah and so you can see how it's truly taking shape and so I'm just gonna leave you to it and I think we'll come back when it's all done okay sweet all right this is cool awesome all right so you finished your whole runner and I went ahead and took this to our machine quilting department here and just had it finished for you that's incredible yeah and so you made the entire top of the runner right so the quilt top or the runner top in this case and so then we sandwiched that with a piece of batting oh my gosh this is so nice it's really I mean it was nice before i thought I didn't even expect it to become this like thick of quality isn't it great it really is and look at the finished edge and so we bound it and this is um this pattern that I I had them stitch out is called Time Warp and so that's something that's really cool is our machine quilting department can do all kinds of different stitch patterns it's just just really really something special well I'm so glad you enjoyed it and next up you're going to make a whole quilt i I don't know if I'm ready for that but I believe in you okay good so be sure to tune in and join us and I'm going to teach Craig how to make a quilt that will match his women's collection from Sewing Down South and so we'll see you there [Music]

More Fabric by Yard tutorials

See all