Skip to content

Free quilting video tutorials from Missouri Star

Quilting Tutorials
Make a "Trifecta Bag" with Liz Gubernatis of Missouri Star

Make a "Trifecta Bag" with Liz Gubernatis of Missouri Star

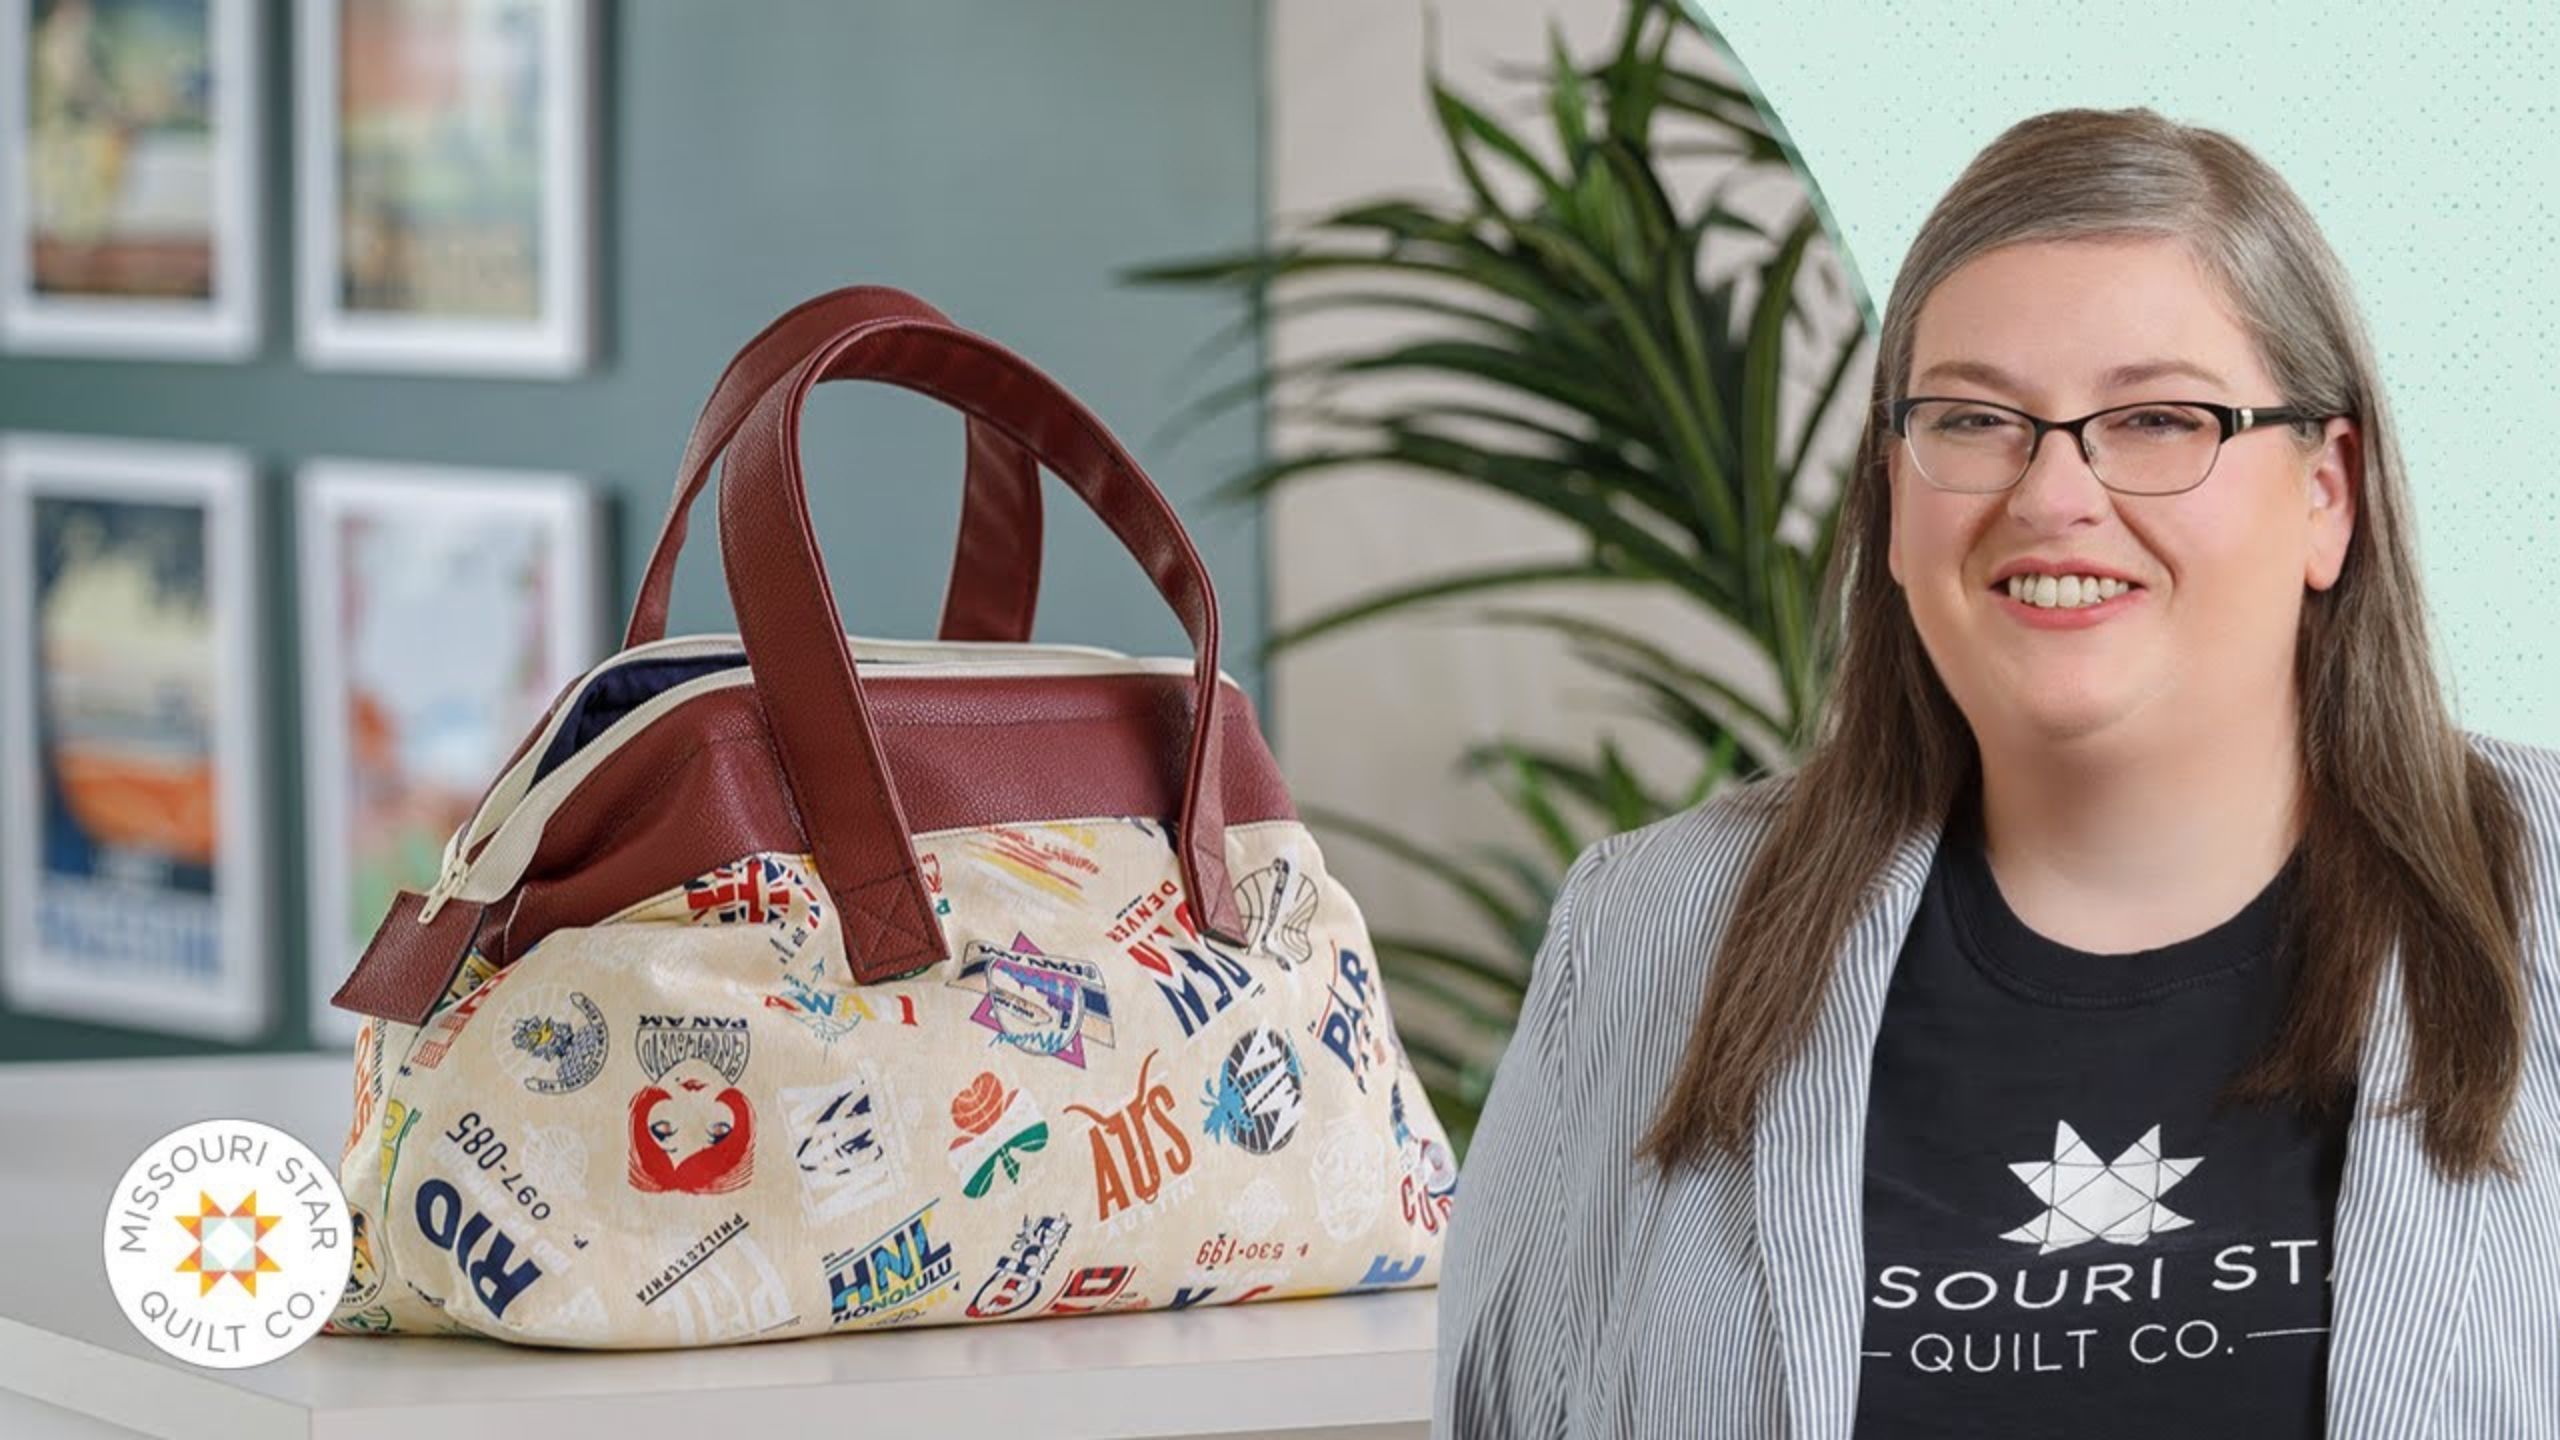
Wow! We've hit the trifecta with this stylish bag! You don't want to miss Liz stitching up something cute and unique using the Trifecta Zip Bag pattern from Emmaline Bags. Liz will show you how to customize this bag with faux leather and fun prints to make it fit your personality. This versatile design is perfect for all your daily essentials, making it a must-have for bag makers and purse enthusiasts.

Instructor

Liz Gubernatis

Liz Gubernatis is the Senior Manager of Education at Missouri Star Quilt Co. and loves teaching people how to quilt! She is a creative idea generator and champion. Colleagues, family, and friends know her for my creativity, can-do attitude, and common sense.

Common Questions

What is covered in Make a "Trifecta Bag" with Liz Gubernatis of Missouri Star?

Wow! We've hit the trifecta with this stylish bag! You don't want to miss Liz stitching up something cute and unique using the Trifecta Zip Bag pattern from Emmaline Bags. Liz will show you how to customize this bag with faux leather and fun prints to make it fit your personal...

How long is the tutorial video?

The tutorial video is 00:50:13.

Are supplies listed for this tutorial?

Yes. The tutorial page includes the supplies and materials connected to this project.

Video Transcript

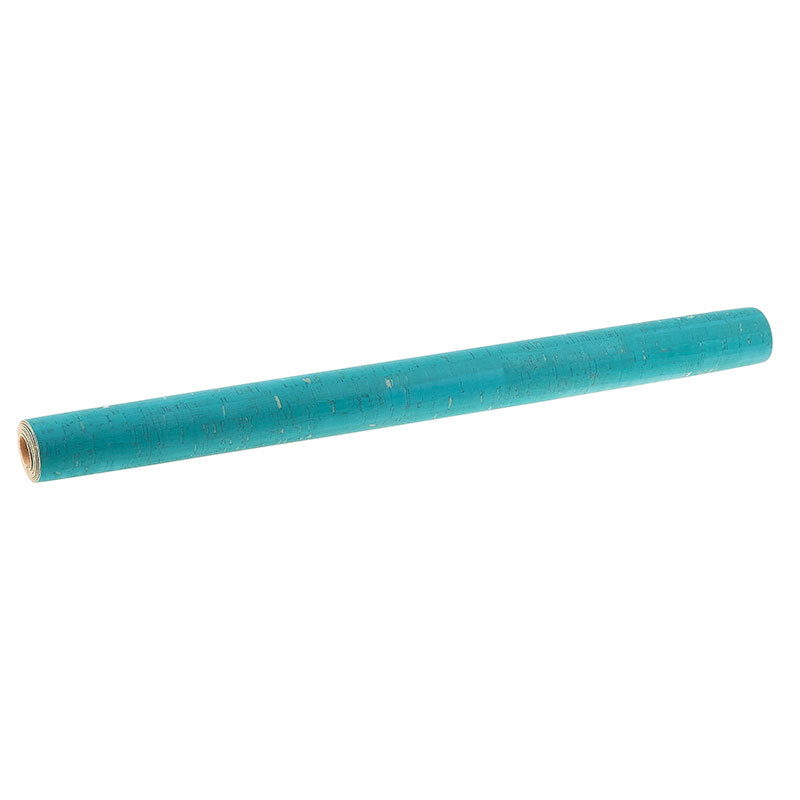
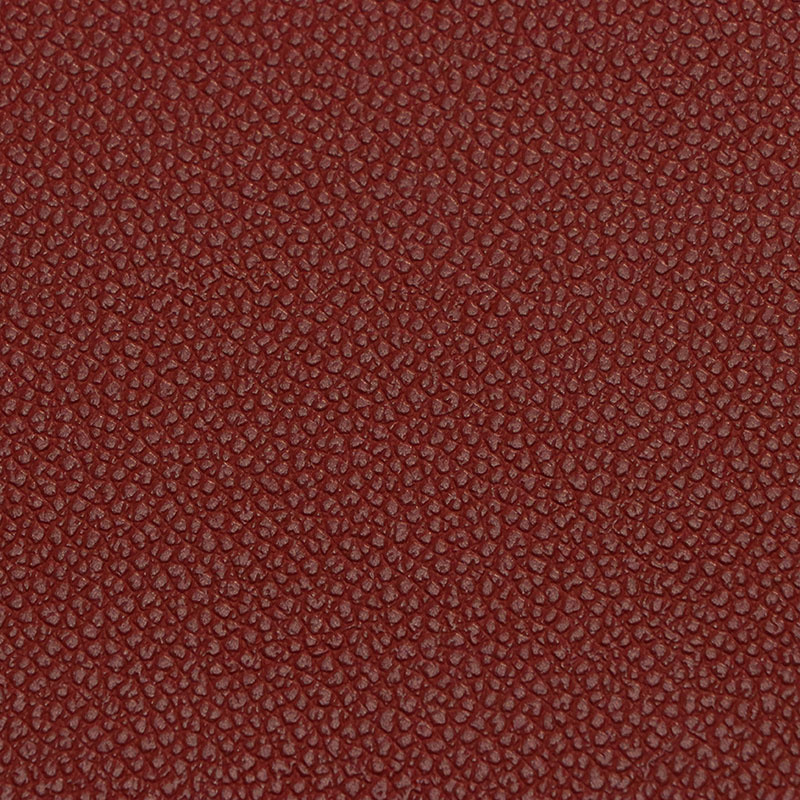
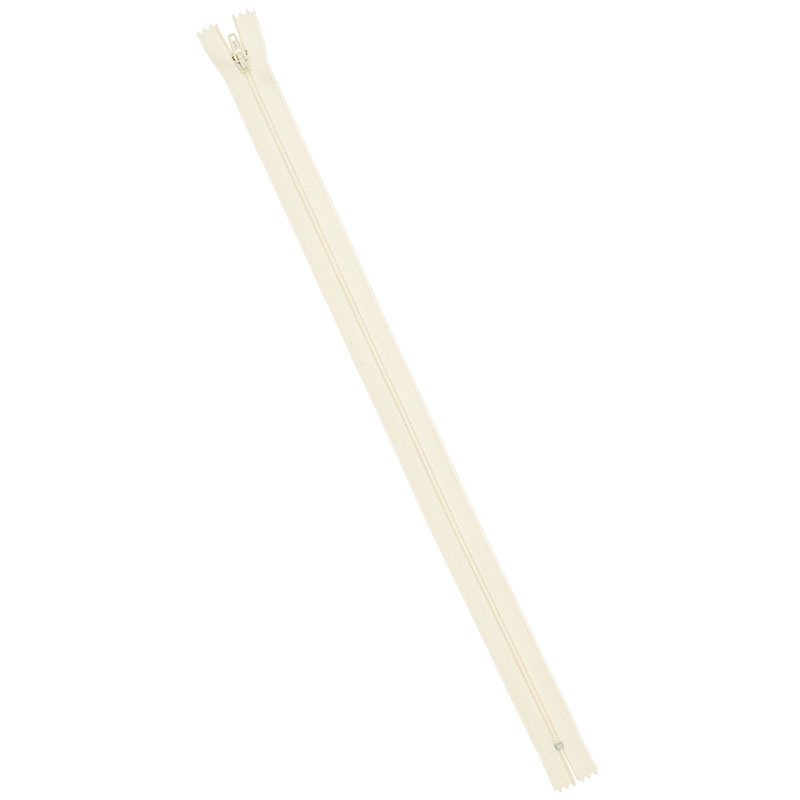
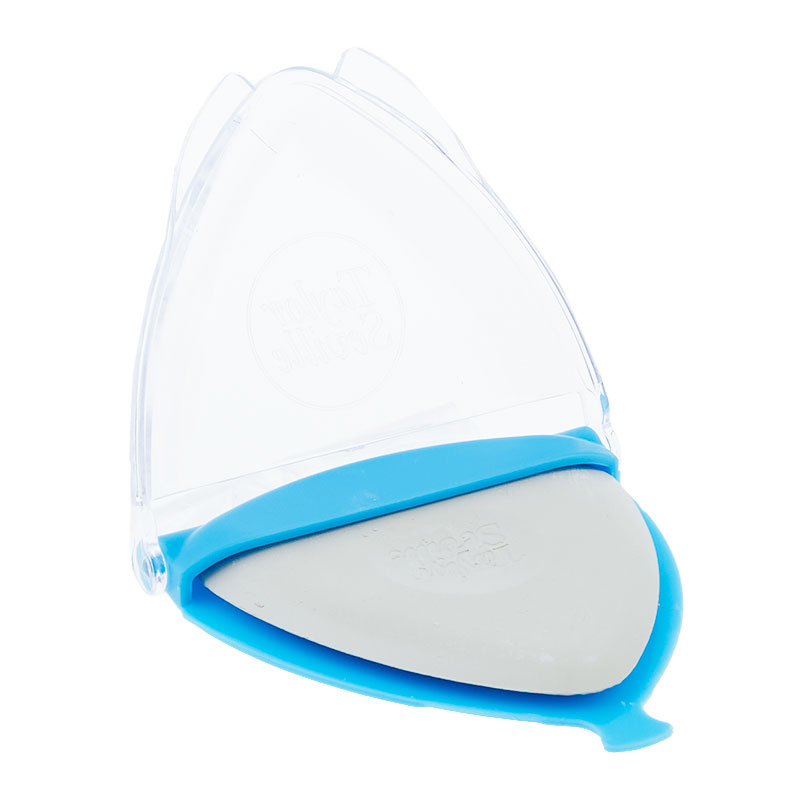
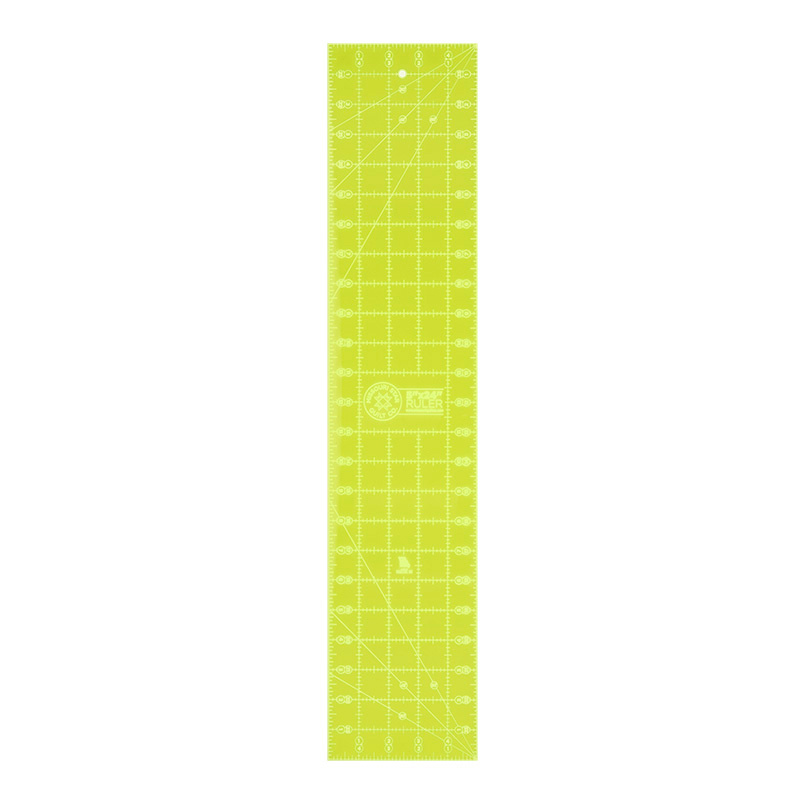
hi I'm Liz with the Missouri Star Quilt Company and today I'm going to show you how to make the trifecta bag from Emmeline bags the pattern comes with three Styles and two sizes so you can make six different bags from this one pattern and it uses a wire frame to open and close as along with the zipper to make this Trifecta bag I'm going to show you how to make the one with the handles once you know how to make this style all the others are even easier so to make this bag you're going to need some main Fabric and some lining and this bag does use a wire frame to open and shut along with a zipper you will need a 16 inch zipper and for our accent fabric I'm actually going to use this high quality faux leather from Sally tomato this is the Cherry pebble you're going to need some interfacing and you will need some fusible fleece and then I'm going to use a chalk marking tool to mark that faux leather it's much easier with some chalk also for the faux leather I'm going to need a jeans needle so I've got my machine threaded with one and I've got my very favorite Snips for cutting all of my threads then you just need the pattern so when you open the pattern it's not going to have measurements it has templates and when you first look at this you might go that is a lot of pieces it is because it's all the pieces for all six bags so we're actually only going to cut out the bag pieces that we need so from this whole piece as they're labeled very well we're actually going to just cut out an accent for the top and bottom of this bag C which is the one we're making and then a lining piece so see it's much simpler than it looked right off the gate so we'll need the lining the top and the bottom they're also marks to place them on the fold and I'm going to show you how to do that especially with the faux leather because it's a little trickier there are a couple of other pieces that the pattern provides measurements for the pocket and the straps so you'll cut those out but they're just rectangles or squares and then you're good to go so now we're going to get started with this I'm going to show you first how to cut out this top piece so I've got my strap but I need to cut out and this is where I'm going to use my chalk what I want to do is line this up against a nice clean straight edge you may need to straighten the edge of your fabric up and then I'm marking around the outside with chalk so I'm going to do the second piece because you need two of these one for each side so what I'm going to do is flip this over and line it up against my straight line and then I'm going to Mark to the edge and then I'm going to mark down the straight line I'm going to flip this you can see I made a little line at the bottom let me show you that here too this little line tells me where this half ended so I can line it back up with that and Mark this Edge and this straight edge and this doesn't have to be perfect because we're going to use our ruler to help as well once that's marked I can put my chalk away and I'm going to use my ruler to make sure that that line is nice and straight so I'm going to line up against it now because we've marked with the chalk on the outside of the pattern piece we're actually going to cut just barely inside the pattern piece so that way it's the size of the pattern piece so I can use the marks on the ruler along the edge of the leather and on the inside of that line and now I'm good to go and I can do the same down this Center Line I'm going to mark use the mark on the long straight edge and Mark straight short straight edge along the edge of the faux leather when I'm all lined up cut and I've cut right along the line and I've got the two pieces then I'll just use my scissors for the ends here and it cuts very smoothly but I'm going to just put the tip of my scissors where I want that to stop and then cut inside the line like so do that on the other side it's even easier because we're all the way at the edge so I'm just going to cut inside the line like so I want to save these end pieces because we can actually use them for the zipper pulls okay so all the scrap is just these two little triangles and we'll set these aside for when it's time to assemble the top similarly you're going to line up on your main Fabric and your lining fabric on a fold and then you will cut out the shape of the template I want you to notice that there is a little lip here on the bottom of the bag C and that's so that we can line it up with the piece we just cut and have a nice quarter inch seam that then continues that beautiful line so make sure when you're cutting out not to chop that little edge off thought the worst thing in the world if you do the other thing is that these come folded and if that bothers you you can take an iron to them just iron from the back side so you're not smearing any ink and that will flatten these out and one more tip when you're cutting you can also use pins to hold this pattern down to your fold and if you don't have pins you can use pattern weights whatever makes it easy to cut out your pieces is what you want to use do notice that there's a grain line Mark here as well so that means that you want this not on a bias on your fabric but your fold is also going to help you make sure that you're getting this on a grain line it doesn't matter if it is with the width of fabric or if the length of fabric as long as you're on a green line so that it doesn't have too much bias and stretch when we go to sew the whole bag together so that should help you get all your pieces cut out and next we're going to start assembly so the first step for assembling the bag is to make the handles I'm going to use that faux leather to make the handles so I've cut my strip and I'm going to need to fold it when you're using a cloth like a quilting cotton for the handles you're going to need to fold this end in but because we're using the faux leather and it doesn't Ravel you can actually leave that unfolded which is very handy because you can't iron the faux leather so let's talk about the faux leather for just a minute we're going to set up our machine a little bit differently than just a normal quilting cotton like I said we're going to use that denim needle so I've got that installed on my machine we're also going to set our Stitch length to a two and a half or a three I like a three because it's a little bit longer and it's not going to perforate as closely together as a shorter Stitch will which means that this is going to have more strength overall and it's going to be easier to sew so you want the denim needle and you want your Stitch length set to a three and then last you're going to want to use a polyester thread so our Missouri Star Thread that's 40 weight is a polyester thread and I've got a nice dark polyester thread on my machine and in my bobbin so that when I go to sew this leather it's on both sides so with that I'm going to show you how to fold this up and get started so again we're not going to take an iron to this we're just going to crease it by hand and if you have a roller you might find that handy here I found that just using kind of the the palm of my hand and the heel of my hand to just press a crease is enough for me to get what I need here and I'm going to pull out a few quilting clips because I don't want to use pins on the faux leather either it leaves a more permanent hole so I'm pressing that to give myself the idea of where I'm going to go when I fold the next pieces in so you can see that little bit of a valley and what I want to do is fold in each side and then fold them together and now I'm going to clip it's going to be a little awkward there so I'm going to clip on the very end and then I'm going to start clipping every couple of inches to kind of tell it where it wants to stay folded and I can open this up again and I can still see my little Valley put my pieces together and they're not overlapping or butting up and you give them a little bit of room and we're just going to clip down the whole end of this okay I'm going to clip off the end again and sometimes I'll note that the the end tries to poke out a little bit and I'm just going to kind of massage it into place and then we it will ease in it's actually really easy to sew with this material it just looks bulkier because we can't press it down into the shape we want so now I'm just going to stitch down each side of this on my machine and that will hold it all in place and I'll have two handles all done okay so the next step is to assemble the fronts of the bags so we're going to attach the top and the bottom but first we're going to add a little bit of interfacing and stability to the main fabric and one of the other things in the pattern is that you're going to cut this interfacing using the same template piece that you did the main fabric but the first thing you're going to notice is that it's going to go all the way to the edge because it's the exact same size so the pattern also tells you at this stage to go ahead and cut a quarter inch inside these lines you're going to leave this top piece all the way to the edge so you're not going to cut that one you're going to cut a quarter inch off of all this to give you more room so you don't have as much bulk in the seams as we put the back together so I've done that here and we're just going to kind of eyeball and Center that then between the sides you can see that that leaves more Fabric and less bulk in between all of those seams then you'll just press it down so it's sticky side down and we'll just press it down according to the manufacturer's instructions all right so now that we have that fused it's a little more stable and now we're going to attach it to our faux leather so we're going to line these up and those little tabs will line up so we'll be able to sew a quarter inch down the side now here's my best advice for you when you're using an accent fabric like this faux leather I want you to put this towards the bed of your machine and have the fabric towards the foot of your machine because if this is on bottom the feed dogs are going to gather this up and while that's a great look it's not the look we're looking for for this particular bag so we're going to line this up and Stitch right down the side and then the pattern indicates we want to press towards the accent fabric it's a problem when we're using this kind of faux leather you can't iron leather so that's not going to work so in this case when you open it up you'll actually press away from the faux leather towards the main Fabric and then your top stitching will be along that edge and that's going to look something like this so we're pressing towards this side and then I've top stitched then we're going to add a piece of fusible fleece to the back and this is cut even a little bit smaller she says to cut off about 3 8 of an inch and typically she's going to have that this piece go all the way to the top of this front of the bag but again because the faux leather is a different kind of material we're actually going to stop right at that edge because it's already stable enough so once you press this fusible fleece you're going to press it right up to that edge if you're not using this kind of accent material and you're using quilting cotton for the whole bag you will want that fusible fleece to go all the way to the top because you want it all to have this nice body okay now we're ready to get started on assembling the bag front to the handle so I've got one side done and what we're going to do now is attach the handle in these two positions and then the whole side of the bag is complete so to do that we're going to go back to our pattern piece and there's an indicator on the template for where the handle placement goes my first thing is that I'm going to flip this over and draw and Sharpie on the back because while that handle placement helps me on this side I'm going to knead it on the other side when I flip this over so do that first and then what you're going to do is line this up on the edge of the bag like so and then you're going to come in and place your handle on the edge now I like to have this kind of double sided towards the inside of my bag so I'm going to place it that way and then if you're using quilting Cottons you can pin this in place but again I don't want to use pins on the faux leather so I'm going to clip it so right here to the edge and that's actually going to hold it fairly stably for this couple of inches again if you're using quilting Cottons you can put some pins in here and then we're going to take this part away and what we're going to do is draw a box and then the x lines so let me show you just on the piece of paper what we're going to do with the Stitch line before we get to the machine so our Stitch line to make our box with our X is going to look like this we're going to start at the bottom and Stitch up the side then we're going to stitch across the top of the box down and make the square once we get here we're going to aim for that top of the box we'll go across the top which will reinforce those stitches and then we'll come down to finish the X and that's where we'll cut thread at the bottom of the box so let me show you how we do that on the machine okay so we're going to form a box we want to stop about a half an inch to make a nice Square so I'm not going to come all the way up to here I'm going to stop about here so we start the Box and when the needle down we're going to Pivot and just kind of of the handle through so it's not in the way right come across the top and we get to the Stitch line from before we're going to follow it down the other side and then we're going to finish making the box across the bottom now we're going to Pivot a lot of the way around and aim towards the top corner of this box pivot back around to reinforce the top of our Square and then one more pivot to finish the X and we'll stop in this bottom corner so back stitch just a little bit and one side of the strap is on just cut all our threads and then we'll repeat on the other side so to attach the other side we're going to flip that over we're going to have used our markings and we'll make sure this isn't twisted when it comes down so you want to make this u-shape so the inside is the same place it clip it and Stitch it as before so I'm going to do that and then I'm going to come back and show you the rest the next step of the bag is to make the pockets and add them to the lining piece so we're going to make the pockets and then attach them to each side of the lining so the first thing is again the interfacing is a little bit smaller than the pocket square itself and then all you're going to do is fold this in half and you can get a press or finger press and we're going to leave an opening at the bottom of the pocket so we're going to sew an L shape leave a space and show sew the other L shape that's going to look like this where I still have my opening here unsewn to turn the pocket correct side out but first I'm going to cut and grade the corners so using my favorite little Clips I love the little unicorns we're going to cut the corner and Grate it away so usually you're going to cut it kind of a 45 degree angle when you're snipping corners but I'm going to cut a little bit longer to take more bulk out of and then down here as well I'll first clip the corner being careful not to cut through my stitches but then I'm going to grade both sides of that so there's less bulk when I do turn it and you can see here it wasn't perfectly done but we're just going to clip away the bulk and the pocket itself will still look really nice okay take away all my little scripts and scraps and now I'm going to turn this and we're going to poke out the corners you can use your favorite tool for this some people swear by a purple thing or a chopstick some people use a pencil or the Eraser end of a pencil I live a little dangerously and I keep my clothes Snips and use them just very gently into the corners I'll show you how I do that so once this is flipped all the way around being sure to hold them so they are not by the handle so I'm not accidentally opening and clipping something I'm going to use the point of this to press into the corner so I'll press along the seams very gently continue to press out until I get that nice crisp corner so do that on all four and then we're going to top Stitch across the top I'm going to fold the bottom edges in so you can see I'm going to fold the fabric up to where that interfacing is and I can give that a nice press but I don't have to stitch that closed yet where I want to stitch is across the top where that fold was and give it a nice top Stitch then I'm going to add it to my lining so I'm going to find the center and give it a little finger press here and find the center and line those up and then the pattern gives you a measurement for how for this distance is from the bottom to the bottom of the pocket then we'll just Stitch along these sides which will enclose that final seam and leave the really pretty edged pocket once you've done that we're ready to go to the next step so the next step is to prepare the zipper so we're going to put zipper ends on and the pattern does recommend that you use the same material you use for the accent so we've saved the pieces from our top and I'm going to rough cut them into a couple of rectangles and the reason is again because these are going to finish without raveling we don't need to worry about tucking in the edges of the fabric if you're using fabric for these poles you will want to fold in a quarter inch all the way around so you have a nice neat no raw edges zipper pull but I'm going to get away with this and I'm going to use my scissors and just cut a nice sharp end off removing those triangles okay you could also line this up and use your rotary cutter nice and square and I'm going to Simply fold these over the edges and Stitch them down so I'm going to pull the zipper away and I am going to lay this to where the metal is at least inside where my Stitch line is going to be on the edge then I can fold this over take it to the machine and the first thing I'm going to do is Stitch along this Edge to secure this and I can just Stitch right off the edge then I will come back and make the U shape that finishes the zipper pull like this so let me show you how I do that so we're here at the machine and you could use a double-sided tape to hold your zipper in place and to hold the top piece of the faux leather down I'm going to be brave and live dangerously and I'm just going to stitch across the top so I'm holding the zipper pulled together with this hand and I'm holding the leather down with this hand foreign so now I'm going to make the u-shape and then I'll cut all my threads so I'm gonna put my foot right along the edge of the zipper tape and you can backstitch at the beginning I'm going to try to pull my threads away decision I'll get caught back stitch and then we'll Stitch down stop right before the fold pivot Stitch across the bottom of the fold and then finish our u-shape coming up on the other side of the zipper table and then we'll backstitch at the end and now we can trim so first I'm going to trim all my edges all my threads and then I'll be able to trim this Edge so now that I've created that shape I can trim away the edges and what's handy about using this oversized piece is because we can leave raw edges on the faux leather we get nice crisp edges and we don't have to try to maintain all three edges while we're sewing so I'll just trim that down and we've got a zipper pull I'm going to repeat the same on the other side which is even easier because you don't have to hold this together you'll just fold it up so that just just past the metal so you're not running into the metal when you Stitch It Down and repeat the same step and then you will have your zipper with your zipper pulls so as we start to put the whole bag together we're going to use the zipper as that kind of middle piece and what we're going to do is have some marks and you can refer to your pattern for where these marks are placed and we're going to start by centering the zipper and then we're going to stitch from the center to the mark and then we'll do a little Trixie bit then we'll come back to the center go to the mark do another little Trixie bit so your order of operations is your lining pocket side up then your zipper right side up with the zipper on the left we're going to kind of Center that I'm going to eyeball it if you want to get more precise you go for it Center that up and clip it so once you've clipped your zipper we're going to add this right side down but your handle wants to be in the way so what I'm going to do is fold it pretty close to the x and clip it so it stays out of the way because it's a thicker material it's harder to fold around if you've used a quilting cotton for your handles they'll flip down out of your way nice and easy so I'm just going to kind of press that down with my fingers and then Line This top up and clip it in place you'll notice that I've made my marks on this side not the front so that I know where to stop and do my little Trixie move so I'll show you that Trixie move in just a second so I've got this clipped if you're someone who needs all your Clips to go the same direction and have that nice flat bottom on the bottom you want the red side or the colorful Side Up it doesn't bother me to have them in different directions so I'm going to leave them as they are but I'm going to start in the middle and come over here to my mark and I'm going to show you that Trixie part I keep talking about so I've got my zipper foot on my machine and I am going to make sure I have that three stitch length and I'm just going to travel along I can feel it that the zipper is right here so the reason I'm starting in the middle is that the pattern indicates that you're going to get a better result on these zipper edges if you do so and I found that to be very true so I am not just going to go from one side to the other because I need to do this Trixie part at the end and it's easier to do it with the zipper and the pole facing you rather than trying to do it in the back with your back hand where you can't see it so when I get to this line I'm going to stop my stitching and again you'll refer to your pattern for where that Mark is kind of with my needle down stop take this clip out and then I'm going to pull the zipper away until I reach this Mark then I'm going to stitch right off the edge and I'm going to back stitch at the very end so now the Zipper was pulled away and the reason that Mark is there is that it's even on both sides so let me show you how we'll do that from the middle to the other side I'm going to flip the bag over and I'm going to start in the same spot there's a little overlap of stitching in the center and again I can feel this and it's also why I'm not too bothered about which way the clips are facing and I'm looking for my mark which is right here and that's where I'll stop with the needle down I'm going to pull the foot up so I can pull the zipper away and I need to pull it to that Mark as you can see there and pull it to that Mark so it's even on both sides and I'm going to stitch right off this Edge down and then back stitch okay so now we're going to roll that back and add the zipper to the other side so we're not going to iron right because we have that faux leather so we are going to kind of gently pull the zipper away and you can see it's a clean finished Edge on both sides where there's that seam because of the way we did that so gently pull the zipper away and kind of finger press that down and now we need to add to the other side so I'm going to walk you through that because again it can be a little tricksy for your brain for exactly where everything goes so again we start with our lining on the bottom with our pocket facing up then we're going to add the zipper which happens to be attached to the half of the bag and instead of the zipper being on the left it's now going to be on the right and you may be wondering if you're supposed to top Stitch this yet don't we're going to top Stitch at the very end to give ourselves the pocket for the wire frame so do not top Stitch yet do not iron yet but we will take the zipper tape line it up on the top here and then we will fold our handle down again and line this up with the zipper tape and we'll do the same thing to assemble this half of the bag so I'm going to do that and meet you back here to show you the next step okay so now I've attached the zipper to both sides and I'm kind of pressing that away from the zipper and it's not yet time to release the Kraken so we're going to leave the handles in place we're going to actually fold the two exterior pieces together and we are going to fold the two lining pieces together using the zipper is a different kind of fulcrum now and we're not going to stitch these Corners yet but we are going to stitch down one side folding the zipper in and away and we're going to sew down the side and down this side we're going to take a slightly and I mean slightly deeper seam on the lining so that it fits inside the main bag fabric really cleanly so if you have for example a quarter inch seam here or a half inch seam here you'll have just an extra eighth of an inch seam on this lining side then we're sew both sides tucking the zipper in and we're sew across both bottoms but on the lining we're going to leave about a hand's width so we can turn the whole bag at the very end the other important thing to do here is open your zipper at least halfway and that will also help you go ahead and clip the zipper away from your side seams okay so we're going to sew down this side a little bit deeper seam here across the bottom leaving us hands with here and across this seam with a deeper seam on the lining so I'll do that and join you right back here for the next step all right so I wanted to show you what happens at these seams while I'm doing this side I'm taking a larger seam on that lining and when I get up here to where I'm going to transition I'm going to pause with the needle down then I'm going to turn and line up these two seams so I have a nice clean bag when I flip it put my presser foot down and I'm taking a slightly smaller seam as we go through this side and then I'll just Stitch right off this end all right so now you have something that looks like this and we're going to reach through that space in the lining and turn it but first we want to go ahead and box the corners so I'm going to use that to help me pinch these where I want them to go so I'm going to match up the two seams and have them going opposite directions and we're just going to use the same seam allowance right along that box Edge okay so you can see they nested right there and we'll just Stitch along that edge when I'm doing box edges sometimes my machine gets angry at that little corner so I'll start just a little bit in and then back stitch off the edge and come back in then it doesn't try to go down into my machine so if that's something that troubles you try that trick and then back stitch at the end and then the pattern also has us make a second line of stitching when we're doing this which really reinforces this corner so just inside my serradish line I'm going to make another straightish line about an eighth of an inch or so and that reinforces it it doesn't need to be backstitched if you don't need if you like it and that's what we're going to do on all four of the corners again I can reach in through that lining to help me pinch that together or you can just pinch it from the outside and I want to make sure my lining on the bottom is going the same direction so in this case pointing that way and my side seam is going to point the other way so they nest together and I will Stitch along so do the same here as I do on the bottom of the lining of the bag then we're going to flip it inside out so come back in just a second and remember how we took a slightly larger seam on the lining in general you're also going to take a slightly larger seam on boxing the bottom so we'll Nest it all up get it in place and you can use a pin or clip and kind of muscle the bag into place and just Stitch along that edge with that little bit bigger seam here on the lining [Music] so now that you have all your Corners boxed we're going to reach in here one more time and I did add reinforcing stitching to the lining as well I'm going to reach in here and kind of pull for those handles I'm going to release those bad boys when we pull this out right side out kind of gently pull all that through and I can take all my little Clips off I'll just kind of gently roll it through that opening in the lining yeah two more Clips holding those zippers out of place and this is also why we left the zipper open so go ahead and press the corners with your fingers to press out those boxed corners on the bag don't worry about the lining yet and then what we want to do is finish this lining so we're going to hook in you can see that the Hem and just kind of gently pull it taut you're not going to yank it open um and we're going to just use a very very scant to stitch that closed you can close it by hand if you prefer I'm just going to use the tiniest little stitch on the edge close up that opening in the lining so you can see now that is closed right there on the edge all right so now the lining is going to press down this is why I didn't need to worry about pressing those Corners out and we're going to pull the zippers out of the way again so I'm going to press the lining down into these same corners and I just kind of use my two fingers piece sign and press that into place and then we're going to kind of pull the zipper like so and what we want to do is now top Stitch around twice so we're going to press that lining in using our fingers to kind of press it down and away and chug gently at the zipper teeth and then what we're going to do is go around very close to this Edge so I like to still use my zipper foot because it helps me Stitch right on the edge of this and I'll use my hand behind it not to pull but to gently hold that in place and then my hand in front to kind of keep my finger pressing this away from the zipper teeth so they get a nice clean line so let me show you what that looks like on the machine all right so you can see my needle is just inside the faux leather and let it kind of run along the teeth here and one more time I'm going to use this finger to press the lining away and kind of pause every couple of inches I'm only going to worry about this much space at a time and that's how I get a nice neat top stitching roll the bag around now I'm just going to worry about what fits on my machine press the lining away and then right along the edge it's going to go around the whole thing that way and when you get to the zipper there's a little trick as well I'm going to open the zipper all the way again press it away Stitch and I'm just kind of rolling the bag around and repositioning it but here's where the fact that we kind of pulled the zipper away and went off the edge has created a different seam so I'm going to press that away but I can't tug on the zipper for help so I'm going to kind of hold that with my thumb and finger as we get close to that spot okay now I need to not stitch over the zipper so I'm going to press it away and get the next side started but I'm going to pause at that seam to Pivot because you can see it it kind of has a little bit of a shape to it so I'm going to pause right at that Center seam and pivot needle down I'm going to pull the foot up reposition the bag and I go back to my first method of smoothing the lining back and we'll continue on so I'm going to kind of pull you see there's a shape you see I'm pulling this away in the back a little bit to let it pivot to come down this Edge so put the foot down and I'm not tugging but I'm going to very gently guide from the back until we're on the zipper tape again so it's not hard you just have to have a little patience and just kind of guide it a couple inches at a time all the way around the back all right so once you've gotten all the way around I'm going to trim threads and then we need to make a second top Stitch to create the lining for our wire frame so your refer to pattern for how for it to come in but you're going to come in and you're going to find a spot on the bed of your machine if you don't have one you can use masking tape or something to create a nice line for your zipper to follow along so that you keep this nice and straight I'm going to use this little line for mine this one's much easier because you don't have to worry about any of the zipper you just want the zipper to follow along the line you've chosen or your masking tape border but I'm still just going to go a couple of inches at a time and stop with my needle down and when I get to this corner I'm also going to stop and pivot the bag again foreign pivot this time but you can see because of the angle why you got to do it and watch that your zipper doesn't get caught up on your needle here we'll go all the way around the bag so now that you've got your top stitching real close to the zipper and the second pocket lining we've made the pocket that we're going to slide the wire frame into okay but it's fully enclosed how are we going to get this in here well the last step is to choose a side and it doesn't matter which one we're going to go to the bag lining and then we're going to pick unpick a few of the stitches between those two seams we just did inside the bag lining so we'll just come in with the seam ripper and unpick a couple of stitches this is another reason that that three length is your friend okay so now that pocket's open and we can slide in our wire frame so pocket number one we're going to scoot it around until we can feel that this Edge has kind of hit over near this seam slide it around and then this Edge will tuck right in and she does say if you're worried about it that you can tape or glue these little rubber edges on and then tuck that right in so one half wire frame in second half just goes the other direction okay so we're gonna use the same opening that we seam ripped but now we're going to go the other direction so you can slide the first bar a little bit away and then you're going to just slide this one right in and around just like before here we go tuck it around and it's going to end up meeting its partner on this side and then it'll tuck right in and again you can glue the little tips on and you have the finished bag you can choose to just tuck this in or hand Stitch that closed again and the first few times you close your bag you're going to want to close the wire frames first just kind of pinch them together and then slide your zipper shut after you've done this a couple times the faux leather kind of gets a muscle memory and it will do it on its own but the first couple times you're going to want to close that wireframe first and then zip and just like that we've got a finished bag you can see it holds plenty so this is how we make the trifecta bag from Emmeline bags thanks for joining me on this tutorial from the Missouri Star Quilt Company

More Fabric by Yard tutorials

See all