

Make a "Wild Blue Yonder" Airplane Quilt with Jenny Doan of Missouri Star
 Jenny Doan
- Layer Cake
- Double
- Beginner
- Quilt size 72" × 84"
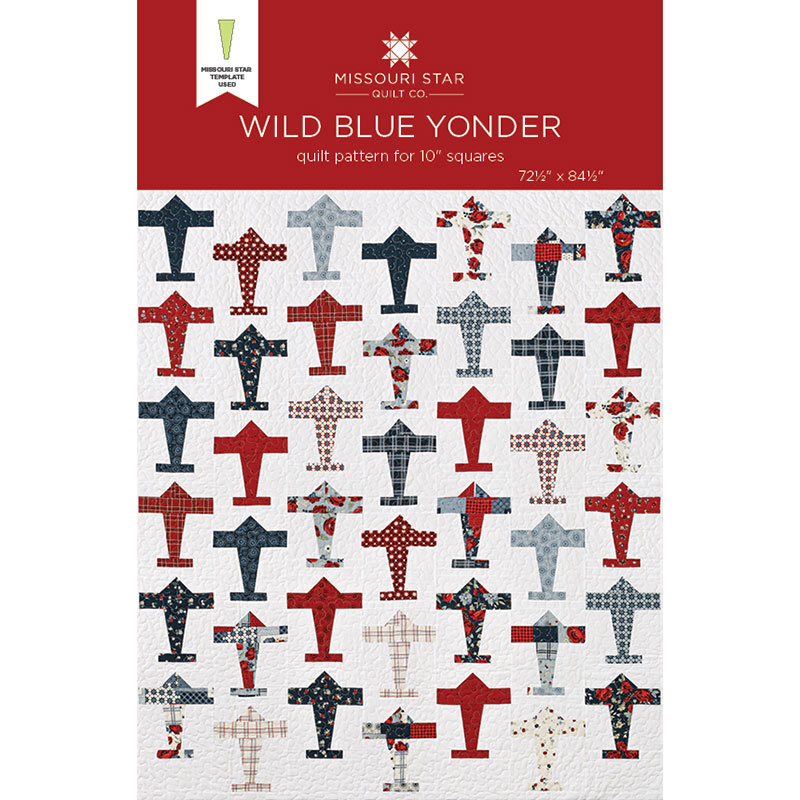
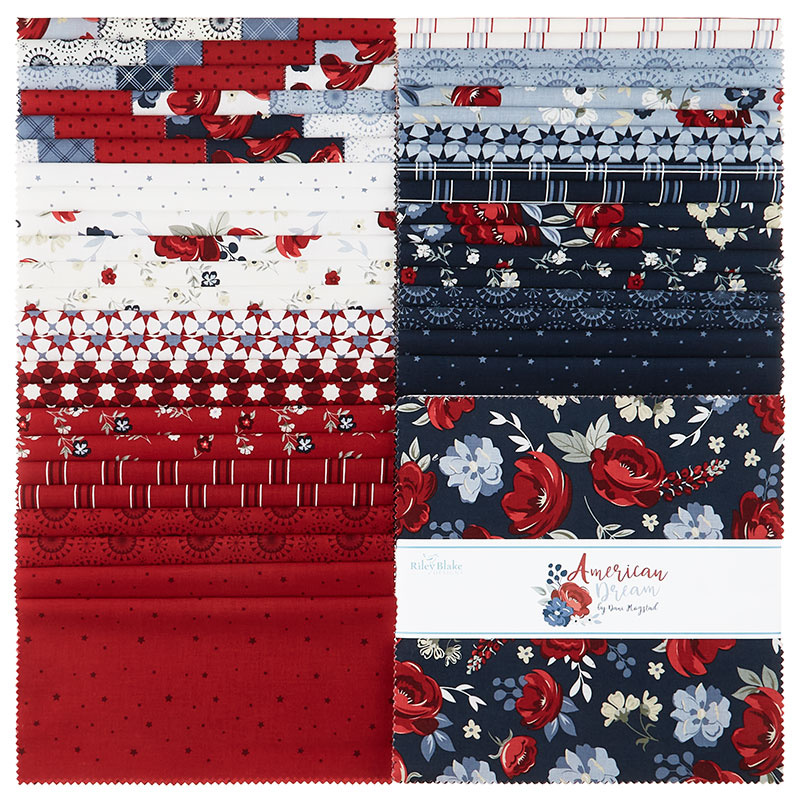
Jenny Doan demonstrates how to make a handsome airplane quilt using 10 inch squares of precut fabric. For this project, she chose American Dream 10" Stackers by Dani Mogstad for Riley Blake. This clever layer cake quilt comes together quickly with simple sashing and the Missouri Star Large Dresden Plate Template for 10" Squares.
Instructor
Jenny Doan
Jenny Doan is an American quilter, author, and YouTube personality. Jenny started Missouri Star Quilt Company in 2008 and today it is the largest quilting supply vendor in the United States.
Shop this tutorial
 Wild Blue Yonder Quilt Pattern by Missouri Star$5.95Shop →
 Digital Download - Wild Blue Yonder Quilt Pattern by Missouri Star$4.95Shop →
 American Dream 10" Stackers$45.95Shop →
 Kona Cotton - White Ten Squares$30.95Shop →
 Kona Cotton - White Yardage$7.28Shop →
 American Dream - Burst Red Yardage$11.96Shop →
 Missouri Star Large Dresden Plate Template for 10" Squares$9.95Shop →
 Missouri Star Quilter’s Best Blend Full Batting$32.45Shop →
Common Questions
What is covered in Make a "Wild Blue Yonder" Airplane Quilt with Jenny Doan of Missouri Star?
Jenny Doan demonstrates how to make a handsome airplane quilt using 10 inch squares of precut fabric. For this project, she chose American Dream 10" Stackers by Dani Mogstad for Riley Blake. This clever layer cake quilt comes together quickly with simple sashing and the Missou...
How long is the tutorial video?
The tutorial video is 00:12:56.
Are supplies listed for this tutorial?
Yes. The tutorial page includes the supplies and materials connected to this project.
Is a transcript available?
Yes. A written transcript is available on the tutorial page.
Video Transcript
Hi everybody. It's Jenny from the Missouri Star Quilt Company, and I'm super excited about today's project. It's called Wild Blue Yonder, and you can't even say that name without wanting to sing the song.
Jenny Doan (00:16):
This is my quilt. It's airplanes going, "Off we go into the wild blue yonder." Anyway, it's fun and easy to make. And guess what? I used the Dresden template to make this.
Jenny Doan (00:27):
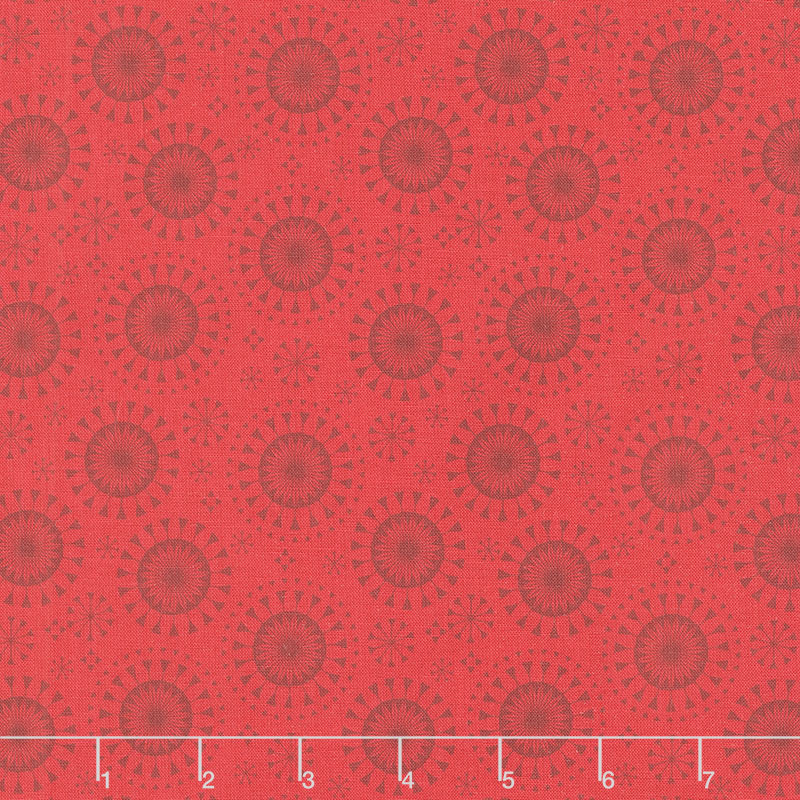
To make this quilt, you're going to need one packet of 10-inch squares, and I have used American Dream by Dani Mogstad for Riley Blake; one package of background 10-inch squares, I used this white; you're also going to need another yard of the same color for your sashing, all your little sashings here and your inner border. For your outer border out here, I used a yard and a half of this red, and I also used the same red on the back and you're going to need five-and-a-quarter yards to that, or you're going to need two or three-quarter yards of a 108.
Jenny Doan (01:01):
Now the quilting pattern on this is called Cotton Candy, and the reason I chose it is because it looks so much like little clouds, I just think it's adorable. Anyway, let me show you how to make this because this is really fun.
Jenny Doan (01:14):
This is the block we're talking about right here, and it is the cutest little airplane and I'll show you how to make that. First thing we're going to do is we're going to grab our print square, and we're going to cut the pieces that we need for the airplane.
Jenny Doan (01:37):
The first thing I'm going to do is I'm going to cut a two-and-a-half-inch strip, and that's for the wing. We're coming right here with that wing strip, we're going to set that aside up here. I'm going to cut another two-and-a-half-inch strip just like this, and then I'm going to take that strip and I'm going to cut a five-inch piece off because I need two two-and-a-half-inch squares for the nose and so I'm going to come here and cut this one square here and that should give you two and that makes the nose of your plane.
Jenny Doan (02:11):
This piece here is going to make your tail, and what we're going to do is we're going to just cut this two-and-a-half inch piece down to a one-and-a-half-by-five-inch rectangle, just like this. We're going to set this aside for our crumb piecing. And then we have this piece right here.
Jenny Doan (02:26):
Once you get your piece cut at six by five, then we're going to lay our dressing on there and we're going to lay it on the eight and the two line. Here's the eight line and here's the two line and you will in your pattern, and it's a free download, this is our Dresden template, and it's already cut at the eight and the two. You can see on here, if you lay this here, it's on eight and two. If you just trace that out, you can lay that on your pattern and cut those with that. But if you have the Dresden template, it's super handy. Man, I'd much rather use a template than a piece of paper.
Jenny Doan (02:58):
I'm just going to center this up and I'm going to trim these pieces right here like this on each side. And you can flip that over if you're not comfortable cutting in both hands. And then this becomes the body of our plane. Now we're going to take our background piece and we're going to start again with cutting a two-and-a-half-inch strip right off the side, right here. Here's our two-and-a-half-inch strip and then we're going to cut that into two five-inch rectangles, just like this. Five by two and a half, two of them and they're going to go right there.
Jenny Doan (03:29):
Next we're going to cut a one-and-a-half-inch strip like this. And these are going to be the two side pieces on the other side of our airplane tail and I'm going to cut that in half as well and lay those up here. And then I'm going to take this piece and I'm going to cut it in half. I'm just going to lay it like this. They should be five by six. I'm going to measure on here and this is six by five, yep, that's exactly right. Cut it at five. And then I'm going to stack these like this.
Jenny Doan (04:05):
And then what I'm going to do, because your white background, you can use either side. What I'm going to do is I'm going to lay my Dresden blade right here, like this, on my background, and I'm going to lay it along this edge. And I'm here at the eight line and the two line, just like we did for the body of our airplane and I'm going to cut this angle and this angle is going to become what goes right up next against our body.
Jenny Doan (04:30):
Let me show you how this goes together. What we're going to do is we're going to take our two side pieces like this and our two five-inch squares. We're going to build this plane from the nose down. This is our piece right here that we're working on right now, this top row. What we're going to do is we're going to take our two side pieces like this, our backgrounds, and we're going to put our nose in the middle. We're going to press a line on those and we're going to put them on here like this and like this. We're going to make sure that when they come together, we're going to sew them this way, so they come opposite. We'll go to the sewing machine and sew those down.
Jenny Doan (05:12):
And then I'm going to sew this guy down like this. And then what we'll do is we'll trim these off and press them back. I'm going to trim this side right here, quarter of an inch from my sew line. Actually, before you trim, this is really important because I messed up a couple of times, make sure they're right and it's actually going to work as a nose piece. If they're going the same direction, they will not work. Before you trim, check that out and make sure it works. I know mine works now, so I'm trimming that off, I'm going to press them back like this and like that. And then we're ready to sew this nose piece together just like that. We're going to line this up and just sew this together and then I'm going to press this open.
Jenny Doan (06:24):
Here's our nose, next, we're going to add our wing, that whole strip is going to go on there. And I just let a little bit come on either side. Now, the two bottom strips are nine and a half, your top full-strip is going to be 10 and we're going to square this whole block up, so don't worry about that. I'm just going to eyeball that. I mean, if you wanted to, I guess you could trim it down, but I just built my plane and then there's enough of the background that I can just go ahead and square that up as I go.
Jenny Doan (07:03):
Now I'm ready for the body. Now we take these two pieces that we cut the curve off of and you'll notice that they fit. You can turn them either way. Mine, I'm going to turn this way and you want to line that up and make sure they're going the right direction. And then we're going to sew this side on. Your curve, your angle is going to be perfect because we've used the same angle for the background piece that we did for the plane body. We're just going to sew that down and then I'm going to finger press this back and then I'm going to add the other piece on, still, making sure that it goes the right direction, just like this is. And then we'll press that open, let's make these go in. I think whenever you're dealing with a background fabric that is light, you want your seams to go in so they don't show.
Jenny Doan (08:11):
We're ready to add our wing to the body of the plane, so I'm just going to center that up on there and sew that down, press it out. It's looking so cute. All right, now all we have left is our little tail and what I'm going to do is I'm just going to sew this piece to either end of our tail over here and then we'll center that up on the bottom of the plane. We will have quite a bit of hangover on this, but we're not going to worry about that. One more on this side. All right, we're going to press this out and then I'm going to fold this in half and put a little crease in there. And then this crease right here, I'm going to line up on my body of my plane right here on the tail.
Jenny Doan (09:18):
You can see there's quite a bit hanging off over the edge there and we'll trim that off as soon as we get this sewn on, but you can put a little pin in here to make sure it stays in the middle if you want. I'm just going to eyeball mine and go ahead and sew that on there. All right, we'll press this down. Now we're ready to square up this block and we are going to square this to 9 by 11. I'm going to look at this now, 1, 2, 3, 4, 5, 6, 7, 8, 9, and a half. And so we're just going to take a little bit off each side.
Jenny Doan (10:03):
I've lined my plane up right here in the center on this line. Right from my center seam right here, it should be four and a half inches out, we're going to trim that off, we're going to come over here, we're going to flip it, line it up again so our nose is on that center line. We're going to come out four and a half inches from that center line and we're going to trim this off. That should give us a block that's 9 by 11. Let's check this, yep, 11 and 9. And just like that, we have this great block. Now you're going to do that to all of your airplanes so they're all this same size.
Jenny Doan (10:39):
Now, let me show you how I laid this out because I did something just a little bit different. On these airplanes, you can see, this is where this goes in here. Matter of fact, this is its twin right there. Well, I put a little piece of sashing underneath every plane and I put them together in long rows like this. An inch-and-a-half sashing underneath every plane. And on this row, I left it all the way to the top. On this row, I put a four-by-nine-inch piece. I literally took one of my pieces of backing and I took a four-inch piece like this... Four by nine, so we'll cut an inch off, and you can probably cut this out of your sashing fabric and we attached it right to the top of every other row. It's here on this row, here on this row, and here on this row.
Jenny Doan (11:32):
Now on those other rows, on these rows right here, that piece goes on the bottom down here and that's what makes them stagger. And rather than putting them in a row, I felt like this made it look like the planes were flying by alternating them. A little inch-and-a-half sash here, four-inch sash at the top, four-inch sash at the bottom on every other row. And it just goes together so quick, I put a little inch-and-a-half sashing out here. Nice big six-inch border out here. It makes a great size quilt, it is 72 by 84. And I have to say that when I showed this quilt to my boys, they were like, "Oh my gosh, that's really cool, mom." And I thought about all the uses for this quilt, there are so many people who love airplanes, who are in the service, who are Amelia Earhart fans. Just so many people who love planes and I just thought this would be such a cool quilt for so many of them.
Jenny Doan (12:20):
Don't forget to use that dress until it's another use for a template and I love it when we come up with something new to do for a template. I hope you enjoy this tutorial on the Wild Blue Yonder Quilt from the Missouri Star Quilt Company.
Jenny Doan (12:33):
Hi everybody. It's Jenny from the Missouri Star Quilt Company. We hope you enjoyed watching this video. If you aren't already part of the Missouri Star Quilt Company family, be sure to subscribe so you won't miss a thing. And if you click that bell, it'll notify you every time a new tutorial comes out. See you next Friday.



