Skip to content

Free quilting video tutorials from Missouri Star

Quilting Tutorials
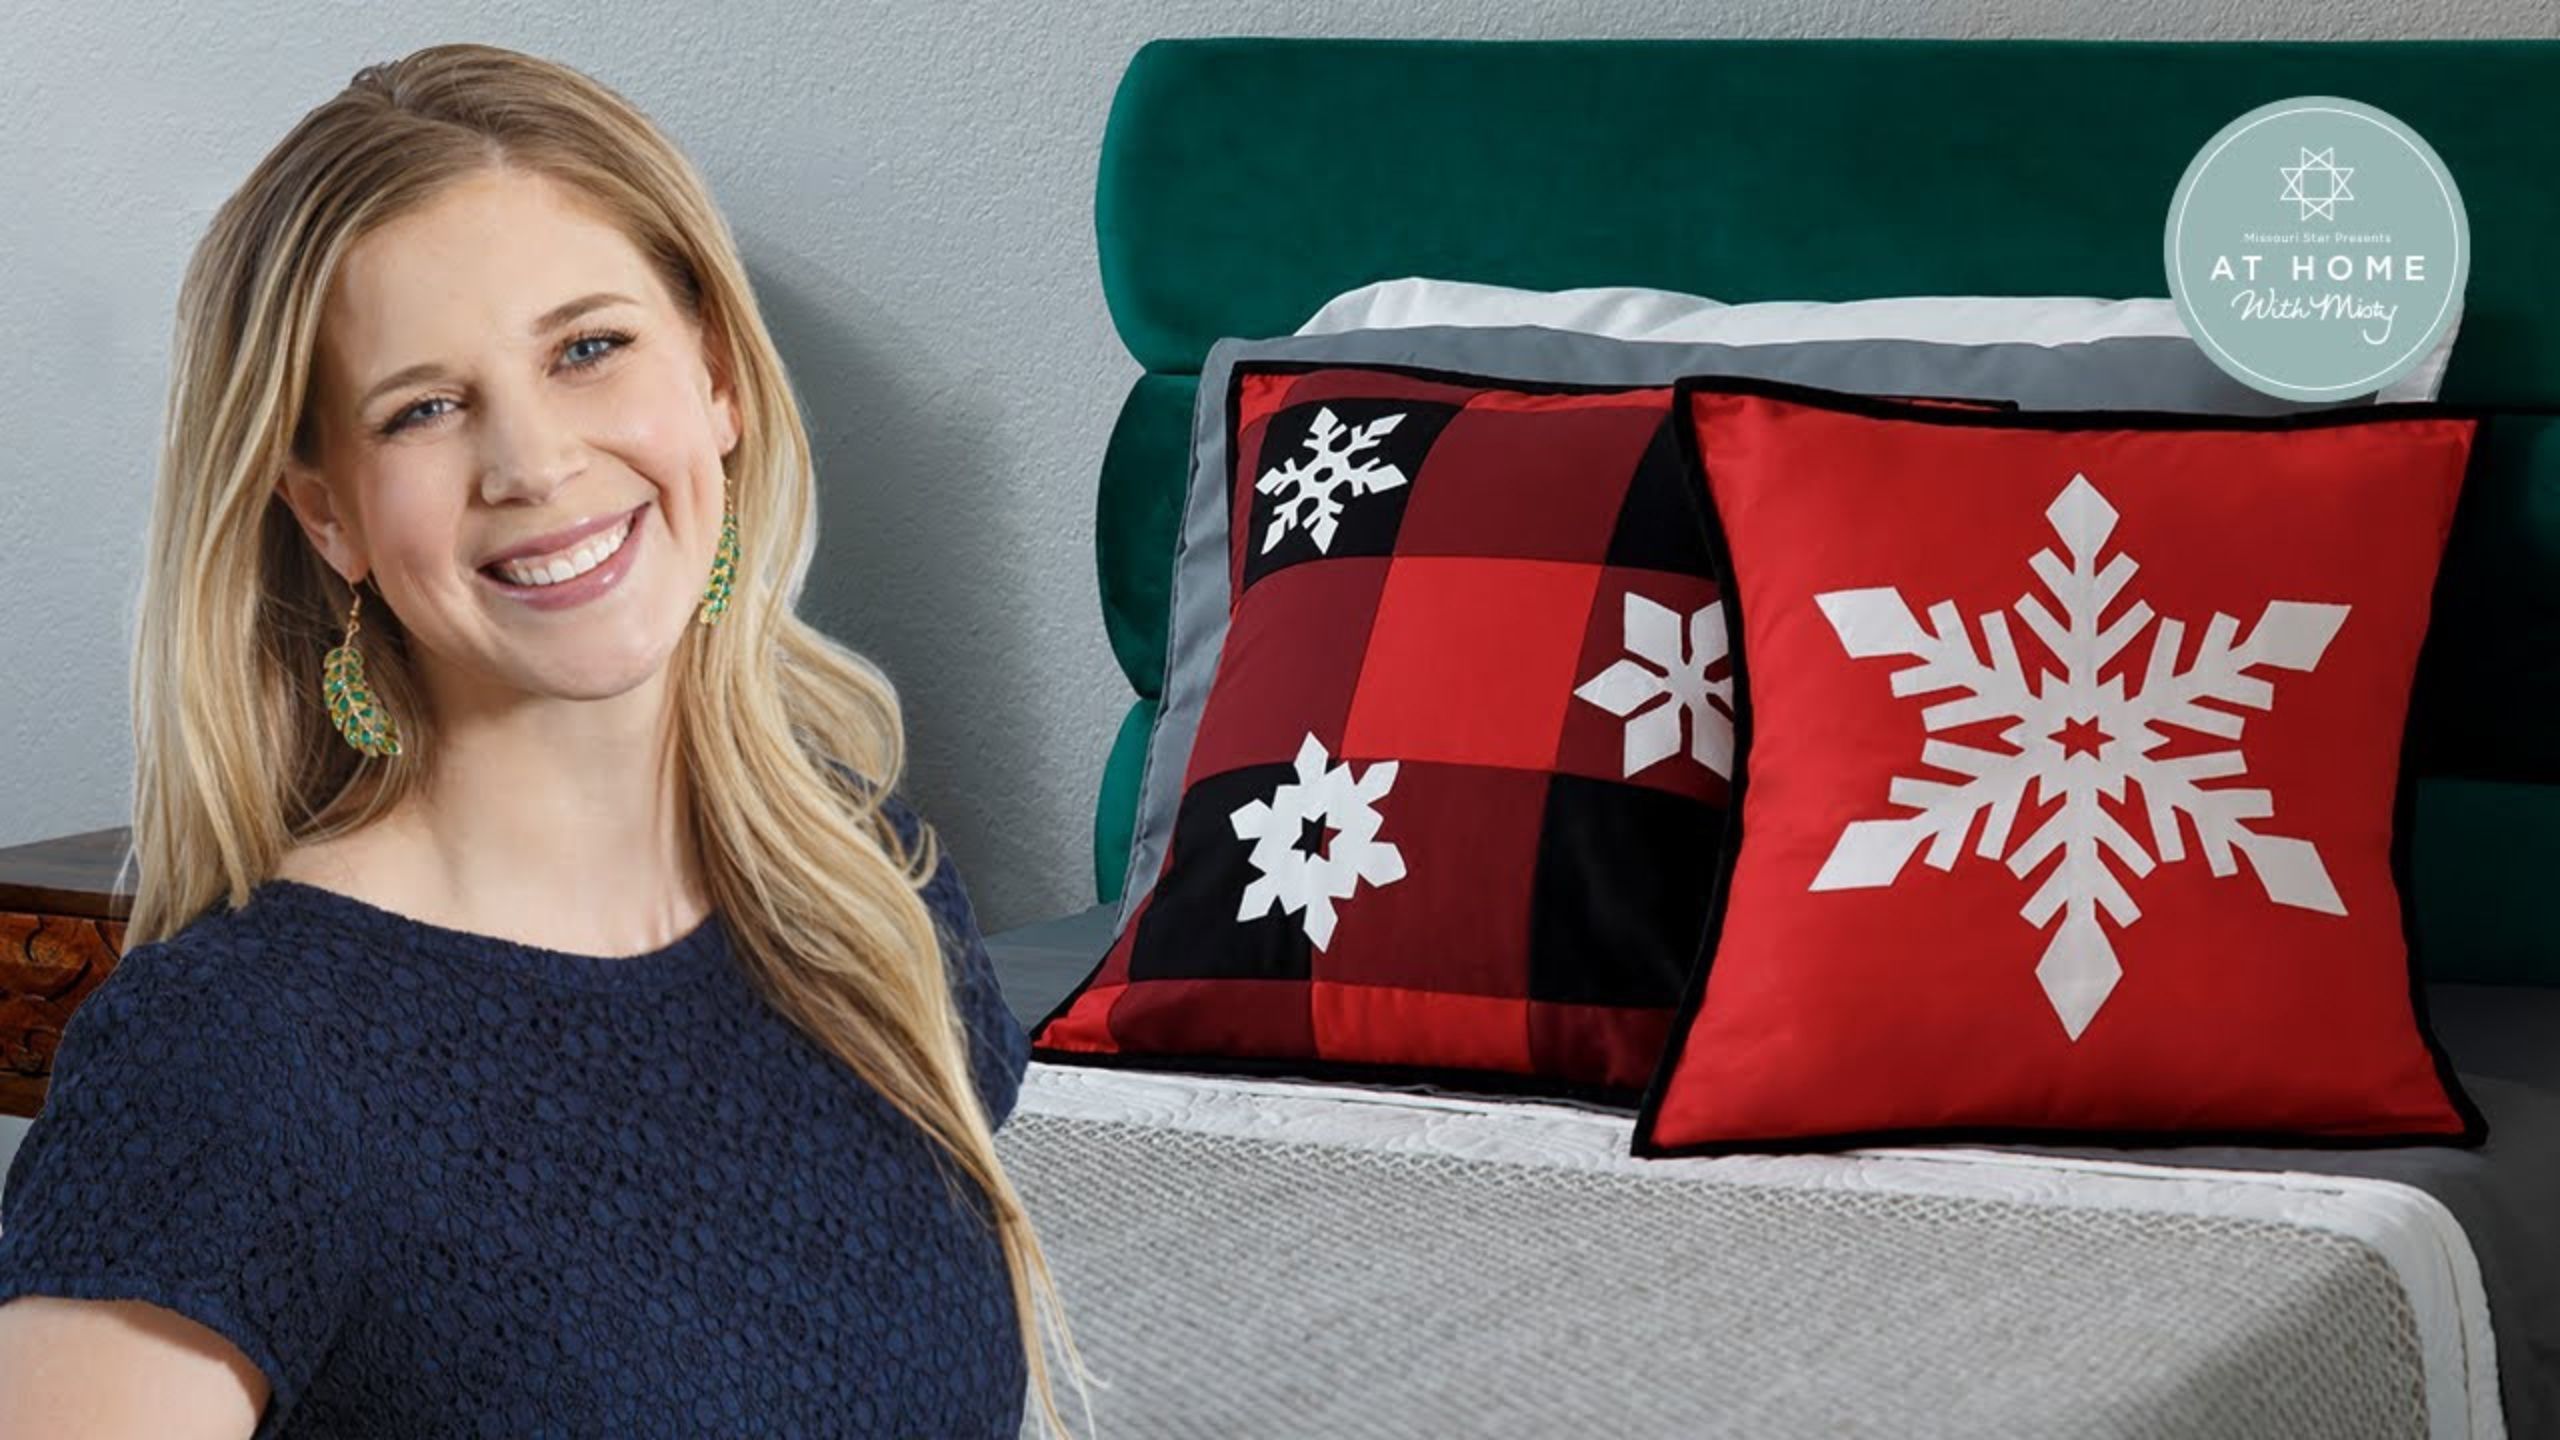
Make a "Winter Wonderland" Pillow with Misty on At Home with Misty!

Make a "Winter Wonderland" Pillow with Misty on At Home with Misty!
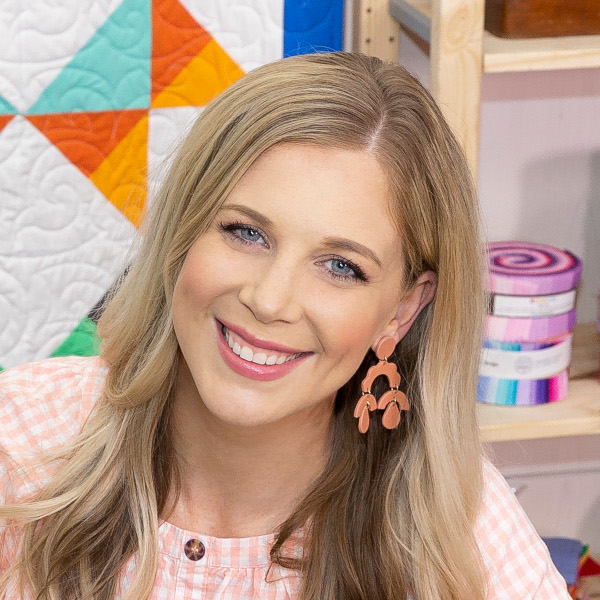
Sleeping in a Winter Wonderland! Staying cozy is easy with these festive pillows. Sew along with Misty as she shows you how to make the Winter Wonderland Pillows by Missouri Star. If you’re looking for something to add to your home with a classic Christmas flair, this is the perfect project for you!

Instructor

Misty Doan

Misty Doan grew up surrounded by sewing and quilting. She loves spending time sharing tutorials each week each week, and when she’s not stitching up one of her fun sewing projects for home decor, most likely you’ll find her hanging out with her husband and three awesome kids or working on a house project.

Common Questions

What is covered in Make a "Winter Wonderland" Pillow with Misty on At Home with Misty! (Video Tutorial)?

Sleeping in a Winter Wonderland! Staying cozy is easy with these festive pillows. Sew along with Misty as she shows you how to make the Winter Wonderland Pillows by Missouri Star. If you’re looking for something to add to your home with a classic Christmas flair, this is the p...

How long is the tutorial video?

The tutorial video is 00:34:30.

Are supplies listed for this tutorial?

Yes. The tutorial page includes the supplies and materials connected to this project.

Video Transcript

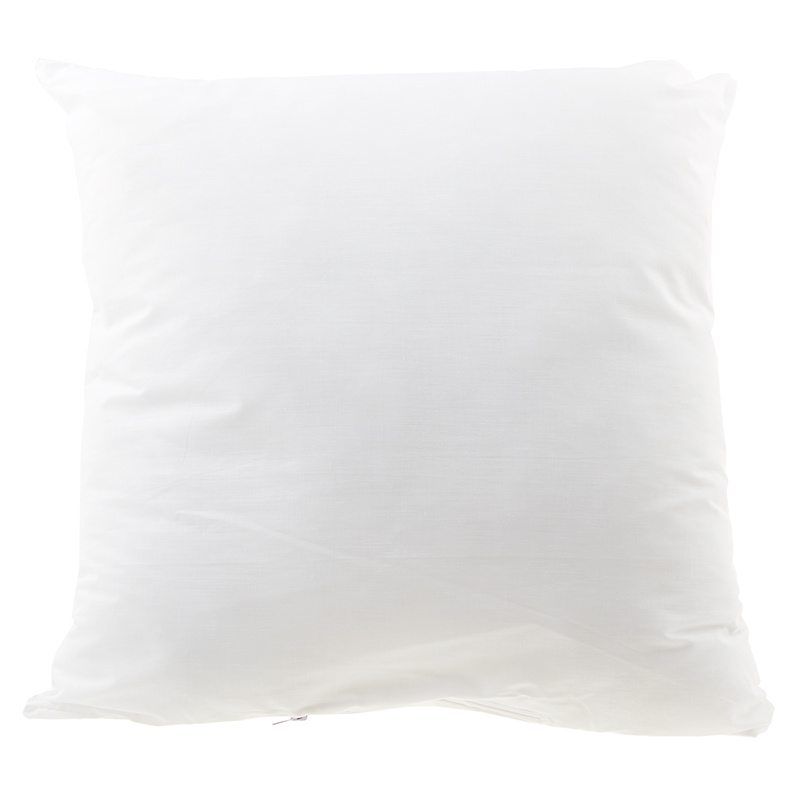
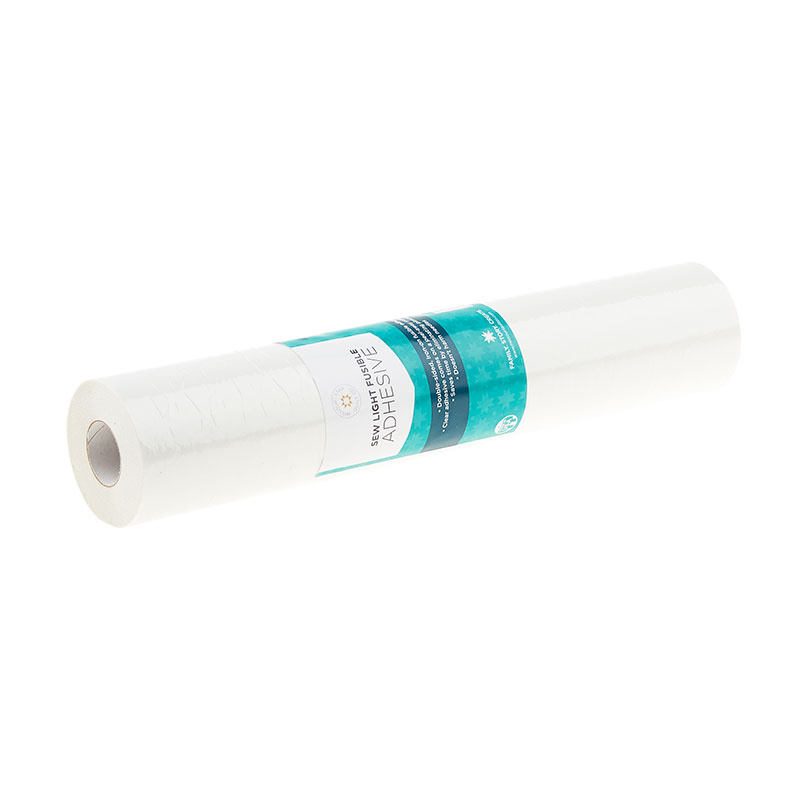
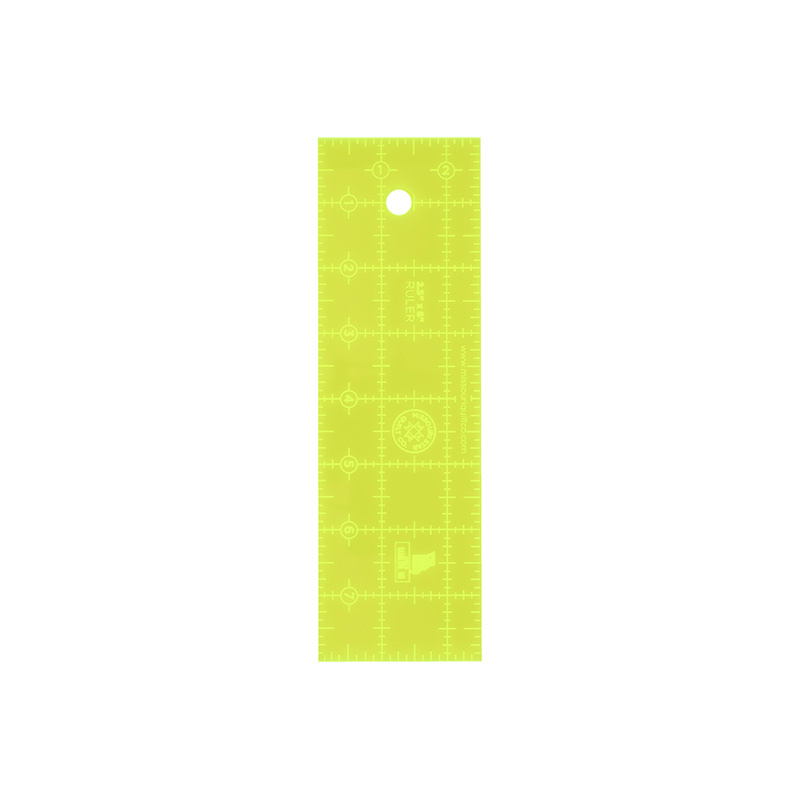
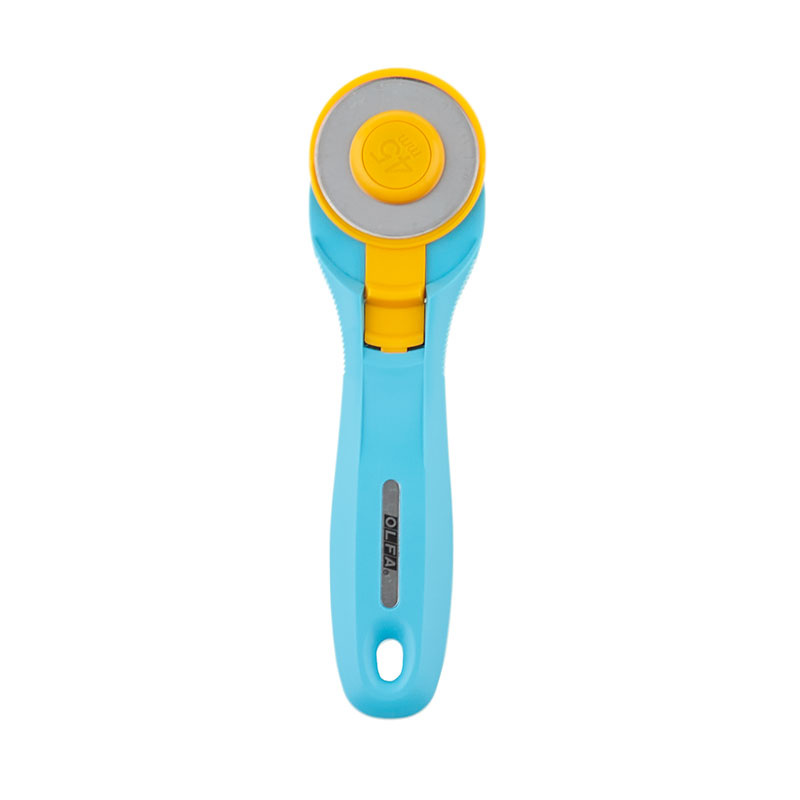
hey everyone I have a really fun project for you this week we're going to be making these adorable Winter Wonderland pillows [Music] sometimes we just need something quick and easy for the holidays to dress up our room and make everything feel festive and fun and so that's what I've put together today I made these two little pillows with some raw Edge applique snowflakes so they're really quick and easy we're going to dive into this Buffalo plaid version first so let me show you what you're going to need so for this project you are going to need some solid fabric I opted for solids just because I wanted that Buffalo check pattern to really show and so I have some red crimson black and white for the snowflakes and so those are the four that I chose you're going to go ahead and cut some five inch squares out of your three prints for the background remember the white is just for the snowflakes those are going to be five inch squares too but I'm just focusing on the pillow itself now and so you're going to need four of your black five inch squares eight of the crimson and four of the red and so now let's talk about how we're going to cut that and we can break this down so the four black you actually don't have to sub cut at all those are going to stay whole for the Crimson we are going to keep four of them whole let me see here one two three four and then the other four we're going to cut in half so that we get rectangles just like this so that they measure two and a half by five so I'm just going to line these up and then I'll grab my little ruler and I can lay this right on the edge and cut and so that's going to give me all of the rectangles that I need so I used four that I kept whole and four cut into rectangles and then from my red I'm going to leave one hole I'm going to cut two into those two and a half by five inch rectangles which means I'm getting four two from each Square and then the last five inch square I'm going to cut in half both directions so that I get four two and a half inch squares so I'll cut once this way and once this way just like so and now that I have all of those cuts done let's go ahead and lay this out so my solid red square I know is going to be the middle of my pillow so I always kind of start there and then the black goes in the four corners and the Crimson goes in between just like so and then I can start filling in around one thing you want to keep in mind is you're always going to be alternating between either the black and Crimson or the red and crimson and so since this ends on black I know on either side of these Corners I'm going to have one of my Crimson rectangles so I can go around and put these in place just like so and then the red is going to go in between and then our little squares are for the corners and you can see how easy that layout is you're just going to be alternating red crimson red Crimson Crimson black Crimson black and that's how you'll know you have everything in the right place and then we can just start sewing this in rows and so when I did this I like to just stack from the top and just have them all in a line and then I could just work my way down so let's go ahead and do that and then we can start sewing these rows together all right so I'm just going to start right here I did go ahead and put some red thread on my machine you could use kind of a dark gray but you don't want your thread to show through after you're working so hard to get this Buffalo pattern so I'm just going to sew with my quarter inch seam and finish up all of my rows [Applause] foreign here we go and this little project goes together so quick and once I made the pillow I think I'm gonna have to make a quilt to mash there we go and one more [Applause] there's my first row and then I can just grab the next little stack and keep working my way down [Applause] [Applause] foreign last one [Applause] all right now I would just continue doing the same thing to the rest of the stack I'm just going to stop here so I can show you how I press this so one thing I want to point out is every single one of these rows is essentially mirrored if you're looking on either end and so I pressed all of mine in the same direction because then it was less confusing for my brain and then I could just flip these over to make sure that my seams nested so I'm just going to pull this over here and I'm going to roll all of my seams the same way so I just pressed up because that's the way I like to do it so I'll roll that one and set it aside and then this little guy here same thing they're just all going one way just like so and so now remember I pressed all of them going up so all my seams are pointing up this way I can just flip this one over because it's the same top and bottom and now my seams will Nest perfectly I can just fold this over here and take this to the machine and so if you're not familiar when I say nesting seams it's this little juncture that I'm looking for and you can kind of fold back and see where that seam line and the opposite Fabrics are going to meet and you just kind of feel it with your fingers when they lock in place and Nest like I'm referring to and so that's what we want and when we press in opposite directions it makes it easier for that to happen so let's just go ahead and sew these together now and just take your time because you do want all of those little junctures to meet nicely [Applause] [Applause] there we go so now let's press this those look good all right so now you would just continue on all the way across until your pillow top is done I have one ready to go here all ready for us and so now we can add our snowflake applique so let's go ahead and grab our five inch squares of white and I have one here and then I cut out using our Missouri Star fusible I just cut out some five inch squares and I have that here and so we are just going to go ahead and fuse this to the fabric now I do want to point out you can either fuse it to the fabric first and then trace your uh snowflake shapes or you can trace them first if you don't have a window or a light box handy I recommend tracing them first because it's easier to see through so be sure to grab those printables that have the snowflakes there's four different patterns that are made for five inch squares and one larger pattern that's made for this single snowflake that you see behind me and so you're going to want to grab those but I do have a light box here so I'm going to go ahead and fuse my five inch square of iron on fusible to my five inch square of white fabric and so if you have not used this before the fusible has this glue side it's like a bumpy side and the paper side so the the bumpy glue side is going to go to the wrong side of your fabric when you're working with a solid it doesn't really matter but if you have a print you always want to be mindful of that and so the paper is up if you are worried about it you can absolutely use a pressing cloth or something to protect it I am just going to press this with a hot dry iron and make sure it's fully fused to my fabric which it is so now we can come back over here I have my little light box that I can bring in and I'm going to grab a pin here we go and let's see let's just do this little snowflake down here and I'm going to go ahead and fold my five inch square in half both directions because this is designed to go on just one quarter of the square so now I can set this on here and I can see right through my Fabric and the fusible to trace my snowflake pattern so I'm just going to go right out here and down and if you wanted to use a ruler you can but I found this to be really forgiving so I'm not going to worry about that and make sure I've got it right that looks good and so this one is really simple and again you could totally just hold this up to a window if you wanted but if you have one of these handy you might as well use it and so you can see I've just traced it on one quarter of this paper and now I'm going to grab my scissors you want to make sure they're nice and sharp because we are going to fold this now in fourths so just like so and I'm going to cut right on those lines that I just drew just take your time I didn't have any trouble cutting through these I just made sure my scissors are nice and sharp and you just kind of pivot down in that first little corner there we go there's my little snowflake see isn't that fun and like I said there's four different patterns so I have cut out some of those other ones here's a couple more and there's one more like this I'll go ahead and cut out just so you can see the four different styles that we've created for this project let's cut one more I've already got it traced and now we can just cut it out now if you wanted to design your own and not use our printables you could totally do that we all know how to make paper snowflakes right but this is convenient sometimes when you're making snowflakes at home at least me I used to fold it again one or two more times and so it's nice to only have to do these four layers when you have the fabric in there as well right there is just something so nostalgic and fun though about making snowflakes like this and you'll notice I'm kind of cutting off the extra bulk so that I don't have to fight with that and work around it as I get to a place where I can and we're almost done with this one just like so isn't that fun so four different snowflakes for you to choose from and so now that we have these we can just take our pillow top I lost it over here behind me and you can just decide where you want these snowflakes how many snowflakes you want I mean it's really up to you and so on this one that you see behind me I just put three but you could put one in every single square if you wanted to there's really no rules that say how many you can use it's totally up to you and so I'm just gonna put I think these three I like the look of that so let's take this over to my pressing mat and we can press these in place and move this out of the way so I'm going to start by removing that paper backing and then just setting it onto my background and I love the idea that you know we have three different snowflakes because we all know every snowflake is unique right so we can just mix these up and then every single one of our pillows will be a little bit unique right because we've cut these out by hand and I think that looks really fun and so now I'm just going to be really careful as I'm pressing this to press straight down you don't want to slide your iron when you're working with these little pieces that we have here so I'm just going to press straight down and lift right up so we don't have any shifting no turning of our little snowflake ends same thing here just straight down just let the heat do its job fuse all those little pieces in place oops this little side is not fused there we go that's better and then we'll fuse this last one as well there we go so as you can see the different snowflakes that we designed they can be as intricate or as simple as you want and they still make a great impact so all that I did for mine because I kind of wanted the raw Edge was just do some straight stitching right around the edge and on these guys I just sewed straight across I didn't even try and go all the way around I just made it as simple as I possibly could so let me show you the finished result here you can see on this pillow I just did around the outside of this one and straight across and around the middle of this one and I like the idea that as this is used and loved it's going to curl up a little bit and give it some texture that was intentional if you are not into that you don't like raw Edge applique go ahead and do a blanket stitch or a little zigzag to finish off that edge all the way around it's totally up to you so that is this first little pillow it finishes at 18 inches Square I wanted another one to go along with it so I made this guy which is just a single Snowflake and I just put this on a 16 inch background square of the red and it's the exact same steps I showed you on the small ones but we used a 12 inch white square and a 12 inch piece of our fusible to make this larger snowflake so super super quick and easy I just love how it came together and now I have this great collection of pillows this is if you're familiar with Jenny's holiday box her Christmas Box stars for Spin and I just think all of this goes together perfectly and the pattern for this adorable pillow that Jenny did a tutorial for is also now available so you can make all three of these holiday tutorials and just be able to decorate your home or your bedroom just in time for Christmas so I hope you enjoyed this and I have a special little sneak peek if you stick around at the end of this video my cousin it's actually Jake's cousin Emma is going to join us and teach how to make these darling Little Gnome ornament kits from one big happy yarn company so be sure to check it out I am here with Emma Emma is Jake's cousin but tell everyone a little bit about yourself and what you do sure so my name is Emma villanita I started in a little Etsy shop a little over a year ago in October yes so just right over a year um it's called the crafted Studio Co and it's honestly just a random place where I put DIYs and artwork and crafts she makes so many cute things it's really fun and I'm also a wife and a mother I have two little kids ages six and two so my life is constant chaos but it's fun they are so cute and so happy and we are going to make these adorable little gnome ornaments and you can get the kits for these from one big happy yarn company and we will link to those below so be sure to check that out and we're going to show you how to make them right yeah all right let's do it so this is what you'll get when you purchase the kit and it comes like this and you'll get two balls of yarn one for the beard and a colored one for the Hat we currently have green and red so classic holiday colors it also comes with a piece of twine for your ornament hanger a cardboard round cotton ball and a little wooden bead for The Gnome nose so we are going to get started with the colored ball of yarn we're going to start with the gnome hat okay and what you're going to need at home is you're going to need something that is roughly five inches wide at my house I use one of my kids Dr Seuss's books Misty gratefully had quilting squares which I'm sure are five inch rulers and so that they're perfect for this they are yeah and you're just gonna go ahead and wrap your entire ball of yarn all the way around okay until it is gone okay now we have our entire ball of yarn wrapped this makes roughly 40 10 inch strands and what we're going to do is we're going to go ahead and take our scissors and we're just going to cut the strands or cut the loop into strands in one spot I have my own scissors over here I'm creating so you just slide them in here okay chop away leaves us with an entire pile of 10 inch strands there we go okay okay then you're going to need your cardboard round okay and what I do is I like the look of a chunkier hat so I do two strands it also makes the tying process go a lot faster okay so I take two strands got it you're gonna fold them in half and then you're going to stick the loop through your cardboard round and then you're going to feed the tail ends of the Strand through the loop that makes like a little slip knot yeah okay and then you're just going to pull it snug and you're going to do that all the way around so I'll show that one more time so you take two strands fold it in half stick your Loop through the cardboard round and then feed the tail ends of the Strand through the loop did I do this baby and just turn it this way oh okay just flip it over yeah and you're always going to be tying in the same direction so I feed my Loops left to right um just make sure you're doing the same direction the entire way around all the way through okay and then we just keep going and you use this whole stack but you'll have a couple extra yeah and we'll need the extra eventually but okay [Music] thank you [Music] okay so now we end up with this jellyfish looking thing I love it you are gonna grab um one extra Strand and you're going to lay that in front of you and then you're going to go ahead and get your piece of twine this is roughly 22 inches and you are going to fold that in half with the hat you're going to push all of these strands back through the middle so just take your thumbs and kind of shove it all back in and then you can kind of see that brim of the Hat forming and sometimes that's helpful if you take two fingers and kind of Wiggle It All loose cute from jellyfish to hat yep just like that okay so then we're going to go ahead and take our folded piece of twine and we're going to stick it through the Hat going the direction that we just pushed all the strings so this is going to be the ornament hanger so the loop is going through the loop is going in yeah okay the top of the gnome hat and you'll want really however much you want but roughly two inches of the loop hanging out there okay and then you're going to take your hat and you're going to lay it in the middle of your extra strand that you grabbed and you are just going to tie a classic knot right in the middle of the Hat and that is going to start to create that little Beanie form oh my goodness and if the top looks crazy don't worry we'll trim it at the end we'll come together yep look at that I can see it it's working it's forming okay so then after that we're going to put the hat to the side and we're going to move on to the beard so you're going to grab your white Bali yarn once again your five inch material whatever you found and then we're going to do the same thing we're going to wrap the entire ball of yarn around a five inch surface all right dive right into it [Music] [Music] okay so now that we've unwrapped our entire ball of white yarn we're going to take our scissors and we're going to cut a one extra piece roughly again 10 inches long which is what we're going to tie the beard with so we'll lay that extra strand in front of us okay we are going to slip the beard off of our oh we're not cutting it we're not cutting so we're going to try to we're going to try our best to keep the form oh boy I got and then you're gonna just lay that directly in the middle and then again tie a knot and you really can't mess this up I mean if it gets crazy the beard just looks a little great okay and it's fine it's forgiving it is and we'll trim them at the end so it will all look good okay so just like try not in the middle yep and then you're gonna once you have that knot you'll take your scissors and cut loose all of these Loops so just slide your scissors right in there and cut them all okay how do you know if your time like if you just pull the knot as tight as you can I do yeah okay there's not like a magic no that is the magic okay and we'll again we'll end up tying this beard to the hat so it's all secure in the end okay yeah you end up with this wild beard looking thing okay so now we have our little hat and our beard we're gonna go ahead and grab our glue gun and our cotton ball first okay so what we're gonna do with our cotton ball is we are going to take our strands of twine and we're going to pull them to the side we're gonna put glue directly in the center of the hat and push the cotton ball in and then once we do that we will pull these snug and then the cotton ball will help keep the Hat form and we'll keep the ornament hanger in place okay awesome we'll go ahead and put glue there put a little squeeze in there friends who share glue guns that's right shape runs forever that's right okay so go ahead and stick your cotton ball right inside while that's drying pull your twine strands tight and then make sure you have your ornament hanger the length that you would like it perfect alrighty all right next up is we're going to connect the beard to the hat so we're going to find the center of the beard we're going to find that one strand that we tied the Middle with oh okay that's tricky oh yeah that one just wherever your knot is oh okay got it um and then you're going to feed a one strand of twine through the center and if you have um if it is a struggle to get it through sometimes if you have a pair of tweezers at home this helps a lot oh that's a good thing actually okay think I can get it through here you're going to end up looking like this with one twine strand going through the beard okay I got it okay and then all we're going to do is we're going to pull that strand so the beard slides right up to the bottom of the Hat okay and then we are going to take our two twine strands and just tie a classic knot and you're going to want to pull this pretty snug this is going to secure your beard to the bottom of the Hat oh my goodness this is Magic it's so exciting okay so now we have this knot inside I'm going to go ahead and clip the excess twine strands how much do you leave just like I just leave tiny little tiny pieces oh yeah because what I'm going to do is we will go ahead and then put glue right on the knot you guys can see that just to secure it okay so then you just put a little dab of glue on there right on the knot and then go ahead and just push your beard up into your hat all right then we're going to do the now so grab your little beard or sorry not your beard your little bead and a tip I use is if you hang your ornament on your finger you kind of see which way the ornament hangs and so you can find the front of your gnome so I will go ahead and put my bead right up here and all you're going to do is put glue on the bottom brim of the hat and the beard and when you insert the wooden bead in there you're going to just want to make sure the holes are vertical so we don't have a hole in the front your gnome doesn't have a single nostril we don't want that we don't want that it'd be cute but we don't want that that's funny so you're just going to add glue right there and then you're going to just put your beads directly in there and close trying to run away close your hat and your beard okay smush it together he's around it yeah got it there we go and then lastly we are just going to add glue around the brim of the Hat securing the beard to the Hat just a little bit better so I just pull these apart and see what little gaps I have and then just again squeezing them together these are so cute Emma it's like the perfect little gift topper or stocking stuffer for people it's so cool it's so true and it's the perfect gift for someone that you just don't know what to get yes because it's handmade and yeah it's the best okay so now we all have wild looking gnomes and every time I go to treminoleum I always think about like when you're a kid and you were either the kid that cut your doll's hair or you want but we all wanted to be a hairdresser Inside Yes for just a moment yeah you know which child you were so this is your Channel's hair so that I have and here we are yes so here you can live your hairdresser dreams we're going to go ahead and trim the beard and the hat okay and the first thing I do is I trim just all the long excess pieces of the beer just trying to keep that semi-circle shape okay and you really you really can't mess this up I say that but who knows this is so so it really is and then something I do just to give it a little bit more of a full shape as I take my scissors vertically and then I just cut around the beard create different lengths of yarn it's a great tip and if you end up you know cutting one side significantly shorter than the other something that really is easy to do is you can actually just pull the yarn to the other side and it all levels out oh yeah because it's still just tight in the middle yeah cute starting to not look quite so crazy now yeah and then you also do the same with the gnome hat cut off all the um long strands that are hanging out and then for the top of the Hat I like to keep it so it still looks kind of puffy so I just trim a little bit a little bit as you go and like I learned with my dolls as a little kid it doesn't grow back so less is more a little bit at a time it is I know you can just keep going and going but these really are so fun to make just to gift as a handmade gift and you can make them you can buy the crafting kits and craft with your kids or your grandkids they're just so fun and so hard to mess up they're super cute yeah this is great for any age because it really is you know everybody can wrap some yarn around uh it's true yeah our little rulers it's so true make a great little project these are so okay stop alrighty there you have we did it I love it so I sell these completed gnomes on my Etsy shop it's called the crafted Studio Co or you can go buy the kits on when you get happy yeah exactly and she has awesome projects besides these gnomes as well so be sure to check that out and she's also on Instagram I am yep just at the crafted Studio code yep so thank you so much Emma thank you for having me I hope you guys enjoyed this quick little project and have a wonderful Merry Christmas bye hey everyone it's Misty thanks for watching at home if you aren't already a part of our Missouri Star Family be sure to subscribe and hit the Bell if you want a notification every time we release a new video I'll see you next Monday on the newest episode of at home

More Fabric by Yard tutorials

See all