Skip to content

Free quilting video tutorials from Missouri Star

Quilting Tutorials
Make an "Adventure Sling Bag" with Misty Doan on At Home With Misty

Make an "Adventure Sling Bag" with Misty Doan on At Home With Misty

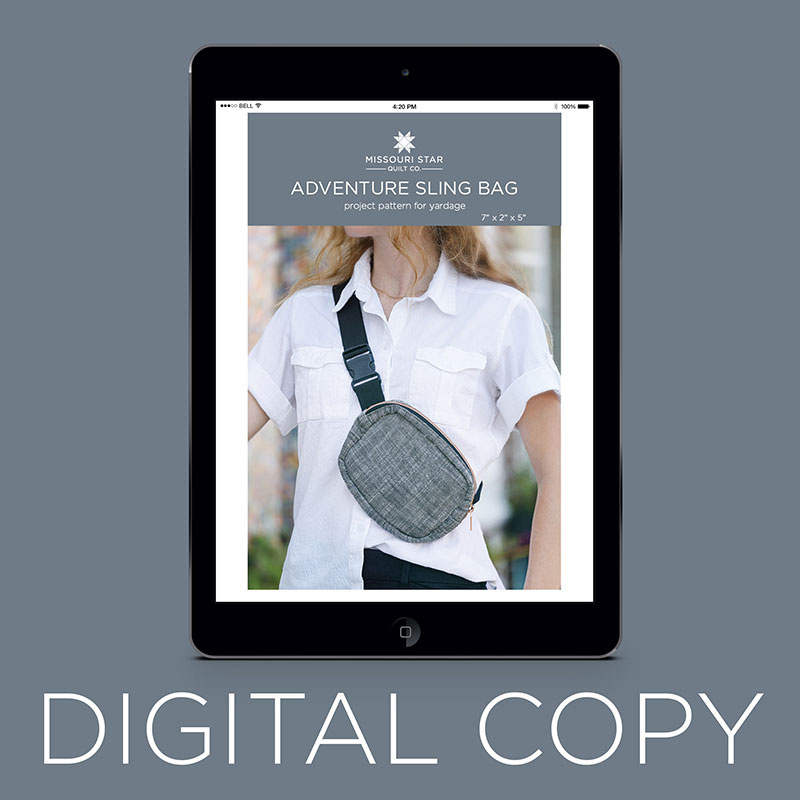
Today, you're going to learn how to make the perfect bag for all of your daily adventures! Join Misty as she guides you through her tutorial on the Adventure Sling Bag, a stylish satchel that makes the perfect errand-running sidekick.

Instructor

Misty Doan

Misty Doan grew up surrounded by sewing and quilting. She loves spending time sharing tutorials each week each week, and when she’s not stitching up one of her fun sewing projects for home decor, most likely you’ll find her hanging out with her husband and three awesome kids or working on a house project.

Common Questions

What is covered in Make an "Adventure Sling Bag" with Misty Doan on At Home With Misty (Video Tutorial)?

Today, you're going to learn how to make the perfect bag for all of your daily adventures! Join Misty as she guides you through her tutorial on the Adventure Sling Bag, a stylish satchel that makes the perfect errand-running sidekick.

How long is the tutorial video?

The tutorial video is 00:56:10.

Are supplies listed for this tutorial?

Yes. The tutorial page includes the supplies and materials connected to this project.

Video Transcript

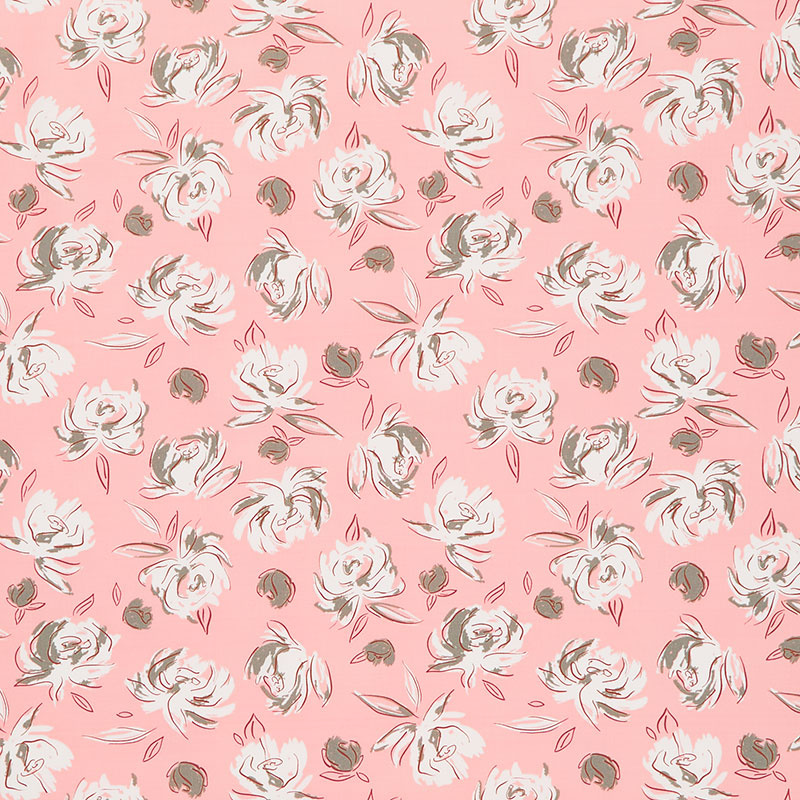
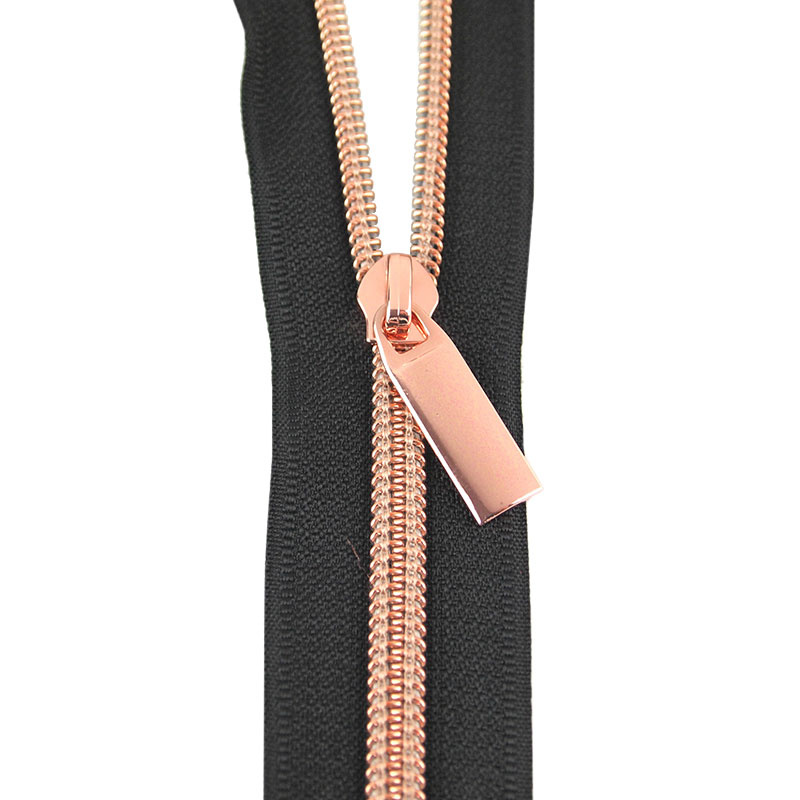
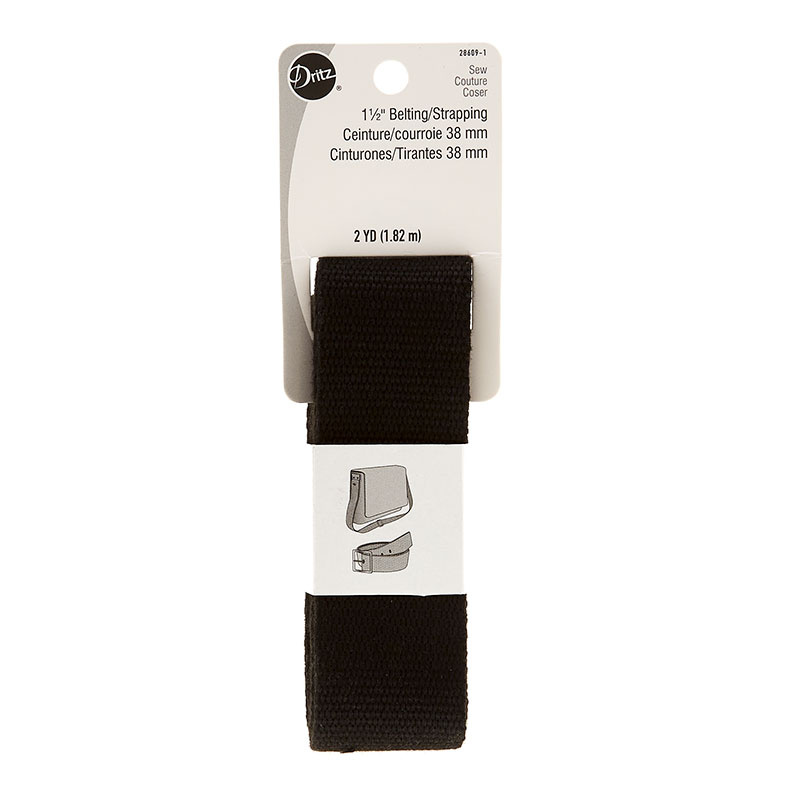
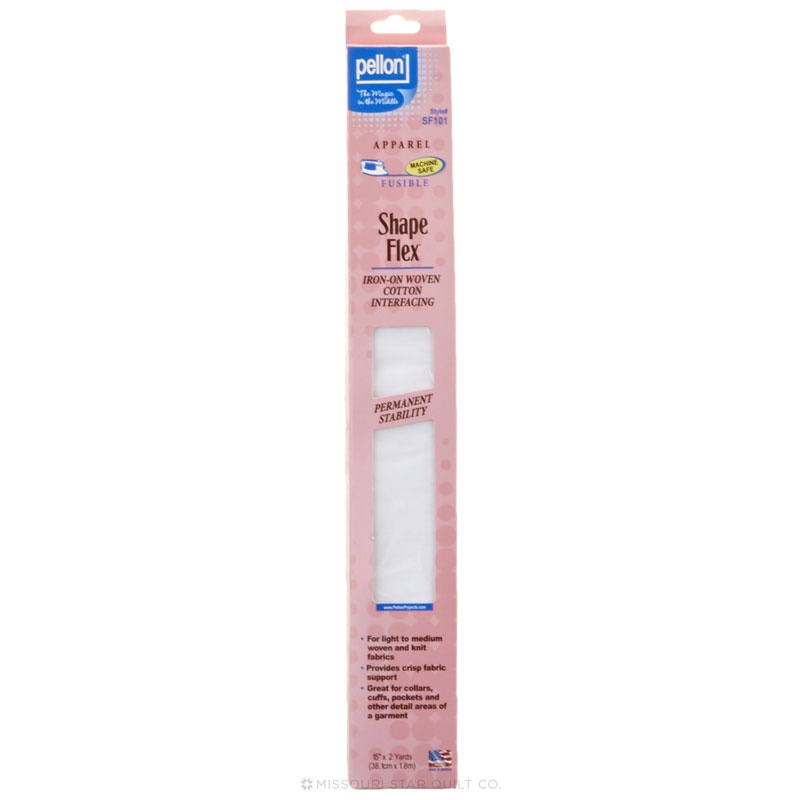
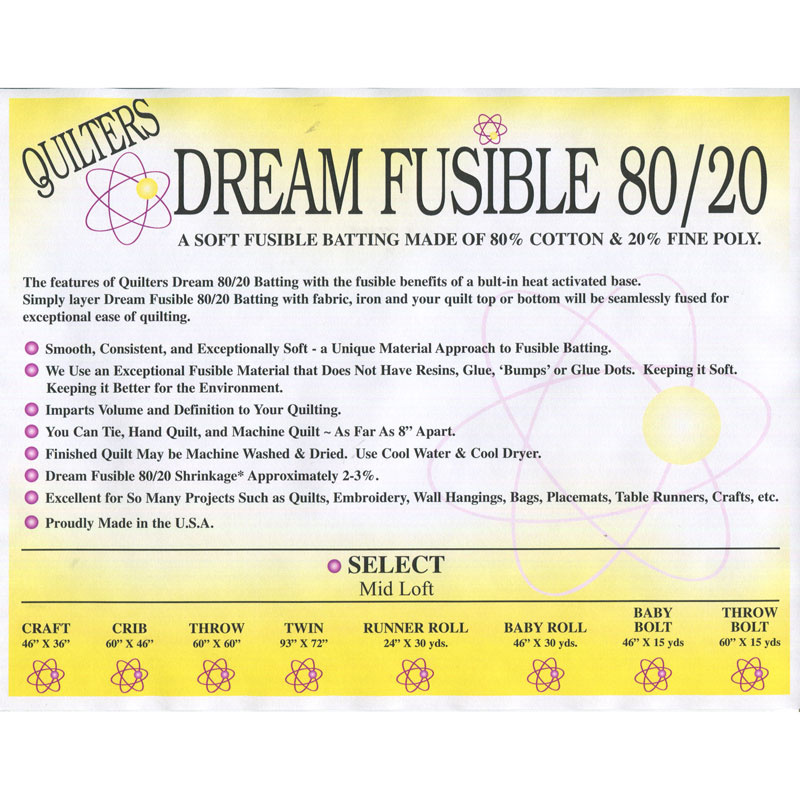
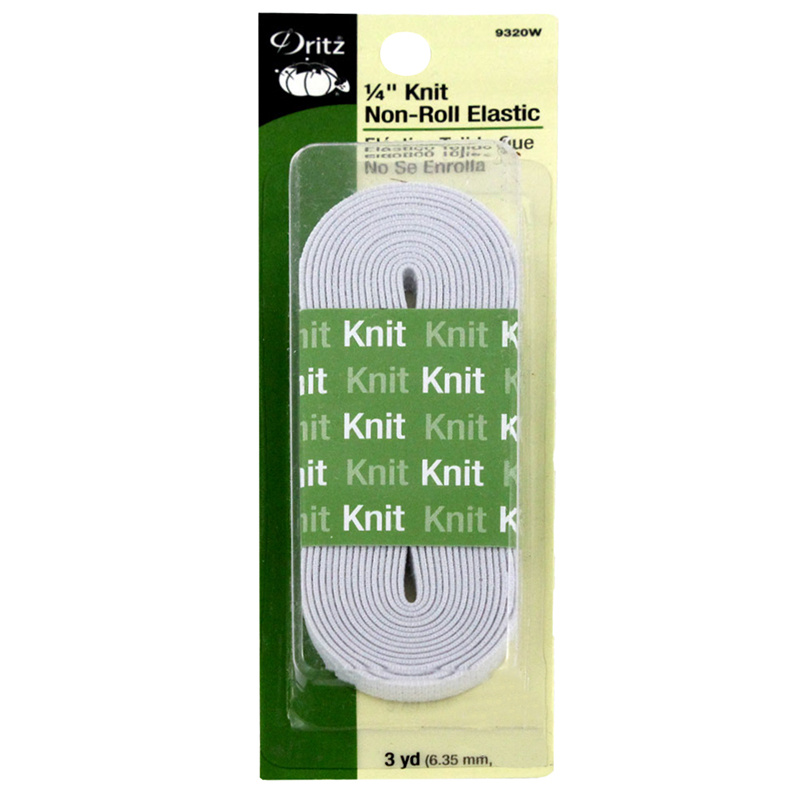
hey everyone welcome to at home with misty i'm really looking forward to today's project we're going to be making this great adventure sling bag so let me show you how to do it [Music] all right so like i mentioned we're going to make this great little sling bag if you have been on line you'll notice people are carrying these small you know kind of modern day fanny packs all over you wear them across your body or at your hip everybody wants one and i have to say when i finish this one my daughter was like that's for me right she immediately wanted it so i told her we have to film but then i will make you one so i've got three different versions that i made here they're all equally adorable i'm going to use this gray canvas it's actually a boro slub canvas in charcoal to demo it today but you'll notice i've got some other great canvases that i've used for our samples as well which are just adorable so let's real quick go over the supplies because we are making a bag so the supplies are a little bit different than you know a typical quilt so let's dive right into that so of course you're going to need a quarter yard of that exterior canvas which is what i recommend you'll need a half yard of your lining fabric i use this beautiful rose print from art gallery fabrics you're also going to need a half yard of your shape flex interfacing that's like a cotton woven interfacing and so it's just it is perfect for this project you don't want anything that is too stiff it just adds a little bit of body you're also going to need both a 10 inch and a 14 inch zipper but what i opted to do was use these great three yard rolls of the sally tomato zipper by the yard this is the number five size so it's just a little bit wider of a zipper you'll also need two and a two yards sorry i almost said two and a half two yards of your one and a half inch wide webbing and that's what we use to make the strap for our bag and then you're going to need your buckle as well so that's a one and a half inch quick release buckle and it also has this little slide so you want to make sure you have both the buckle and the slide that's what you're looking for so that's it beyond that if you wanted to quilt the front which we've done a little bit of quilting on this one you need a little scrap of batting and there's an optional interior pocket that you can add some elastic but those are both totally up to you so let's dive into making this up first i have cut all of my pieces of both my exterior fabric and my lining fabric and so let's start by our front and back pieces which are eight inches by six inches and so i have those here and we're just going to fuse our shape flex to the canvas so that it has a little bit of stiffness to it and so just like many of the other interfacings that you might be familiar with there is a bumpy side and that's the side with the glue on it so i'm going to put that down towards my fabric and we are just going to press if you want to use a pressing sheet sometimes with these woven interfacings the glue can kind of leak through if you press too long so you want to be careful of that when you're working with your iron so far it's not feeling sticky but you can always just lay another piece of fabric across that if you're worried about it we'll go ahead and fuse that one as well so those two are ready then we have both our top and bottom gussets so the top pieces are the ones that go on either side of your zipper and those measure two by twelve had to double check make sure i didn't tell you wrong so we're just going to do the same thing and so our interfacing is cut to the exact same size as our fabric and we're going to fuse those and then the bottom gusset is three inches by fourteen and so we'll do the same thing i'm just going to quickly fuse all three of these so that they're ready to go just make sure it's all lined up nicely because once we press it it's not going anywhere there's that one [Music] oops and the last one here okay so that is basically the outside of the bag but we have a couple more little pieces and this is for the zipper pocket so there's actually two ways you can make this bag you can either oops i got it twisted there put your zipper pocket on the back which that's the original way we designed it because it's a little bit more secure and so that would actually be against your body or if you like the look of the zipper on the outside you can put the zipper pocket on the front so it's actually written so that it's the back of the bag but just know they're interchangeable and you could totally put it on the front if you prefer so let's go ahead and fuse those pieces and one more here all right so now that we have all of our interfacing on the outside of our bag let's go ahead and get started with the inside pocket okay so now we're moving on to our lining fabric and remember i chose this really cute rose print from art gallery fabrics and so what we're going to do is we're going to cut two rectangles that are eight by five and one that is eight by six and i'm going to take the two that are eight by five and i'm gonna lay those right sides together just like so and along the top edge i'm going to sew a quarter inch seam so if you have directional fabric this is a place where you're going to kind of want to pay attention to that you're going to make sure that it's facing up then you put it right sides together and you're going to sew along that top otherwise it'll be upside down when you put it into the bag so let's go ahead and sew this quarter inch seam there we go so now i'm going to press this i'm just going to roll it back first and then i want to press it wrong sides together this is going to be my top edge so i want to line up the bottom make sure everything's straight i'm going to press that again so we have a nice crisp finish and then i'm going to go ahead and top stitch so if you wanted to use a matching thread or a fun contrasting thread this would be a great place to do that i'm just using white so hopefully you guys can see it all right one thing i do want to point out when i'm doing a top stitch i like to lengthen my stitch length just a little bit it just kind of adds to the professional finish and i did backstitch there just because i don't want that to come out there we go and that is done so you can see i did this one with white thread i also have this other one that i matched my thread a little bit better and i did that one in pink and you can see it's really whatever preference you desire as far as how far away from the edge you put your stitching this one is a quarter inch this one's probably closer to 3 8 and so you can just try and play with it and see how you like it so that is our inside pocket that we're working on and then this is our lining piece that goes with that and so remember this is the one that we cut at eight by six so now let's start making our zipper pocket all right so now we're going to work on the zipper pocket remember that's the one that i said could be either on the front or the back of the bag so i have my eight by four and a half let me just make sure i'm telling you right four and a half by eight correct of both my lining and my outside fabric with my interfacing on it all of my outside pieces are always going to have interfacing of the same size so you can just keep that in mind as we're continuing on and then these are one and three quarters by eight inches of both the exterior and the lining fabric you're also going to need a 10 inch zipper and so i have just cut off a section from my zipper by the yard and we're going to use that for this i loved the little rose gold zipper detail so to begin with i am going to take my eight by four and a half inch piece and i'm just going to lay my zipper right sides together here and just center it over the top edge so again if you were using something that was directional you just have to make sure that everything is facing up because the zipper is going to go on the top of this piece and so i'm going to use some little clips to clip this in place just so i don't have to fight with it and now is a great time if you have a zipper foot to go ahead and put that on your machine to make things easier for you so i am going to pin this one and now if you wanted you could baste a line of stitching across here just to hold this in place but i'm actually just going to go ahead and zip this a little bit more so this is out of my way that's part of why it's bigger than you actually need at the end um because i've got this nice narrow foot on my machine i think i can make this work and so now we're going to take our lining fabric sorry i had to think through that and we are going to put it right sides down and i'm going to pin that just the same so that it's all lined up and then we can stitch through all three of these at the same time there we go my zipper is shifting there in the middle so i'm just going to fix that really quick because then it will be easier once we get to the machine so just take your time make sure everything's lined up the way you want it and that looks really nice so now let's go ahead all right there we have stitched in our zipper and now i can open this up and you can see how this is going to finish off and so when i press all of this back i'm going to have this nice little zipper detail all right and so we can just press that back i'm going to go ahead and take this over to the iron and i just want this to lay nice and flat i'm going to flip it over and do the same thing with my lining i want everything to stay matched up just like so that looks really good and so again i'm going to top stitch remember like i said i think it's a great idea to use you know a contrasting thread here or something fun to tie it all together so you might want to switch out the thread that you have on your machine but i am just sticking with what i've got to get through it there we go and so now we have that side done all right so now we're just going to repeat that exact same process with the other small pieces that we cut and so i want this to be lined up exactly with the um my piece here on the zipper sorry that's what i'm trying to say so now i'm i have that lined up i'm going to flip this over make sure it's right across that top edge my zipper is exactly where i want it and then we're going to put our lining piece again and a few clips to hold this together and then i'm going to stitch and top stitch just like i did on the other side [Music] all right so now we have our zipper pocket made we are going to go ahead and open up our zipper so that it is not on the edge anymore because of course we don't want to lose that zipper head and now we're going to go ahead and trim this panel to eight by six inches so let me grab my ruler here and my rotary cutter and we can trim this down line it up so it is measuring one two three four five six seven eight inches wide but i can go ahead and cut off my zipper now so we will make that first cut and the cut on this side and then now it looks like this is a little wider than six so i'm going to turn it this way and i don't want to take any off of this top section but i can measure over this way and trim off the bottom so one two three four five six and i just have somewhere between a quarter and a half inch of excess there to trim there we go so now that is all trimmed up and so what i have here is i have an eight by six inch rectangle of my inside lining fabric face down and then i have my exterior fabric of the same size face up and then we're going to put our newly made pocket panel right on top of those so they're all stacked together they should match up exactly i'm going to put a few clips here to hold everything together and the reason that we've done it this way is so when you unzip your panel or your pocket i should say from the outside of your bag when you peek inside it'll have the fabric that matches the outside of the bag and then this will actually be on the inside of the bag when it's finished so that's how you know you've got it right i'm going to put a few more clips here just to keep things from shifting when you're working with bags taking the time to do this can really make all the difference for you and so now i'm going to lengthen my stitch length nice and long and i am just going to baste my top and bottom edges so if you're not familiar with that term that's just a narrow seam allowance wide stitch length so that we can hold our pieces together it's basically acting like pins but it just makes it a little easier so we won't have any bulk at all in the way when we go to sew these together later and flip that around do the same thing on this other side there we go so now that is basted and ready to go all right so we just finished making our little zipper panel and now we just need to prepare the other outside panel so now remember i said you can either put the zipper on the front or the back of the bag we have both ways shown here but to make the opposite panel we are going to take the little pocket section that we made earlier and we're going to put that with a 6 by 8 inch rectangle of our lining fabric so you can see i just have those basted together here and then we're going to put those wrong sides together with a 6x8 stabilized rectangle of our exterior fabric and so you can see that i did go ahead and baste those together so i have another one here that's all basted and ready and now we are going to trim the curve we have a little bit of a rounded shape you'll notice and so we need to actually trim that out to match and so there is a little template in the pattern if you want it to be exact and match all of our measurements you will need this little tiny wedge shape but also you could just eyeball this and make the curve yourself and so i have a little chalk marker here and i am just going to lay this on all four corners of the bag and i am just going to mark this might be hard for you to see on camera but i can see it and when you're doing this at home that's really what matters and so i'm going to go ahead and i'm going to do this to all four corners of both the front and the back panel and i'll meet you back here okay so i do want to show you that our little template fits right above our zipper it doesn't get in the way of that so i'm just going to go ahead and mark this last one there we go and i've clipped most of these but i've left a couple just so you can see so i'm just going to clip right on that line and again you're not click cutting into the zipper so you don't have to worry about that so let's go ahead and trim this side as well just like so and so now i have both our front and our back panel because remember i'm going to have the solid front on the bag this time so those are ready so now let's talk about prepping our webbing so that we can make the strap so i have my buckle my slide and then two lengths of webbing this first piece here i've cut to five inches and remember this is inch and a half webbing and then for me i found that on the other side i like about 50 inches so you can see i just measured this out this is folded in half and i have about 50 inches for the other side and so the first thing i'm going to do is i'm going to open up my buckle take it apart and on this end that your little pokey part goes into i am just going to slide my five inch piece through there and i am going to if i can figure out where i put my pins they've wandered off i'm just gonna grab a pin really quick and hold that in place now this is nylon webbing so it can kind of fray at the end so if you want to just burn the ends to prevent it from fraying that's a great option makes it easier to work with and then for the other side of the buckle that's what we're going to use our longer piece so i'm going to feed this in first through the section closest to those prongs and then back down and then we're just going to pull this like so and now we're going to insert our slide and so i like to just kind of line up both of my ends together i find that to be the easiest and then we're going to slide through this one and back down and so now that i have the slide in place and the buckle in place i can adjust all of this to the lengths that i need i do want a little bit of overhang on this underside because that's how i'm going to then fold this over and stitch to secure my slide in place and so i'm just going to kind of leave that and then i can pull this because this is going to be the longer one and that will slide down and now i know i have this on correctly so i'm going to go ahead and use my white thread so you can see kind of how i finish this off but obviously on the finished project i would be using black thread for this so that it blends in so i'm just going to slide this a little closer and what i'm wanting to do here is i'm going to make kind of a box and then i'm going to sew an x both directions so let's go ahead and do that got that buckle that i have to kind of work around i'm actually going to trim my thread and come back the other way i do want to point out i'm using a longer stitch length than i i would recommend here just because i want you to see the stitches but i am going to pull this out and switch it for black thread and i am back stitching when i start and stop so let me slide this out now you can see i've got that box that i have sewn there and now we're going to go back and we're going to stitch corner to corner in both directions and that's just really going to anchor that strap so that it's nice and stuck together move my buckle out of the way it takes just a little finagling there we go there's one and now we're going to go the other direction there we go so now you can see exactly what i mean i used this contrasting thread so you can see we went all the way around in a box and then made an x across that and that just really secures that in place so now we just have this one end that's open and so now let's go ahead and attach this to our bag and so this is the place where you're going to decide which one you want to be the front remember i have this one here that is finished off with the zipper on the outside and both of these just have the flat panel on the front and we did that so if you're traveling or something then your zipper pocket is against your body and just a little bit more secure so i'm going to go with the zipper against me so that makes this the back of my bag which is the side that we want to attach our straps to so we've measured down an inch and a half and one good tip is to lay it out on the mat since we've already cut this curve and if we have our top and our bottom lined up then we can just measure from that top line down to an inch and a half the good news is if you are using the zippered pocket as the back side really that mark you're looking for is just the top of your zipper where that fabric meets your zipper so now we need to make sure that our buckle is facing up and our slide is facing up and we are going to put our strap right in line with the top of that zipper so i'm going to grab my clips i'm going to put a clip in there for now just to hold that in place and then on the other side there actually is kind of a curve to this buckle and so you want to make sure that it's going to match up and click together correctly which it does and so then this is going to meet up with the other side so i'm just going to pin that in place and now we're going to go ahead and baste the edges of our strap into place so i'm just going to start here make sure we're lined up along that edge again this is where you want to take your time we have a nice long stitch length really narrow seam allowance so we've got that one and then i'm going to flip this around and do the same thing on this side this one is just one layer of that webbing all right so now we have this all basted into place you want to double check and make sure everything is laying correctly your slide is in place your buckle is correct because remember this is the part that's going to be against your body going around your waist or across your body whatever way you choose to wear it and that looks great so now we can move on to the gusset now if you're not familiar with that term the gusset of the bag is this part that runs around the middle it's what gives it the body and it's also where we have the zipper for getting into the bag so let's go ahead and grab all of those pieces and get started with that okay so now that we're going to make our gusset we are going to need our longer section of zipper and so i have that here and we also have these i believe they are two inches by 12 inch rectangles of both our lining and our stabilized outside pieces we have two of those one for each side of the zipper so that's what i'm working with now and this is basically going to follow the exact same concept that we did when we were making the zipper pocket except for this is going to be for the top of our bag and so remember we are going to take our lining piece we are going to center our zipper i'm going to go ahead and slide my zipper head so it's out of the way but we're just going to go ahead and center that so we have some room and then we are going to put this one just like so our lining piece and now we can put some pins or some clips in here and we are going to stitch down and then we're going to repeat the process on the other side let's just make sure they're all lined up one two [Music] and one more for good measure and then let's go ahead and sew this one down there we go so remember now we're gonna press that back so we need to roll back our lining fabric first give that a press and then our exterior fabric as well i always find it helps if you kind of finger press that initially and then we can hit that with the iron there we go now let's repeat the exact same thing on the other side so i'm going to put my right fabric or outside fabric down we're going to line this up so that our fabric stays lined up with our other side and then we are going to put our lining fabric right sides down and put a few clips in just remember to take your time and keep it all lined up there we go let's press this one as well start by rolling back that lining flipping it over [Music] and pressing back our outer fabric there we go so now that we have that done we're going to do that line of top stitching on either side so i'm going to go ahead and do that lengthen my stitch length just a little bit that side and now we can flip this around there we go so the zipper part is done so let's move our zipper head back to the center again remember we don't want to lose that and i'm going to go ahead and just take a few stitches over this end of the zipper just to keep it all lined up and together there we go and now we're going to trim this down and this piece needs to be trimmed to 3 inches by 12 inches so let me move some of my pieces out of the way here so that we can see what we're working on so it is right at 12 inches wide so really all i need to do is trim off the ends of my zipper so i have a little bit i can slide this way it's more uneven on this side so i'm just going to trim this one up there we go and now i can turn this around just even this up so it's exactly 12. there you go all right and then we want it to be three inches wide so i'm going to turn this this way and i'm going to put my zipper the center of my zipper teeth right on my center inch mark and i'm just going to measure out an inch and a half in both directions and so i'm going to zip this a little bit more just so that it will keep our fabric as straight as possible and then i'm going to use my ruler and i'm going to measure out an inch and a half which is right here we'll make the first cut and then we can turn this measure out an inch and a half just double checking measure twice cut once you know there we go make sure we have it exactly right there we go and so now there is our top zipper section ready to go so now we need to complete our gusset and the completed gusset looks like this and so you'll notice it's like a complete circle and we have our bottom piece and our lining that goes all the way through it as well and so how we're going to do that is we are going to sandwich together and put our lining i mean i'm sorry our outside matching up with the outside of the gusset and then our lining is going to go right sides together on this side we're just going to make sure that is all lined up and straight and i'm going to sew across this so you again you can pin here if you'd like but this is a pretty short seam so i'm just making sure it's straight there we go and so now we can open this up and we can press this back with our iron there we go and now do a row of top stitching there all of these top stitching places are fairly optional but it really does give you that nice finished look for your bag there we go all right and then we're going to do the exact same idea on the other side and so we'll match up this and match up this and we will sew that straight across there we go and then we can flip that just have to turn it just a little bit and then everything lays down then we can press this back again once you've made the loop it kind of has a little bit of maneuvering that you have to do to get it to lay nicely but it's not too tricky there we go and then now we will do the top stitching again all right there we go our gusset is complete if you want to run a basting stitch all the way around the edge you can see i did that here and that really does make it easier when we are going to assemble all of our pieces together and all that means is my uh my lining is attached to my exterior and that's just so that we're not fighting with extra layers when we go to try and throw around these curves so now let's talk about assembling this together let me move this out of the way these are our three pieces that we're going to need for the bag we have our gusset the back of the bag and the front of the bag and so we are going to have to work with the strap so i just like to kind of tuck this all in and make sure it's nowhere near my edges and then i'm going to put a few pins in here just to help secure it because we do not want to fight with this strap when we're going to sew everything together so just a few pins go a long way with keeping it out of the way so you can see that's nice and secure and it just keeps the strap out of the way for when we get to that part so now just to make our lives a little bit easier let's start stitching on the side that doesn't have the strap so that's just our flat panel here and so now i'm going to turn my gusset inside out and i'm actually going to kind of fold this in half and find the center of my zipper and i'm just going to put a pin in here right at that center mark just to make my life easier and i'm going to double check that and make sure i've got it right oops see it slipped on me try again there we go now that's centered up exactly in the middle of my zipper and i'm going to do the same thing and find the center of this panel put a little finger press in there and now i'm going to match up the gusset with the top of my panel now remember we have a pocket so you really want to check that and make sure you have the top and so we're going to put the pin in place there and now we're just going to work our way around pinning or clipping whichever you prefer we do have some curves but it's a very gentle curve it's not super sharp and so we are just going to pin all of this in place if you need to clip those curves you absolutely can whatever you find necessary but this should all match up based on our measurements and how we've trimmed everything down so we just want to take our time i mean honestly with bag making that's kind of the trick you just have to take your time and pin and make sure everything's going to line up how you want it and it's always worth it in the end so there's that just a few more of my clips here and there we go one more right there lovely all right so you see the idea here and now we're going to go ahead and sew all the way around this curve so let's just go ahead and get started i always like to start on a straightaway as opposed to a curve and so i'm going to give myself a little bit of room from this outside curve here and use that as my starting place so i'm just going to slide this under the presser foot here make sure i've got my quarter inch seam allowance and i am going to shorten my stitch length because it was still elongated from some top stitching so i've turned it down just a little bit i'm going to back stitch to begin and i am just going to slowly make my way around as we're getting close to this outside curve i'm just going to move this fabric out of the way and i'll slowly start easing into this curve there we go so easy on that straight side we just coast through there every time i stop i do want to point out that i'm stopping with my needle down so that i can pivot we are getting so close here down to the very last little curve just making that lay down nicely and we will back stitch there at the end and there we go we got our first gusset sewn on and so i always like to just kind of check and flip this out make sure i don't have anything peeking through that i don't want peeking through we don't want any lining fabric accidentally poking through or anything like that and i think that turned out really nice i'm very happy with that and so now we're going to do the exact same process on the other side with the buckle and so i'm going to turn this back together i'm going to open up my zipper a little bit because i'm going to need to turn this from that zipper and again remember we have this little zipper pocket so this zipper pocket the top of this side needs to match this the top of this side those are the things you really want to check for every time and we need to find our centers again you don't want to get this far and and miss that so i'm going to put my pin right in the center of this zipper there we go make sure i'm looking at the top side i am there's the center of this pocket and so we are going to line this up just like so so i'm going to go ahead and finish stitching all the way around here and i'll meet you back when it's done all right so we're coming in to our final curved section so i'm just making sure the whole time i'm just feeling to make sure i don't have anything extra under my needle and we're just approaching this last little curve and so it really is just taking your time if you have a stiletto or something to help kind of hold everything in place that could be helpful again i'm keeping my needle down this is the very last curve just trying to get back to where i started so i can throw some backstitching in there and call it good there we go we did it all right we made it all the way around both sides of our gusset and so this obviously is raw edge and we are going to finish this off with some bias binding so let's just i want to show you guys just for the ooh ah before we do that here is our little bag look how great this has come together this is perfect for vacations running around as a family it's so cute and you can wear it crossbody or on your hip i just love it and like i said my daughter is crazy about it too and so just to finish this off i will have a little tip at the end of this video to show you how to make bias binding but the reason that we are making bias is just so you can go around these curves you could totally finish it off by hand or by machine whichever way you prefer we're just going to bind both of these sides so that we have no raw edges peeking through so let me show you here on this little bag because it is all done so you'll see how that looks and we use some contrasting thread so you can see we finished this one by machine and so it turned out just wonderful i'm really happy with it the other thing i want to point out is in the pattern there is an optional instruction for this little um kind of slip pocket that we have to have some elastic so i wanted to show you what that looks like and so that is really it that's how you make the adorable adventure sling bag it's really quick really easy and i hope you guys enjoy it so stick around and i'll show you how to make bias binding all right so like i mentioned in our little adventure sling bag we need some bias binding to finish this off you want to use bias binding anytime you're going around a curve because it just makes it lay so nice so this is a great skill to learn if you're making you know either a wavy or a scalloped edge on your quilt you would also need bias binding so let me show you how to do it i have just a fat quarter here and i'm going to go ahead and fold this on the 45 just like so i'm actually going to turn it just to make it easier for me we are going to lay our ruler right along this edge and we are going to cut on the 45. oops make sure i stay nice and straight there we go then we can just disregard that little piece and now we can open this up and we can sew this onto the other side my brain is not working right here there we go we can sew it on to this side just like so and so now i'm going to take this to the machine put this right sides together because i do have my selvage edge i'm just going to come in far enough that i don't have to worry about that or you could trim it off at the beginning whatever you prefer there we go and now we can press this open all right so once we have that all pressed nice and flat these two edges here are our bias edges and that just you'll notice we have lots of flecks there and that's what we need to go around these curves like we're using in this bag so i'm just using my 5 by 24 inch ruler and i'm just going to slide this up like this because what i'm looking for on this ruler is the 45 degree line and i'm going to line that up on this edge that is straight of grain so that's the side closest to me and i'm still looking for a two and a half inch cut so i'm going to keep that 45 line all the way along that bottom edge and then this side here i need to be on two and a half and so i am looking i'm on my 45 right here and i'm measuring over one two and a half and so that is what we want when we're cutting bias binding so let's go ahead and make one cut and we need to slide this up to finish off that strip there's our first strip oops i didn't make it all the way through up here there we go let's do that one more time again here's our 45 line and we want it on two and a half just double checking all of my measurements and that looks good pause keep my rotary cutter in place finish off that strip and so you're just going to make your way all the way across your fat quarter and then when we go to join these together you'll notice that the angles are going in opposite directions just like we need so i can just set these right sides together and i'll have my little quarter inch overlap and we're just going to sew this together with a regular quarter inch seam there we go line it up take your time lovely and then we can press that back just like so and we'll have a nice length of bias binding from this point you just press it in half just like your regular binding and attach and finish just as you usually would i hope that was helpful hey everyone it's misty thanks for watching at home if you aren't already a part of our missouri star family be sure to subscribe and hit the bell if you want a notification every time we release a new video i'll see you next monday on the newest episode of at home

More Fabric by Yard tutorials

See all