
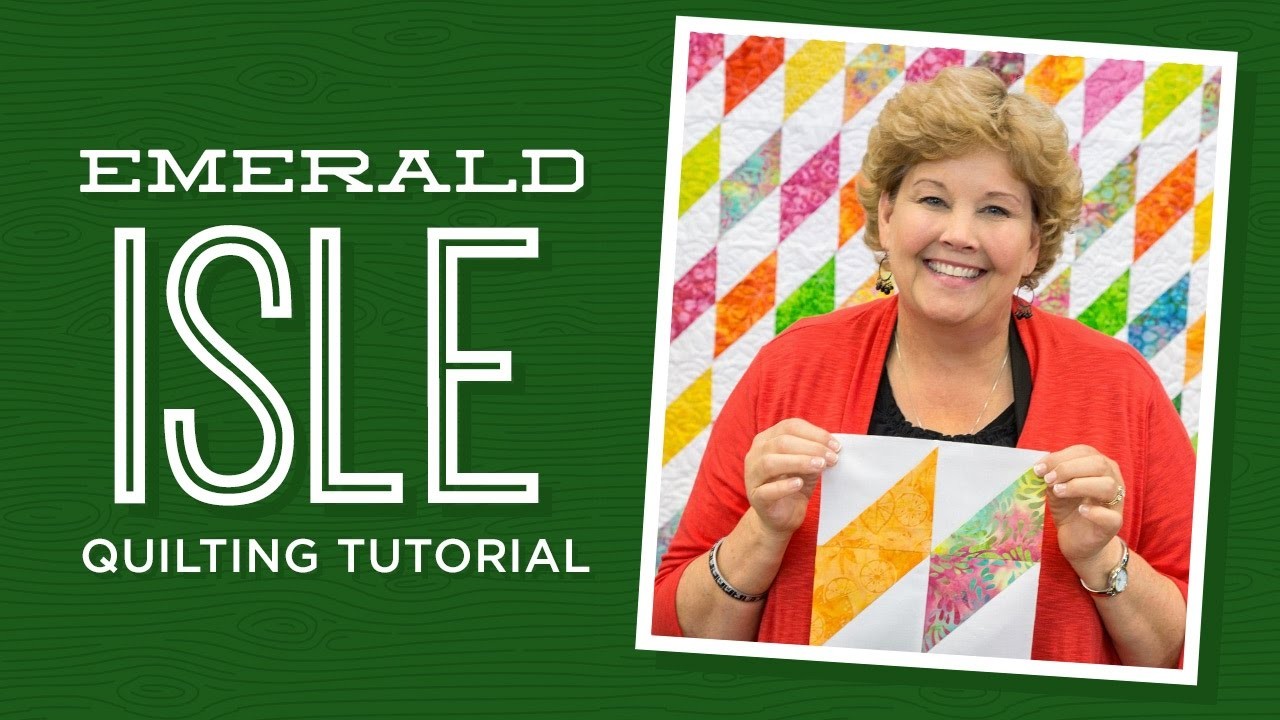
Make an Emerald Isle Quilt with Jenny!
 Jenny Doan
- Layer Cake
- Traditional
- Lap / Throw
- Beginner
- Quilt size 79" × 95"
Jenny demonstrates how to make the Emerald Isle Quilt using 10 inch squares of precut fabric (layer cakes). We used Fresh Pick'ins Batiks by Kathy Engle for Island Batik. Learn the "easy 8" method of quickly making half square triangles.
Instructor
Jenny Doan
Jenny Doan is an American quilter, author, and YouTube personality. Jenny started Missouri Star Quilt Company in 2008 and today it is the largest quilting supply vendor in the United States.
Shop this tutorial
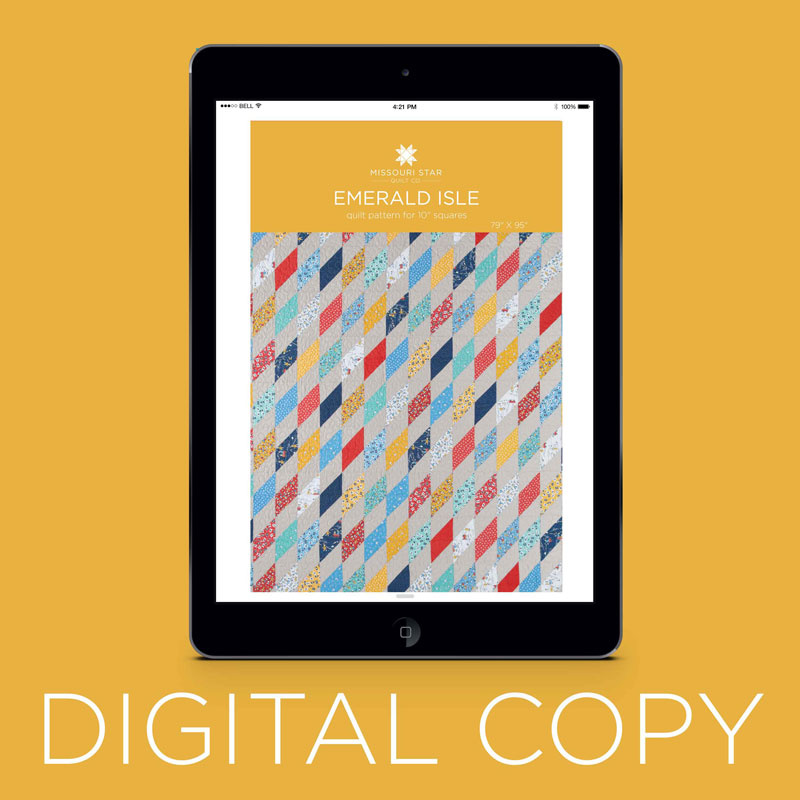 Digital Download - Emerald Isle Pattern by Missouri Star$4.95Shop →
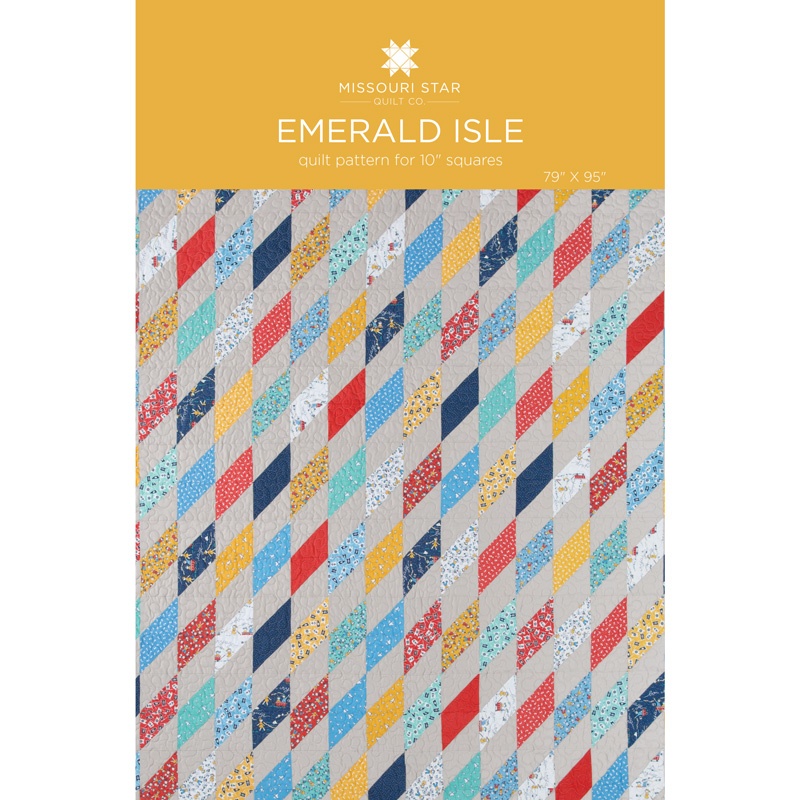 Emerald Isle Pattern by Missouri Star$6.95Shop →
 Olfa Splash Aqua 45mm Rotary Cutter$18.75Shop →
 Olfa Splash 24" x 36" Cutting Mat Navy$68.95Shop →
 Missouri Star 2.5" x 8" Ruler$10.95Shop →
 Missouri Star 5" x 15" Ruler$15.95Shop →
 Exclusive Missouri Star Jenny TG1600 ProPlus Oliso Smart Iron$199.99Shop →
 Extra Long Ball Point Pins (100ct) - 1 1/4" (32 mm) Size 20$3.95Shop →
Common Questions
What is covered in Make an Emerald Isle Quilt with Jenny!?
Jenny demonstrates how to make the Emerald Isle Quilt using 10 inch squares of precut fabric (layer cakes). We used Fresh Pick'ins Batiks by Kathy Engle for Island Batik. Learn the "easy 8" method of quickly making half square triangles.
How long is the tutorial video?
The tutorial video is 00:08:02.
Are supplies listed for this tutorial?
Yes. The tutorial page includes the supplies and materials connected to this project.
Is a transcript available?
Yes. A written transcript is available on the tutorial page.
Video Transcript
Now this quilt is a half square triangle quilt so anyway you want to make half square triangles, this will work. But the way we did it this time for this project was we did the easy 8 half square triangles. So what you’re going to do is you’re going to take your ten inch square just like this and we’re going to draw a line corner to corner on this square. So let me scoot this up here. Make sure you can see everything. I’ve got a little friction pen, those are kind of cool because when you iron them the, the line comes right off. So we’re going to draw a line corner to corner that way and corner to corner this way, just like that. We’re then going to lay this on top of our batik square. The cool thing about the batiks is there is no, on most of them anyway, there is no right or wrong side. And so either side works. I can’t really tell the difference. But that could just be my old eyes, I’ve got some old eyes now. Alright, here we go. Two ten inch squares, we’re laying them together like this. Now what we’re going to do is we’re going to come in with our sewing machine and we are going to sew a quarter of an inch on either side of both diagonal lines. So let’s go to the sewing machine and do that. Alright now what I’m doing here is I’m just lining up my presser foot along the edge to get my quarter of an inch and I’m going to sew all the way down and come back up the other side. Now I’ve reached the end I’m just going to swing around and come right back down and I’m going to do this to the other side as well. Alrighty now we have both of those sides sewn a quarter of an inch on either side of our line. And now it’s time to cut.
Now how we’re going to cut this, we’re going to get eight half square triangles out of this when we cut it. First thing we want to do is we want to lay out five inch ruler right along the edge. It’s going to bring us right into half, the halfway mark. These are ten inch, ten inch squares. And we’re going to cut it right down the middle at five. And we’re going to do that on both sides. And it should cross right through your pen marks in the middle. Then we’re going to go ahead and cut it on our diagonal lines as well. And one more over here. There we go. And now we have eight, eight of these half square triangles. So let’s go to the ironing board and iron these, press them open. We’re going to press them to the dark side. Anytime you use a white fabric you want to make sure that your seams are pressed to that dark side. And we’re just going to press all of these open like this. And it’s just going to make our little half square triangle units. So I’m going to press a few of these here. Alrighty. And I’ll press the rest of those later.
So to make the block, the diamond, what you’re going to do is you’re going to lay your blocks like this so that they make that elongated diamond shape just like that. So that’s two half square triangles. You want to make sure when you sew them that you sew them going all the same direction. So what I suggest is that you sew one and you leave it there as a guide. Because if you have some of your diamonds going this way and some of your diamonds going that way then you’re not going to have this design up here. So we want to make sure that our diamonds are the same and that they match up. So then you’re just going to sew two of these together. And we’re going to do the same thing, quarter of an inch. Just like this. We’ll press it open. And this will give us our diamond shape. Now I have some more over here that are already sewn together. What’s fun about these batiks is that no matter, like on this pattern particularly, if you cut it in two different places it’s going to look like it came from two different fabrics. So that’s kind of fun.
Now what I like to do on this quilt particularly is I’m going to find my different batiks like this and I’m going to sew two of them together. And this is going to be my block unit. So what I would do is I would take these two and I would sew them together so that it became a block unit just like this. Now let’s look at the quilt behind me because these blocks, see how this fits right in here. We’ve got eight of these across here and ten down. And so it makes it an easy quilt. So let me show you how we put these together because really we just, we just lined them up. Alright here we go. So we just took eight of these block units and put them together in a long row like this. Whoops, there we go. And then we just add another row and add another row. And it makes this amazing field of diamonds. Again on the border we used this, this green right here. But can you see that if I used pink or orange or some other color the whole quilt, it would make all those colors in the quilt pop. And it would look like a whole different quilt to say nothing of a different fabric. Say we did this in Halloween or Christmas. I mean it’s just so much fun to think about the possibilities. Let’s look at the back of our quilt. Oh look at this batik on the back. We’ve used this awesome color on the back. Isn’t that fun? Really fun. And you’re going to need three yards of backing. We used a 108 inch wide backing on that. And you’ll need three yards for that.
So remember you can use any size half square triangle to make these diamonds. You just put two of them together to make the shape and it makes this awesome quilt behind me. So we hope you enjoyed this tutorial on the Emerald Isle quilt from the MSQC.



