

Make an "Ohio Starlight" Quilt with Misty Doan on At Home With Misty
 Misty Doan
- Layer Cake
- Traditional
- Wall Hanging
- Beginner
- Quilt size 59" × 59"
Today, Misty's tutorial will have you saying, "Star light, star bright!" She shows you how to make a gorgeous rendition of the classic Ohio Star by using 10" squares to add four-patch blocks at the corners to make a lovely secondary pattern. So sit back, relax, and watch how Misty adds a little new twinkle and shine to the Ohio Starlight block!
Instructor
Misty Doan
Misty Doan grew up surrounded by sewing and quilting. She loves spending time sharing tutorials each week each week, and when she’s not stitching up one of her fun sewing projects for home decor, most likely you’ll find her hanging out with her husband and three awesome kids or working on a house project.
Shop this tutorial
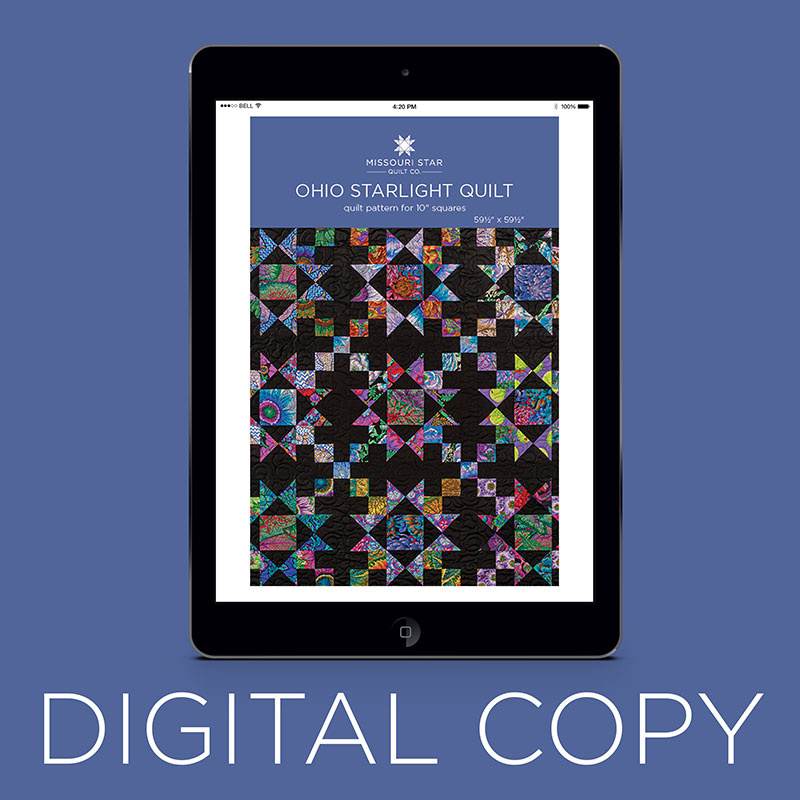 Digital Download - Ohio Starlight Quilt Pattern by Missouri Star$4.95Shop →
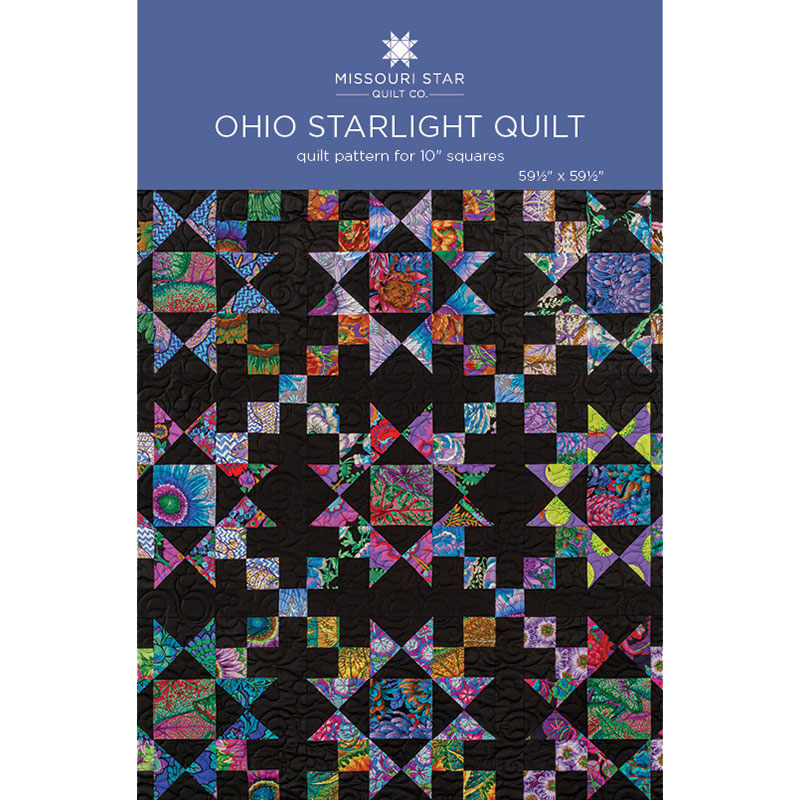 Ohio Starlight Quilt Pattern by Missouri Star$6.95Shop →
 Kona Cotton - Black Yardage$7.28Shop →
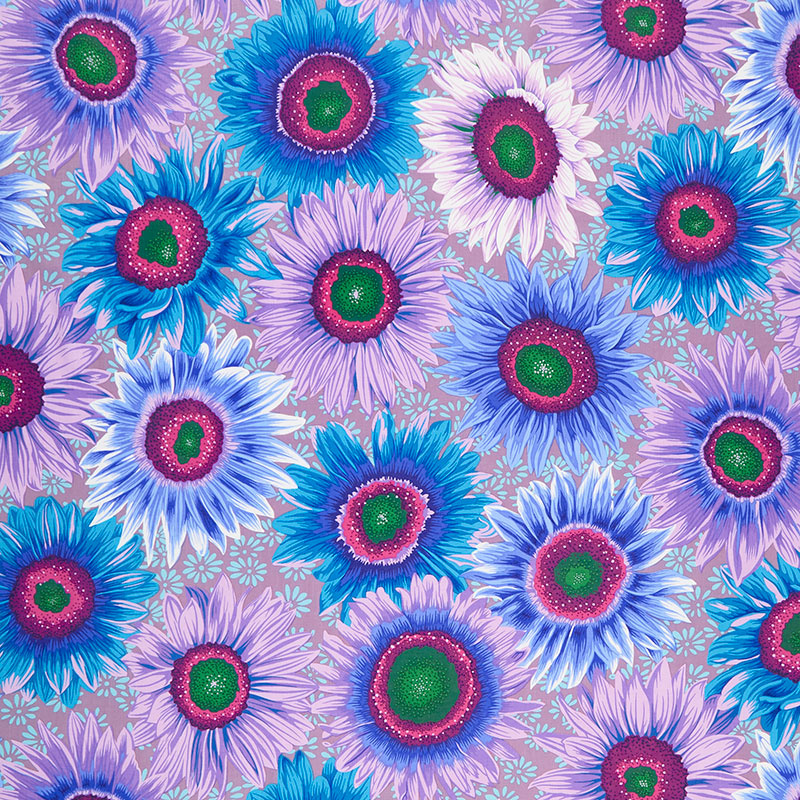 Kaffe Fassett Collective - August 2021 Dark Van Gogh Blue Yardage$12.64Shop →
 Kaffe Fassett Collective - August 2021 Dark Tickle My Fancy Black Yardage$12.64Shop →
 Missouri Star Quilter’s Best Blend Twin Batting$26.45Shop →
 Missouri Star 2.5" x 8" Ruler$10.95Shop →
 Missouri Star 5" x 15" Ruler$15.95Shop →
 Missouri Star 50 WT Cotton Thread White$6.95Shop →
 Olfa Splash Aqua 45mm Rotary Cutter$18.75Shop →
 Missouri Star Wooly Betty Board - 17.25" x 25.5" Orange Border$98.95Shop →
 Exclusive Missouri Star Jenny TG1600 ProPlus Oliso Smart Iron$199.99Shop →
 Elan 8" Dressmaker Scissors$20.95Shop →
Common Questions
What is covered in Make an "Ohio Starlight" Quilt with Misty Doan on At Home With Misty (Video Tutorial)?
Today, Misty's tutorial will have you saying, "Star light, star bright!" She shows you how to make a gorgeous rendition of the classic Ohio Star by using 10" squares to add four-patch blocks at the corners to make a lovely secondary pattern. So sit back, relax, and watch how M...
How long is the tutorial video?
The tutorial video is 00:15:02.
Are supplies listed for this tutorial?
Yes. The tutorial page includes the supplies and materials connected to this project.
Is a transcript available?
Yes. A written transcript is available on the tutorial page.
Video Transcript
while I have a small block designed and I want to make it bigger which is what happened today.
A few months back for a Triple Play, we did the Ohio Star block and I made an Ohio Starlight mini which could be a table topper or a wall hanging and it's one of my favorite projects that I've designed. Ever since then I've been itching to turn that into a larger quilt project so that is what I have for you today.
This is the Ohio Starlight Quilt. For this one we went with a black background. You're going to need 2 ¼ yards of that background fabric. You'll need one package of 10 inch squares and we've used these beautiful Kaffe 2021 Dark Collection. Then you'll need a yard and a quarter for your border fabric. Once you have all of that ready to go, we can dive right in to making this.
Let me show you how it's done. I think it would be helpful to explain that this block is made up of four patches and hourglass units. To start with, let's make our hourglasses and we're going to do that by pairing a 10 inch background square with a 10 inch print square. I'm going to put those right sides together and to begin I'm going to sew a quarter inch seam all the way around all four sides.
I'm using white thread so that you guys can see, but keep in mind if you were doing this at home you would want your thread to blend so you would use black thread here, if you're using the black background. I like to just sew right off the edge. You can pivot if you want. And one more side, there we go.
Now we're going to cut this corner to corner in both directions. I just like to make sure that my ruler intersects those seam lines so I know I'm going right through the corner. I'll make one cut and then I like to just turn my ruler and leave my fabric where it was, again intersecting those stitch lines. I can make a second cut.
Now that I have that all trimmed apart we're going to press these to the dark side. Let's take this over here to the pressing mat. I just like to hold up the dark side give it a good press. We'll do that on all four of these.
Now that we have all four of those pressed we're actually going to pair
these up so that they intersect, or nest together, I guess is what I actually want to say. So we're going to make sure that opposite colors are touching, so my print fabric is going against the black background here and the same on this side. You can kind of feel because we've pressed that seam to the dark side. You can kind of feel that they're locked together. I just like to make sure that they're as straight as possible through there.
Now, because I'm using a dark background fabric, I really like using this kind of chalk marker. It has all these different colors available so that it will show up on my dark background. I'm going to lay my ruler corner to corner here, and I'm going to draw a line. Then because this is a little bit lighter, I'm actually going to switch colors here and see if it will show up a little bit better than the white. Maybe I'll use a red here - let's see if that'll show up on this half because I just need to make sure that I can see that line when I take it to the machine.
That worked really well! You can see the white is on the black background and the red on the other so I'm going to do that same thing again since we're going to have two of these sets. Remember our print is lining up with our black background and we're making sure that those seams nest in the middle. Then our fabric is lined up. Because I haven't squared these yet, you can notice that it might be a little bit wonky, but what we're focusing on is that those seams are nesting because we're going to have plenty of room to square this later.
I'm actually going to see if the red will work on both of these fabrics instead of changing it this time. Does that show up well enough? Oh yeah, I can still see that on the black. Then we'll just carry this through. Now I've got a line all the way down the center.
So now that I have that, you can put a pin in here if you're worried about shifting, but what we're going to do is we're going to sew a quarter inch seam on either side of the line that we've drawn. So I'm going to go ahead and take this to the machine and I have my diagonal seam tape on here which helps. But it can be tricky when you are working with a piece that is larger than the length of your tape, which is what's happening here. So in this instance, I know that I just need to see that mark just on the other side of my presser foot for it to be right on my quarter inch. I've just come to know that if you have a quarter inch foot that you want on your machine, this would be a great time to use it. Just so you know it's very accurate.
So I'm just going to go nice and slow. Keep that straight and then now that I'm getting to the other side of this diagonal seam tape, I can make sure that this is staying on that outside edge so that my quarter inch is going to stay all the way through. I'm going to go ahead and sew down this side and back down the other one on both of these pieces and I'll meet you back here.
All right, we got both of those sewn on either side of that center line. Now
we can take our ruler and we can cut these apart. There's that one, and one more. Now from this point we're going to square. If you have a preference on a squaring tool - I know a lot of people like the clearly perfect slotted trimmers - you would leave them unpressed if you're going to work with the clearly perfect slotted trimmers. We're going to square these to 5 inches. If you like the Bloc Loc like me, that's what I'm going to use today. We're going to go ahead and press these open first, so let's go ahead and do that.
You can see we've got these great hourglass blocks - there's one, two.
And by nesting the seam in the middle that's how we know our points are gonna match up and they have done that just great! Looks awesome.
Now let's go ahead and square these. Like I mentioned, I like to use the
Bloc Loc - it just works for my brain. One thing you do want to keep in mind when you are working with this, our total measurement is supposed to be five and so when I'm looking at the Bloc Loc…actually I'm going to put it over here so you guys can see better before I cut. This is going to lock in place on my center seam - there's like a little groove that's cut out of here. Then I want to slide this down until the 5 inch mark intersects this center line. So I can see the 5 here and the five here.
Let's go ahead and take this to the cutting mat and repeat that. We'll make our first cut, lock that in place, slide this down so the five intersects here and here. That way I know my hourglass is going to stay centered and then we can trim off this side. Now we just slide it the other way to 5 inches. You can see we are trimming off quite a bit, but this is just the simplest method using the pre-cut to get the hourglasses that we need. Let me go ahead and trim up the rest of these and I'll meet you back here and show you how to make the four patches.
Now that we have the hourglass units made and trimmed up to five inches, we can move on to the four patches. Let me show you how to do that.
We are still going to use our ten inch square but we are going to cut it into 2 ¾” inch strips. I'm just going to lay my ruler on here, make sure it's nice and straight, and we're gonna get three 2 ¾” cuts across our ten inch square. Now I've got 2 ¾” background strips already cut ready to go. We are just going to pair each one of these together, a print and a background right sides together, and we are going to sew a quarter inch seam down one long side. Then you would repeat that on all of them, but I have some of these all ready to go.
I'm just going to go ahead and press this one - we'll press that to the dark side. Then we will cut these into 2 ¾” inch strips again. Again, measuring over, making sure this is nice and straight so our cuts are straight. We'll cut one, and one more, and then we'll sew these together to make our four patches. We're just going to nest our seams in the middle so that our print is lined up with our background, very similar to what we did on the hourglass, but now we're working with these straight little squares. And we can sew these together. We’ll press that and you can see how quickly the four patches will come together.
You will get enough to make four when you use your ten inch square. I have the rest of these ready to go over here. Then let me show you how simple this block is to lay out.
So you're going to take another one of your 10 inch squares and you're going to cut it in fourths to make your center block. I have one here ready to go. We can just put that in the middle, and then our hourglasses are going to go around that to make these star legs, and we'll finish it off in the corners with these four patch units.
It just makes this kind of twinkly fun Ohio Star block. So to put this
together, we will just sew these in rows…one two three. Then if you look at
the finished quilt, you'll see that I did. Three stars across by three down. There is 2 ½” sashing in between each of those blocks with a 2 ½” cornerstone and then a 2 ½” inner border (which I just used that black background), and a nice big six inch outer border. I use this fun kind of sunflower print for that.
I also want to point out the backing - it's really beautiful. I use this feather print on the back which I just love and I'm really happy with how this quilt came together. It finishes up at 59” by 59”, so it's a great lap size and it's
really easy to make larger if your heart desires.
I hope you enjoyed this tutorial on the Ohio Starlight quilt and I will see you next time!



