

Make an "Opposites Attract" Quilt with Jenny Doan of Missouri Star
 Jenny Doan
- Layer Cake
- Holiday
- Twin
- Beginner
- Quilt size 59" × 69"
Jenny Doan demonstrates how to make a cute-as-can-be star quilt using 10 inch squares of precut fabric (layer cake). Her fabric is Noel Sundaes by Edyta Sitar of Laundry Basket Quilts for Andover Fabric. The block is an easy sawtooth star pattern made with contrasting fabrics, and the whole thing is framed with a pretty pieced border.
Instructor
Jenny Doan
Jenny Doan is an American quilter, author, and YouTube personality. Jenny started Missouri Star Quilt Company in 2008 and today it is the largest quilting supply vendor in the United States.
Shop this tutorial
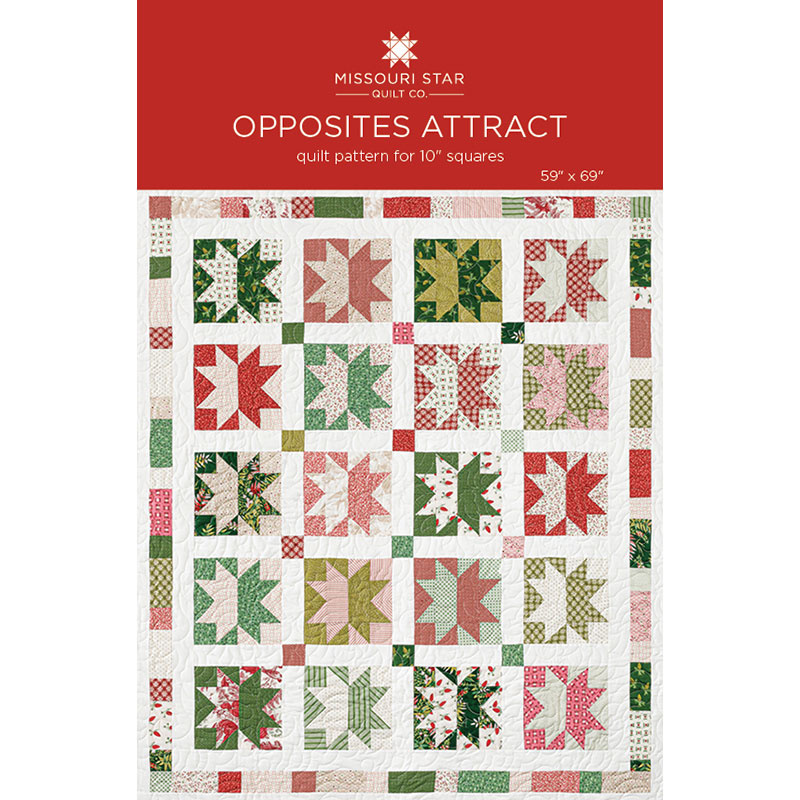 Opposites Attract Quilt Pattern by Missouri Star$5.95Shop →
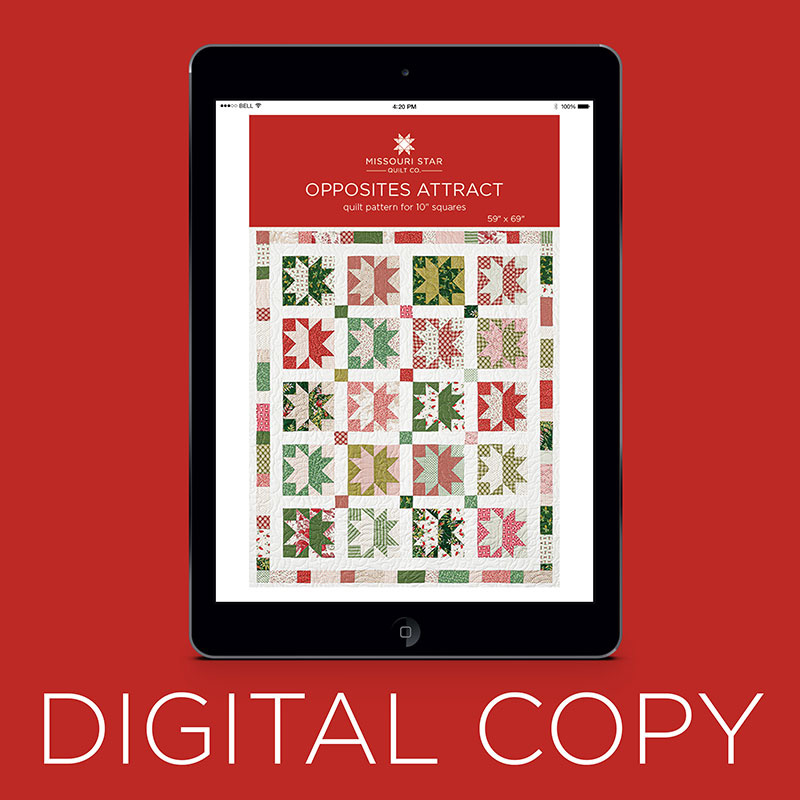 Digital Download - Opposites Attract Quilt Pattern by Missouri Star$4.95Shop →
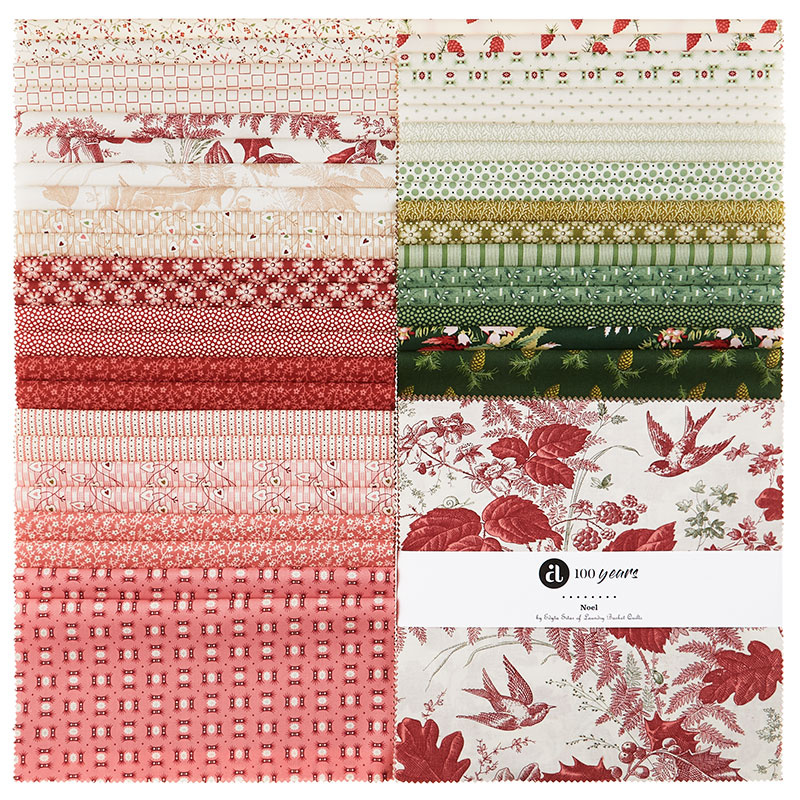 Noel Sundaes$37.95Shop →
 Kona Cotton - White Yardage$7.28Shop →
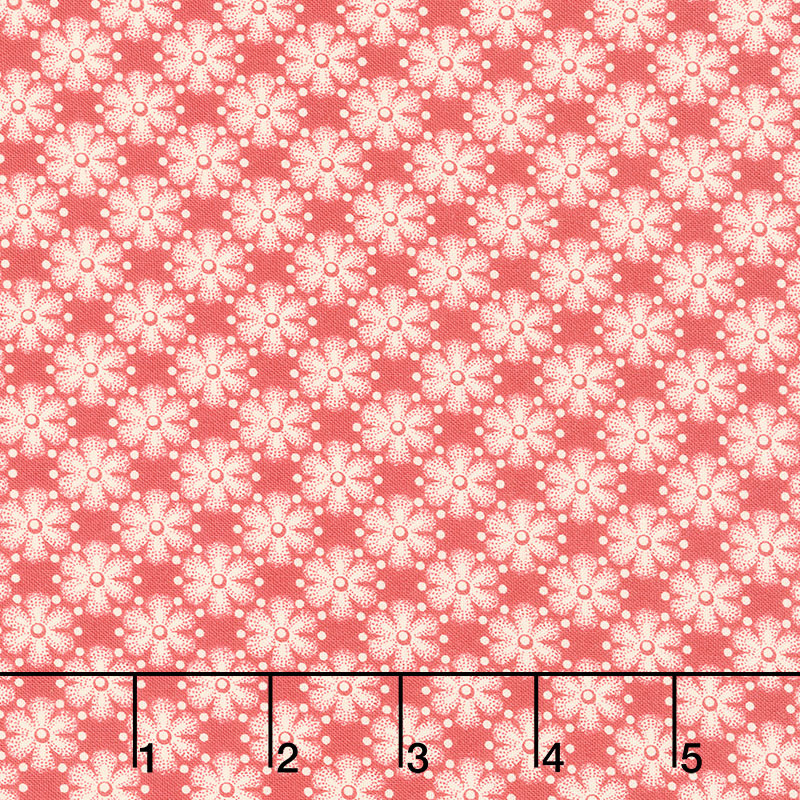 Noel - Peppermint Cranberry Yardage$11.96Shop →
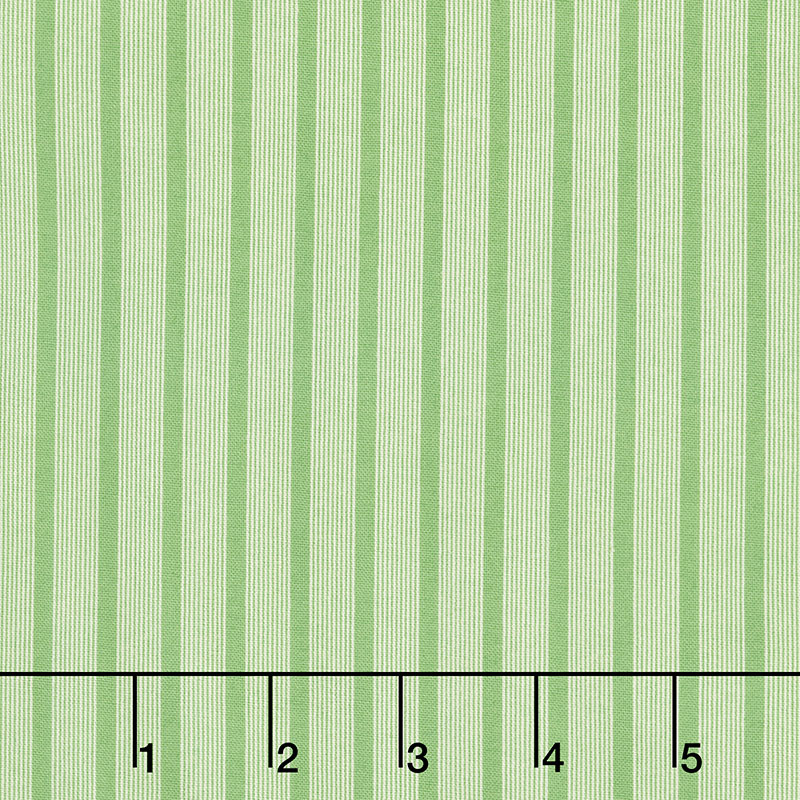 Noel - Chimney Sweep Velvet Ribbon Yardage$11.96Shop →
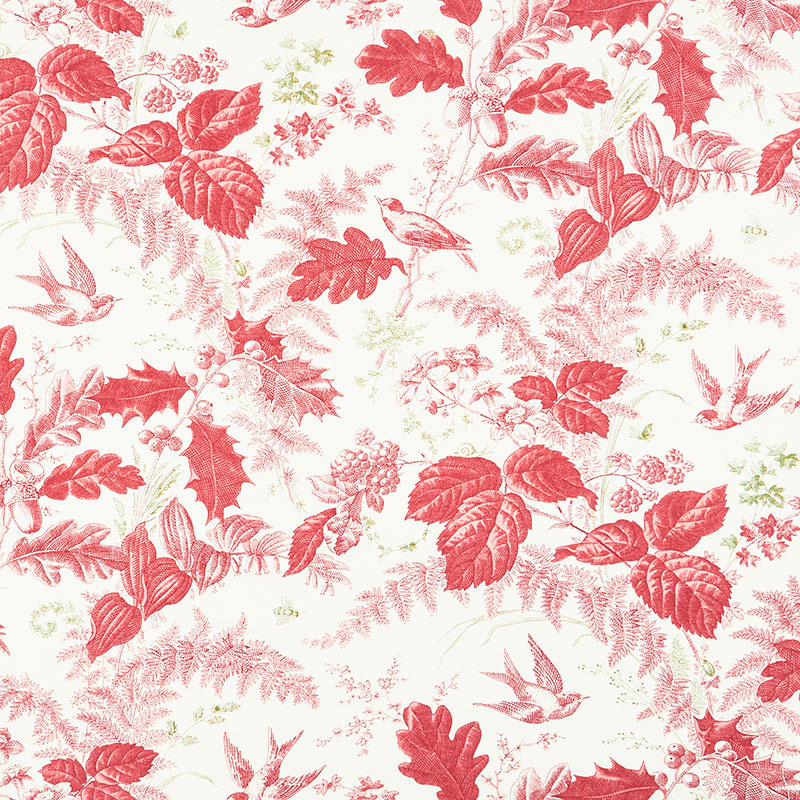 Noel - Woodland Festive Yardage$11.96Shop →
Common Questions
What is covered in Make an "Opposites Attract" Quilt with Jenny Doan of Missouri Star (Video Tutorial)?
Jenny Doan demonstrates how to make a cute-as-can-be star quilt using 10 inch squares of precut fabric (layer cake). Her fabric is Noel Sundaes by Edyta Sitar of Laundry Basket Quilts for Andover Fabric. The block is an easy sawtooth star pattern made with contrasting fabrics,...
How long is the tutorial video?
The tutorial video is 00:16:46.
Are supplies listed for this tutorial?
Yes. The tutorial page includes the supplies and materials connected to this project.
Is a transcript available?
Yes. A written transcript is available on the tutorial page.
Video Transcript
Isn't this fun? I called it opposites attract, because you literally use a light and a dark to make this block, and you cut them all at once. Let me show you how to make this.
To make this quilt, you're going to need one packet of 10-inch squares, and we have used this beautiful line called Noel by Laundry Basket Quilts for Andover Fabrics. You're going to need some background fabric, and we used 1 1/2 yards of this, and that does your sashings and your inner border. For your outer border, it's a nice big six-inch border, and we used one yard of fabric. For your backing, we used this beautiful tulle, and that is 3 3/4 yards. I also used the Clearly Perfect Slotted Trimmer to trim up my triangles.
This is the little star we're talking about today, and it's just such a darling little block, and it's just a Sawtooth Star, so it's really just half square triangles and squares, but it's all in how you cut it. I've got two pieces right here that I've got right side together, two layer cakes, and this is my cutting diagram.
The first thing we're going to do here is we are going to cut our layer cake in half like this. This is my great five-inch ruler, so it's actually perfectly one half the size of a 10-inch square. Just lay it on the edge and cut it down the middle, and then we're going to cut it again as well. Just line that up and cut it again. These two we're going to set aside. This one, we're going to cut into fourths like this, and these are going to be our corner squares. And then this is going to be our little middle, and we're just going to cut one of these off.
This we're going to set over here in a pile for our border. So our little scrappy border out here is made up with this leftover piece plus one leftover 2 1/2 inch square. We'll put the 2 1/2 and the 5 by 2 1/2 there. This little rectangle is going to be 2 1/2 by 4 1/2, and so these are the pieces that we need. Now we're going to make some half square triangles. And we're going to take these two pieces right here and we're going to sew all the way around the outside edge. And so let's go ahead and do that. I'm just going to line up on my quarter inch here, and we're just going to zoom around these two blocks. You need eight half square triangles for this block. And we'll do one more.
Whoop. I skipped a little bit. We'll go back and start over. There we go. All right, now what we're going to do with these for our half square triangles, I'm going to set these 2 1/2 inch squares up here, and I'm going to set this right there and we're going to cut these diagonally both directions. It doesn't matter if you have a little pleat in the corner. None of that matters because we're going to square these up. And we have plenty of room to do that. There we go. And then this one just cut corner to corner, corner to corner like this.
And then I'm going to take my Clearly Perfect Slotted Trimmer. Now you're going to square these to 2 1/2, so you can use any square tool that you like. This is the one that works easiest for me. And I'm just going to come over here and I'm just going to square these right here. And you can do it by putting your seam line on their seam line and trimming off both sides. If it has a nice straight side, you can actually just set it over onto one side and cut only one side. Like this right here, if this side is exactly perfect, which it is, wow, look at that. Good job, Jenny. And then you can just trim that like that.
So you're going to go ahead and trim all eight of these to 2 1/2, square them to 2 1/2, and then we will press them open. And then this one, I just have one more to go. And I did make a star at a time. Don't start cutting up all your pieces and things like that, because it can get very confusing unless you actually were to put them in separate baggies or something like that, that would work. But for me, it's like one at a time.
Our [inaudible 00:05:16] score triangles are all going to be the same, and this block is just how you turn them. It's just so fun to watch this come together because it's all in how you place them. Super easy. Especially if you love doing Sawtooth Stars, it just goes together so quickly. So we're pressing all of these to the dark side, which means my red piece is on the top. Let me make sure you can see this. And I just put my iron on the square and just roll the top back so they're nice and square. Oh, here's one little baby one I forgot.
All right. We've got our little half square triangles done. Our next thing is these two pieces that we cut 4 1/2 by 2 1/2, we're going to sew right down one side of these and we're going to sew a quarter of an inch right down the side. This is the center of our Sawtooth Star. Now we'll press this open. Open to the dark side, and we'll just press it open and then let's lay it out and I'll show you how this works.
I called this opposites attract because it's a light and a dark that we're putting together, but it's all made out of the same blocks. Over here on the light side, we're going to put our light squares to the middle. Wait for it. There we go. Here's our light to the middle, which means our colors meet up in the center. And then over here, our colors go to the middle, wait for it. There we go. Just a little angle-y challenged, but you get into a mantra of doing this very fast. These are our sides and you can see the red connects to the red and the white connects to the white.
Now down here, we're going to put this one so the white is on this side, and the red is on this side. And over here, it's the same, white to this side. The seams go to the center. That's a little mantra, and this seam goes to the center, but the red is to the middle. And then we take two of our 2 1/2 inch squares and over here, we're going to put a red in this corner and a red in this corner, and a white in this corner and a white in this corner. Can you see how that comes together now? Just by how we turn those blocks makes that star come together. To put this block together, I'm going to start by sewing these two sides. This one, I'm going to sew my white fabric together, and I'll just lay those right next to each other and sew a quarter of an inch from the edge.
And then this one, I'm also going to put my two reds together and sew a quarter of an inch. Now I started from the top on this one. I don't recommend it. Start from the bottom. And sew to the top, because then your bulk comes as your foot is passing over it, rather than starting right there. All right. Let me go ahead and press these open and we'll lay these right back down on our star. Whoops, there we go. This one, the white goes to the white, and this one, the colored legs go to the colored side, red to the red. Just like that.
Now these over here, you want to give a good look at them and make sure they're right. These two reds should come together with a white in the corner. And so this is the same. These two whites should come together with a red in the corner. I'm going to pick up this one right here, just like it is. And I'm going to sew this a quarter an inch right down the side, and I'm going to start from the bottom side. And now it's my red and whites are together and you'll get used to this very quickly, as you start sewing these together.
And then I'm just going to trim this one off, trim the little points out here off, and then I'm going to press it and we're going to put it right back in so I don't lose my place all. All right. Right here, that goes back there and you make sure that's right. And this one is the same. I'm going to fold this one over and put it right back in here and sew it right up the side, quarter of an inch.
Now, if you actually use the little slots on the Clearly Perfect Slotted Trimmer, you won't have to trim these little points off, they will do it for you, but I always forget. People will say, what are those little slots for? And I'm like, Ooh, they trim off the edges. And it's very handy, I just forget. I get in a hurry. All right. Now what I'm going to do is I'm going to sew this row together, this row together, and this row together.
We're going to put a white to a red, and a red to a white. I'm going to put this here, put that back. These ones we'll sew to the middle, remembering that the red goes to the red, and the white goes to the white, or the background to the background. Sew this across, and we'll open that up, make sure it's still lining up, and we do the little last row on the bottom. And again, the white to the red, and the red to the white. And then we're going to sew these together, so we'll lay them right on top of each other and match up at your seams.
And now we add the last row down here, making sure our legs go to the middle. That is a common mistake I make, I get my row turned around. But for you this day, I have checked and done it right. All right, let's press this little block out and see how we did. Oh, these are so cute. And they're just so quick and easy. There's our little star right there.
Now on our quilt right here.,I put all the darks to the left hand side and then the lights on this side, you don't have to. That's just how I did it. My mind is orderly that way. They all go the darker block to the right hand side, the background to the left. Well, I guess it depends where you're standing to the left to the right, whatever you want to do. Anyway, then your block should measure at 8 1/2. Let's see if mine does, let's see here. We've got 8 1/2 and I... Ooh, I can make that work. Little bit of a little extra help right there. Maybe if I iron it a little stiffer, it's very close to 8 1/2.
So then you're going to put your sashings in and I have some sashings over here. Let me see. I have several different little blocks started here. Here is my sashing. You're going to put 8 1/2, cut your strips at 8 1/2 like this. Actually what ever size your block ends up, that's because of your seam allowance. It could end up different than mine. And so, whatever size your block ends up, that's what size your sashing is on the side and the bottom. This piece right here is going to be sewn next to here. And then we'll lay our next star on there, like this and just sash the whole row. We have four across. This is our sashing right here. Every once in a while somebody will say, what is sashing? It's that little piece in the middle here that separates your block. And so we have a block and a sashing, and a block and a sashing, a block and a sashing.
Now this row right here, this is its own row. This is a 8 1/2 inch sashing with a 2 1/2 inch square. Now those 2 1/2 inch squares were out here from when we cut off, this is our extra 2 1/2 inch squares. We're going to use some of those in the middle out here, right here. We use 1, 2, 3, 4, 5, 6, 7, 8, 9, 10, 11, 12 of those. And we have four rows of five. Then I bordered it. When you use two 10 inch squares to make one block, it gives you 21 blocks. You can't actually put 21 blocks in a pattern, so I put 20, but it makes a rather small quilt, so I wanted to use my extra fabric to make it larger. And when you add borders on, it gets larger, fast. And so this is a 2 1/2 inch, just plain white, 2 1/2 inch border.
Then this border out here, I just took all these little pieces that I cut off. So this piece and I put a long piece and a short piece together, sewed him on and made a long row like this. And then I just put them up on here and I just sewed it to the side. And I wasn't too worried about where it ended up or if it had... See that right down here, I have this little partial block. I'm not mad about it. That doesn't bother me. It's just a little partial block. And I just sewed them to the sides first and then the top and the bottom. And so I just think, I love a little scrappy border like this. Then I added one more 2 1/2 inch border out here just to separate it. Then I add a little five inch border out here on the edge.
And I think I said six inch earlier, which you totally could do, but this is a five inch. And in this line came this cute green Stripe. And that's what I used for my bindings. You guys know I love a stripe on my bindings and then let's look at the back. The back is really fun because it is birds and leaves. And this type of fabric is called toile. And it is just a... It's like a scene. They make a scene and it's gorgeous. And I love it. And because there were birds on the back, I decided to quilt it with birds on the front. So, you can see right here, there's little bird, there's little bird right here. And I just thought it would be fun to bring that back feature to the front. It just makes a darling quilt, came together so quick, and I love that it's just a straight Sawtooth Star.
But just how you turn those colors to get them to line up and make this quilt that we call opposites attract. This quilt ends up being about 60 by 70, it's just right in that range. And so it's a great size for over the lap and to cuddle on the couch with, and we hope you enjoyed this tutorial on the Opposites Attract quilt from the Missouri Star Quilt Company.
Hi everybody. It's Jenny, from the Missouri Star Quilt Company. We hope you enjoyed watching this video. If you aren't already part of the Missouri Star Quilt Company family, be sure to subscribe so you won't miss a thing. And if you click that bell, it'll notify you every time a new tutorial comes out. See you next Friday.



