Skip to content

Free quilting video tutorials from Missouri Star

Quilting Tutorials
Make "Better Together Aprons" with Misty Doan on At Home With Misty

Make "Better Together Aprons" with Misty Doan on At Home With Misty

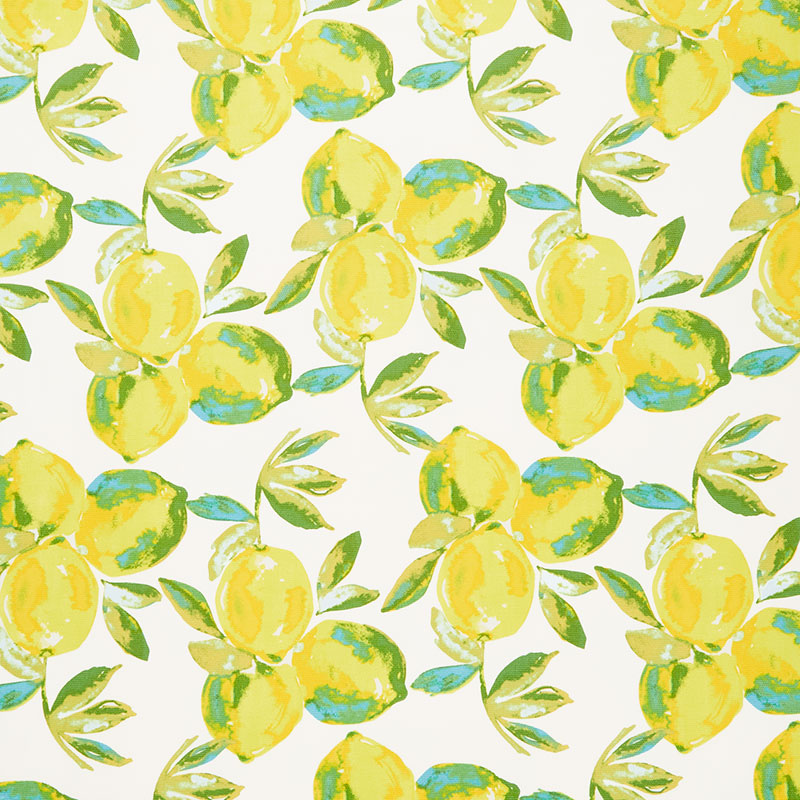
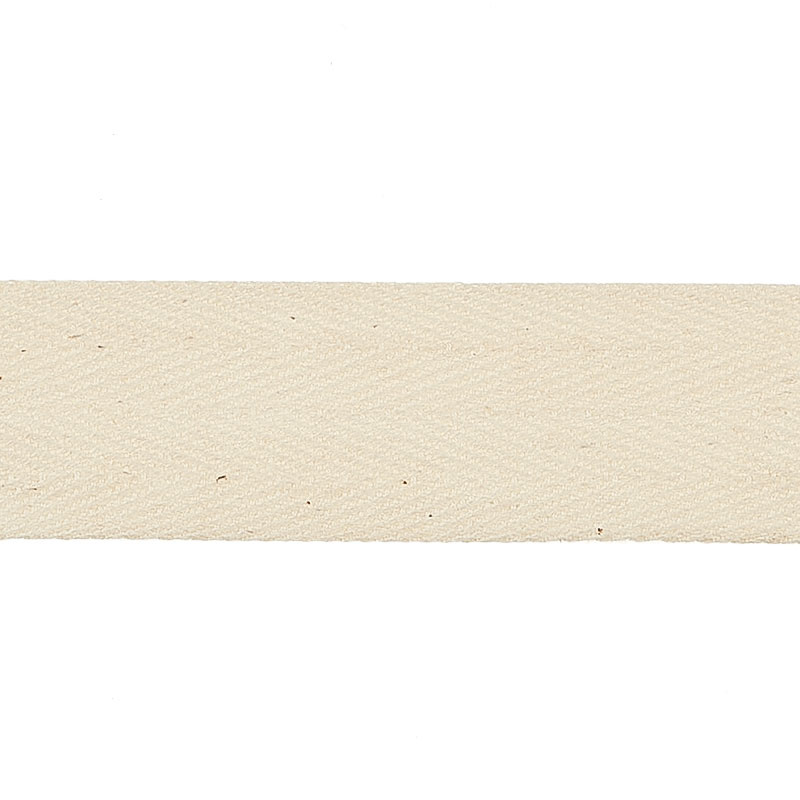
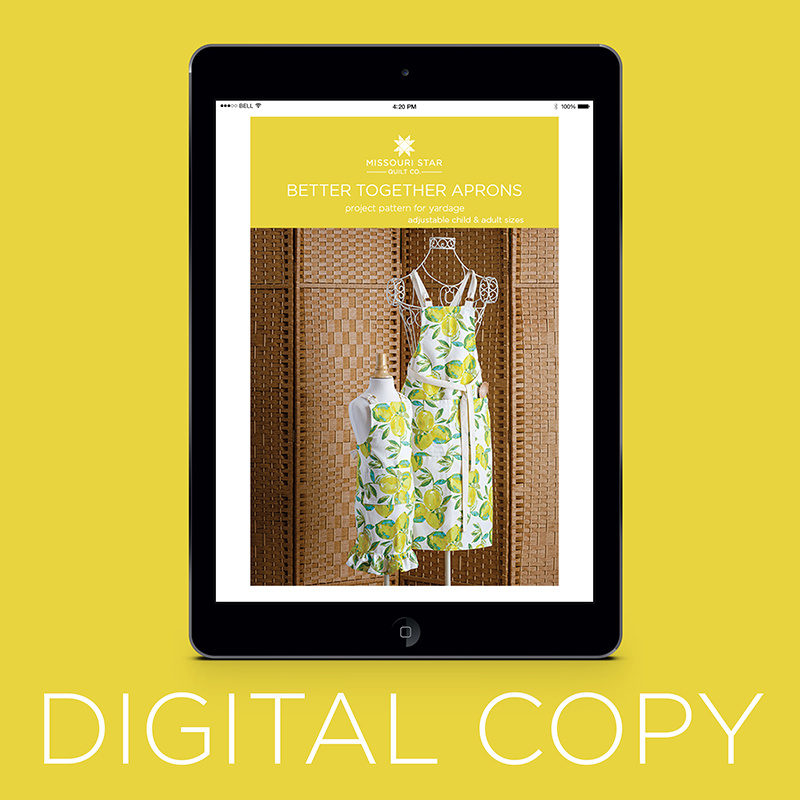
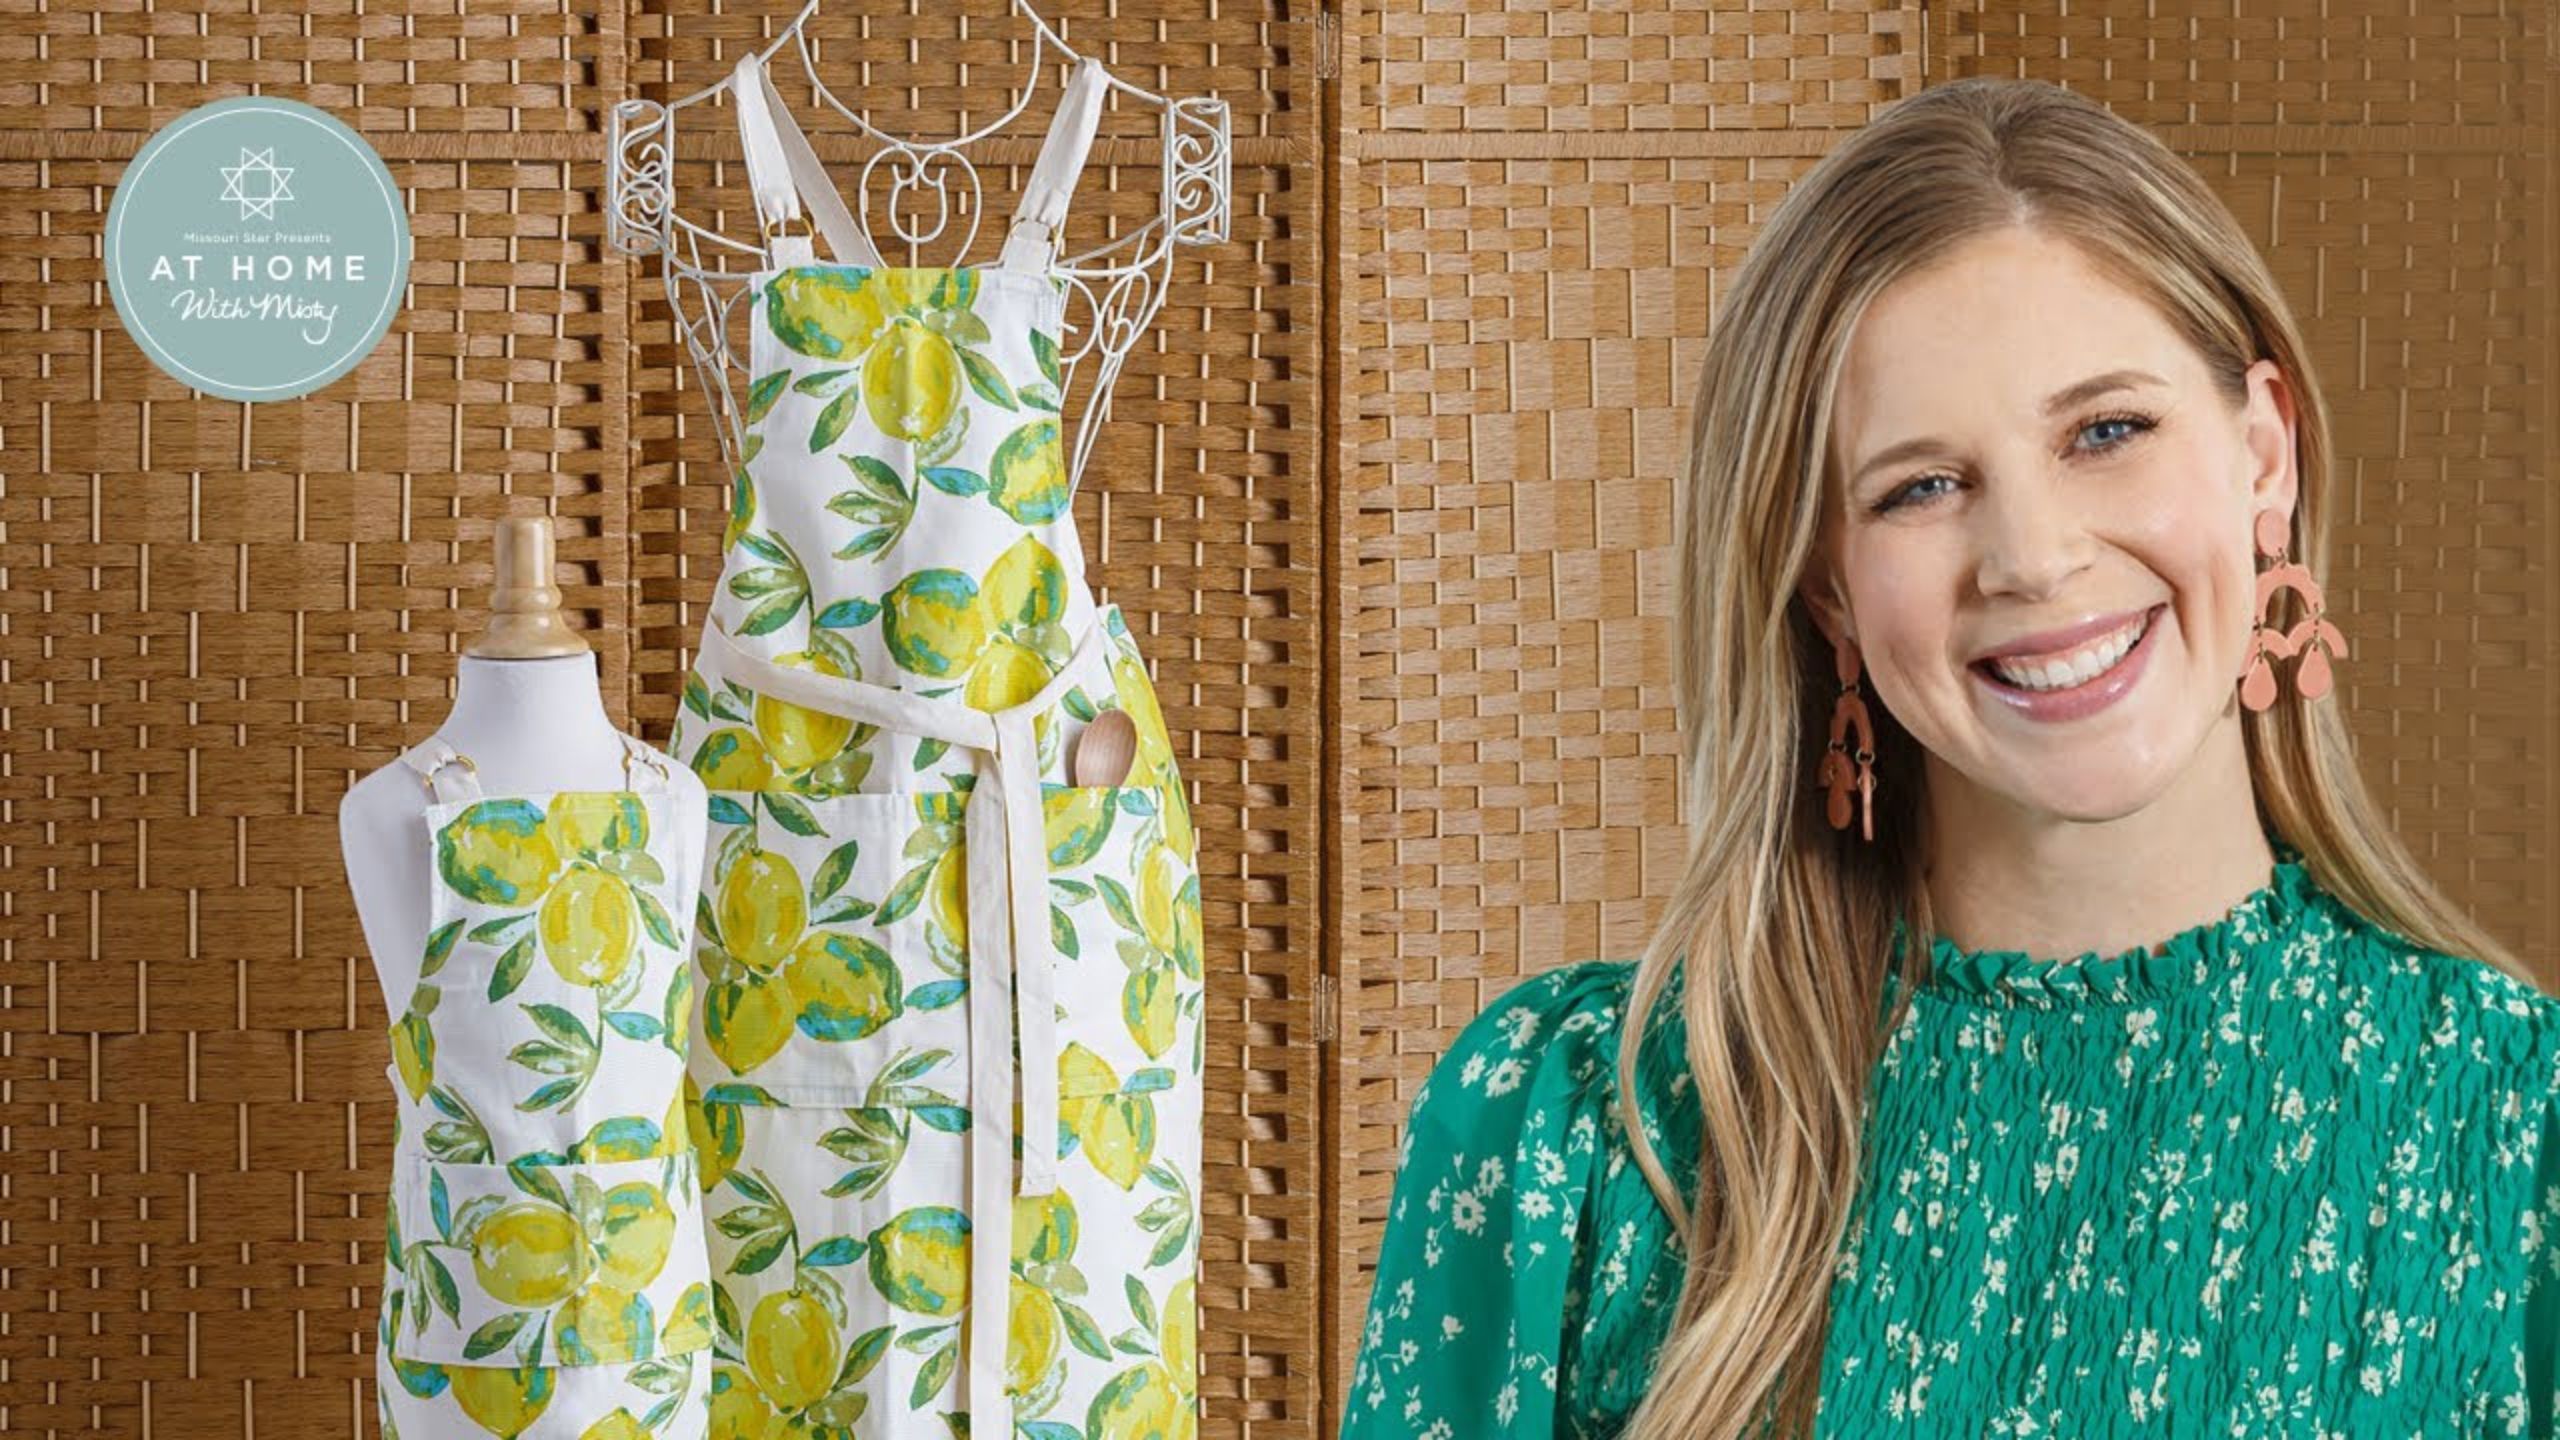
There can never be too many cooks in the kitchen! Teach your little chef how to bake while wearing this adorable pair of matching aprons. Misty shows you how to sew up two aprons (one adult, one child) from a single yard of Art Gallery canvas and sturdy cotton twill tape. You can even customize the Better Together Aprons pattern by Missouri Star with optional ruffle trim and pockets!

Instructor

Misty Doan

Misty Doan grew up surrounded by sewing and quilting. She loves spending time sharing tutorials each week each week, and when she’s not stitching up one of her fun sewing projects for home decor, most likely you’ll find her hanging out with her husband and three awesome kids or working on a house project.

Common Questions

What is covered in Make "Better Together Aprons" with Misty Doan on At Home With Misty (Video Tutorial)?

There can never be too many cooks in the kitchen! Teach your little chef how to bake while wearing this adorable pair of matching aprons. Misty shows you how to sew up two aprons (one adult, one child) from a single yard of Art Gallery canvas and sturdy cotton twill tape. You...

How long is the tutorial video?

The tutorial video is 00:20:10.

Are supplies listed for this tutorial?

Yes. The tutorial page includes the supplies and materials connected to this project.

Video Transcript

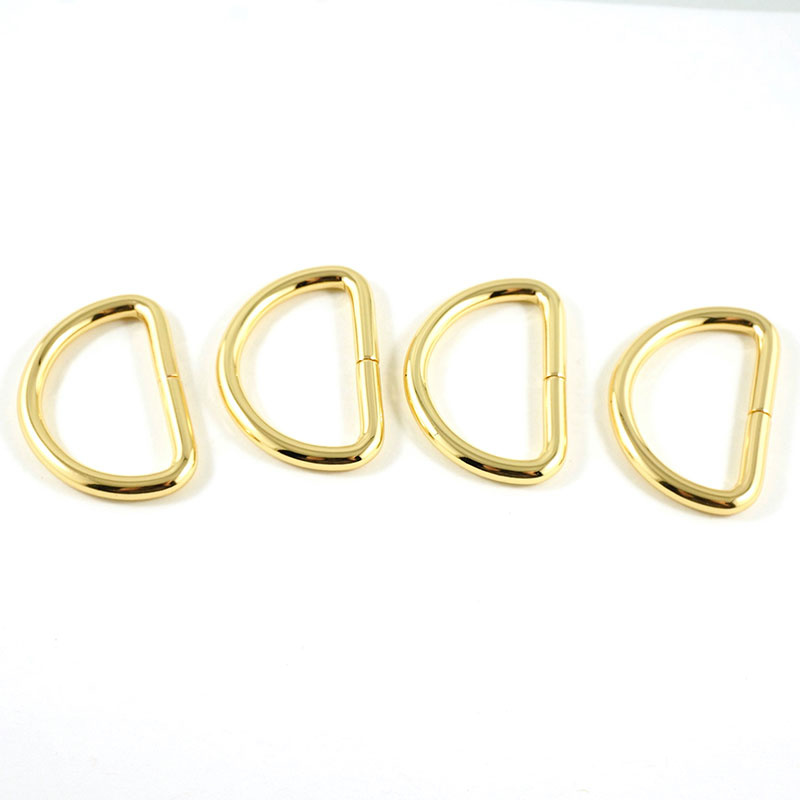
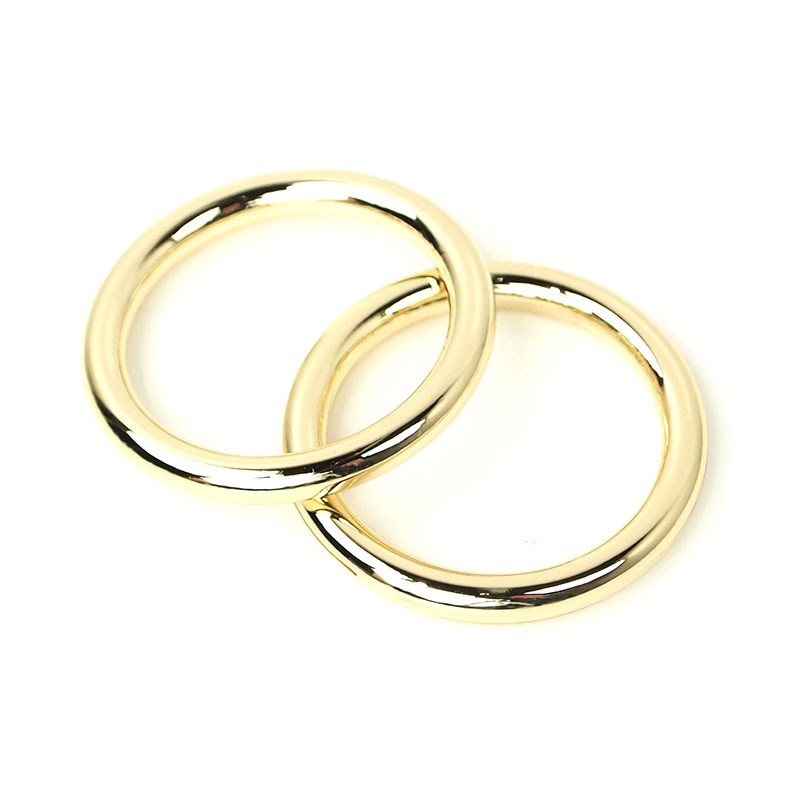
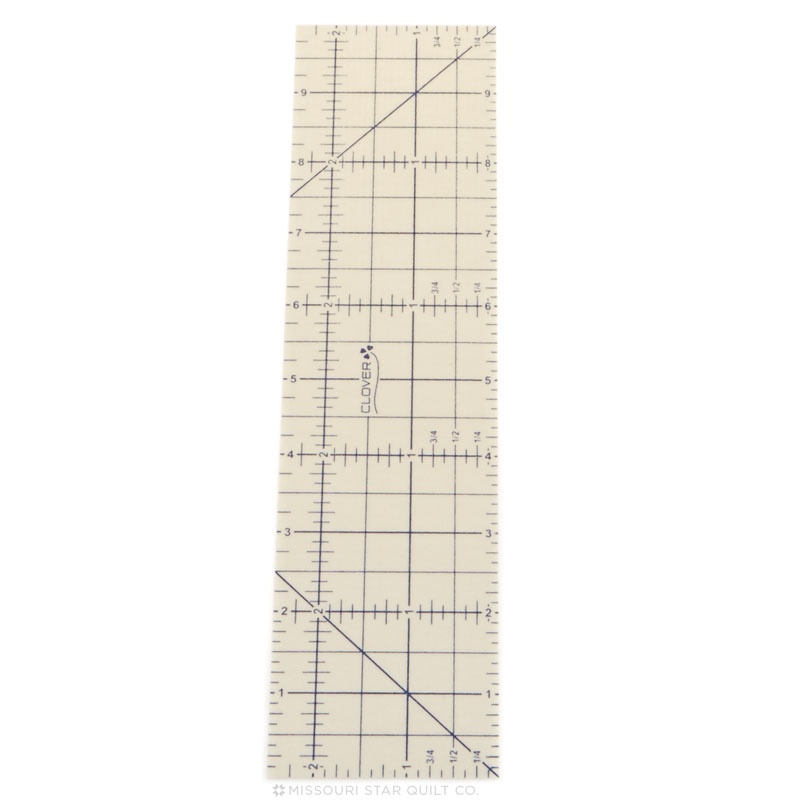
today we're going to be making the Better Together aprons which means you get one for you and a little one in your life all out of one yard of canvas [Music] so like I mentioned you get both of these aprons out of your one yard of canvas in addition to that you're also going to want to pick up your one and a half inch O-rings those are for the little side loops on your apron and your one inch d-rings for the top they just add a little bit of fine finish to it it's a great little detail in addition to that you'll need six yards of this twill tape right here and that is for your straps that cross over and tie in the back so let's dive in to how we're going to make this I'm going to teach you guys how to make the adult size apron the kids size is very similar all of those measurements are in the pattern so let's just get started so to begin with for the adult size you are going to cut 28 inches wide on your canvas and so remember this canvas is a little bit wider with the fabric than standard quilting cotton and so you have a little bit extra to work with and so we have cut ours 28 inches wide that worked out just right for me and then you're folding that in half we're going to trim this to 36 inches tall so it should be a 28 by 36 inch rectangle that you're working with for the adult size apron and then let's talk about how you determine the width of the topping so if you have a ruler or a tape measure and you just kind of gauge how wide you want the top of your apron I wanted mine to finish up at 13 inches which is a little wider than this one I'm wearing because this is for someone else and so then you're going to take the number you want it to finish add two so 15 divided by 2 now and so my number that I want this to measure over is seven and a half inches so let's put this on the mat and you can see one two three four five six seven and a half and then before this was cut obviously this would be a full rectangle I would set my template in place here it's okay that it hangs over because we wanted the top to be a little bit larger and then we'll just trace and cut out the armholes so that they match and so that's what I've done there so now we can go ahead and start prepping this by adding our hems all right so to begin with we are going to do the armhole him and so all of these are turned under twice at a half an inch each time and so I'm using this Clover hot ruler it just helps because you can line your fabric right up along that and press against this so let's go ahead and start doing that and so we can just fold our fabric back and line it up right along that half inch mark and press against the hot ruler and then just keep working our way around if you have any trouble with this curve you can clip this first turn under but let's just see how it goes see if we need to add any I'm just doing a small section at a time as I'm working around that curve and we're getting more to this straight section that will be easier down towards the end there we go you can see this middle section here does not want to lay down and so I am going to grab my scissors and just put a few little Snips in there along that inside curve and that will help this to all lay down and just relax then I can press this again there we go and then now when I flip this again it will cooperate a lot more so I'm just going to keep pressing this and then we're going to run two lines of stitches one on the outside and one right along this Inside Edge of that seam so that it lays nice and flat okay like I mentioned I have pressed this under a half inch twice and on this inside I've clipped my curves and so now we are just going to start our top stitching and I'm going to do two lines of top stitching once along this outside edge and once on the inside and that's just going to give it a really beautiful finish and so I'm going to start with this Inside Edge and just take your time as you're working with this curve foreign there we go there's that first line of stitching and we're going to come back and add the second one foreign there we go and so now that we have those arms done it makes the top and the bottom and the sides very easy so we'll do the sides next and then we'll come back and do the top and bottom but we do need to add some little tabs in to the sides and the top so let's go ahead and prep those those are made out of our twill tape and so every single one of those tabs is going to be four inches so I'm just going to cut a few of those here so just measure over four one two three and four there we go all right so then the top two are going to have d-rings and the two on the side are going to have an O-ring and so we are going to go ahead and feed these through just like so I'm going to go ahead and just baste the ends so that we don't risk the sliding off later so let's go ahead and take all of these to the machine and baste these in place and one more there we go you can trim those apart now those are ready and I'm going to go ahead and start ironing under the hems on the rest of this and I'll show you where we're going to insert the tabs okay so now I've gone around and I've I've turned all my additional edges under a half inch twice I have not stitched anything down yet though because I need to insert my D and O-rings in before I do that so I'm just going to go in basically the width of the arm curve here and slide my twill tape so that it's going to get caught into this seam so I'm going to place a pin there just to hold that in place and I'm going to do the same thing on this opposite side there we go and pin that in place there we go all right so we're going to do the same double stitching we are going to do the one closest to this bottom seam Edge first and then once we do that we're going to flip these up so that we catch the Twill tape in that second row of stitching so let's go ahead and do that and be sure to move your pins out of your way foreign so now like I said we're going to flip this up so it's crossing over our seam and we're going to stitch that second line of stitching and this is just going to help strengthen those d-rings it's like triple secure there we go and now using that exact same idea you can see how that turns out so nicely we're going to insert the O-rings in the side seam and so just down from that arm seam that we did we're going to tuck these into our seam fold this back over do our first line of stitching fold them back and do our second just like we did on the top so I'm going to finish that up and I'll meet you back here when it's done all right as you can see we are now hemmed all the way around we have our d-rings in at the top our O-rings on the side and our bottom hem done the exact same way so now up next let's talk about adding the pocket and so what I've done here is I've cut out a 10 by 18 inch rectangle and I have gone ahead and top stitched the top Edge same half inch turn under and then I've pressed under the three other sides and so now we need to find our center of our pocket and you can kind of put a press line in there just to be able to reference just like so and we also need to find that center of our apron so I'm going to fold this in half and I'm going to give it a good press on that fold line there we go just make sure we have a nice crisp line in the middle there and then now let's figure out where we want this pocket to go so I'm going to open this up and lay it on my mat and I like to use my ruler and you can totally kind of figure out where you want this pocket to go for you but I found about 13 inches down from this top Edge worked for me and so this Edge that we did the stitching on that's going to be the top of our pocket so I'm going to lie lay that right along the 13 inch on my ruler and I've got the center seam not seam but the Press line that I pressed in place lined up and then now we can just pin this in place on our apron and then we can take this to the machine so let's just add a few more pins so we don't have any crazy shifting there we go and one more here and so now what we're going to do is we're going to sew in a u-shape to enclose these seams here and then once down the center on that press line so let's go ahead and take this to the machine and do that I like to back stitch at the start and stop foreign needle down there and pivot move these pins out of the way so I don't throw them on the the floor while I'm working foreign [Music] okay and then back stitching again here at the end so now you can see the whole outside edge of the pocket is attached we're just going to come back and add that line of stitching right down the middle so let's go ahead and do that now there we go so now our pocket is in place so our apron is essentially finished all we need to do now is make our straps I use this twill tape and we cut them at 60 inches long for the adult size so I have two of those cut here and so all we're going to do is use that same half inch and we're going to turn this under twice of course you can eyeball this if you want and this is for the end that won't be attached so we'll go ahead and Stitch across and I actually went back all the way just to strengthen it a little bit so there we go and then on the opposite end we're going to start with that half inch turned under and then because I want it to match kind of the finish that I have on my little d-rings here I'm actually going to fold this down an inch and press this again just like so and then now I have both of these ready I'm going to slide this through my d-ring on the top here and then I can flip this over and Stitch right along the edge be sure to back stitch there's that one and the seam is on the back you know the extra fabric is on the back there and we'll do the same thing to this other side I went ahead and pressed it as well so we'll fold that through measure up the one inch sew straight across there we go ta-da now our apron is done those straps can crisscross in the back and slide through the O-rings on the side which makes it really adjustable and forgiving for whoever's wearing it and one of the things I love so much about this pattern is it was designed so that there is one for you and one for the little ones in your life so you'll notice this small apron that I have here on the design wall it even has the instructions to add the ruffle that you'll see on that one and that's just really simple you're just cutting that twice the finished width of your apron and Gathering it on there so I hope you guys enjoyed this project it's a wonderful little gift that you can whip up here at the holiday season so have a wonderful day and I'll see you next time hey everyone it's Misty thanks for watching at home if you aren't already a part of our Missouri Star Family be sure to subscribe and hit the Bell if you want a notification every time we release a new video I'll see you next Monday on the newest episode of at home [Music]

More Fabric by Yard tutorials

See all