Skip to content

Free quilting video tutorials from Missouri Star

Quilting Tutorials
Make "Curtains" with Liz Gubernatis of Missouri Star

Make "Curtains" with Liz Gubernatis of Missouri Star

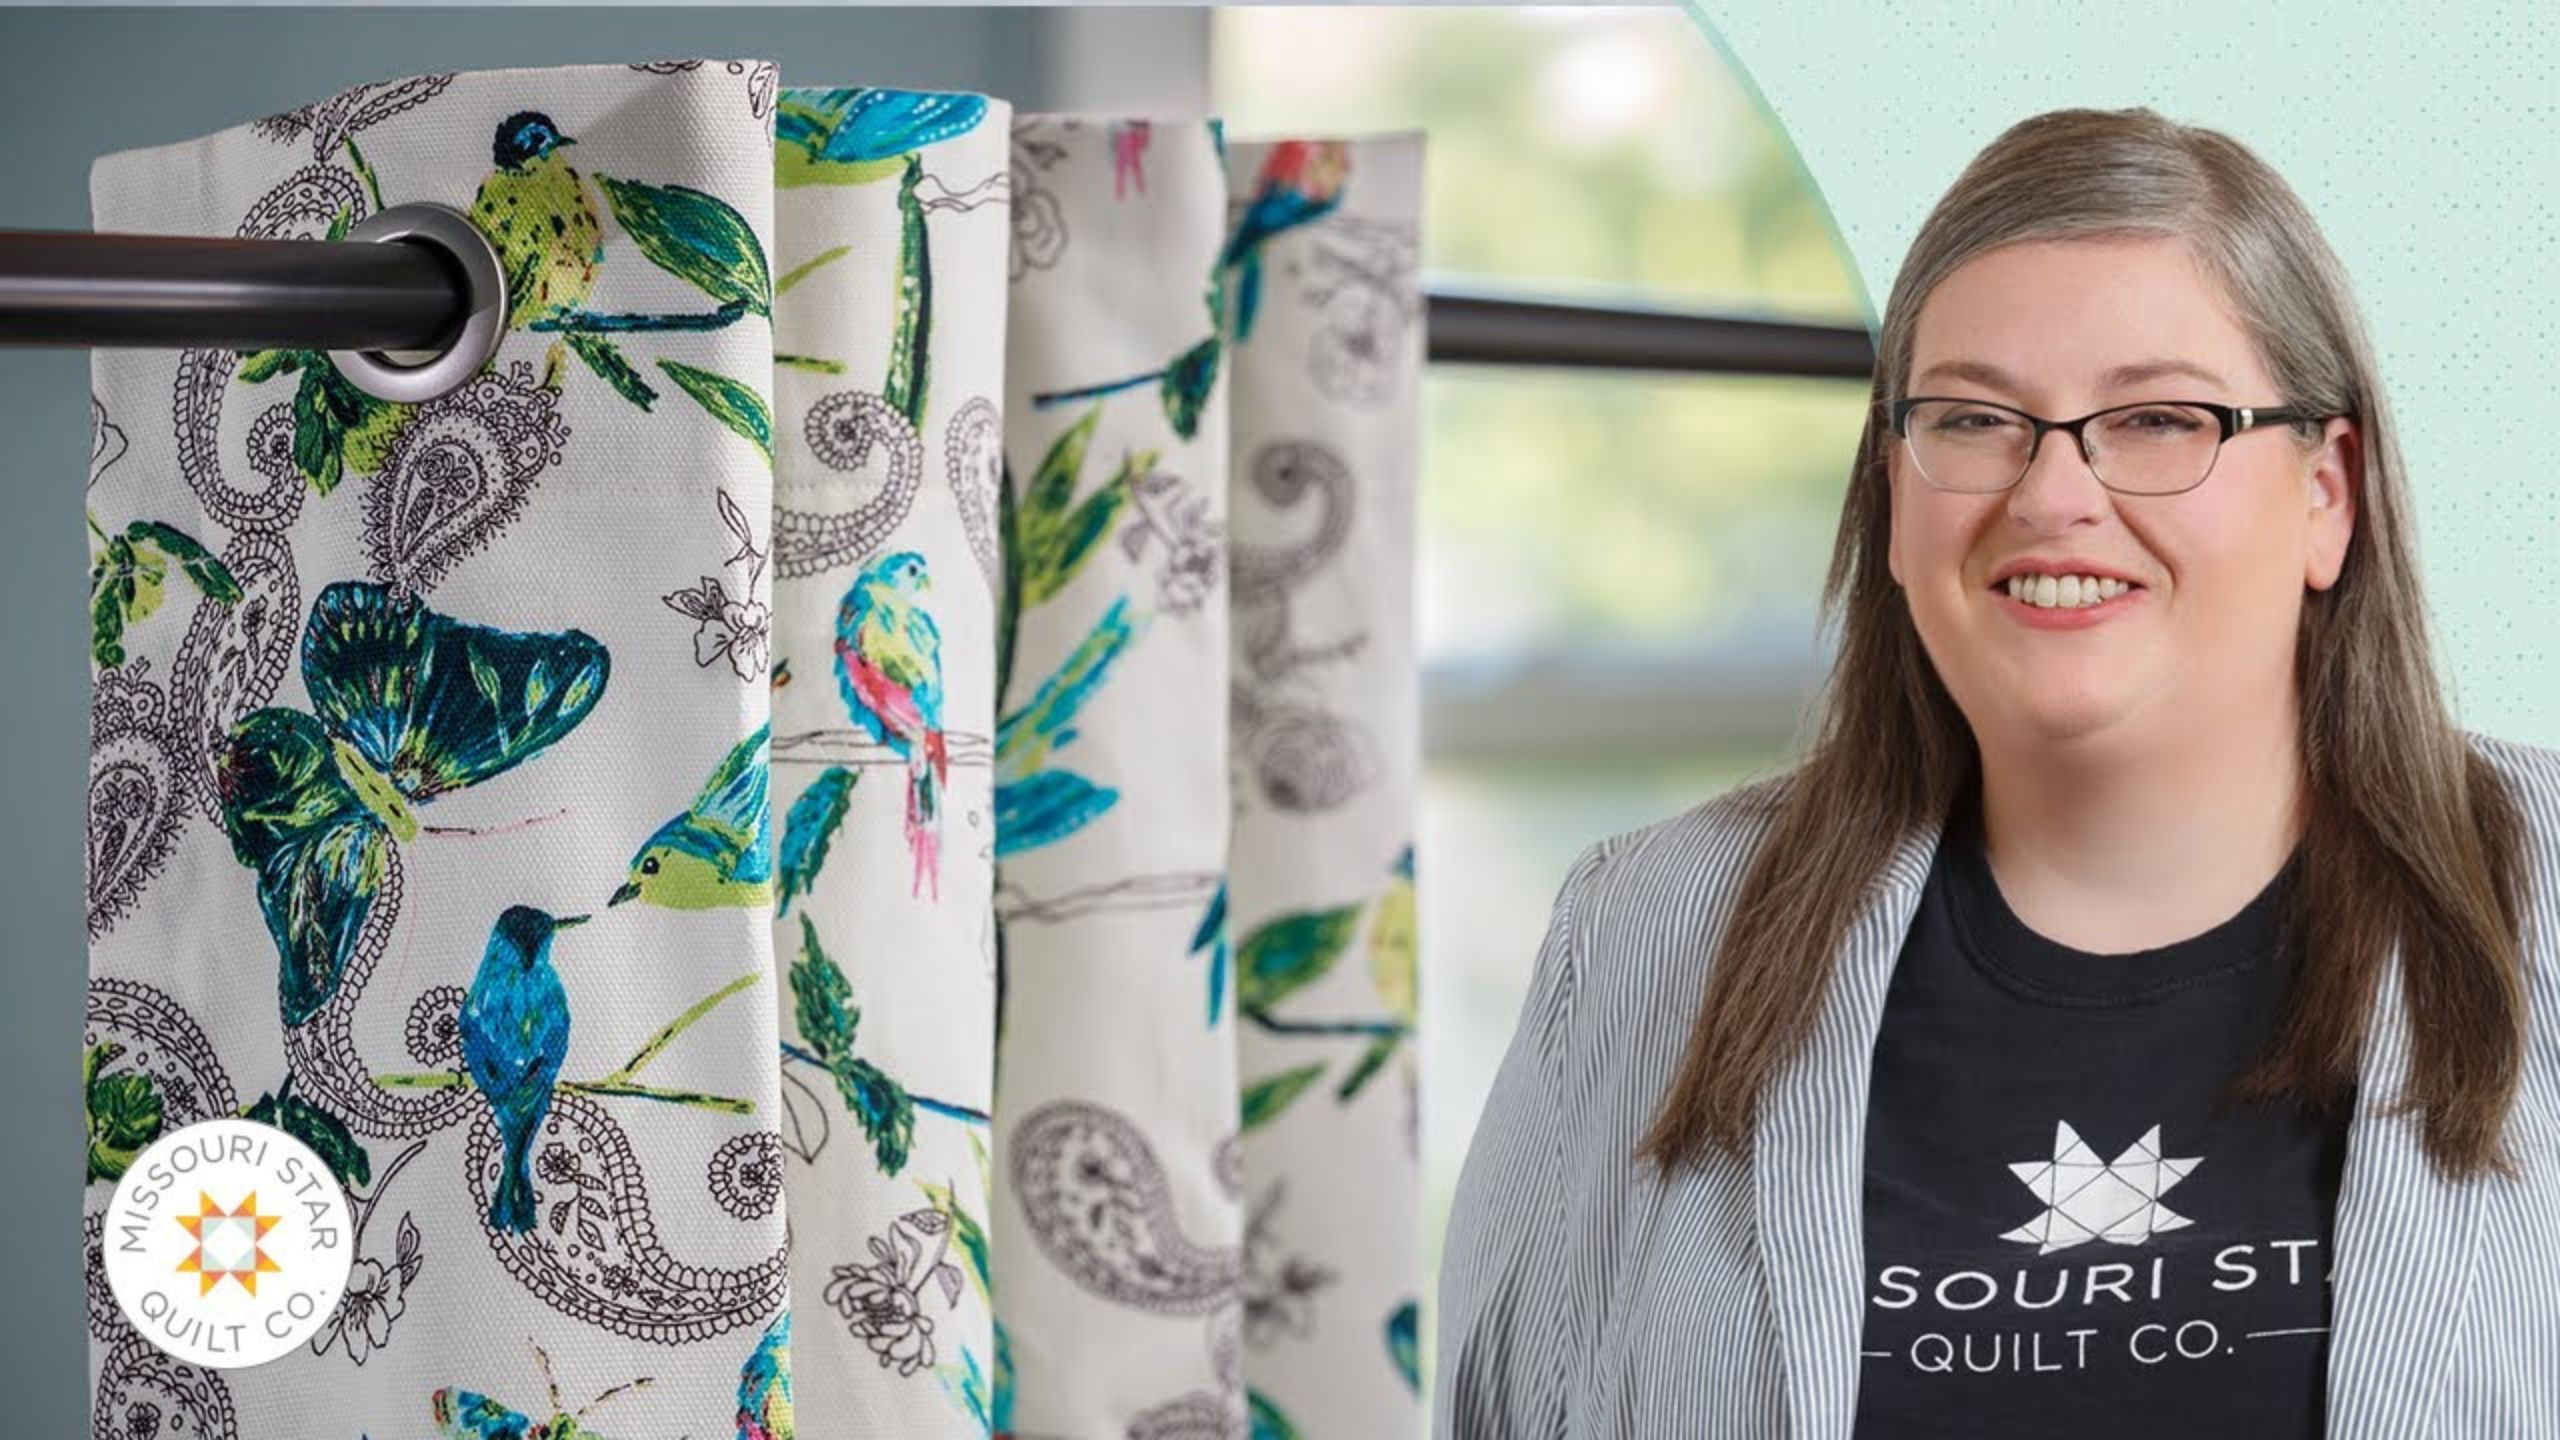
Time to raise the curtains, sit back, and enjoy another bonus tutorial with Liz! Join the fun as our wonderful host shows us how to create simple one-of-a-kind curtains! All you need is some fabric of your choosing - Liz is using yardage from the Capri collection and 108" wide backing from the Stonehenge collection - and some curtain grommets to get started. This project can easily be tailored to fit the style of your home.

Instructor

Liz Gubernatis

Liz Gubernatis is the Senior Manager of Education at Missouri Star Quilt Co. and loves teaching people how to quilt! She is a creative idea generator and champion. Colleagues, family, and friends know her for my creativity, can-do attitude, and common sense.

Common Questions

What is covered in Make "Curtains" with Liz Gubernatis of Missouri Star (Video Tutorial)?

Time to raise the curtains, sit back, and enjoy another bonus tutorial with Liz! Join the fun as our wonderful host shows us how to create simple one-of-a-kind curtains! All you need is some fabric of your choosing - Liz is using yardage from the Capri collection and 108" wide...

How long is the tutorial video?

The tutorial video is 00:21:56.

Video Transcript

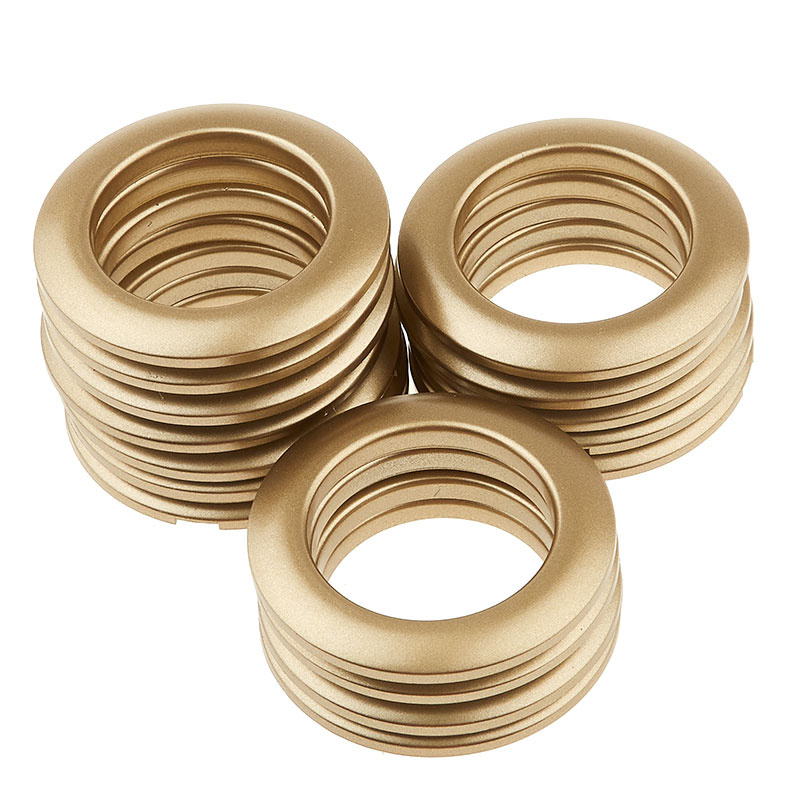
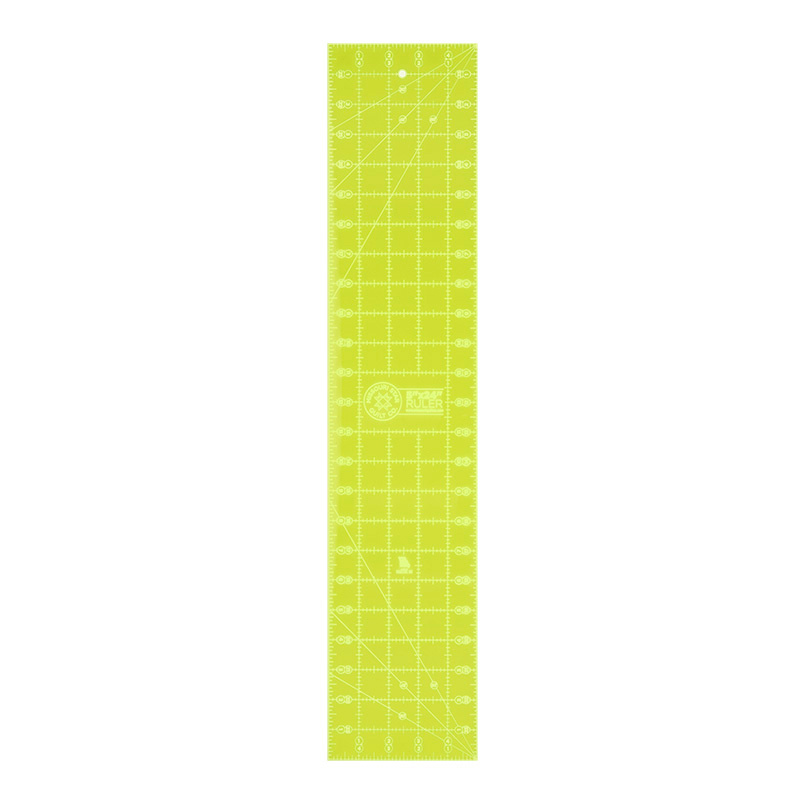
hi I'm Liz with the Missouri Star Quilt Company and today I'm going to show you how to make curtains it's less a pattern and more a method so we're going to measure your window or your shower curtain and make some curtains from fabric by the yard we can do 108 inch wide backing to make a shower curtain but today I'm going to show you how to use regular quilting cotton and we're going to line it and then I'm going to use just a little bit of interfacing at the top so that we can add grommets to give it a really finished look so stick with me and I'll show you how to get started okay so to make a curtain the first thing you need to know is how big to cut your Fabric and you're going to start with your window you're going to measure where you want it to fall some people like it to start above the window some people like to start somewhere in the middle of the frame you might want it to fall the way to the floor that's why it's a very personal decision how long you want your curtain to be but however long you want your curtain to be your next decision is how big is your grommet because that's going to determine how big you're going to add this cuff at the top so for these medium-sized grommets I need to use at least a three inch cuff for these larger grommets it needs to be at least a four inch cuff so depending on which size grommet you're going to use you're going to add a little bit of length to your main Fabric and to your lining but we'll get there in a second so your main Fabric in this case I have cut these to be 48 inches because I have a 40 inch window that's where I want them to fall so I'm going to add eight inches seven inches is going to be added to the top one inch is going to be added to the bottom and those are going to allow for the cuff and the Hem and once I've cut that 48 inches in my case I also need to take off this Selvage Edge and in this really pretty fabric the Silva does is a little bit wider so I'm going to line all the selvages up and slice them off at once and you can just do this folded or you can do this a little bit at a time so as it comes off the roll it's not perfect so I'm going to pull this over a little bit and line up my Selvage Edge and then I'm going to use this handy marking on this Selvage but essentially you want to be inside your dots and you're going to slice that off I'm just going to move this forward and Slice It Off all the way down once you've done this to your main fabric you're going to cut your lining if you're adding lining and I'm going to show you how to do that today so I will be adding lining and that's not going to be quite as long so for the lining you're only going to add three inches to the top and not add anything to the bottom so it's a shorter piece of fabric so in my case because I'm using this line not the matte this is actually kind of easier to do but it feels like I'm gonna get into trouble so don't tell anybody and it doesn't have to be perfect right this is going to be caught in your hem and nobody's looking at the sides of your curtains to make sure that they are perfectly even and symmetrical okay once you've cut the Selvage off this and again mine is 48 inches for a 40 inch window then I'm going to cut a piece of lining it's a little bit shorter and I'm going to cut more of the Selvage edge off so I'm in this case going to line this up and my Selvage was about an inch so I'm going to cut off a second inch so I'm going to start here line this all up really neatly where all my fuzzy Edge was just over that Mark on 28. come down to 26 so I'm cutting off a whole inch Beyond where I cut the main fabric okay so then that can also go away and this just to make sure I did it right yep so it's about 44 inches wide or long to go on my window because I don't need the extra four inches at the top okay now I'm going to take these and open them and put them right sides together and the trick is that it's going to form its own seam on the sides really really beautifully because we're going to sew a whole tube so what I'm going to do is now these are right sides together and there's just a little bit of a print on my lining Let's Line these up so that here at the top I'm going to have about four inches for my three inch cuff and the reason I'm doing it that way is that the lining won't create extra bulk but when we fold this over eventually to form a hem and a cuff I'm going to fold it over a little bit and then I'm going to fold it over a lot and I'm going to have my three inch cuff so we mark this four inches down to make that nice neat cuff and that's where I'm going to start sewing and I'm gonna sew all the way down the edge I'm going to match this side as the same same way I'm going to start four inches down and line up my lining on the edge and sew all the way down now you can use a quarter inch seam you can use a 3 8 inch seam you can use a half inch seam I don't actually care what size seam you're using just make sure it's the same on both sides that's the real trick to this so once you've sewn down the sides I've used a little over a quarter inch somewhere around a 3 8 inch is where my end of my foot was and you can kind of see the thread I've used a thread that's going to blend and now I've got a giant tube so at the bottom I have an inch overhang the top I have four inch overhang and I have a giant tube so I'm going to turn it inside out and this is where it gets interesting so because we cut the lining an inch smaller on both sides now that we turn it the seams we need to kind of Center show you that and they will form their own really pretty inside seam Edge when we pull that taut so I can line up the centers where it came off the bolt and get my ruler out again and measure down four inches and that that needs to center a little bit so I've got about a half an inch on either side I'm going to pull this in so you can kind of see it I'm pulling it nice and taut and there's there's the seam it just kind of folds over and rolls in real nicely on both sides and it does that magically without having to keep it even so then you can just press down the side I'll show you that one here you've pressed down the sides then you're going to go ahead and just fold the whole thing over and press with a nice hot steamy iron you can decide steam or no steam personal preference I used a little bit because I wanted to get all the wrinkles out and then I'm going to go ahead and Stitch down right inside that so you can see here's the folded and pressed and here is the stitched and we're just going to sew right off the edges and the same at the top we're just sewing that seam right off the edge so we press it and we stitch it the other thing I want to show you at this stage is I want to show you that this top piece is folded in maybe a hair two hairs more than the rest of this because when we fold it down again that's going to help us not have that kind of chunky overhang that can happen if we're really extra perfect so in this case it's better to be imperfect that makes it good so you're going to do just a little bit wider so you can see my Stitch stayed at there but my fabric comes in just a little wider and now we'll do the same on this side so now that your sides are complete we're going to talk about the top and the bottom I'm going to talk about the bottom first although you'll probably want to sew it last because what you'll want to do is make your cuff and then hang it in your window to confirm that the Hem is going to be where you want it to be when you're hanging it in the window that you're hanging your curtains in but I will show you how to finish that off first so we've got one more card made and it's partially sewn at the bottom so I measured it in my window and I was happy with my one inch do this one inch overhang from my lining so I folded that up and then I folded it again and I clipped this in place and then I went to my window hung it to make sure it was going to be where I wanted it to be before I sew it if I need it to be a little bit longer then I can fold these smaller and if I needed to be a little taller or like shorter curtain I can fold this to where I need it to be and pin it in place so you want to do this in your window the other thing I want to recommend is if you're doing two panels for a window which many of us do do both curtains at the same time so do all your sides and then do your bottoms at the same time that way you're not trying to fight to make sure that the curtains both match later so sew them kind of in an assembly line fashion so you're sewing one panel and the second panel at kind of the same time so now that you know how to finish that let me show you the cuff part so what I've done at the top is first I have folded down about a half an inch and I say about because I'm eyeballing it it doesn't have to be perfect but close enough is good enough about a half an inch and just press that in place all along the top and then I've come in with a strip of interfacing my strips are three inches wide and they come off of the packaging which is 20 inches long so it kind of for this particular curtain and for the width of fabric from a bolt of fabric is kind of perfect because I need two to go across so I place this one and you can see I've placed it so it's actually going to hold down that fold and it's also going to stop just a bit before my lining fabric I do it inside this seam and all the way to that Center fold where it came off the bolt so I can show you over here if I go to place it I'm going to have a just a hair over that see my press to hold that down and it's going to come right up here to the center and it's going to stop before this Edge seam and then when it's all in place you're going to iron it down according to the manufacturer so in my case a nice hot iron a few seconds at a time and you're going to press down you're not really going to iron and press this way once you've got your interfacing on We're Off to the Races one more step okay at this point you're going to have folded that down your interfacing is inside and you're going to stitch along here and you're going to use the bed of your machine to help you out with that so when you've placed it in there you want to find a spot and measure over you can even add masking tape quarter inch seam tape something here to help guide you to make sure you're not wobbling all over and you're just going to sew a nice straight line and I want to show you importantly my line of stitching is in relation to the nice crisp Edge that I folded and pressed it's not staying on the edge of what got folded over because it wobbles a little bit so this is going to keep it as a nice straight line on the side that you see when it's hanging so important tip okay now we're going to mark and measure so grommets are actually like kind of magic but they're super easy so in a package and I'm using pewter we have several different colors available and several size so when you open your grommets you're going to have rings of two types there's this side with the prongs and there's this side with the raised ring so you'll have a matching set of these and then you also have this tool and it hides and it flitters and it flies so look for it you need this one to actually do your marking so how we use this is first we need to Mark where the centers are going to be across the curtain so if I'm going to use eight grommets which is what comes in a package I need to measure the length of my curtain which happens to be 40 inches inside these two seams and that's a nice easy number to divide by eight so I need every five inches but I'm not going to start with one way on the edge so the first thing you do is measure half of that distance in is two and a half so on this side what I've done is taken my ruler and I'm going to split my three inch cuff in half so half of three is one and a half so I'm going to take the one and a half marking on my ruler and I'm going to line that up along the edge of my curtain and that's going to be where I'm going to Mark and then I'm going to Mark in two and a half one two and a half and I'm going to make a little Mark with a pen it doesn't matter you could use a bold Sharpie if you want to because you're going to be cutting this out but you want to make sure it's something you can see and on really beautiful printed material it can be hard to find these again so make sure you're making a large enough dot that you can see it and then from there it's every five inches so I can put my 15 on there and you can see that five inches over I've marked again five inches over I've marked again and as we go down this is where we're going to place our tool so this tool as you can see here on the very light fabric has a Crosshair and that's what we're going to put on the center dot we just drew and then you use these little curves to add your marks like so so do that all the way down all the little dots that you marked and then you need to cut them out I'm going to show you how to cut this out I want you to do inside the line that we've marked and that's because we want the fabric to be as close to this hoop as possible so I'm going to show you how to do that because having the whole curtain is a little bit bulky when you're trying to maneuver it so what I'm going to do is bring it up here and fold it and I'm going to take some sharp snips and kind of pinch that so I can get a little hole going and once I've got that then I can cut to the edge and I'm being careful to not you know I don't want to go like this because I'm going to cut right through that Circle I want to keep my points of my scissors really close to where I'm doing that and then I go around the circle on the inside and this part's easy because it's just facing away now when I come towards myself this is super awkward so I need to start changing that and move the curtain so I'm going to set the scissors down so I don't end up stabbing myself because that's not a good look and I'm going to move this whole bulk around and hold it from the other side and then I can keep cutting around that Circle and when that gets uncomfortable again I will pause about here put down my scissors move the whole bulk around and then keeps keep going and yeah that's mildly annoying but the alternative is way worse so now I've cut a nice Circle it's not a perfect circle but I've cut inside the line and I've cut this out and now the fun part is how to attach The Grommet so with my scissors away tool away I'm going to take one of the circles with the taller Loop and place it on the front side and I'm going to maneuver the fabric around [Music] that Loop and it has to work a little bit because I cut it a little bit smaller that's perfect now I'm going to take a prong side and kind of fit it over and you can kind of feel it you can kind of hear it it's moving a little bit that's in the right place and you use your palm and press down like you're trying to separate a bunch of garlic snap done that easy so you're going to do that all the way down do another one just because they're fun around like this position all that all your pen marks are going to be hidden by the prongs all right in the right position snap so just like that you add your grommets and then you've got this beautiful curtain you can hang the right spot then you're going to make sure it's the Hem is going to fall where you want it and go ahead and finish off that bottom hem just like we showed you earlier so this can be done for curtains that are lined this can be done where you just fold the edge over behind me are some curtains made out of a canvas material and that drapes so beautifully it doesn't even need a lining we just fold it over the edges and sewed down the side seams and then to the top and bottom just like we did here with the cuff and then the bottom hem but you could also do a shower curtain so I've also used a 108 wide backing which is this really beautiful ombre and cut it down and did the same process this one's not lined but I just folded it over and pressed it down and did a stitch line and then you can see my cuff because I'm using a wider larger grommet has the wider cuff and the other thing to know about doing a shower curtain is that they're typically 72 inches Square which means you're also going to want to add grommets every six inches because they're 12 on a typical shower curtain so much like hot dogs and hot dog buns who knows why there are eight grommets in a package you'll need two packages of grommets if you're going to do the shower curtain and you'll have a few left over but they hang beautifully and this adds a custom touch to every room of your home everything from the bathroom to the kitchen to any room that has a window so today we use a light lining we also showed you no lining but you could use a dark lining or even a flannel if you'd like a little bit of an insulating effect cannot wait to see what curtains you make using the many Fabrics we have available please use the hashtag msqc Show and Tell to show us your curtains in your windows or your shower and we hope you enjoyed this tutorial from the Missouri Star Quilt Company hi everybody it's Jenny from the Missouri Star Quilt Company we hope you enjoyed watching this video if you aren't already part of the Missouri Star Quilt Company family be sure to subscribe so you won't miss a thing and if you click that Bell it'll notify you every time a new tutorial comes out see you next Friday [Music] foreign

More Fabric by Yard tutorials

See all