
Make Storm at Sea "Tsunami" Quilt with Jenny Doan of Missouri Star
 Jenny Doan
- Layer Cake
- Batik
- Lap / Throw
- Beginner
- Quilt size 56" × 56"
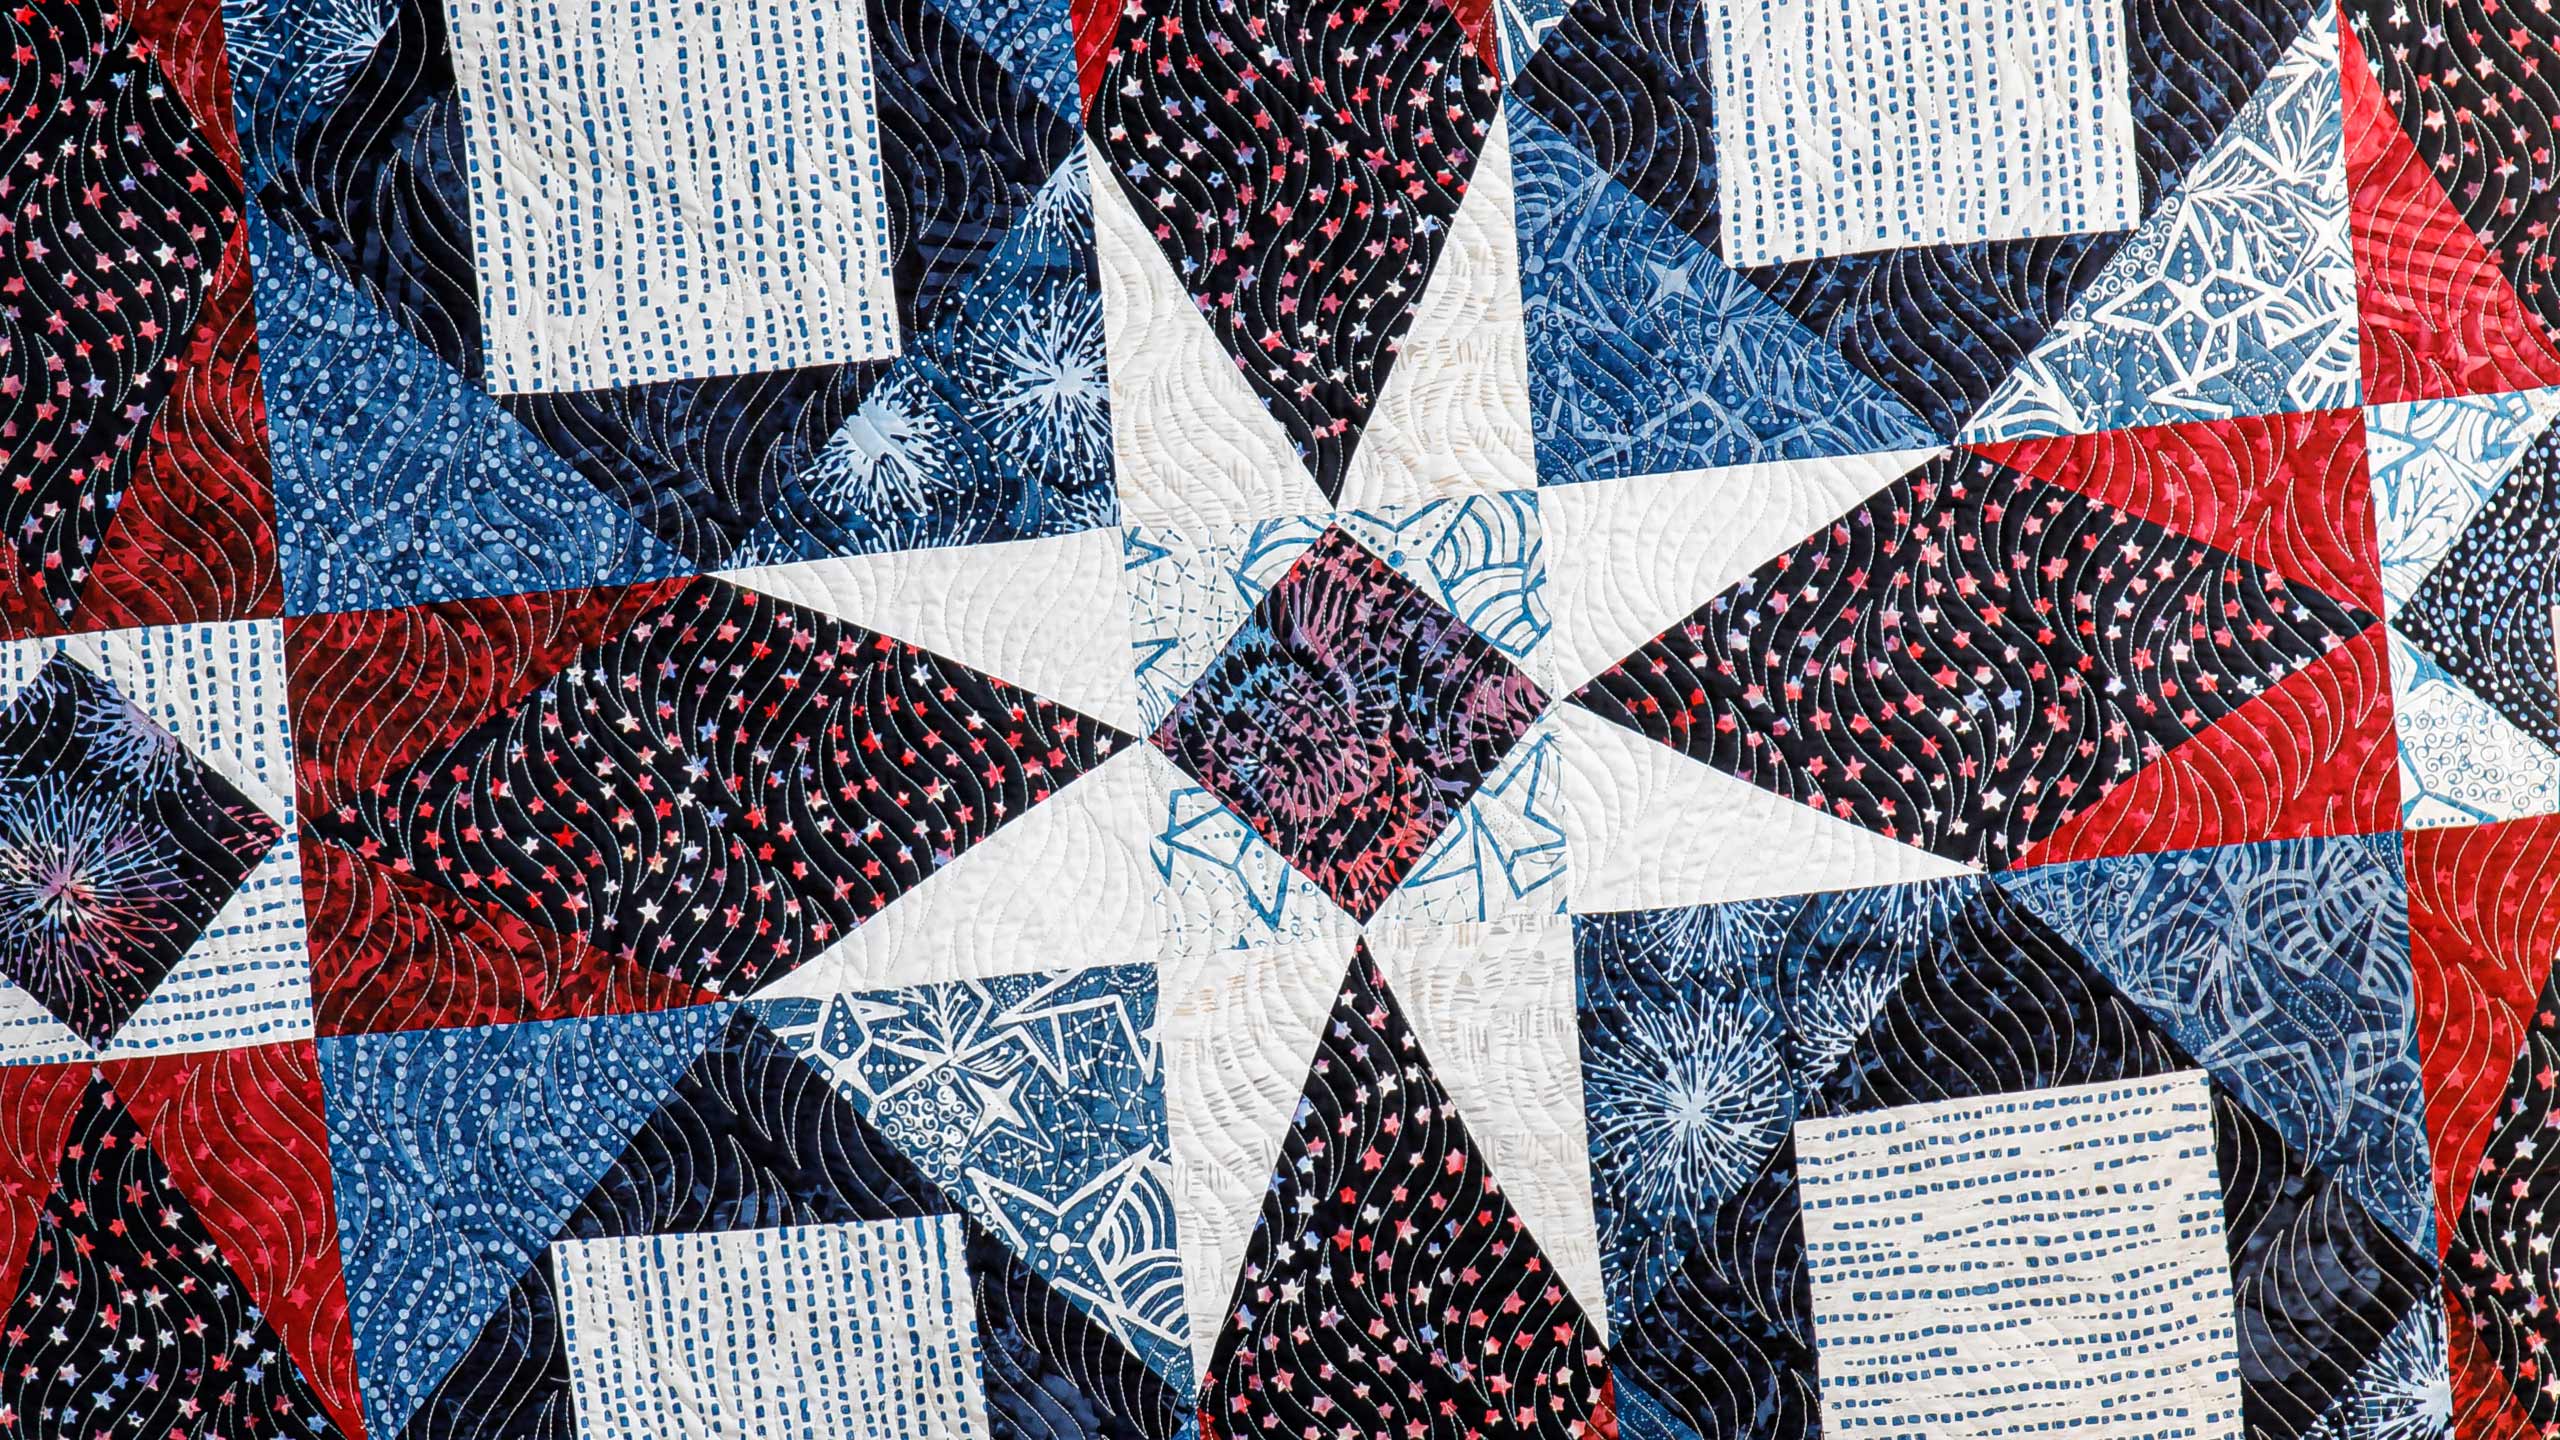
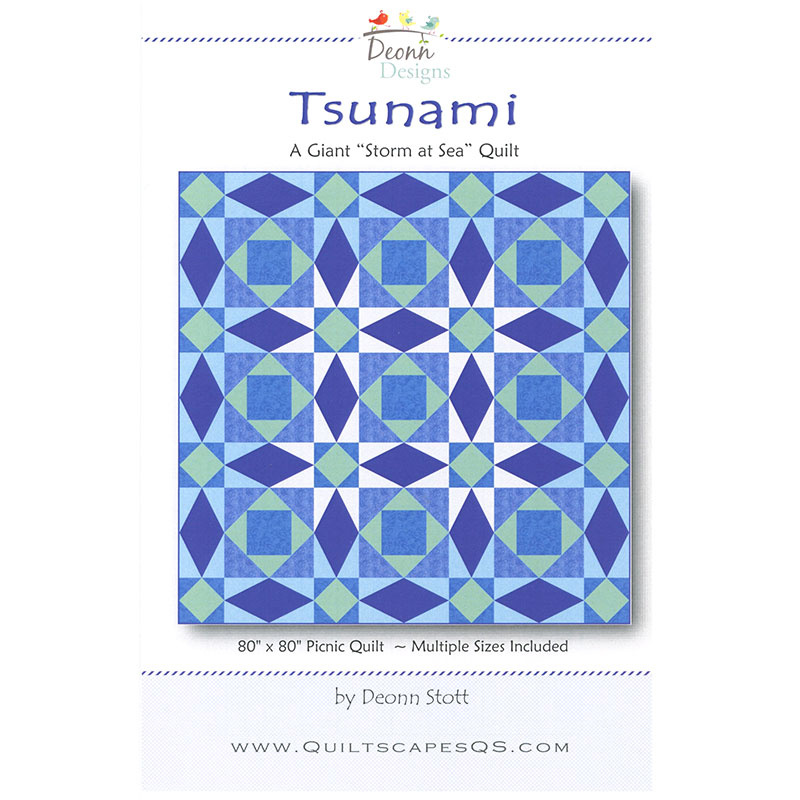
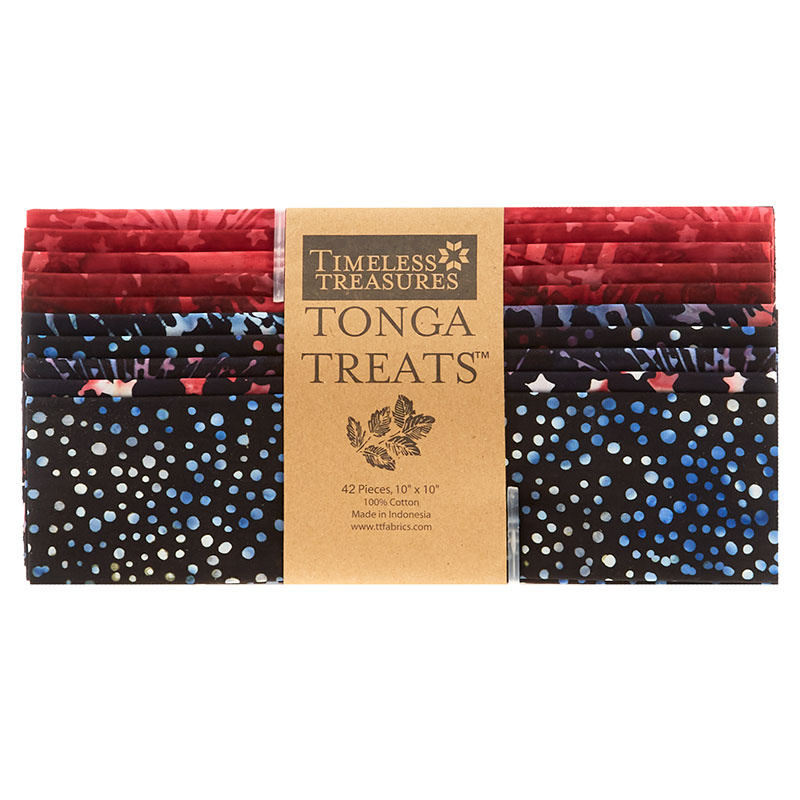
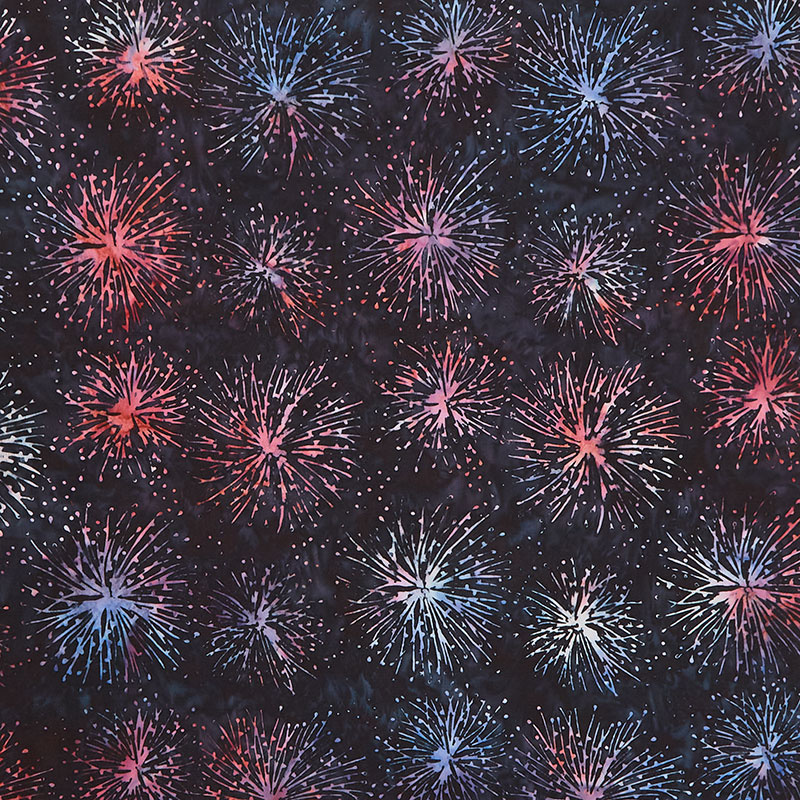
Jenny Doan demonstrates how to make a BIG Storm at Sea quilt block using 10 inch squares of precut fabric. Her layer cake fabric is Tonga Treats Batiks - Honor 10" Squares Tonga Treats by Timeless Treasures. The Tsunami pattern was designed by Deonn Stott for Quiltscapes. Like a traditional Storm at Sea, this quilt is made up of simple squares, diamonds, and triangles. All the seams are easy and straight, but a clever layout gives the illusion of curvy, rolling waves.
Instructor
Jenny Doan
Jenny Doan is an American quilter, author, and YouTube personality. Jenny started Missouri Star Quilt Company in 2008 and today it is the largest quilting supply vendor in the United States.
Shop this tutorial
Common Questions
What is covered in Make Storm at Sea "Tsunami" Quilt with Jenny Doan of Missouri Star?
Jenny Doan demonstrates how to make a BIG Storm at Sea quilt block using 10 inch squares of precut fabric. Her layer cake fabric is Tonga Treats Batiks - Honor 10" Squares Tonga Treats by Timeless Treasures. The Tsunami pattern was designed by Deonn Stott for Quiltscapes. Like...
How long is the tutorial video?
The tutorial video is 00:37:25.
Are supplies listed for this tutorial?
Yes. The tutorial page includes the supplies and materials connected to this project.
Is a transcript available?
Yes. A written transcript is available on the tutorial page.
Video Transcript
Hi.
And we have such a fun project for you. For a long time we've been wanting to do a Storm at Sea and we keep getting requests for that all the time. And I have a friend, I was looking through her patterns, and she did a giant Storm at Sea. And I thought, what better way to start Storm at Sea than go big?
Yes.
Go big or go home, right? So her quilt is, because it's a big Storm at Sea, it's called Tsunami and this is the quilt behind us. And of course she has lots of different sizes on her pattern, and color plays a huge role in this quilt. But we are going to show you how to do this. It's all made up of super easy blocks. And so we're going to show you how to do this and we hope you enjoy it. So to make this quilt, what are we going to need, Natalie?
We're going to need one package of 10-inch print squares. And we use Tonga Treats Batiks Honor by Timeless Treasures.
And then we're going to need some accent fabric.
Yes. Because we decided to make our quilt with a layer cake, and you want all of your diamonds to be made out of a dark fabric.
Yeah, depending upon the color, this quilt has so much movement.
But also the diamond shape doesn't fit on the layer cake. So we went with yardage for that. So you'll need a yard of a fabric for your diamonds.
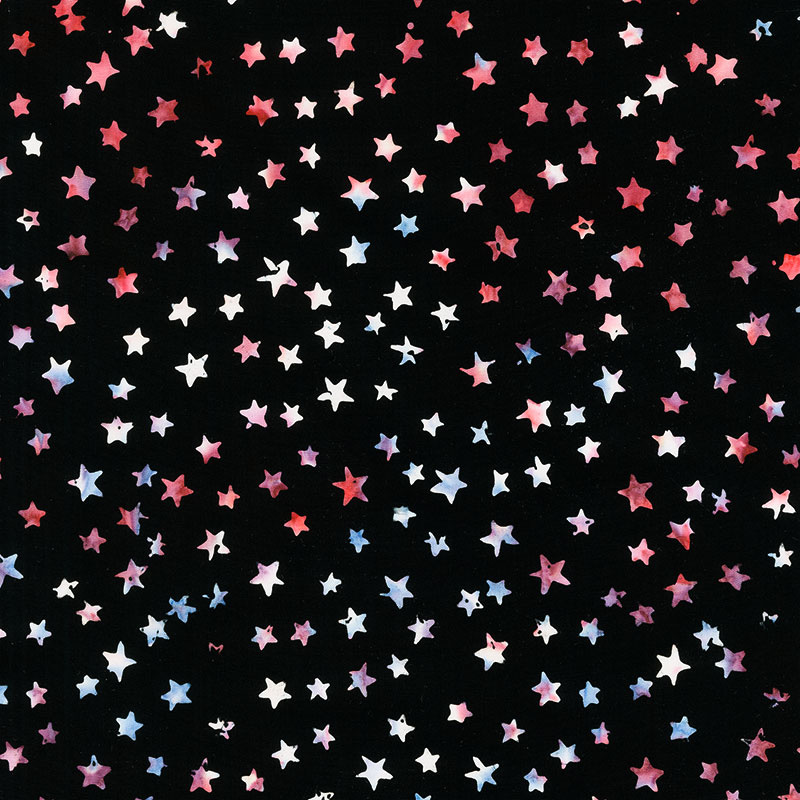
And then your backing is three and a half yards. I love the Tonga Batik backs. Look at all those. It's just happy 4th of July, it's like all the fireworks going on.
Batiks are just fun. They're just full of color and interest.
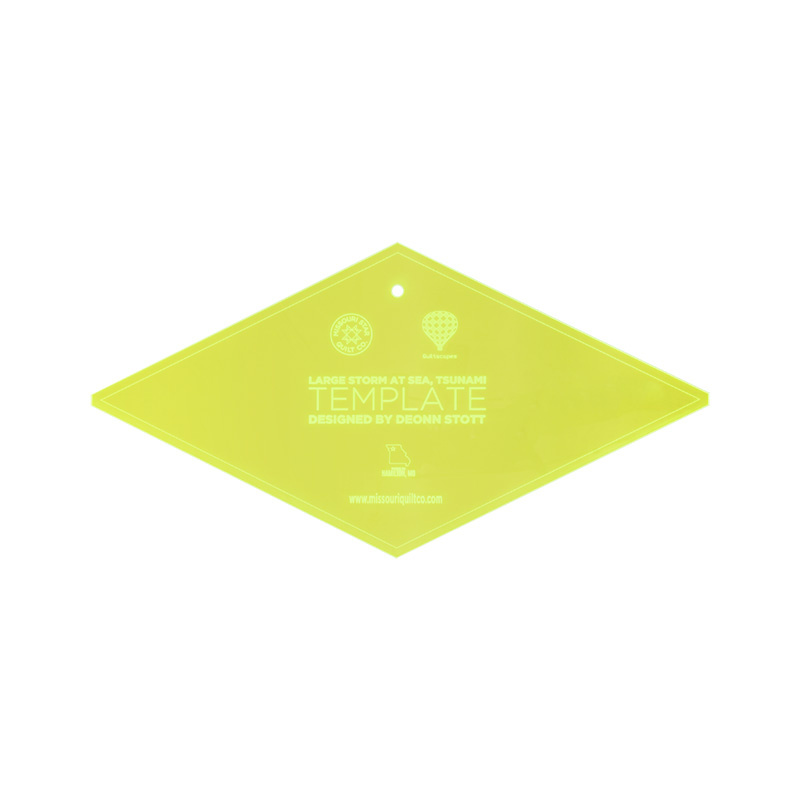
They're just beautiful. So other helpful tools will be this template.
And if you want the pattern, you'll need to go to Deonn's website, it's available there.
Quiltscapesqs.com.
And we'll have a link in the description.
Yeah, there'll be a link in there. And for those of you who don't know, when you look at the top little thing on YouTube... I didn't know this so I'm going to explain this to all us older ladies who aren't so tech savvy. On the top right hand side, there's a little tiny V. If you push that, that's where the supplies drop down from. And so this will be helpful for you on this because you'll need to know where to go to get the pattern. Now, the pattern comes with a printout-
There is a printout.
... of the template.
And you can put that together. You're just going to match up these overlapping lines and cut it out. And then you can use your ruler to slide along the edge of the paper template. So that's totally fine.
We just did this for you because it's easier, and because-
Because we love having easy things.
I only cut a paper template once, and then I'm like, "I can't do this."
That's hard.
I do love a template.
So your pattern will come with a template, but if you want an acrylic one, we have those available as well.
And one of the things I want you to watch for is this is probably going to be coming out in several different sizes, because as you learn to make-
We might. We'll chat.
As you learn to make this Storm at Sea you're going to want to make them different sizes. It's going to be fun. So let's show them how to do this.
So we're going to open up our pattern, and the first thing you're going to see is a cutting chart. Now, each column has how many things you're going to need and it's all for different sizes. We're making the lap quilt because that is what we can make with a layer cake.
So I was going to say that. She has different sizes on here, which is really cool when pattern people can do that. And I would probably take a highlighter and just run a line down here so that I knew what side I was working from, because that gets me a little confused.
So then the next thing you're going to want to do is go by your light, darks and all these colors on the left hand side. And you're going to separate your layer cake into darks, medium darks, mediums, medium lights. And because our layer cake was not specifically like that, we just said, "Oh, well, we're going to make our medium darks the blue ones. And our red ones are going to be the medium light ones," because we wanted to still use the layer cake. We wanted to use the precut.
It's consistency and color, basically.
We didn't necessarily do exactly dark, medium dark, light. We just picked colors, and then we labeled them so we knew what to make with what color.
That's perfect. And there really are only three blocks to make this quilt.
Totally.
And they're super easy.
So once you get all the organization done, then you're good to go. I would go ahead and make a little color chart and label all your pieces so you know exactly what you have.
So she has over here on this side, she has blue white, medium blue, dark blues. She has all the words written in so she knows. And how many pieces-
And you'll notice on the quilt, I didn't do... These blues I considered all to be medium blues. They're not necessarily the exact same fabric, and even the white. There was only a couple of these in the layer cake and so these are the ones that ended up being the star. These ones ended up matching for some reason, but I just-
For some reason.
Well, just because there ended up being four of them. I don't know.
Perfect.
But the reds are all different and the blues are all different, but I tried to put together like colors.
That's awesome.
So I think it worked well.
It's just beautiful. I think it's a stunning quilt.
It's fun. It's really fun to do, and color changes will change the whole look of this quilt.
It'll change the whole look. If you can, you can look at this one right here. Let me turn this.
Oh, this is another thing to point out. On this chart it will tell you... So all of these, as we're going through, saying dark, light, medium, blah, blah, blah. She also labeled him with a letter. So you can look here and say, "Oh, the A block, the dark, that's going to be all the diamonds. The B squares are going to be this large square and the small squares that go around the small square in a square block."
But look how much movement is in this color, even just in the photograph. And so it's just fun to see. I love it. Thanks Deonn. You did great.
Yeah, definitely. So we are going to pull some squares and start making our blocks. We have three blocks to make the entire quilt. One block is this little square in a square.
Which, by the way, once you know how to do that, you are going to use this block all the time.
So easy. Then we're going to make this larger square in a square, and we're going to make the diamond block. That's it.
Perfect.
So the first thing we're going to do is take that centerpiece, square D, and we're going to cut it down to six and one eighth.
Six and an eight.
This'll be easier because then you can just-
Will it?
Well, yes, because then you can just go down into the corner.
Here, I'm just going to hold this, giving it to you.
We're going to go six and an eighth. And remember, the eighth is inside the quarter line and next to the line.
Very tiny, but you need it.
And I'm just going to do this because then I can save this for another project. So that is ready to go, and then this piece-
And I actually think this is one of the things that I hesitated doing a Storm at Sea is because I can't use every single piece, and I'm not a waster, and I like to use every single piece.
So if you want to use every single piece, just go with yardage.
You're just going to go with yardage.
Get the yardage that you want. So this piece we're going to cut into four, five inch squares. And two of these will be used on a different block. And then two of them we're going to cut diagonally.
I get to be the sewer.
You get to sew today and I'll press. So we'll cut these both on the diagonal, and then you're going to just stitch one on each side and you can center them or fold-
And it's a five inch square.
You can fold them and press.
I'm going to make a little center seam on my block here. Just finger press a little crease. And then I'm also going to finger press a little crease on this right here.
So you can get those centered up.
And then we'll just lay this on here.
I'll do these for you so they're ready.
And if you want to eyeball it, your little triangle is going to stick over about a quarter inch on either side.
Deonn is very precise in her measurements, so you'll want to be pretty careful with your quarter inch seam.
Was that a hint for me?
That was a hint for everyone, everyone in the world. We do square them to eight and a half, but there's very little waste.
Which is kind of cool, right?
Yeah, it's really exact.
I love working with Batiks. They iron so nicely, they sew so nicely.
So that's pressed back and now you can add the other two sides.
And we will put... Oh, let me put my little...
Oh, I should have done that for you on the end.
That's all right. I can do it with a fingernail, a half a fingernail. I've been gardening. My fingernails aren't so pretty these days. And I'm lined up on the quarter inch line. Look at me being so good.
You are.
And then we've got another one here, and we are going to lay that in there. Now that you said that Deonn is so precise, I'm like...
Oh, don't stress. It'll be fine.
All right, there we go. There's that one.
So I'm going to press this back, and then it is going to get squared to eight and a half.
We'll see how we did now, you guys.
It won't be bad at all.
So do you do your four line up right here with the center this?
Four and a quarter, roughly. And you do just try to center it up as best you can. And I found some of mine came out a little small, because I tend to have a larger quarter of an inch. But everything still went together pretty well. So you're kind of just cutting off the little dog ears or whatever you call them, those little edges.
Yes. We don't want anyone cutting off dog's ears. That would not be good.
No, not real dogs.
Quilting dogs.
Just the little pointers. And there you go. And so what you're going to do-
Look how cute this is. So this block shows up, you've got one, two, three.
We have nine total.
Four, five, six, seven, eight, nine of these are going to show up in the block.
So you make nine of those blocks and then you set them aside and start on block number two.
All right, let's go. Block number two.
Block number two is the larger square in a square, in a square.
So it's this one we're doing right here. So we've got the square in a square, in a square.
Now for this block, I'm going to vary a little bit from the pattern because she says to cut your squares down to nine and nine and a quarter. And I think if we leave them larger, we might have more room to square at the end.
Let's try it. So that's actually how I feel about every pattern. It's kind of a jumping off point for me. This is how you do it and then it's what if, and so I love that. I see a lot of that on our Facebook pages on the 'tis the season block of the month and on the all stars page. People are like, "This happened so I did this." And I'm like, "Yes." I love seeing that.
So the one I'm going to cut the middle to eight and a half. That's the center. And we use a light square. So this will be eight and a half. And I'm only going to-
Now, which center? This center here or these?
Those ones. It's a light block. It could be that one or we could use the other one if you want to.
No, this is fine. Only a little OCD. Just a tiny. This'll work.
I think we'll be okay.
As long as you use a light, right?
Yep. It's just got to be whichever fabrics you chose for that particular color number, number thing. So the medium light, this next piece right out here, which we actually changed to very dark. That one I am going to follow and cut exact because it's going to be on the inside and I won't be squaring that. I'll be squaring the outside edge. Does that make sense?
That makes sense.
So what we're going to do is we're going to square this block to nine and a quarter, and then we'll cut it on the diagonal twice.
Now, the reason you would not leave that at 10 is because then you'd have to square it twice. And this way, we shouldn't have to?
Right. We're going to go with exact measurements on this one. So nine and a quarter. And then I'm going to need the long ruler to cut on the diagonal.
Oh, let me see. I'm sure I have one.
I've got it right here. It was just hiding out of sight. So we'll cut-
That's funny. I was thinking about the long one.
Oh no, not that long.
To me, this isn't my long one.
The 15 is good. Actually, I'm going to put that that way so I can get a good angle on it.
And I'm going to sew.
You are going to sew.
My favorite thing.
And this is essentially the same as what we just did, just a little bit bigger.
I was at the retreat center yesterday. We're having a glamping retreat this week. It happens the first weekend in June. And I was talking about the squaring and all that kind of stuff, and it's just interesting how everybody has a different way of doing things. Just pretty fun. Actually, I'm not sure that was what I was even going to talk about, but I lost off my train. My train got off the track.
It is interesting. There are a lot of different ways to get to an end result.
So we're going to start this one here?
Yep.
Make sure it sticks off just a little bit and sew down the side. So now I'm starting on the other side here, watching my quarter inch.
And then I'll press that real quick.
Actually, I think if I just finger press these back.
Perfect. Good idea.
Because Batiks does it so easily.
They do lay really flat.
And then we're going to make sure this is on my line and sticking over. And one more.
These other two pieces we are going to cut once on the diagonal. So I'm going to stack them and I'm going to leave these ones big because then we can square our blocks at the end.
I kind of feel a triple play coming on with this block.
I feel like that would be really fun. I've always wanted to make one myself and I think it would just be amazing.
So here's our inner block, the inner.
So then we have two more blocks and Deonn says to square them to nine inches, but I'm going to go ahead and leave them at 10 and then we'll square the whole block down, just because then we only cut once on this. Just on this step. That's the only thing. So now we're going to finger press these and stick them on your middle.
I'll start with yours because I already have a middle place right here to line up to. And so I will just lay that on there. And now it is like a full inch on either side.
It's going to be a little bit big, but I think you'll appreciate that when it comes time to square these up. And it will work great either way. You can cut them down to nine and cut them diagonally if you want to. I just prefer to cut once if I can skip a step. That's all.
And that's kind of what our brains do, we think of the shortcuts. So that's what we're here to help you with. And then this is pretty big. Go ahead and press that. And then we'll put the other two on. That wants to be [inaudible 00:16:41] up there.
Be a little weird.
It's all right. We're going to go right over the other side of that.
And it will get cut right off when we square it.
What size does this square to?
These square to the giant size, I believe, of 16 and a half inches.
You might want to get a bigger ruler, or are you going to do it on the mat?
I am going to use the mat, but I would actually love a bigger ruler.
Now let's start down the other side. Give that a press.
Okay, then we're ready to square.
That is a nice big block. When you make big blocks in a quilt, that quilt gets done so fast.
It does. It goes together really quickly. All right, I'm going to move these because we are going to use our big mat. We're going to put this in for the 16 and a half, and it looks like we've got about a quarter of an inch on each side to take off.
Do they make rulers that big? 16 and a half?
We have a five by 24.
No, I mean...
A 16 and a half square? I think they do. I have one for t-shirt quilting.
We are quilters of making due with what we have around us. And so a lot of times it's like, "Oh, I wonder if we even have one of those." Yes we do.
Yes we do. So I want this to end at 16 and a half, and I am making sure that I have it hung over on this side a little bit because I want to take the same amount from each side.
Could you come out from the middle? Eight and a quarter?
Yes. So to do that, we'd need to be right about here, which is pretty much-
What you're doing.
... where I'm at. I was just kind of eyeballing it, but you can-
Yeah, there's more than one way to figure it out.
You can measure eight and quarter from the middle and go out that way and just make sure that you're lined up. And then I'm going to use the mat and the ruler to get a nice straight edge on this side. Try not to melt the rotary cutter under your iron. Feel it.
Is it warm?
It's warm. So we got that side.
Then use this. Flip it and use that as your straight edge.
Then you're going to turn it right around and get 16 and a half on this direction.
And if it feels like it's too much, take a little less and flip it around again.
Just look at it. Just look at it and make sure you've got what you need.
Because what we're trying to do is when you sew it together, you don't want to lose this point on the square. And so you need to make sure you have at least a quarter of an inch, if not a tiny bit more, on the points of those squares.
So now, again, I'm going to line this up. And actually, I've got eight and a quarter right here on the mat, so I'm looking at that and trying to get this point close to it. But I also don't want to lose my quarter inch on either side of this, so that is what I'm going to do. I'm just going to eyeball it because, honestly, it doesn't matter if it's a tiny bit one way or the other. All these things come together and it looks really good. We're going for finished product, not perfection.
That's right. And we get better all the time.
We do. I might need to pull this over. I just noticed that it was really far in over here. So making another adjustment. One sec.
Well, and the thing that's good about that is that you do want to check really well before you cut, because you-
Becca use you don't want to lose a point on one side.
And you don't want to have to sew a little strip back on either.
No.
Although, I've done that.
That is a solution to the problem.
I have definitely done that.
Keeping that all lined up. I think I'm going to take another little bit off the other side. Just going to take off a little bit. I don't know.
Just a smidge.
Just a smidge.
A tiny.
A quarter of an inch. I was just a little too far over. Because I want my sides to be even. That looks much better. There you go. It's all set.
That's our nice big square in a square, in a square.
16 and a half inches. And you only need to make four. Four for this block.
So four of those. So here's this block and here's our others. Now we're onto the big diamond.
The diamond block. This one is just as easy as the rest. So we're going to cut some diamonds from our yardage. And to do that, you want to cut seven and five eighths inch strips.
I'm going to move this a little bit because you could fly off there.
I could go crazy. So I'm going to line this up and I think I'm just going to go seven and a half because that's pretty close to seven and five eights.
Well, seven and five eights is bigger than seven and a half. You want to air on the upside. So just go eight.
I'm glad you told me that. I know that it is, I just wasn't thinking.
Go the eight.
I'm going to go with eight.
Anytime they use measurements that are like nine and seven 16ths...
I think I'll just go seven and three fourths.
Seven and five eights. The difference between five eights and a half is this much.
An eight of an inch.
But you want to air on the side of big, right?
Yeah, it'd be better for it to be big.
Three quarter makes sense to you more than five eights, then do a three quarter and just trim it down. When you trim your diamonds, you'll see.
So I'm going to use this template and it should fit right on here in this space. And I actually am very happy that I have a little bit of extra because then it can be exact. You can open that up and get another one.
So this is actually a difference in the way people were taught that they quilted.
What do you mean?
So when you're taught the old traditional way from a traditional quilter, you cut things to the exact size and you don't square. Because I use precuts and things like that, I just cut things bigger and then I want to square them up a little bit. And so it's just a different way of making-
You taught me, so I'm the same.
And the thing about it is, first of all, it's not bad to learn new things. And second of all, if your way works, your way works.
We'll all get there eventually.
We'll get there. So what's around these? Oh, the red.
So we've got to choose some red squares.
Here's some red.
You can choose...
Whatever ones you want.
Now I cut all of my red squares up and then mixed them throughout the quilt. So there's different colors and different places. And you are going to need two of these because you'll need to have-
Two for each block?
On all four sides, yes. And then there is one difference here in this quilt. You'll notice that four of the diamond blocks have really light star legs on one side.
Oh, that's good so the star pops.
The rest of them are red, but you're going to want to make sure that you have four that you pull out the white for.
So this right here is the same. This is the same-
Do you want to make one of those?
Same diamond, but we've got red on the top and white on the bottom. But all the rest of these are only red. Just red, red, red.
So these ones, to put the legs on these we're going to cut our layer cake in half. So we have two five by 10 inch strips, and then these are going to get cut on the diagonal. And because it's Batik, it doesn't matter which direction they go.
Which side.
Because you can flip one. But if you're using print fabric, you're going to want to make sure that you cut some this way and some that way so that you can border your diamond.
Good point.
So now we're going to take these and we're going to square up our diamond.
Let me get these apart, and show them how they go on.
They go on like this, and I would recommend overlapping by, I don't know, maybe a half inch at the top. Let's see what Deonn says. She says a line and stitch the triangle at the middle should hang over by quite a bit. But the top doesn't hang over as much, but I would still...
So you can do the middle here, and then do the middle here like this and make sure that you're-
Yeah, you can center it, but I would probably overhang my top just at least by a quarter of an inch so that you have enough for squaring.
Well, let's see where it lands here. It's about half an inch.
That's perfect. So go ahead and fold and center and then line up those lines. And I would do your two opposite sides, and then flip it and do the other two.
So we'll do this one. And you want to make sure that... Oh, look at that. So make sure that when you put it on there, it forms a square.
And then when you turn it inward, your wide piece is always going to be at the top with the narrow piece at the sides of the diamond.
And when you start putting these together, you'll get in a rhythm. And so I just naturally laid that over a half an inch. I didn't even have to press y little folds. You want to press those?
Yep. It's good to have a-
Let's move some of this stuff off our ironing board.
A little nest or pressing partner do all of the tops and bottoms and then press them all and then do the sides after. So now you're going to be adding these onto the other side.
And it should go this way. It's so funny how that can quickly tweak can happen. I'll put this over here. And I like to sew top to bottom. I like to sew with my fabric on the outside. So I am just going to overlap this up here so that it will match. And this is a time I actually might use this crease it.
Use a stylus? You would what?
Crease it.
Oh, crease it. I thought you said pre-sell and I wasn't sure what that was.
So let's see if this is going to work now.
It'll work.
One more.
It's going to be good. You're going to love this.
And we're over half an inch.
Do we want to make a star with light legs on one side?
Yes, I think so too.
I'll go ahead and cut those.
It never hurts to show more than one.
Of course.
My thread came undone, so let me rethread this real quick. So now we're going to start down this side. Make sure we're lined up.
So these go on that side and then here's a couple of red ones for the other side.
So if we want to do the two top pieces, will it work?
What do you [inaudible 00:29:28]?
Like my white is both going to go on the same side.
Yeah, it doesn't matter because these can be turned either way. They're not directional.
I can put this one on over here this way.
Yes. You just have to make sure that the two lights are in on one end of the diamond.
I think what I was meaning, and I didn't say it right, was on the last one we did opposites. And so now I'm doing top.
Yeah, it doesn't matter.
And then I'll do bottom.
Yeah, it really doesn't. Oh, did I take your pieces? I'm sorry.
You took my stuff.
I thought you had them already.
There we go. So this is going to come down here.
And I'm going to [inaudible 00:30:28].
And we are going to press that one open.
Line that up. So these get squared to eight and a half by 16 and a half.
Again, on the cutting on this. I'm going to press this one for you while you're cutting.
While I'm squaring.
So 16 and a half is what it ends up?
Uh-huh (affirmative) Well, that's what it squares to, 16 and a half by eight and a half. And this one I'm just going to shave just a teeny, tiny bit off. I would rather air on the side of a larger first cut. And that's why this happens to me occasionally when I have to go back and cut the other side down just a little bit more.
I'm the same way.
I don't want to cut it so tight that I can't make it right. So now I'm going to line this up so it's at eight and a half. I'm try and center it so that...
Center here and you're...
Were you in that?
Where the middle part is on the eight and a half?
I don't know what center you're lining up with.
Actually, if you do this on the big line where you can see side to side, then this should be then eight and a quarter from this line, right?
Yes.
Every brain works differently, and Natalie often gets confused at mine.
Well, I understand now. You're not going to be taking very much off these sides, because it's pretty tight.
Which is nice.
And so we're at a quarter inch on each side. I would rather have it in this L and know that I'm 1, 2, 3, 4, 5, 6, 7, 8 and a half. But I like the centering at the beginning to get that good first cut.
Well, and let me tell you truthfully, no way works perfectly every time. No, no way does. So here's this one, and these are going to be in these outside corners. So here's here and here, two down here on the bottom, two on each side and two across the top this way. And then we've got our one with the-
You want me to square it?
Yes. I'm glad that worked because I did notice that one of my pieces was way higher than the other piece.
It is fine. Another squaring tip that I keep in mind while I'm squaring is knowing that at the points I want to have about a quarter of an inch of sewable space.
And this is 16 and a half, right?
Mm-hmm (affirmative).
Just checking, just checking.
16 and a half. So a lot of times I'll just do my first cut at a quarter of an inch out and then go from there. Just another idea. Just another thought. Not a hard and fast rule.
See, when I was thinking about doing this, I thought, "Oh, I'll just do it with wonky legs," but just did not work.
Wonky legs would work if your whole quilt is wonky. But then things may not line up.
But Storm at Sea has such movement.
You want things to touch each other. You want some of the points to meet up. So that is why that would be a little bit tricky. It'll be a little blocky doing it that way. Slide into that corner for me.
And these are all the blocks that you need to make this whole quilt. So just those three. So here's your star legs. One out, one out. They should be the same size as your big block. Go ahead, put your big block up there.
And then this one goes here.
This one goes here. Careful on that squeak.
Oh, it's a squeaky section. This one goes here. So when you put the quilt together, you're going to lay it out with a small square in a square diamond, small square in a square diamond, small square in a square. And then this one is diamond, large, diamond, large, and then small and then large and then small.
Perfect.
And that's it.
And that really is how easy it is. So it's these blocks right here.
So we can actually create it this way too. This is another real traditional way to look at the Storm at Sea.
That's the leg.
I know, but I'm just showing that the block itself, if you are not making anything with legs, pretend there's no legs on it. The block looks like this. You have the diamonds on the sides, the large one in the middle. This is the large Storm at Sea block.
That is the large Storm at Sea block. You're right.
And if you make this-
Can we do this?
... walk over and over. Sure.
There we go.
Whatever makes you happy.
Thank you.
That is the Storm at Sea block.
And if you make it over and over...
You have a beautiful quilt.
Just make sure you get these in the right place and not on the top. Anyway, we want to thank Deonn for letting us do this. She's an amazing pattern designer, lots of different designs on her site. She's also a really good friend to us here at Missouri Star.
This quilt ended up being 56 square.
It's a pretty good size. What did we quilt it with?
We quilted it with time warp, which is just one of my current faves. I'm kind of obsessed with it.
You are a little obsessed with it. It's very fun, and it's Tsunami. And this is our first swing at the storm at block. And we hope you enjoyed this tutorial from Natalie and I at the Missouri Star Quilt Company. Hi everybody. It's Jenny from the Missouri Star Quilt Company. We hope you enjoyed watching this video. If you aren't already part of the Missouri Star Quilt Company family, be sure to subscribe so you won't miss a thing. And if you click that bell, it'll notify you every time a new tutorial comes out. See you next Friday.



