

Make the Corrine Wells Stargazer Quilt with Jenny Doan of Missouri Star
 Jenny Doan
- Layer Cake
- Double
- Beginner
- Quilt size 59" × 74"
Jenny Doan demonstrates how to make a beautiful new star quilt with 10 inch squares of precut fabric. She is using one pack of colorful, high volume prints and one pack of subtle, low volume prints. This quilt was designed by Corrine Wells. She calls it Stargazers, and since Jenny has her own Stargazer pattern, we call this version the Corrine Wells Stargazer. Watch to the end of the video to see this quilt in red and white!
Instructor
Jenny Doan
Jenny Doan is an American quilter, author, and YouTube personality. Jenny started Missouri Star Quilt Company in 2008 and today it is the largest quilting supply vendor in the United States.
Shop this tutorial
 Stargazers Quilt Pattern$12.75Shop →
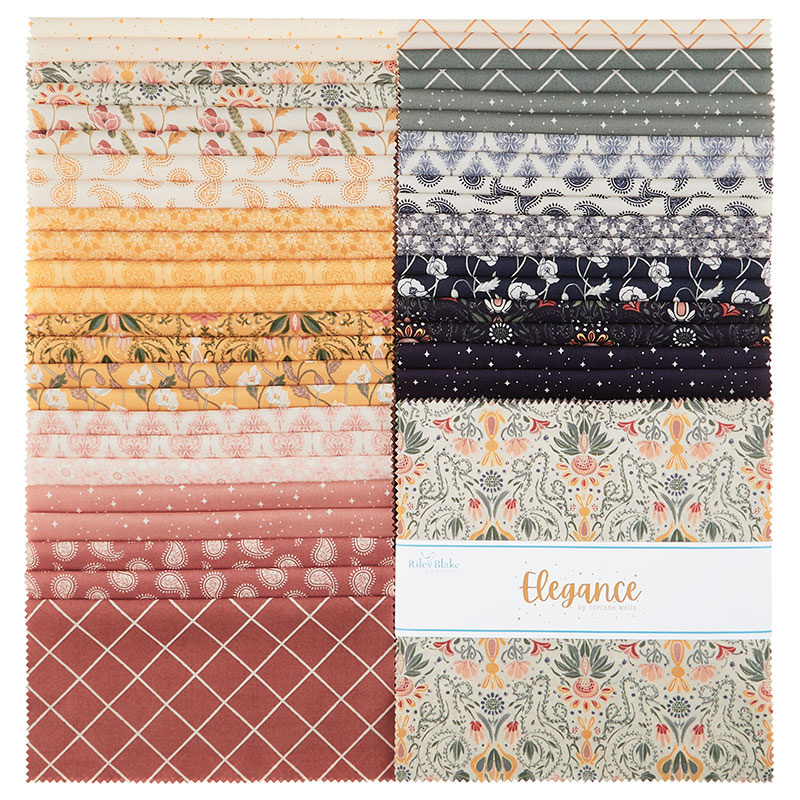 Elegance 10" Stackers$38.95Shop →
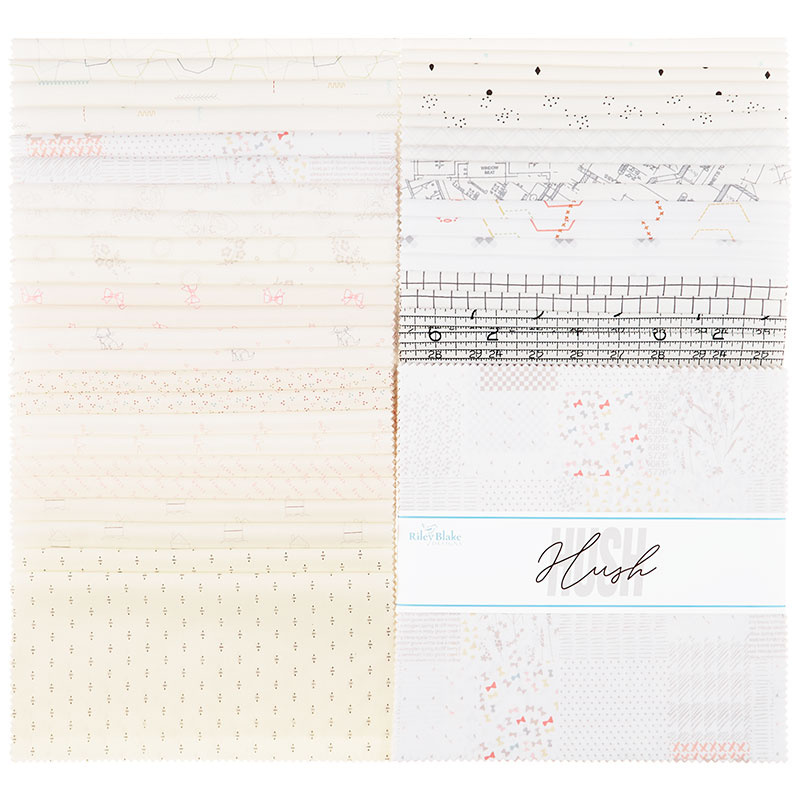 Hush Hush 10" Stackers$45.95Shop →
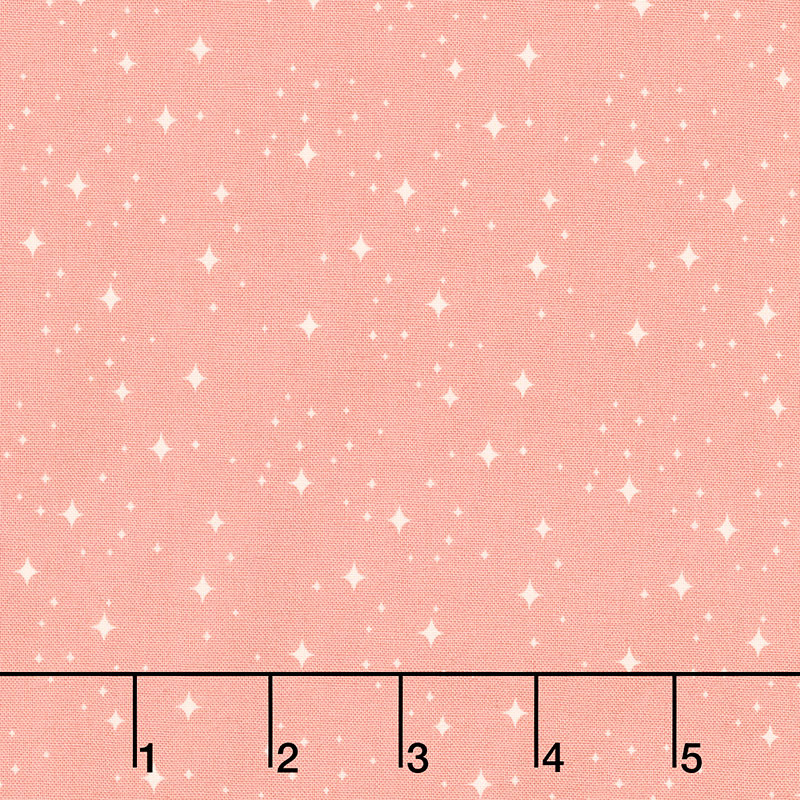 Elegance - Eternal Dusty Rose Yardage$11.24Shop →
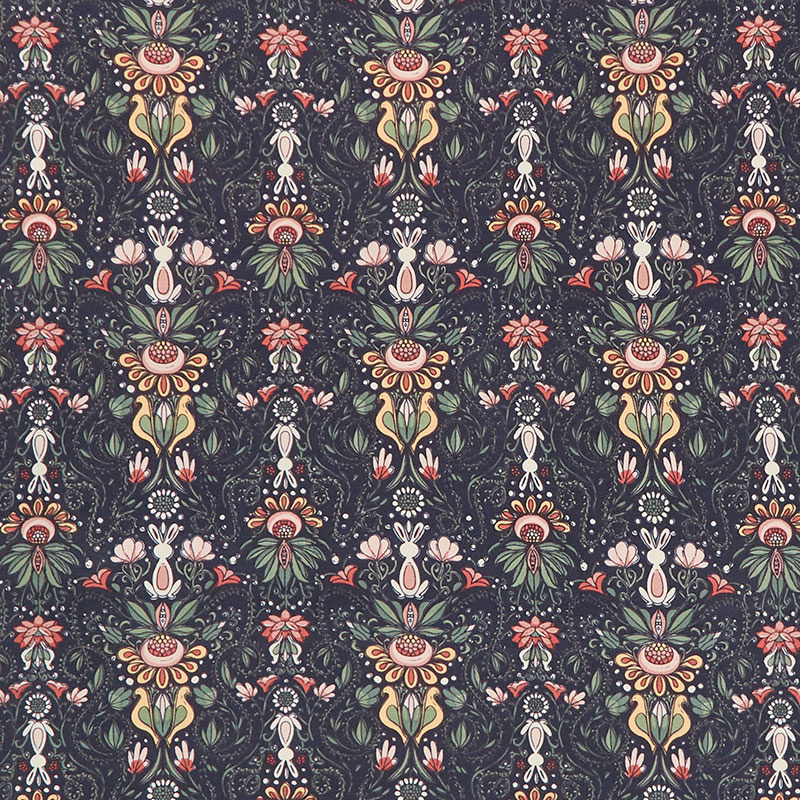 Elegance - Floral Motif Midnight Yardage$11.24Shop →
 Missouri Star Quilter’s Best Blend Twin Batting$26.45Shop →
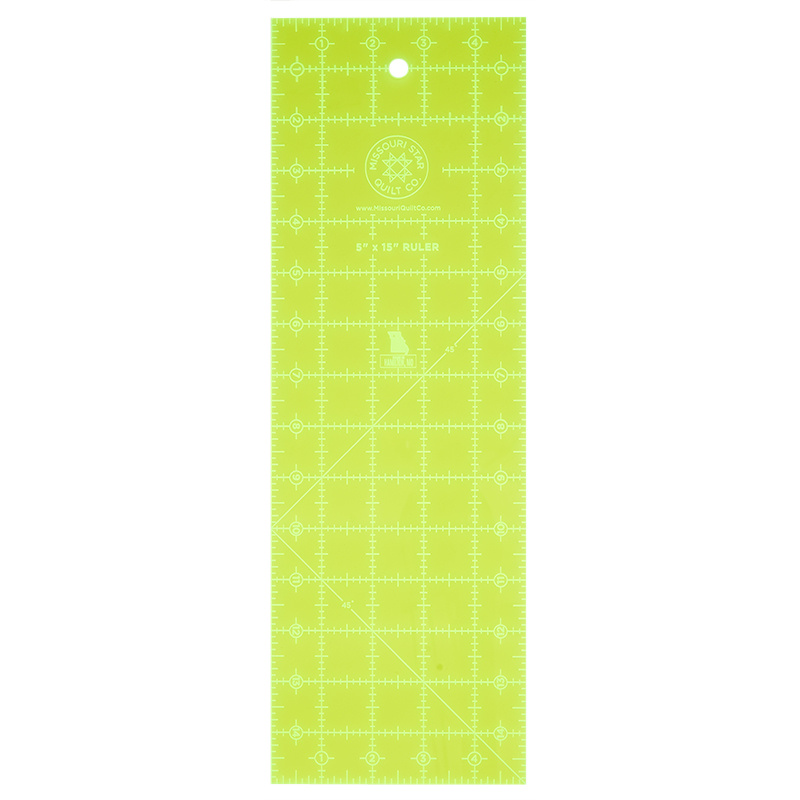 Missouri Star 5" x 15" Ruler$15.95Shop →
 Missouri Star 2.5" x 8" Ruler$10.95Shop →
 Baby Lock Accomplish - 1500 SPM Straight Stitch Machine$999.00Shop →
 Missouri Star 50 WT Cotton Thread White$6.95Shop →
 Olfa Splash Aqua 45mm Rotary Cutter$18.75Shop →
 Elan 8" Dressmaker Scissors$20.95Shop →
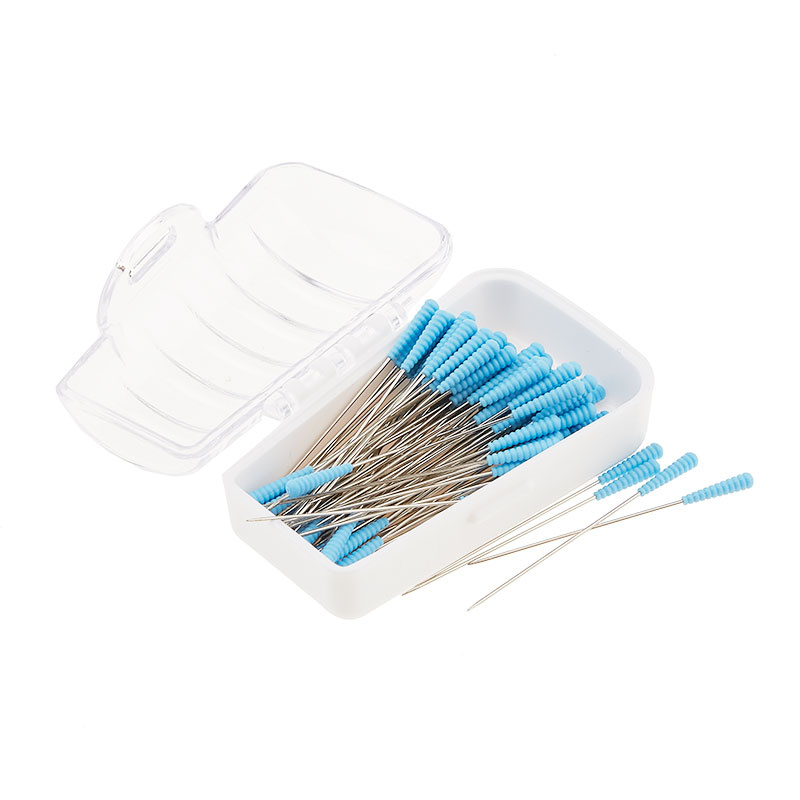 Magic Pins™ Quilting Pins - 100 count$18.75Shop →
 Jenny's Missouri Star Apron$25.95Shop →
 Exclusive Missouri Star Jenny TG1600 ProPlus Oliso Smart Iron$199.99Shop →
 Missouri Star Wooly Betty Board - 17.25" x 25.5" Orange Border$98.95Shop →
Common Questions
What is covered in Make the Corrine Wells Stargazer Quilt with Jenny Doan of Missouri Star?
Jenny Doan demonstrates how to make a beautiful new star quilt with 10 inch squares of precut fabric. She is using one pack of colorful, high volume prints and one pack of subtle, low volume prints. This quilt was designed by Corrine Wells. She calls it Stargazers, and since J...
How long is the tutorial video?
The tutorial video is 00:22:34.
Are supplies listed for this tutorial?
Yes. The tutorial page includes the supplies and materials connected to this project.
Is a transcript available?
Yes. A written transcript is available on the tutorial page.
Video Transcript
So to make this quilt, you're going to need one packet of 10 inch squares, and we have used this beautiful line called Elegance by Corrine Wells for Riley Blake Fabrics. We also used this pack of low volume fabrics called Hush from Riley Blake. And I love that they put a low volume pack together. Now, let me just explain to you for a minute what low volume is. It's any fabric that could be used as a background. And so a lot of times, when I would quilt, sometimes I would flip my fabric over and use the backside of it to use a low volume. But now, we have Riley Blake putting it together in a whole kit.
But, let me finish telling you what we need. So, we've got the one pack of 10 inch printed squares, one pack of 10 inch background squares, and then we have a border. Now, her quilt doesn't have a border on it, but you guys know I love borders. So, I put a border on mine, and I used a yard and a quarter, and it's a nice, big, six inch border. And the backing on that is going to be this right here, and the backing is 3-3/4 yards, and it just makes a great backing. Let me show it to you. Isn't that beautiful? Really a beautiful back.
So her quilt and my quilt are just a little bit different sized because of the background change and the border change. So, my quilt is 59x74, and I can't wait to show you how to do this. So before we get started on the quilt, I just want to share with you a little information about Corrine Wells. She learned to quilt watching my tutorials, and I just thought this story was so great that I had her send it to me, and I just want to share it with you.
She says, "Missouri Star has been an inspiration to me since your first days posting on YouTube Videos. I lived on the east coast, far away from family and friends, and was trying to raise two tiny kids while my husband worked long hours. Quilting became a needed source of comfort and sanity for me. Your simple instructions made it possible for me to put my first quilts together while raising my kiddos. I grew up in mid Missouri, so it also felt comforting to have someone in my homeland holding my hand along the way. Since that time, my interest in the industry has grown, and I began designing my own quilts and fabric lines. Along the way, I found Let's Make Art, and learned how to use watercolor in my designs. I thought it was quite the coincidence that once again the Dohn family was helping me on my path. I now own Franny B Quilt Company, and am honored to be a fabric designer for Riley Blake Designs. My second collection, Elegance, is arriving in stores this month. Stargazers is one of my favorite quilt patterns that we have released, and I'm so excited to see yours."
Well, I did make another one, and I'll show it to you at the end. I love this pattern so much that I made it twice. Let me show you how to do it.
So one thing I look for in doing other people's patterns is that it has to fit with what I do, and I use a lot of precuts, and so I look for something that's precut friendly, and this pattern is precut friendly. So, I love when I find a pattern that piques my interest and works well with what I do. And so her pattern, Stargazers by Franny B Quilt Company, it'll give you all the information that you need, and I'm going to show you how to do all the things.
So, here is the size I made. I made the throw, the middle one, 48x63. And of course, I highlighted that area so I didn't get lost as I start cutting things out. And so as we go along, we're going to make two cuts. We're going to cut our background fabric, and we're going to cut our print fabric. And the print fabric I'm going to show you is going to be for the stars, and then a background is going to be ... that'll be for all the low lights in the background. Now the stars, you can cut several of these at one time. I'll just cut one, but you can layer them up to about four, or however sharp your blade is. And what we're going to do on this is the first cut we're going to make is going to be a 3-1/2 inch strip, like this. So, we're cutting 3-1/2. And then we're going to cut 3-1/2 into two 3-1/2 inch squares, like this. 3-1/2 and 3-1/2. And the block I'm showing you, I guess I should mention that. We're working on the star block right now.
You're going to need 42 star blocks for this quilt, and these are going to be the center of our stars. From the rest of your layer cake, we're going to cut 2 inch strips and cut 2 inch squares. So we've got 2 inch strips. There's one, two, and three right here. And you'll just have this little tiny bit leftover right here, and that's awesome. So, then we're going to take these strips, we're going to turn them sideways, like this. Line them up real carefully. These are smaller pieces, so you want to line them up. And then we're going to cut 2 inch squares for these. So, we do that. Just go right along the line here. And this is enough to make two stars. 2 inches. Remind myself, 2 inches. There we go.
All right, so you're going to set these aside, and you want to kind of keep your like colors together, like that. Now, for our background, we're going to take ... we'll take a few pieces of these and we have to make our background cuts because we have stars, the stars are built on a background, but then we also have all the other background pieces around it. So, we're going to go over here to the next page, and it gives you a ... and you can see, I've marked this up. It gives you a number of what you're going to do. And see, on these right here, these are the background. I have like lines around it, drawing my attention to it. I kind of quilt by pictures, so it's important for me to be able to see those.
So, we have 3-1/2 inch squares and we have 3-1/2x6-1/2 inch rectangles, and then we also have 2 inch squares and 2x3-1/2 inch rectangles. So, the first thing I'm going to do right here is I'm actually going to take off this little edge right here. I'm just going to take the tiny little bit of it off. And watch really carefully if you do that. I'm just taking these little points, because it kind of messes with my mind when I'm cutting small pieces. So, we will take those off. And then I'm going to put over here, and I'm going to cut my 2 inch strips right here. And I'm going to cut two of those, like this. And then I need four of these for each star that are going to be the corner blocks. And so we're just going to kind of make piles of things, and I have four different kinds here. We want four of the same, so I'm going to come down this and cut one, two, three, and four, like this.
And then what I'm going to ... oops, I did that 2-1/2. Measure twice, cut once. All right, so then I'm going to keep my same fabrics together. So, I'm going to put this one here, and I'll just dole them out like cards to make sure that when I put my stars together I have the same fabrics. And so you should have four of these. And here's my last one here. And it's just good to keep them in order right now, so you don't have to worry about it later.
The next thing we need are four 2x3-1/2 inch pieces. So, we're going to go 3-1/2 right here. And it looks like I'm going to need to cut another strip, because you need four of these. All right. Okay, so I'm going to cut one strip off here, one more strip, 2 inches, so I get the right amount of blocks for my star. And these again are 3-1/2x2. And you can dole these out too so that you'll have the right pieces in the right places. These are ... we have two the same and one different in here, so it always kind of messes me up a little bit. So, it might be better to do a block at a time, a square at a time. And that one, I can see right away that I have miscut that, because it is too long. So, let me go back and fix that. 3-1/2x2. All right. I mean, we all make mistakes, right?
Okay, so there we go. There we are. These two here, and this guy there. All right, so I'm going to keep these all together, and I'm going to match these up with the four that I've cut from here, and this makes my star set. Now, the rest of this piece is going to be the background filler blocks, and we want a 3-1/2 inch cut on here. So 3-1/2, and we're going to do a 3-1/2x3-1/2 inch square, like this. And then we're going to do a 3-1/2x6-1/2 inch rectangle, and this should work out just right. So, that is 6-1/2x3-1/2.
All right, so all of these you want to keep in a pile. They don't have to be taken apart. Keep all your 6x3-1/2s in a pile, and all your 3s in a pile, because you're going to start grabbing from those when you start putting these blocks together, and you just want that to be kind of mixed up. All right, so let's put a star together first. So, the first thing we're going to do is we're going to grab four of our long blocks right here, the 3-1/2x2, and we're going to grab this star right here. These are our 4 inch pieces for our legs. You need eight of those. And we're going to grab a middle.
Now, I used on my stars, I did different middles, and so let me just grab a ... I'll grab this yellow middle for the middle of mine, and we'll use these in another star. So, what I'm going to do here is I'm going to take these pieces right here, and I am going to put a block on the corner and sew right across. So, this is my 2 inch square. It's going to go right on this corner, and I'm going to sew diagonally right across here. I'm using my diagonal seam tape, and we're going to do four of these at a time. So, we're just going to chain piece, so now we'll just slide another one in under there. Keep them all going the same direction. And you can draw the line, or you can iron the line. You can also use your diagonal seam tape right here. And one more, like that.
All right. Now what I'm going to do is, you can do it with a rotary cutter, or you can grab your scissors. I'm just going to cut off these corners right here, and cut them apart. And these corners are too little for me to save. They're not too little for some of you out there, but they are too little for me. So what I'm going to do now is I'm going to go over here and I'm going to press this side open. When you're dealing with little pieces, I think it's important to take all the ... just make sure you're ... I don't know what I'm trying to say here. Just make sure that you pay attention to the 1/4 inch seams, and the pressing, and things like that. Because, the smaller the pieces get, the more important those things become.
All right, so now I'm going to put my pieces on the other side, right here. And it should cross over in the middle, right here, and we're going to sew diagonally this way, and we are going to do four of those as well. And so we'll grab a square. And line it up on your corners, and that will help your square stay lined up as you trim it and take it back. I'm going to do this one. Squeeze that over there. There we go. All right. And then one more. And these are going to make our star legs. And it's just a little sawtooth star, so it's nothing to be afraid of. The pieces might be a little smaller than you're used to, but it goes together just like that, and it's just so easy.
All right, so we're going to trim these off again. Trim the other side. And then we'll press these open, and we will put our star together. Last one here. All right, so now let me show you how this goes together, because it's just so slick. All right, here's our middle. And we're going to put our star legs on around here, like this. So, all four sides. These go to another star. And then we're looking for our corners, which are here. We've got this one and this one, and this one, and we need one more. Oh, this one right here. So then you're just going to slide those in there like that, and then we will sew this like a 9 patch. So, I'm going to sew these two pieces right here, and we'll go right down this row, and then we'll pick up these last ones on our way.
So, 1/4 of an inch. Down the side. This guy gets to go over here. And this guy over here. Now, we'll bring this back up, and we'll need to add the pieces to the other side. So, here's our first row, right here. Here's our middle. And if I had done that right, I could have left those together, but I didn't do it right. I picked up the wrong side of one first. So now, this one we're going to add this to the corner, and then this one over here to this corner, this side. And then this one gets a corner as well. And then here it is. We're going to sew our little rows together. This is a really cute little star. I love the colors on this too. I just think this line is beautiful.
And then here's our top piece on, and the only seams I'm matching up are the ones where the little corner comes to the middle. So, this one right here. And this is where your 1/4 of an inch matters. All right, now let's press this and see how we did. All right, here's our little star. Now, you're going to make 42 of these, and they just go together lickety-split. So, I recommend doing the cutting for this first. Do all the cutting first, of the backgrounds, do all the cuttings for the little blocks, and make yourself little piles. So, this is a little star, and you put your 4 blocks, and you put the 4 longer blocks that you want to use in there. Make little sets so that you know that when you start putting them together, all your little middle pieces are going with all your other pieces, and you just have little groups of stars together.
All right, so now we need ... once you get all your stars made, you're going to put those together in backgrounds. And those backgrounds are going to come from the 3-1/2x3-1/2 inch square and the 3-1/2x6-1/2 inch pieces. And we have to watch this now. So this, I have to admit, I did rip a few times. These are the instructions for putting the stars together. And then we start making block A, which is this block right here, and I have one done right here. This is block A. Nope. This is block B, because this has 4 stars, and block A only has 1 star. So, let's make a block A.
So, we've got this star right here. So, the first thing we did, let me move this out of the way, is that we sewed two of these together. And you'll want to lay this out. Two of these together, and then you have a long one underneath, right here. And then you have a star next to it, right here. So, you can see by doing this that you have to actually sew these two together. Well, let's just make this little section right here. I was looking to see if I had enough stars to do if I made this section again. But, let's just do this. Sew those together. And while I was sewing these together, I kind of just finger pressed them and then added my block to the bottom. And look at it several times to make sure you're getting it in the right place.
All right, so now that this unit is together, I can add the star to the side. So, let's do that. I'll add this guy right here. All right, so then we'll press that. And then you go back to your diagram, and you look and see what is the next part. So the next part has a long block here, and a long block here, and then a star in the center, like this. So then, you're going to add your two little squares over here, and so we'll do this right here, one of these, and one of these. And then one long piece, so we'll do this one here. And then the last row is two long pieces like this, one and two, and then a star over here in this corner, right here.
So, this is block A, and you're going to sew that all together and assemble it. So when you go to put these together, you're going to make six of block A and six of block B for the throw size, and I want to show you how she does this. So, she has block A on this page, block B on this page, and then over here she has the diagram for how you put it together as you want it to get larger. So, if you were doing the baby, right here, that's all you need, six little blocks. And then we make the throw, and then we make the large one out here.
And so let me show. I have block B sewn together, so let me show how this goes in the quilt, because you very quickly lose sight of the lines, and I love it when that happens because it just makes for a scrappy look. So, we have block B right here first. So, it goes B, A, B, A. And so this is our block B, and another block B here, only I'm holding it upside down. There we go. Here. And so you just put, on her diagram I'll show you, it's just awesome. So right here, so she has it written out. B, A, B, B, A, B. And then as you add the other rows in, it just makes the whole quilt, and the whole thing looks just so scrappy and so put together, and I just think it's so fun.
So anyway, this was a pleasure for me to do. I actually liked making this quilt so much that I chose it to make one out of red and white. You guys know I'm making some red and white quilts this year, and I chose it to make one out of my red and white quilts with again my low light backgrounds. I just think it came out beautifully. It's just a gorgeous pattern, really a fun pattern. Easy. A little bit. You have to pay attention a little bit, but as you put it together, it'll become automatic for you because you're doing the same thing over and over. Anyway, it's a lot of fun. I hope you guys take a chance on it. She's a great designer, and I'm just so inspired by her story, and I love that she shared that with us. And we hope you enjoyed this tutorial on Corrine Wells' Stargazer Quilt, Franny B Quilt Company, brought to you by the Missouri Star Quilt Company.
Hi everybody, it's Jenny, from the Missouri Star Quilt Company. We hope you enjoyed watching this video. If you aren't already part of the Missouri Star Quilt Company family, be sure to subscribe so you won't miss a thing. And if you click that bell, it'll notify you every time a new tutorial comes out. See you next Friday.



