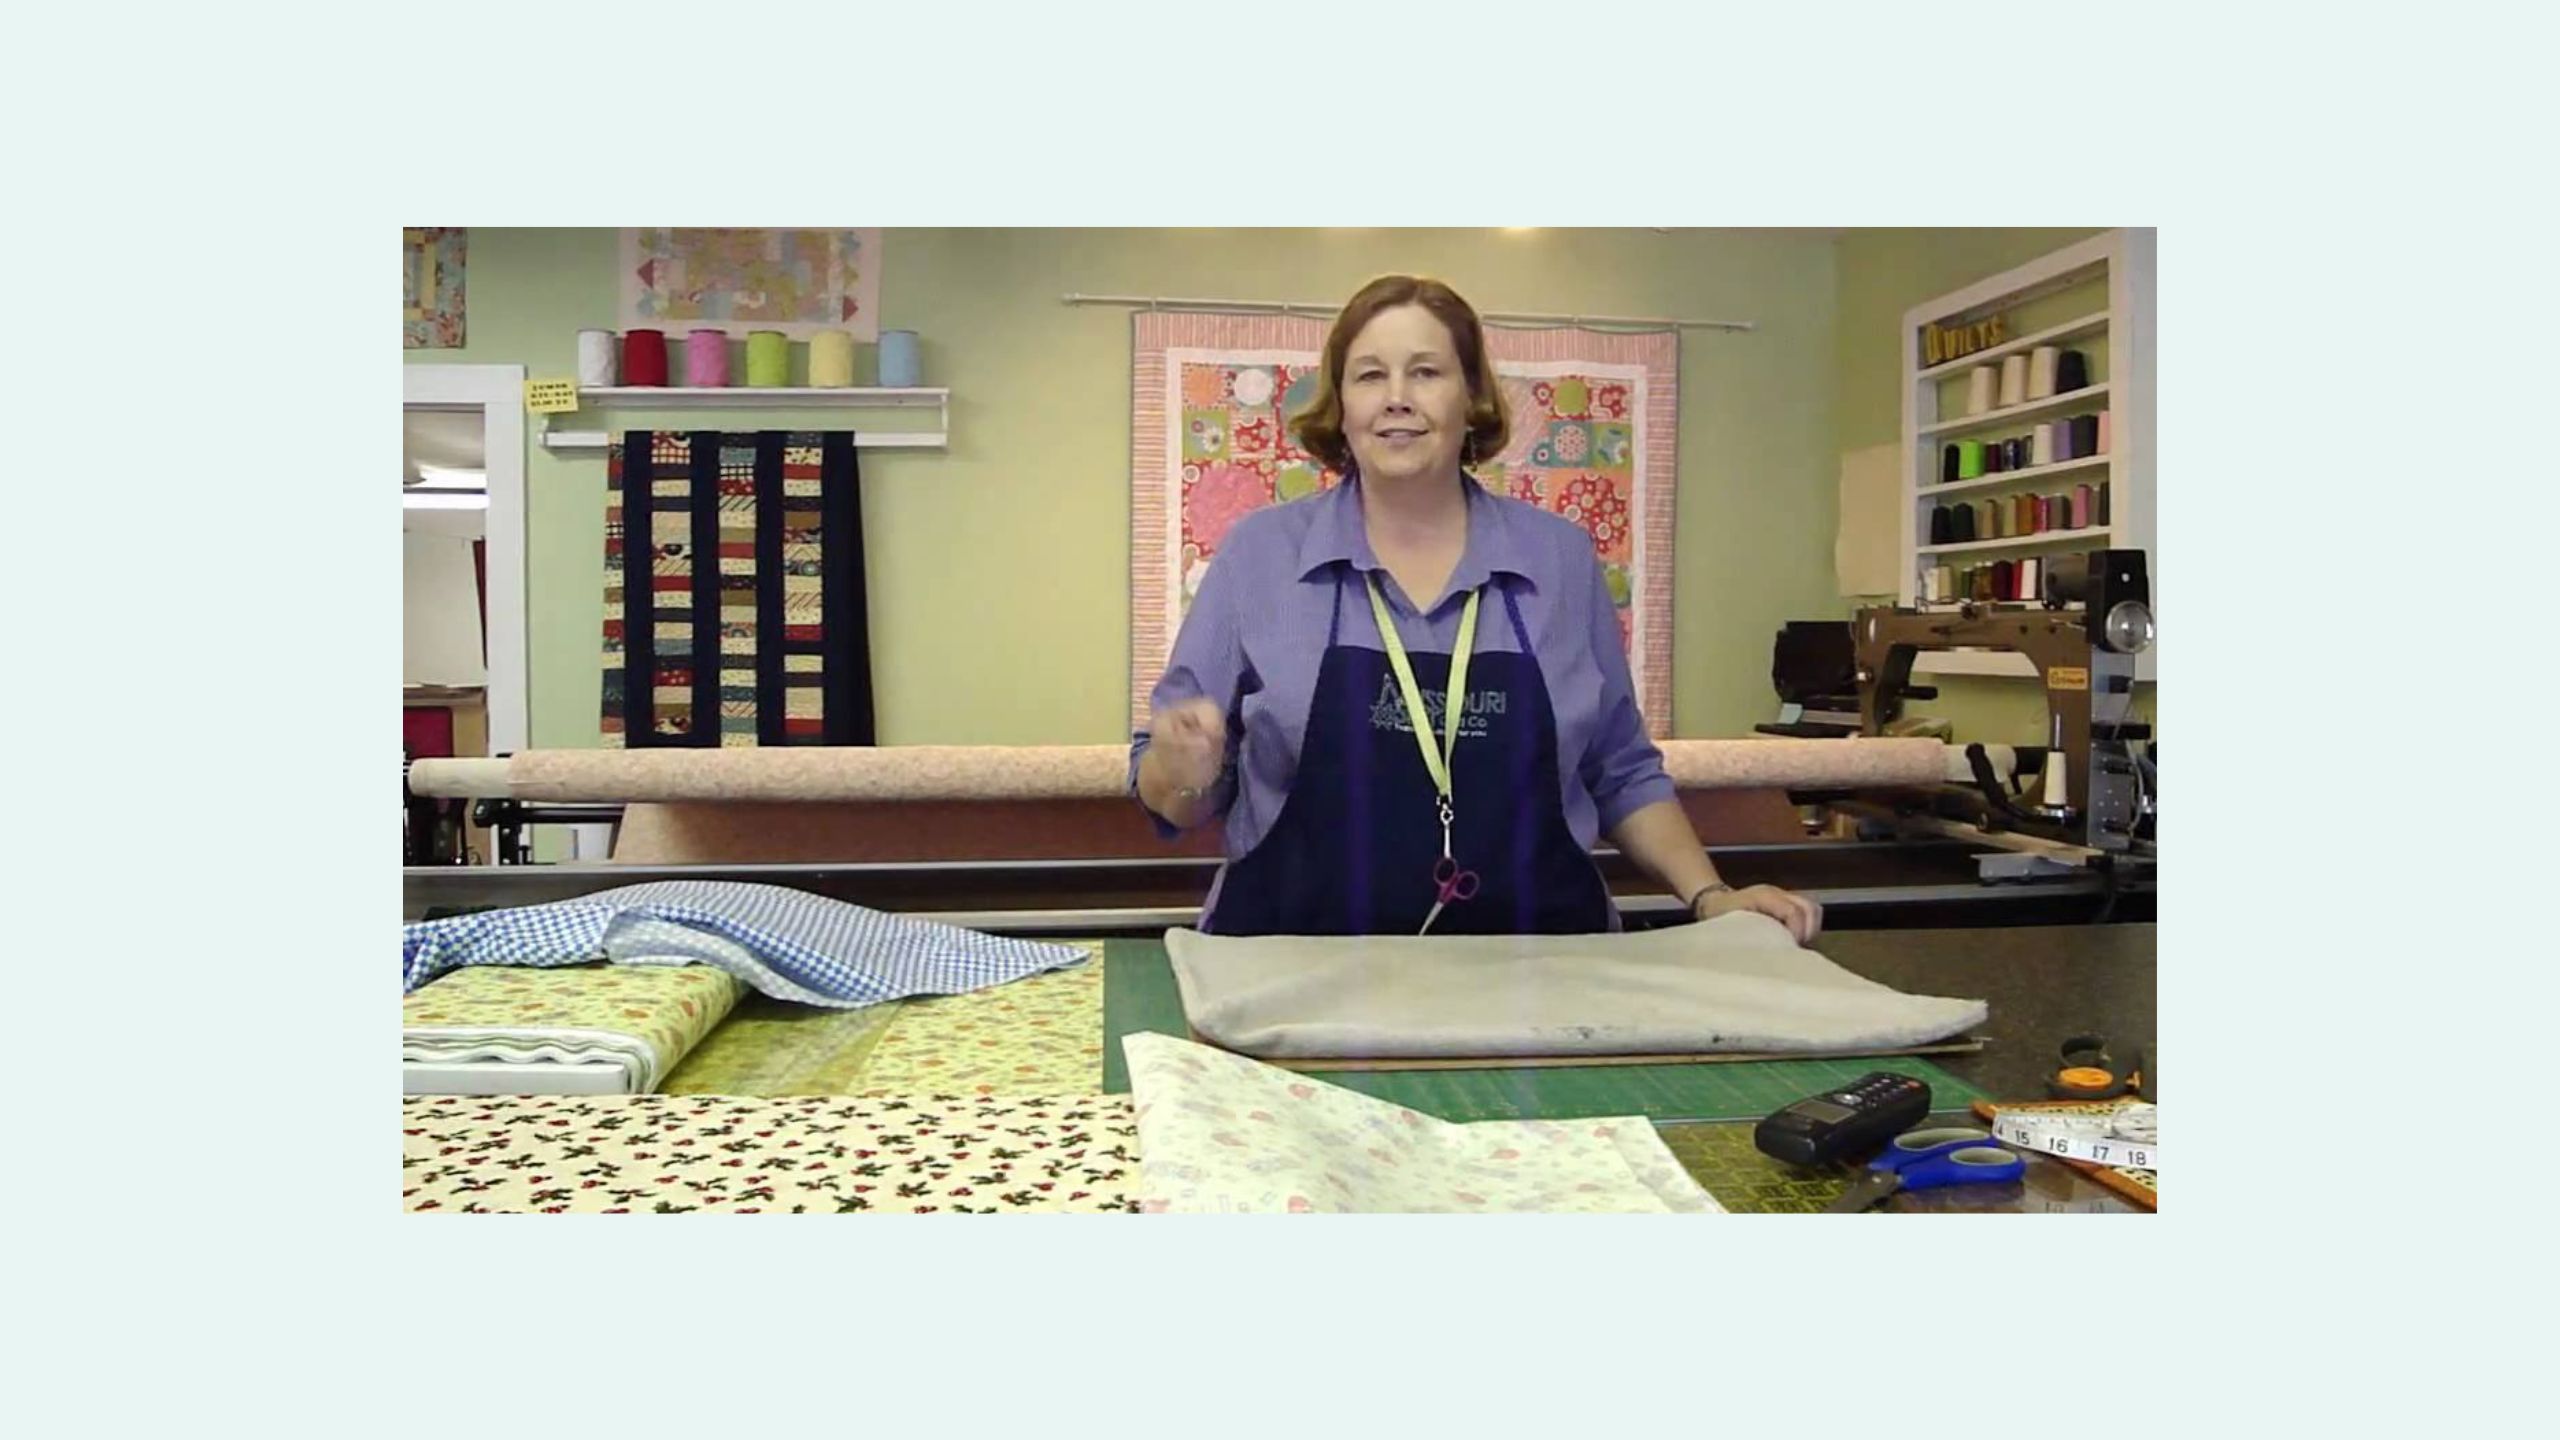
Make Your Own Ironing Board Tutorial
Jenny from Missouri Star Quilt Company shows us how to take care of any "pressing issues" when it comes to quilting. Learn how to make your own "take anywhere" ironing board. If you'd like to get started on quilting and need supplies, come on over and check us out at or take a look at our awesome deals every day at.

Instructor
Jenny Doan
Jenny Doan is an American quilter, author, and YouTube personality. Jenny started Missouri Star Quilt Company in 2008 and today it is the largest quilting supply vendor in the United States.
Shop this tutorial


Common Questions
What is covered in Make Your Own Ironing Board Tutorial?
Jenny from Missouri Star Quilt Company shows us how to take care of any "pressing issues" when it comes to quilting. Learn how to make your own "take anywhere" ironing board. If you'd like to get started on quilting and need supplies, come on over and check us out at or take a...
How long is the tutorial video?
The tutorial video is 00:03:27.
Is a transcript available?
Yes. A written transcript is available on the tutorial page.
Video Transcript
So, here we go! Today we are going to show you the secret of our ironing board! This, Sarah just doesn’t love it that much! So, we’re going to change it today and show you how we did this. First we start with, I know, this is going to shock some of you! But it’s a piece of flooring a piece of underlayment, that you use when you’re straightening up a floor. It’s light weight, thin, but flat and sturdy. The next thing we did was we took an old towel. One of those towels from your bathroom that isn’t pretty anymore, but you just can’t bear to throw away. And we took that, and we measured it to the size of our board. Cut it, just folded it over, it sits at the fold, and stitched up the sides and we stitched the bottom. The bottom doesn’t really have to be stitched but it will ravel with some little fluffy things. So, we went ahead and surged around the bottom. So, then we put that on like a pillow case. So, there we go you just slide that in, and there you go. Now, the next thing we do is measure our ironing board on your fabric so you know just how big you need to make it, and leave about a ½” on each side. So, we lay that on here leave about a ½” and just go ahead and cut that. We flip it inside out and sew down the side seams. Just an even little seam. Then we’re going to turn that right side out and we’re going to slide this over the top of the ironing board. This is a new fabric we have in the shop right now. It is by Henry Glass and its just darling with little pincushions and spools of thread all over it and this is going to be available online really shortly. Really cute, makes a cute ironing board cover. So, then we take the fabric that we’ve sewn down the sides and we slide it over and pull it on. And presto change-o we have a new ironing board pad! These work great because there seems to be, when you use an ironing board there seems to be a little give, and with this ironing pad you can put it right on your counter. It’s the same size as your cutting board mat. As most of the 24” cutting board mats and so you can just take it with you in your bag when you go sewing, so, you can have your own ironing board where ever you are. And it just works perfect for all of those little pressing matters! Anyway so, this is from the underpinnings of the Missouri Star Quilt Company. Now you know the secrets of our inner ironing board!
Is underpinnings right? Underpinning, underpining, underpining… Underpinning sounds…