
Skip to content

Free quilting video tutorials from Missouri Star

Quilting Tutorials
Meadow Breeze Quilt

Meadow Breeze Quilt

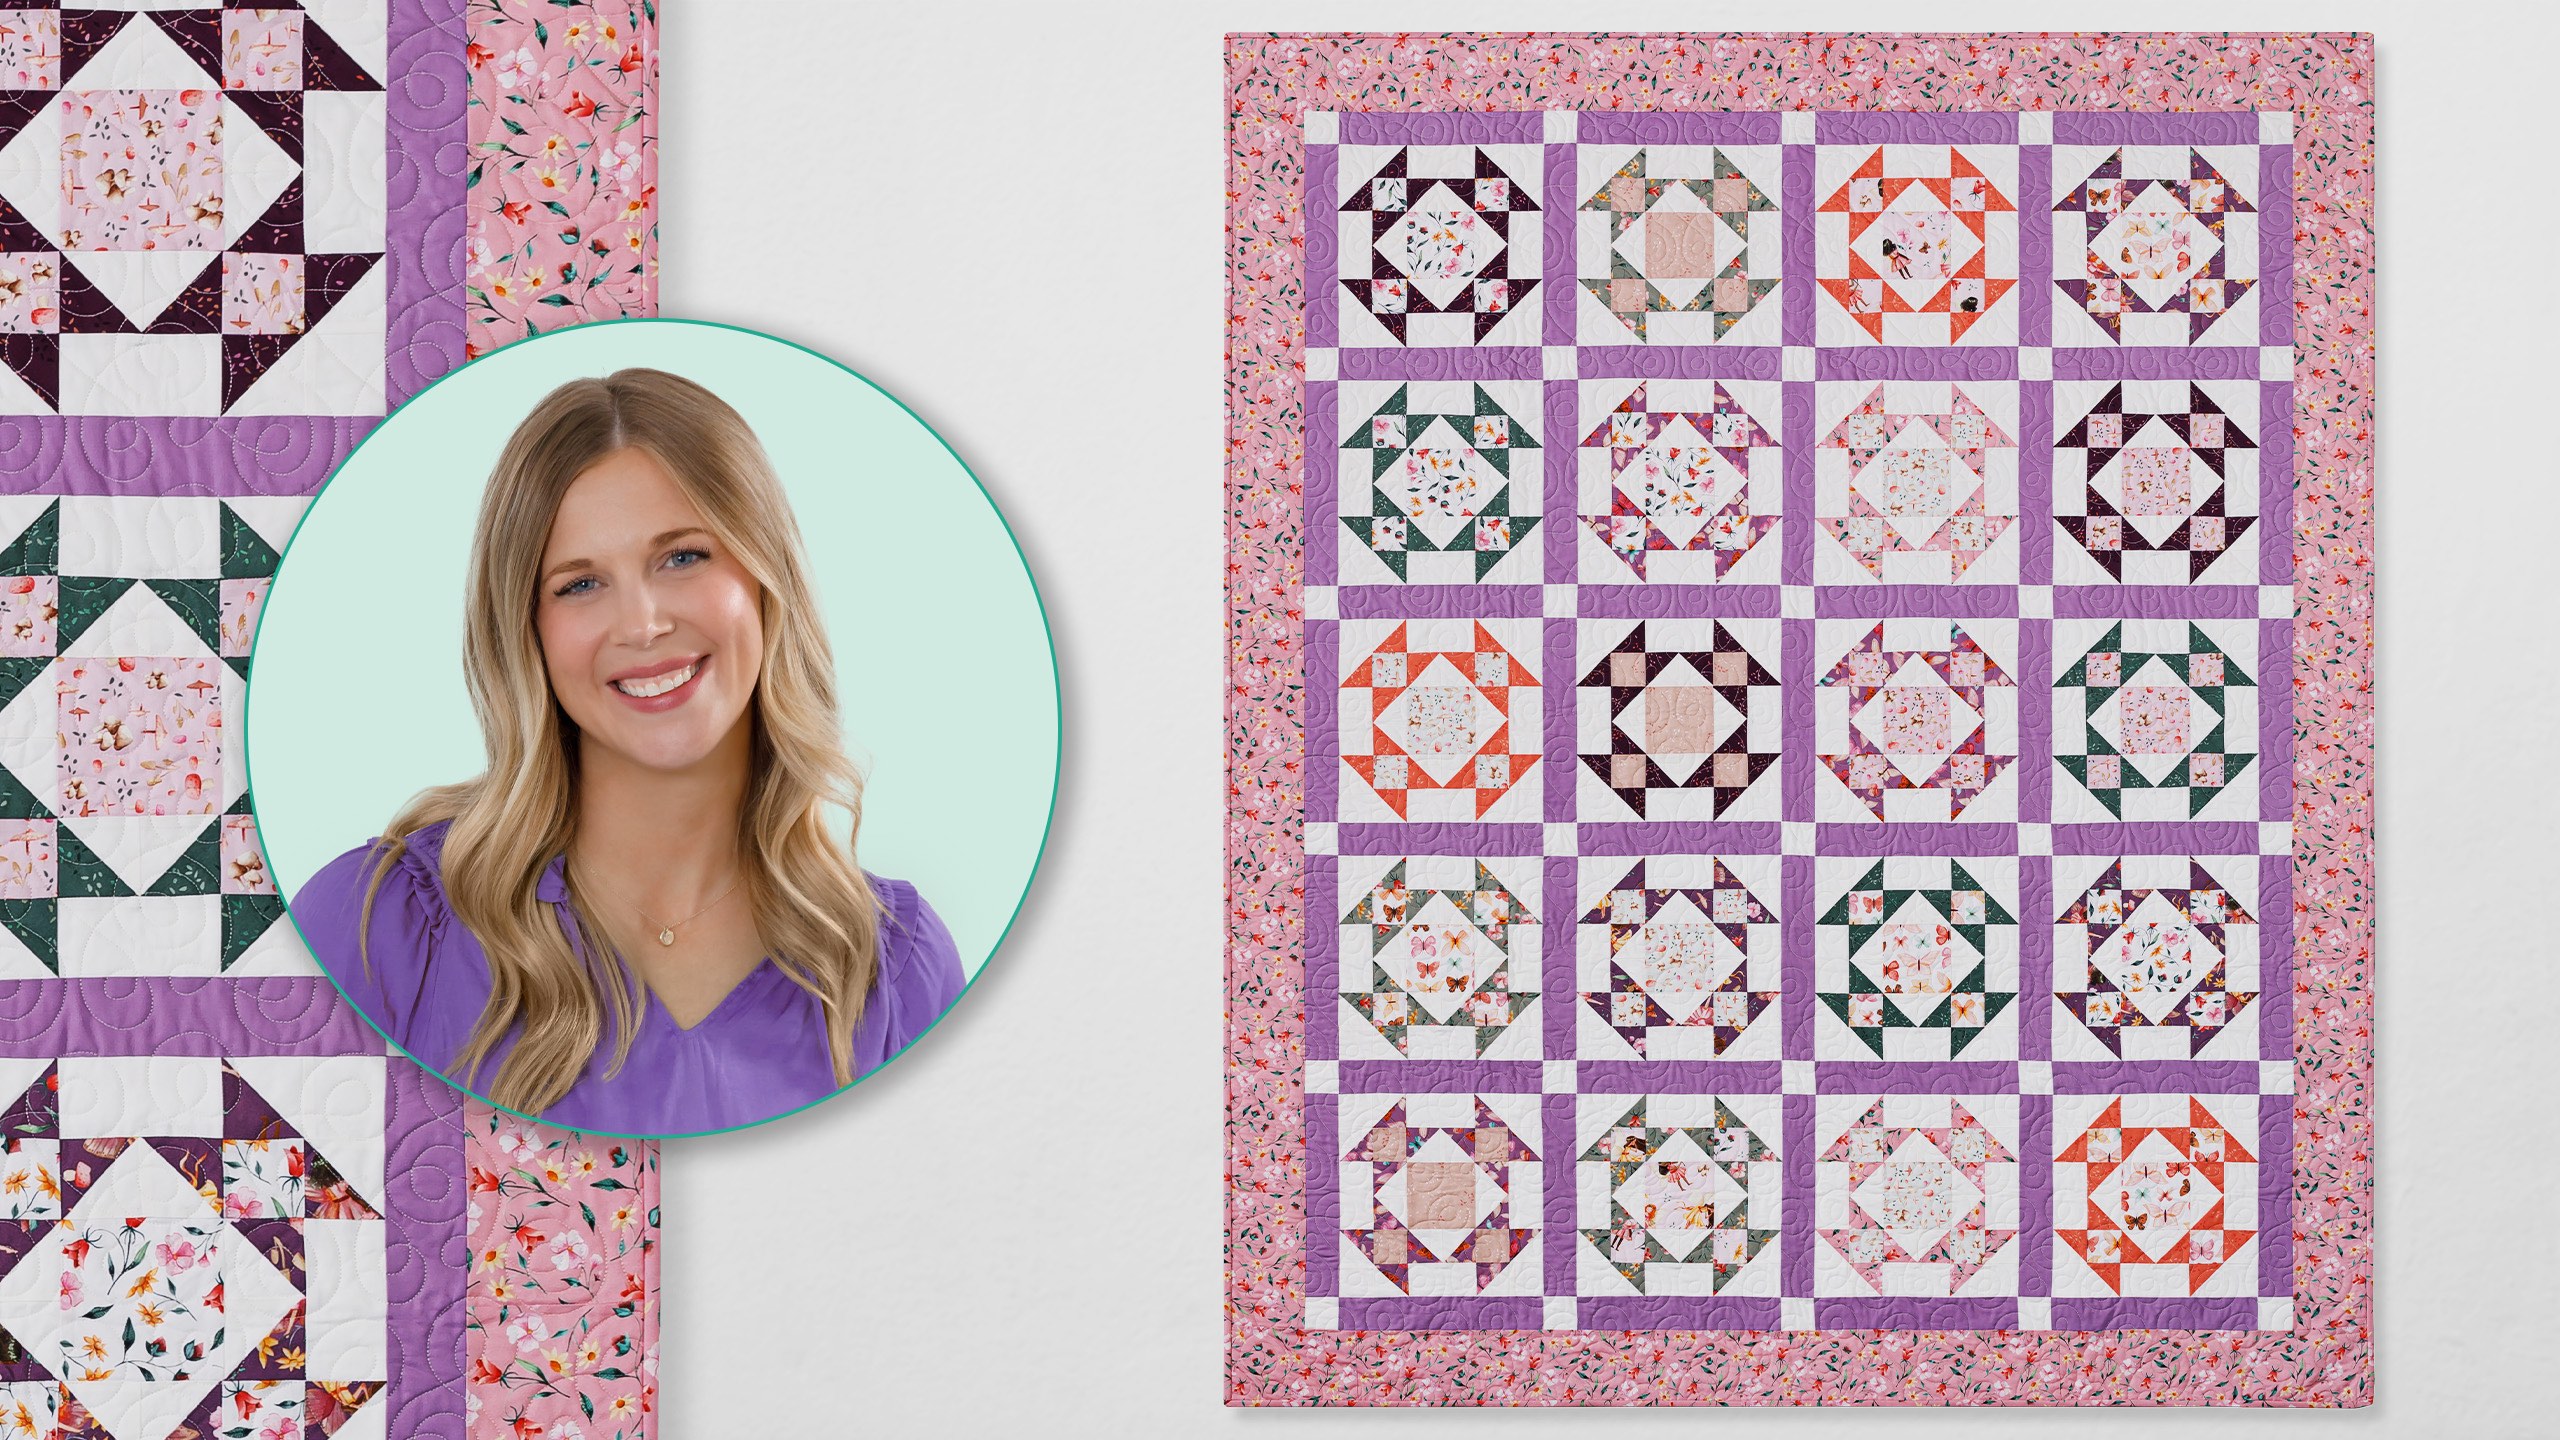
This lovely quilt is as refreshing as a meadow breeze! Dainty florals, like the Petal Pixies collection Misty uses, are just right for a pretty springtime project. And using precut 10” squares to make simple churn dash blocks will help your quilt blossom in no time!

Instructor

Misty Doan

Misty Doan grew up surrounded by sewing and quilting. She loves spending time sharing tutorials each week each week, and when she’s not stitching up one of her fun sewing projects for home decor, most likely you’ll find her hanging out with her husband and three awesome kids or working on a house project.

Common Questions

What is covered in Meadow Breeze Quilt?

This lovely quilt is as refreshing as a meadow breeze! Dainty florals, like the Petal Pixies collection Misty uses, are just right for a pretty springtime project. And using precut 10” squares to make simple churn dash blocks will help your quilt blossom in no time!

How long is the tutorial video?

The tutorial video is 00:14:58.

Are supplies listed for this tutorial?

Yes. The tutorial page includes the supplies and materials connected to this project.

Video Transcript

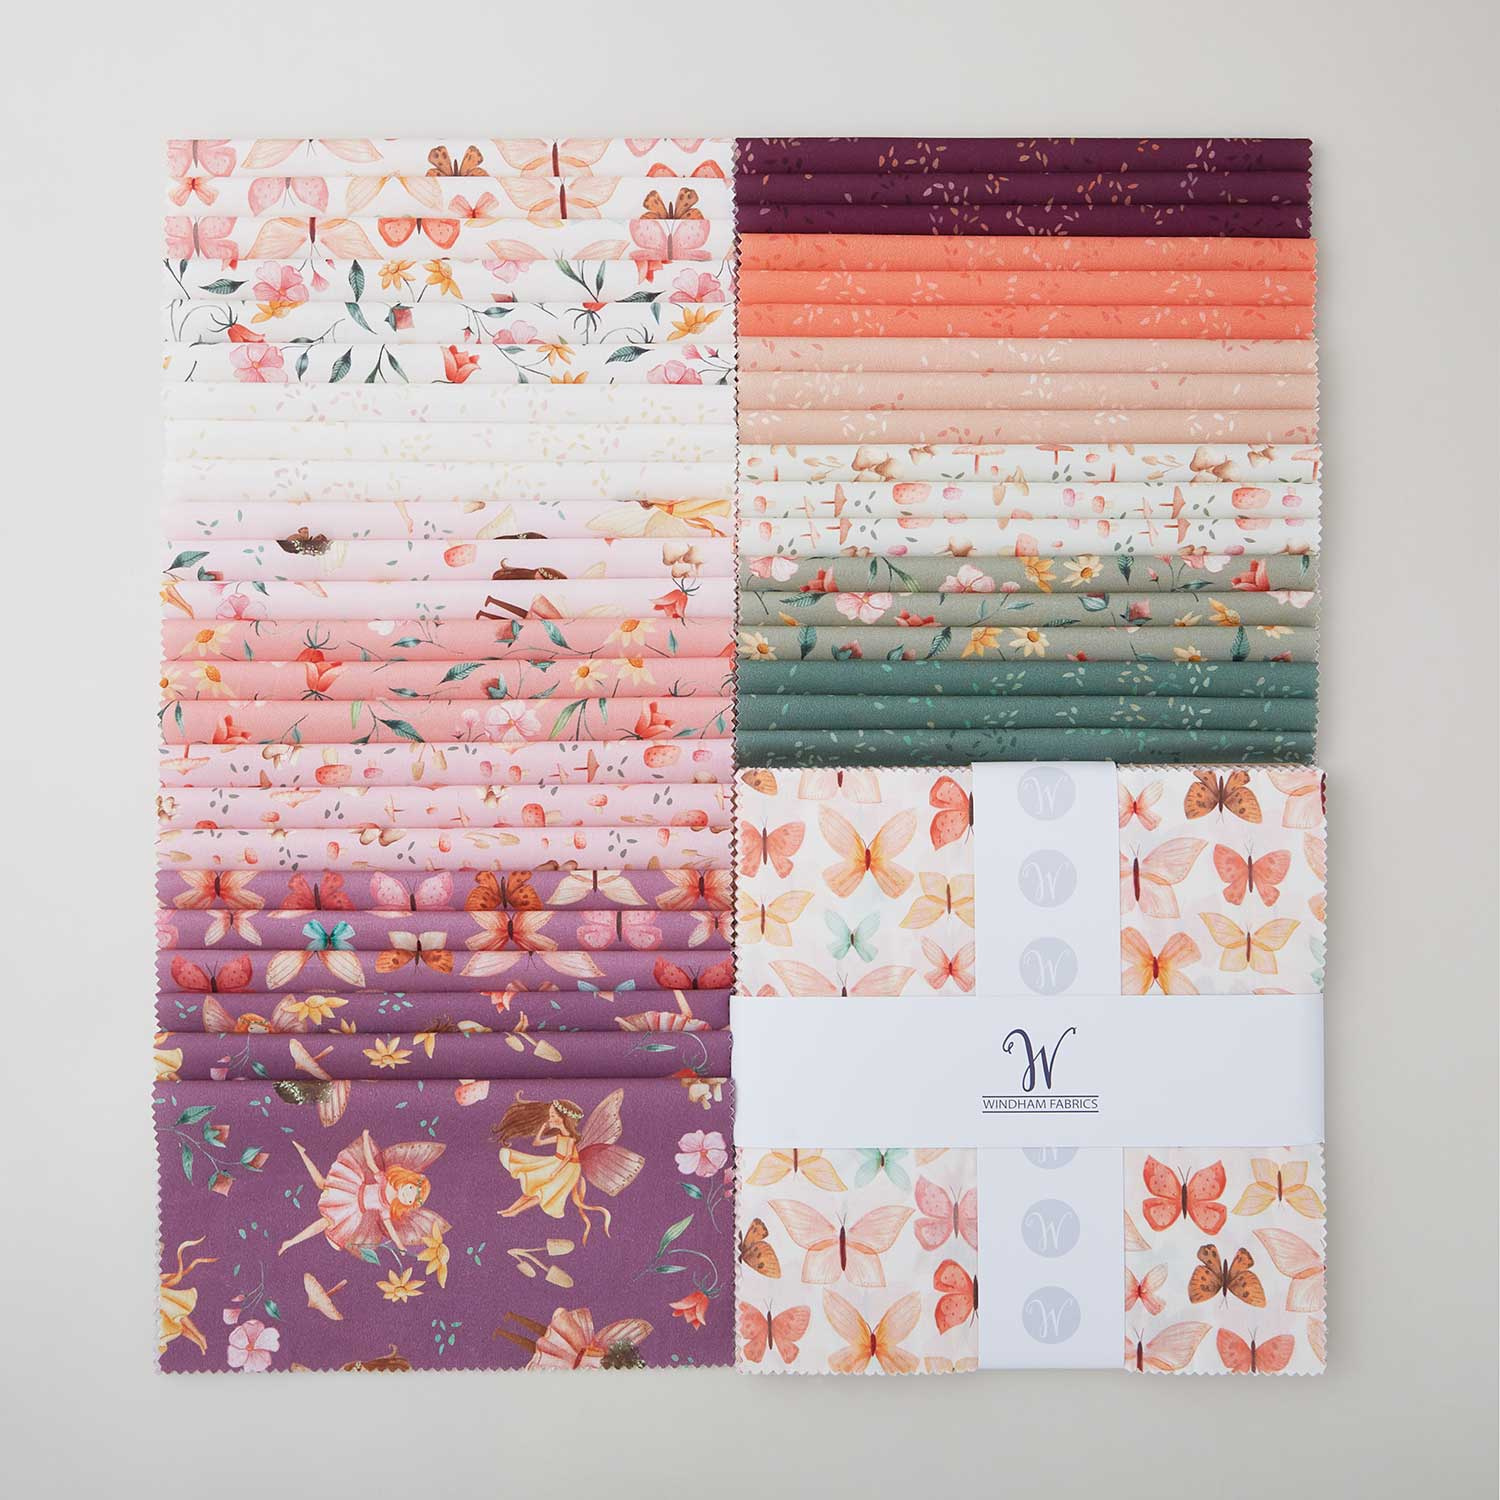
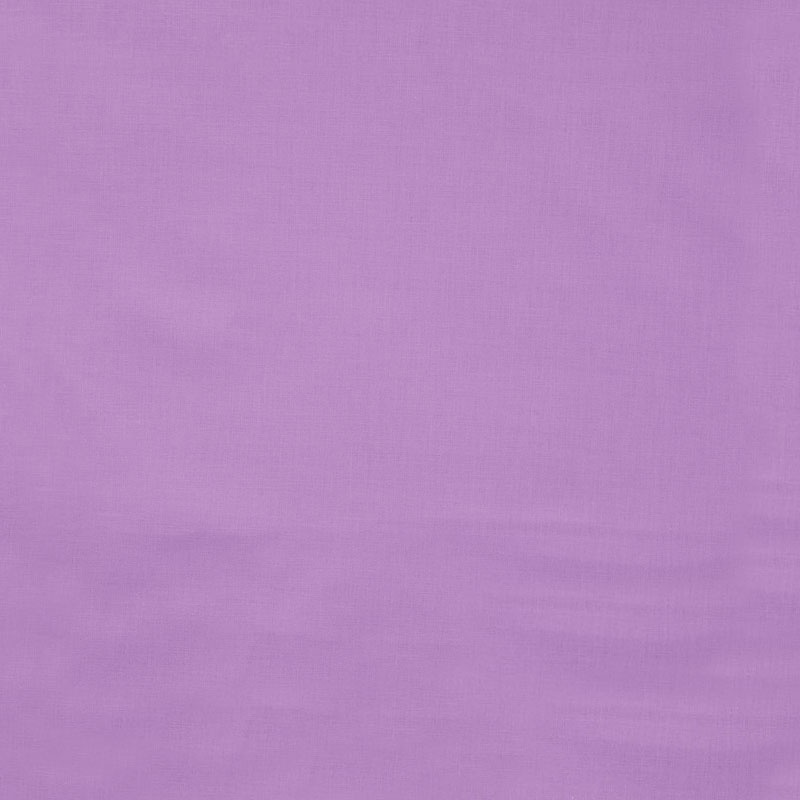
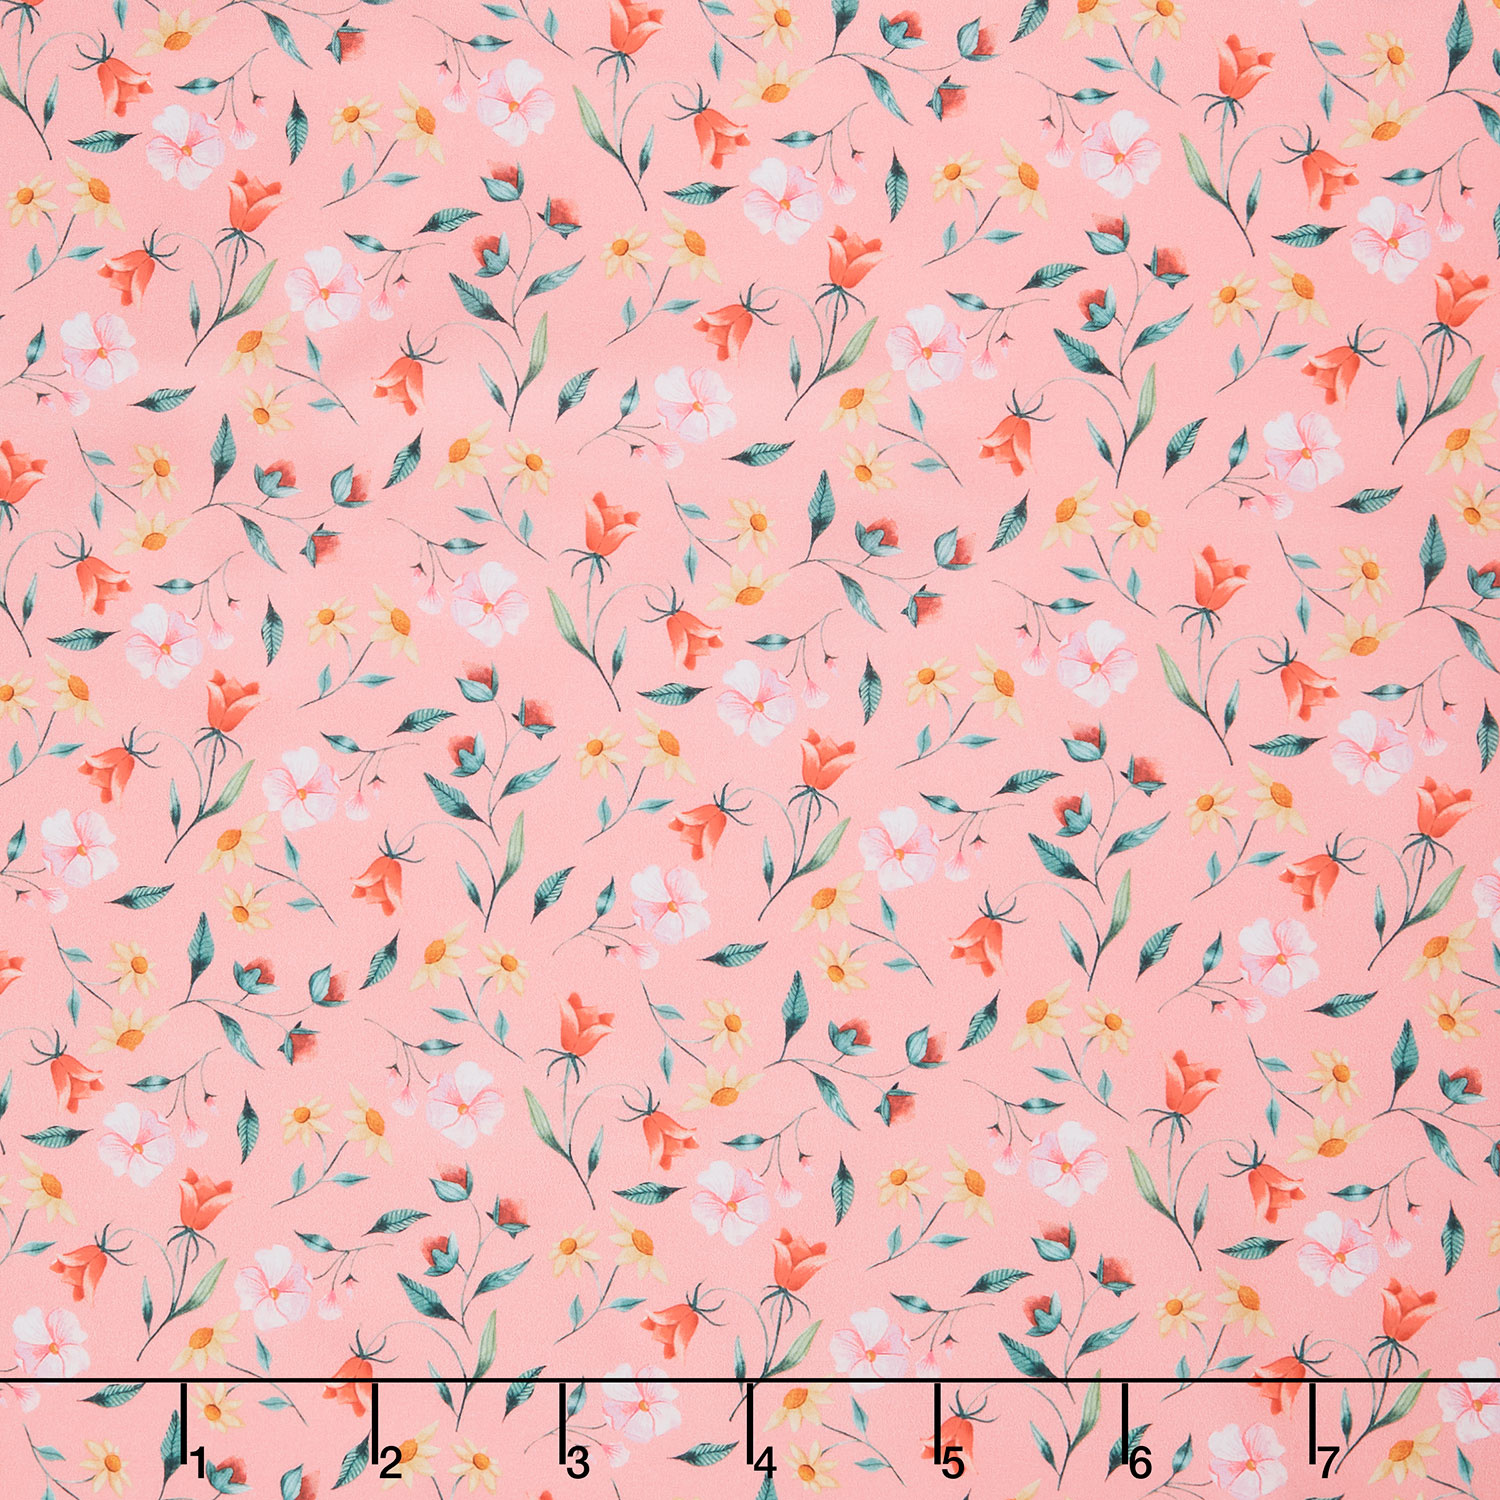
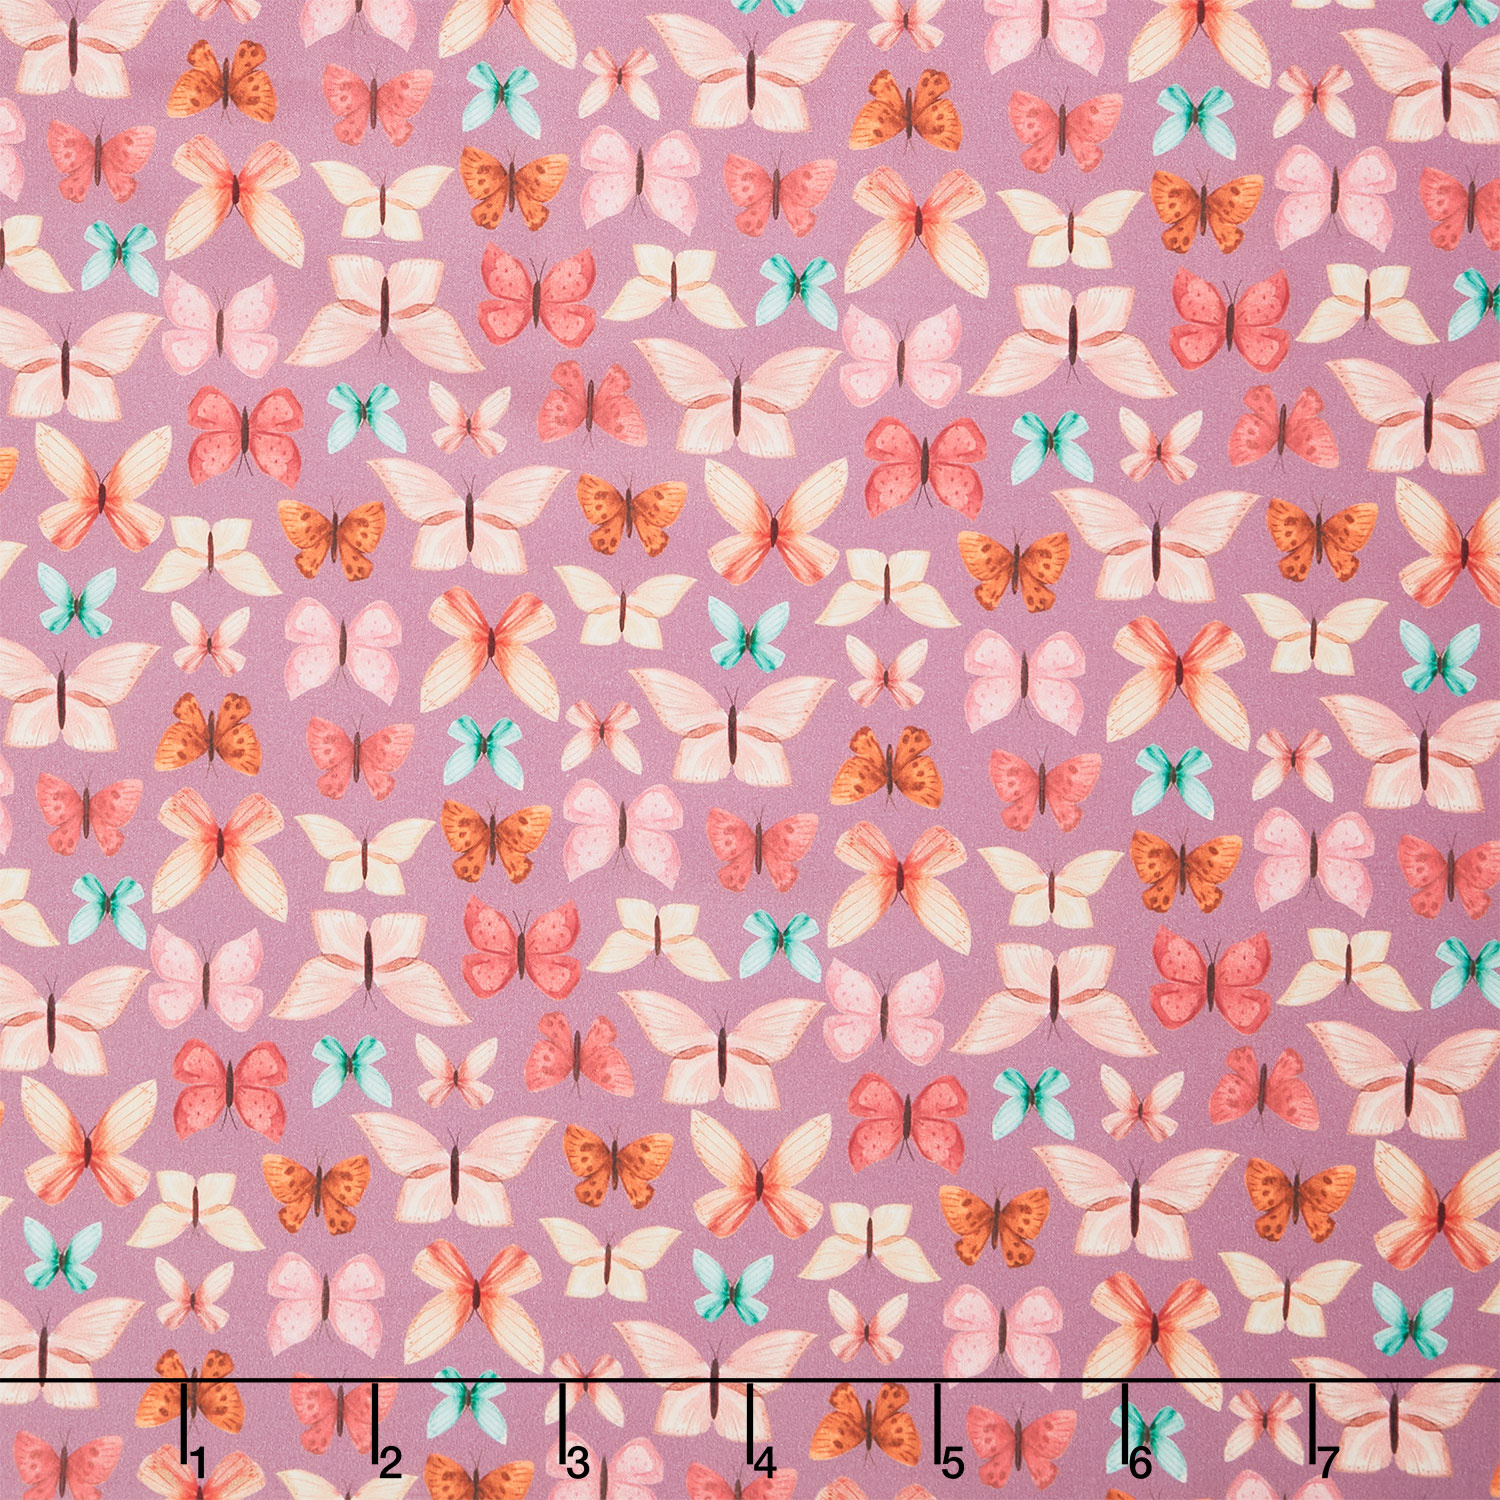
hi everyone welcome to at home with Misty today we're going to make this adorable Meadow Breeze quilt it features this great block let me show you how to make [Music] [Music] it so this quilt is called Meadow Breeze and it is super easy to make in order to do that you're going to need one package of 10in squares and I use this beautiful collection called petal Pixies by Whistler Studios for Windom Fabrics you're also going to need 2 and 7/8 yards of background I used snow I used some accent fabric for the sashing that's one and 1/3 yards in this beautiful purple color you need one and a/4 yards for your border and five yards for your backing I use this beautiful butterfly print with a vertical seam so let me show you how to make it so this entire quilt is made up of this adorable block and to begin with we're going to select our fabrics for all of the middles and so we have 20 blocks and from each 10-in Square we actually get enough to make two so you're going to select 10 squares from your pack that will be your middles of your block so I have one of those here and we're going to cut all of them in the exact same way so to begin with we are going to cut a 4 and 1/2 inch strip from one side and then I'm going to subcut this into two 4 and 1 half inch squares so let's just make sure it's nice and straight there's one and two and I am going to go ahead and put this in two piles so that I have it ready for you know two blocks and so then from this piece we can come back and we're going to cut two 2 and 1/2 in strips here is one and two and then I like to just stack these up now and turn them and we're going to subcut these into 2 and 1/2 in squares so there is one and you need four of those per block so I'm adding that to one stack and then the other I always like to go ahead and measure sometimes the little pinked edges make it a little big so I'm just going to trim that little bit off and so now the middles of our block are ready to go so up next you you are going to take one print square and one background square and this is going to make one block and so I've gone ahead and drawn a line down the middle of my 10in square in both directions and now we're going to take this to the machine because we're going to be using the easy 16 method to make half Square triangles and so what that means is we're going to sew all the way around the outside with a quarter inch seam and then a quarter inch away from either side of both of these lines so let's go ahead and do that okay so just a reminder I've sewn all the way around the four sides now I'm going to come back a quarter inch from each of those lines that I've drawn and so on both sides of them flip it around and go back the other way and now we'll do the same thing on this last line all right so now we have sewn on all the lines that we need to and so up first I like to cut on the lines that I've drawn and that essentially is going to give me four 5in squares that I have sewn all the way around see I have them all loose now and then we can come back and we're going to cut these Corner to Corner in both directions there we go and I can just keep cutting because you're going to need every single one of these for your block there we go and so I'm going to go ahead and press these open because I like to use the block lock for squaring but if you have a clearly perfect slotted trimmer I'm going to show you a trick for that at the end as well so let's go ahead and press a few of these I like to have my print side up so my seam is rolled back behind that darker fabric all right and I have some of these already squared so let's go ahead head and use these and our block lock all right so with the block lock if you have not used this before the writing the logo is always going to go towards the side that your seam is pressed away from and the size we're looking for is two and a half because that's what matches our block and it just kind of anchors into that seam since we've pressed it towards the dark side and then I like to just flip it around and slide it down then it's right on that two and a half inch line I want to make sure my Corners are going right into the corner of the ruler and then we can just trim that off let me go ahead and do one more for you so again the block lock is going to be on my background fabric just going to trim and I like to just spin this slide it there we go it went a little smoother that time and square to two and a half beautiful all right and like I said I have a few of these ready to go but I do want to show you this little trick if you have the clearly perfect slotted trimmer because this works great as well so if you have that you don't really have to cut apart your half Square triangles from this point you can just line up up the 2 and 1/2 in line of trimmer a with your Stitch line and you can just make a cut like so and it just saves you a little step kind of in between and so there's one and then you'll just spin your Fabric and cut again and there's plenty that you don't have to worry about cutting through your half Square triangles there you go and so in this case you would just press it after but now once we have all of our cutting and our squaring done we can assemble our block so this block really goes together like a nine patch so we're going to make some components in order to sew it together so up first we need some background fabric cut so I have that cut into 2 and 1/2 in squares and 2 and 1/2 by 4 and 1/2 in rectangles and then we can start making our little units that make this block in all of its magic and so you can see here for this first uh little unit I'm going to make we're going to need one of our 2 and 1 half inch print squares that we cut for our centers and then we're going to take two of our half Square triangles and they're going to be pointed towards that print fabric and then we need one 2 and 1/2 in background Square we're going to sew this together like a four patch and we're going to make four exactly like this per block so let's go ahead and sew these together together and slide this in right behind now I'm just going to open it up make sure it's right and it is and so then we can put that together and finish up our little four patch I just want to make sure that my seams Nest here in the middle so I've taken a few stitches and I'm going to line up my centers and continue on down okay now we can give this a press want it to lay nice and flat there we go and so like I said you're going to make four units that look exactly like this and so then for our next one we are going to take that 2 and 1/2 by 4 and 1/2 in uh background strip and we are going to place our half Square triangles so that they are touching ing that so we'll sew two of these together and then sew it to our strip but we want the print side to be touching that background strip that's what you're looking for and same as before you're going to make four little units exactly the same way can open that up add my background strip to this side if it helps you to press in between absolutely you can do that all right go ahead and press that as [Music] well all right so let me gather up all of my units here I should have [Music] four like this and four like this and then we also have our Center squares that we cut earlier and now we can assemble our block so here is our middle I always like to start with that and then these little guys come in on the top and bottom and the two sides to surround it and then these the prints go in towards the middle just like so and I absolutely love how it turns out when you sew it together it gives you this fun churn Dash kind of look so let's take a look at how this goes into the quilt behind me so you can see here we just have four blocks across by five blocks down and I went ahead and used that pretty purple accent fabric as my sashing so that's just measured to the size of the block and cut 2 and 1/2 in wide and then I used a Cornerstone the same color as my background and I just love how it really sets these blocks off I finished it with a 5 in outer border and quilted the whole thing in the loop the loop panto which I really love and again this beautiful butterfly backing I absolutely love how it turned out the quilt measures 67 by 81 so it's a great throw size even twin size so I hope you guys enjoyed this tutorial and I'll see you next time on at home hey everyone thank you so much for watching at home we're so excited to be almost a million Quilters strong here at Missouri Star and so if you haven't already joined our family be sure to subscribe and hit that notification Bell so you can be notified of all of our future tutorials and we'll see you soon [Music]

More Layer Cake tutorials

See all