19th-century quilters did a lot of sewing in the dark, with nothing but firelight to guide their stitches.
But there were advantages to those dark nights, too: Undimmed by artificial light pollution, the sky shone with thousands of glittering stars.
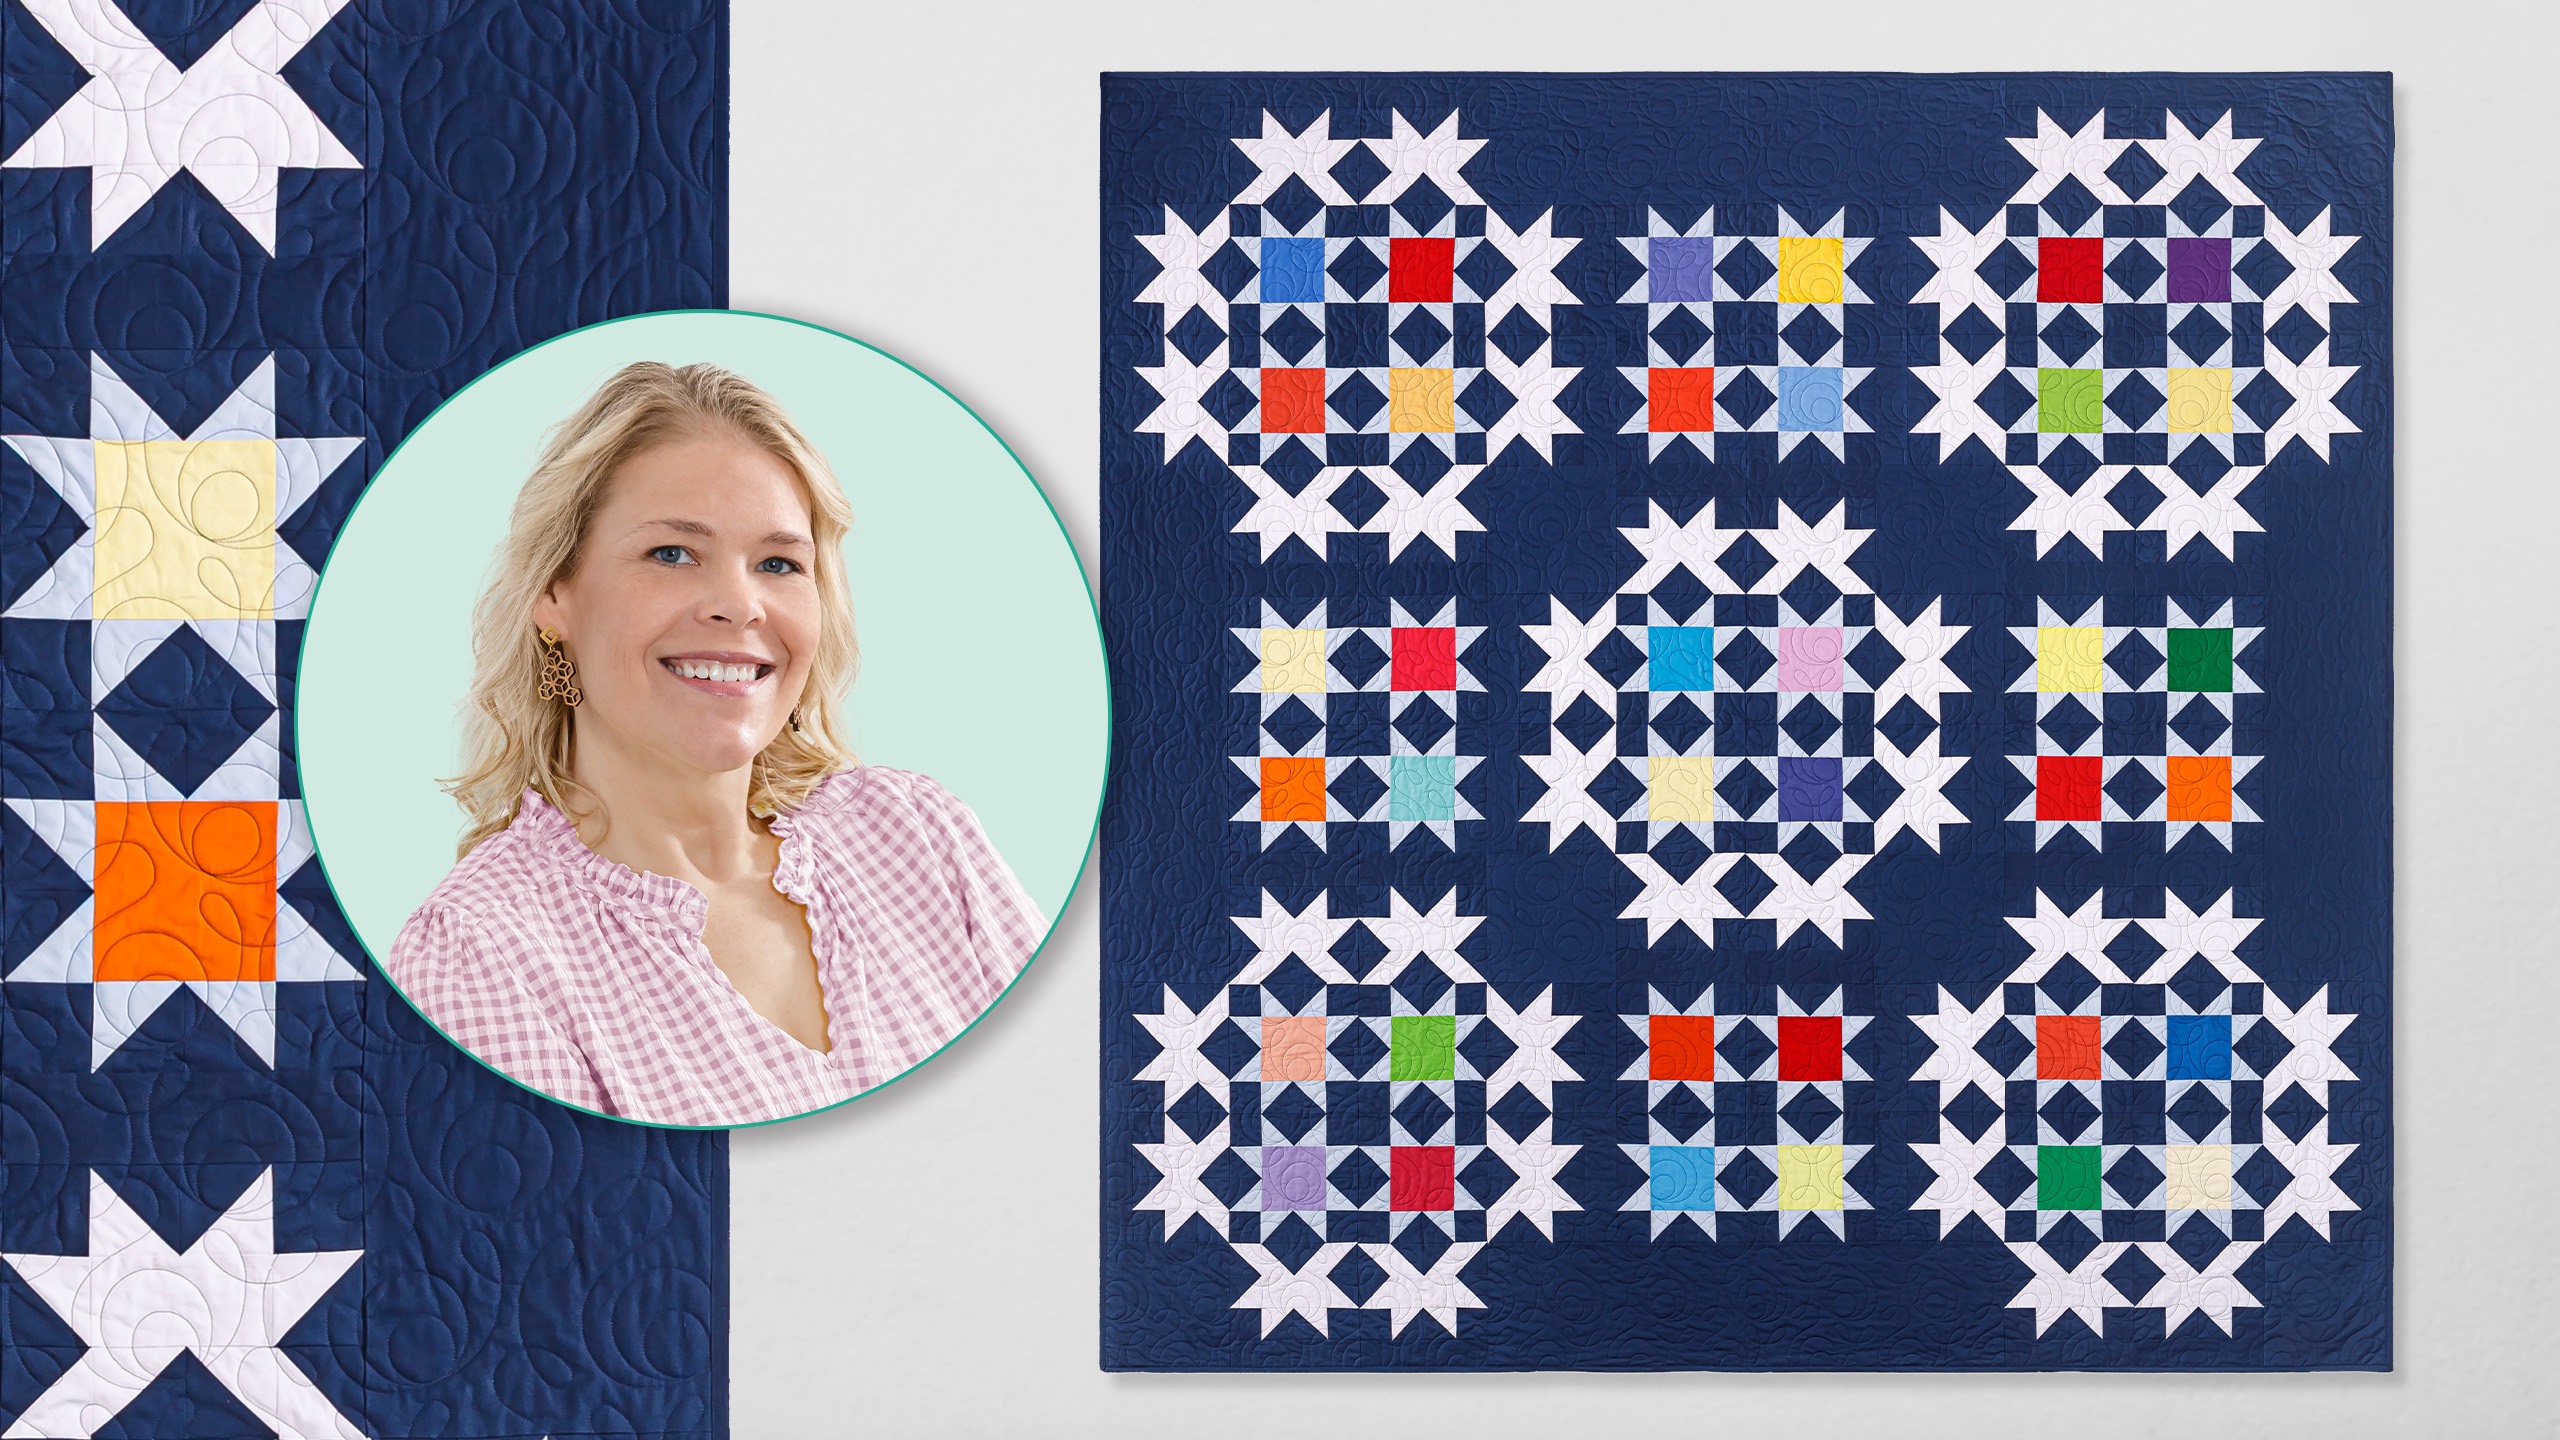
The Midnight Bloom quilt features the sawtooth star—a block that would have been familiar to 1800s quilters—on a deep navy background. Made with Northcott’s Brilliant Colorworks Premium Solids, this quilt is as pretty as the star-filled heavens!
Natalie is the host of Quilting 101, Embroidery 101 and the Creative Strategist and Editor of Block Magazine at Missouri Star Quilt Company. She was taught how to sew by her mom, of course, and began quilting when she grew up.
19th-century quilters did a lot of sewing in the dark, with nothing but firelight to guide their stitches. But there were advantages to those dark nights, too: Undimmed by artificial light pollution, the sky shone with thousands of glittering stars. The Midnight Bloom quilt fe...
How long is the tutorial video?
The tutorial video is 00:29:31.
Are supplies listed for this tutorial?
Yes. The tutorial page includes the supplies and materials connected to this project.
Video Transcript
Hi everybody. I'm Natalie with Missouri Star Quilt Company and today I have a fun project for you. I'm calling this quilt Midnight Bloom. And I had a lot of fun playing with color and picking accents and putting it all together. It comes together quite easy. I think you'll be surprised how it goes. So, let's get started. [Music] Okay. So, to make my quilt, you're going to need a package of 10in squares. And I've used Colorworks Premium Solids Rainbow Medley by Northcot. You'll need some background fabric. And I've used this really lovely navy. You need about seven yards of that. Um some accent fabrics. And I've used the light purple. This one you'll need 2 and 1 eigh yards. And the light blue you'll need a yard and a half. Now for your backing you'll need about nine yards. This is a pretty large quilt. It's 100 in square. So, it's going to be great for those larger beds that you want to cover up with something really pretty, but it does take quite a bit of fabric. So, all right. So, let's go ahead and get started. All right. So, this quilt is actually made up of a couple of very simple blocks. I know it looks kind of extra and fancy. It's got a lot of movement, but really you're just making this block here, the simple sawtooth star, and then this block, which is kind of like a partial star or a half star. And so I will show you how these go. So this this block with the blue star legs makes up all of the little stars. And then this one with this little light purple, it makes up the stars that kind of make a little crown or uh circular star pattern around the other squares. It's a lot easier than it looks, I promise. But we do have some cutting to do to get started. So, first we're going to cut the centers of our squares from our layer cakes. And these are all 5 and 1/2 in squares. So, I'm just going to grab one and we will cut a uh we'll cut a middle. You'll have quite a bit left over and I apologize for that, but I just thought this quilt was so cool it was worth it. You'll want to throw that in your stash. And I'm just going to use the mat to make these cuts because my ruler is only 5 in wide. So I'm going to go a half inch over this direction. And you will have some pieces that you'll want to stick in your stash for other projects. They'll be left over. Oh, this edge is a little bit I think I'm going to turn that and use the other end. There we go. And then I've got a 5 and 1/2 inch square. All right. So, this is this is this goes in your stash. Little leftover pieces. No big deal. And then this is the center of all of our star blocks that have our blue star legs. All right. So, we're going to start by cutting some 10 and 1/2 in strips. And that's because on our quilt, we have some large pieces of background. And I'll show you where those are. So up here we have a 10 and 1/2 by 40 and 1/2. That piece is basically the border that you do four times around the quilt. And then we've got squares in the corners here. This is a 10 and 1/2 in square. There's one here and one here. And that just makes up all of that space in the um in the quilt. So I'm going to open this up and cut a 10 and 1/2 in strip. Well, I've got to straighten this edge first. It's pretty good, but not exactly straight. So, you always want to start with a clean edge. Even if you just used this fabric and it was perfect yesterday, I find that every time I move it, I have to have to start over just because of shifting and All righty. All right. So, I usually just do a quick little cheat to put my ruler in the right spot. All right. So, 10 and a half here. Then we're going to and you'll need several of these strips. All of the ver the specifics are in the pattern, but we're going to need some 10 and 1/2 by 3 in strips or rectangles. So, I'm going to go ahead and cut off the salvage here. Oops. And cut a 3in rectangle. Now, this piece goes on the secondary block, the accent block that creates all of the little circular stars. So, that goes right here. So, we'll set that aside and then we'll have some 10 and 1/2 in squares. Just make sure it's all lined up. So, we'll cut those and set those aside. And then I believe we also need 2 and 1/2 in strips. These 2 and 1/2 in strips are going to be what we make all of our half square triangles from. We'll use them with our purple and our light blue. And we'll just need several of these from our background. Okay. Now, for the accent fabric cuts, the purple is the one that we use um quite a bit more of. So, we have some different cuts here. We need to first cut a 5 and 1/2 in strip. And that is because we have some of these rectangles in the block. This piece right here, we thought if we made it a five and a half, that's just one less seam to sew. So, it's five and a half inches wide. And then we subcut that into three inch strips. And we're going to cut 2 and 1/2 in strips from this color as well to make all of our half square triangles for our star legs. So, we've got those cut. And then this can get set aside. And I'm going to cut a couple of 3 in x 5 and 1/2 in rectangles. Trim off my salvage edge and then cut three by 5 and 1/2. All right. So, these are ready to go as well. And the next cut comes from our light blue. And these are just two and a half inch strips. So this is the easiest easiest one to keep going. It's just half square triangles. All right. So two and a half. And then we can get started making our block. Okay. So I'm going to set this aside. I don't need that anymore. So to get started, we're going to make half square triangles. And this is one of my favorite tricks. We take our two strips. So we have a background strip and the accent in blue. And then we have another background strip and our accent in purple. Oops. Those little guys wanted to just jump up to the sewing machine. Sew me first. All right. So, I'm going to go ahead and sew one of these. I have one already done. Um, so we'll set that one aside because it's exactly the same, but we're going to sew on both sides. And then we'll begin cutting using our Clearly Perfect slotted trimmer. You just want to use a regular quarter inch seam. Now for the fun part. So we'll start cutting our half square triangles. And what you're going to do is line up the dashed line on the 3-in mark with your seam line. So you'll have plenty of room. Although if your seams are a little bit wide, you might have a few little tiny stitches at the top peak of your half square triangle and you can just kind of pick those apart. It shouldn't be a problem. Nothing to worry about. And you've just got a perfect little half square triangle. It's so easy and quick. Then we'll flip that over. Put it up there to that edge and line it up. It should stay nice and straight. And you can you can flip the strip if you want to or just cut through it. Then we'll flip over and do another one. All righty. So, I've got a bunch of these cut already, but we'll go ahead and press these open so that you can can have our half square triangles ready to go. And I set my seam and then press it back using having the dark at the top because that covers up um the fabric. The light fabric would have um it's more likely to show through. So when you flip it back from the dark side, it hides the fabric. Although, if you want to press your seams open, that's completely personal quilters's preference and I support you. Okay, one other thing that I forgot to cut from our background are 3in squares. Can't believe I missed that step. So, I'm going to cut another couple of 3-in strips here. No big deal cuz I still have all my fabric. Sorry, I forgot to mention that. We're going to need our 3-in squares to go in all of the corners, these two corners, and then the corners of this star as well. So, I'm going to press that and I'll stack them so that I can get more cuts all at once. I like to have some efficiencies. It can be kind of difficult to see the dark fabric on the dark mat. So, just be careful. And if your mat flips over, you might want to flip it over. All right, I've got a few of those, but we are about ready to build out this first block. So, we'll start with our rectangle at the top. and our two squares in the corner. Then we've got some half square triangles. We'll make our little star legs. And then this is where our rectangle comes in. In the middle, we've got some more half square triangles here that make up the rest of these legs. Did I What am I doing? There we go. I guess I'm just a little bit angly challenged too sometimes. Then we've got more star legs down here. Wait a second. There we go. All right. So, for this block, I'm going to start by sewing this middle section. And then I think I'll add my things to the ends. So, we'll start by sewing together these two star points. And I'm going to set that there and hopefully not get it mixed up. I'm going to go ahead and do these two. And then I'm going to add the middle rectangle. And this is just what makes sense to me. You guys can do your your process whatever makes best sense to you. All right. Go ahead and press them. Like I often think about the things that my mom has said to me over the years and one of her favorite things to say is to always make one block fully before you get really into the quilt because that way you have something to reference as you're going along and it just gives you more of an idea. It's almost like a practice block like this is what we're going to be doing and then you get through work out all the kinks before you have thousands of half square triangles lying on your desk and you don't know what to do with them. So, I appreciate those little hints. All right, I'm going to go ahead and stitch this together here and then we'll add the bottom the bottom star legs to this section. And I'm not going to press this yet because I'm not stitching against the pressed edge. I'm putting this guy over here. And we're going to sew them up. Okay. Now I will press. Setting my seam and pressing. I'm pressing towards the middle. I feel like it will reduce bulk. And because it's all light fabric, it shouldn't show up too much. You'll see a little bit, but not not crazy. Okay. Next thing I'm going to do is sew these three together in in a row like that. So, we'll start with this one. And then I'm going to just finger press that a little bit. And making sure I stay going in the right direction, I'm going to add add my next star leg. Sometimes I get twisted around, so I've always got to double check. Okay. So, he's ready. And now I'm going to go ahead and do this one. And we'll add this leg here. Going to go ahead and press him. We'll press him back. And then this one, whichever direction it wants to go. All right. Now, I'm going to join this side here, the other side, and then we'll add the top, and this block will be all ready to go. You will want to try to nest these seams to keep those star points. And then we will add this side to the other side here. Be all good to go. Okay, I'm going to go ahead and press these before I add that final rectangle to the top. Just want to make sure everything lines up and fits well. Okay. Give these seams a press. And we're ready for that goes up here. Ready for our final seam on this block. Alrighty. And there you have it. the uh the little circular block is made. Okay, I'm going to set that aside. And now we're going to get started on our little sawtooth stars. So, we'll have our center available. And we've got our little strip that's sewn. So, I'm going to just cut a few of these half square triangles just to show you how that goes again and make sure we're all on the same page. We've already stitched this one together. And I like to just cut my little notches so that I reduce that bulk. And then you'll notice this one is pretty much already cut. So it's never never gets in the way. And you've got a little less cutting to do on the rest of the strip once you get past that first one. There we go. All right, I've got most of these made as well. Have some 3-in strip or squares and some more of these guys. Let me go ahead and press these. Cutting half square triangles this way is very satisfying. It's almost like you're eliminating a whole step because you cut them and then they're already automatically squared. So, I like that. All right. So, we've got our middle. We'll do our star legs. Whoops. Wait. There we go. Goodness. Having a time today. Putting our squares in the corner. I'm still having a time today. Oh my gosh. There we go. Oh, there we go. Nope. Okay. I keep trying to make navy legs instead of light blue legs. All right, so now we can stitch this guy together. And I'm going to go ahead and stitch these in sets, all of the all the legs. And then we'll put them back and we'll do the top row, the middle row, and the bottom row. So that seems to work well for me. And these because they're all the same, they all go the same direction. I can just gather them up and uh stitch them all at the same time. I like to start from the side that doesn't have the seams in it. It just makes it a lot easier to go through the sewing machine without getting caught with within the presser foot or the needle. Just a little tip. [Music] Take them over to this the iron. We'll set our seam and press them all open or back, however you want to say that. All right. So, now I can put these star legs together with the block. And then we can chain piece this. And I'm just going to go ahead and start stitching these together. Starting from the right side. Whoops. I think I have two pieces. Yes, I do. I have definitely been known to stitch multiple pieces of fabric together because sometimes they're really thin and you don't realize that you have more than one. So hopefully hopefully I'm not the only one, but I'm pretty sure I'm not. little lessons that you learn along the way. And I think it helps to know that it happens to all of us. All right. So now these are still connected. I'm going to flip it over. So, I'll open these up this direction. And then I'm going to add this piece here, this piece here with my point to the middle so that my star legs point out from the middle. And then, oh, I had those multiples as well. Gosh, that's funny. Okay, so we'll start at the top. Making sure this stays nice and lined up. and my little friendly point here. He got a little twisted, so I just untwisted him to make sure he was going the right way. Okay, now I can open this up and we can stitch the last two seams on these sides. I'm going to fold this in, stitch it, and then I'll flip it over and do the other seam. nesting as I go. I typically press my um the bulkier seams to the middle of this fabric. And that seems to work really well. As long as your seams are going opposite directions and nesting, it should be very flat. [Applause] Flip that over and add our last seam. Then we will go press. All righty. Over to the iron. And we're all set. We've got our block. That's it. It's as simple as that. You just make these two blocks. And then we're going to join them following the diagram and adding in our background pieces. You don't have to do um additional sashings in between because these blocks have that sashing built into them. And uh we'll add our little we've got some 10 and 1/2 in squares and the 10 and 1/2 by 4 and 1/2 in strips or 40 and 1/2 in strips. These are pretty long. There's only four of them, but they go all the way around the quilt. And uh and these these take up this little extra space here and here. And then up here in these top corners like so. And that's it. It's pretty pretty simple after that. The the pattern comes with a really cool like assembly diagram. So, you'll do these parts and these parts and then join this part to that part. It's pretty simple to follow. Um, but that's just that's just it. That's this quilt is that simple. You've just got these two blocks and some background fabric. All right. So, now that we've got these two blocks made and we've talked about the assembly and the diagram, um, I want to reiterate it's 100 in square. So, you'll need 9 yards of backing if you're using a regular 45 or three yards of a 108. And we've used this beautiful Stonehenge 108. It's just lovely. I think all the colors are really fun. And because this this quilt top is solid, you could really put any fabric on the back that you liked. So, we quilted it with ginger snap, which is one of our newest patterns, and I think it's really fun. It adds a lot of movement and looks really beautiful. And I hope you enjoyed this tutorial on Midnight Blooms from the Missouri Star Quilt Company. Hi everybody. I hope you enjoyed today's video. We're trying super hard to get to a million subscribers. So if you enjoyed it and you want to see more, just hit subscribe and share with your friends and encourage them to do the same. And I will see you next Friday with a brand new tutorial. [Music]

 Natalie Doan
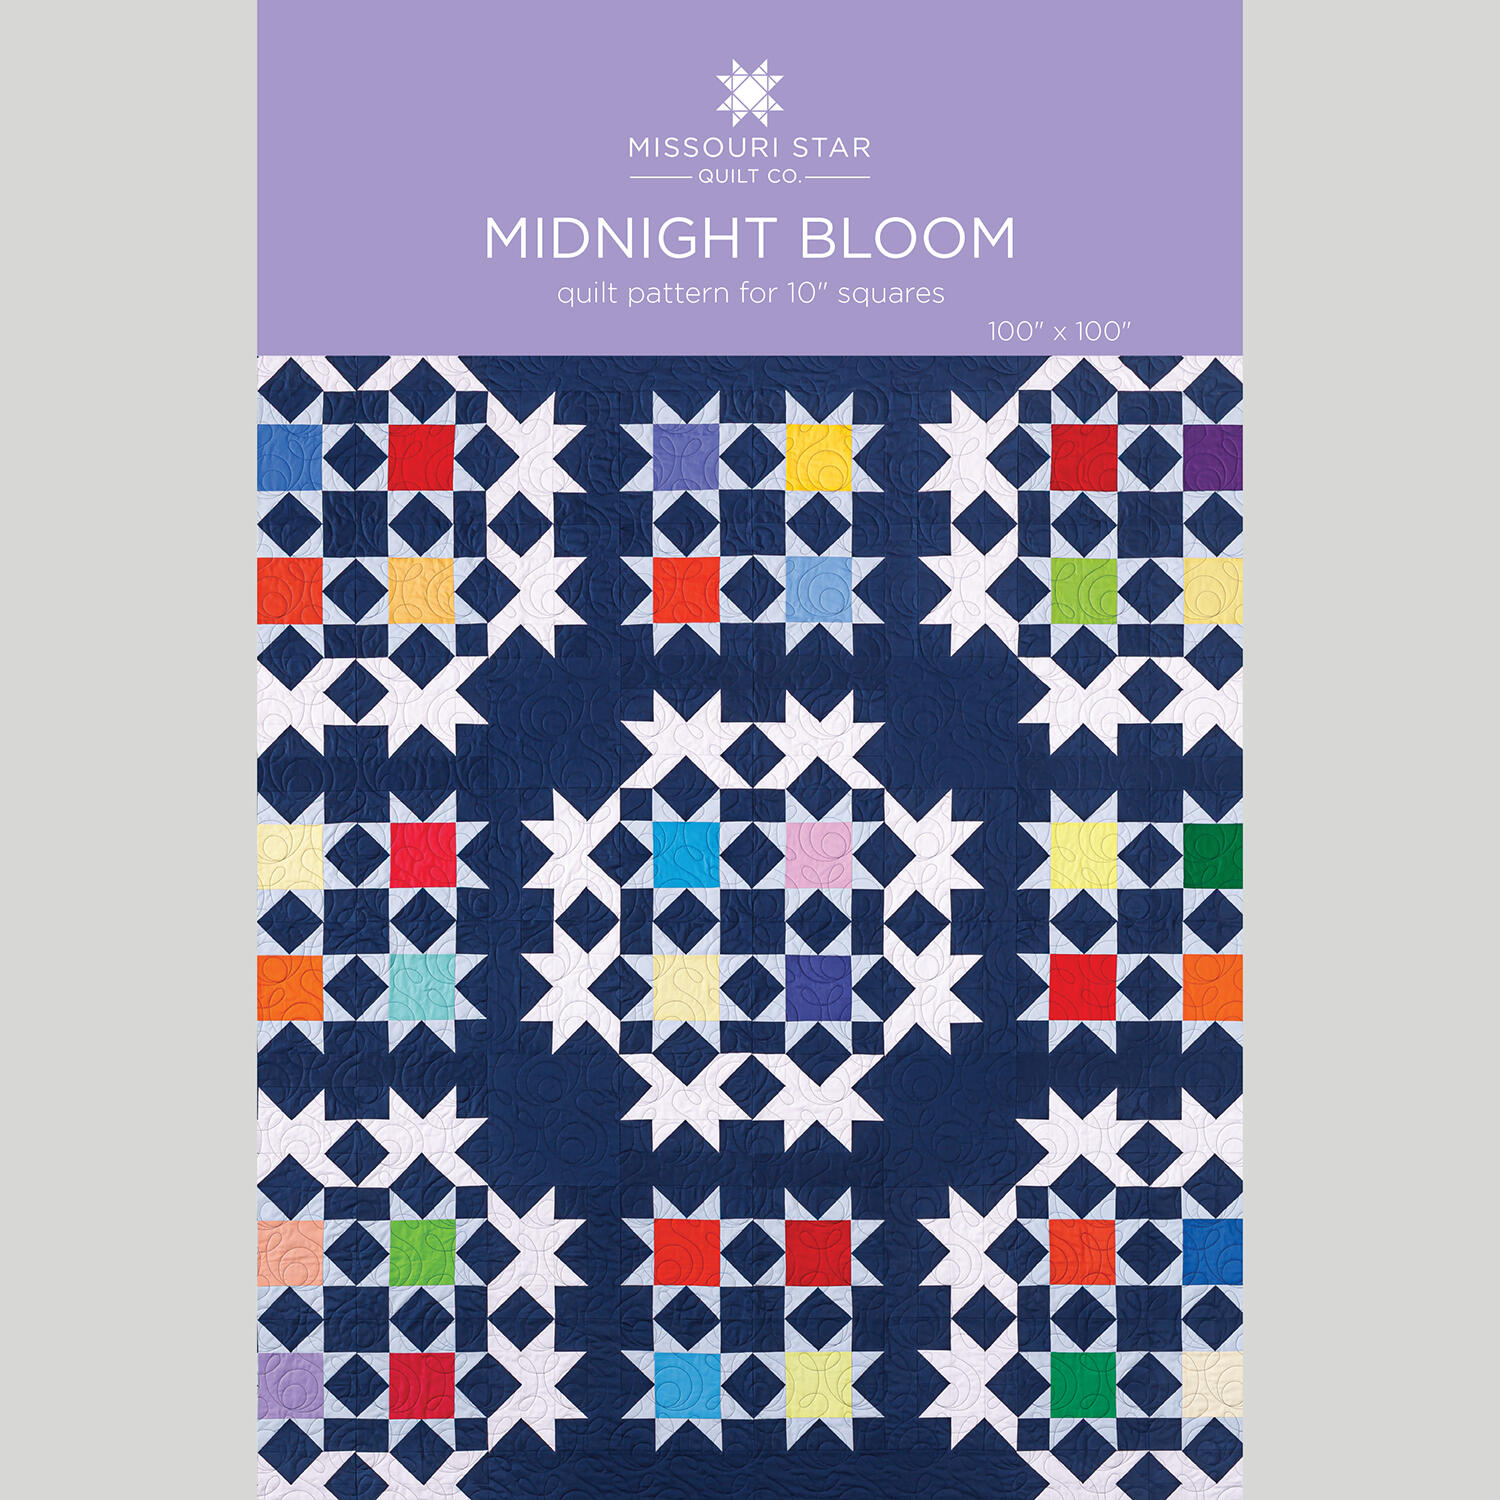 Midnight Bloom Quilt Pattern by Missouri Star$8.50Shop →
 Digital Download - Midnight Bloom Quilt Pattern by Missouri Star$6.95Shop →
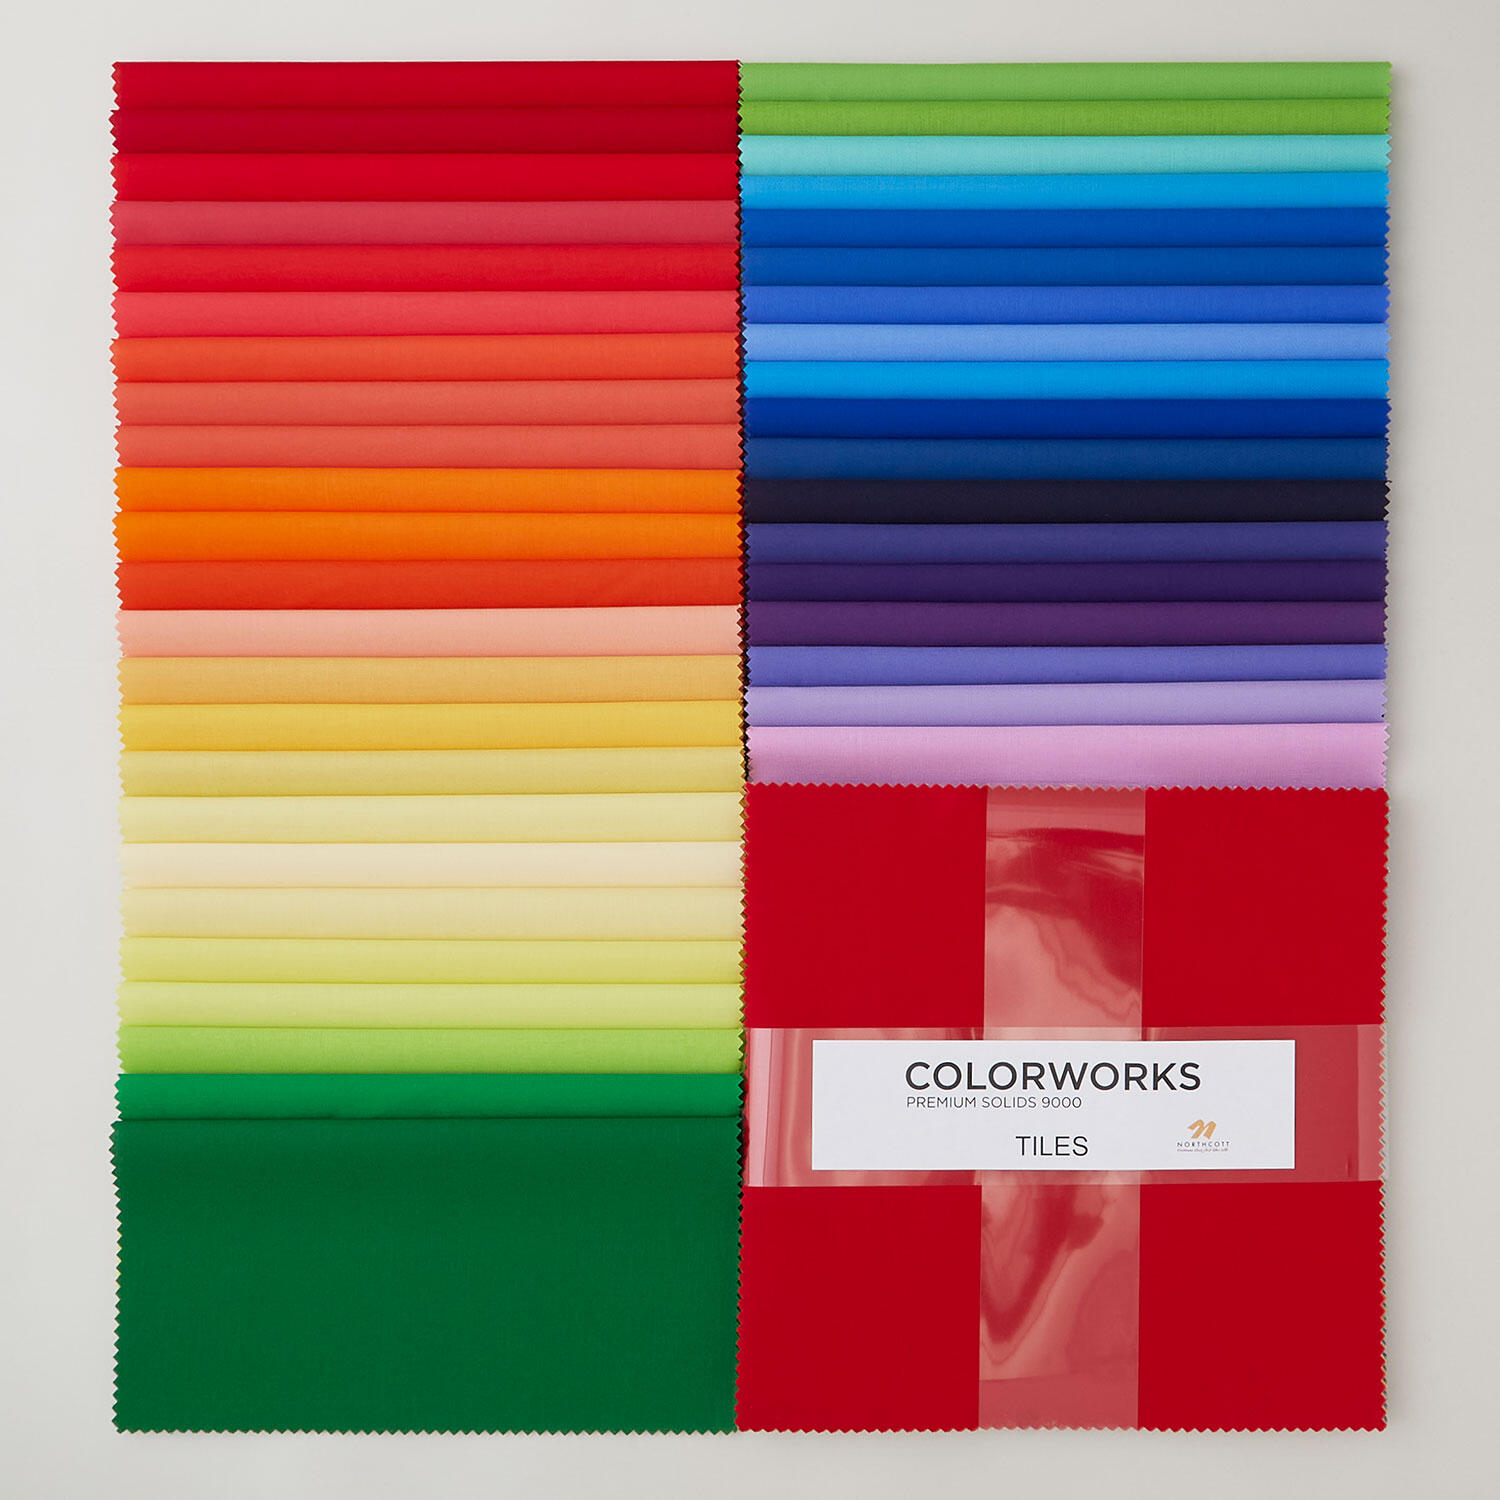 Colorworks Premium Solids Rainbow Medley Tiles$35.95Shop →
 Colorworks Premium Solids - Navy Yardage$8.10Shop →
 Colorworks Premium Solids - Shrinking Violet Yardage$8.10Shop →
 Colorworks Premium Solids - Cloud Veil Yardage$8.10Shop →
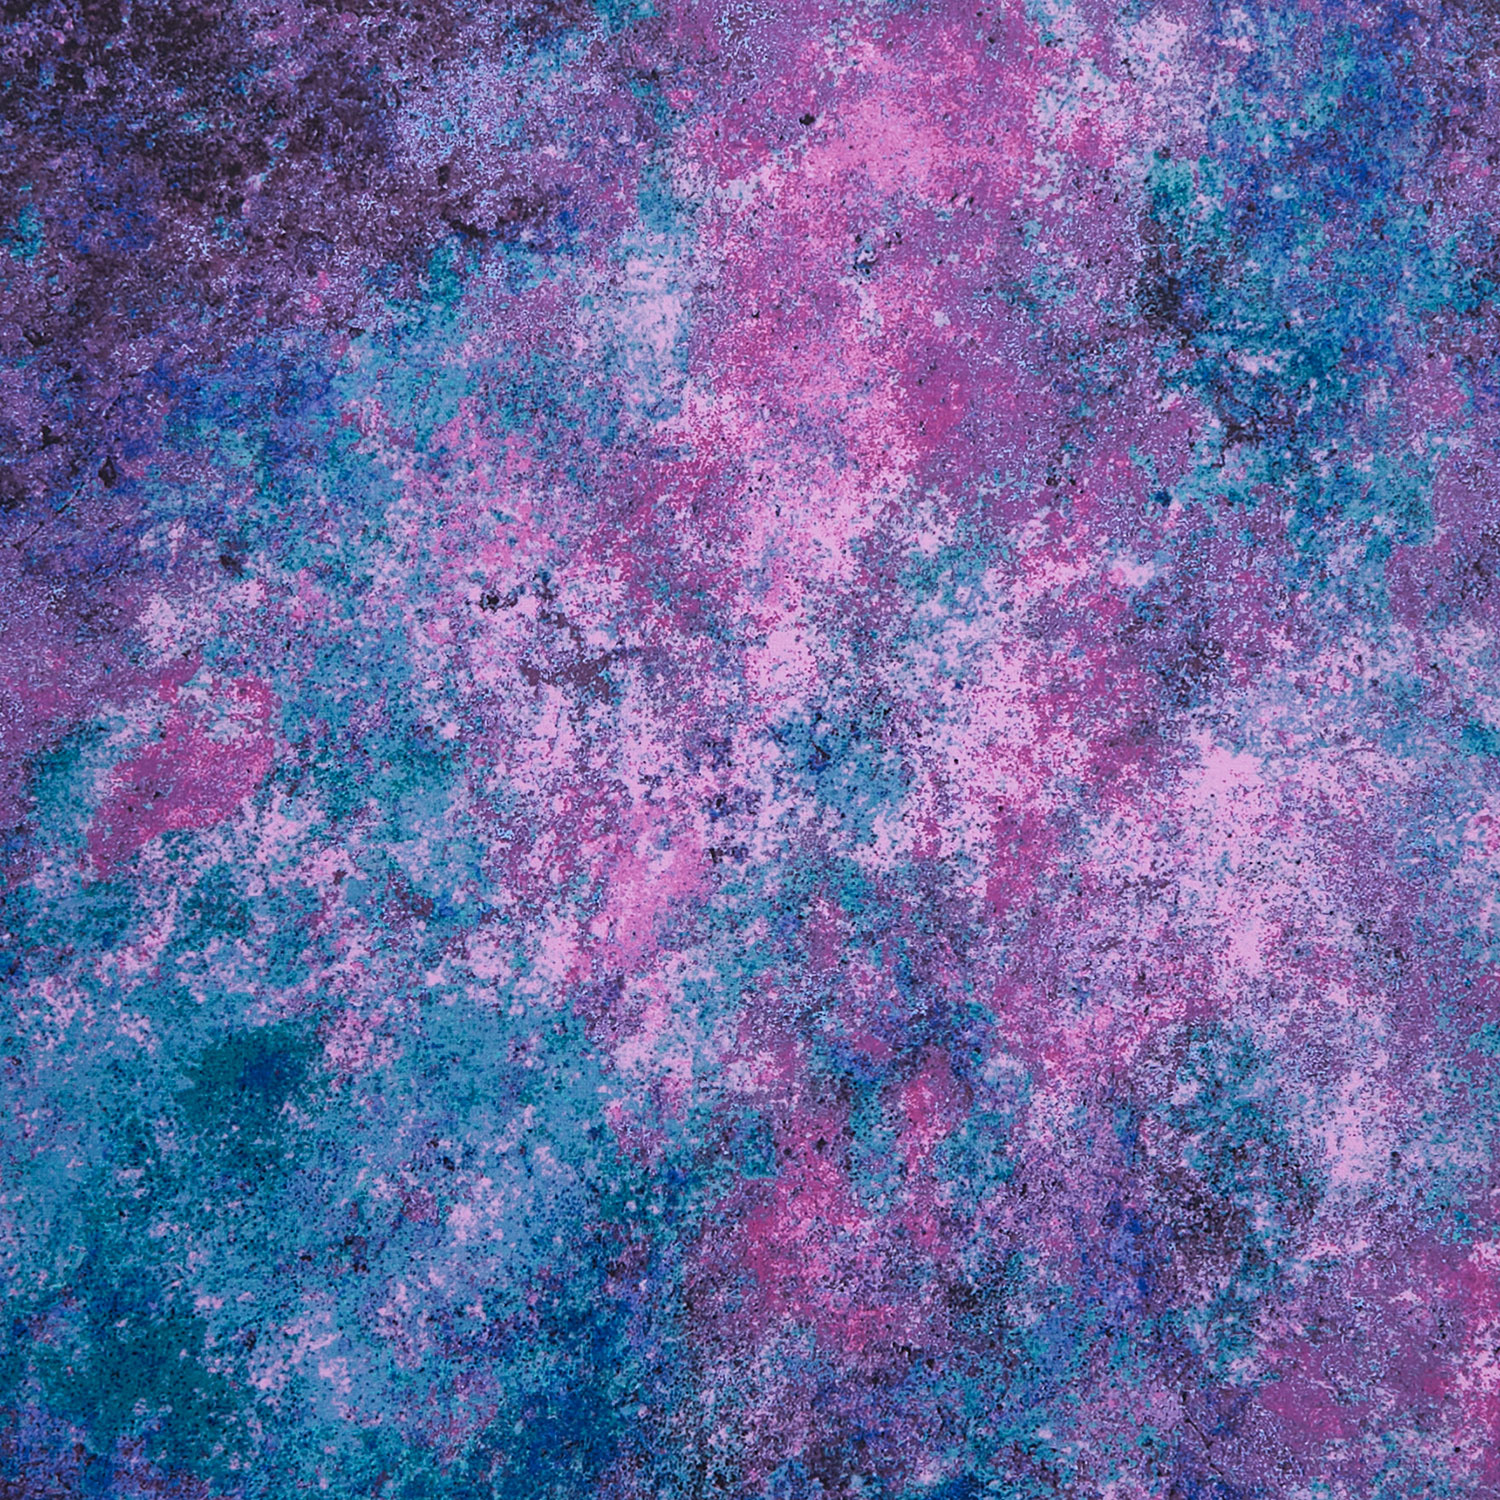 Stonehenge Gradations Wide Backing - Multi Mixer Night Shade 108" Wide Backing Yardage$19.20Shop →
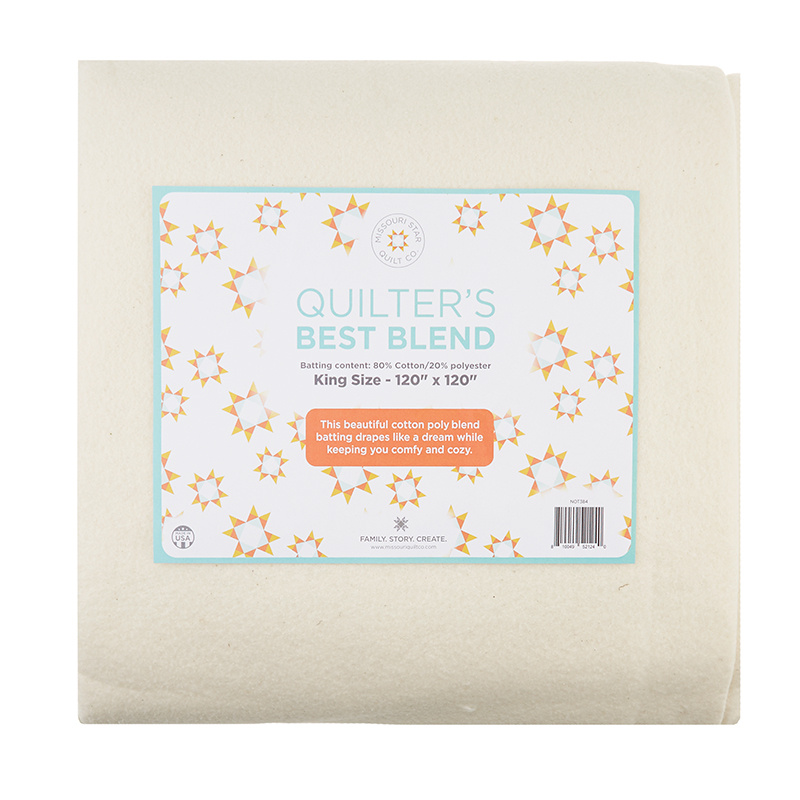 Missouri Star Quilter’s Best Blend King Batting$44.95Shop →
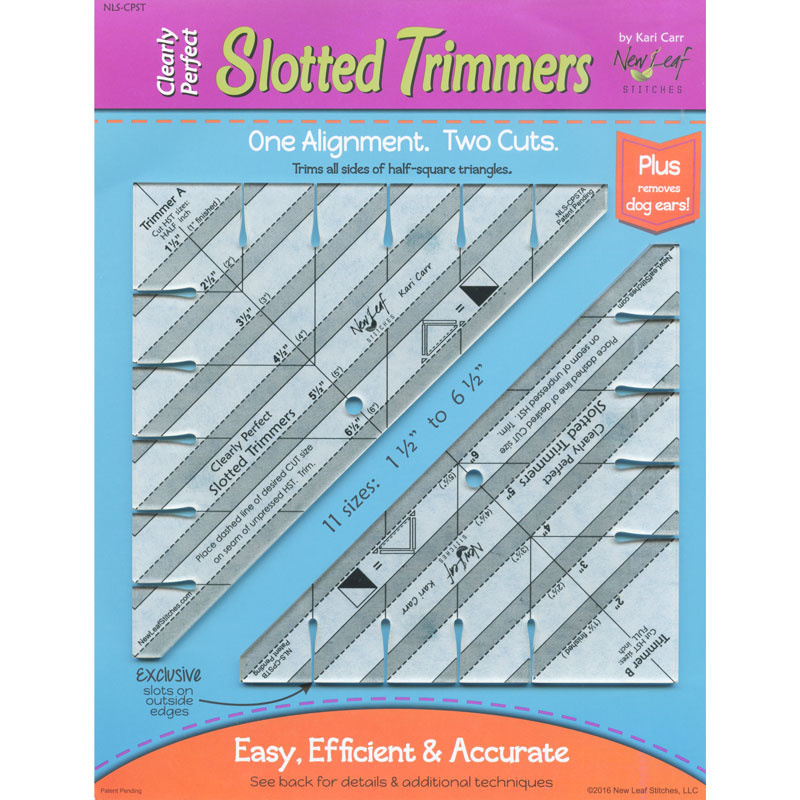 Clearly Perfect Slotted Trimmers$33.95Shop →
 Missouri Star 5" x 15" Ruler$19.95Shop →
 Baby Lock Accomplish - 1500 SPM Straight Stitch Machine$1199.00Shop →
 Missouri Star 50 WT Cotton Thread White$7.95Shop →
 Missouri Star 45mm Rotary Cutter - Olga$19.95Shop →
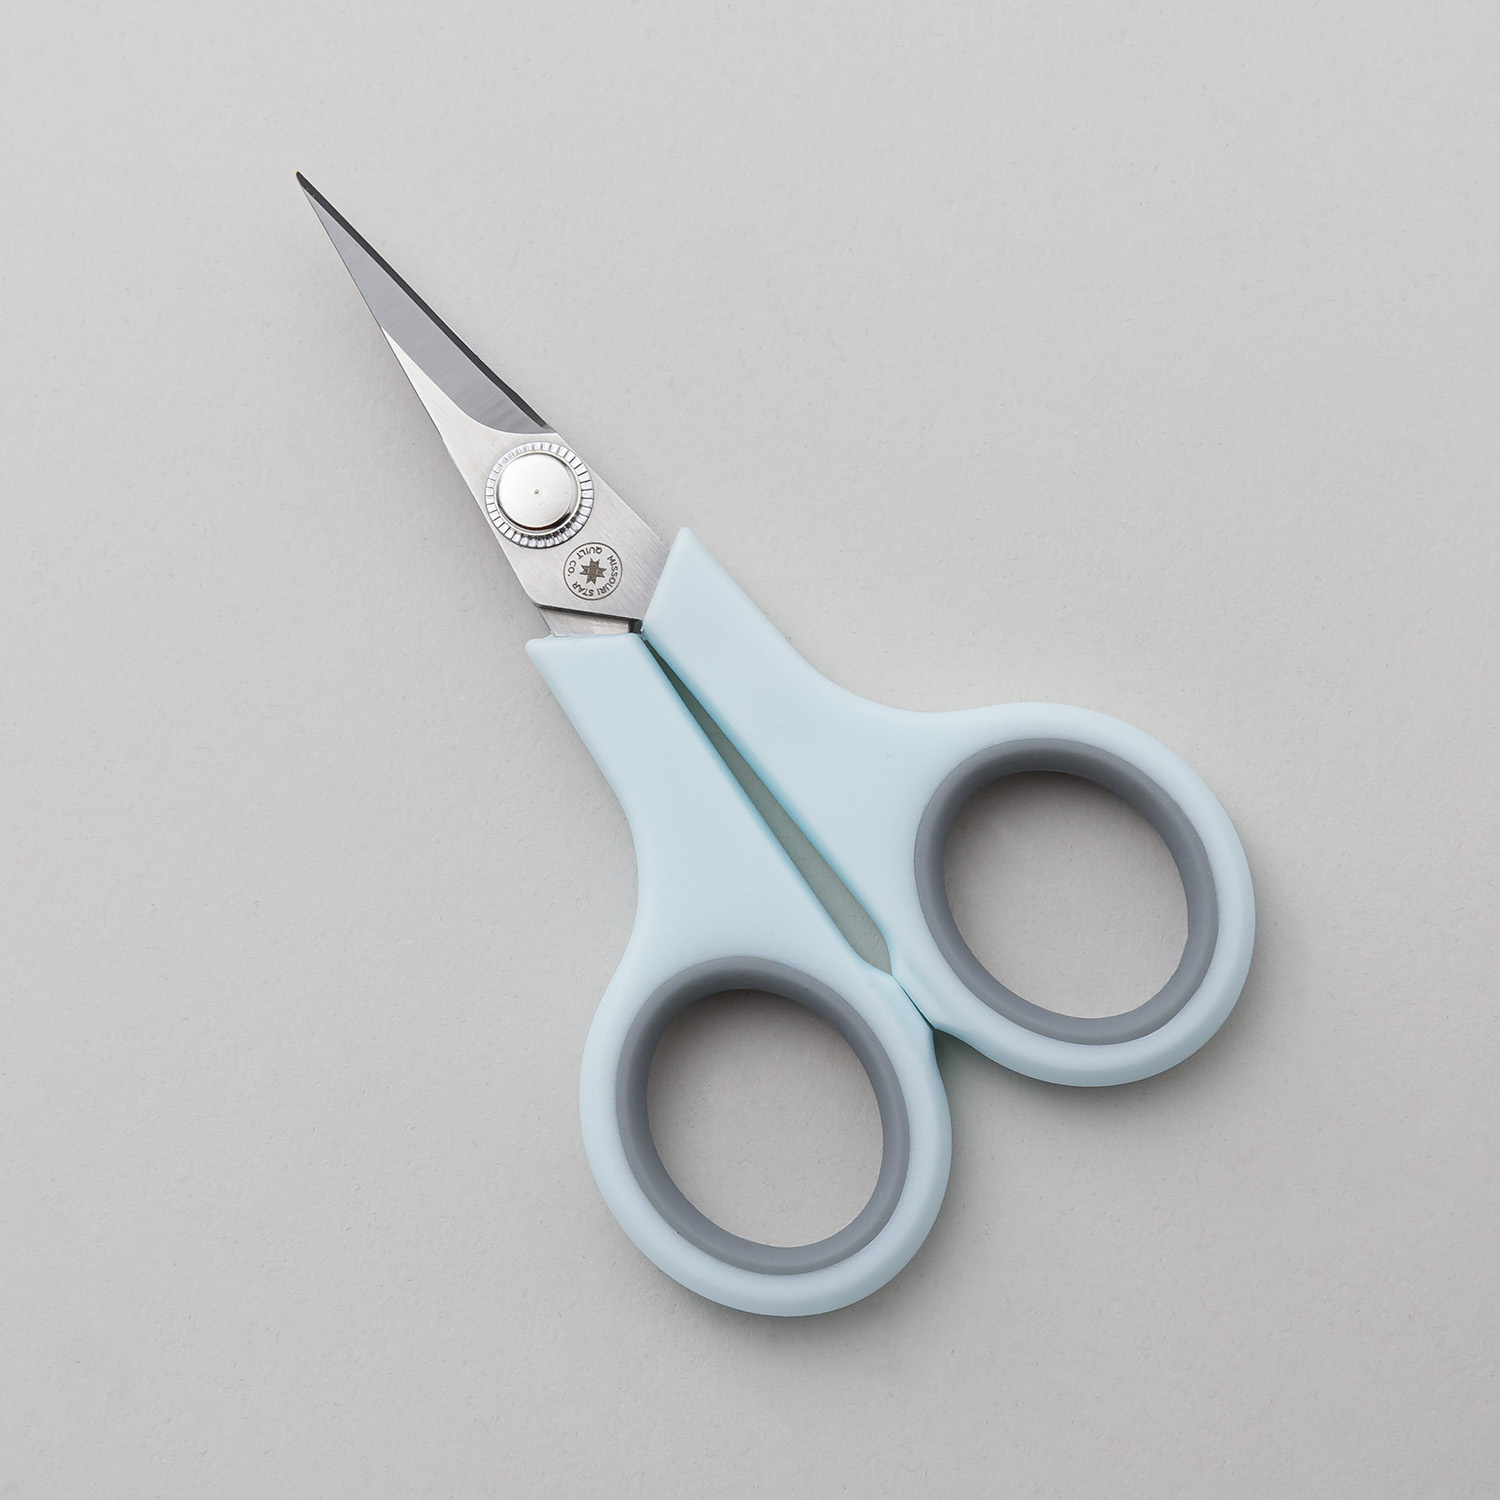 Missouri Star 4.5" Everyday Scissors - Elna$9.95Shop →
 Missouri Star 6" Everyday Scissors - Lulla$12.95Shop →
 Missouri Star 8" Everyday Scissors - Amelia$19.95Shop →
 Missouri Star + Oliso TG1600 ProPlus Iron$209.95Shop →
 Missouri Star Wooly Betty Board - 17.25" x 25.5" Orange Border$99.95Shop →



