The stars are dazzling in this striking quilt! Midsummer Stars uses a simple palette of creamy butter, crisp white, and dramatic black to let these stars shine. The fabrics, which feature delicate floral motifs with the look of sketches, are from the Pen & Petal collection by Whistler Studios for Windham Fabrics.
Misty Doan grew up surrounded by sewing and quilting. She loves spending time sharing tutorials each week each week, and when she’s not stitching up one of her fun sewing projects for home decor, most likely you’ll find her hanging out with her husband and three awesome kids or working on a house project.
The stars are dazzling in this striking quilt! Midsummer Stars uses a simple palette of creamy butter, crisp white, and dramatic black to let these stars shine. The fabrics, which feature delicate floral motifs with the look of sketches, are from the Pen & Petal collection by...
How long is the tutorial video?
The tutorial video is 00:18:33.
Are supplies listed for this tutorial?
Yes. The tutorial page includes the supplies and materials connected to this project.
Video Transcript
Hey everyone, it is Misty and welcome to at home. I have a super fun quilt to share with you today. It is called Midsummer Stars. It was inspired by a previous design I did and I just absolutely love how it turned out. So, let me show you how easy it is to make. [Music] [Music] So, for a triple play a few years ago, I designed this Midsummer Skies quilt, and I absolutely love it. But I know some people don't love to piece curves, which this has some curved piecing in it, but there's a really fun little hack to make those stars that go around it. So, I wanted to incorporate that into another design. So, I've done that today. So, we're going to make the Midsummer Stars quilt without any curves. And I think you guys are really going to like this. So, to make this quilt, you're going to need one package of 10in squares. And I used this really fun collection called Pin and Petal by Whistler Studios for Windom Fabrics. And it's all these beautiful black and whites. I really love it. I went with this beautiful butter yellow for the background. And you are going to need 3 and 3/4 yards of that. For your backing, you need four and a3 yards with vertical seams or two and a quarter yards of 108. You're also going to need a squaring tool of your choice. I love the block lock, but anything will do. So, let me show you how to make it. This is the block we're going to be making today. It is really, really simple. And so, the first thing you're going to want to do is you're going to pick 13 of the lightest prints from your collection, whatever you choose. And that's what I used for all of my middles. I really like how it made the stars pop by having those be a little bit darker. And so we're going to take a 10-in light square from our print. And then we're also going to take a 10-in background square. And so you can see here, I went ahead and drew a line corner to corner in both directions. And we're going to start by sewing a quarter inch away on both sides of both of those drawn lines. So let's go ahead and do that. [Music] All right, that is all done. So now we're going to take our 5x15 ruler and I'm just going to get this all straight. And I know it's tempting to cut on those drawn lines first, but we're not going to do that. We're going to start by laying our ruler right along the edge. And we're going to make the straight cuts first. So, we'll make one cut this direction and one cut this direction. Make sure it's all straight. And now we can still easily cut on that line. We don't have any awkward cuts. And this is going to give us eight half square triangles, which is going to be enough for two blocks actually. So, it'll give you the middles for two of your star blocks. So, let's just cut all of those apart and then we'll go ahead and press them open. Since I'm using the block lock, I have some of these already squared, but let me just go ahead and show you how to do that. So, we will set that seam and roll it back. There's one. And one more. Okay. So, now I'll just set these aside for now and we can bring our little block lock in. This is so handy because this is 4 and 1/2 in. And so if you've never used this before, you're going to put the logo on whatever side you have not pressed your seam towards. So in this case, it's actually my print. And you'll see I have very minimal trimming to do here. But I love this because that seam just locks right against our seam line because there's the little notch that's uh etched into the ruler. And it just gives us such a nice precise square. So, just like that. Let's go ahead and square one more so you can see that. Again, here's that little notched edge. It's going to lock right in against our seam. And we are just going to trim off our excess. that little bit there. All right, perfect. So, you're going to need four of these squared up half square triangles for each of your blocks. And I have a couple more I've already squared here. And we're going to begin by placing all of these with the prints towards the center to make our diamond. And so then we can just fold these together. And we can kind of chain piece these one after the other to join them at the machine. So, I'll put this one in here. Just use our quarter inch seam allowance. And then I'll slide this one in right behind. [Music] Beautiful. Now, if you want, you could go and press this. I'm just going to go ahead and open this up here. Place my right sides together. And when I get to the center, I will make those seams nest and go the way that I want them to go. Just make sure everything is lined up as best as I can. And we'll finish sewing these little blocks together. There we go. [Music] All right. So, now that I have all of those sewn into our diamond, let's go ahead and give this a press. I always like to press it from the top first, just to make sure it's laying nice and flat. I don't have any little tucks hiding in there. Beautiful. And now I can kind of flip it over and make my seams go the way I want them to go. Okay, that looks great. So the next step is we are going to take some background strips and these are 1 and 1/2 in wide by 8 and 1/2 for the first two. And so we'll start by sewing these on either side. And then after we've attached those, we'll add a 10 and 1/2 in by 1 and 1/2 to the top and the bottom. So let's go ahead and add these 8 and 1 halfs first. And then I'll just bring these close by so I can add them after we're done. Flip that around. Add the other. [Music] And just because I want a really nice flat block, I'm going to go ahead and press this. So, let's go ahead set this seam in between. Roll it back away from the center and do the same thing on the other side here. Got a little piece of fuzz there. And roll it back. And now you can see those 10 and 1/2 in strips are going to match up just perfectly to the top and bottom. So, we'll add those [Music] There's one. This block is so fun because each of the steps is really, really easy to chain piece. You can make all your middles kind of one after the other and then go through and add all of these little sashing strips. Makes it go really quick. All right, now we will press this. I also had a thought after I designed this quilt that it might be really fun to do a different color for this sashing. It would be a whole new quilt, something entirely different. So, don't be afraid to play. And so, now we're going to set all of these middles aside for a little bit and we're going to work on adding the star legs. So to do that, we're going to grab one of our dark 10in squares. And we're going to begin by cutting a 4 inch strip off of one edge. So we'll have a 4 by 10 inch rectangle. Just make sure I'm straight here. Actually, it's just as dark on the other side. Sometimes it's lighter if you flip it over. That's okay. 4 in. And make a cut. And so that gives us a 4 by10 inch and a 6x10 inch. And then I'm actually going to stack these very carefully. Make sure my straight edge is all in a line. And if you're not comfortable doing this, you can absolutely cut these separately. This is just a little timesaver tip for you. And so now we're going to cut 2 and 1/2 in uh rectangles all the way across for both of those. And so you should get four of each measurement. Perfect. And now I'll split those back up into their little piles of my 2 and 1/2x4 and my 2 and 1/2 by six. And so then you're going to cut 2 and 1/2 by 7 and 1/2 in background rectangles. And I have those ready to go. And we're going to begin by placing our 4 in rectangles on each side. And let me get a little marking tool here. Make sure you guys can see what we're going to do. Okay. And so we are going to snowball this. And so I'm going to line up this corner with the top corner of the black piece. And here's where it meets the background rectangle. So I'm just going to draw a line just like that. And that's going to be our stitch line. And we're going to do the opposite direction on the other side. So I just make sure I can barely see the yellow peeking out there. And we're going to do this just like so. And once you have it marked, makes it really easy. And so now I'm going to take this to the machine and I'm going to stitch just on those drawn lines. Okay? And you're going to repeat this exact same thing with both sizes of your print rectangles. So there's the first one. We'll turn this around. Make sure it's all lined up in the corner here. And then we're going to sew just on our drawn line. Perfect. All right. Now, I know this looks a little crazy, but trust me, okay, so we're going to cut this now, leaving our quarter inch seam allowance behind. and here. All right, there we go. And so now, let's go ahead and press this back. So, we'll set that seam and roll it back. Do you see how it's starting to take shape now? There we go. And so, you're going to repeat that. You're going to need two that are with this size. And I have one already done, but let's go ahead and do one more with the other side just so I can show you one more time. And so here it's the same size background rectangle 2 and 1/2 by 7 and 1/2. And now we're going to use the 2 and 1/2 by 6 in prints. We're going to lay those on here so that our corners are matching. And we are going to draw a line corner to corner. And then in the opposite direction on the other side. There we go. Make sure I can see that bottom edge. There we go. All right. And then we'll stitch right on those lines. There's the first one. We can turn this around. Just double check. Make sure our corners are all lined up and straight like we need them to be. And then we'll sew right on that drawn line again. All right. So now, just like before, we're going to trim off this excess, leaving our quarter inch seam allowance. And the other side. And now we just get to press that back. Roll them back. And the little magic star legs take shape. and this one as well. Okay. And so just like on the shorter pieces, you're going to need two of those as well. So let's go ahead and move some of this out of the way now. And so we'll bring in our middle again. And we'll start by adding our shorter pieces to the sides. And we want the widest part of our star legs to be pointed towards the center. So we'll add these first. Take this to the machine. Take a few stitches and then make sure my ends are meeting. Everything is lining up nicely. And then we'll flip this around and do the same thing on the other side. Again, making sure the widest part of the star leg is pointed towards the middle. Okay. Beautiful. All right, we'll give this a good press. Roll those back. And now we can add in our longer star legs here. Again, the rule is that wider piece goes to the middle. And so once you sew those top and bottom, it looks just like this. It's such a fun block. So let's go ahead and look at the quilt behind me. It is a five across layout by five down. So, a nice square quilt and they just set one in after the other. And when you join those blocks together without doing anything else, you get this secondary star that forms. I absolutely love it. The quilt finishes at 70 by 70, so a nice size square. And let's take a look at the backing. You can see the beautiful quilting. I used loop the loop on this. And this is just a nice tone on tone black. It's really pretty. So, I hope you enjoyed this tutorial on Midsummer Stars. and I'll see you next time on At Home. Hey everyone, thank you so much for watching at home. We're so excited to be almost a million quilters strong here at Missouri Star. And so if you haven't already joined our family, be sure to subscribe and hit that notification bell so you can be notified of all of our future tutorials. And we'll see you soon. [Music]


 Misty Doan
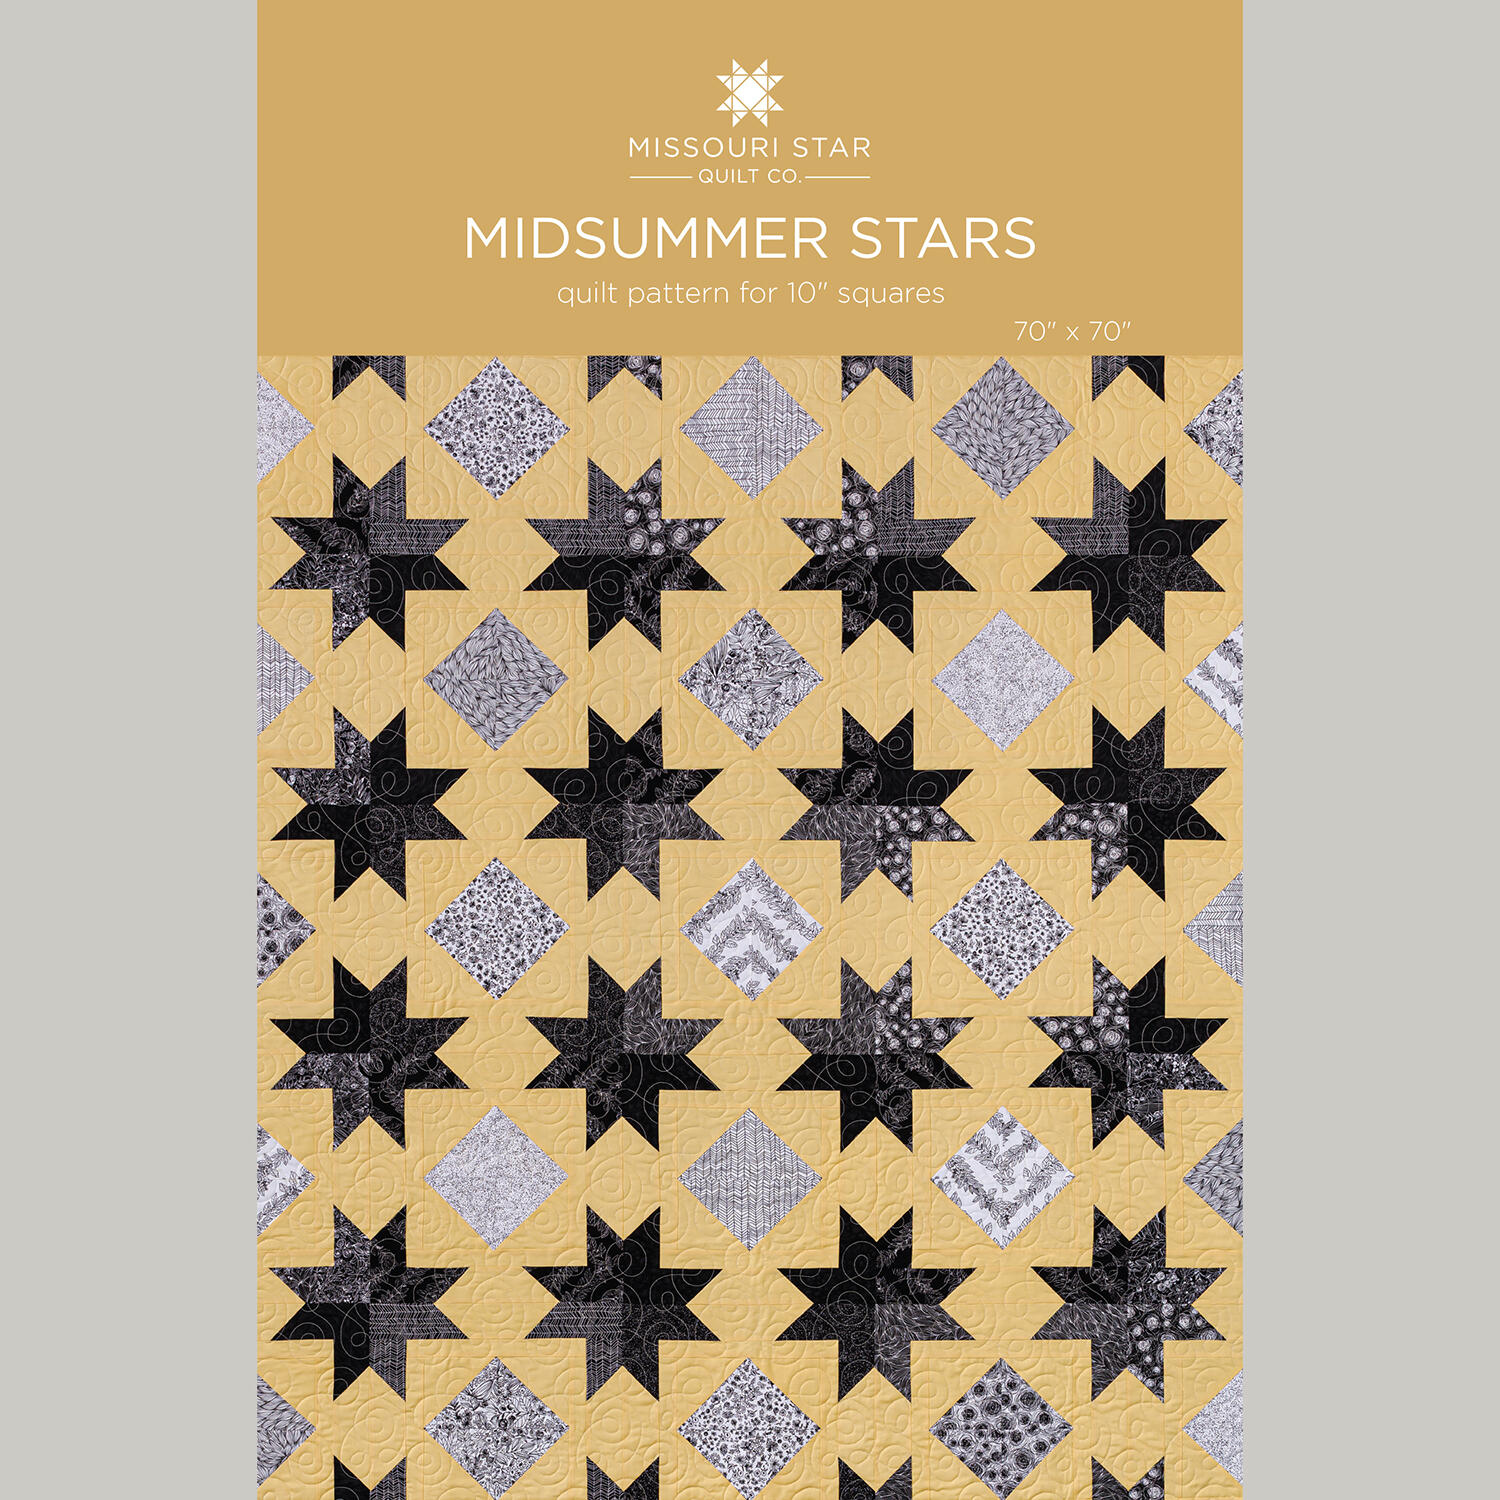 Midsummer Stars Quilt Pattern by Missouri Star$8.50Shop →
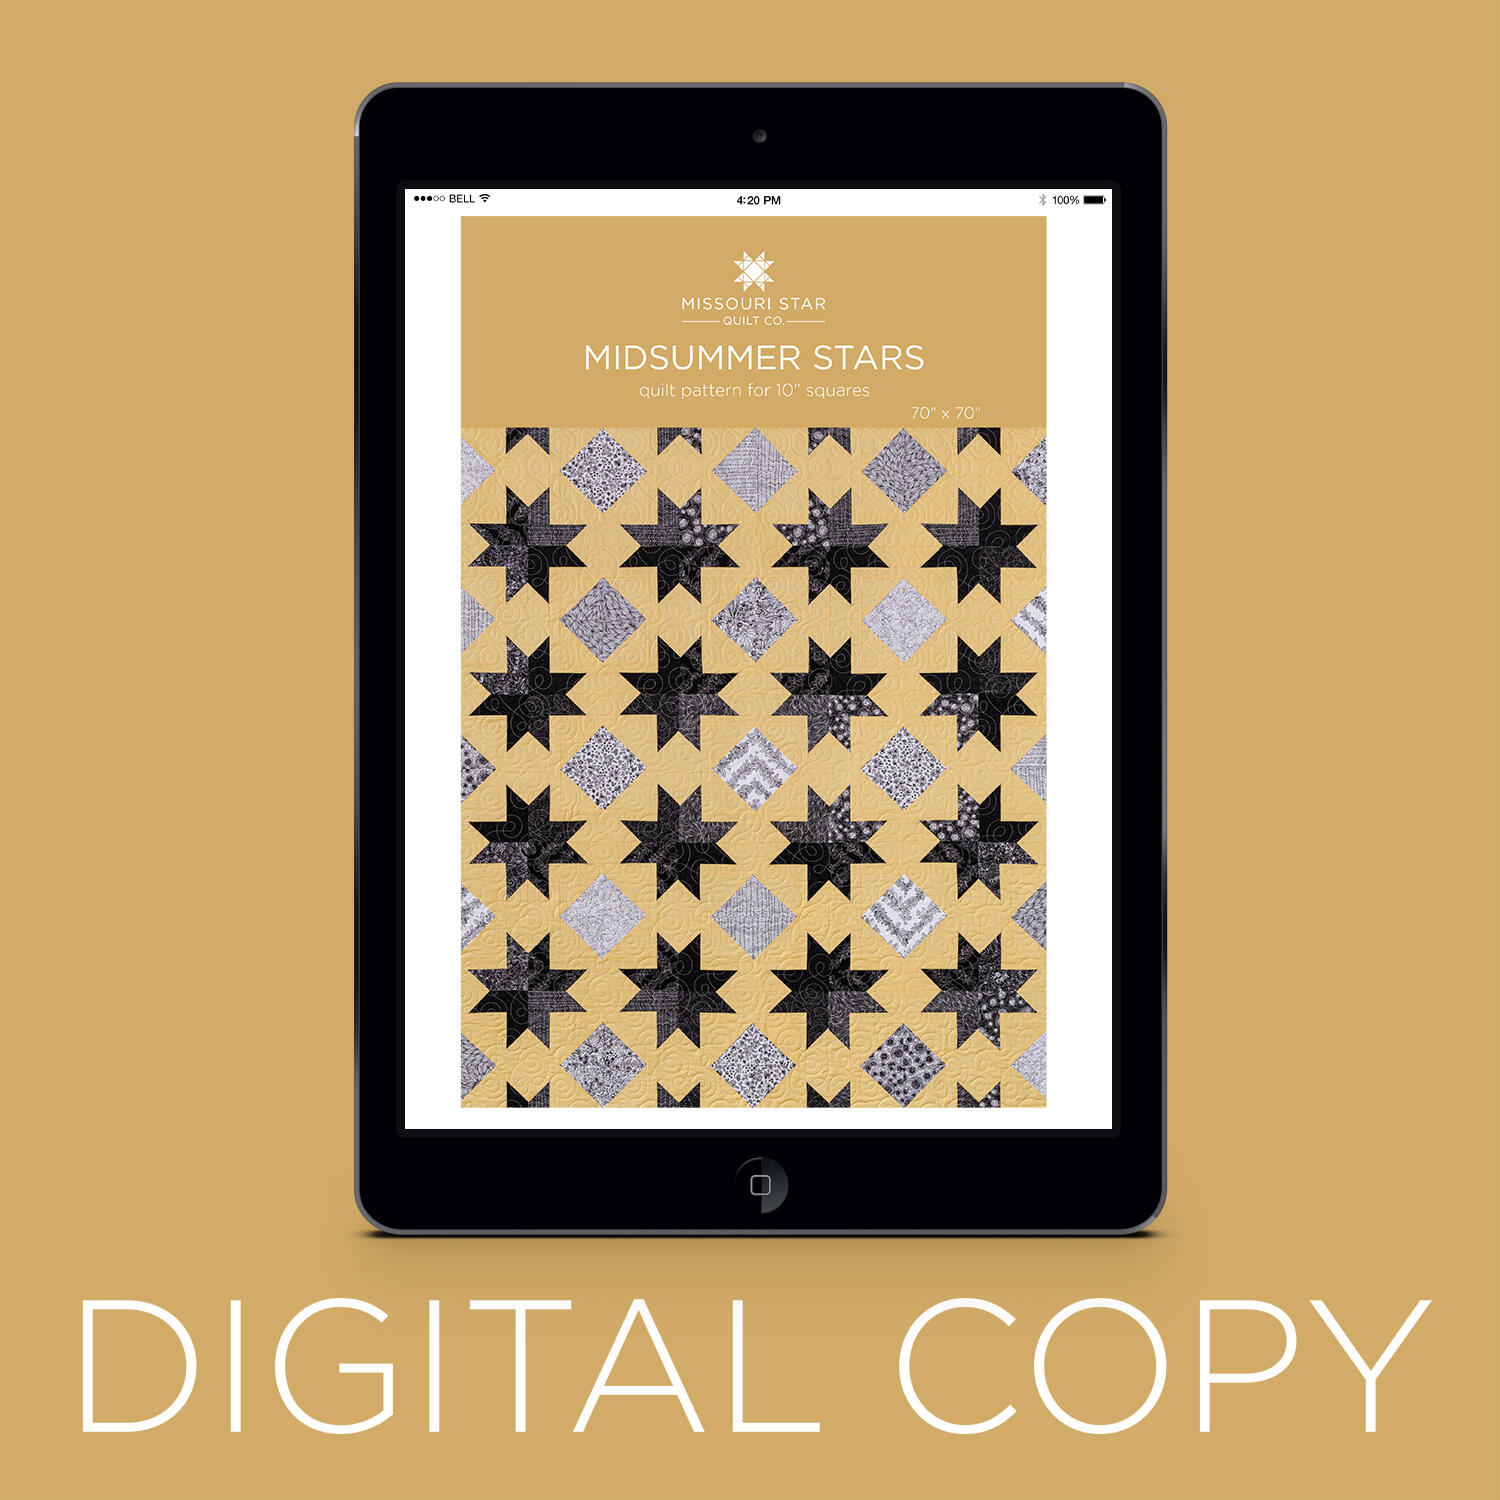 Digital Download - Midsummer Stars Quilt Pattern by Missouri Star$6.95Shop →
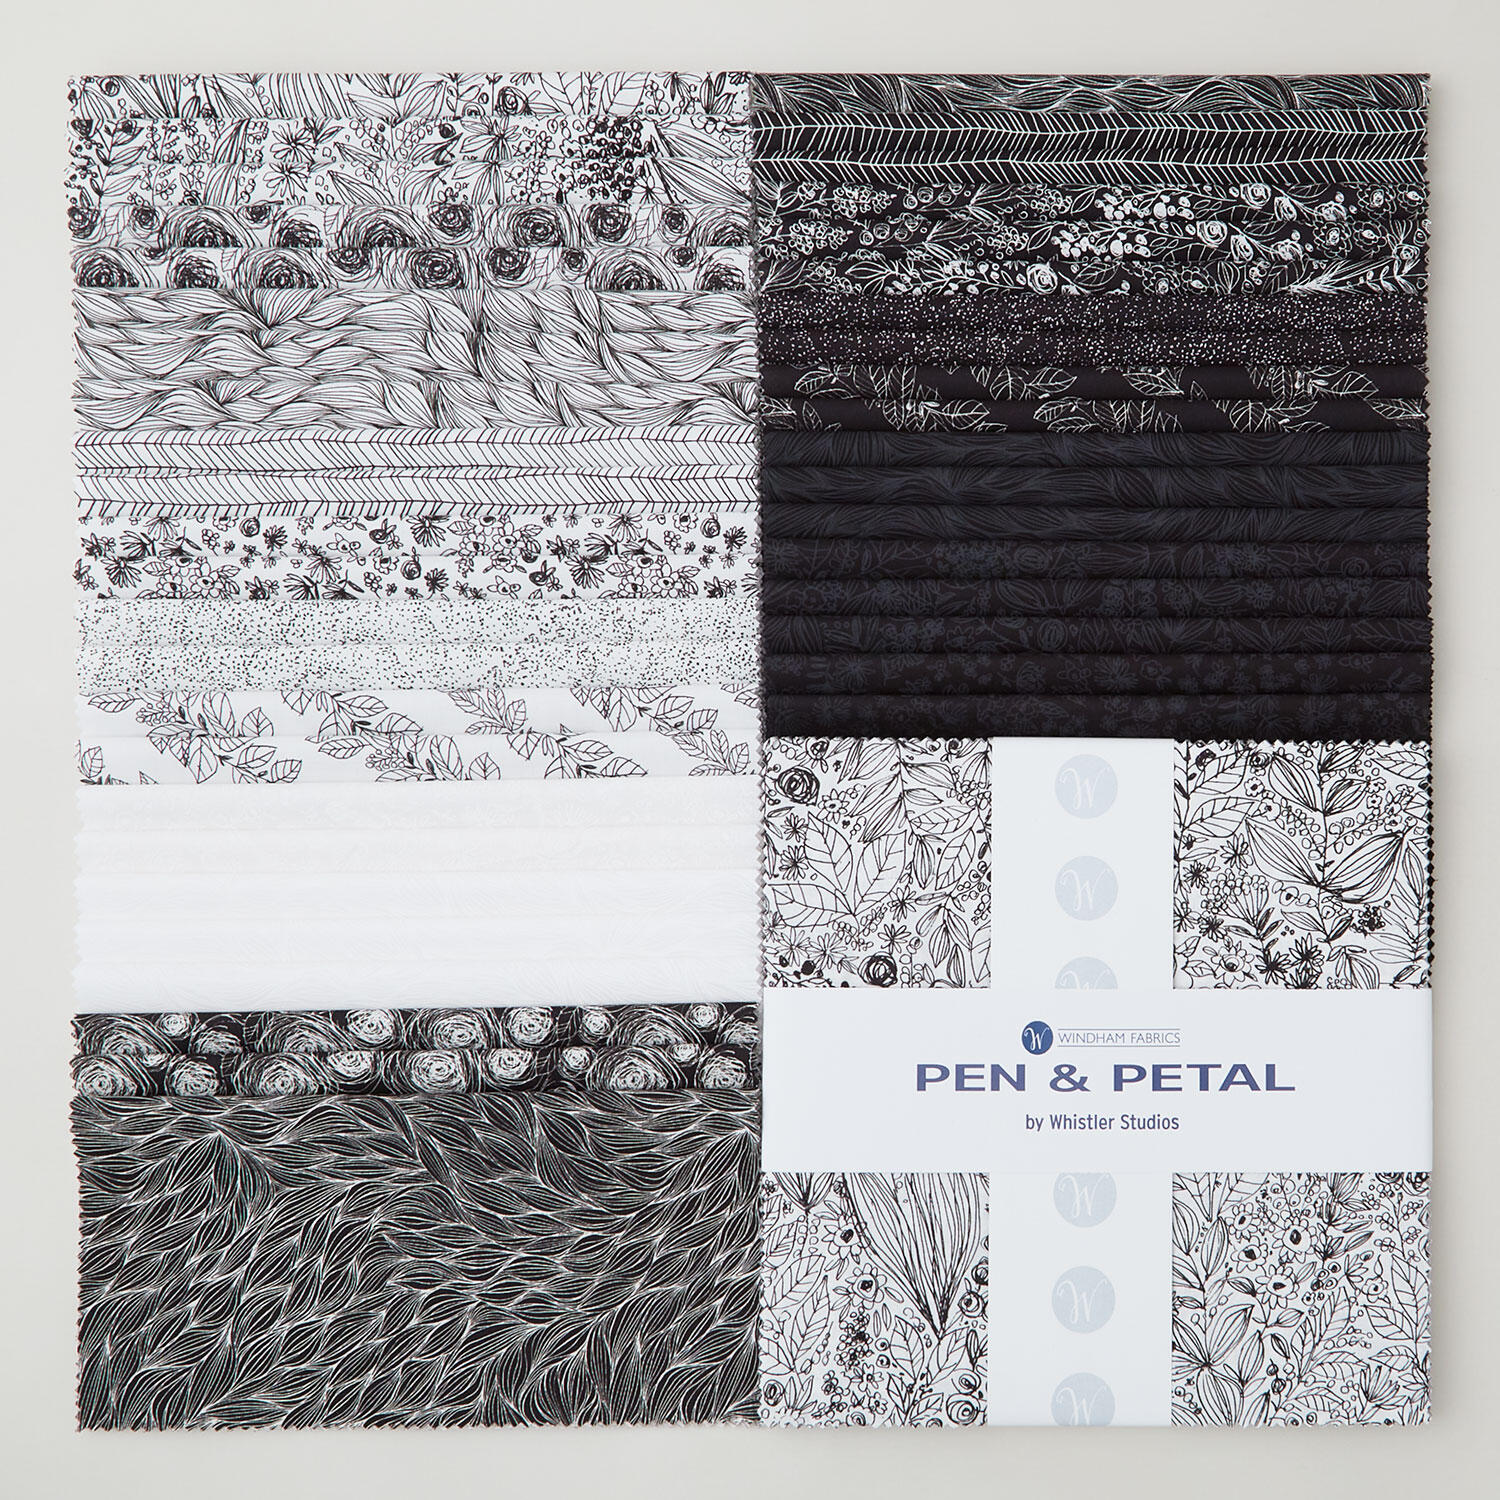 Pen and Petal 10" Squares$39.95Shop →
 Colorworks Premium Solids - Butter Yardage$8.12Shop →
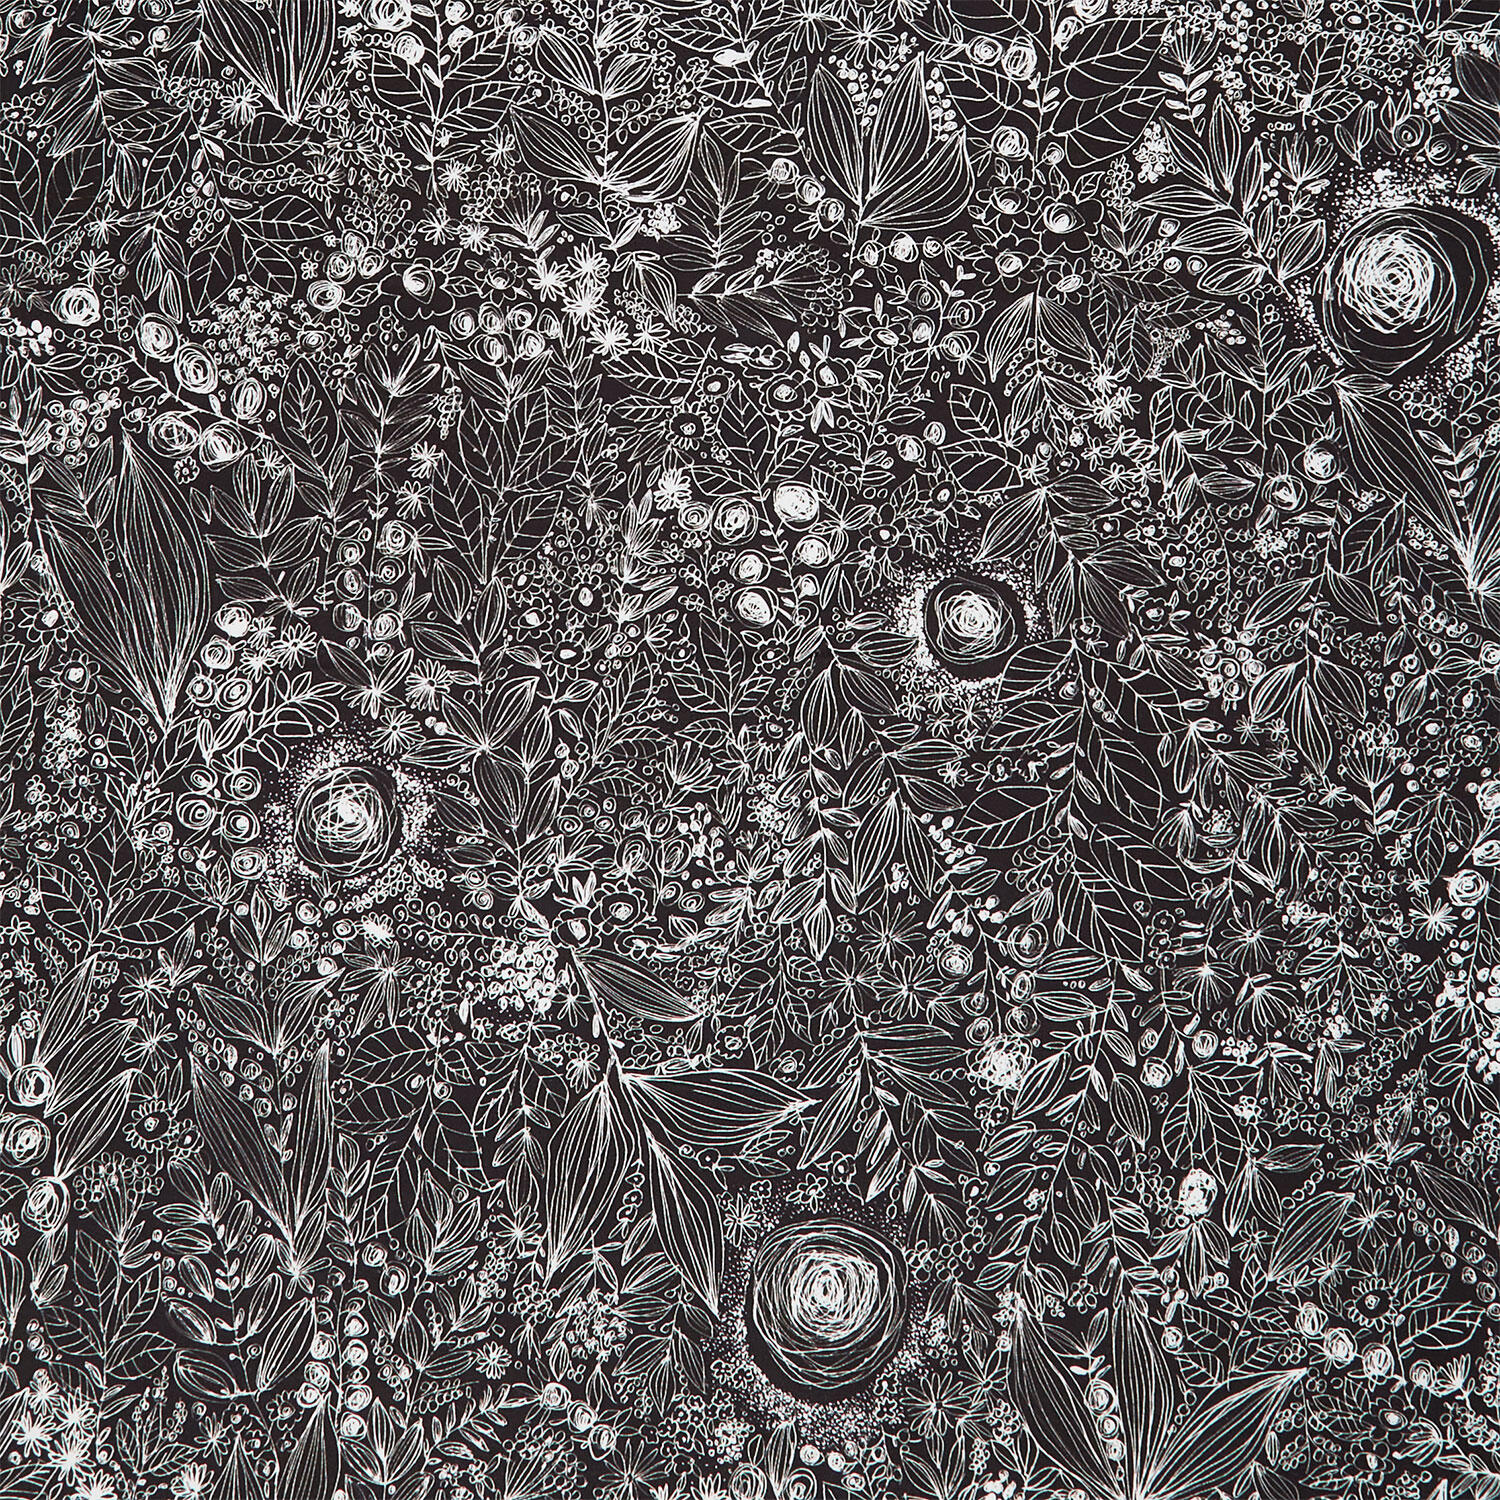 Pen and Petal - Daydream Black Yardage$11.52Shop →
 Missouri Star Quilter’s Best Blend Full Batting$32.95Shop →
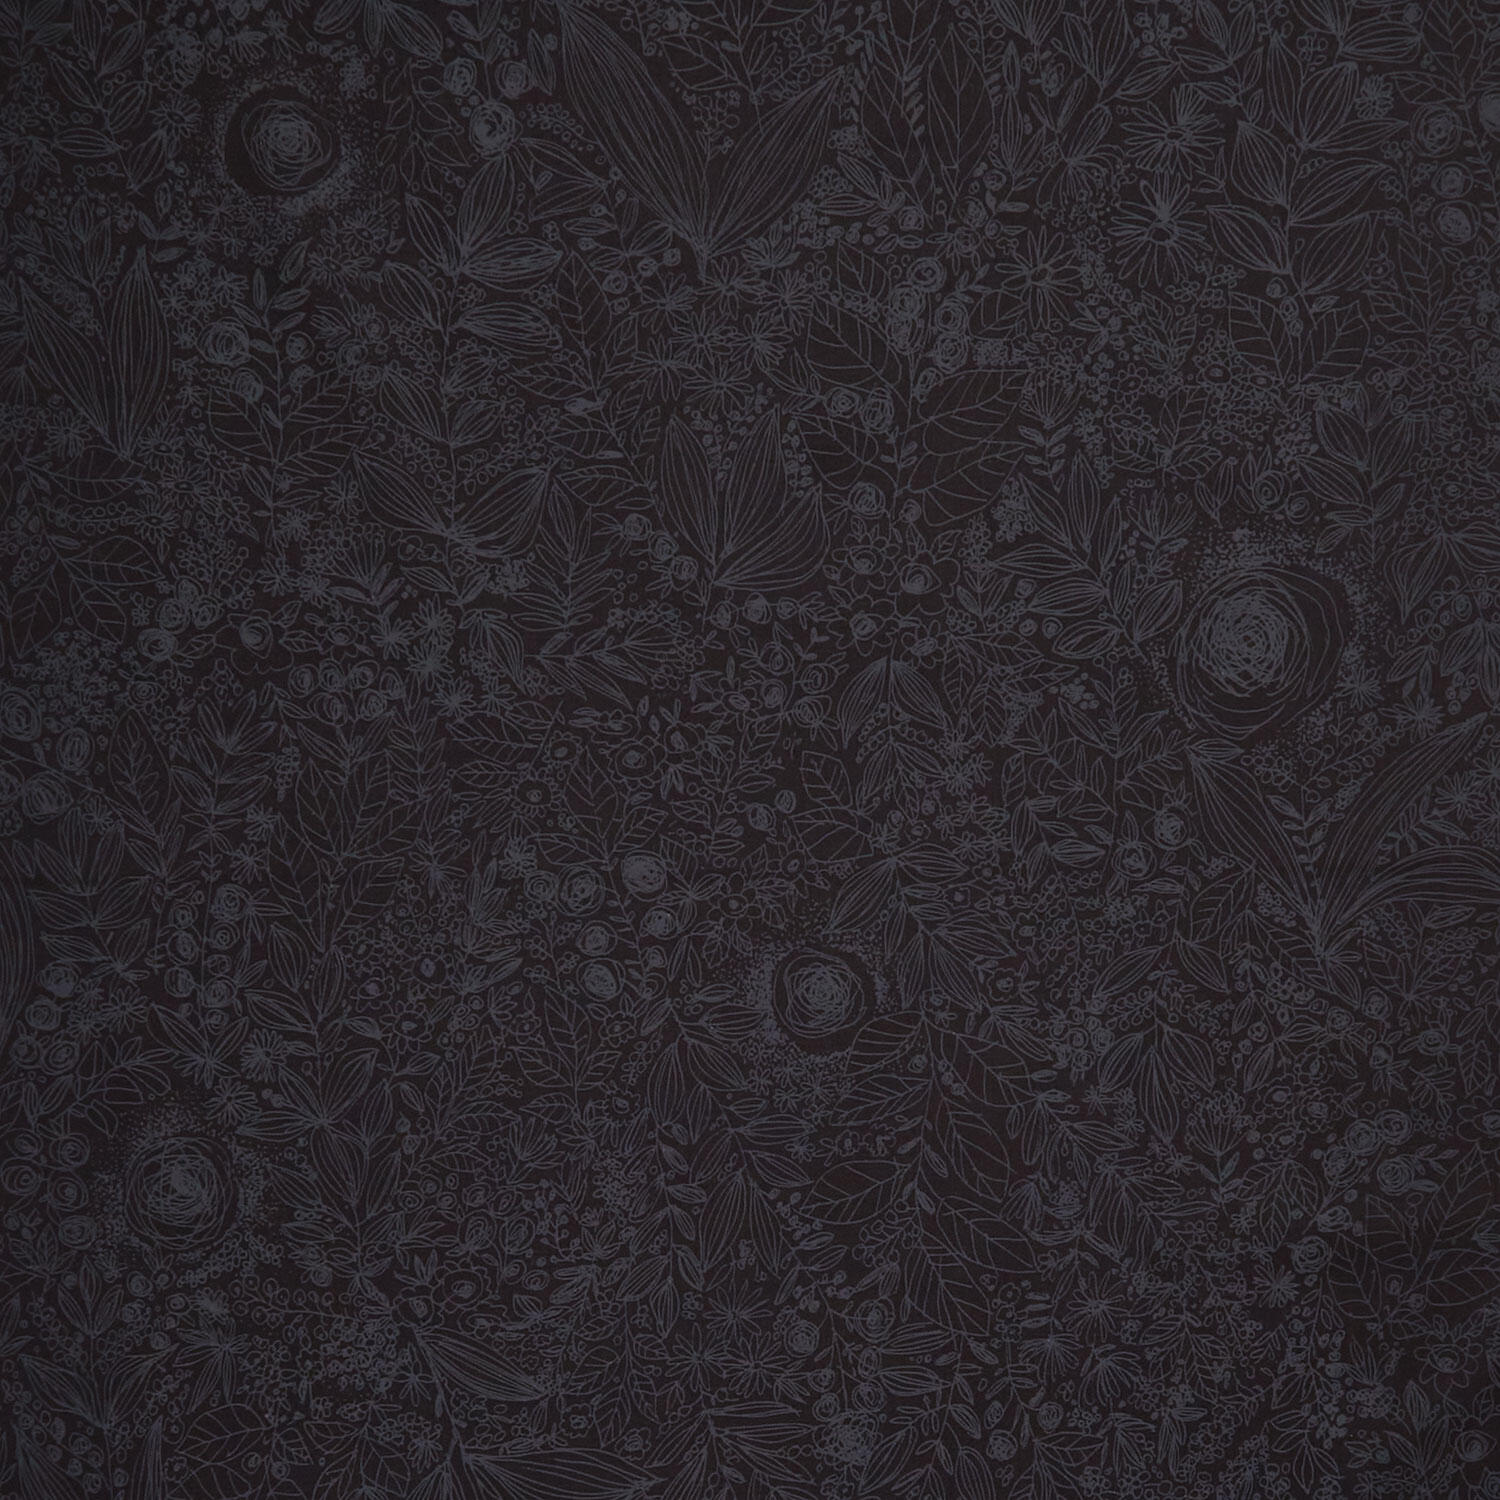 Pen and Petal - Daydream Black On Black Yardage$11.52Shop →
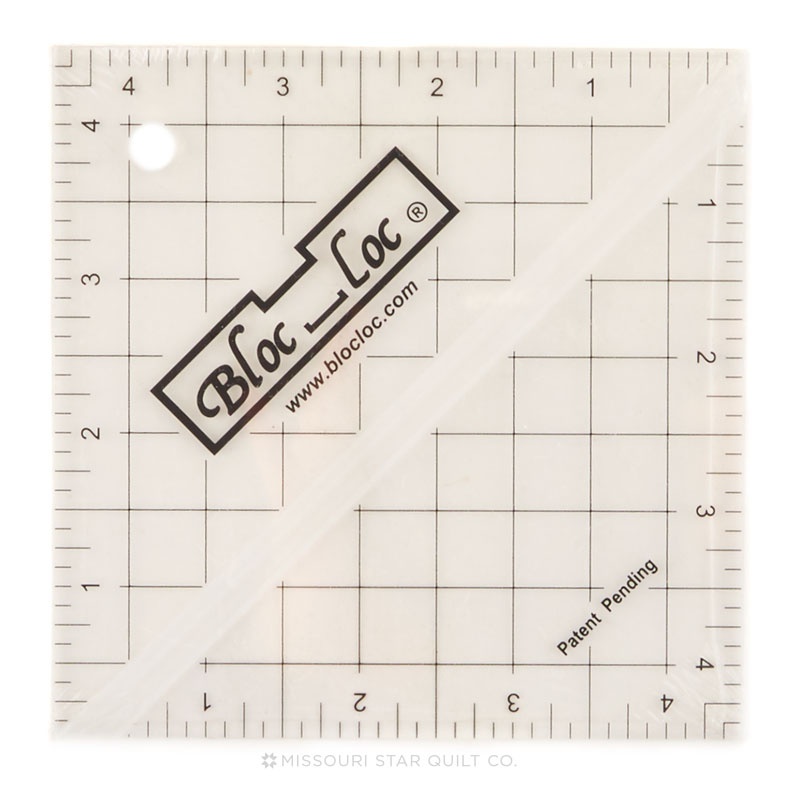 Bloc Loc 4 1/2" Square Up Ruler$32.50Shop →
 Missouri Star 45mm Rotary Cutter - Olga$19.95Shop →
 Missouri Star Seam Ripper and Replacement Tip$14.90Shop →
 Missouri Star 8" Everyday Scissors - Amelia$19.95Shop →
 Missouri Star 50 WT Cotton Thread White$7.95Shop →



