
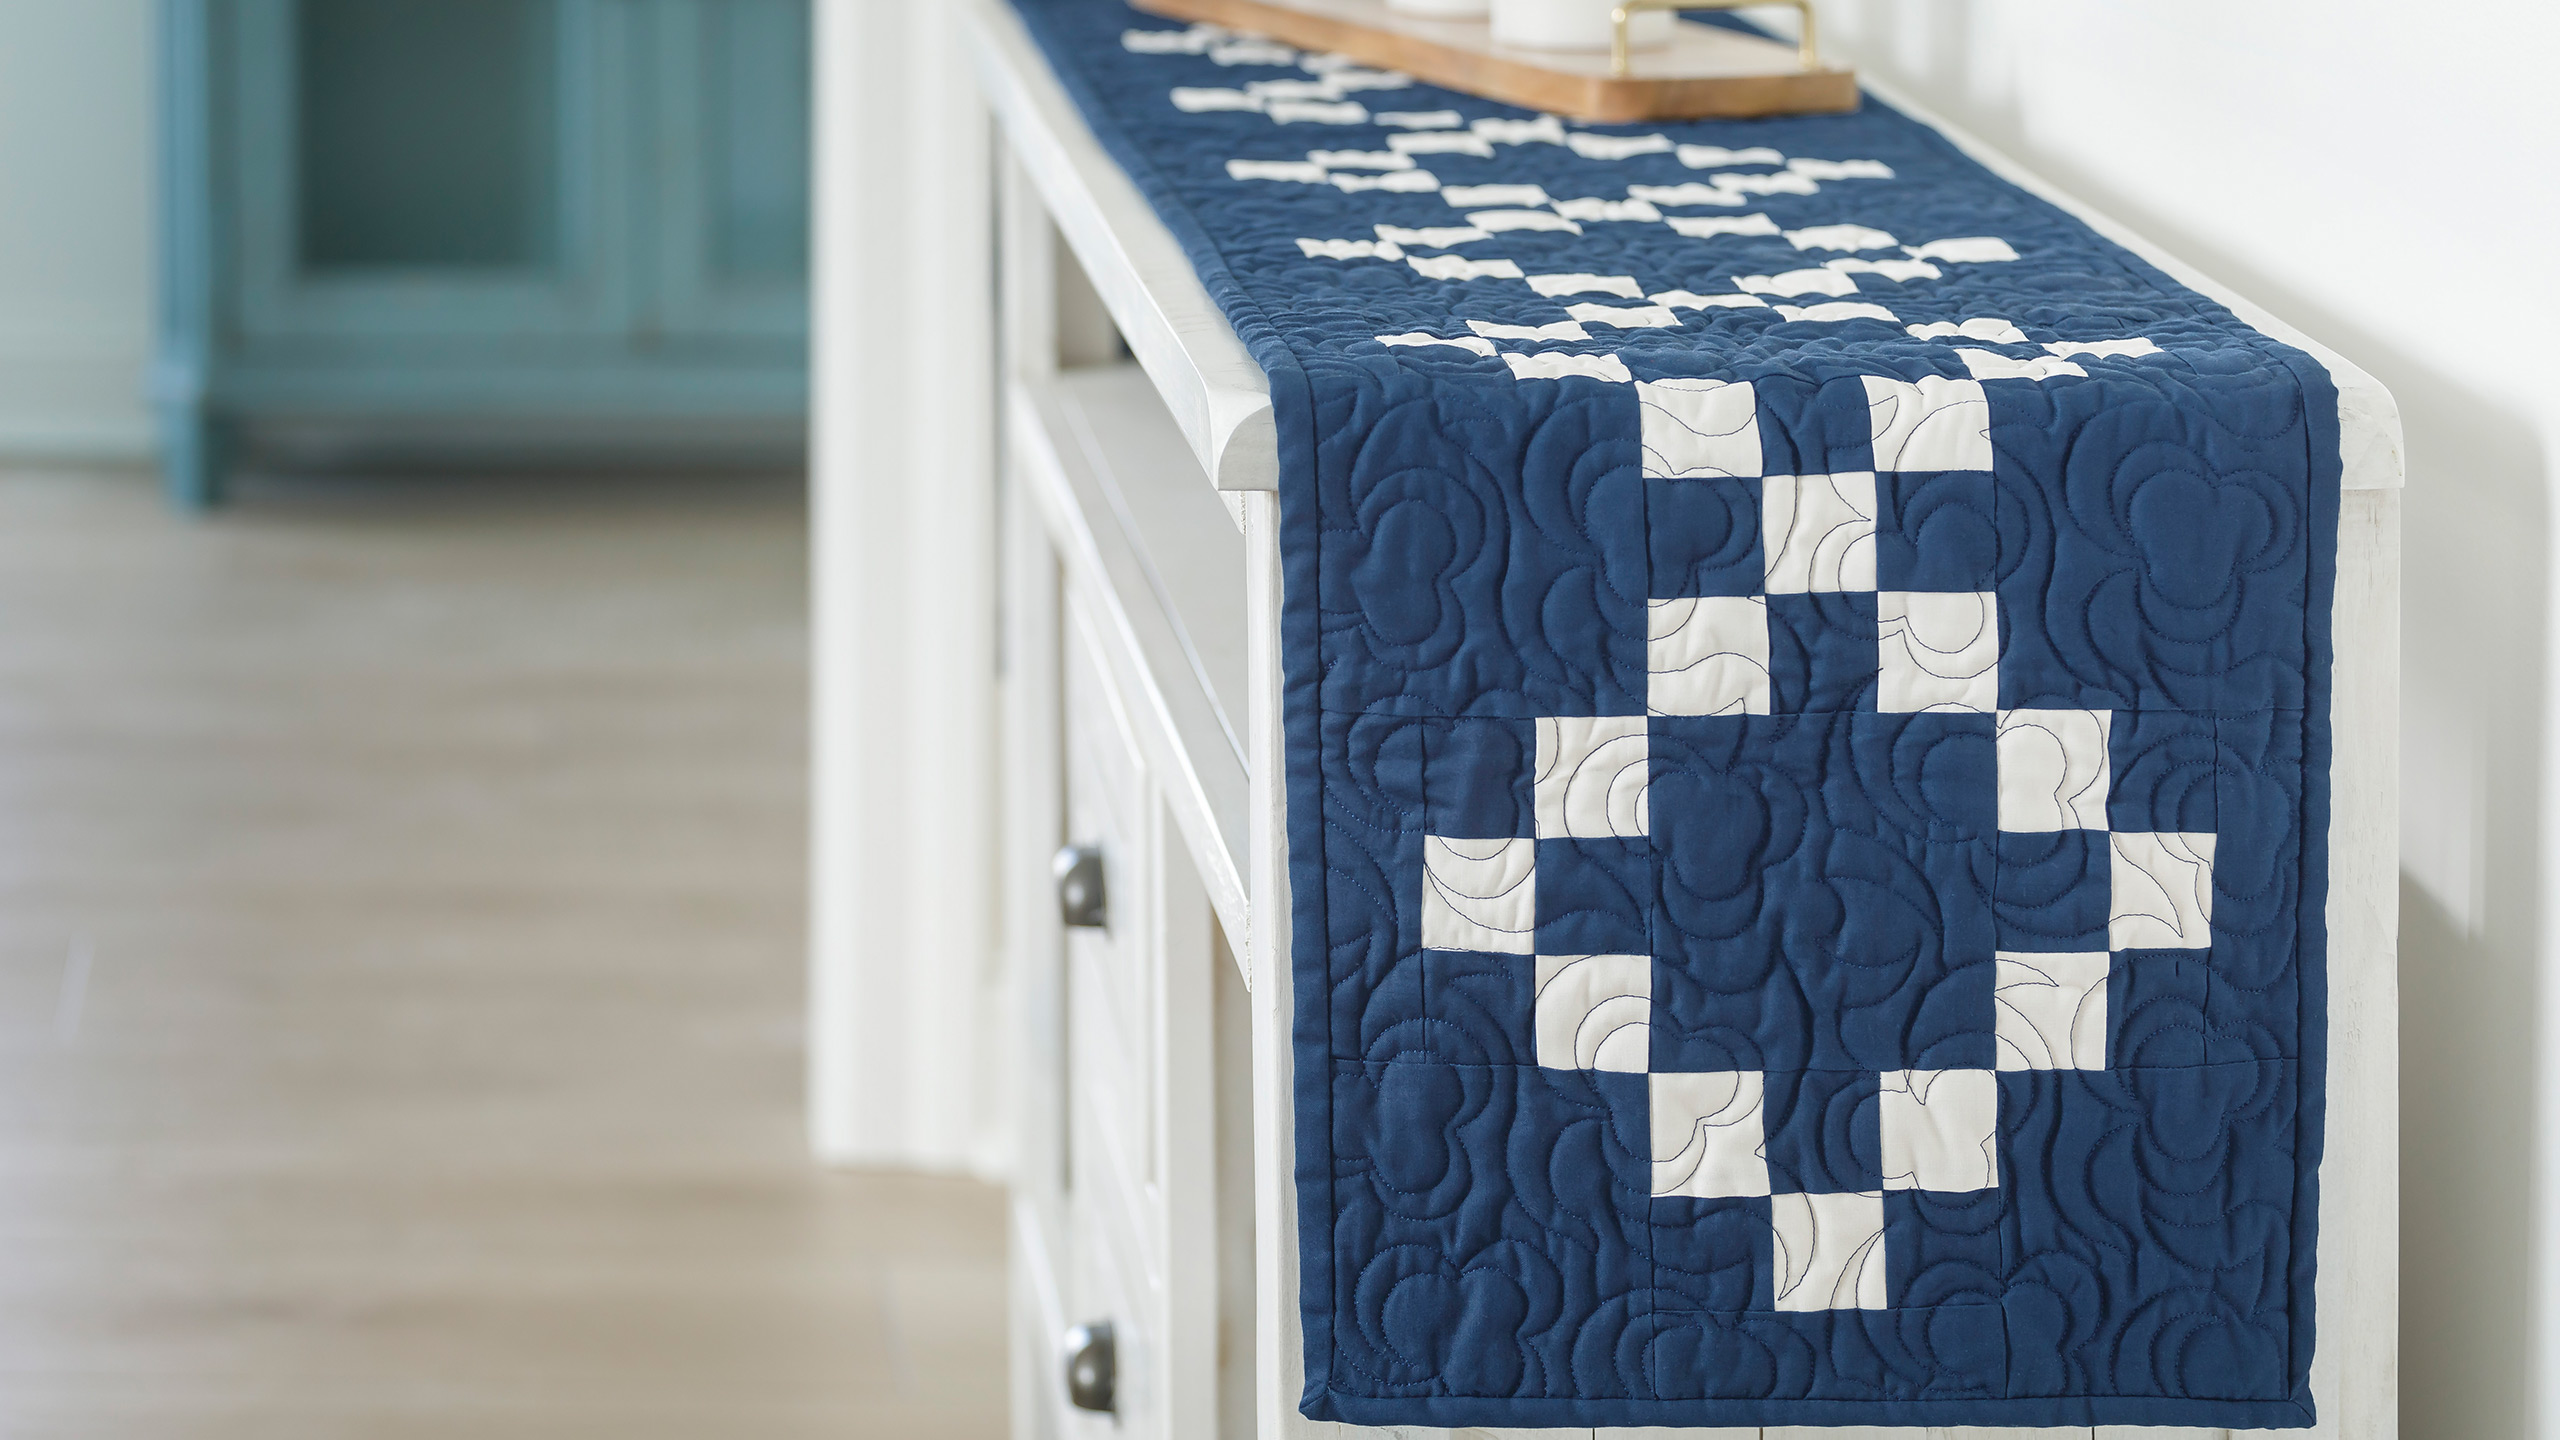
Mini Irish Change Table Runner
Give the classic Irish chain pattern a fresh twist with a Mini Irish Change Table Runner! Join Misty as she makes a table runner that gives a nod to St. Paddy’s Day and is perfect for adorning your table any time of year! With the Missouri Star mini periwinkle template and new mini periwinkle template leg, you’ll have the links on the chain connected in no time! When you’re done, sit back and admire your work with Irish eyes that are sure to be smiling!

Instructor
Misty Doan
Misty Doan grew up surrounded by sewing and quilting. She loves spending time sharing tutorials each week each week, and when she’s not stitching up one of her fun sewing projects for home decor, most likely you’ll find her hanging out with her husband and three awesome kids or working on a house project.
Shop this tutorial
 Mini Irish Change Table Runner Pattern by Missouri Star$8.50Shop →
 Digital Download - Mini Irish Change Table Runner Pattern by Missouri Star$6.95Shop →
 Kona Cotton - Ivory Yardage$7.48Shop →
 Kona Cotton - Nautical Yardage$7.48Shop →
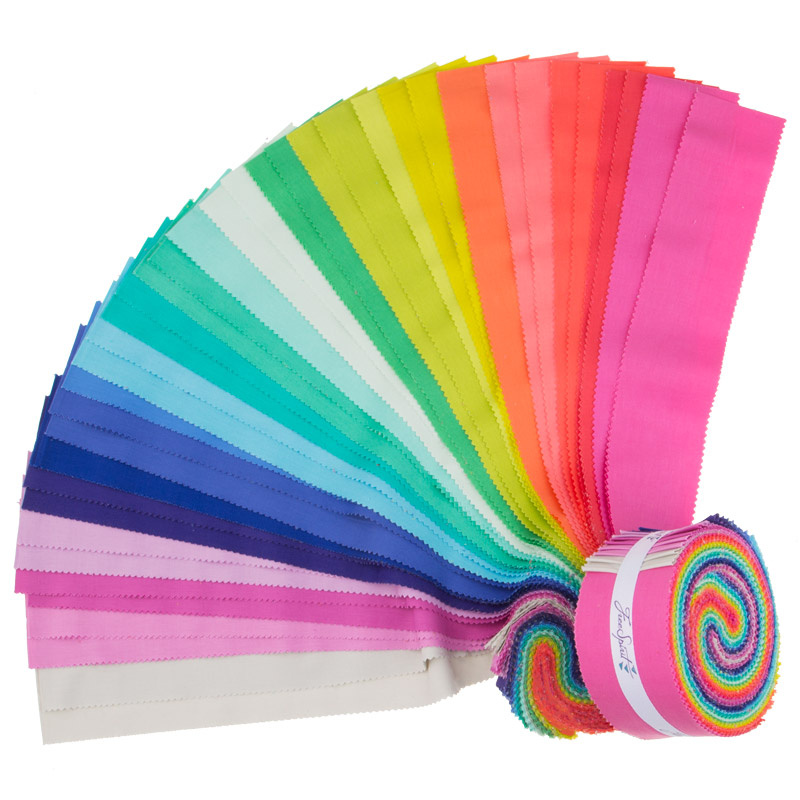 Designer Essential Solids Design Roll$44.95Shop →
 Tula Pink's True Colors - Fairy Dust White Yardage$12.96Shop →
 Missouri Star Quilter's Best Blend Bed/Table Runner Batting$14.95Shop →
 Missouri Star 2.5" X 15" Ruler$14.95Shop →
 Missouri Star 45mm Rotary Cutter$19.95Shop →
 Missouri Star 50 WT Cotton Thread White$7.95Shop →
 Exclusive Missouri Star Jenny TG1600 ProPlus Oliso Smart Iron$199.99Shop →
 Missouri Star Wooly Betty Board - 17.25" x 25.5" Orange Border$99.95Shop →
 Bernette 77 Sewing and Quilting Machine$1499.00Shop →
Common Questions
What is covered in Mini Irish Change Table Runner?
Give the classic Irish chain pattern a fresh twist with a Mini Irish Change Table Runner! Join Misty as she makes a table runner that gives a nod to St. Paddy’s Day and is perfect for adorning your table any time of year! With the Missouri Star mini periwinkle template and new...
How long is the tutorial video?
The tutorial video is 00:13:37.
Are supplies listed for this tutorial?
Yes. The tutorial page includes the supplies and materials connected to this project.
Is a transcript available?
Yes. A written transcript is available on the tutorial page.
Video Transcript
working on a runner for the dining room. It was inspired by Jenny's Irish Change tutorial, but we're making it mini! I can't wait to show you how to make it.
Since we have guests so often at this rental property, I wanted to make sure that this runner wasn't too big. So it measures 13 inches wide by 76 inches long. It's a nice big table in there, but a little bit more narrow than I typically make. So if they don't take it off while they're eating, hopefully it won't get too dirty. And so that was my thinking with this. I absolutely love how it turned out and I can't wait to show you how to make it. My favorite thing about this is these squares that are in the middle here are exactly 5 inches, so you could put whatever favorite charm pack print you wanted to highlight in between each of these, and it would be so much fun!
So I made this all in solids and in order to do that you're going to need a yard and a quarter of your background fabric. I use this beautiful navy. And then I use this cream to make that chain that runs throughout the whole thing and you'll need a half yard of that. So go ahead and grab both of those.
To begin we're just going to make a few cuts. So I'm going to go ahead and move this out of the way for a little bit and we are going to open up our yardage just a bit. Make sure it's nice and straight and doesn't need pressing. This looks pretty good. And we're just going to make sure it's straight on our mat. We'll cut off our selvage here so we have a nice clean
edge. Whoops, there we go. Then the first cut we're going to make are some 2 inch strips. That's going to form the chain that's running through. So going to come over one, 2 inches and make a couple of those cuts. Of
course, the pattern will tell you exactly how many. Just like so and then we're also going to need to cut a 5 inch strip. So we'll come over one, two, three, four, five and then I'll set this aside for now.
From our 5 inch strip, we're actually going to turn this and we're going to cut some 5 inch squares just like so. Four, five and there's a few. Then you're also going to subcut some 2 inch by 5 inch rectangles. So I'm just flipping this around here, making sure. Sometimes it's hard to see on this dark mat. So I'm just going to line it up again to help my eyes focus, there we go. And you will just continue until you have all the pieces that you need.
You're also going to cut your cream fabric into 2 inch strips. And you can see I already have some cut here. So now we're going to make some strip sets!
In order to do that, we are just going to make two different versions. We're
going to do one that is blue, cream, blue and we'll sew those together. It's going to look just like this. So I have that one ready and then for the other it's going to be cream, blue, cream, just like that. And I've gone ahead and sewed that one together as well.
So let's go ahead and set these strips out of the way. So now from here, we can take our strip sets and we can subcut these into 2 inch segments. So let me just go ahead and make sure this is all laying nice and straight. Trim off that end just so it's nice and clean. And then we're just going to come over two inches, two inches, two inches, and cut this whole strip. And I'll just cut a few to get us going, there we go. And same thing with the other set. That one looks nice and straight to begin so I don't feel like I need to trim that one off. There we go!
All right ,so now that you have a bunch of those cut, we're going to start by making our traditional kind of nine patch block. So we'll take two of our cream, blue, cream strips and one of the opposite, and we're going to set these together and sew them together until we have a completed block. So let's go ahead and take this to the machine.
I do want to point out that I did press these in opposite directions so that my seams will nest. You can see these are going in and these are going out. That's a really great tip if you're making nine patches or four patches. Just so your seams lay very nice. So I'm just going to line these up here and we'll sew down with our quarter seam. All right we've taken a few stitches, made sure that first little juncture was nested, and now I'm lining up that second one with my finger and we can just continue down the side. All right, open that up, make sure it's still going to match. Put the right sides together and we'll sew this one down just the same. Okay, now that that is all sewn together, let's give this a good press so it lays nice and flat. Beautiful! You're going to make seven of these nine patch units, just like this.
So let's move on to the second block of this project. So to make that, you're going to take one each of your little strip sets that we made and we're going to pair that with those 2x5 inch rectangles that we cut. So in the same way, we're going to sew these two together and then we're going to add our rectangle to the other end. So let's go ahead and sew these. Again you want to nest those seams so everything is lined up and pretty in the end. Then check the second one. I love blocks like this because you have those spots to watch and make sure they're staying lined up. I'm going to go ahead and press this. Now one thing you want to remember is your rectangle is going to meet up with the side that has the two dark squares. And so you don't want it to go on this side - it'd be easy to do. It goes on this side. And so we want it to look just like that. We're going to set those together and now sew down our quarter inch seam and this second block will be ready to go. All right, press that one back as well. All right now this block is ready to go. You're going to make 18 of these to make the runner as I made it.
Then you can grab your favorite pack of 5 inch squares, because these blocks will set together with that. Or the pattern is written to just use solids like I've done here. So I have those ready to go as well. So now let's lay this out because that's really the magic. I've got a few extra blocks done here. So we're going to begin with a 5 inch square in the top corner and and then our little I don't know 2/3 of a nine patch - whatever we want to call this block is going to go below it. Then we will put another 5 inch square below that. Then that same block is going to rotate and go at the top here, and we'll put a print. You would have another one just like that there, and then our full nine patch comes in between. Those are the connector blocks. So let's go ahead and pull over this finished runner, so I can set these on here and show you what I mean.
See it is really fun and you kind of sew it together in rows as opposed to complete blocks. So here's that 5 inch square in the corner, and here's this that just rotates here, here and here. And then you can see in the middle is our nine patch, and then it comes back with these again. And then by doing that, it forms this chain that weaves throughout the entire runner, which I think is so cool. I absolutely love it and I love how it finishes off these diamonds for the border. It's just a really nice clean edge! Of course, you could use more of these to continue to make this project bigger.
I would just love to see your imagination run wild with this project. It would be fun for a baby quilt or anything like that. So for the quilting pattern on this, I used Cotton Seed that we have available here at Missouri Star in our machine quilting department. And I chose just navy thread. And if you want backing, I did the exact same color but you'll need an additional yard of that plus your binding of course. This finishes off at 13 and a half by 76 inches.
I just think it's the perfect runner. It's a nice big size, but I told you to use your imagination. And it is Tula week after all, so I have a little bit of something extra to show you. So check this out! Let's just set this aside
and look at this Tula version. How cute is this? I love it so much. You're just
going to pick eight prints from your stash to create this kind of rainbow effect. I had a jelly roll laying around so that's what I used for mine. It's this Designer Solids from Free Spirit. So I just used this. Of course, I had to cut it down to 2 inches as opposed to 2 and 1/2 to make it work for this pattern, but there was plenty in here to make this great runner that's so bright and happy. The only difference is you're going to switch up your little nine patch block a bit in order to get this gradient that moves through the runner. So let's grab some of these blocks and I'll show you what I mean.
Here, so let's actually work on this end down here. So here's our regular pink units just like we made before. And of course they set in with our full 5 inch square exactly the same. But then in the middle here on the nine patch, one of our strip sets is this color and the rest matches the next color. So that's all I did to change it up - it's as easy as that. And so you can see here's the next unit and so to get that gradient I just did that with those center blocks and it was super quick and easy. I absolutely love how this turned out. Let's hold this one up too. How cute is that? Isn't that so fun? And we use some of the extra strips from the jelly roll to give this you know multicolored binding which just adds to the whimsy of it. I love it.
I can't wait to see the versions that you make of it and I'll see you next time on At Home.


