

Mirrored Mountains
 Misty Doan
- Layer Cake
- Modern
- Twin
- Intermediate
- Quilt size 64" × 80"
Reflect on the beauty of the mountains! Mirrored Mountains uses simple geometric shapes to create a striking quilt. Made using a Bonnie Sullivan pattern and her Stormy Seas Woolies Flannel, this quilt feels as warm and cozy as it looks.
Instructor
Misty Doan
Misty Doan grew up surrounded by sewing and quilting. She loves spending time sharing tutorials each week each week, and when she’s not stitching up one of her fun sewing projects for home decor, most likely you’ll find her hanging out with her husband and three awesome kids or working on a house project.
Shop this tutorial
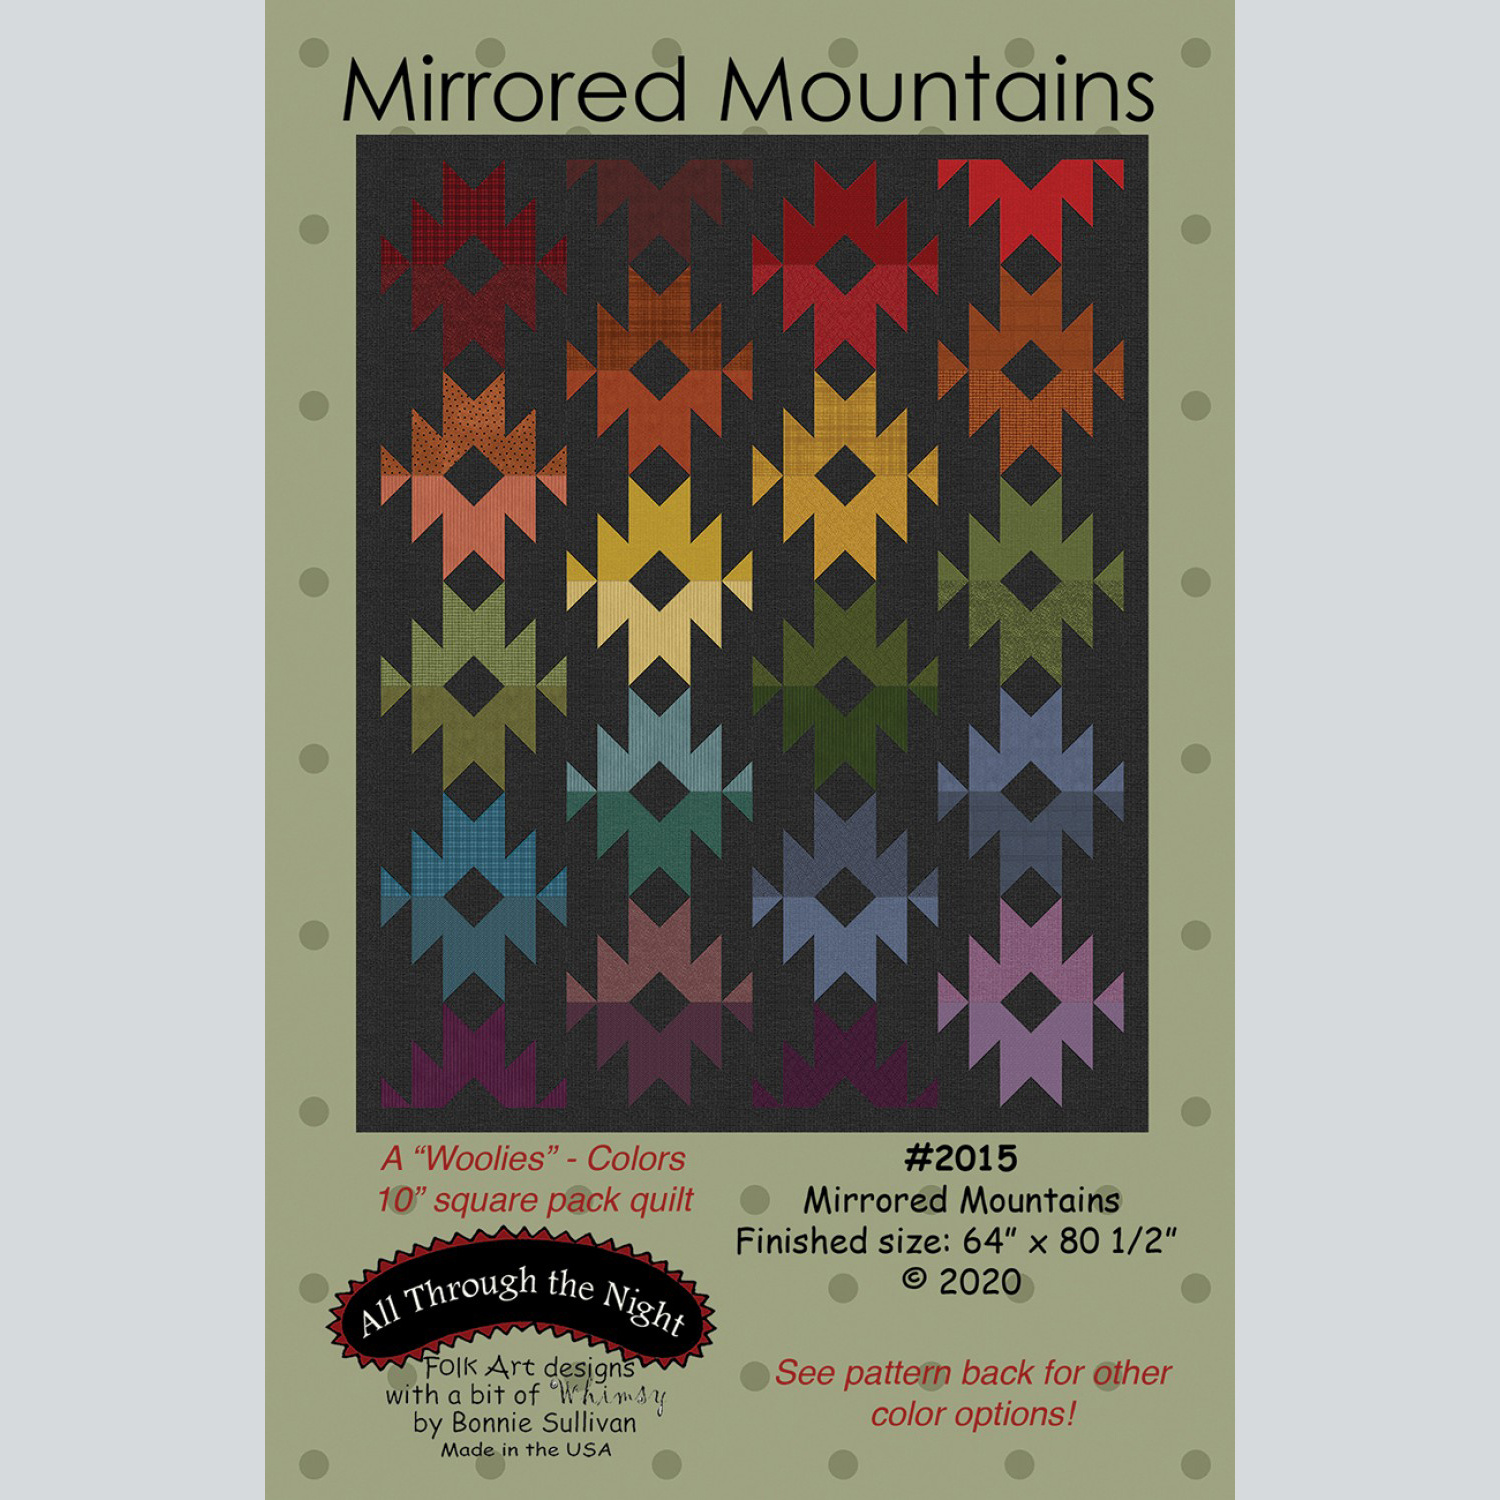 Mirrored Mountains Pattern$8.75Shop →
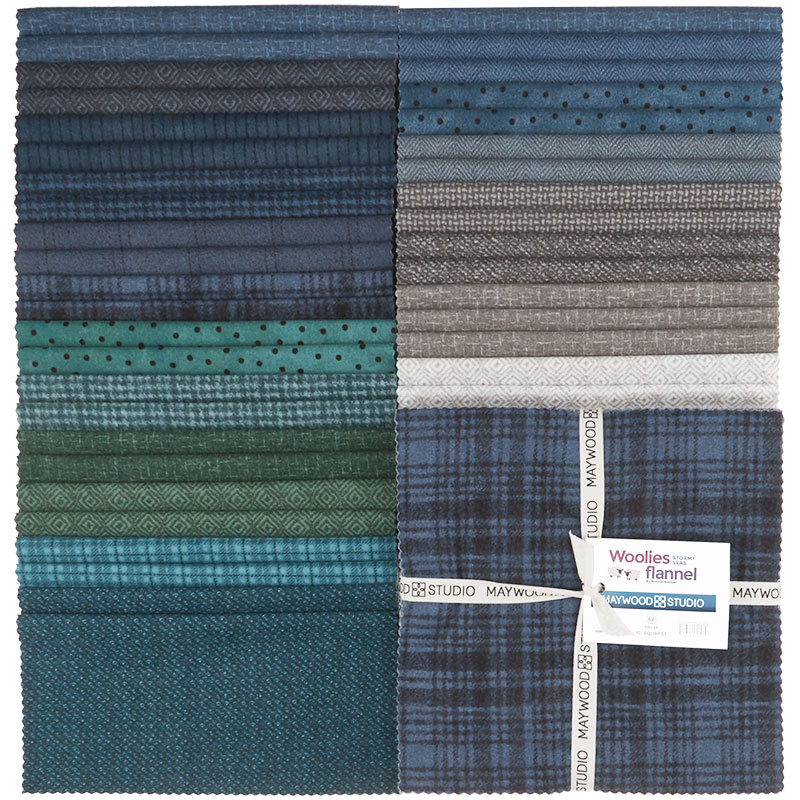 Woolies Flannel Stormy Seas 10" Squares$46.95Shop →
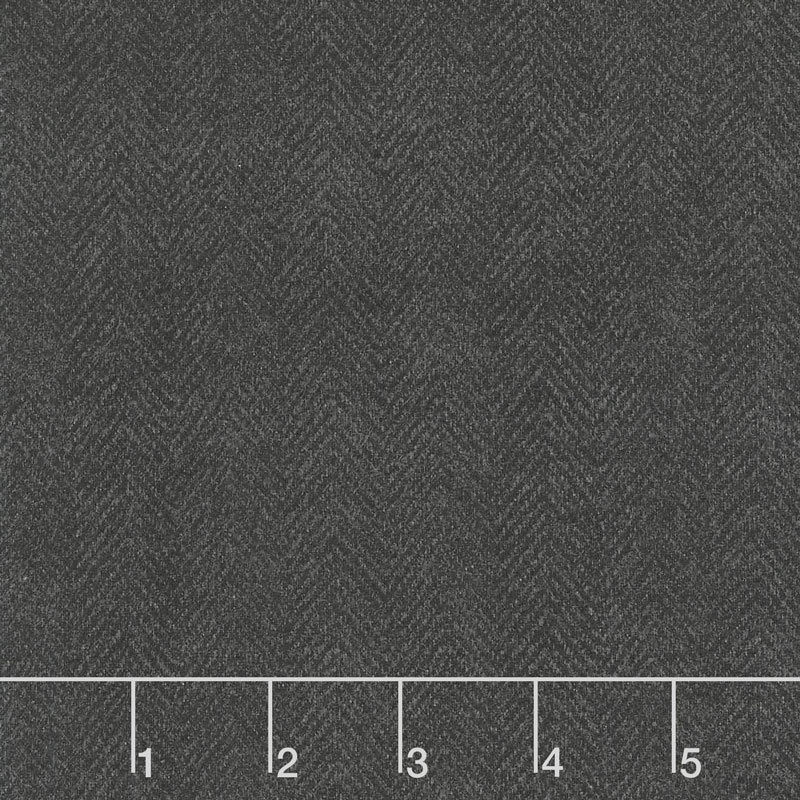 Woolies Flannel - Herringbone Grey Black Yardage$12.44Shop →
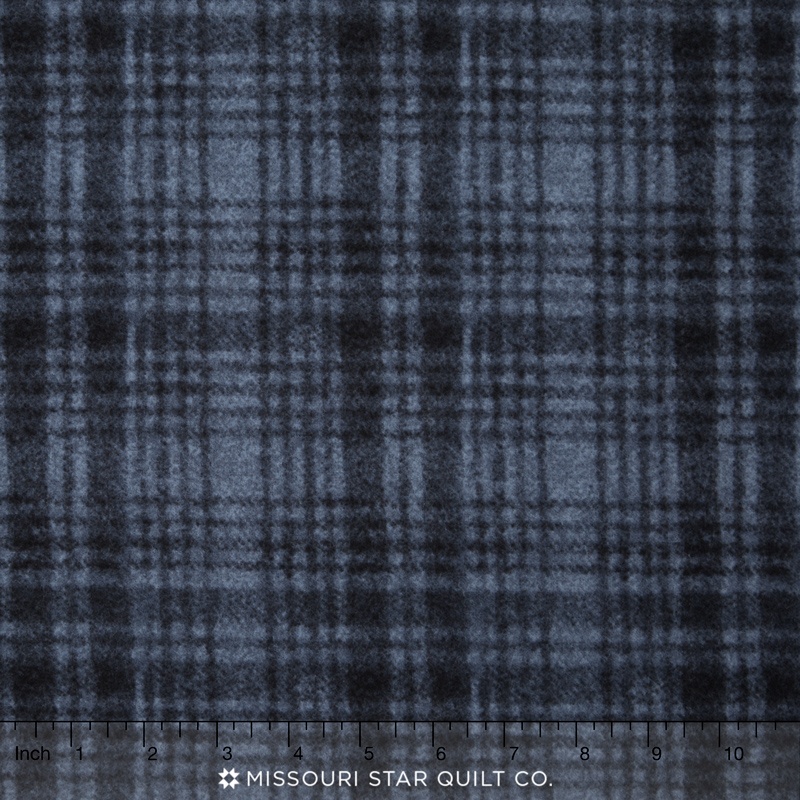 Woolies II Flannel - Windowpane Dark Navy Yardage$12.44Shop →
 Missouri Star Quilter’s Best Blend Twin Batting$26.95Shop →
 Missouri Star 10" x 10" Square Ruler$19.95Shop →
 Missouri Star 5" x 15" Ruler$19.95Shop →
 Missouri Star 45mm Rotary Cutter$19.95Shop →
 Missouri Star Seam Ripper$9.95Shop →
 Missouri Star 8" Everyday Scissors$19.95Shop →
 Missouri Star 50 WT Cotton Thread White$7.95Shop →
 Missouri Star + Oliso TG1600 ProPlus Iron$209.95Shop →
 Missouri Star Wooly Betty Board - 17.25" x 25.5" Orange Border$99.95Shop →
 Bernette 77 Sewing and Quilting Machine$1499.00Shop →
Common Questions
What is covered in Mirrored Mountains?
Reflect on the beauty of the mountains! Mirrored Mountains uses simple geometric shapes to create a striking quilt. Made using a Bonnie Sullivan pattern and her Stormy Seas Woolies Flannel, this quilt feels as warm and cozy as it looks.
How long is the tutorial video?
The tutorial video is 00:13:21.
Are supplies listed for this tutorial?
Yes. The tutorial page includes the supplies and materials connected to this project.
Is a transcript available?
Yes. A written transcript is available on the tutorial page.
Video Transcript
All right so up first you're going to want to pick up this Mirrored Mountains pattern. She has some great tips in here as well as some recommendations for some different colorways. I went ahead and followed her directions for the Stormy Seas palette, which is what this package of 10 inch flannel squares I chose is called, which is so cozy. I absolutely loved working with this flannel. It just makes a really beautiful snuggly quilt which is perfect for winter time that we're in right now. You're also going to need three and ⅝ yard of this black herringbone flannel - this is going to be your background. And then ⅝ of a yard of this navy window pane for your binding. You can choose whatever flannel you'd like for your backing and you'll need four yards of that. So let's get started.
All right, so up first we are going to cut some of our background squares. So you're going to need a 10 inch square of background fabric to match
every single one of your prints, so that's 42. And then you're also going to
need some 3 inch squares that we will use when we're making our blocks. So make sure you have that ready from your background fabric.
And then let's go ahead and take one of our 10 inch squares from our pack and we are going to pair it up with our background fabric. I'm just going to line that all up nicely and we are going to begin by drawing a line corner to corner. There we go. And then we're going to take this to the sewing machine and we are going to sew ¼ inch away from that line on both sides. So let's go ahead and do that.
All righty, so if you stack a bunch of these up you can chain piece down one side and come back the other and it will save you quite a bit of time. But I'm just going to go ahead and do one and we'll flip it around and come down the other side. Okay, all right, perfect. And so now I can cut these apart on that line and we can go ahead and press these open. I like to roll those back to the dark side. If you're worried about bulk, you could open your seams here. I never do - that's just my preference. Same thing rolling this back to the dark side.
So once we have these pressed we are actually going to square these half
square triangles to nine inches. So I've got my 10 inch ruler here and I am just going to begin. I want to cut both sides so that I know it's nice and straight. So I'm going to line my seam up on the 45 line of my ruler, and I can see here I have you know a little bit more than 9 inches currently. So there we'll make that first cut. If you have a rotating mat might be helpful, but otherwise you can just flip it around. And now I'm going to line that up right on 9 inches, again making sure that that 45 line is going all the way corner to corner because we want to make sure that that seam is going right into our corner. So there's that one and I'll do the same thing with this other one. Okay, again lining right up on the nine, checking that 45 line make sure everything is straight and then making those last cuts.
All right, so now I'm going to double check in the pattern to make sure
I get this part right, because we want to line up our half square triangles. We have to orient them just slightly different before we make our cuts, so I'm going to have one where this is to the bottom left and one where it's to the bottom right. So if your colors are coming together in the middle you know you've got it right. And then we are going to take our ruler and we are going to cut 3 inch strips across our half square triangle. So I'm just going to make sure everything is nice and straight. There's one, coming over three inches - that's why we went ahead and squared it up at the beginning - to make these cuts nice and easy. So there's that first one. And I'll slide this one down, make sure we're nice and straight. One, and one, one more.
Okay, so now that we have made the cuts we get to just flip these around and that's where the magic really happens. So we have one that's going to
go that way just like so, and we're going to sew these back together in sets of three. So let's go ahead and do that. I'm going to go ahead and stack them just like this. I'll do one at a time. The flannel is so fun cuz it kind of sticks together so once you have it lined up you don't get a whole lot of movement. But sometimes it's hard to pick up because they just want to
stick. Okay, there is one. Just going to open that up, add my next strip. Okay I'm going to give that a press, make sure it's laying nice and flat. Sometimes with flannel I like to flip it over and just make sure that those seams are going where I want and that looks pretty good.
All right, and so now we're going to sew this next set together as well. Same idea, one after the other, open it up, and add our last strip. All right press this one as well. Looks like I missed a little spot right there. I'm going to go ahead and take care of that so I don't regret it later. There we go.
All right so now we have our two opposite blocks. You'll notice that they
are not perfectly square. They end up measuring 8 by 9 and you might say why didn't we just add all of those strips together to get a half a block? Because we still need to do a little bit of snowballing. And so this is where those 3 inch squares that we cut from our background come in. And so I'm going to go ahead and mark my sew line on here. Here you could press, or use your diagonal seam tape. But when I'm working with flannel I really like to have a marked line. I feel like it makes it a little bit more precise. So we're going to place one on the widest part of our print strip here, our longest print strip. I should say we're going to do that on both sides, just like so. And so those should be going in opposite directions, which is what we're wanting. And so let's go ahead and sew right on that line that we drew for both of these. There is one and I'm just going to slide this in right behind it. Beautiful. Okay so now we can trim these apart. And we can trim off the extra here leaving our quarter inch seam allowance. There's one and the other. We'll go ahead and press these back, one and two.
And so then the last thing that we need to do is we're just going to put
these together, matching up that middle, and we're going to sew them together in a set. The only thing you really want to watch is when you get to those points. You would like them to line up, so just kind of make sure that they're going where you want them to go or at least close to where you want them to go. Right, how did we do? It's not too bad. I'll take it and so we'll give that a press again. And so now our block is ready to go super easy.
And so the way that this works, because a lot of the pack has multiples. So you get these matching blocks, and so you're just going to lay it out. Here's the blue one I have finished and it's just one. And then you flip it over and you alternate back and forth. And then when you come in with your second row, you want to match where you can. And so you'll notice a few of these we just have one and we just split our matching colors. So here's the half of the gray here and the matching one is here. And same with this teal.
And so super easy you get this absolutely beautiful quilt. I love how quick and easy it is and like I said super cozy. So thank you again to Bonnie Sullivan for letting me share this with you and I'll see you next time!



