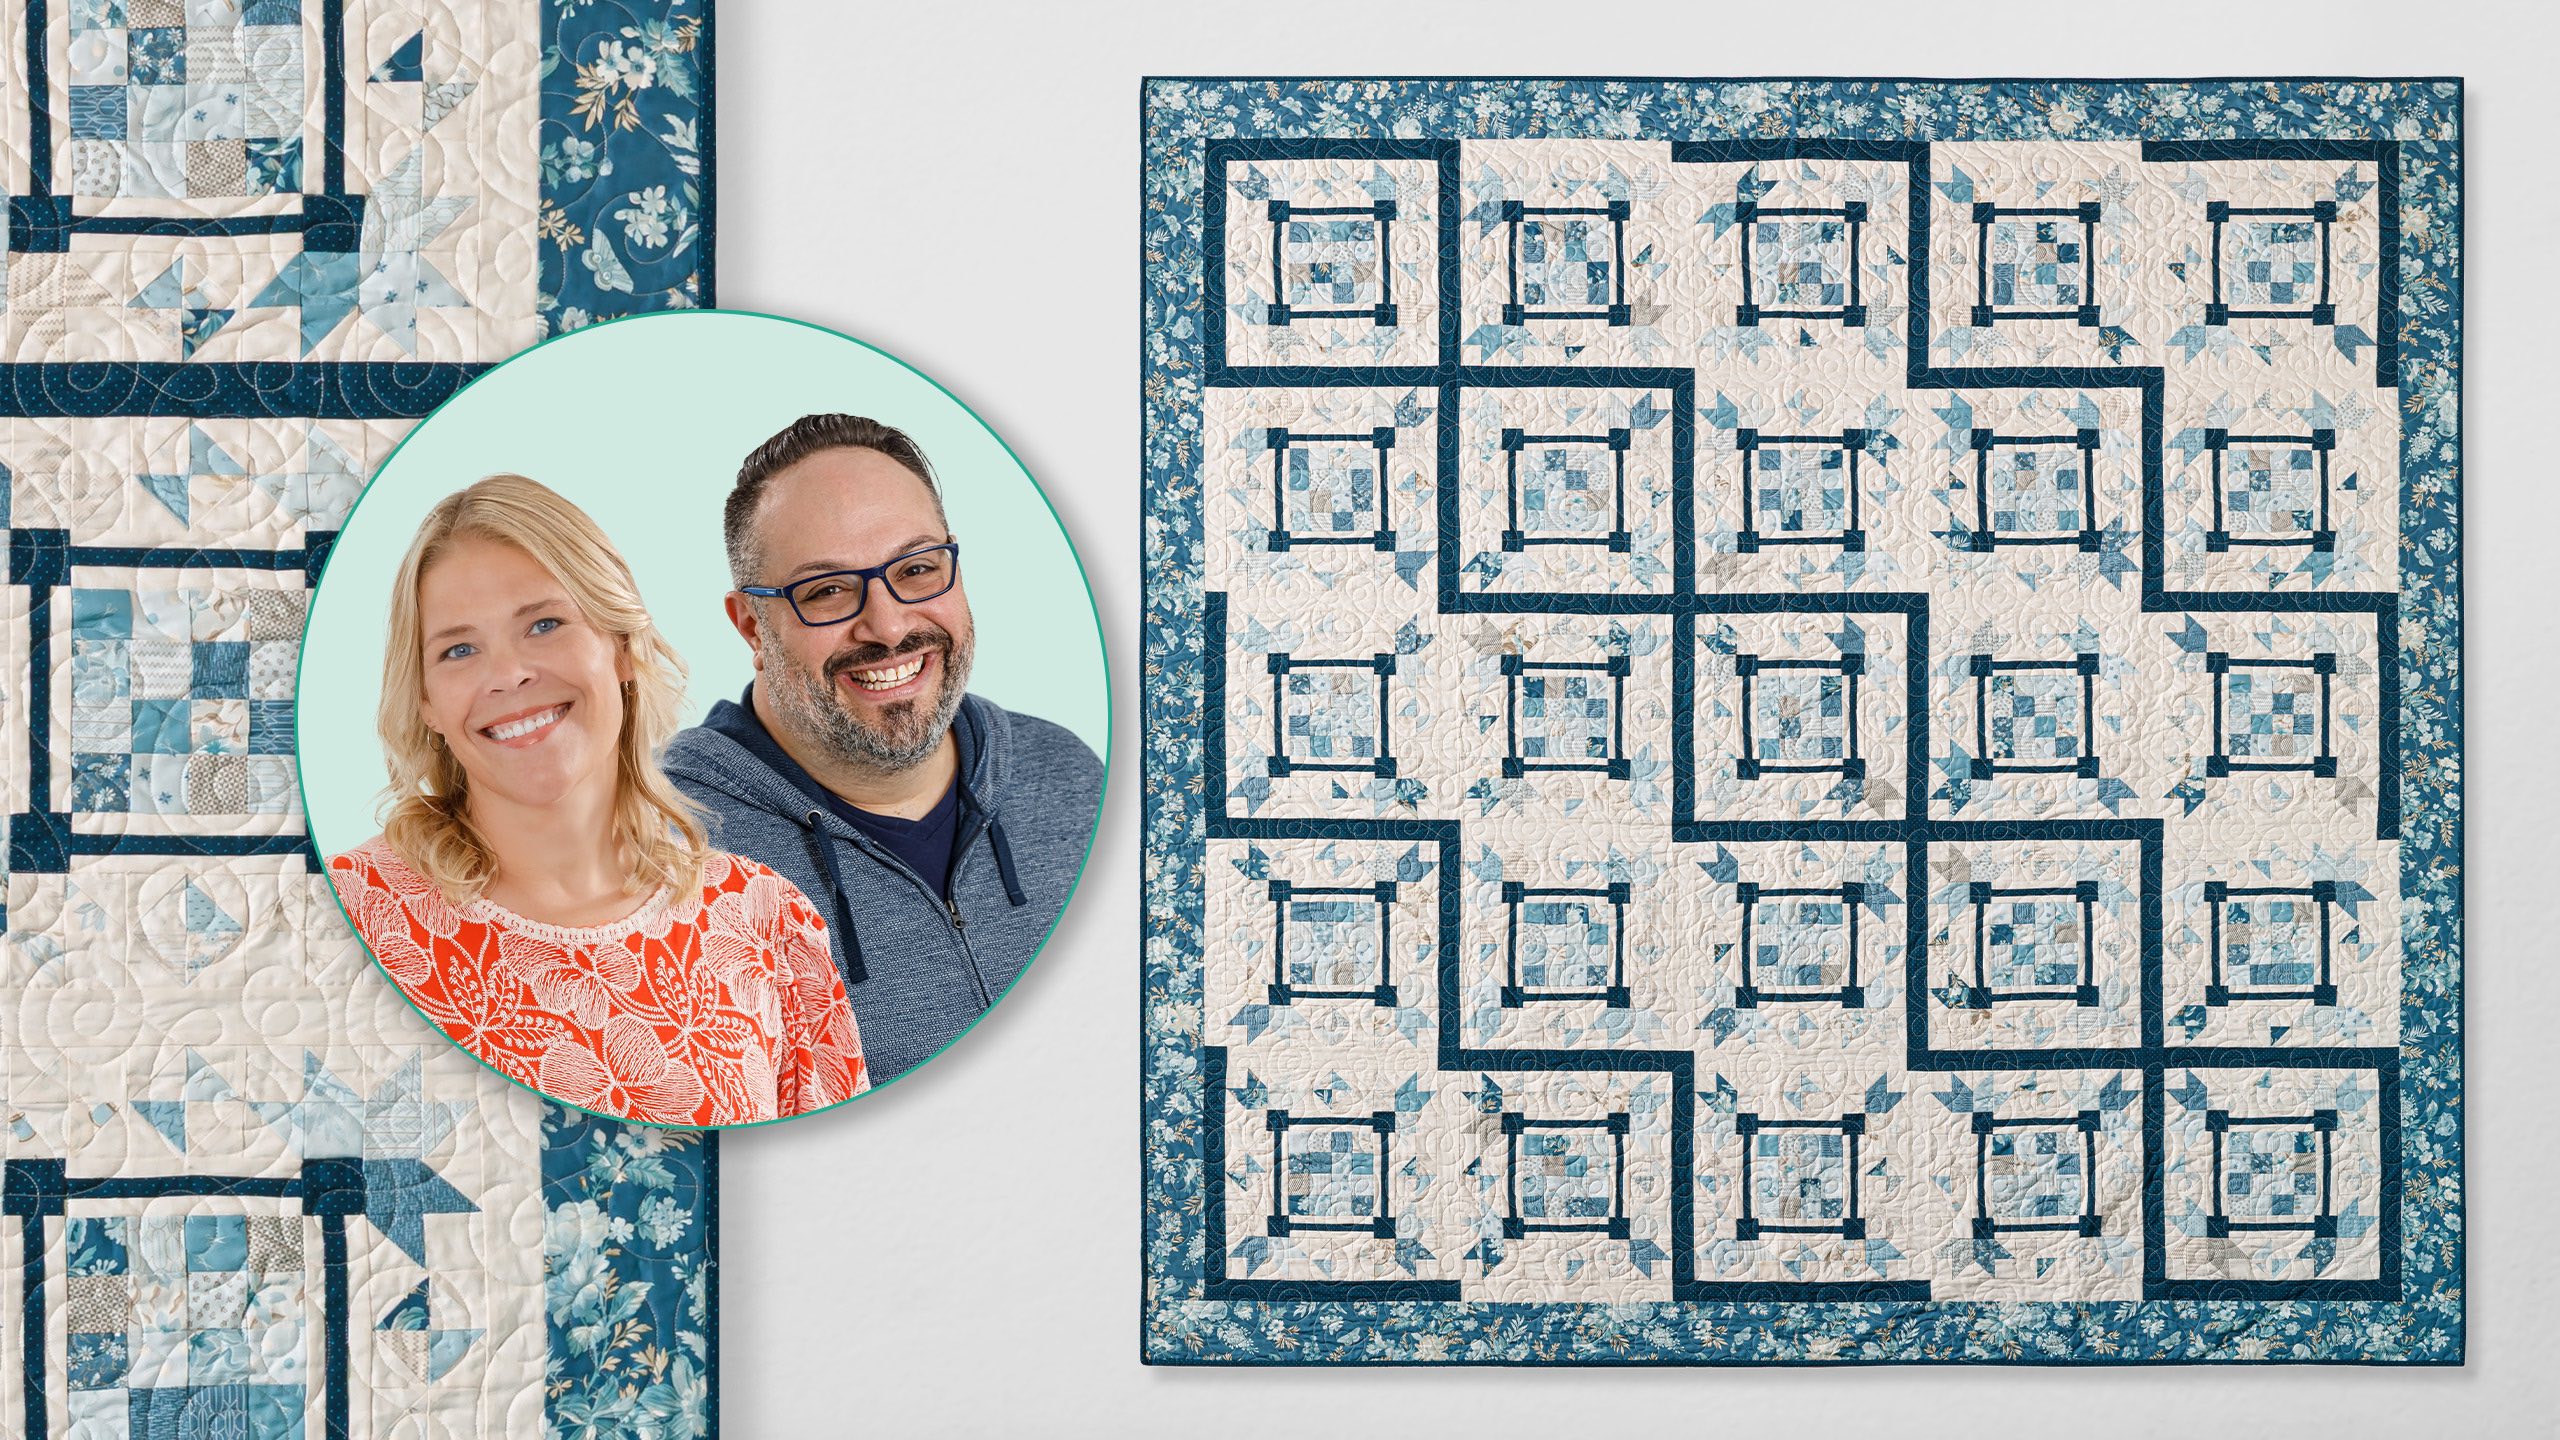
Looking for inspiration? We’ve got you covered! Learn how to sew the Modern Bumpkin Quilt with Natalie and special guest Michael Nardi of Bryn Mawr Quilts. They’re slicing up the beautiful Sewing Bird fabric collection by Edyta Sitar for Andover Fabrics and piecing two classic quilt blocks—the Patchwork Block and the Star Block. The end result is something truly remarkable!
Instructor
Natalie Doan
Natalie is the host of Quilting 101, Embroidery 101 and the Creative Strategist and Editor of Block Magazine at Missouri Star Quilt Company. She was taught how to sew by her mom, of course, and began quilting when she grew up.
What is covered in Modern Bumpkin with Michael Nardi?
Looking for inspiration? We’ve got you covered! Learn how to sew the Modern Bumpkin Quilt with Natalie and special guest Michael Nardi of Bryn Mawr Quilts. They’re slicing up the beautiful Sewing Bird fabric collection by Edyta Sitar for Andover Fabrics and piecing two classic...
How long is the tutorial video?
The tutorial video is 00:34:54.
Are supplies listed for this tutorial?
Yes. The tutorial page includes the supplies and materials connected to this project.
Video Transcript
Hi everybody. I'm Natalie with Missouri Star Quilt Company and I'm here today with Michael Nardy from Binmar Quilts. Michael, hey. How are you? Hello everyone. So glad to have you with us today. I love your quilt. So this one is called Modern Pumpkin. It's so beautiful and it comes together so quickly. You're going to be amazed. And we're going to teach you some really great tricks today on how to speed up your process. Awesome. It looks like it has a lot of half square triangles. It does have a lot of half square triangles, but the technique we're going to teach you is going to just make it so much easier for you, and it's a total game changer for you. Perfect. All right, let's get started. So, Michael, what did you use to make this quilt today? We used two packages of 10in squares, and we used Sewing Bird by Editus Satar of Laundry Basket Quilts for Andover. For our background and our sashing one, we used 4 and 3/4 of a yard. For our accent in sashing two, we used two and a4 yards. For our outer border, which is a 5 inch border, we used 2 and 1/4 yards. And for our backing, which is 8 and 3/4s, we use this beautiful fabric from the line. Oh, that's pretty. It is very beautiful. And it uses 8 and 34 of a yard with a vertical seam. With a vertical seam, you piece all your backings. I do. I do piece all my backings. I don't traditionally use a 108. I like pulling from the line, so that's what I do. Coordinates really nicely. Very much so. Oh, so the machine quilting on this is beautiful. It's called Loop the Loop. And I love how that turned out. It's very soft and subtle. Yeah. So, this is a great quilt. Now, it seems really large. It is. It's very large. It's 97 by 97. But what's great about this quilt is that the magic is in the sashing. There's two different sashings in this. And the layout plays such a huge impact on what the quilt looks like. So have fun with it. I can't wait to see what you come up with. Yeah, it's really cool. All right, so some other tools because we have so many half square triangles. You will need a squaring tool. And you can use whatever one you're comfortable with. We used clearly perfect trimmer B, which is my favorite. Yeah, it's so convenient. And then just your typical rotary cutter and ruler for all your other cuts. We'll be good to go. For sure. All right, you ready to get started? I am. Perfect. So this is our block. It's so cute. It's so awesome. It's called Modern Pumpkin. Uh-huh. I originally when I saw this, it was different. It was called bumpkin. It's an antique block. And what I did was is how I altered it is the center was a solid piece and these were not here, this diamond. It was just this outer part. And I said to myself, what happens if I add a 16 hitch and I add a diamond? How can I improve this? So that's why I named it modern bumpkin. It's very cool. Yeah. So let's get started. We're actually going to start with the center and work our way out. That's how I typically work. It makes more sense for my brain. So, we're going to start with our 16 patch. Okay. So, what you'd like to do is you want to go to your layer cake and you want to pick out four of the fabrics and you want to pull out um some contrasting colors. So, let's do like two lights. Yep. That's cute. Like those scissors. That Yeah. And then we could use a a dark from the line. Awesome. Perfect. And then we'll use like one of the medium prints out. Let's go with this one. Excellent. Perfect. If I can get it out. There we go. Perfect. So then what we're going to do is we're going to stack these up all together. And we're going to cut this down into twoin strips. Okay. I like to do four at a time. It'll help you save, you know, some process. Make sure that they're all lined up. Convenient. And then you have everything all together, right? Yep. Ready to go. So then I'm left-handed, so I'm going to work from this side. Okay. And make sure that it's there in space for that. We're going to clean it up to make sure my little um points. Okay. So then I'm going to come in and then we're going to cut these at 2in strips. And if you cut it correctly, you should get five strips out of one layer cake. Yeah. Square. Awesome. Three. It's a good use of fabric. It is. It really is. And there's very little waste. And there we go. And you just have a little tiny bit of Yep. Just clean that little edge. All right. Perfect. All right. So now what we're going to do is we're going to sew these together. But the magic of this is we want to line them up light, dark, light, medium, or however you want. They just should be contrasting. Yes. A good contrast. Correct. All right. And we already have one done. Yep. We skipped that step cuz it's super simple. Yeah. And this is what you come up with. So now we've got this ready to go. And then what's next? So then what we're going to do is we're going to take this and we are going to cut these down in again into twoin strips. Two inch sets or strip sets. Strip sets. Yeah. Two in strip sets. Correct. Very cool. So make sure that it's even. It is. We'll just clean it up a little bit. I'm all about cleaning up my edges. Sometimes when you sew it can get distorted. You just want to make sure that you're working with a straight piece. Okay. So then we're going to come over and then we're going to cut this down to 2 in. And we're going to do this to the entire get another [clears throat] five. Yes, you get another five. Correct. Awesome. Like that. Two, three, four, and five. There we go. Cool. And that's our pieces. So then what we want to do now is you do like three sets of these, right? Three sets of four. So you have 12 blocks to make all your centers. Correct. And then you'll work on it cuz you ultimately need 25 for the centers cuz there's 25 blocks. Right. But you want to mix them all up. Correct. Cuz you want it to be super scrappy. Yes. That's the key cuz then you get more movement. Right. So we have a few of these already done that from different sets. We do. And we sewed two together. And then what you want to do is lay them right sides together. And then if you pressed all of these the same way, when you turn them over, they'll be nesting in opposites. Perfect. So then everything will fit together. Excellent. So that's what we're going to do now. So then we'll put say this one and then this one here. Yep. And then we're going to put them right sides together. Or this one maybe. There we go. Yeah. Perfect. All right. So I will stitch these quart all the way down. Yeah. Cool. So this was a super easy project for you all. it. There's a lot of steps, but it works. I promise you. It's one of those quilts that you're really going to enjoy. It looks harder than it is. Correct. And by the time you're done, you're going to be an expert at half square triangles. Oh, yes you are. Yes, you are. And what's great is that I set this up in the pattern for you. You're going to be operating in machine sewing. So, you're going to be working in assembly line. Okay. All right. So, yeah, I can press it. I like to finger press at this point because it keeps everything straight before I press it. And it does help. I do recommend that you use a starch or a spray. Uhhuh. You know, just to keep it cuz you got tiny pieces. Well, yeah. Exactly. And it just keeps everything straight. So, I'm using Best Press. You could use whatever you have available to you. Uhhuh. and then pressing to one side. Perfect. All right. And then we'll join these two together and have our 16 patch all done. Correct. And you'll need 25 of them for the quilt. We don't talk about big numbers. Okay. [laughter] And with any luck, it's all going to be straight. All right. There we go. Perfect. And this is the center of your block. Okay. And now we're just going to press that. Yep. And I'll move this out of the way so we can lay that down and get ready for the next step. Perfect. And that's the center. Cool. It looks so good. All right. It does. So now we have we're going to do our what I call them is our barbell block. So this is look like a barbell because it looks kind of like like weights, right? Exactly. That's why I call it a barbell. Okay. So, what you're going to do is you're going to take your accent fabric two and two of your background. They are 1 in strips. Don't freak out. I promise you it's easy. My absolute tip for you is that you should starch this because it's so small. It'll keep everything straight. Okay, starching is very key at this point because these are such small pieces, but they look so good. I love small pieces and I think you're going to love it too when you see the end result. So, what we're going to do, do you have a Do you have a um a way that you like to starch? Do I? I I do, actually. I do. I like to when my fabric is whole before I cut it down, I like to spray it and then I like to iron everything and let it hang for a little bit to cool off cuz then it activates that starch and then it just makes your pieces nice and whole. Okay. Perfect. For sure. Hurry. Did you want So, we're going to do um Yep. a background and then an accent and a background in sets of three. Yep. Perfect. Alrighty. So, I'm just sewing these two little one-in strips together and then I'll add that third strip. One tip that I could give you when you're sewing long strips that are really small is make sure that you don't stretch your fabric. You want them to stay taut. That's a key when you're sewing with the small strip set. At least in my in my opinion, right? I got to realign. Yep. They're long. They are long, but when you do, but you're getting a bunch done at at once. Yeah. Yeah. Exactly. That's what's great about assembly line sewing, too, is that you can knock things out fairly quickly. Yeah. And it doesn't feel like you're making, you know, the same piece over and over again. You're just getting it all done at once. All right, I'm going to go ahead and stitch the next strip on and we'll meet you back in just a sec. All right. So, we've got all three of our strips sewn together. We do. Just like that. Perfect. It's such a tiny little strip. It looks so pretty. Very satisfying. Yes, it is. Cuz it's dainty. Yeah. I love it. I absolutely love it. All right. So, you're going to press it. Do you have any tips on that? Do you press them both? Well, I I press it all in one direction. So, if you press some out, press them out. If you're going to press towards the center, press towards the center. It just be consistent. Okay? because then it will work in your favor later. Right. So, I pu I pressed mine all towards the outside, you know, all to one direction. Mhm. All right. Here we go. And as you can see, I am using my fingers as I go along because it is such a small piece because you want them to lay flat. Nice. And then you can control whether or not it's distorted or not. Yeah. That's just my tip with pressing. Anything to make my life easier when it comes to this part. Yes. Oh, yeah. The way people do things there, little techniques and hacks, all the things that we learn along the way, those are the little hints that are so helpful. For sure. And you do what works for you and what works for your brain when you are doing a project. Yeah. There is no hard and fast rule and no quilt police. Thankfully. Thankfully. Okay. Now we're at the end. All right. There we go. Cool. And that's our strip. So now what we're going to do is we're going to take this and we're going to cut this down to 6 and 1/2 in strips. Okay. What I like to do is I like to since it's so long, I like to fold them together. And I like to cut two at a time. You're very brave. I am. But you know what though? It speeds up my process cuz cutting is not always fun, right? So that's what we want to do. Now, have you ever used the little ruler to do this? I do. So, this is my favorite ruler that you guys make. I call it little nugget. It's my absolute favorite one. And it gives you more of a, you know, room. It's small. So, you can really get in there. So, now what I'm going to do is I'm going to put this trimming off your salvage edges so you have a nice straight edge. Just like that. Now, let me show you something. Yeah. So, if you cut it Oops. like this. Oh, yeah. You can cuz it's already measured. So, I'm left I'm left. You're right. Sorry. I'm left-handed. You're right-handed. So, you're gonna want to line that up with your six and a half. And then you are using your ruler to make your cuts. For sure. That's awesome. And then we get two at a time. That's awesome. All right, let's let's just cut our whole strip. How about that? Six. It's only two more cuts. You're good. Yep. There we go. Move that out of your way. Yep. Come back here. Do the same thing. Six and a half. These are so perfect and little. And then that's all the waist you have. Very cool. All right. So then these are going to go on the sides. And then you've got your barbell. Now we need um some two and a half inch squares. Yeah. Or not two and a half, two inches. Yes. Two inches. So then what happens is you take this and you'll put it on that side. Uh-huh. And then you'll put your two in squares on either side. All right. Let me cut one. I need one extra. Okay. And then I can go ahead and stitch that on for you. Yeah. All right. So, let me sew those on and then we will have our barbells done. And I do at this point after you're done sewing your barbells, it's very important to note orientation for pressing matters in this quilt because you want everything to nest, especially when you're dealing with smaller pieces. So, my recommendation is with your barbell unit, you want to press to the outside and then with the center of this with your 16 block, you want to press towards the inside. So, then when you go to put them together, they'll nest properly and you'll get a much flatter press. Very precise. Yes. I like I like that precise pressing, especially with small pieces because you don't want them to distort, you know. No, that makes sense. All right, I'm flip it and do the other side real quick. Mhm. Okay. All right. Perfect. And now I'm going to finger press first to get them in place. I'm just running my nail across that seam. Yeah. Just like that. Cool. And then we put it here. And so now what we're going to do is I will sew these together quarter of an inch on either side. Okay. Press them towards the inside. And then we add this. All right. Okay. Very cool. All right. So this is the center of your block. Isn't it awesome? It looks so great. It's so cute. And I love the way that it frames the 16 patch with these tiny little strips. So all right. Beautiful. So, we're going to move on to our monstrous half square triangles that we're about to tackle. We have We have more than one block though in this outer layer, right? Correct. So, what we have is we have our half square triangle diamond unit, which is your corners here. Uhhuh. 1 2 3 four. Right. And then you have a quarter star unit for the corners, which you need three for each corner. Perfect. Yeah. All right. So, we just have to make a bunch of half square triangles. We do. And you have a cool trick to teach me. I do. So, I don't know if you all know this, but out of a 10-in square, you can get 32 half square triangles at a time. They're tiny. They are tiny, but worth it. It's quick and you can power through this. Okay. So, let's get started. All right. So, show me the show me this trick. All right. So, what you're going to do is you want to take a 10in square from the line or from your um your 10inch squares. And then you're going to take your background fabric and you're going to put them right sides together. Just like that. All right. So then what you're going to do to get this started is we're going to draw a line from the center. So we're going to measure over 5 in which is half of 10 in. Okay. All right. And then [clears throat] we're going to draw a line. Cool. Straight down. And then we're going to do it horizontally. Same thing. 5 in. And then we're going to do diagonally in both directions. Cool. So far, it's really similar to like the make eight. Make eight or even make 16. Perfect. Kind of, but not really. And then what we're going to do is you have your quadrants here and you're going to draw a line diagonally in one direction in each one of the quadrants. Okay. So it's like an X and a diamond. An X and a diamond. Correct. Excellent. So we'll do like that. Turn. And I'm drawing the diamond all the way around. Okay. You're basically, if you'll look at it, it looks like a pin wheel that has been put on point. Okay. Or like four hourglass blocks. Correct. [laughter] And then there we go. We Okay, cool. So now now we're going to stitch. We are on all on both sides of each line. The diagonal lines. The diagonal lines only. Correct. Right. And that's how you get 32 at a time. It it I promise you it works. It's great and it'll speed up your process. Okay. So, I'm going to stitch all of these lines. Yes. All of the dynamics. And we'll look at that before we cut. Correct. All right. Cool. And if you need to at this point pin to keep everything in place, please do. I'm not a big pinner. We want to keep a nice um a a consistent seam against your lines because you don't have a ton of space, right? Correct. This is very very close. Yes, it's very close. It's accurate. And there's very tiny little waste cuz then we're going to square these up. Awesome. So, I'm going to just continue going around here. Oh, that's also important to note. I like like Natalie is doing right now. I love to work from the center out because then you you run the risk of puckering if you work from the outside in. So, we I recommend that you do it from the inside out. All right. So, I've got all the stitching done. Yes. So, I stitched on both sides of each diagonal line. Correct. All right. So, now you get to show us how to cut. Yes. Exactly. And you say 32, huh? You'll get 32. Okay, there's a little bit of um how I would do it, but do what works for you. I like to cut this into quadrants and then I work in four quadrants at a time. So, I'm just cutting down the lines in half and across. And then I'll put these aside for now. Okay. And then what I like to do is I like to center this on, you know, in a little grid on my mat. And then I like to cut in half. In half. And then across. Mhm. Like that. And then I like to cut my diagonal lines. Right. Oop. Sorry. Sorry. That's my fault. Problems with the lefty. No, that's very cool. 2 4 6 8 8 * 4 is 32. That's amazing. All right, so now we need to square up a couple of them. Yes, we do. I'll let you do that. I can do that. So, we're using trimmer B. Yep. Clearly perfect slotted trimmer B. I love that. And you want to trim them down to 2 in. That's right. Cuz they'll ultimately be one and a half finished. There's very little um very little very little waste. Don't we love a quilt that's very little waste? Oh yeah. Oh yeah. Makes our life easier and then we don't end up with more of a stash. Much more um budget friendly, too. Yes, it does. You don't have a have to buy a bunch extra. All right, perfect. So, we need four for our diamond blocks and then two for each little quadrant of the correct. And it's 3 6 9 12. We need um 12 * 2 is 24. You'll need 24 half square triangles for the corner baskets. Okay. Excellent. All right. Pressing these Okay. Righty. All right. So, we're just pressing these and we're pressing it towards the darker fabric. Perfect. And this is the unit that we're going to be making. It's our diamond. You're going to need four different um prints from the line that you're using. So, make it scrappy. Yes. Correct. And I already have some right here. And so what we're going to do is we're going to lay them out like this. And you want to make sure that it's color to color and your background fabric is to the outside. Okay? Just like this net. And then what we're going to do is we're just going to put them right sides together like that. Okay. And then we're going to sew them. Excellent. I will do that. Perfect. always get nervous when the pieces are so little. Try to go nice and slow. Yeah. And if you have speed control on your machine, you can always slow it down. That's a good idea. Yeah. if if you want to operate that way. [laughter] [snorts] I remember one of my little nieces telling my mom that um she's not a rabbit sewer, she's a turtle sewer cuz it had like little graphics on the machine. One of the old machines. That was great. So cute. I like to tell my students all the time, you might be a turtle. It's okay. Some of us are rabbits, but we could all coexist in the sewing world. That's right. [laughter] That's so cute. All right. So now, yep. And now you'll want to press one to one side and one to the opposite side. Give those to you then. So they'll nest. So like that. And then we're going to press it to the opposite direction. And then we're going to put them together like that. Put them right sides together. And then you're going to sew quarter of an inch all the way down. Perfect. Almost done here. There you go. All right. Perfect. And I'm just going to press it to one side. And you're going to need four of these units per block. Okay. So, and we already have a few ready to go. Yep. And so, they are going to go right in the middle of each of the blocks. So, just like that. Cool. Perfect. Coming together. Yes. Okay. All right. So, now we need to make our star legs for our baskets. Right. So, this unit right here, I call it a basket because it kind of looks like the flowers just popping out of it. So, that's what we're going to work on now. All right. So, and that looks like like these here. Yep. We have some of them made, but we're going to show how to make these. It's it's a four patch. Yeah, it's a four patch. And it's a quarter star. Okay. So, we already have a bunch of our half square triangles made. So, we need to select two that match, right? Yep. Two that match. And then this 2in square. Square. Yes. So, what we're going to do is we're going to take our matching 10in square. And then we're going to cut this down into 2 in squares. Okay, the entire one. Because you're going to be using this. You need 25 of these pieces for the entire quilt. So, we're just going to measure over 2 in. Sorry. Perfect. I used it last. And then just going to go all the way down this way. Okay. And then I think that's okay for now. Yeah, we only need one. We only need one for that. So, what you're going to do is you're going to take this, put it picked out, and then we're going to take a I've seen a lot of people with their um stripology rulers. I think that would actually be great for this. Oh, yeah. Perfect. Cuz then they can cut it all at once. The one in strips too would be pretty easy. Oh yeah, for sure. Definitely. And so each strip will give you five. So you'll get 25 of these twoin squares out of one whole layer cake. Excellent. Excellent. And then you probably want to just like make some little sets of things that match for your corners. Yes. Exactly. And then everything else that's scrappy can make up your little diamond block. Oh, for sure. For sure. And make it however you want. You know, it it'll be beautiful. Everybody loves scrappy. So, you know, have fun with it. Play it out however you need to. Yeah. I might make one that's not scrappy. I think that might be really cool to see, too. Oh, yeah. To make it all, you know, fun. Okay. So, you need background squares that are 2 in. We already have those. Cool. Here we go. So, what you're going to do is you're going to take your colored square and then your background. And then you're going to take your matching half square triangle and you're going to build out the star legs. Just like this. All right. Then we stitch that little four patch together. Right. Like that. Right sides together. Awesome. And then we're going to sew quarter of an inch. Okay. These would be great for chain piecing, too. You could literally just like stack up a whole bunch whole bunch and just keep it going. Anything to speed up your process in [clears throat] time. Yes. I love that. I love those little little tricks. But I I'm also one of those people that like I kind of get tired of doing the same thing repetitively and I want to like do 10 and then I'm going to go press them all and then I'll come back and do 10 more, you know, so that I don't get too burned out on one part. And I'm I'm one though I like to the way that I work and the way that my brain works is I love to do one block at a time. It's always kind of been my go-to. That is very satisfying. It is because then you can kind of see how it goes. And then you know you know sometimes too I like to make a whole row and sew that row together and then move on and then build the quilt from there. So I like to make all my blocks and then I work on my layout cuz I don't necessarily know that I want those two blocks together. That makes sense. Or if I get to the end and I end up with like three that are strongly blue, I would want to mix them in. Mix it up. Yeah. You know what I mean? Oh, yeah. Totally. So then you can see how it plays. Yeah. I kind of go into when I design, I have it in mind and I don't like to deviate because then it just tricks my brain. So usually when I'm in my design process and I'm actually designing a quilt, if that's the layout that I came up with. Yeah. What you want. Exactly. And I just I love working from computer to actual real life application because to see the fabric come to life in your quilt that you used in your program for designing cuz I use EQ8. That's right. It's just so nice to see it come to life with all the vibrancy of the fabric. All right. Here you go. All right. And so now what we're going to do is we're going to press to one side. Okay. And there we go. Perfect. And these are these now. Yep. And we have our middle and we have our diamonds. We do. So now what we're going to do at this point is is we're going to lay them out. So we're going to take these that we did and we want to kind of scrap them up. So there's a lot of value in this. So I'm going to do a light and a dark. Okay. And then a medium. All right. And then we're just going to work our way around. If you would like to take some and Okay. put them in. I can do that. Like that. Like this. Lights and mediums. Yeah. This is really pretty. It is. And it it's a fun subtle pattern. It really is. And I love the way that when you make these the little stars with that barbell unit, it does make it look like it's floating in a basket. Okay. So, it's just super pretty. That's neat. So, how would you go about putting this together from this point? So, what I like to do is I work from the sides out and then I do my top and bottom. So, then once you sew your middle rows together, you're going to sew it onto the block. And then you're going to sew your top rows together. And then you're going to sew that onto the block. And then it's going to our finished block. Finished block. Just like this. So great. It is. It's beautiful. It's nice. I love the way it's structured. Yeah, it's just it's a really fun quilt to make and it has high impact. I love that. So then one of the other things, so it's really interesting to look at this quilt because it doesn't look like it's made out of one block, but it really is. And the part that tricks the eye is these different colored sashings. So you have sashing one, which is the same as the background, and then you have sashing two, which is the same as our accent fabric that's in our little barbell blocks. Yeah. And that's why I say the magic is in the sashing because you can play with the layout of where you want to put these where you would put different colors, right? Yes. Exactly. And that's that's how it plays out. It would be super interesting, I think, to just do like like X's and not have them connect. Yeah, that would be Or you could do Oh, man. You could do all kinds of different things. You can have different patterns. You can go one big square all the way around. Okay. That would be cool, too. You could just do four corners in the center. All of these different ideas. What's fun about that is the way that I structured it and the way that I built the pattern is that you don't need any more fabric to change the layout. You just have to It's all the same cut. It's just a matter of where you're putting it, right? And that's what's awesome about it. Well, that is really cool. So, there's no inner border. That's part of Yep. That's all part of the sashing. And then your outer border is 5 in. It's 5 in. So cool. And it's just really pretty. I I love it. It was so much fun to make. Now, you have you've brought yours from home. I did. It's so cool. So, this is the quilt that's on the cover. Yep. Of your mine in It's different. It's holiday. I love it. It's so pretty. It's called Joyful from P&J textiles. Nice. B&J. Oh, B&J. P&J textiles. Interesting. And it's just it's gorgeous. That is so pretty. I love it. The different accent colors. And as you noticed, I did a little bit of a different layout on mine. Yes. Yeah. And we have it going a different direction, too. That's so cool. So, that's it. That's quilt. So, this is really beautiful. Thank you. I love it. I love it. I love it so much. Well, Michael, I'm so glad that you joined us today. Thank you so much for coming and thank you for having me. It's always a pleasure. I love being here. It's my favorite place on earth. So, where can people find you if they want to check you out on socials or find your other patterns? So, I'm on Facebook. I'm on Instagram for at binmarquilts. And I also have my website. It's through Etsy. It's binmarquilts.tetsy.com. Excellent. And you can see me there. All of my patterns are on there. And you could also get me at your store. I have my patterns. And you're a big you're a big player on MSQC Allstars. I see you on there all the time. So much fun. It's one of my f, like I said, my favorite place on earth. You guys are amazing. You do great work. You're one of the best companies to work for. Well, thank you. I owe my career to you guys. Thank you. Thank you. Thank you so much. It's been fun. We're happy to have you have you here and I hope you enjoyed this tutorial on modern bumpkin from Michael Nardy of Binmar Quilts and Missouri Star Quilt Company. Bye bye guys. Thank you. Hi everybody. I hope you enjoyed today's video. We're trying super hard to get to a million subscribers. So, if you enjoyed it and you want to see more, just hit subscribe and share with your friends and encourage them to do the same. [music] And I will see you next Friday with a brand new tutorial.

 Natalie Doan
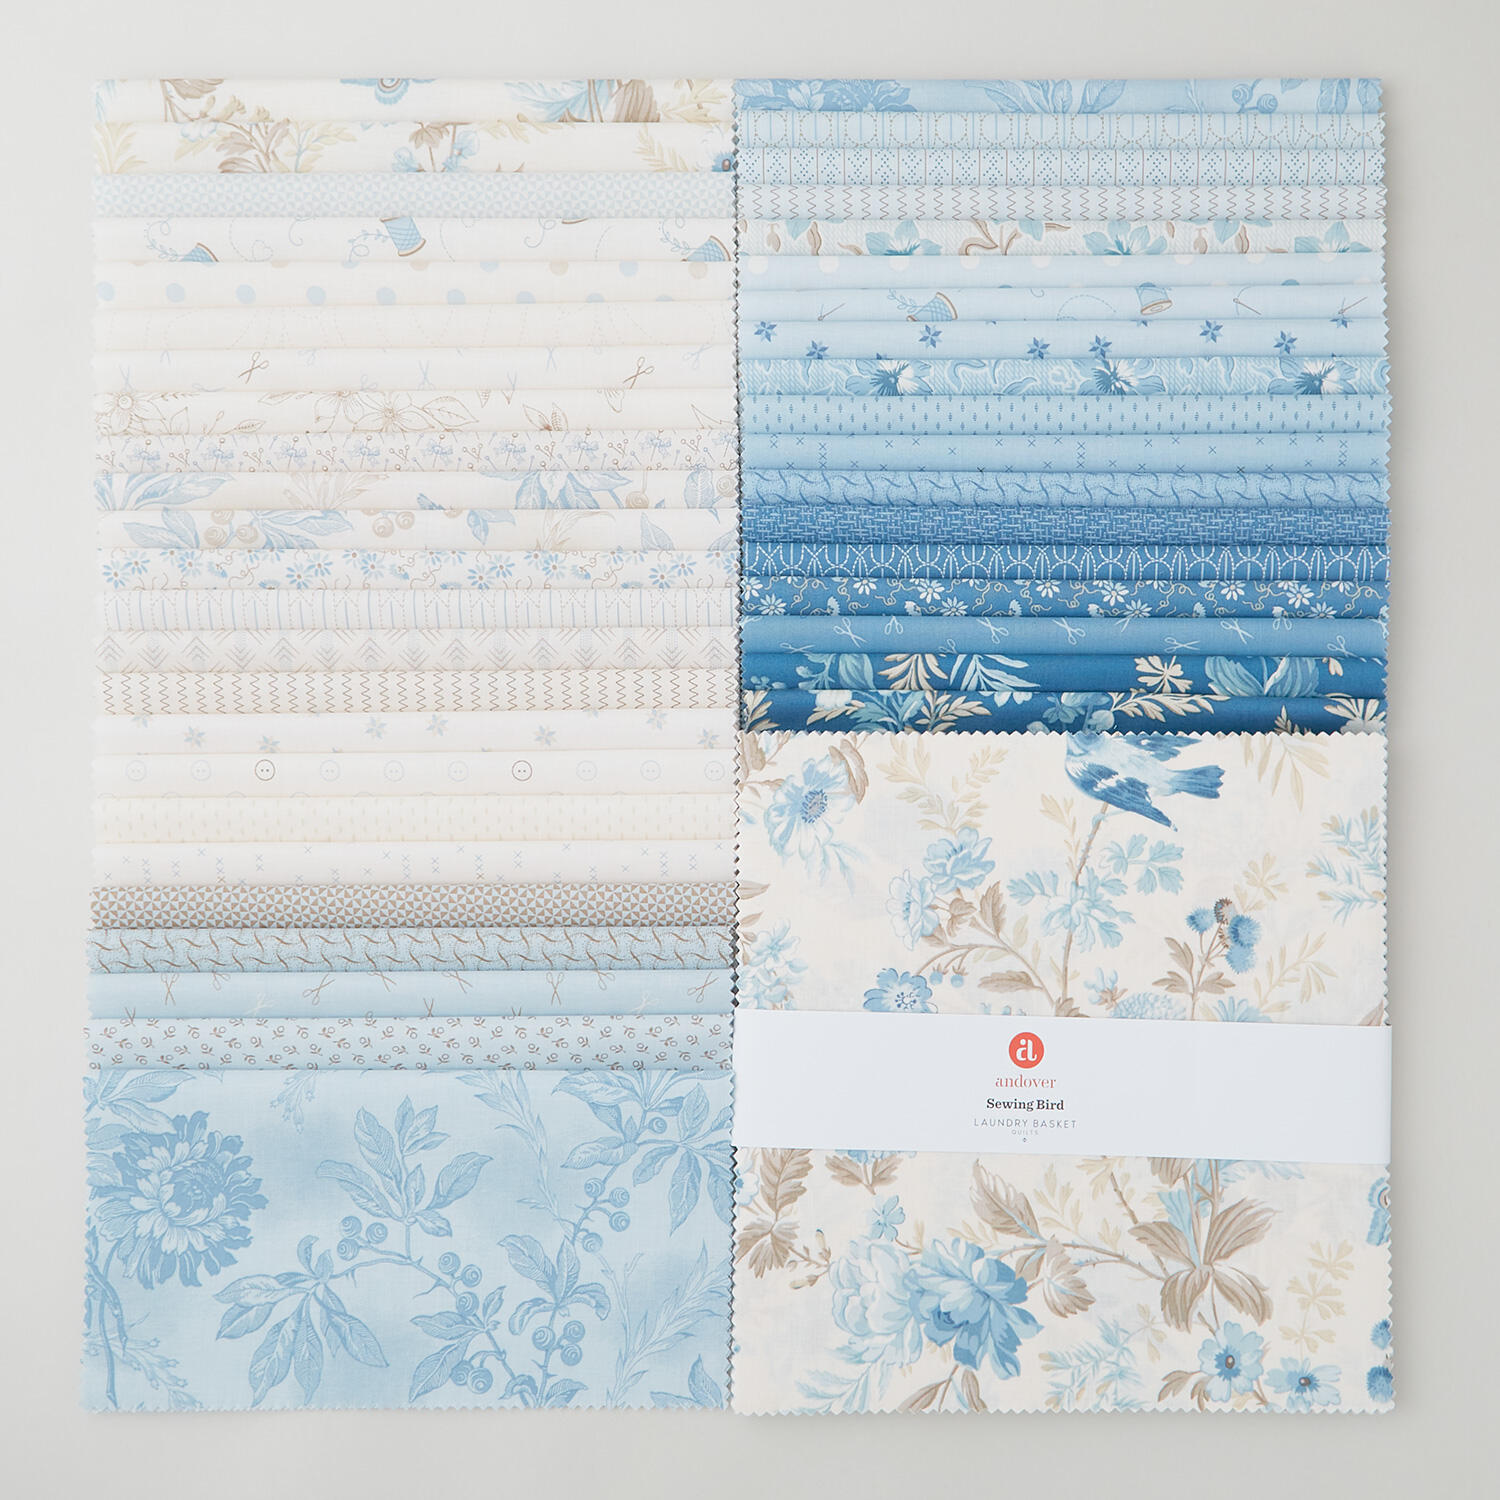 Sewing Bird Sundaes$44.50Shop →
 Sewing Bird - Feather Stitch Parchment Yardage$12.44Shop →
 Kona Cotton - Celestial Yardage$7.92Shop →
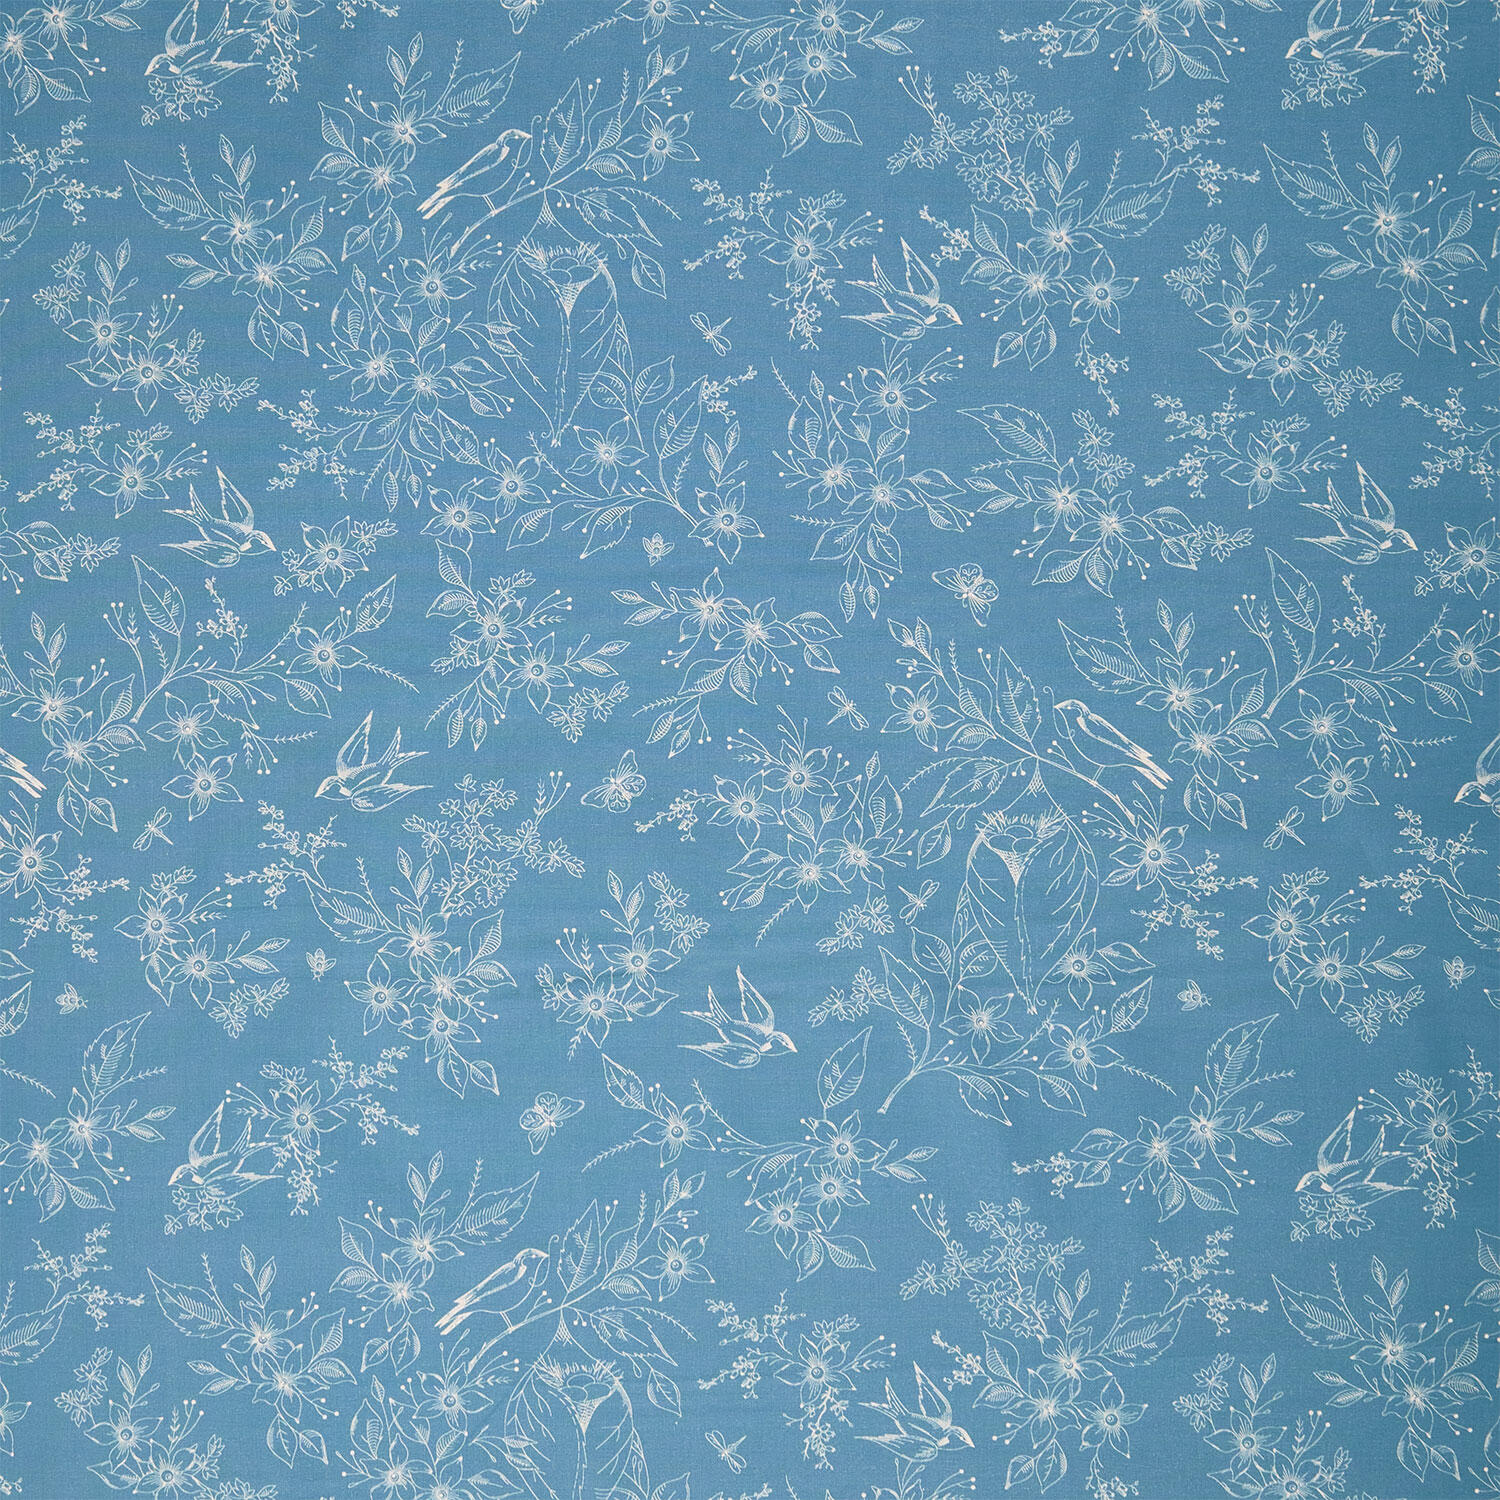 Sewing Bird - Floral Indigo 108" Wide Backing Yardage$20.36Shop →
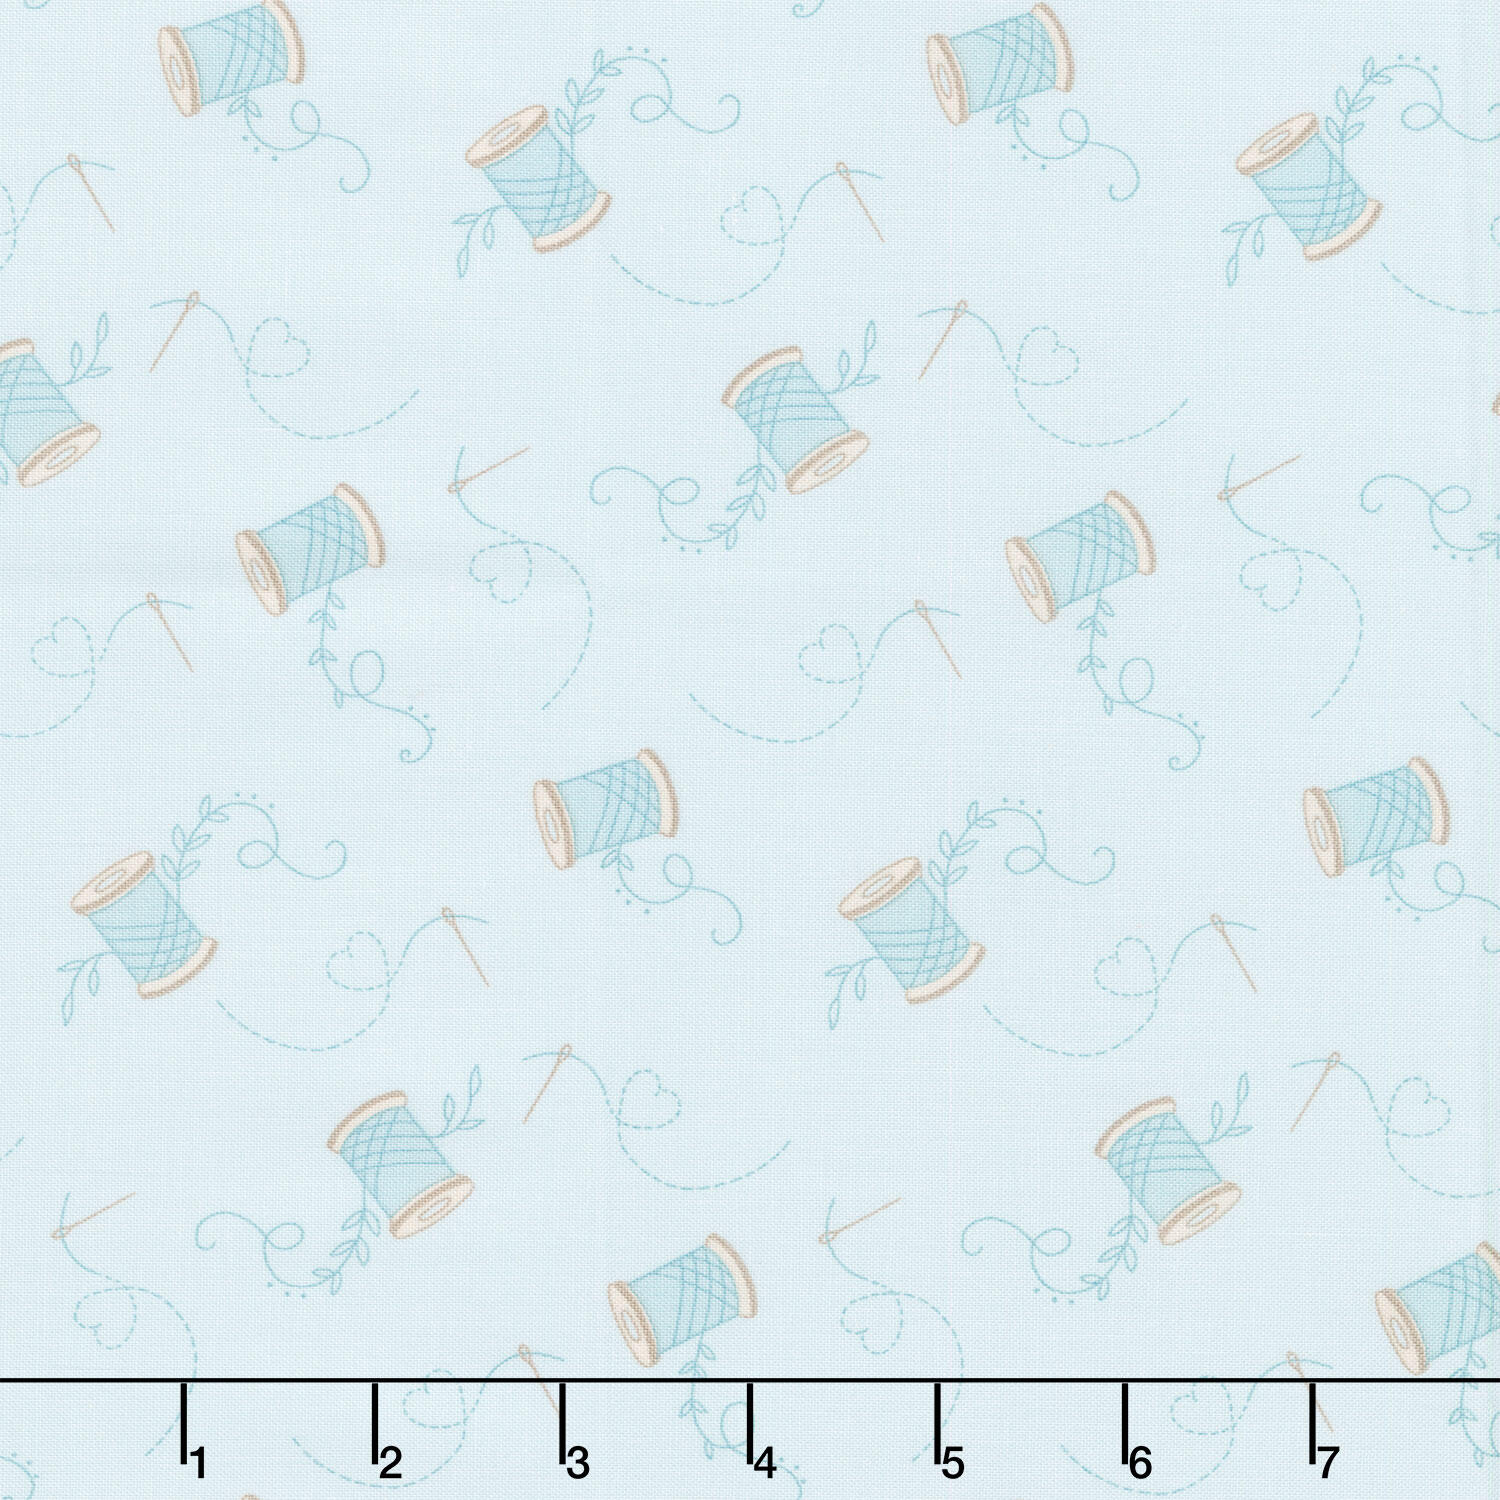 Sewing Bird - Needle and Thread Lake Yardage$12.44Shop →
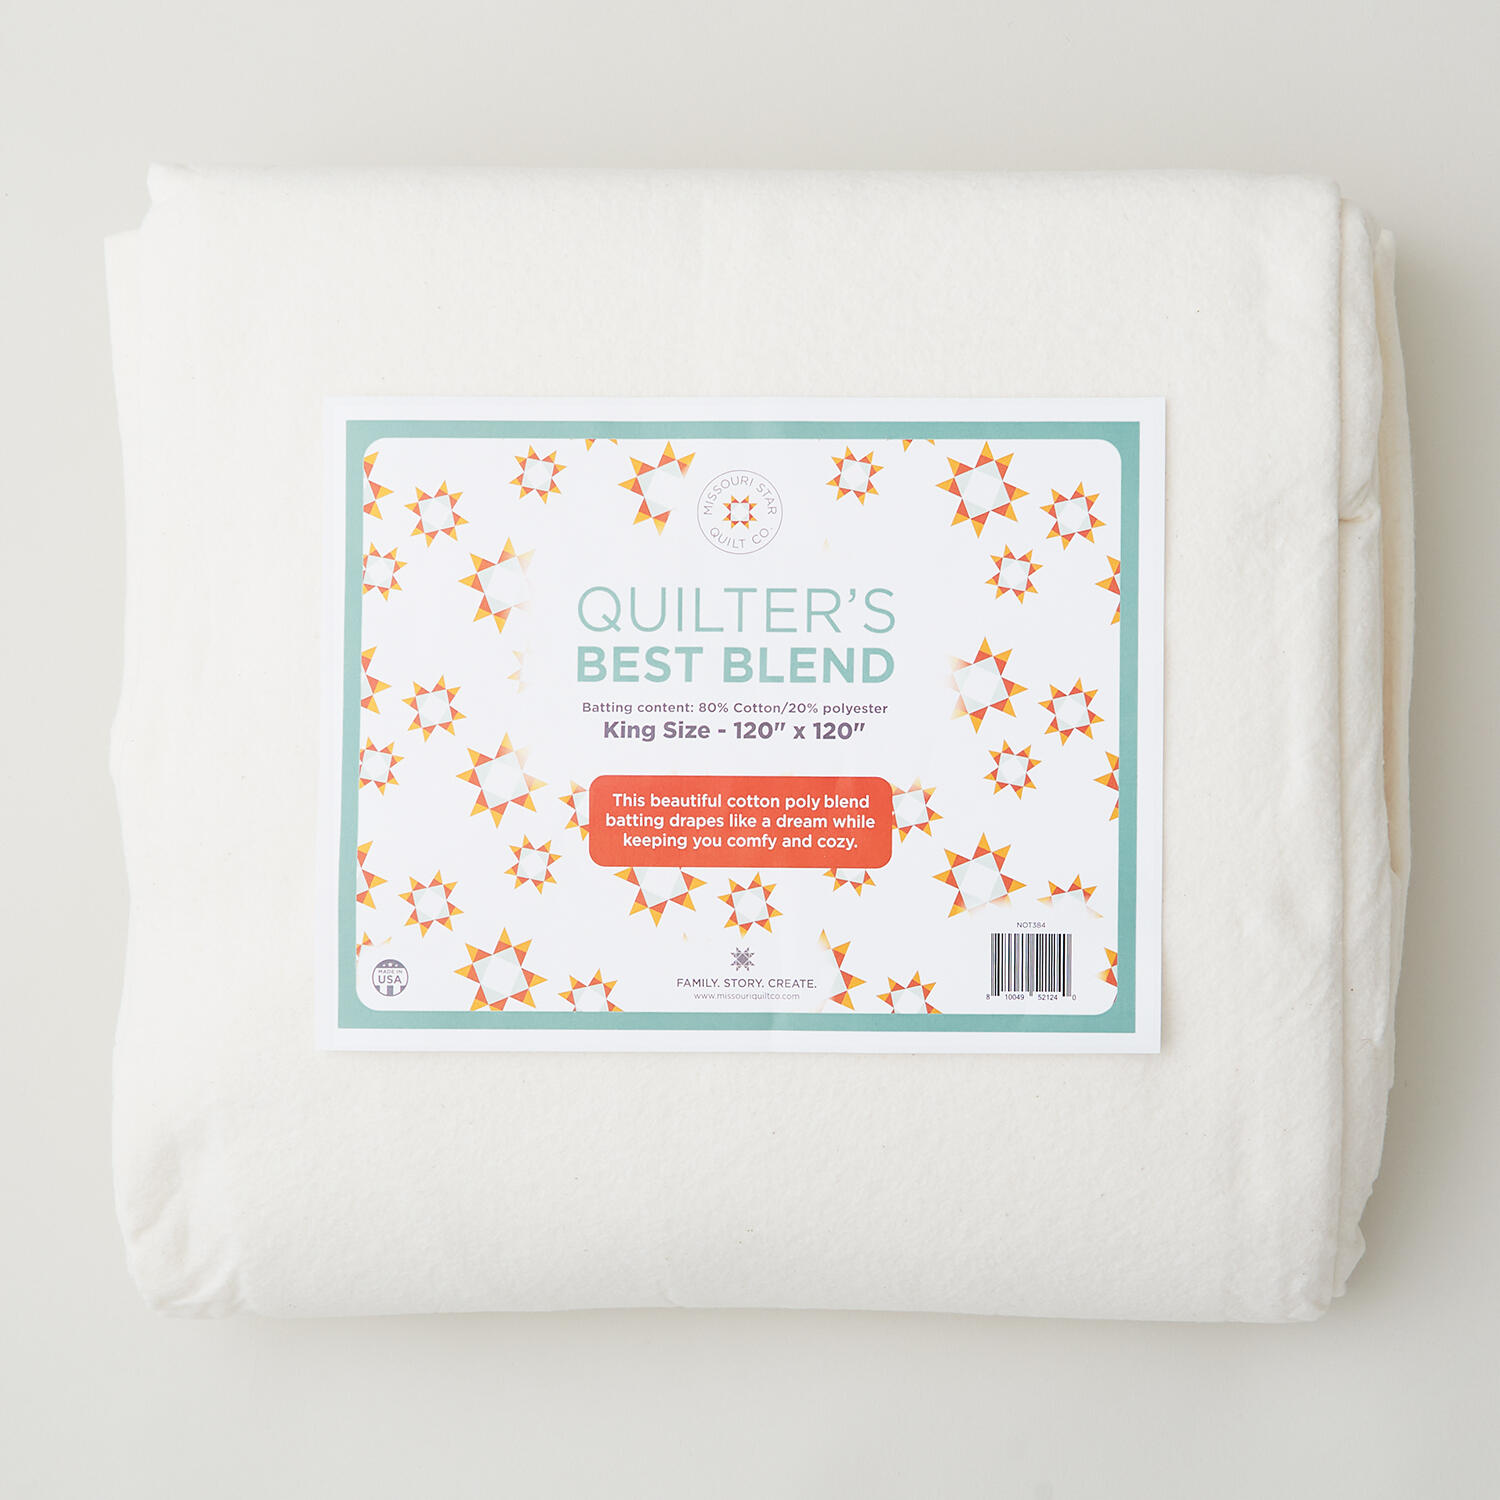 Missouri Star Quilter’s Best Blend King Batting$44.95Shop →
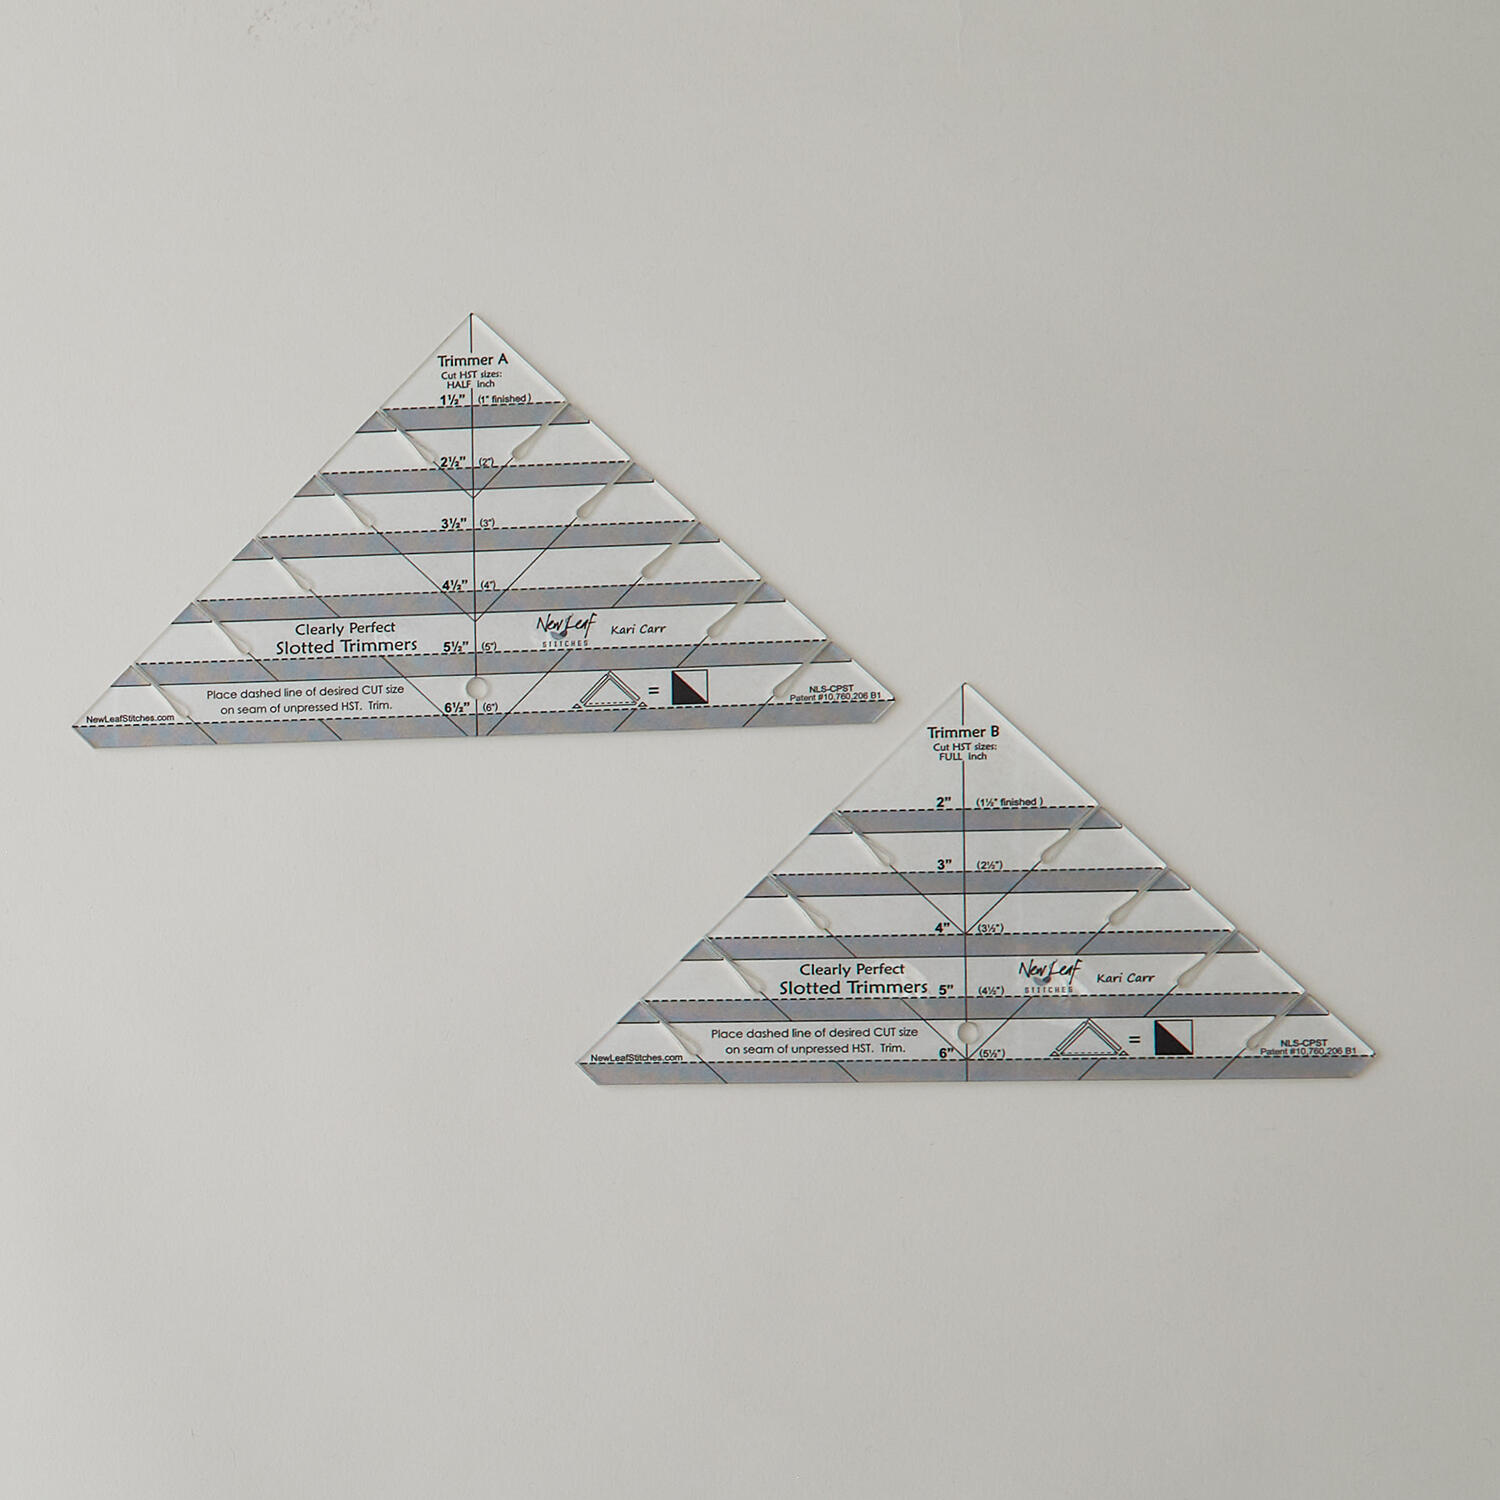 Clearly Perfect Slotted Trimmers$33.95Shop →
 Missouri Star 5" x 15" Ruler$19.95Shop →
 Missouri Star 2.5" x 8" Ruler$11.95Shop →
 Bernette 77 Sewing and Quilting Machine$1699.00Shop →
 Missouri Star 50 WT Cotton Thread White$7.95Shop →
 Missouri Star 45mm Rotary Cutter - Olga$19.95Shop →
 Missouri Star Seam Ripper - Frida$9.95Shop →
 Missouri Star 8" Everyday Scissors - Amelia$19.95Shop →
 Missouri Star + Oliso TG1600 ProPlus Iron$209.95Shop →
 Missouri Star Wooly Betty Board - 17.25" x 25.5" Orange Border$99.95Shop →
 Modern Bumpkin Quilt Pattern$13.95Shop →
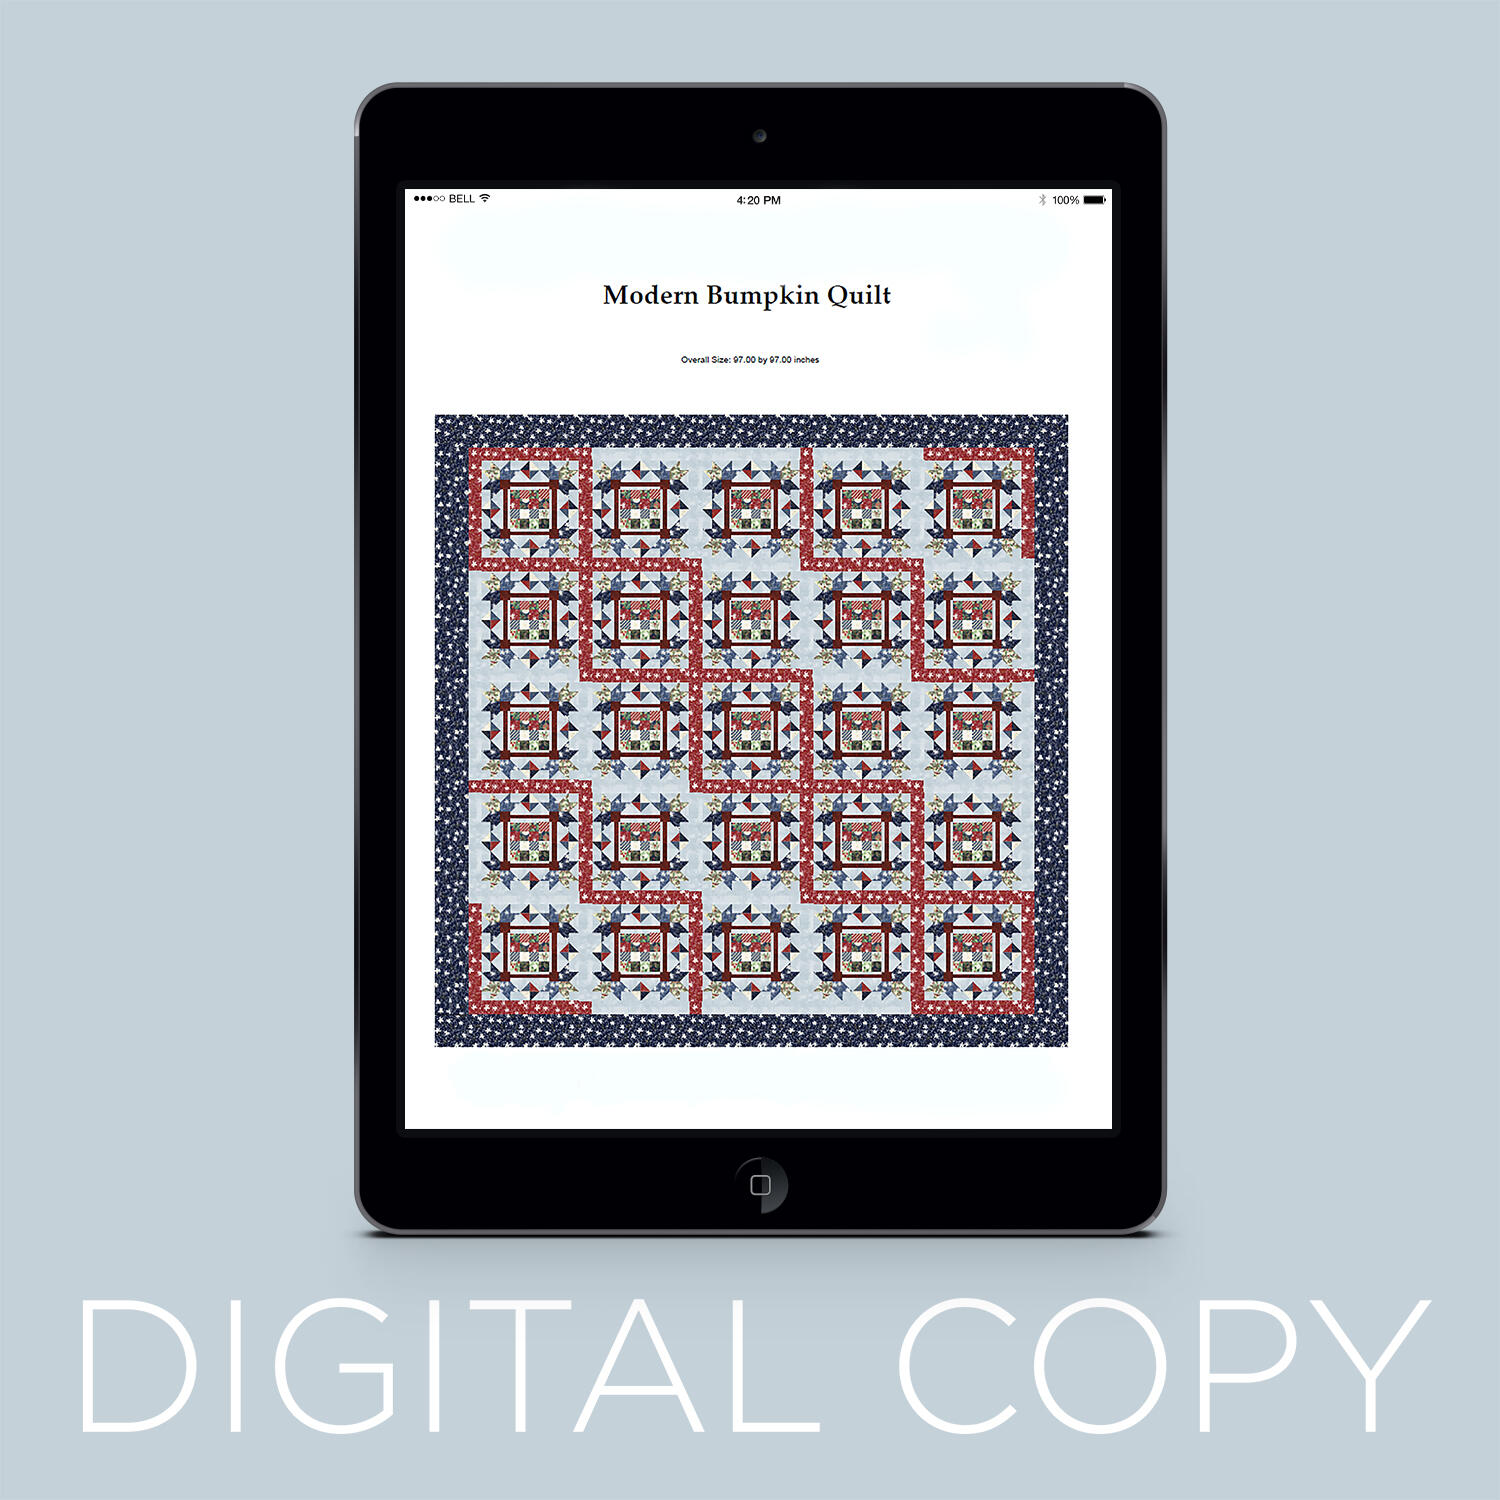 Digital Download - Modern Bumpkin Quilt Pattern$6.00Shop →



