Skip to content

Free quilting video tutorials from Missouri Star

Quilting Tutorials
Modern Mosaic Quilt

Modern Mosaic Quilt

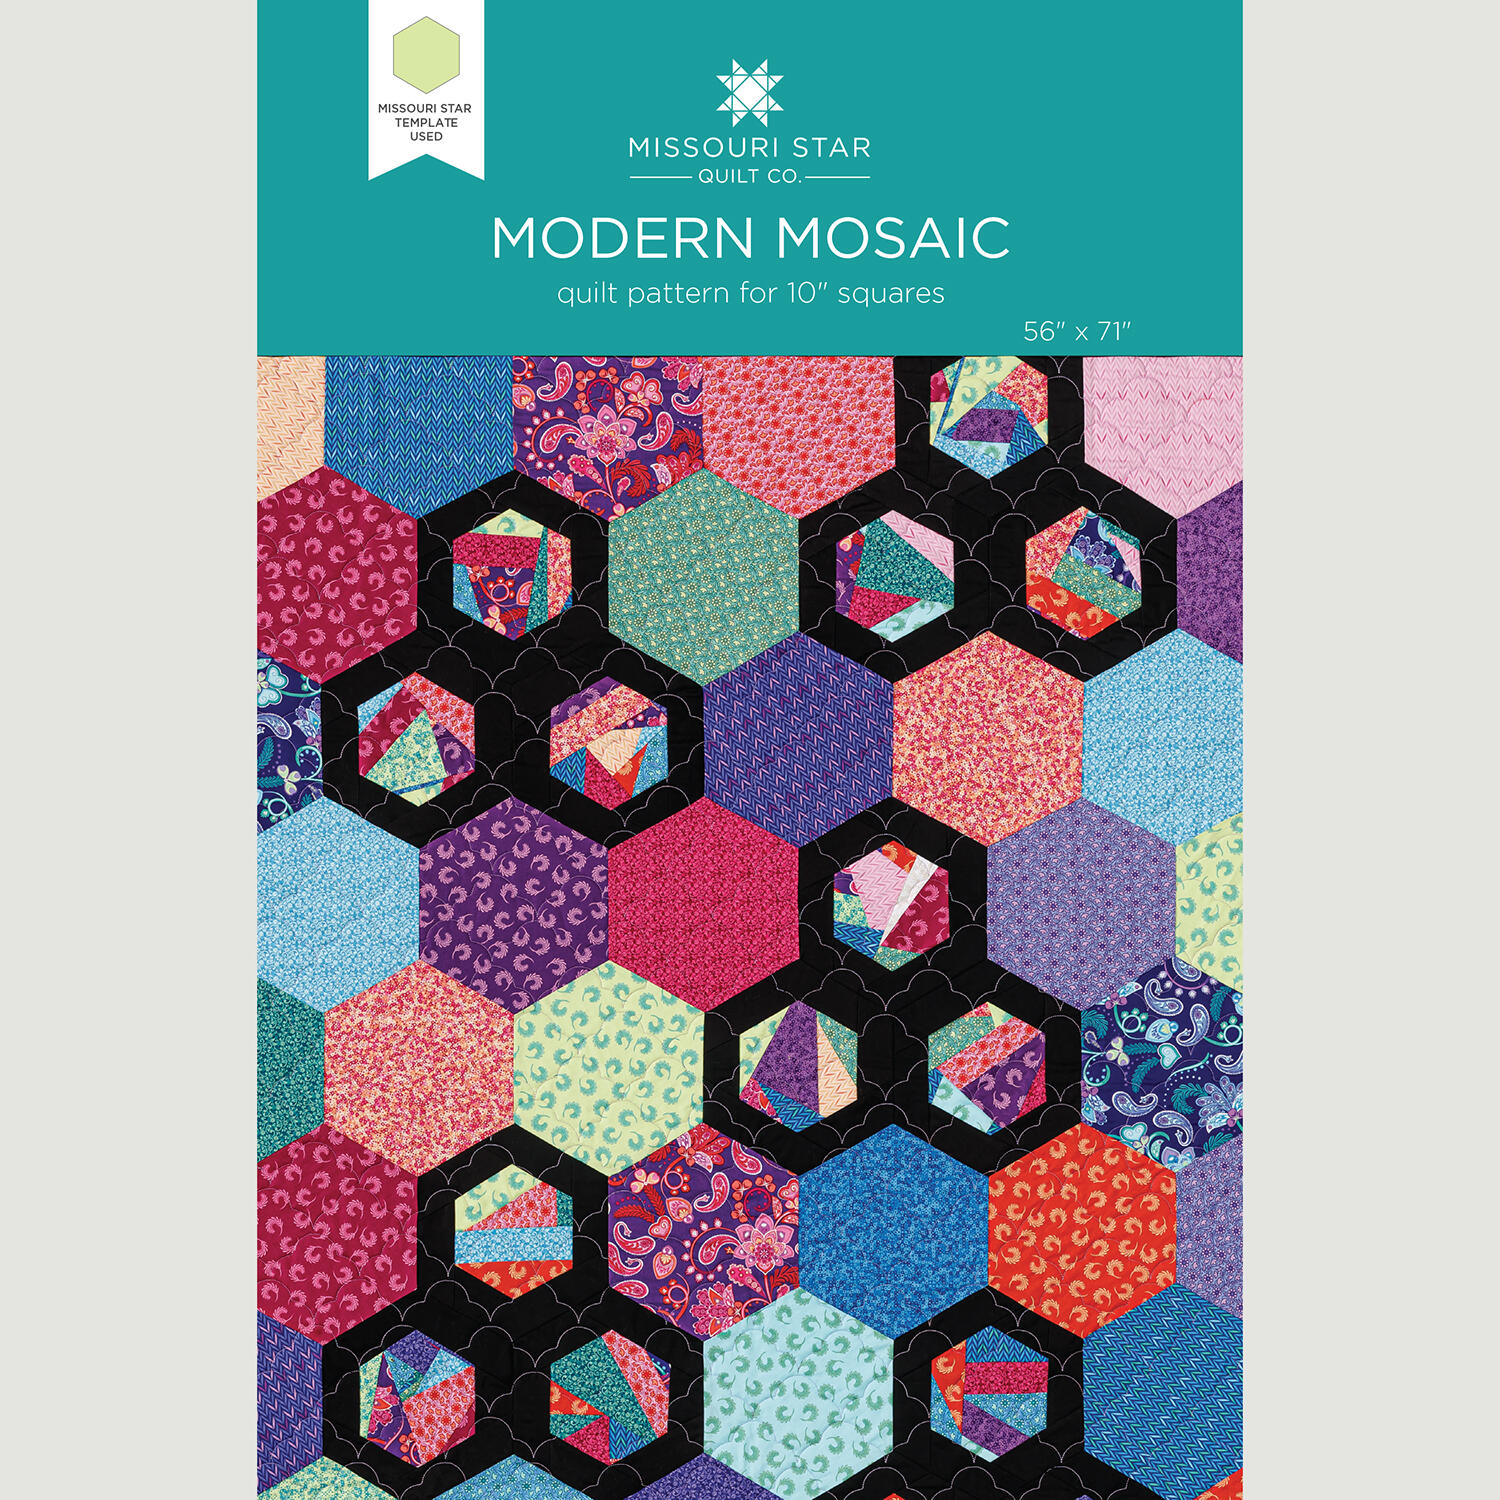
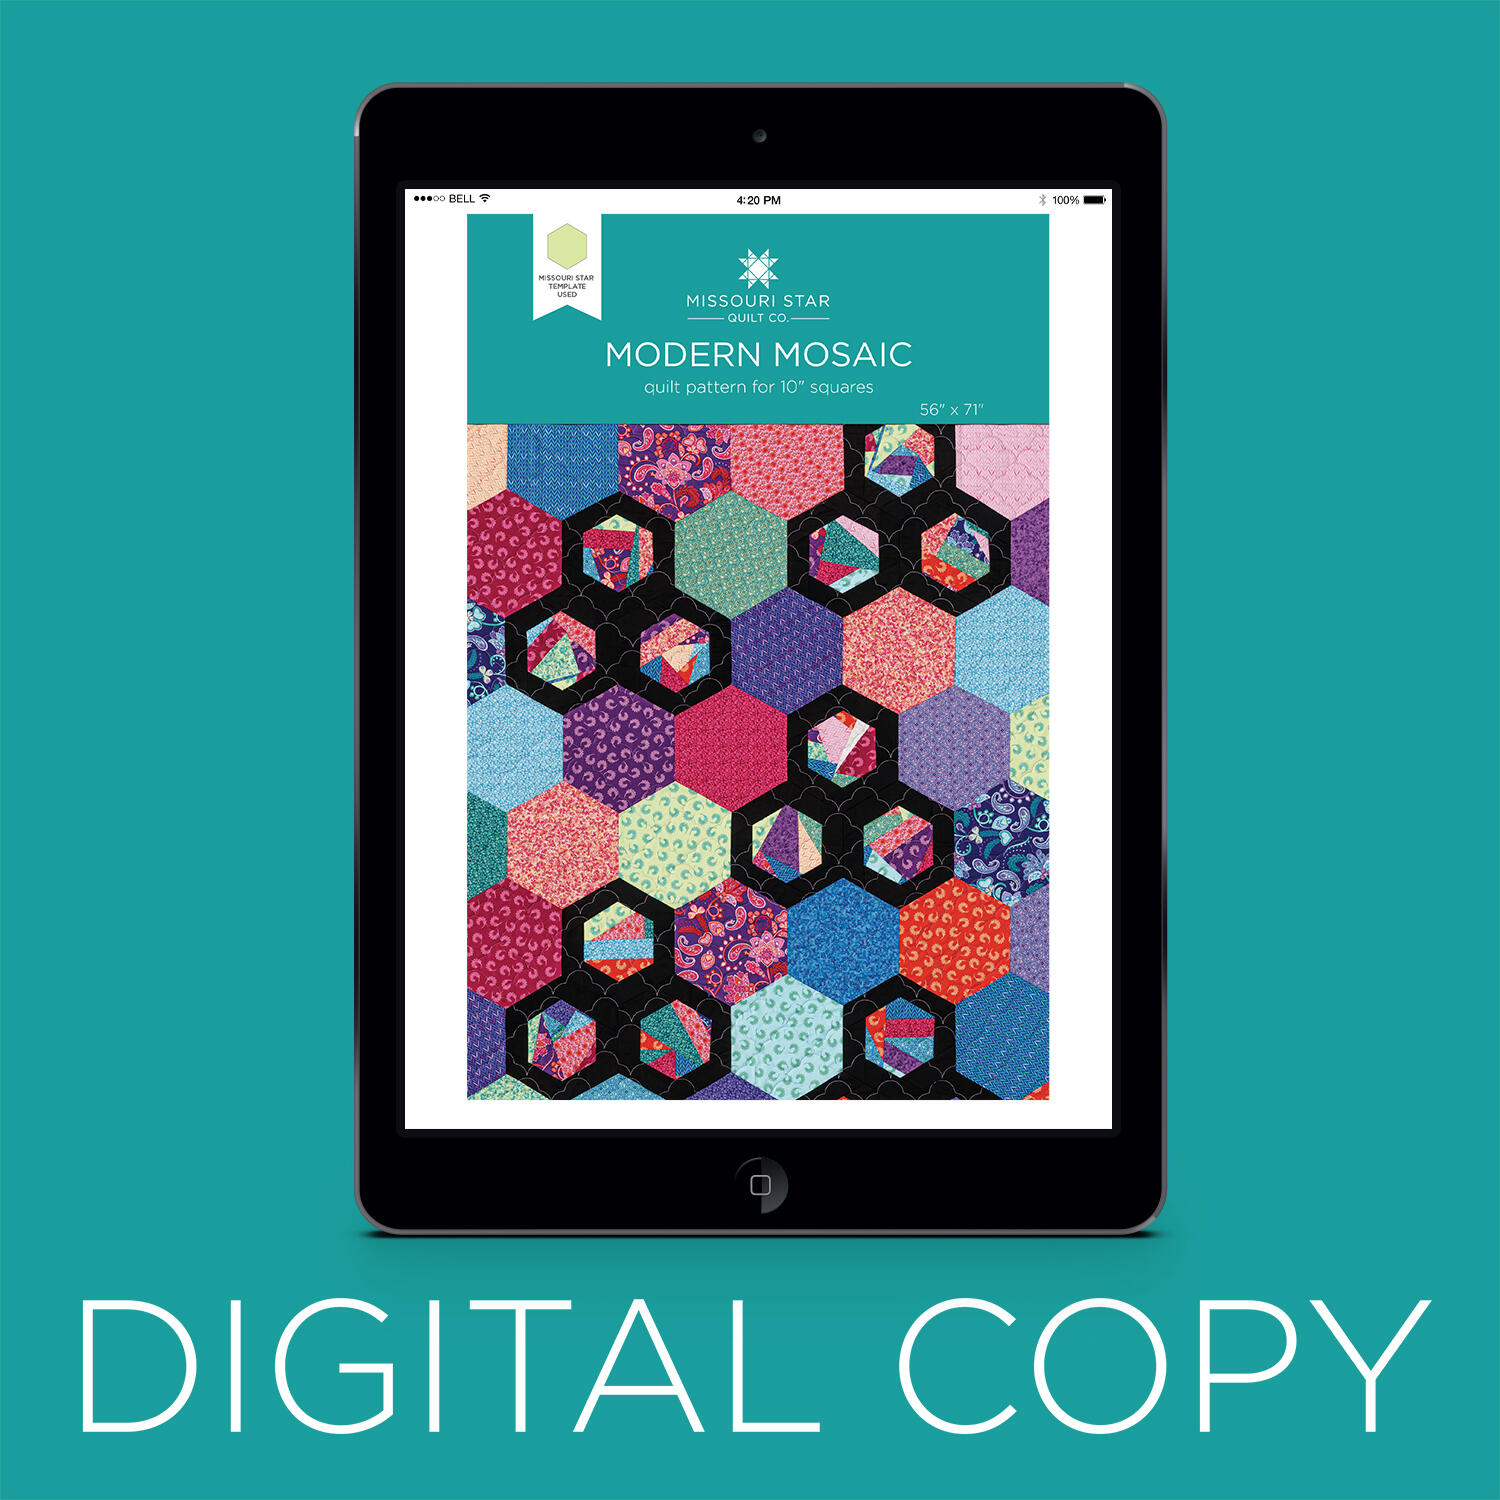
The Modern Mosaic quilt has a fun little twist: The scraps are the star of the show! First, Natalie cuts hexies from a precut layer cake. (Yes, they’re pieced with Y-seams. Yes, you can do this!) Then—and this is the best part—she gathers the leftover scraps to crumb-piece a second set of hexagons. This pattern may be a half-step beyond your comfort zone, but this is one challenge you're going to LOVE!

Instructor

Natalie Doan

Natalie is the host of Quilting 101, Embroidery 101 and the Creative Strategist and Editor of Block Magazine at Missouri Star Quilt Company. She was taught how to sew by her mom, of course, and began quilting when she grew up.

Common Questions

What is covered in Modern Mosaic Quilt?

The Modern Mosaic quilt has a fun little twist: The scraps are the star of the show! First, Natalie cuts hexies from a precut layer cake. (Yes, they’re pieced with Y-seams. Yes, you can do this!) Then—and this is the best part—she gathers the leftover scraps to crumb-piece a s...

How long is the tutorial video?

The tutorial video is 00:40:53.

Are supplies listed for this tutorial?

Yes. The tutorial page includes the supplies and materials connected to this project.

Video Transcript

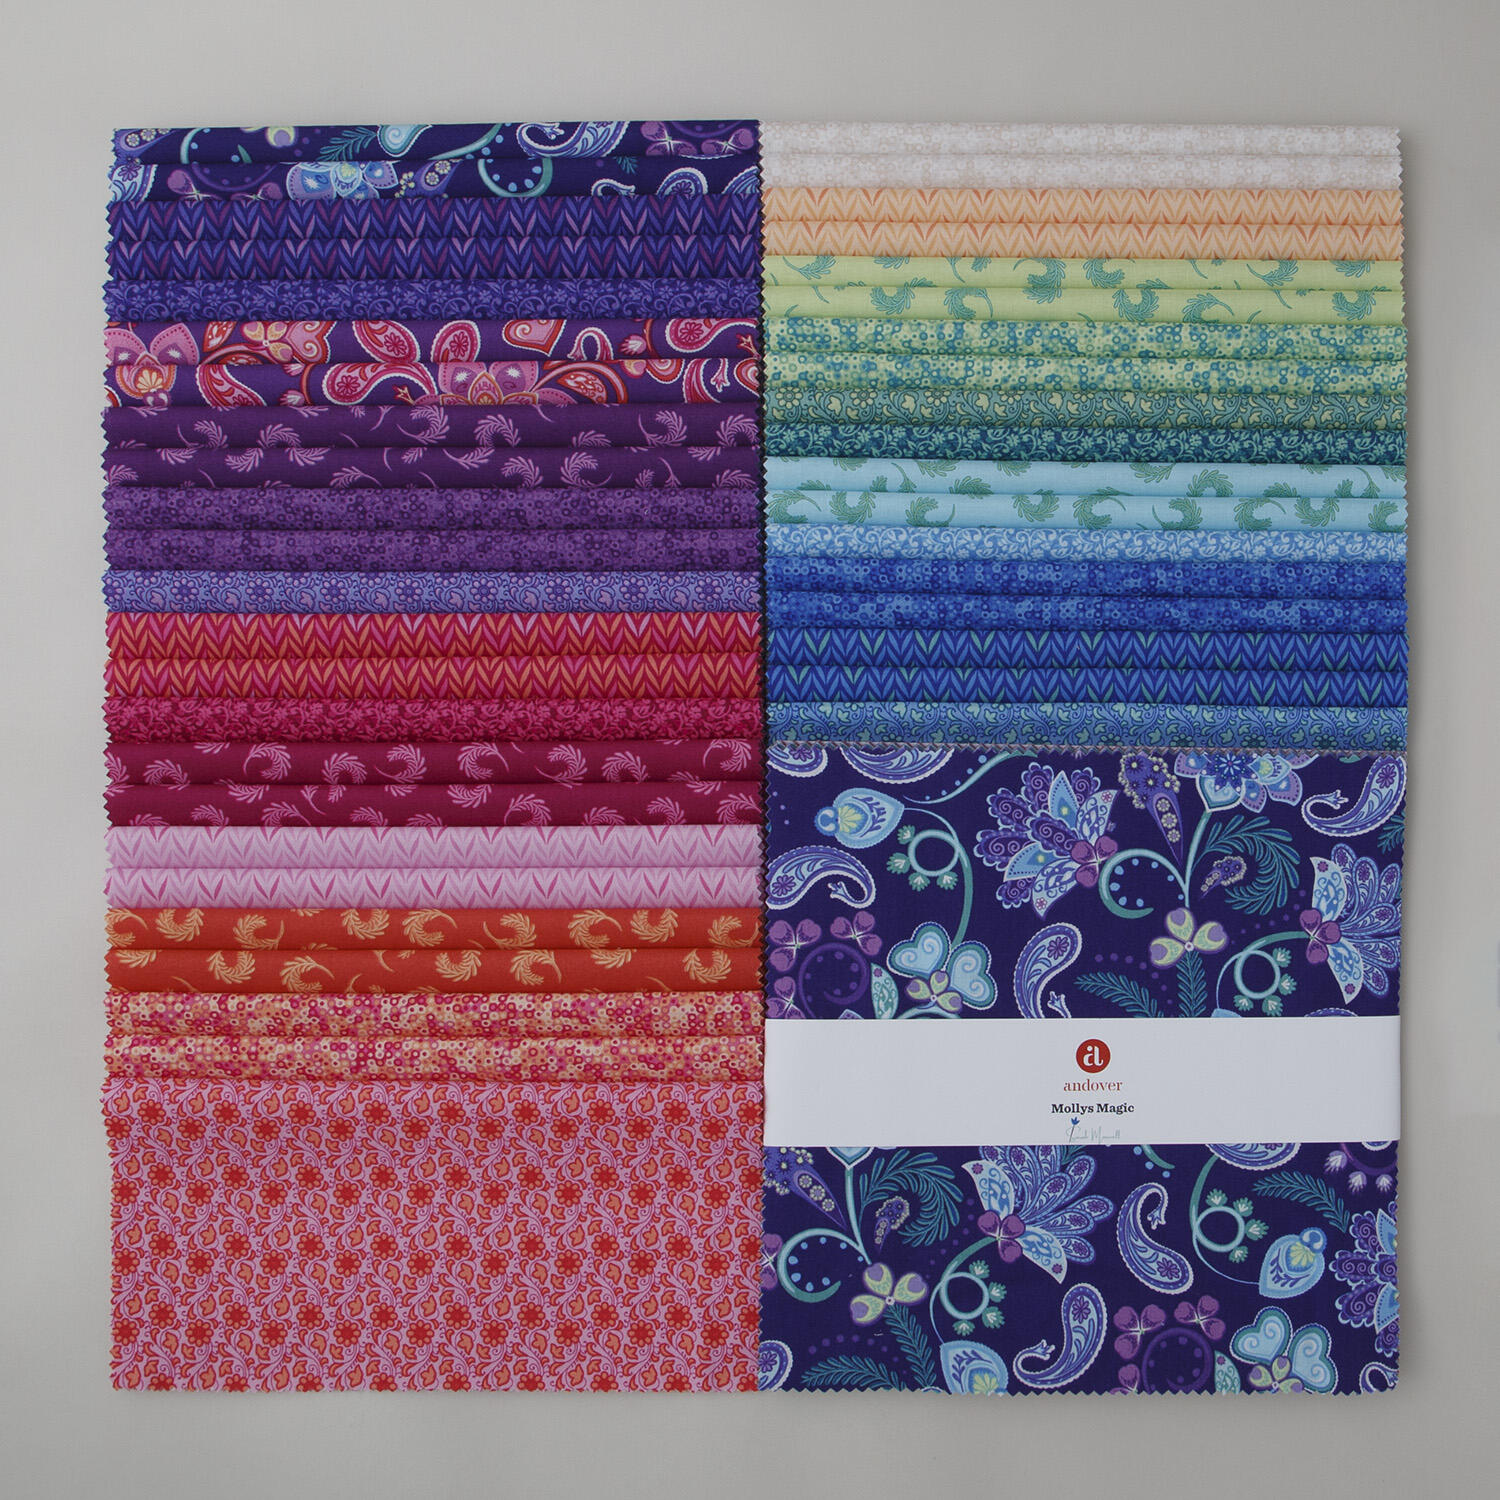
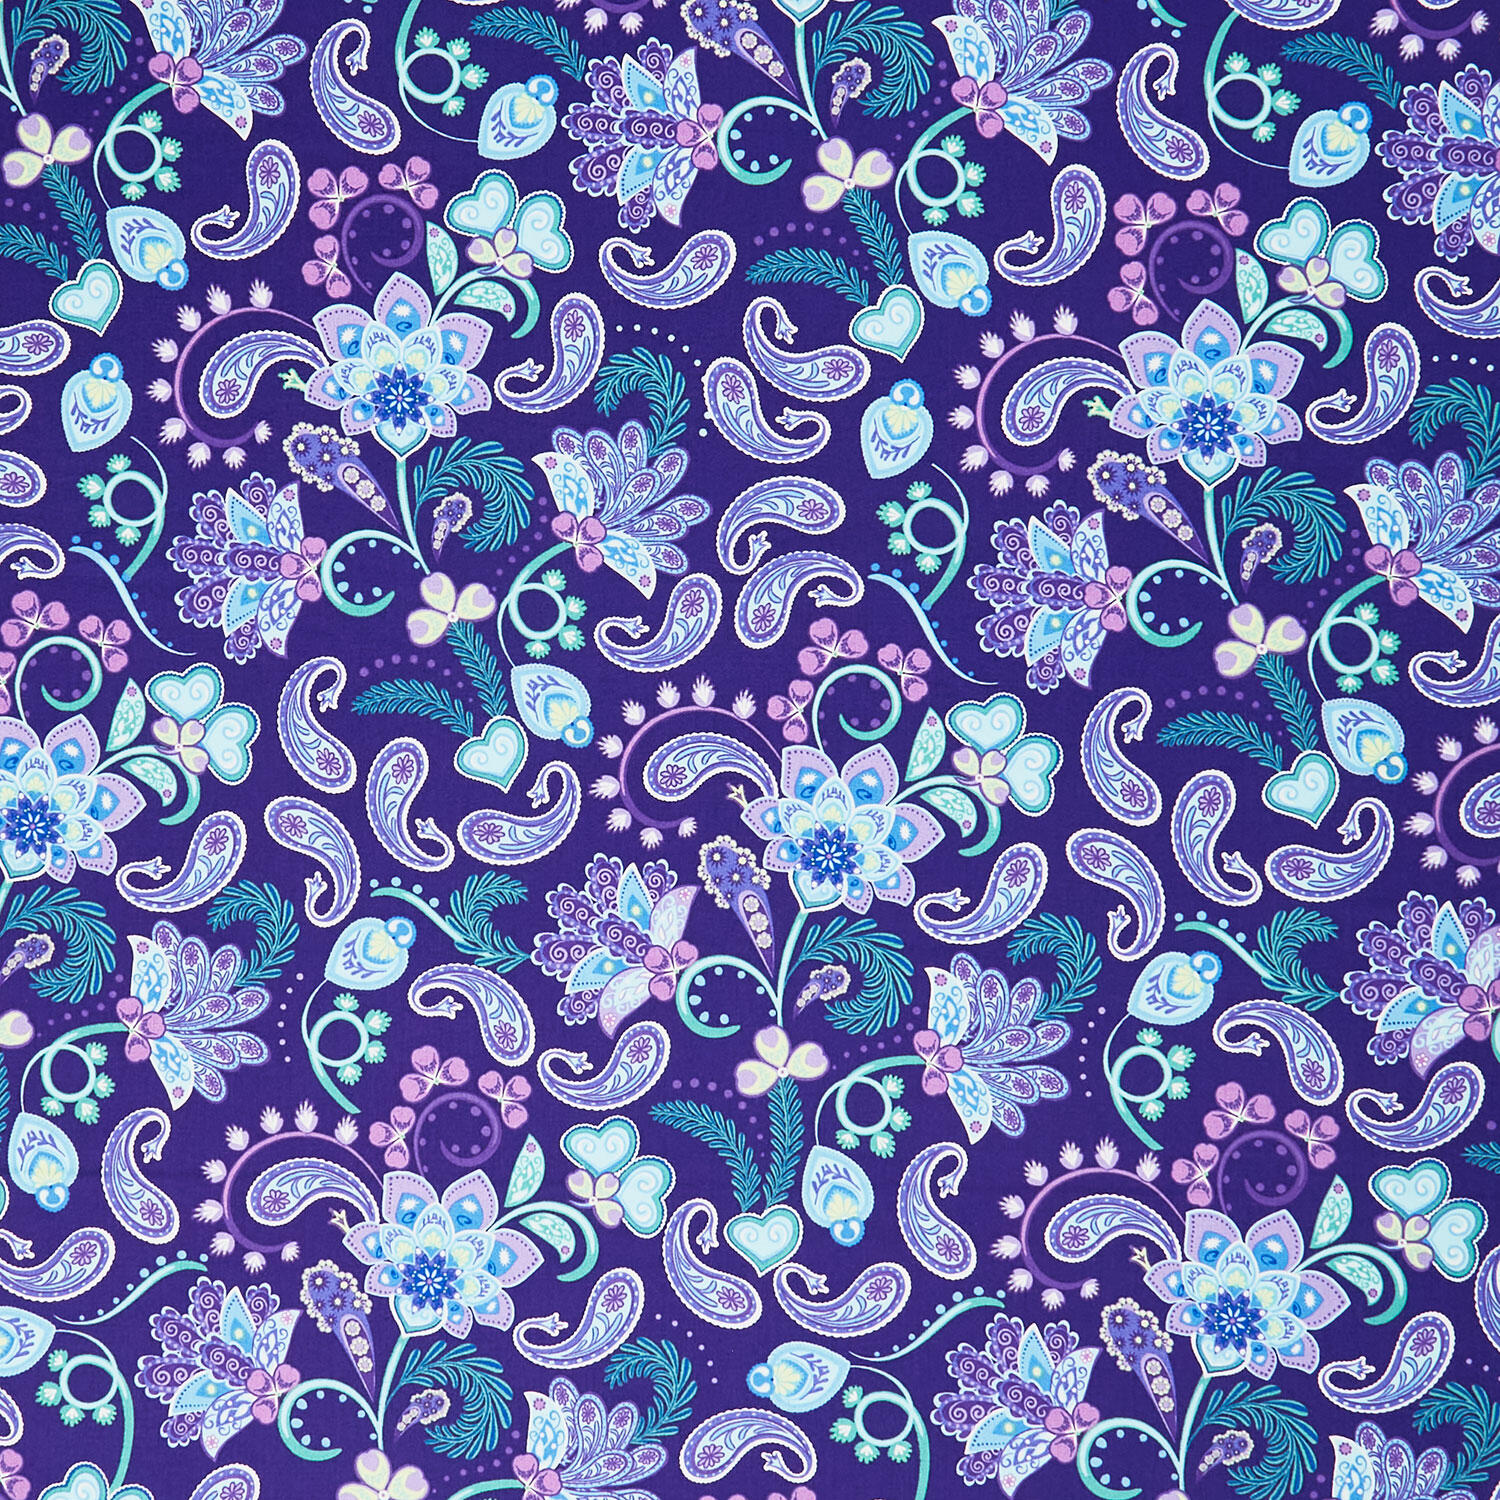
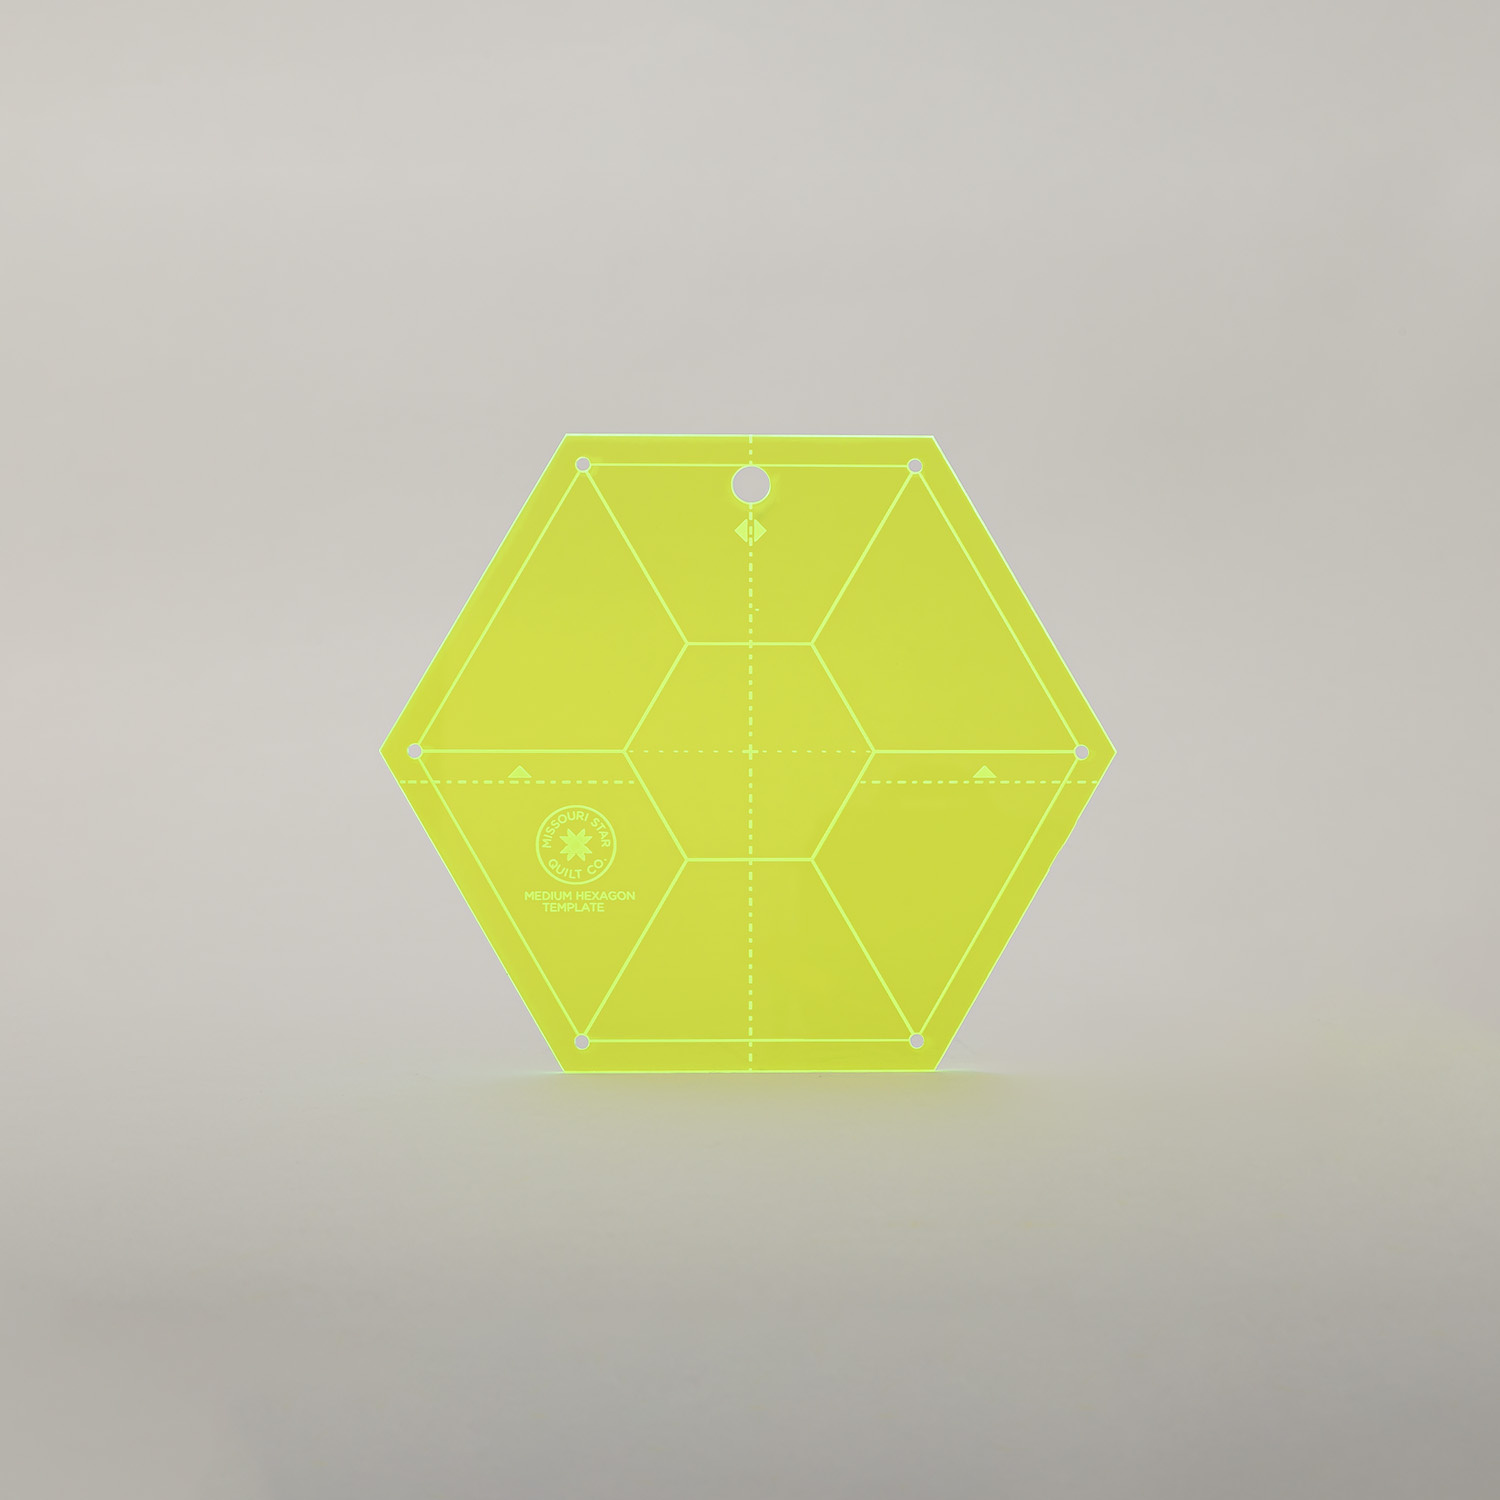
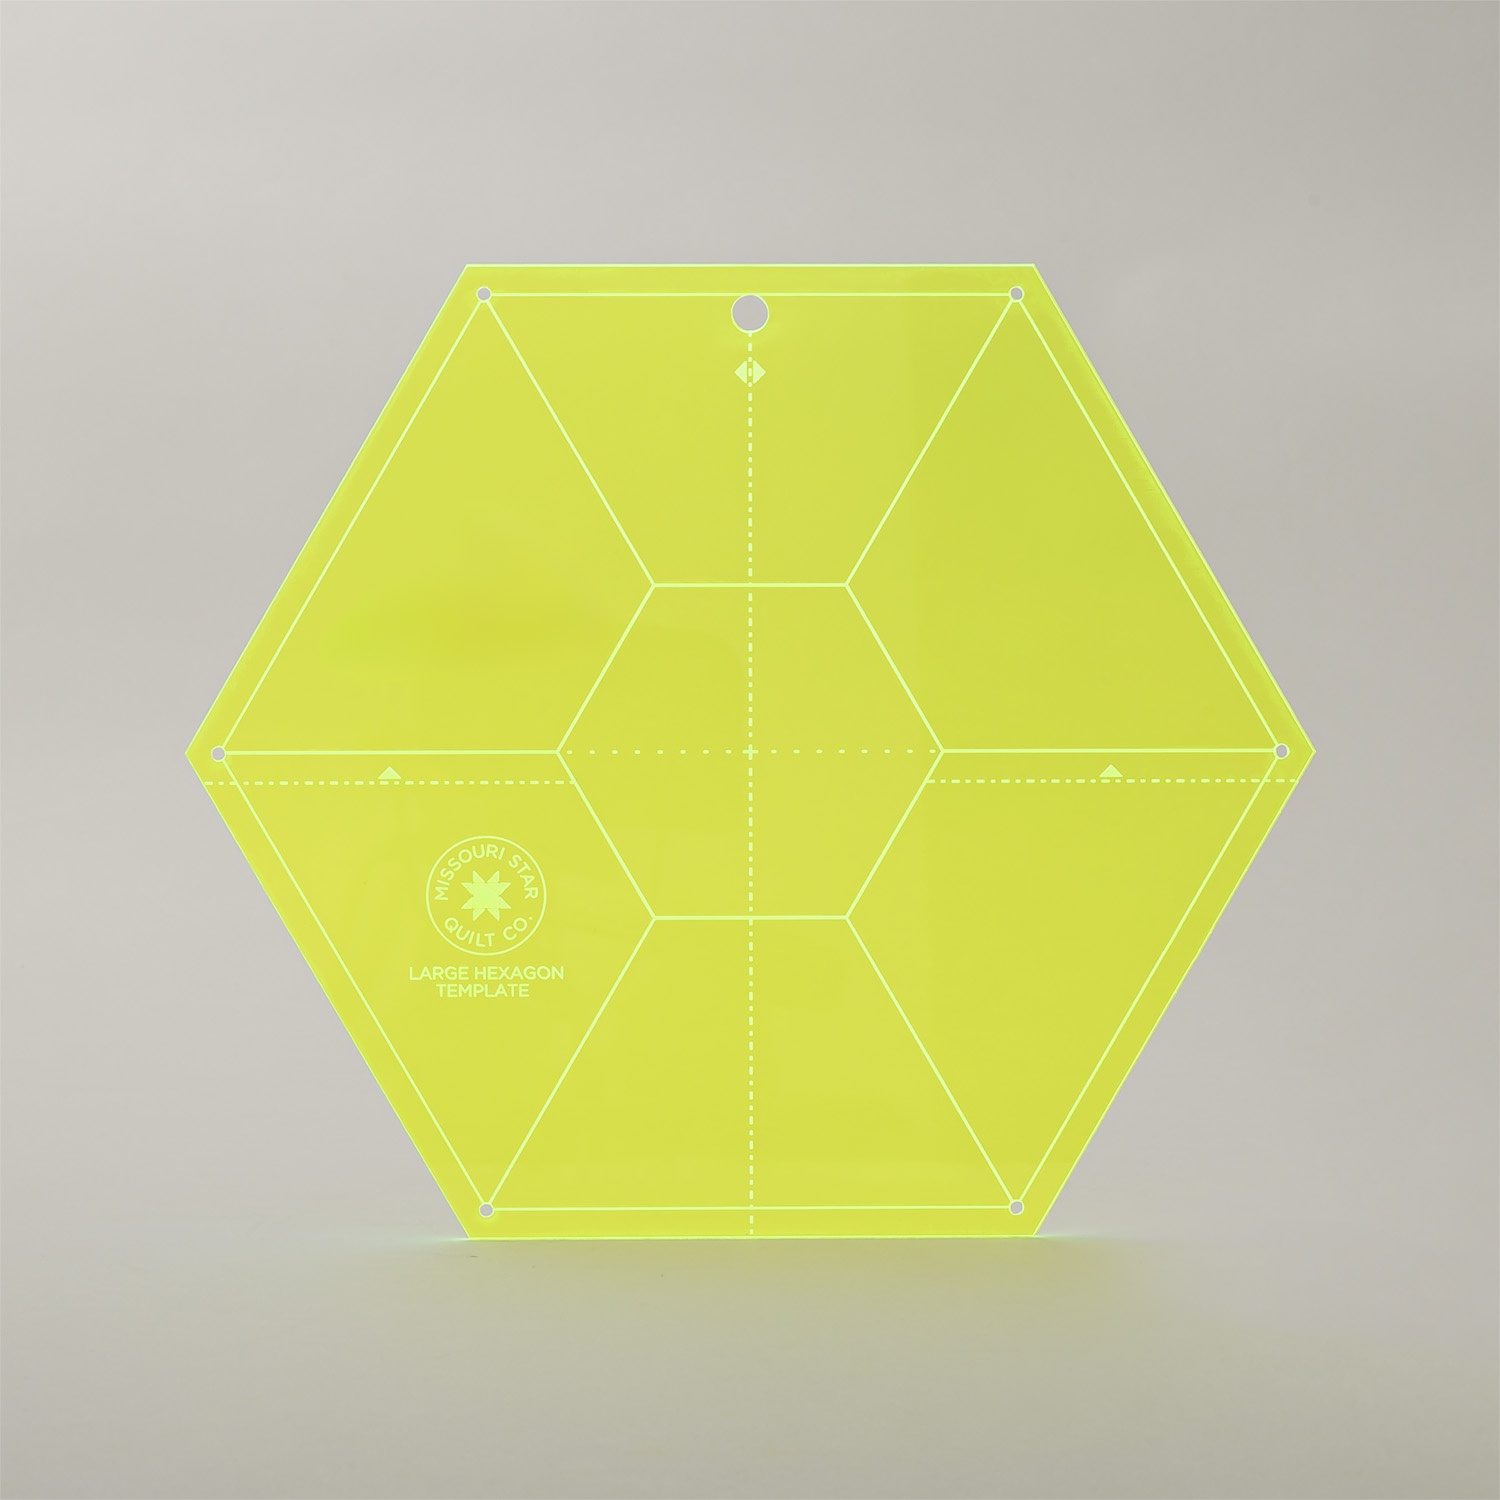
hi everybody i'm Natalie with Missouri Star Quilt Company and I am excited to show you today's project this quilt is called Modern Mosaic and we used scraps and hexagons to create a fun quilt it gives you tons of practice in crumb piecing and also Y seams and I think you're going to love it so let's get started [Music] okay so to make this quilt we're going to need one layer cake of fabric and I've used Molly's Magic by Sarah Maxwell for Andover Fabrics you're going to need some background fabric and that's this black you'll see that around the blocks right here um you're going to need a yard and 2/3 of that and that includes your inner border the other thing you'll need is a little bit of border fabric we've got a yard for that and then your backing is three and 5/8 yards or three and a half yards if if that's easier than the 5/8 um or a yard and 7/8 if you're using a 108 you'll also need the Missouri Star large and medium hexagon templates and a little bit of courage all right it's time to get started this quilt is easier than it looks but we are going to have to deal with Y seams so that's where the tricky part comes in the rest of it is super simple we're going to start by cutting some 2 and 1/2 in strips from our background fabric and then we're going to cut our entire um package of 10-in print squares into the large size hexagon so we're going to get started on that i'll cut a couple strips here so that I'm ready for doing the uh the outsides of those little hexis i just think they're so cute and it's a really fun way to use up all of the fabric that you have this would be great I think for you know stash quilting because you can see all those little bits and pieces of fabric i've got my ruler and I am going to start by straightening this edge and then I'm going to go ahead and pull that fab oops didn't quite cut it all the way happens to the best of us okay got that i'm going to straighten them out again you could press this if you wanted to be more precise i'm not super concerned about it because we are going to have plenty of room after we add this border to then square it again with the large template you'll see how that works coming up here so I'm just going to cut a couple i don't need very many to show a few blocks okay we'll do three and I'm going to set this aside and then I'm going to start with a few of these they get sort of stuck together and I want a variety not doubles so let's see what I can pull out here i think I'll do one of these so I have four or five pieces of fabric stacked up here i can cut through that many i feel confident about it if you don't just do two or three or just one at a time if that's what you feel is best it's a total quilters's preference thing i like to cut through several layers to save time but I think if I was worried about it or if I had trouble with cutting or pressure then I would definitely go down to one or two layers at most so don't think what I do is the only way it's just a way all right so I'm going to line this up down here in this bottom corner so you can see that I've got like a big chunk of fabric up here and a big strip up here i've got little triangles on these sides that is what I'm going to use to make all of those scrap blocks so I'm going to cut these pieces and I'm just going to set them aside i will put all of this in a big pile i'm not worried about um how long things are or if I cut them all the same way there's there's really nothing to worry about there because these are going to be crumb pieced whoops i think my blade is a little loose grab this side and this side all right so I don't use that piece but all of these pieces are going to sit in a pile and then these little ladies are going to sit in a separate pile because these are my whole hexagons that will be used in all of these other locations okay so that part is done let's pretend I cut the whole layer cake i have a pile of scraps that I cut when making the samples this sample quilt and so I'm going to put all of these down they're just leftovers and I will throw these in my crumb bin when I'm finished um and so what we're going to do is we're going to start by picking up two pieces and sewing them together it doesn't matter if they're the same size or if they match you can do a strip i like I do like to start with like a strip and a triangle just to get going and I will select several of these and sew them in like a chain piecing method so I'm just going to put these two together we'll see how that looks maybe I'll do them this way and then we're just going to add these to each other so you start with a few two pieces and then you'll do fours and so on all right I'm going to run these over to the iron and I'm going to press them because it is easier to stitch on flat blocks when you're doing any kind of crumb piecing so having that pressed it helps to keep everything flat and to reduce bulk in your seams that way you're not going to get any little folds or tucks okay so now we have some of these pieces that we've sewn and pressed and what I'm going to do is add this to this side i'm going to do it at an angle and I'm just going to sew over that seam and continue to make this piece a little bigger i'm going to connect this one to another set that I've already done here i think I'll press this guy and connect those so I just stitch whatever shapes whatever pieces we have and then I press them open and see where to put the next piece of fabric so it's all random all very scrappy and I'm not worried about um anything matching up it's very relaxing in that sense because you can just put fabric together and sew it doesn't have to be a perfect seam even because it just just has to go together no rules on this it's awesome I guess just relax and have fun all right so on this piece I don't know if you guys can see that from up up ahead i've got extra fabric over here so I'm going to grab this little 2 and 1/2 in ruler you can use whatever you have on hand but I'm going to line that up and cut that at a quarter of an inch so that I don't have that bulk in the back of my fabric and now I will take it and press it back and it'll be all ready to go this one I'm going to just press and see what happens all righty so I think what I'll do with these I think I will stitch this here i'm gonna I'm going to trim that off i'm just going to stitch this little stitch keep in mind you can be a lot more efficient than I'm being here i'm doing one or two things at a time you can sit and do all of your pile into sets of two and then sets of four and sets of six however you want to do that um I tend to get impatient for the end result and I want to cut that little hexi out as soon as possible so I usually make that cut as soon as I have that size fabric built um so you can do it either way as efficient as you want or as freewheeling as you feel whatever floats your boat okay so now I have this piece and it's got a lot of little zigzags in it so I think what I'm going to do because I want to eventually add it to my bigger piece of fabric and something needs to now have some kind of straight line to stitch on so I'm going to trim this one right here straight off maybe I'll do this one am I long enough for that yeah I think I can do that okay so I'm going to trim this side straight because I need a thing to sew against and I'm also going to trim a straight line here i'm going to go along with this uh I'll flip this so it's easier to see so see how this strip comes out i'm going to Let's see go H maybe I'm going to go this way and just cut that thing off and then I will add other fabric to this p this set so what I want to do here is add to this and I think that's going to look fun so we shall see all right now I'm going to press this big piece back which I had some of this made already but now I've got this addition stitched onto it and some of the fabric's a little stretchy and it's okay we're going to just trim it now to however we want it to be all right so I'm going to take my my small or medium my medium hexagon and I'm going to line it up and you can see that like it looks pretty cool like that maybe I want some more of these colors maybe I want to come down here and get this section you can be as conservative or as focal as you want to be like if you wanted to focus fussy cut something this is a great time to do that um you could create shapes if you wanted to you could line things up with the lines so that everyone has a straight line somewhere it's whatever you want whatever makes you happy cuz that that is what this quilt is about this quilt is a joy quilt it's for fun and joy and loving and seeing all the fabrics that you have in your collection or seeing all the fabrics in a line you love i do think this Molly's Magic is particularly beautiful it's got all those lovely jewel tones and flowers doesn't get much better than that all right so I'm just going to cut straight around it not too worried about um what's left over because I can add to it and reuse it okay so I've got one one done i'm going to come over here and grab this little section that is going to be cute i think if I do that can I get three i don't know i think maybe if I do it down here yeah I'm going to do that going to try and maximize oops i definitely miscut that that's okay who's going to know i'm just gonna cut it off and start over okay there's two all right now I am going to cut that off and I think I'm actually going to just cut this in half i'm going to add this piece back on remove that little piece of fabric because it doesn't need to be there all right so I'm going to stitch this to this and I think I might be able to get another hexi out of it all righty well I need one more strip of fabric and I'm going to put one of those right here so that I catch and because I want to catch all of these little half or partial seams from things I cut and sewed i'm going to put a strip right on top of that use this one that will give me just the amount I need i think one more shot at it and then we go and move on okay there we go now I'm up and out of all the danger zones that is perfect okay and I will always save and stack up these pieces that are pretty large i'll trim them up so that they're easier to work with but I keep these in a pile so that as I continue to sew I can continue to put all of those little leftover pieces back together into something that works and you can add this to one of these triang or one of these rectangles or a bigger let's see we've got like bigger triangles here you can add that to that and it builds up really quickly when you're putting already pieced sections together so it's it's fun for me and you can use a rotating mat if you like if it feels uncomfortable or awkward don't make that cut because I'd hate for you to get hurt um maybe just reposition yourself so okay okay so now what we're going to do is we're going to put our 2 and 1/2 in strips on these uh hexis we're going to border them because um that make that is what makes them look like they're like floating out here i put this border on and then I rettrimmed it with the larger hexis so we're going to do one side we'll trim it and we'll do another side and I will show you how that works i'm just lining these up and stitching and then what I'm going to do is I make sure that as I stitch on this strip of fabric that these all I need is for it to be at this edge so I can scoot these closer and overlap them it's not one of those things where you need the distance to make the the angle that you're cutting these can go pretty close together so I'm going to line them up just like this sew all three i'll bring them over cut them apart press them and then I'm going to trim that side and we'll put the next strip on and I'm just going to hold these here and stitch onto one strip at a time and also I'm right-handed so all of this is oriented that makes sense to me if you're left-handed try doing it the opposite way and see if that is more comfortable i think a lot of times my brain is like go clockwise when you know if you're a righty or a lefty sometimes counterclockwise is easier it just depends on what you're doing [Music] okay so it looks like this and you can either cut them apart with a rotary cutter as long as you move them out of your way uh or you could use your scissors i often do scissors because I can do this while seated and then I can spin over and iron and then spin back all right I'm going to press this back now and then this is where you're going to trim this side and stitch so for me I I always go clockwise so I put it on this side first now I'm turning that and doing the next side i'm going to use my ruler to trim off this fabric so that is my stitch seam and uh it lines up just good and perfect and it's a lot easier I promise than it looks so I'll do that to all three and then I will stitch all three onto another strip all right same thing clip them apart they just have to be in between in a straight nice little straight line because we are going to trim these I do always press the um the dark fabric the little dark strip i press that out so that everything is underneath that fabric instead of pressing back onto the hexagon because there's so many seams it wouldn't want to stay that way the fabric will fight you so that is why I go ahead and and press these towards the strip it's just much easier then I'm going to Okay I'm going to trim this and we're going to continue adding these strips to the outside until we get to the the end and I will uh speed it up for you a little bit I think so we can get this done and get to that point and then we'll talk about piecing hexis [Music] okay we are up to our last strip i'm going to go ahead and trim these apart we'll press them i don't need that much there we go okay now it is time for the last strip so this trimming is just slightly different we're going to go all the way across because we need this full length of a straight line to stitch our last piece of fabric to the last row around the outside edge so I'm just going to start up here and stitch to down here and I'm not worried if it intersects with that or not because that is going to get cut off so don't stress if yours looks like mine you're all right it's all good and one more okay I think I might need one more piece of fabric there we go grabbing another strip so I don't run out now I'm not worried about this strip just so you know i'm only worried about stitching to this one so I'm kind of just going to move that out of the way i don't need to stitch over it but if I do that's also not a big deal um it just feels kind of silly to me to uh stitch that far back same with that piece i'm just scooting that out of the way just folding it over a little bit you can trim it off before you get here if you want to all right got to start that new one i knew I wouldn't have enough you never can tell well you can cuz math that's really how you tell but some things are more fun if they're a mystery and sometimes I feel that way about math all right so now we're going to trim these and press them and square them we are almost to the finish line it's very close okay there's that one and this one i think they're so cute i love this little peak of orange right here it's just a tiny little sliver but I love it i love how that breaks through okay so now we're going to grab our larger hexagon ruler template and we're going to line it up now this is cool because we have this this uh all of these lines cross lines and then we have this focal center so I know that if I center it right in the middle if I look at all these lines and I see that where I have a point on my small hexi one of these lines intersects with that then I know that my hexagon is going to be trimmed straight and it's going to be even all the way around because these don't match if it's not even you'll find that you have to twist it to make them fit where they go and once everything is lined up in those little corners I don't know how it works but that that is center so you can look also to see how much space is between the black line and this green line in the middle for the smaller hexi and use that to center things up it's really quite easy to do you can eyeball it and it's no problem they just look great so I'm just going to trim all the way around this now is a good time for a spinning mat if you want or a littleer mat that you can turn um I will get most of the way around and then I'll turn it for that last Well let's do the last two so I'm just going to use the I use the fabric and slide it around the ruler typically doesn't slide when I do that just so you know it's like a little a little hack it may or may not work for you probably depends on how sticky your mat is this one's it's pretty slick and smooth so it slides easily but there you go we've got a beautiful hexi a scrappy one and it's so cute it's going to look great we'll do all of these going to line them up find those little points make the make the lines go where they go yep here we go and you're ultimately cutting off about a half inch plus whatever is in the corner but not too terrible i didn't want to go so close that if we accidentally stitched with a wide seam we wouldn't have enough to trim it off so uh I feel like it's an appropriate amount for squaring it's It's easier for me if I have more fabric than less as far as that seam because my seams I don't know if you've noticed but they're not always straight they're not always consistent sometimes my quarter inches are too big and sometimes they're too small and sometimes I sew differently from day to day and my stuff doesn't want to match by the end of the week but um you know we're all doing the best we can so I try to build in a little room for error and stretching and growing and maybe you know learning something new getting a little better at it but also being able to maintain that joy that is usually what we felt when we first started quilting and that's what we keep coming back for so all right so now it's time we've got these these blocks we've got our full blocks we're going to lay our quilt out and you'll notice up here that I've laid them out with the points up and the flats um vertical so this this seam right here is where our Y seams will be and so we need to mark our hexagons so that they're ready for that and then we'll start sewing together our rows uh widthwise first and then we'll join row to row okay so what I'm going to do is flip these over and I'm going to place this guy right on here and you can do this right after you cut them if you wanted to be prepped ahead of time um I'm doing it right now you can do it either way as long as it gets done so I'm looking for Yeah a white pencil is going to show up the best and we just put that in there spin it around so it makes a little dot it's perfect you can use a regular pencil you could use a Sharpie marker uh something fine point will fit in this hole the best I think but yeah any kind of any kind of pencil that shows up on your fabric will do i love this one because it has three colors it's got white blue and pink and that shows up on almost every fabric which is great because sometimes you want to see it on a light fabric and then you know two days later you're working with a dark background so I like that it has options all right I can see these you probably can't because it's far away and and these are um really light colors i'm going to do some on this okay so you can maybe you can see that from the top cam we've got a little dot here and here this is where we're going to put our pins and make sure that we stitch to those points okay i'm going to lay it out where I've got like two rows I think so I'll do one here and then I'll do one oh one two and three so I'm going to pretend that this is the beginning of my row and this little lady's going to sit here so if I'm starting the quilt these pieces are these ones right here or these ones right here actually right here this little lady is the first one and then we've got three underneath so I'm just going to sew this section and it's going to be great we're going to do it first thing I'm going to do is stitch together this straight seam and I want to make sure that it's lined up as well as possible because we're going to be looking to join those points before you know it all right I've got this one done and I'm going to start the next row and I wanted to remind you that what we're going to do is stitch from dot to dot on these long seams i think I must have only marked one let's do that real quick where is my There you are i must have just thought I was all ready to go but honestly not a big deal only takes a minute and I'll do I'll do this one just to be on the uh a little bit ahead of myself so I don't Oops not the middle not that that big one doesn't need a marker there we go okay so I'm going to sew my seam from the dot to the dot because we need to leave those edges open for when we join them to the row and I I didn't mention that the first time around but I didn't want to forget it either it's kind of a big deal okay right on the dot and I slow down pretty well when I get here because I don't want to go past it but if you do go past it you can just pick out a stitch or two to open it back up and have that ready for your next seam just go to the dot trust those trust those lines they uh they are marked in just the right places okay all right now uh I am not going to press these i'm just going to go ahead and line them up just like this so now I'm going to do this seam i'm going to do dot to dot which it looks like I didn't dot this one either oh my goodness i only did one print and one one scrappy so that is my that's my joy okay but the good news is I stitched to the right places so it matches on the back good job alrighty so this this little one lines up right here and I'm going to start first by doing this seam to this dot and then I will press that back and add the next one this way i'll finger press it i'm I'm not not thinking I'm going to go over to the iron yet all righty so this is a time two where you stitch right to that dot and then we're going to take this and we're going to flip it so that this one comes out and you can see here how this seam sort of falls open because we stitch to that dot it gives you enough room to do the next stitch the next little section and so it's all straight seams but you're going to have to um wiggle your fabric around from seam to seam but it is it's going to work out great i promise it's easier than it looks if I can do it you can do it and all things in their time okay now I've got one more seam to join right here so I am going to do that i just have to My little little seam came undone so I'm going to put a little stitch in here to get them reconnected back to where they need to be you run the risk of that with these seams okay so now I'm going to flip this next one down you can see what's happening here so we've got this row we've got these these seamed and then this one is the next one so I'm going to flip him down and pull this guy out you can see how it pulls out the seam right there a little bit so I can stitch on these two pieces of fabric to the next um the next section or intersection and then we'll go from there okay I'm going to do one more this is our last seam you can you can roll it forward or back whichever way works but now we're pulling out this fabric and lining up this seam to finish off the row then we'll go to the iron and press it and see how we did okay I'm ready to press and I think it's going to be good and if not I can fix it you can always fix it it's quilting oh I got a few seams popped out here like threads showing on the front i do recommend using black thread when you're stitching with black fabric but um being on the video I didn't want to switch thread i like to just be able to demonstrate but yes if I'm using if I'm using dark fabric I'm usually using dark thread it doesn't have to be black because um navy blue or dark gray i usually just use colors or gray or white that blend behind the fabric I'm using if it's on the inside it doesn't matter what color it is okay and there you have it this is our little section with our Y seams i hope that made it like so much easier and I promise you it will get easier as you practice it this is one of those skills that can be learned and your your uh ability to do it can be increased over time it's a skill that I'm glad I have it now i didn't know how to do this before we started researching and working on the ruler and so now I can wipe I can piece Y seams and I'm not afraid of them i don't have to cut everything in half although that is a good a good trick i still stand by that all right so you'll you'll notice this this is in the quilt um right here and this piece is hanging off so what you're going to want to do is just trim that line straight and then on this side you'll do the same thing and they'll offset into each other how they're supposed to be then you will also trim your top straight and your bottom straight and add your 2 and 1/2 in inner border and this outer border is lovely it's 5 in um you can see this this beautiful clamshell pattern is what we used for the machine quilting our thread color is light pink and I love how that shows up on the black and then blends into everything else it's really pretty so experiment with your thread colors sometimes it could be fun okay our backing is this beautiful print from the line i just think that turned out great this quilt ends up being 56x71 now you are going to have quite a bit of scraps left over so if you wanted to go crazy and make more scrap hexagons you absolutely could enlarge this very easily but um hopefully you have fun with it it was fun for me i love this quilt well thank you so much for joining me today i hope that you've enjoyed this tutorial on Modern Mosaic from the Missouri Star Quilt Company bye hi everybody i hope you enjoyed today's video we're trying super hard to get to a million subscribers so if you enjoyed it and you want to see more just hit subscribe and share with your friends and encourage them to do the same and I will see you next Friday with a brand new tutorial

More Layer Cake tutorials

See all