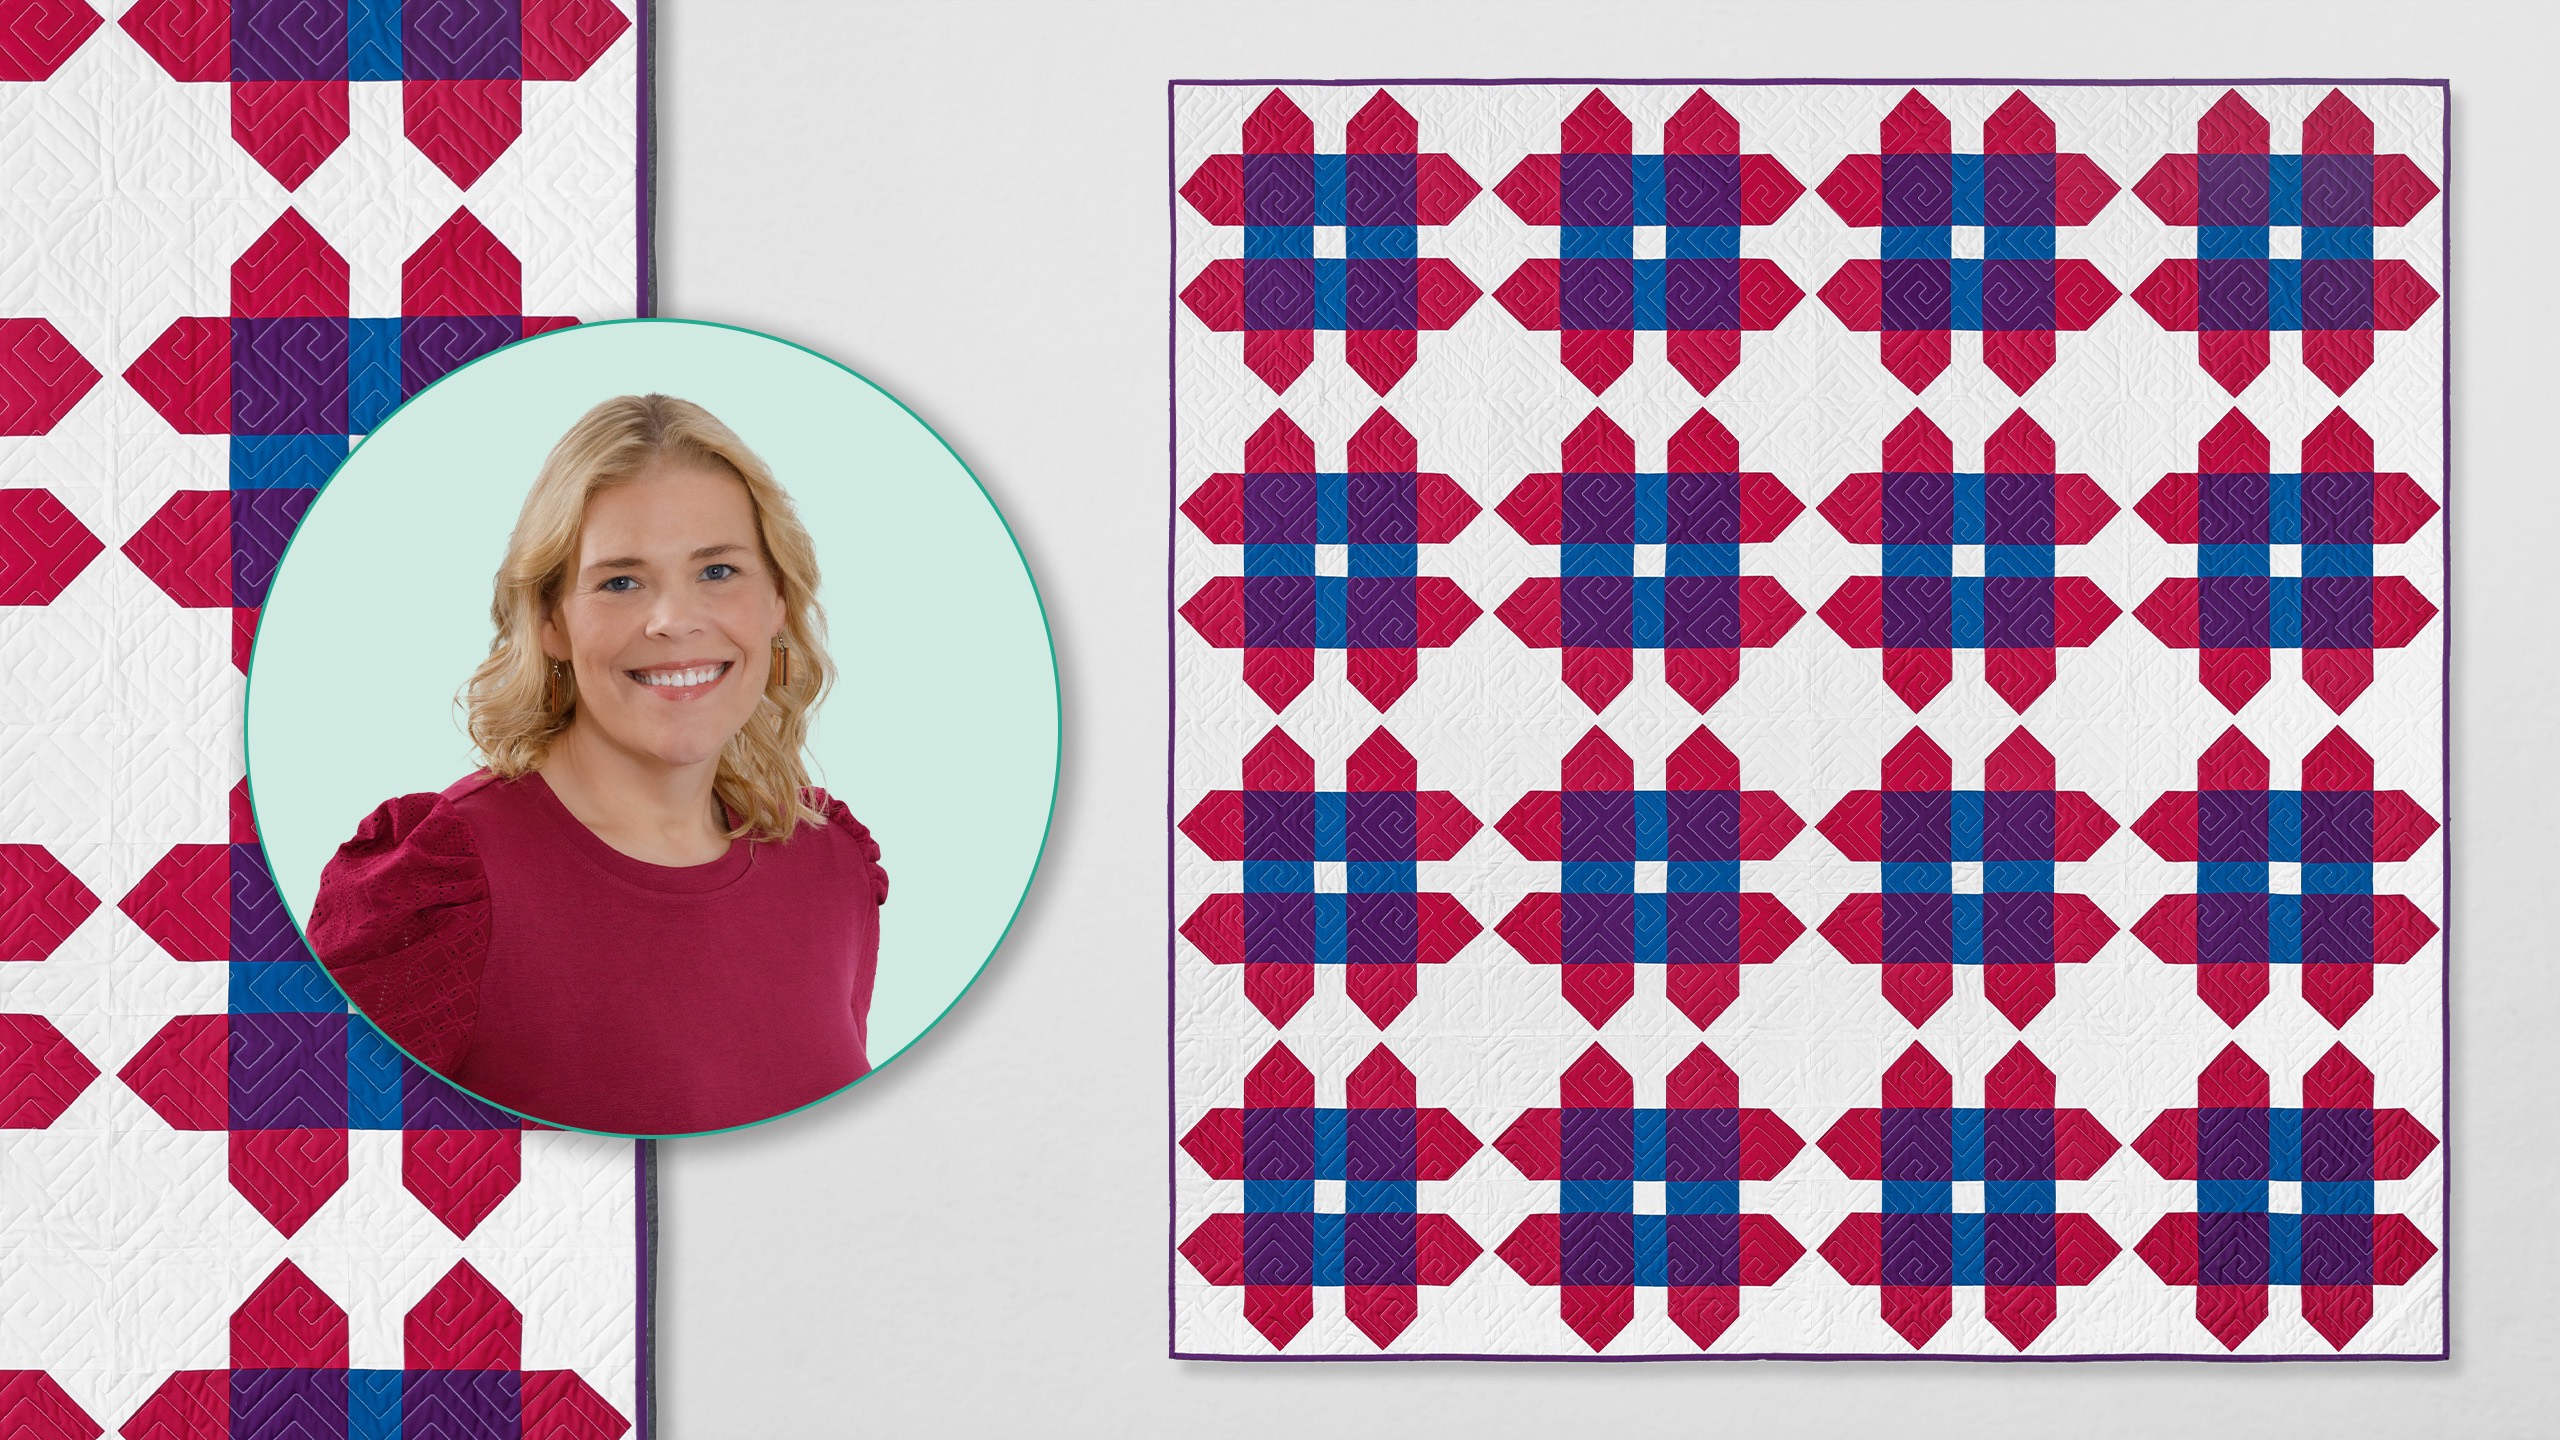
Nocturne—a “majestically celestial deep violet”—is Kona Cotton’s 2025 Color of the Year. And today, it’s the star of the show! Natalie’s Moonlight Cafe quilt imitates the color play of glass: Pink and blue intersect in a brilliant show of Nocturne purple. These blocks are BIG and easy to make with precut layer cake squares.
(Remember, Nocturne will be retired at the end of the year, so get your purple fix now!)
Natalie is the host of Quilting 101, Embroidery 101 and the Creative Strategist and Editor of Block Magazine at Missouri Star Quilt Company. She was taught how to sew by her mom, of course, and began quilting when she grew up.
Nocturne—a “majestically celestial deep violet”—is Kona Cotton’s 2025 Color of the Year. And today, it’s the star of the show! Natalie’s Moonlight Cafe quilt imitates the color play of glass: Pink and blue intersect in a brilliant show of Nocturne purple. These blocks are BIG...
How long is the tutorial video?
The tutorial video is 00:21:31.
Are supplies listed for this tutorial?
Yes. The tutorial page includes the supplies and materials connected to this project.
Video Transcript
Hi everybody. I'm Natalie with Missouri Star Quilt Company and I have a great quilt for you today. I'm calling it Moonlight Cafe and it just reminded me of like like the little placemat you'd see at a cafe. It kind of has that little gingham effect, but I love the way that the colors come together. And you're combining this pink and blue to make this really beautiful purple. It's Nocturn, the color of the year. And I think you're going to love it. The blocks are enormous. So, this quilt goes together really fast. So, let's get started. [Music] Okay. So, to make this quilt, you'll need one package of 10in squares. And I've used the Kona color of the year, nocturn. You'll need some pink. I used um Valentine. It's also a Kona cotton. You'll need 2 and 1/2 yards, 3/4 of a yards of blue, and that one is called Mediterranean. The background fabric, you'll need 3 and 5/8 yards. And then your backing, I went ahead and backed it with the Nocturn. And you'll need five yards of a regular 45 inch wide. Um, but if you wanted to use a 108, you'd need two and a half yards. And that's it. Let's get started. All right. So, let's get started. So, first thing I'm going to do is grab my 10in squares of the nocturn. And you can stack up several, but we're going to cut these into 5 in squares. I typically don't stack up more than four, but if you've got a good 60 mil, you could probably do six at a time and get away with it. No worries. So, I like to get this stuff kind of cut ahead of time because these blocks go together so quick that if you just have all your little stacks of your colors, you can really sit at the machine and um chain piece a lot, make quick progress. So, most everything is going to be 5 in. So, I'm going to cut um I've already cut five inch strip off of my pink. I'll do two five inch strips off of the blue. And then um from my white I'm going to cut another 5- in strip and then a 3 in and a 2 and 1/2. And you'll see why in just a minute. So this one we're going to subcut into 5 in squares. Cutting off my salvage there. And then I'm just going to stack these up. And then I'm going to need a 3-in strip. And that is going to be the um these are going to be the pieces that we're going to snowball our blocks with. So that's going to be make life pretty easy. Just cut the whole strip as you go. And um I found often that this was either exactly 3 in or just needed a little trimming. And then if it wasn't quite 3 in, I could cut it two and a half and just put that in my scraps. So either way, I like to use that little fabric that's left at the fold. Okay. And then I need one 2 and 1/2 in strip. All right. So I'm going to cut this 2 and 1/2 in strip down into 2 and 1/2 in squares. Keeping that nice and straight. Sometimes this fabric likes to slide around, but we'll all be okay. All right, so we're going to set those aside. Oh, and I need one more 5 inch strip of white. Almost forgot. Let me get that. We're going to leave this one whole. And then what we're going to do is we are going to stitch a blue strip to a white background strip. Now, this is going to make up um a bunch of little sashing segments. So, we'll we'll stitch this down one side and then we'll do some subcuts. All right. So, sometimes your fabrics are a little bit different length, and that's okay. We're just going to go ahead and press this back. Press the whole long strip. I love these types of little hacks where you can end up doing one long seam instead of a whole bunch of little short seams. It saves so much time and I think in some ways can make it a little bit more accurate. Although to be fair, if you wanted to do this um a way that was a little bit longer, you could cut a whole bunch of little 2 and 1 half x 5 in segments and sew them together. But I think this is going to this will save you some time. It gets a lot of work done in a very very short time. So, what we're going to do is we're going to first trim off this little salvage. And this is one of those times where I do like to line up. I like to use my mat and my ruler to make sure that everything is going to stay straight. Um, you don't want your seam in the middle to get a little crooked because then it just makes things kind of wonky. So, uh, I'm going to trim my salvage first. and try and keep this lined up. And that way I can look at the lines on the mat and the ruler and it just gives me an an extra measure of protection. All right. So, we're cutting these into 2 and 1/2 in segments. And I always check to make sure that this seam line stays straight as well as um as well as the lines top to bottom with with the strip set. So, we'll just cut a bunch of these. You'll need four for each block. I'll cut a couple more because it's out and this will save me a little time in the future. You should just need one strip and then a bit of the of the next strip set. So, you'll have a little bit of fabric left over, but that's all right. Okay. So, the next thing we're going to do is we are going to take our pink fabric where we've got our little 5 in squares here and we're going to pair those up with our 3in squares. And these ones, we'll go ahead and um draw a line from corner to corner. We're going to snowball the corners to create that peak on the pink fabric. Now, if you've got diagonal seam tape or a laser or some other way that you want to eyeball it from corner to corner, that is totally fine. We'll do one side and then we'll do the other. It's a stitch and flip and then press. press that back because we want our we want them to cross over. And I used three not only because then they would cross over. Um, and I wanted them to give me a kind of a deep point. I didn't want it to be just at a quarter of an inch. I wanted it to be kind of set into the block so that we kept it no matter what. That was just a little design decision of mine. Also, it made the math really easy, which you know, sometimes that's what we need is just a little bit of simplicity. All right, there we go. Trim that off and press it back. And I think we have all of the components we need to make this block. So I've made a few more of these. Um, so now we've got to go ahead and lay it out. Let me move that. What we have is a background in the corner and then our strip set [Music] here. One more of these. These are nice big blocks. So, you're going to get a big quilt really fast. All right. So, now we've got our pink one. And then our color of the year here is going to make up this inside. What I was trying to achieve was um I thought that it would look really cool if I could make it look like the if the pink and blue were transparent pieces of glass or acrylic and you put them on top of each other then we would make this really beautiful shade of purple. So that was what I was going for and hopefully it hopefully it worked out. I think it looks pretty good. All right, we've got blue and then one of our little 2 and 1/2 inch squares goes right here in the middle. Another blue strip set. You can see how how very very big it is. Purples nocturn. Can't just call it purple. It's a special purple. All right. Pink here and here. And white in the corners. There we go. Oh, I need to make one more of these. I'll put this one in just so that you know we're almost there and we have one piece left. Hold, please. So, there we have it. Now, I'm going to go ahead and stitch this together row by row and uh I'll probably chain piece this side and then this side. We'll Yeah, we'll just chain piece the whole thing. So, it's going to take just a little bit. I'm going to just get started. It's going to be great. Goes together. Five inch squares. I mean, doesn't get much easier. [Music] [Music] All right. So, I've got a bunch of little segments put together. I'm going to go ahead and put them back out on the in the layout so we can see what we've got. So, we have this one here and that one and this one. helps me keep it together. And then we can join it to the pre-made um little sashing strip sets. So, next I'm going to do these two. [Music] [Music] All right. So, I've got these little corner segments. They kind of look like little hearts. That's cute. We're going to go ahead and stitch this here. And we'll add this one. And we'll do these just like that in that order. Okay. So, these are going to stay connected now. Oops. There we go. You can lay it back out and take a look if you need to. Um, and then we're going to add this one here. This one. Oops. To this piece. And then this piece is going to join this section. just like so. So, I'm going to leave these here and just take my first first set and then I'll grab those as I go along. So, we're chain piecing this block together. And I'm going to make sure my seams nest everything looks good there. Now I'm at the next one here. So I'm going to add my um sashing strip so that that little cornerstone stays right in the middle. And we've got our blues to the center. And I'm at the next set. I'm going to add this last corner and keep these guys all lined up. I find that it helps my accuracy a bit when I do this, which I always appreciate because I can get kind of messy sometimes, especially when I'm trying to hurry. Okay, so let me show you how this looks now. We've got this top and now we're just adding this middle sashing. So, I'm going to flip this down and stitch that two more seams and then we get to press it. You want to make sure and keep that other piece of fabric well out of the way so you don't accidentally stitch it into your seam. We've got nice of nice um good little points for nesting so that everything stays really square. All righty. Flip this over and do our last seam. There we go. It's going to go together really well. All right, moment of truth. Take it over and press it. Now, I do like to um I do like to press the this top part while it's down just to kind of tell these seams where to go. We want you to face in. It's kind of like setting the seam, but um not exactly. It It works. It makes my my seams lay a lot flatter when I do that first. It's like a little pre pre-press. And I just love how this block turned out. I think it would be really fun in lots of different colors. This is sort of a red and red and yellow makes orange and blue and yellow makes green. You know, you could kind of do lots of different combinations of color and it would be just so they're so stunning. Flip this back and try to tell these guys where to go to. Oh, this one got a little twist in it. That's okay. One out of however many seams that was is not bad. I'll take it. Because really, like Bomb says, we're just looking for a flat block. And there aren't um this one isn't one of those like a pin wheel where you have a whole bunch of points coming together. So, these should press out nice and flat. And because everything is 5 in, it makes a great big block. This would be a fun one to um to just make a wall hanging and put it up in your sewing room. I just think it's so fun, especially if you love color play. So, that's it. So, these end up being 20 and 1/2 in. And that's your final block right there. I put them together with no sashings. And um and yeah, there's four by four. So, a total of 16 blocks. Looks really great. You can see how how they go together. They're all the same. Just like that. It's quilted in one of our brand new designs called Athena. And I love it. It's very graphic and cool, a little bit geometric. Um, I went ahead and backed it with the Kona color of the year, Nocturn, and I think it looks so cool. Don't you love how the machine quilting looks on that? So, it ends up being 80 by 80. And I just think it turned out great. It's super simple and fun. I called it Midnight Cafe because it to me it kind of made like almost a gingham look and so it reminded me of little cafes maybe just you know table mats or something like that. I thought it was really cool. So I hope you enjoyed this tutorial on Moonlight Cafe from the Missouri Star Quilt Company. Thank you so much for joining me for this video today. I hope that you enjoyed it and that it inspired your creativity. And guys, we're at almost a million quilters strong in our community. So, if you know of anybody that you think might like to join us and learn quilting with us, bring them on in, put your arm around them, and tell them to subscribe to our channel so that we can all learn and and grow together. [Music]

 Natalie Doan
 Moonlight Cafe Quilt Pattern by Missouri Star$8.50Shop →
 Digital Download - Moonlight Cafe Quilt Pattern by Missouri Star$6.95Shop →
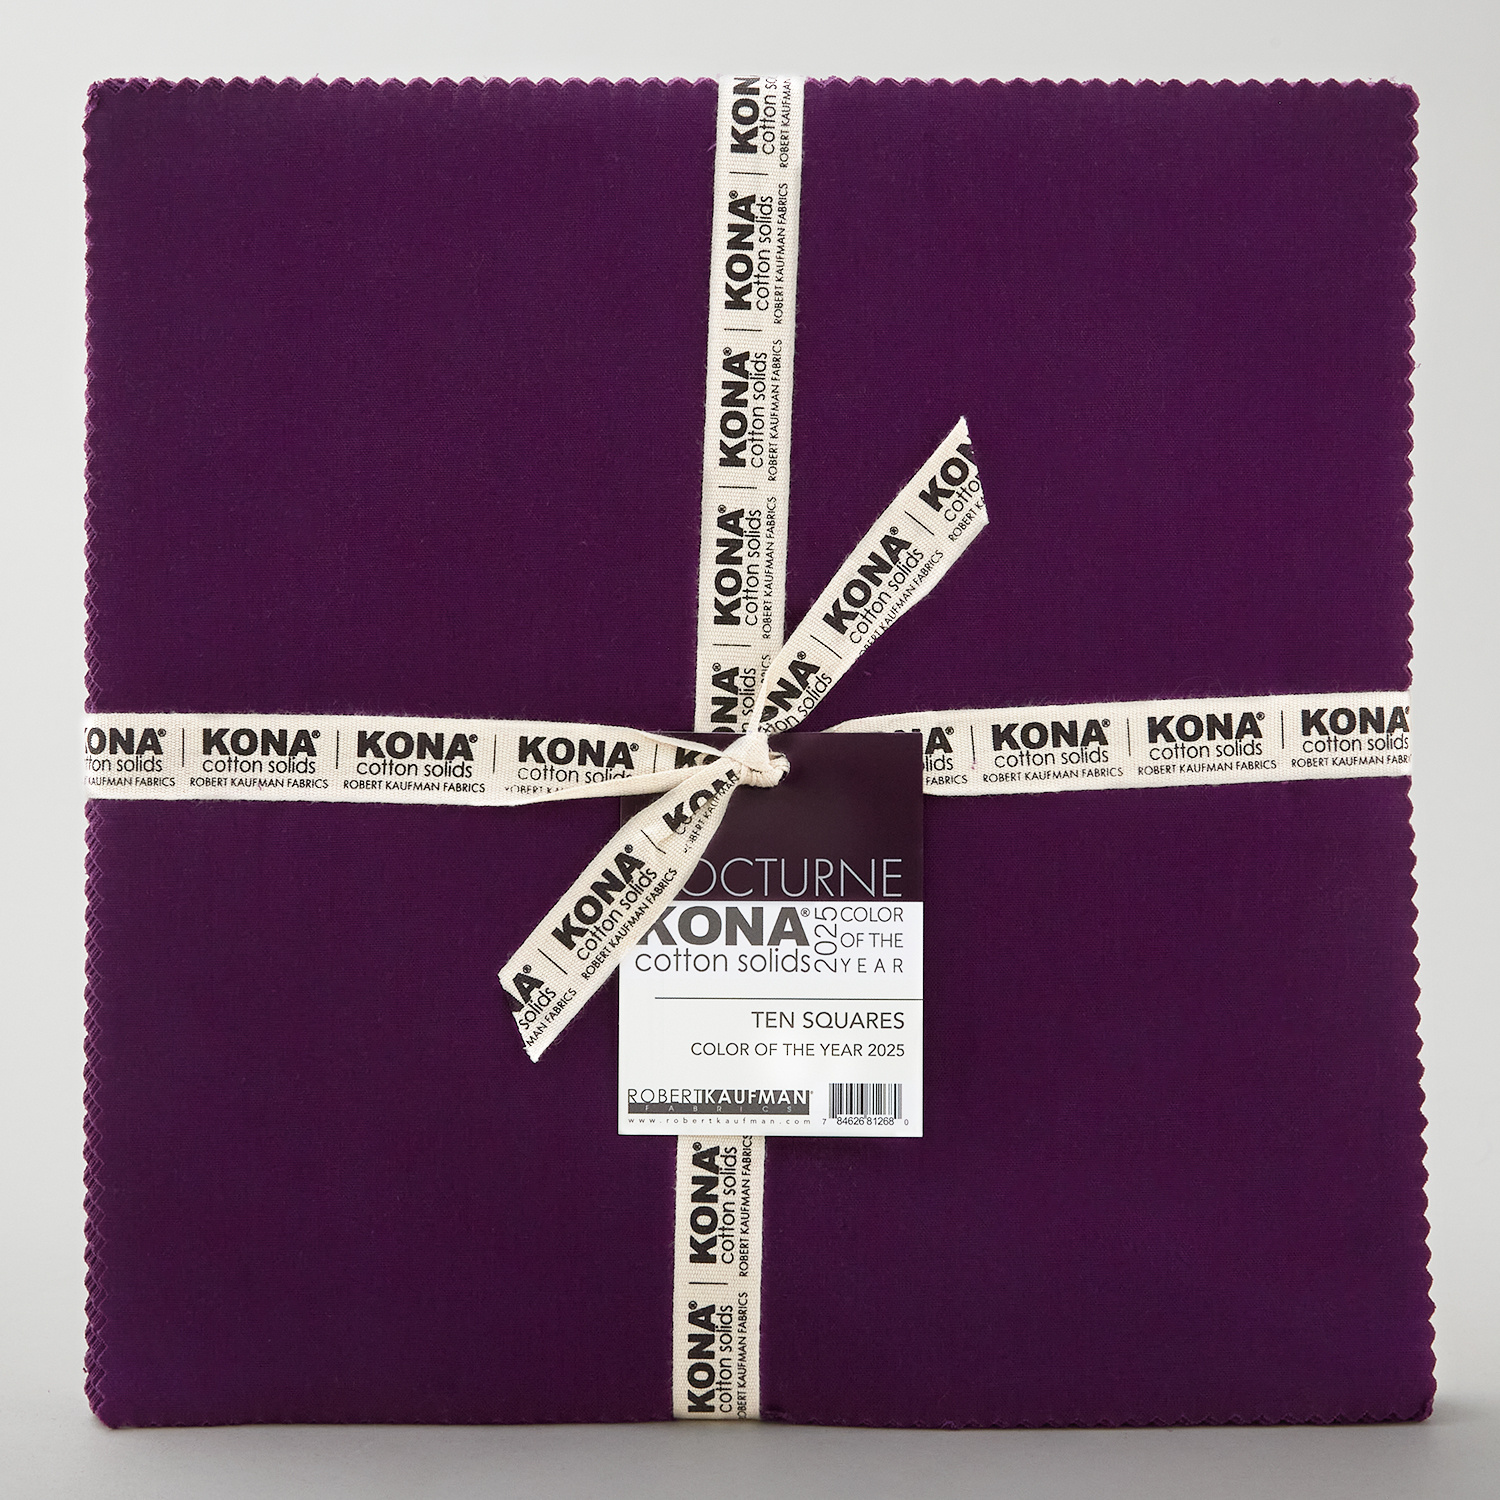 Kona Cotton Color of the Year 2025 Ten Squares$30.95Shop →
 Kona Cotton - White Yardage$7.48Shop →
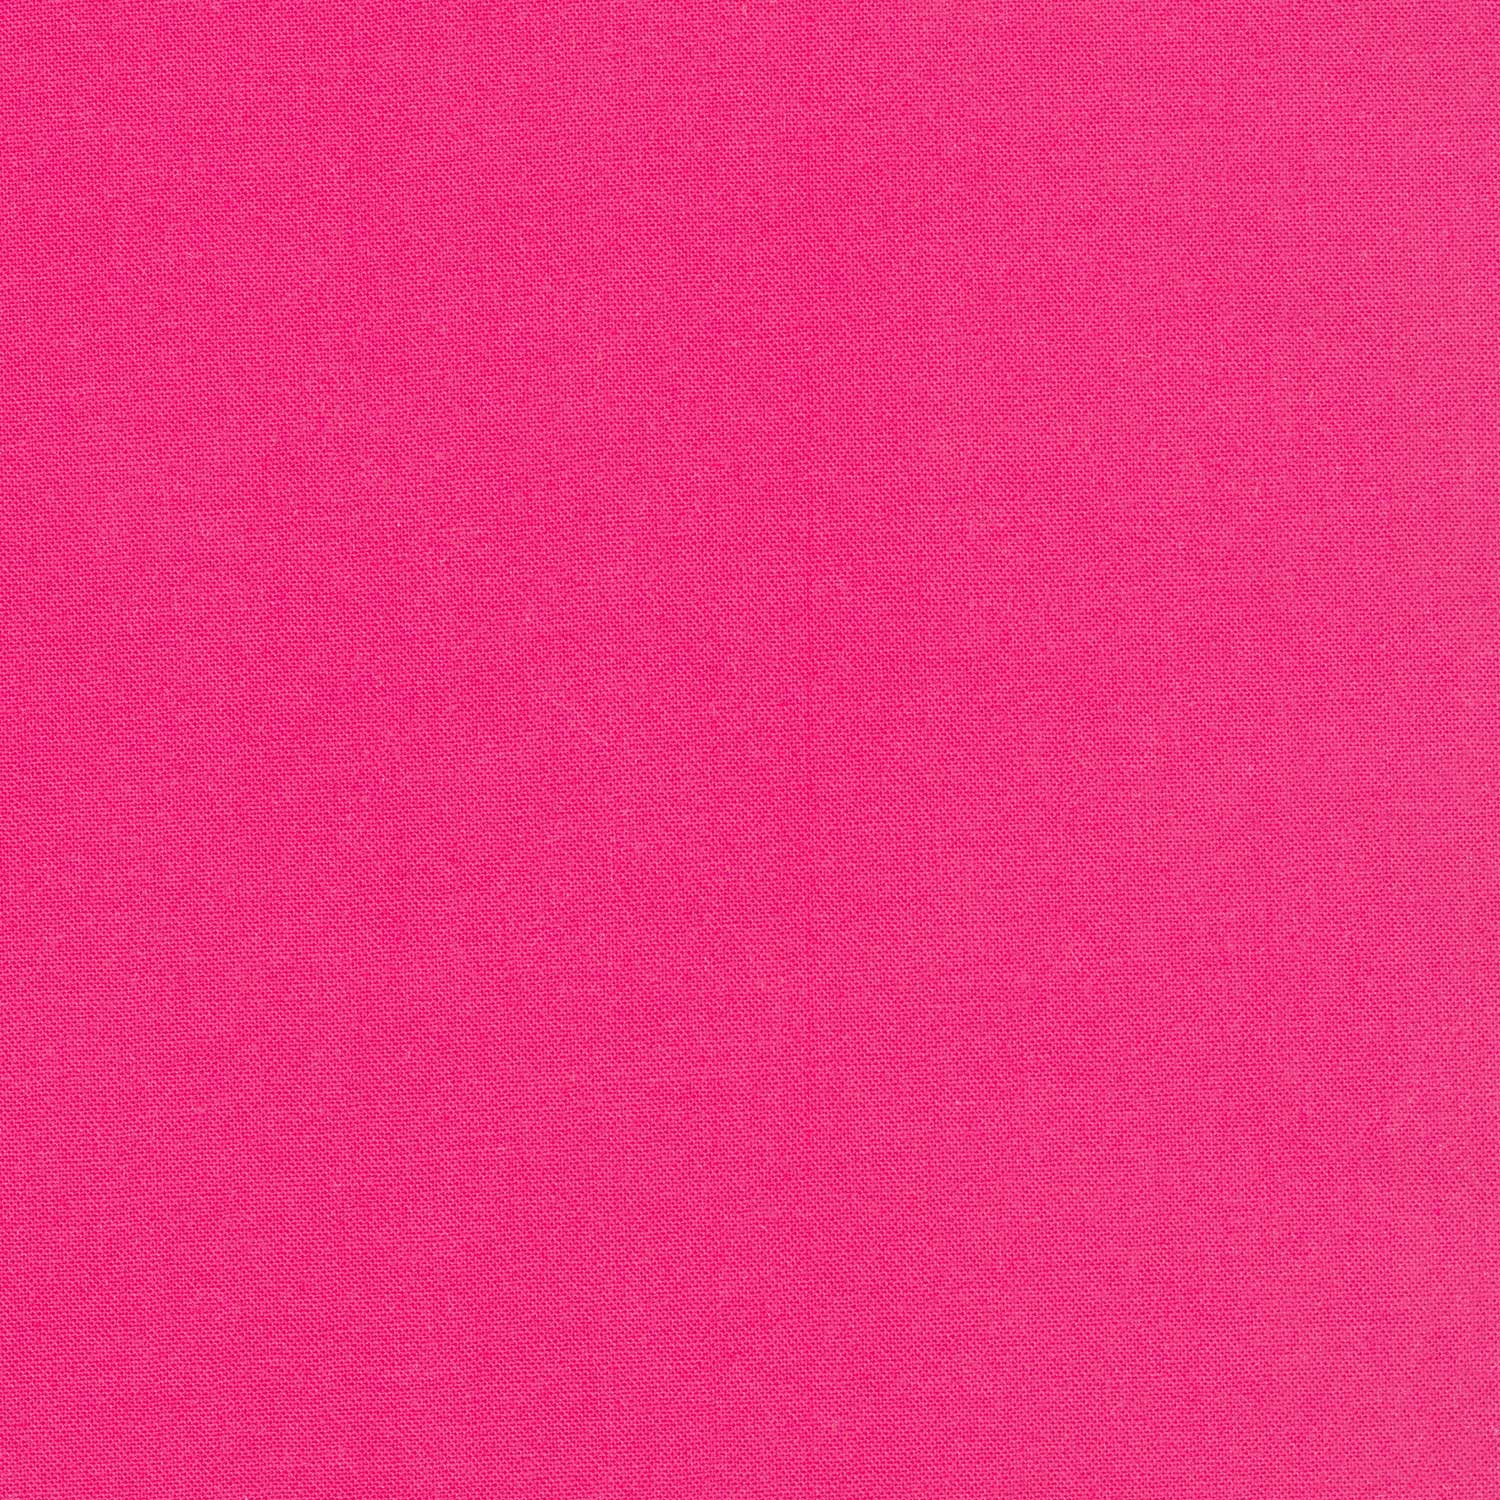 Kona Cotton - Valentine Yardage$7.48Shop →
 Kona Cotton - Mediterranean Yardage$7.48Shop →
 Kona Cotton - Color of the Year 2025 Yardage$7.48Shop →
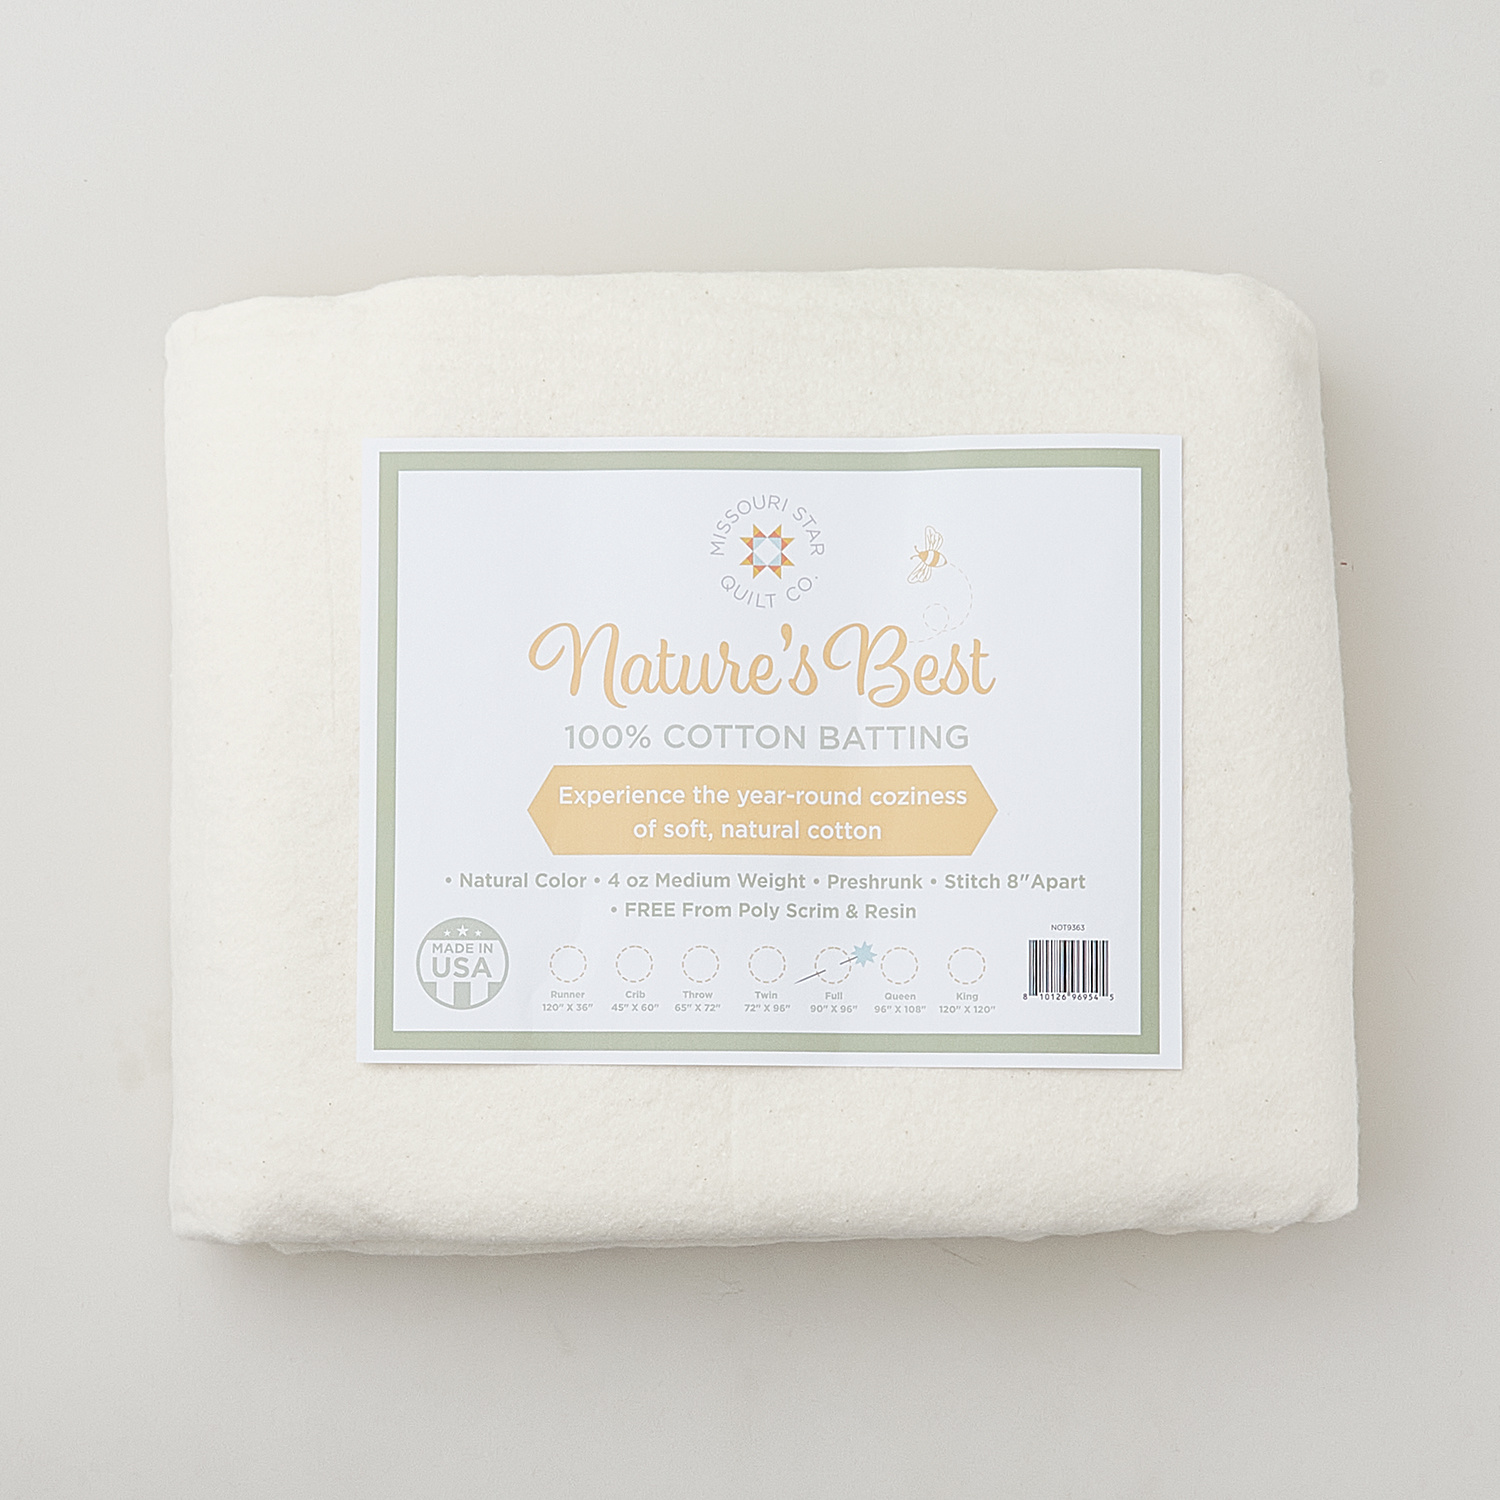 Missouri Star Nature's Best 100% Cotton Full Batting - Natural$37.95Shop →
 Missouri Star 5" x 15" Ruler$19.95Shop →
 Bernette 77 Sewing and Quilting Machine$1499.00Shop →
 Missouri Star 60mm Rotary Cutter - Greta$32.95Shop →
 Missouri Star + Oliso TG1600 ProPlus Iron$209.95Shop →



