
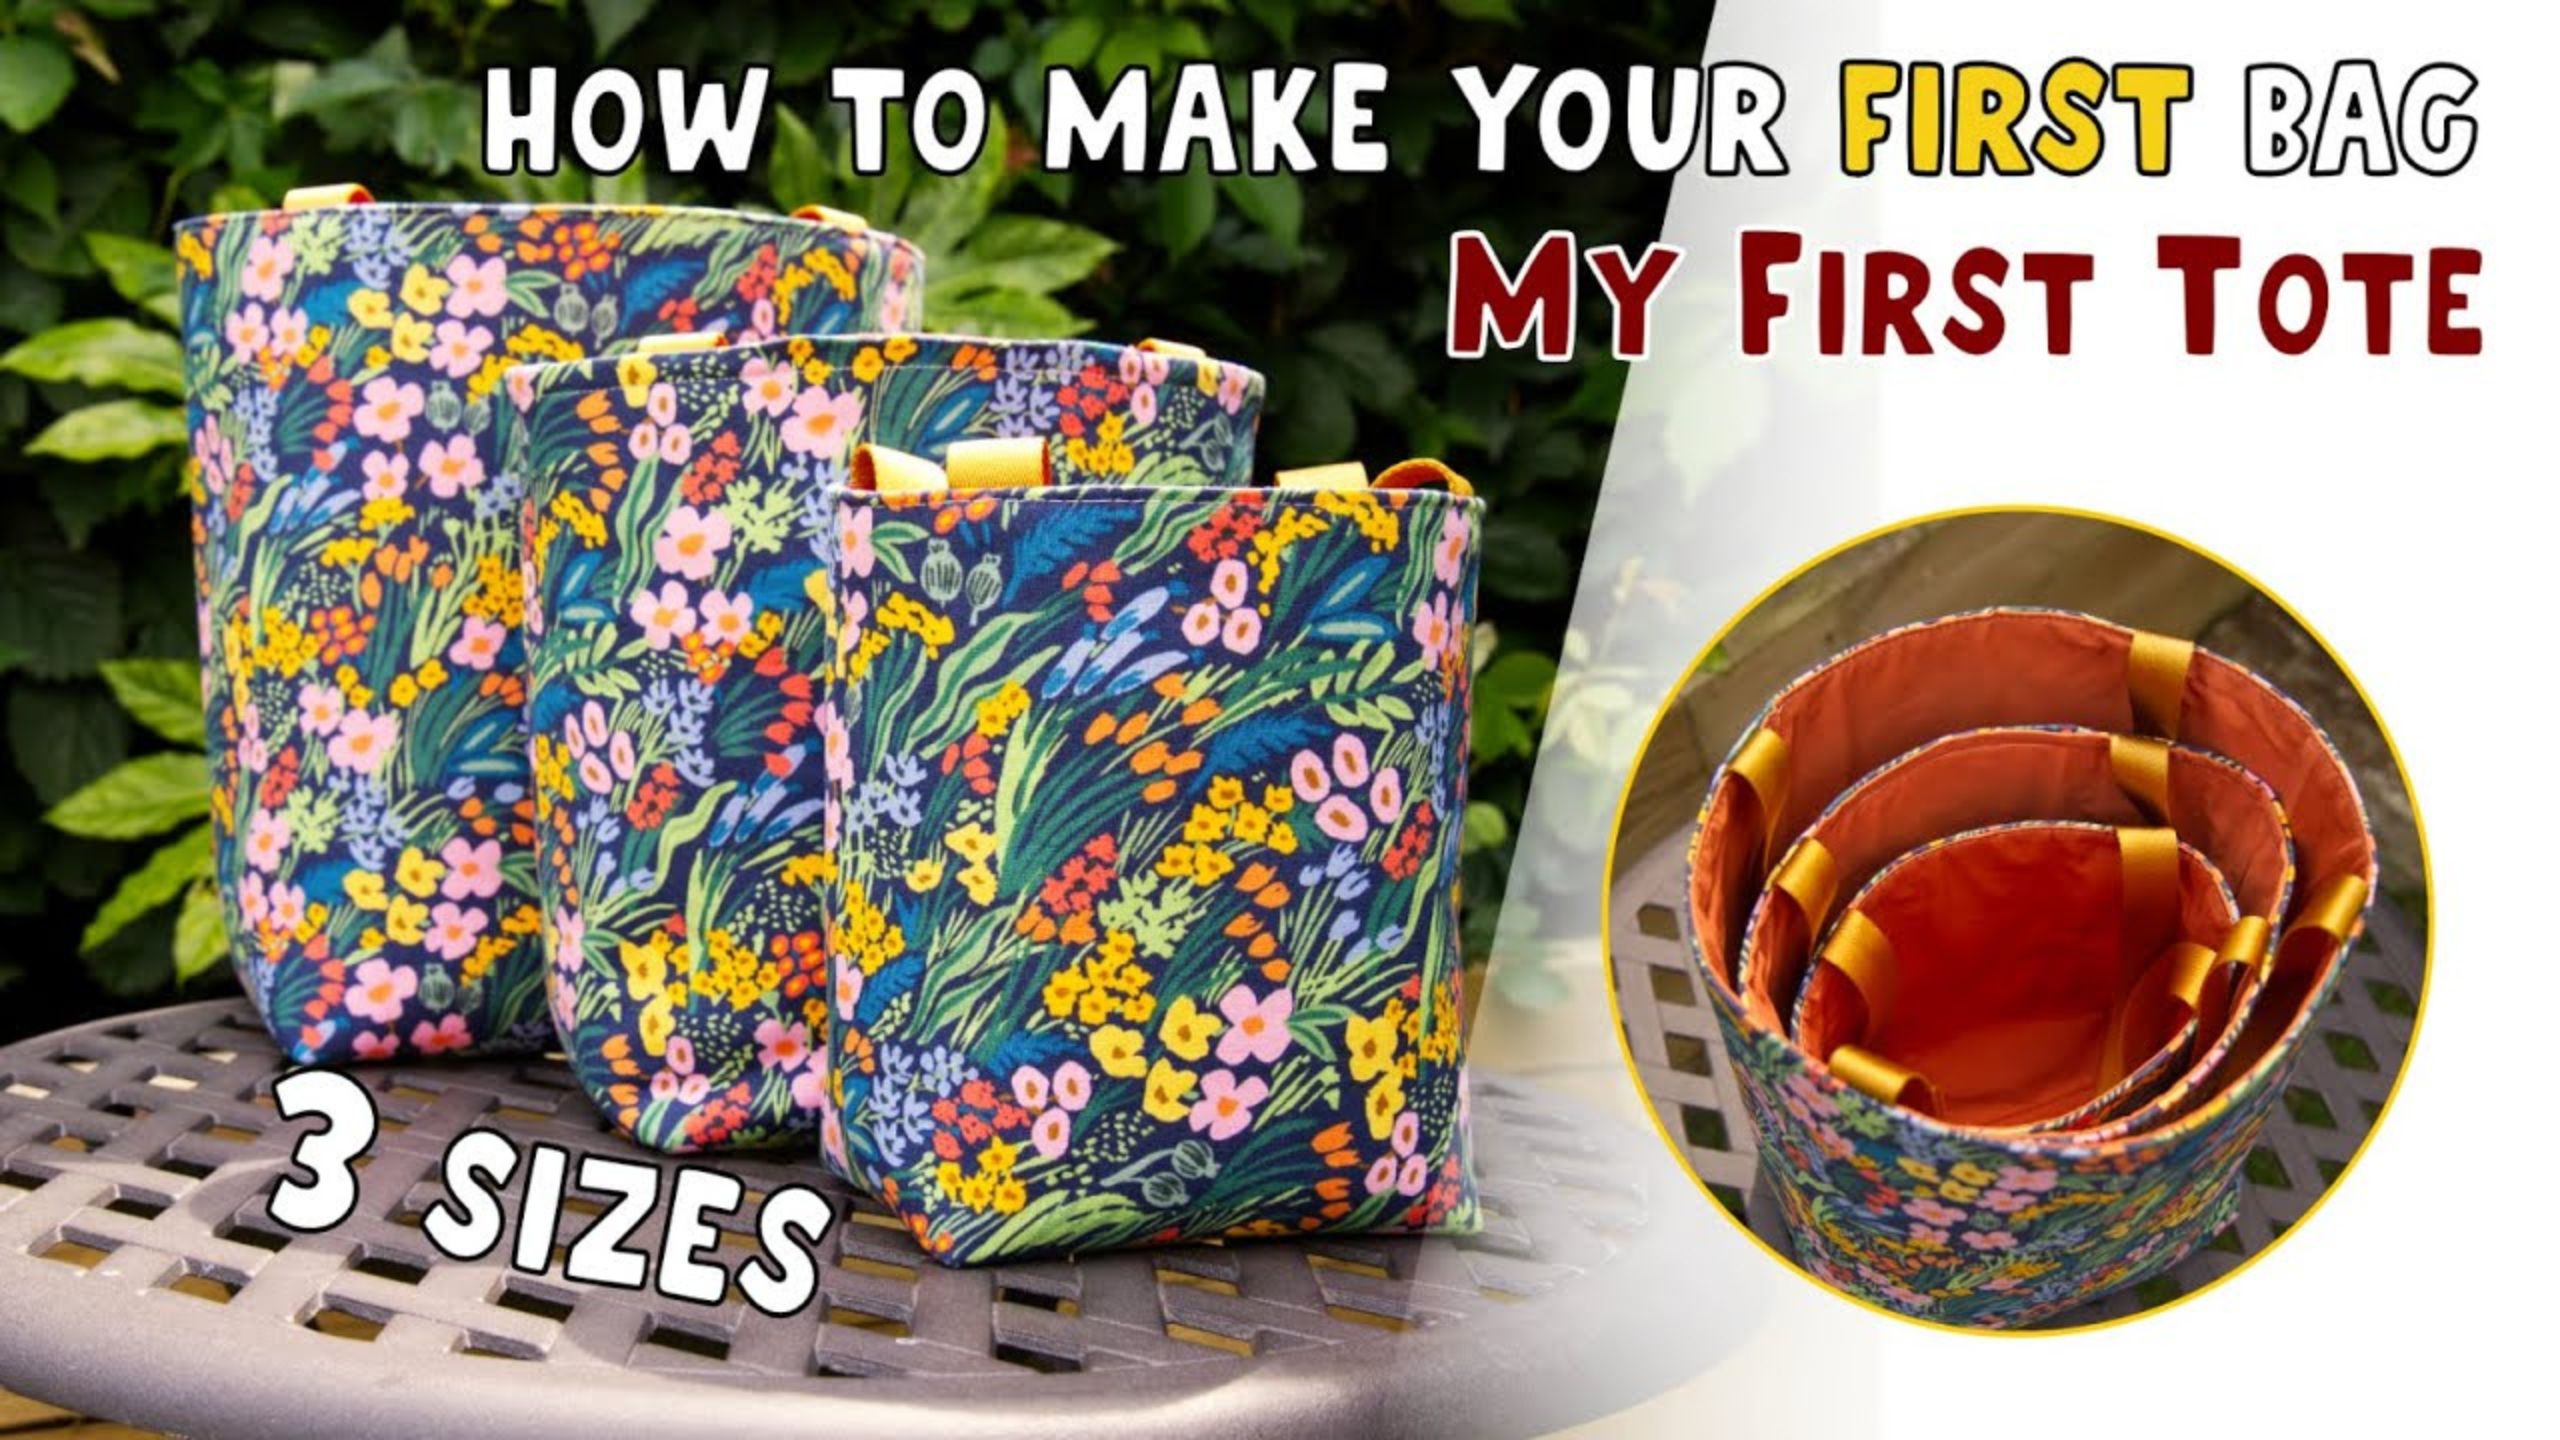
My First Tote with Country Cow Designs
 Country Cow Designs
- Fabric by Yard
- Totes, Bag, Purses
- Beginner
- Quilt size 8" × 12"
Are you looking for your FIRST EVER sewing project? Looking to inspire kids with a simple sewing project? This is the tutorial for you! Join Jo Kay of Country Cow Designs to make this beginner friendly tote pattern which comes in 3 sizes!
Instructor
Country Cow Designs
Jo and Adam Kay are a husband and wife sewing team and owners of Country Cow Designs. They create sewing patterns and video tutorials for bag makers across the globe, striving to incorporate new and innovative techniques in every pattern. They also stock beautiful bag making supplies.
Shop this tutorial


Common Questions
What is covered in My First Tote with Country Cow Designs?
Are you looking for your FIRST EVER sewing project? Looking to inspire kids with a simple sewing project? This is the tutorial for you! Join Jo Kay of Country Cow Designs to make this beginner friendly tote pattern which comes in 3 sizes!
How long is the tutorial video?
The tutorial video is 00:17:03.
Are supplies listed for this tutorial?
Yes. The tutorial page includes the supplies and materials connected to this project.
Is a transcript available?
Yes. A written transcript is available on the tutorial page.
Video Transcript
Step 2: Per the pattern, measure and cut the squares out for the boxed corners. You'll be cutting all the fabric pieces, as well as the stabilizer.
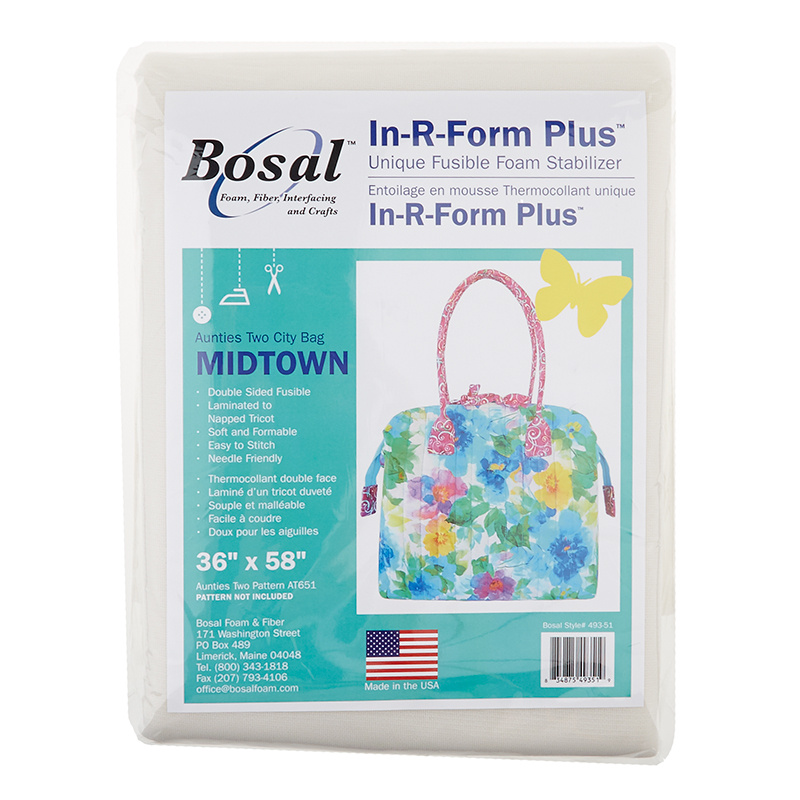
Step 3: Fuse the stabilizer to the exterior fabric.
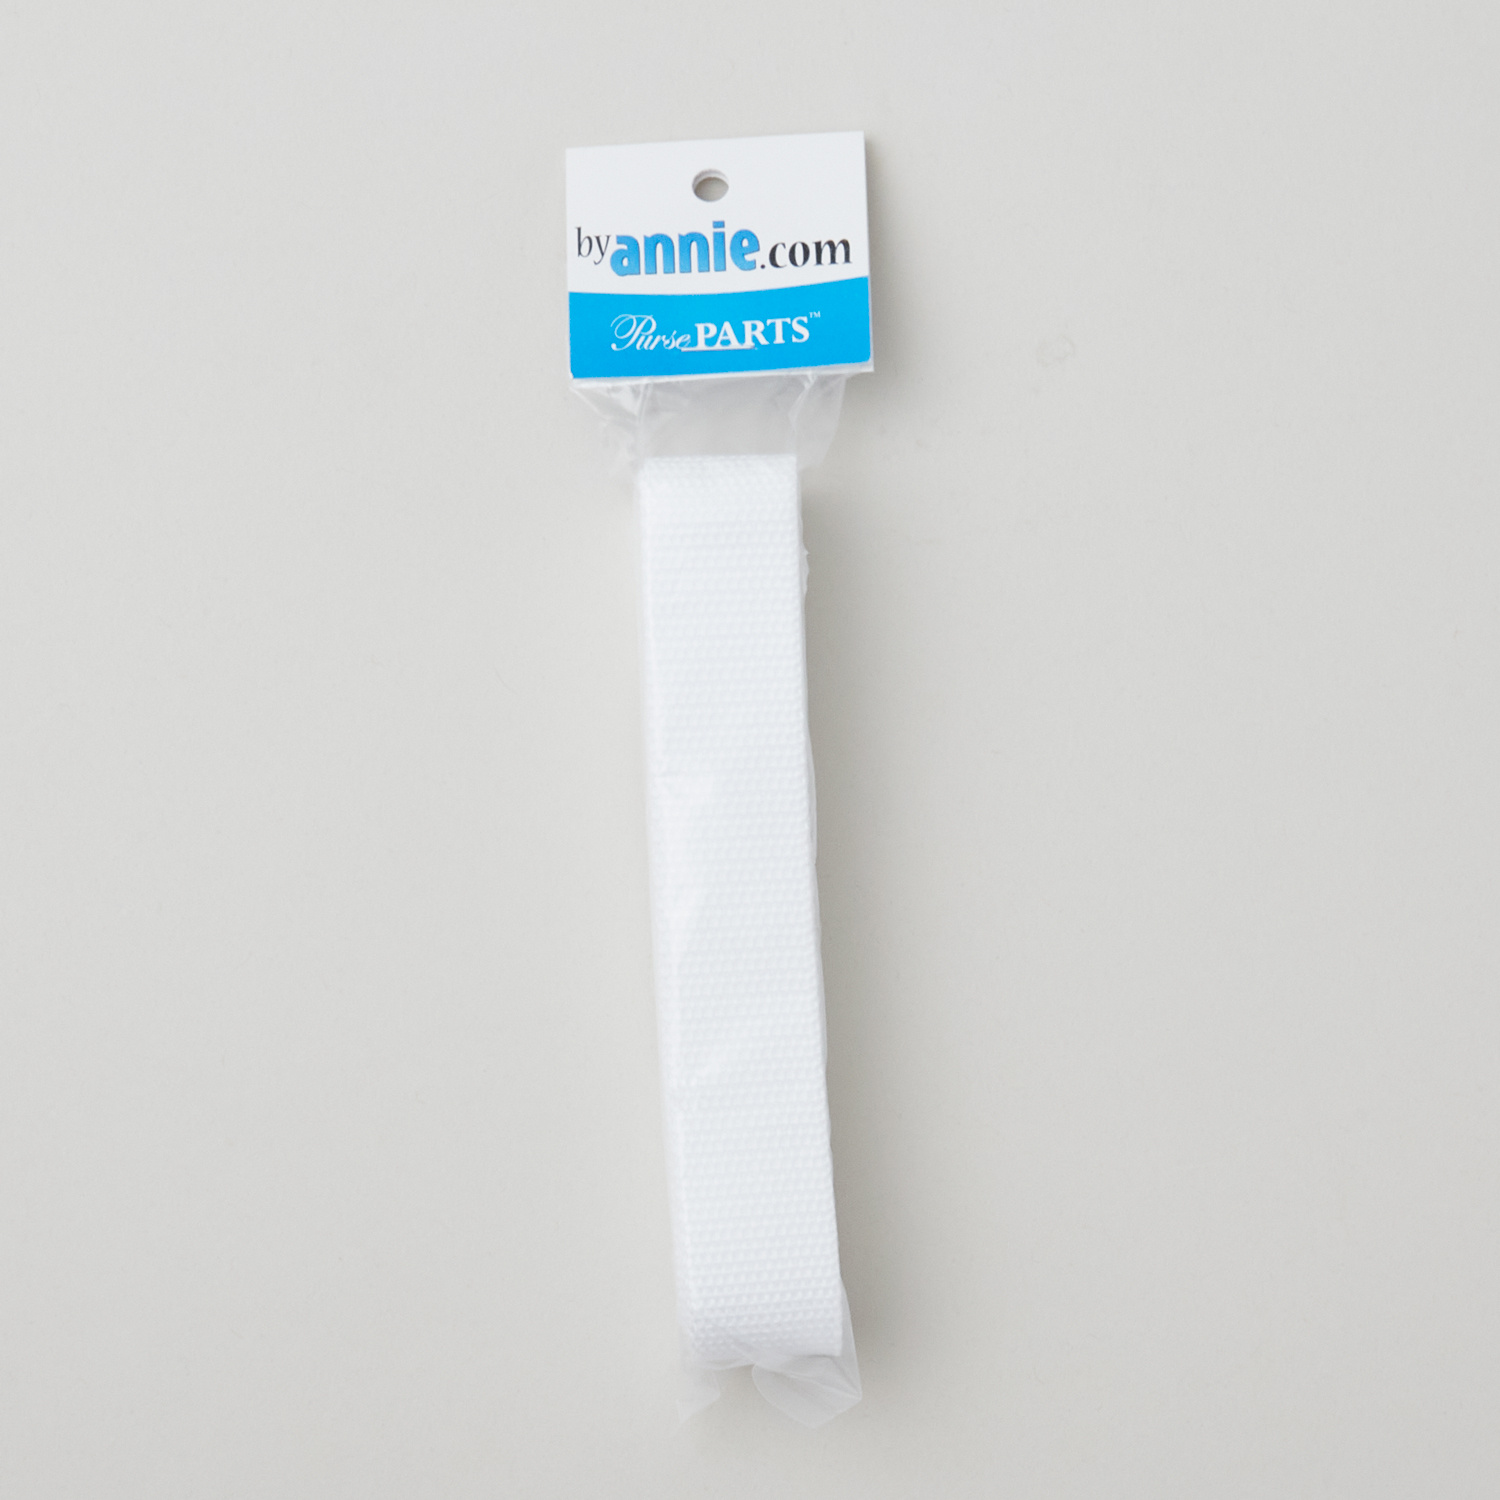
Step 4: Measure and place the straps. You may wish to use Wonder Clips rather than pins because of the thickness of the webbing. Baste the handles to the fabric.
Step 5: Place the exteriors right sides together, clip and sew. Unless otherwise specified Jo uses 3/8" seams, and 2.5 stitch length for all seams in the pattern.
Step 6: Press seams open.
Step 7: Match seams for boxed corners and sew.
Step 8: Set exterior piece aside and move to lining. Place right sides together and sew together. Following pattern measurements, start with a 3/8" seam allowance and increase to 1/2" to create a slightly smaller lining than exterior pouch.
Step 9: Press seams open and box corners as you did in Steps 6 & 7.
Step 10: Now you'll place the lining right sides out, inside the exterior piece (right sides in) so that your right sides are together. Match up the side seams first, and then clip the top edge. Remember you'll need to leave an opening to turn the bag right side out. Use a 1/2" seam allowance.
Step 11: Turn the bag right side out through the opening. Give it a good pressing and sew the opening closed, top stitching around the top edge.


