
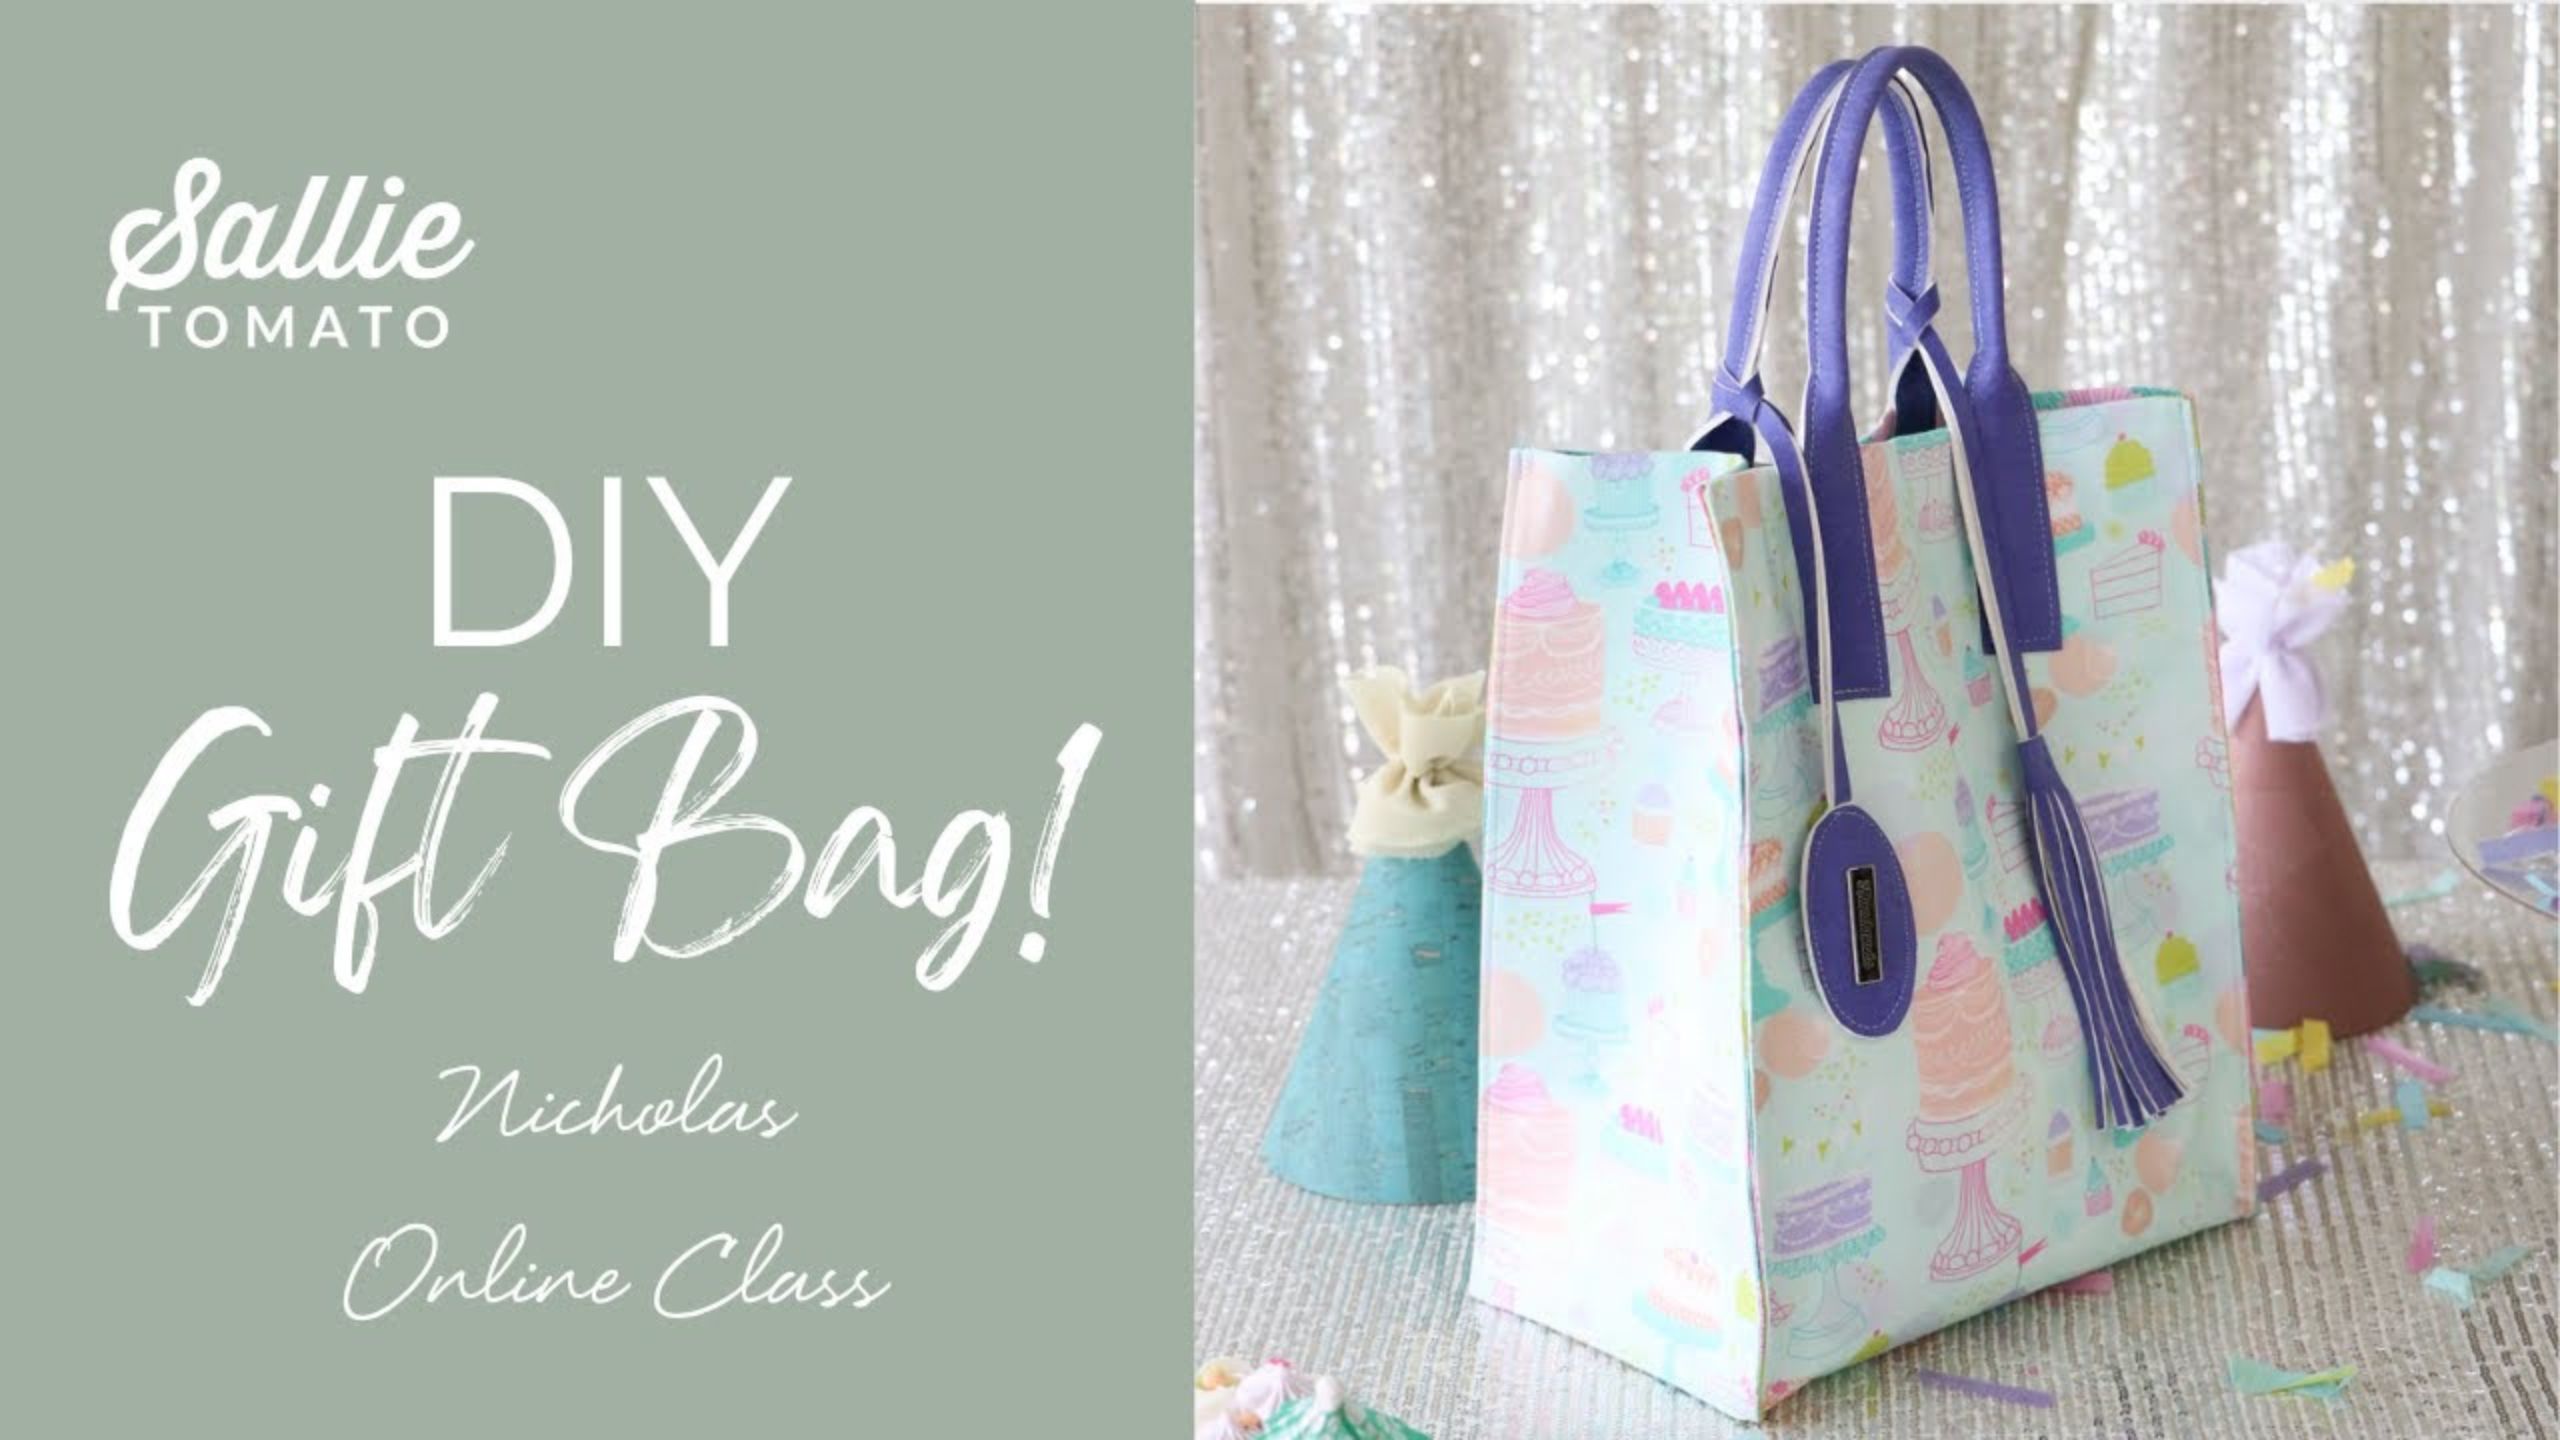
Nicholas Gift Bag - online class with Sallie Tomato
Join Kate in this video to make your Nicholas gift bag! Make your gift-giving special with hand-crafted, durable, and reusable bags using beautiful woven fabrics! The Nicholas gift bag is inspired by the centuries old legend of a medieval bishop known for his kindness and generosity throughout his lifetime. Easy to customize: choose from three sizes, add a single handle or a pair of handles, skip the handles and simply turn the top edge down for a cuff. And to top it off, this bag is reversible!

Instructor
Jessica Barrera
Jessica Barrera is the Founder and Owner of Sallie Tomato, a provider of original sewing patterns, as well as designer patterns from other companies, bag kits, purse hardware, nylon-coil handbag zippers, a wide variety of cotton, canvas, cork & faux leather fabrics - plus sewing machines, notions, interfacings & stabilizers, & more!
Shop this tutorial
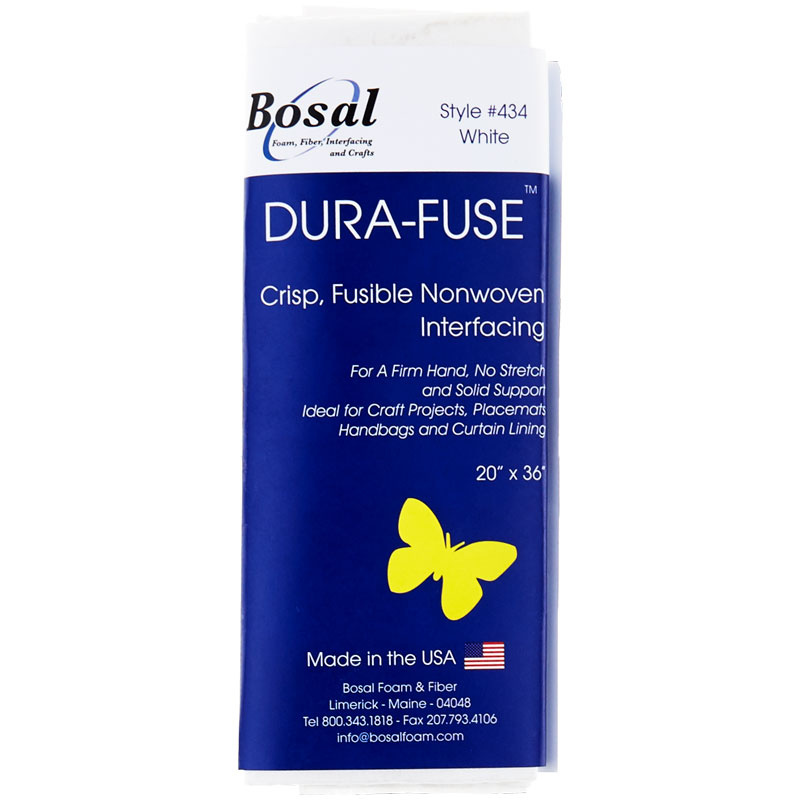 Bosal Dura-Fuse White$8.45Shop →
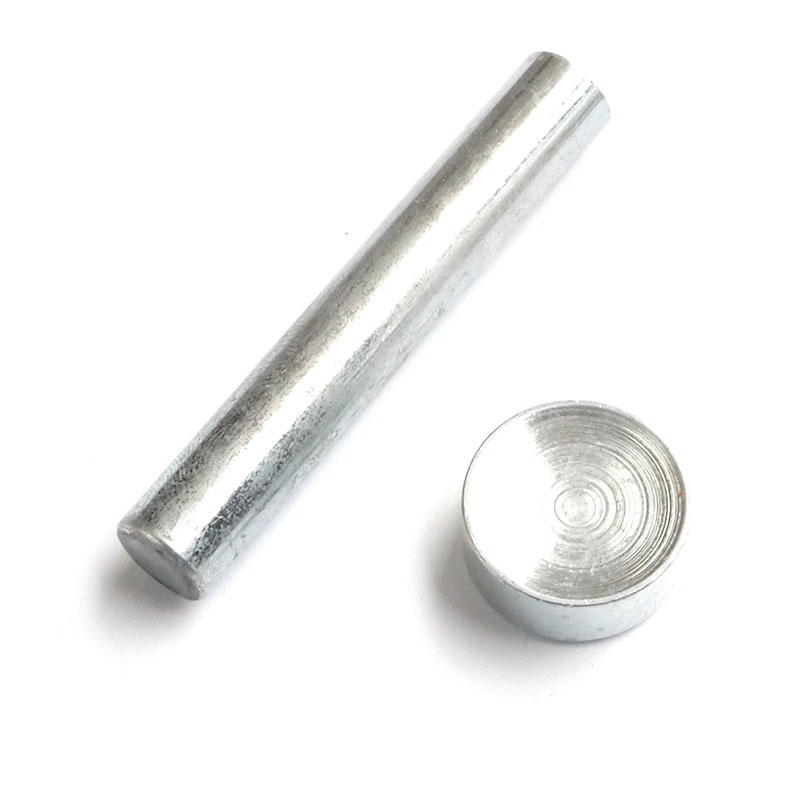 Easy To Do Rivet Tool Set$8.45Shop →
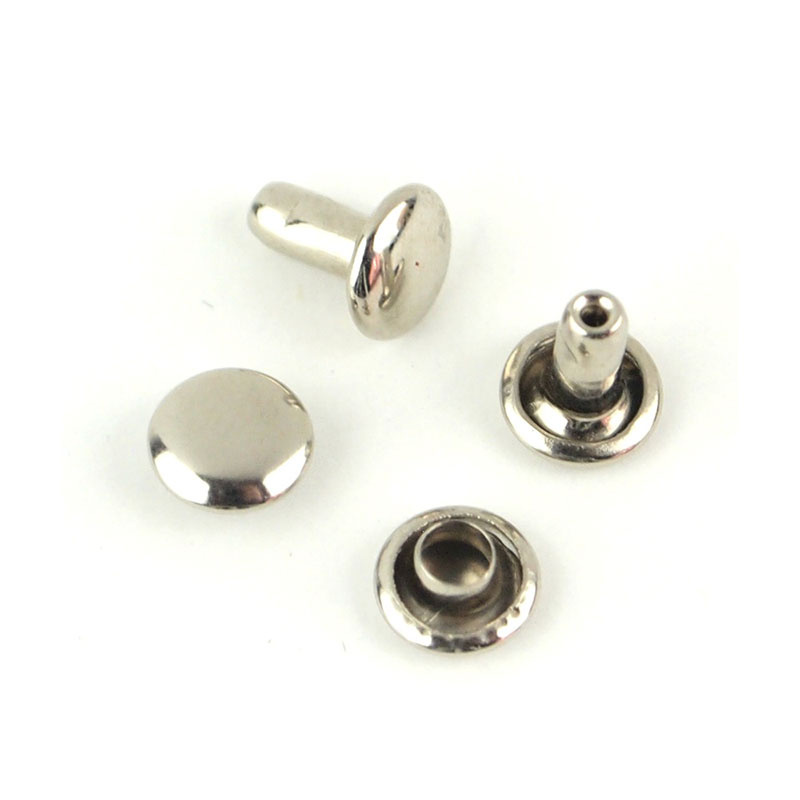 Sallie Tomato Small Rivets - Set of 24 6mm Nickel$3.85Shop →
 Sallie Tomato 45mm Rotary Cutter Combo$19.45Shop →
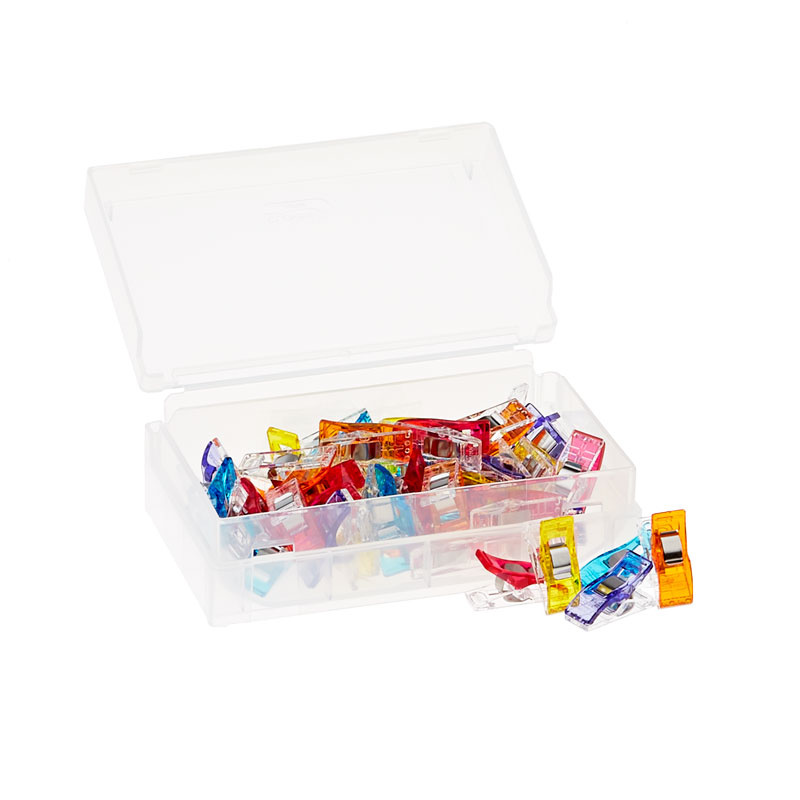 Wonder Clips - Assortment 50 Count$33.95Shop →
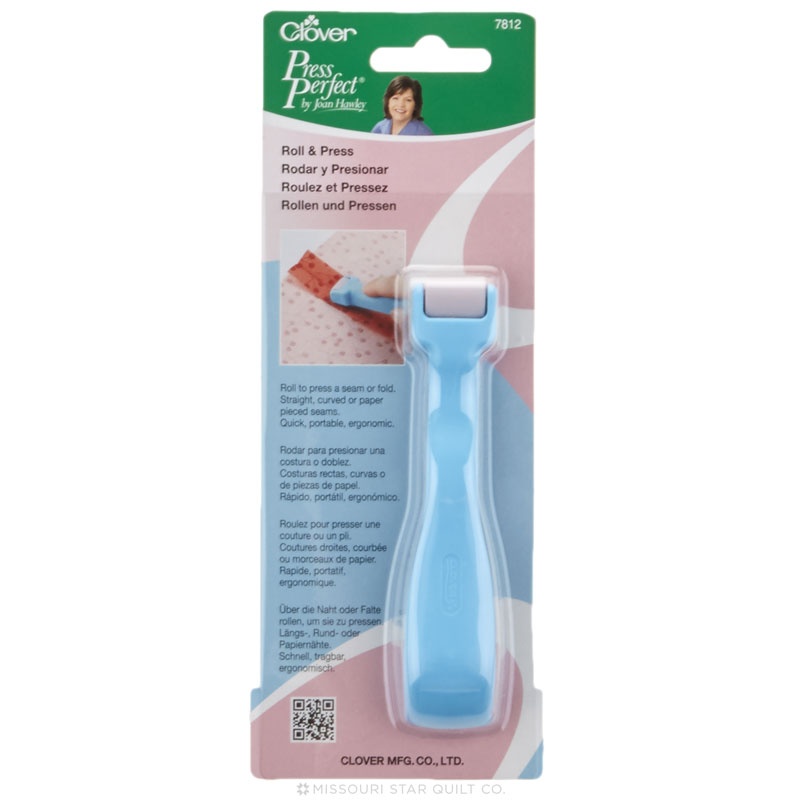 Clover Roll & Press$15.75Shop →
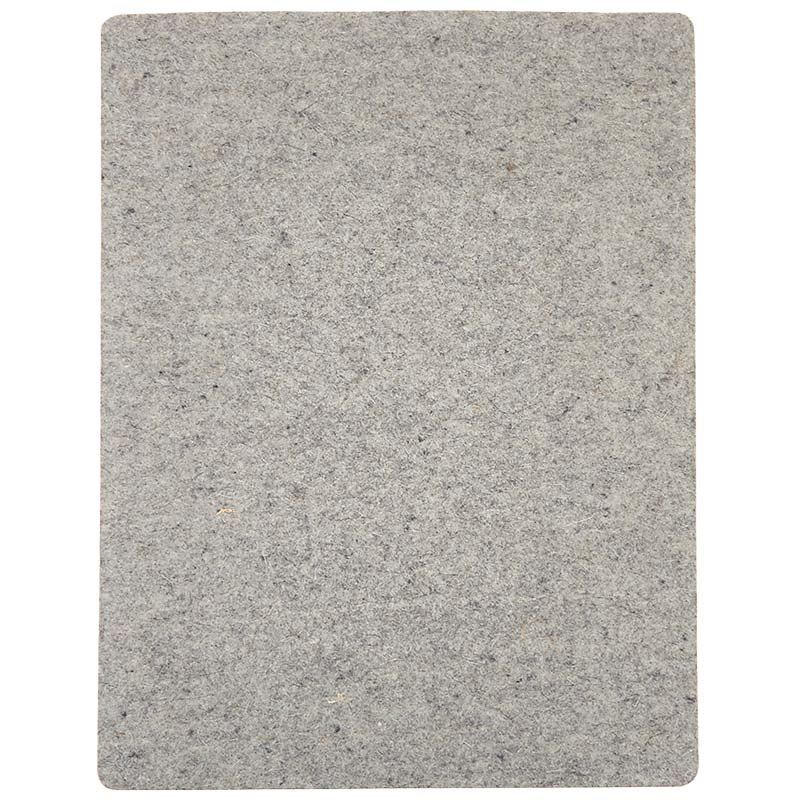 The Gypsy Quilter Felted Wool Pressing Mat - 14 1/3"x 18 7/8"$35.75Shop →
 Oliso Mini Project Iron™ with Solemate™ - Turquoise$59.99Shop →
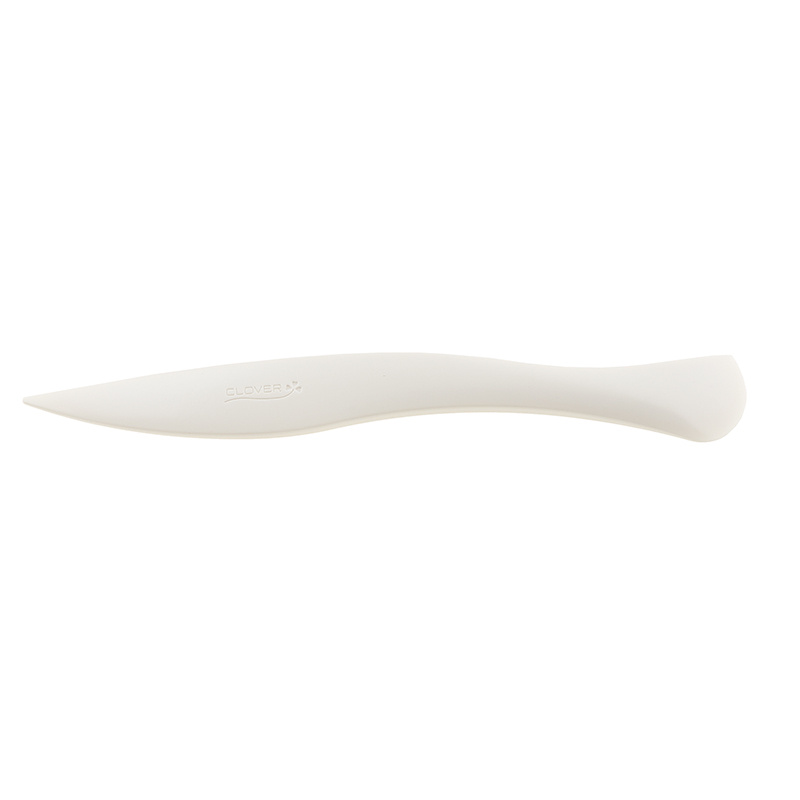 Point 2 Point Turner$8.95Shop →
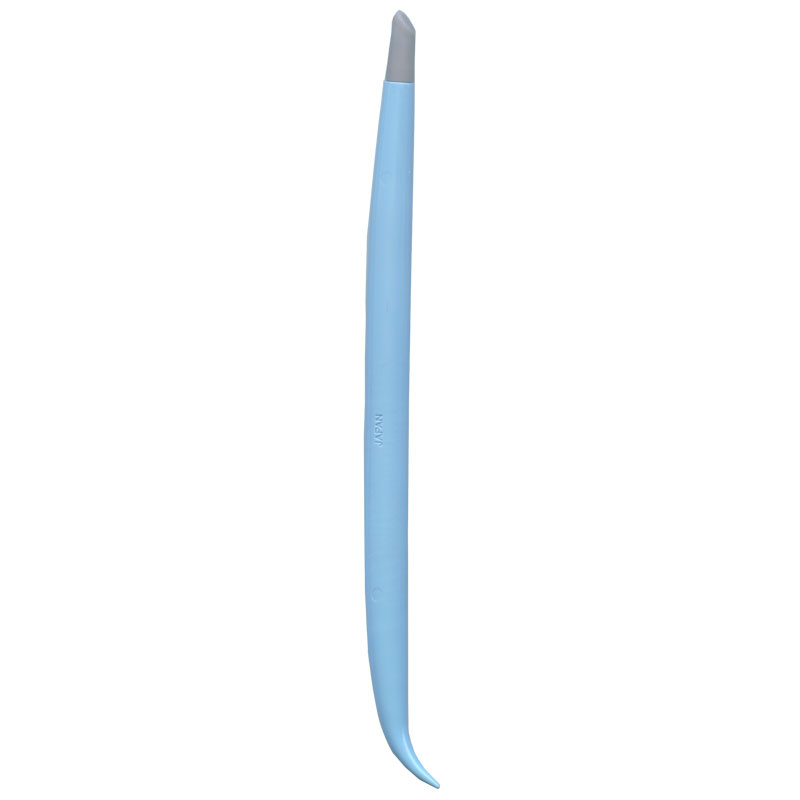 Hold It Precision Stiletto$15.75Shop →
Common Questions
What is covered in Nicholas Gift Bag - online class with Sallie Tomato?
Join Kate in this video to make your Nicholas gift bag! Make your gift-giving special with hand-crafted, durable, and reusable bags using beautiful woven fabrics! The Nicholas gift bag is inspired by the centuries old legend of a medieval bishop known for his kindness and gene...
How long is the tutorial video?
The tutorial video is 00:13:07.
Are supplies listed for this tutorial?
Yes. The tutorial page includes the supplies and materials connected to this project.
Is a transcript available?
Yes. A written transcript is available on the tutorial page.
Video Transcript
1. If you're using directional fabrics, work with two pieces! Cut your fabric into two vertical pieces and seam together at what will be the bottom of the bag.
2. Fuse interfacing to the coordinating pieces. Then you'll align your Main Piece and Contrast Piece. Back stitch at the beginning and end and don't forget to leave an opening for turning!
3. Before you turn, clip your excess corner fabric to make those points easier to turn. Turn and press.
4. Repeat for both side pieces of the bag.
5. Now it's time to add the handles. You can choose either one or two! Draw your placement on your bag, measuring with a ruler and using a fabric marker or chalk pencil that will disappear later.
6. When you are ready to attach the sides, line up each side piece with the center of the bottom seam. Start at that center point, and then work your way towards the top of the bag. Kate loves using a stiletto to help guide the fabric through the machine.
7. Add an accent tag and/or tassel if you wish!


