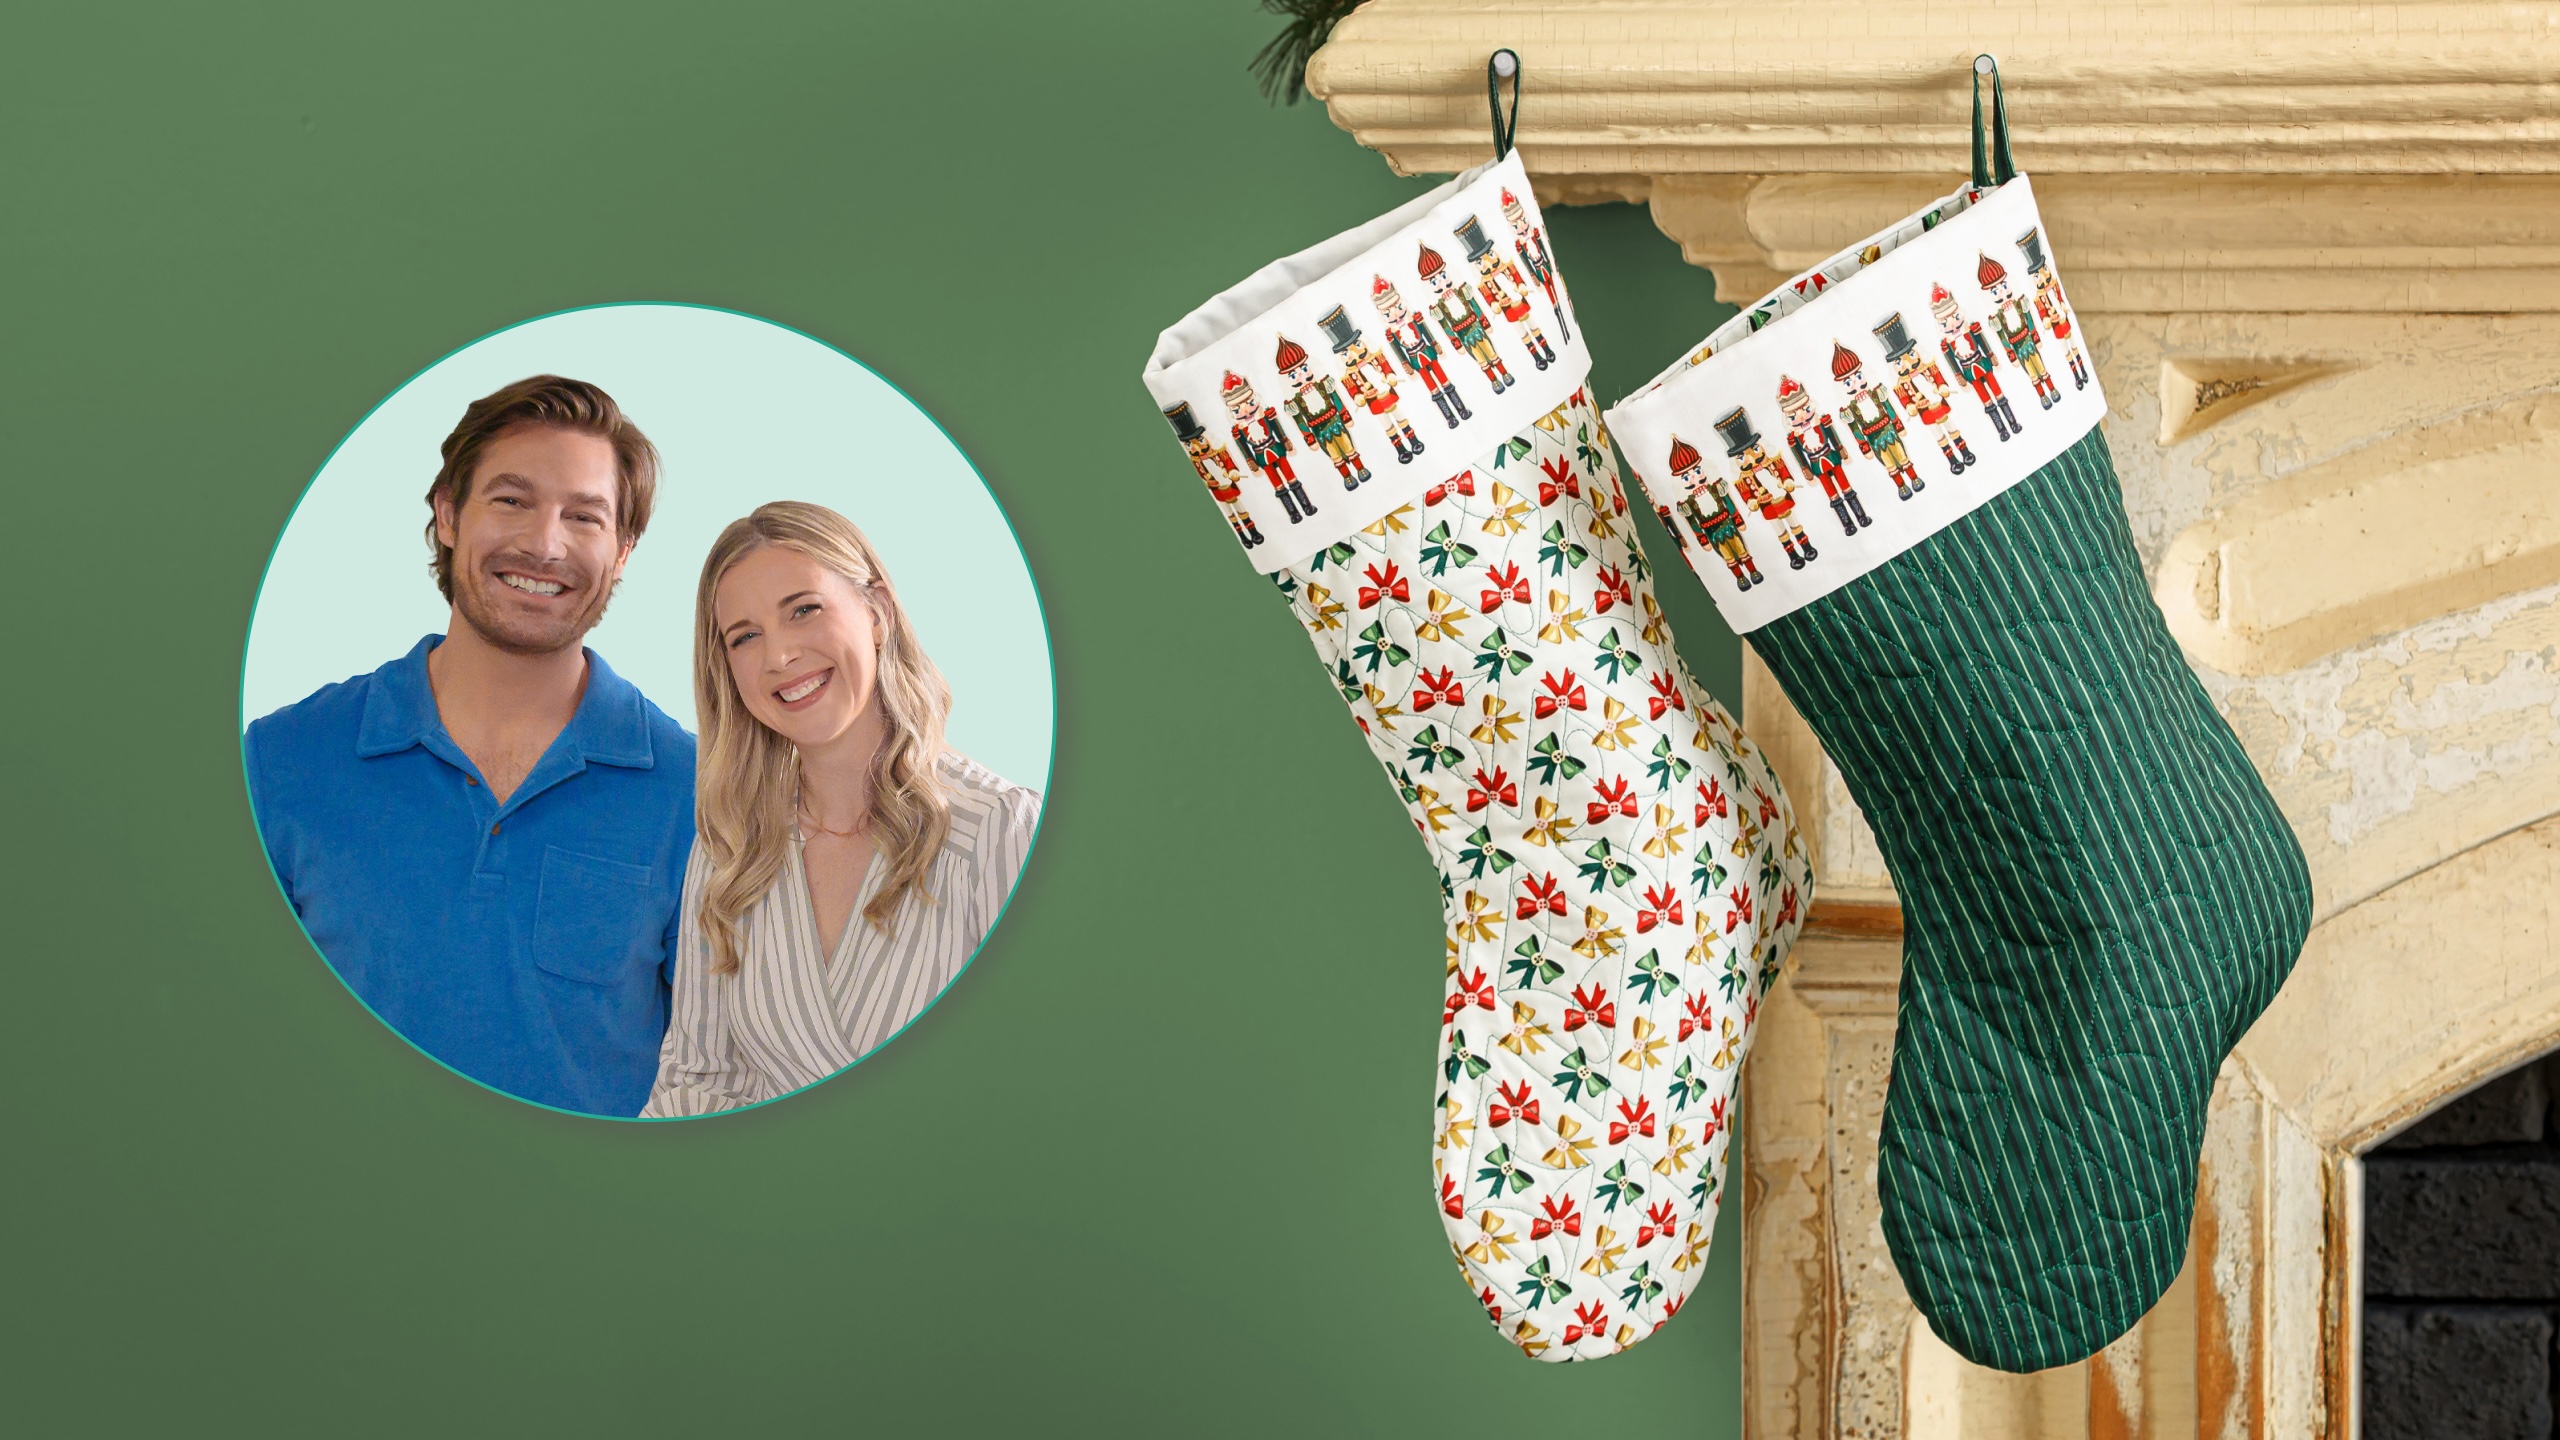
Bring the classic look of nutcrackers to your fireplace mantel this holiday season! Craig Conover of Sewing Down South joins Misty to create festive Christmas stockings. Made from Sewing Down South's Holiday Nutcracker Collection for Robert Kaufman Fabrics, these stockings feature cuffs adorned with border stripes of beautifully detailed nutcrackers standing tall in a row. No one will guess how easy they were to make!
Misty Doan grew up surrounded by sewing and quilting. She loves spending time sharing tutorials each week each week, and when she’s not stitching up one of her fun sewing projects for home decor, most likely you’ll find her hanging out with her husband and three awesome kids or working on a house project.
Bring the classic look of nutcrackers to your fireplace mantel this holiday season! Craig Conover of Sewing Down South joins Misty to create festive Christmas stockings. Made from Sewing Down South's Holiday Nutcracker Collection for Robert Kaufman Fabrics, these stockings fea...
How long is the tutorial video?
The tutorial video is 00:13:52.
Are supplies listed for this tutorial?
Yes. The tutorial page includes the supplies and materials connected to this project.
Video Transcript
Hey everyone, it is Misty and I am back [music] in Charleston with Craig Conover. Craig, thank you for having me. Thanks for coming. We love having you here in our uh our wonderful city. I know. It's so beautiful, especially during this time of year. Oh, absolutely. It's a great time to be here and we are kicking off our Christmas in July here at Missouri Star. So, I thought we would use your beautiful new fabric collection to make some holiday stockings. I'd love that. We've got the store turned down on King Street. It's fully decorated for Christmas in July. So, maybe we can add some stockings to our collection. And honestly, my mom has stockings for all of us and she has them embroidered with our initials that the possibilities are endless, but I need to learn how to do this first. I'm going to teach you. So, let's do it. So, the first thing I did is I just cut a couple of pieces of your fabrics and took them to our quilting department. Of course, you could quilt these on your your machine. you just, you know, mark some lines and stitch it however you want. And so all that is is just two pieces of fabric with a piece of batting in the middle. And so I've got two panels that are the exact same size. I'm also basing this off of our simple half square triangle stocking pattern, [clears throat] but I decided we're not going to piece any of it. But if you go to msqc.co/hst stockings, you can print out this template for free. And so I am using the large size for us today. And that's really all you need. And then of course a little bit of fabric for your cuff. And we're going to use this cracker stripe. Well, so I got asked the other day by my mom's friends. Actually, her friend Jenny has gotten back into quilting because of our series that she watched, the original series, and she wanted to know where to get our fabric. Okay. And I one of the local stores in Delaware had it, but if not, you can buy it online. Correct. Absolutely. You can get it from us at Missouri Star and many other retailers. So, ask your local quilt shops and they should be able to. So, oh, Christmas is my favorite time of year and I love that we got to do a holiday line and it's so cute. I I love your Nutcracker designs and so I love that we now make a nutcracker and now we have it on quilting fabric. Okay, sweet. All right, so let's dive right into it. So, go ahead, print off your template. I've taped it together and cut it out. So, we're ready to go. Okay. And then now we get to decide which one of these prints you want to be the outside of the stocking. I think cuz I can see this one already. I really love the inside which is these bows. Let's make one with the bows. Okay. So then the first thing we want to do is make sure that we have one facing up and one facing down. And then we will just take our stocking template. And if you have some pins or something over there. I do from you guys actually. Perfect. Let's just pin through this. And I think your scissors should be sharp enough to cut through all of these layers. So, actually, I'll save us some time and slide this up at the top. Okay. What do you guys do in town for Christmas in July? Anything special? Just we, you know, share all the Christmas projects, bring out the Christmas fabric, just try and get people excited because with quilting, you know, if we're going to make it by hand, we need a little bit of time to prepare. But even if you don't want to make a big project, something like this is just a great way to get yourself set up for the holidays, you know, just a few months away. We'll all be decking the halls. So, well, I'm hooked on handmade gifts these days. You know, it's convenient to buy things off of the internet and uh you know, the the same day delivery services, but people have gotten a little used to that. Yeah. And [clears throat] so, recently, I've been doing handmade gifts and starting early is definitely the key. That's exactly right. So, I'm glad that our holiday fabric's available this early in the year. Oh, and it's so cute. All right. So, now that we have these pinned how we need, if you just want to follow along with your scissors and cut these out, that'll be perfect. All right. Even though I'm left-handed, I grew up with right-handed scissors. My mother-in-law is the same way. She's a lefty and uses her scissors with her right hand. She uses her rotary cutter with her left. So, Oh, really? Yeah. And then is there anything we can do with these scraps or you don't really worry about? You could do lots of things. Honestly, some of these bigger ones you could turn into like little tiny zipper pouches that you could fill with gift cards, all kinds of things. Does it matter the batting that you put between? Um, it really doesn't. For something like a stocking, I would do a low loft. Um, and this is just an 80/20 blend. So, uh, cotton poly blend. And it's just not super thick. And so then you it makes it easy to fill with all kinds of goodies. All right, there we go. So now we can take off those pins. And so then what we're really looking for is that we have whatever we're choosing for our outside print that those stockings are facing opposite directions so that they can match on the outside. And so now since you want this to be the outside, we can put these right sides together. And if you just want to sew with a quarter inch seam, just leaving the top open. Sure. And if you want to pin these to keep them lined up, you totally can. It's really your preference. Or clips. Yeah, I think put a few on there. Yeah, it helps me. Okay. See? All right. So, quarter inch around the whole thing. Yep. Just Well, except the top. Leave the top open. Well, okay. Here's a silly question. I've got a 3/8 marking. Should I just use that or no? Um, if you can do just a little shy to to get closer to that move my needle. That's perfect. Yeah. like that. Great. Okay. Sometimes because of that thickness, you just have to get started like that. Yeah. And just take your time around there. They're pretty gentle. So, if you need to stop and redirect, just put your needle down and you can adjust under the presser foot. Okay. Yeah. I think making a a stocking collection for my mom out of our fabric is something I'm going to do this year. Oh, I love that idea. So, thanks for teaching me. Oh, of course. It really is so simple. And like you mentioned earlier, I know you know how to customize with embroidery. So, that's just another great option as well. Right. So, we will just finish making our way all the way around, leaving that opening at the top, and then making sure to back stitch when we get there at the end. And we will meet you back here when we have this part done. So, here we go. quart inch seam. Yes, that looks amazing. So, you've gone all the way around just leaving that opening. And we can actually just set this aside for now while we start working on the little hang uh hanging tab and the cuff. And so, this is a little 5 in square of our print. And I'm just going to cut this at an inch and a half. And this is to make our little learn something tab. New every time you're at my sewing studio. It's really nice. when I watch you guys online, but to have the inerson teaching is really great. Well, I enjoy sharing it. And so now we're going to take this. We're going to press it in half. Okay. Long ways. And then once you do that, we're going to turn those ends into the middle and press it again so that it's like sandwiched inside. Does that make sense? Yep. Okay. Press it in half first. This iron is so convenient. Uh, it's pretty great. [laughter] I do have to be careful if I'm traveling or something with a regular iron that doesn't automatically pop up. You know, you get spoiled. Yes. Yeah. Just as as best you can roll that in towards the center on both sides. Is it hot? Yeah. [laughter] There we go. And then if you want to press it. Yep. Once more from the top there. This ironing mat's convenient, too. I remember laying towels out on my dining room table to protect it. Yeah. Back in the day. Perfect. All right. So, now that you have that all pressed, what we're going to do is you're just going to run like a top stitch along this edge to secure it closed. And then just because I think it looks really nice, we'll do the same thing on the other side to match it. How's that? That looks great. And so then just flip it around and do that same stitch on the other side just so it perfect matches. Yeah, it gives it a nice professional finish, I think. Just little details. How about that? All right. Perfect. That's how those are made, huh? That's it. So, do we clean up the threads or not? Absolutely. I would trim them so that they'll be out of your way. Yep. Be happy with that. There we go. Pretty good. Yeah, that looks great. My first hanging. [laughter] So, we'll just set that aside for a minute, too. Okay. And then we can move on to this cuff. And so, I did go ahead and cut this out just because we had to do a little bit of measuring to make sure that those nutcrackers would be centered on the cuff. And so, it measures 17 1/2 by 9. And so, really what you're looking for is when you press this in half, so that 4 and 1/2 in, you want your nutcrackers to be centered in there, right? And so, we've done that. We've gave it a press and so actually now what we're going to do is put these right sides together and you're going to sew this short end with a quarter inch seam. Okay. Perfect. So just like that. Yep. Just that one side. Insert you guys me is really convenient having the It's nice to have a a bigger workspace. Yeah. And have it set into the table. Yeah. All right. Okay. And so now we can just open this up. And if you want to kind of try and press this part out so it's nice and smooth. Okay. And then we'll just keep it folded in half. Okay. So let's pull the stocking and the little hang tab back over here. And so, first thing I'm going to have you do is turn that stocking right sides out. All right. My favorite part. And if you wanted to, if you're worried about that raw edge inside, you could either do like a binding like we would do on the edge of a quilt, or you could just uh run a zigzag stitch all the way around it or use a serger if you've got one, just so you don't have to worry about that. And so then now we are going to tuck our cuff inside of the stocking. Okay. the right sides of the nutcracker cuff is touching the inside of the stocking. So, let's clip that again. And then we'll put our little hang tab back in there. And if you want to put one more in there or start there. And so, just a quarter inch seam all the way around that loop. Take your time. And Okay. So, I would start just really wherever. And uh if you want to back stitch, you know, that would be great at the start and stop just to really secure that. Yeah. Yeah. And you just keep spinning that fabric towards you so you can see what you're doing. And then I'm getting close to the tag. Yeah. So, just watch for those. Make sure the ends are poking up. All right. We made it through the tab. We'll see if it happened. Now, just smooth sailing the rest of the way. Hopefully, my mom has something to hang [laughter] stocking from on the mantel. All right, that's our full circle. We'll do a back stitch there. And let's see how it looks. Perfect. I think you got it all. It looks all secure. And so again, just like the inside of the stocking, if you wanted to run a zigzag or a binding around that, you can. But you're actually not going to see any of this because you're going to pull the cuff out. And when that just flips down over the top of the outside of the stocking, then all of that is just tucked up underneath. And so you don't have to worry about it. It's like a puzzle. It is like a little puzzle. And then there's your little hang tag. So that's ready to go. And you've done it. Okay, you made a stop. See, not bad at all. It's a great easy project. Oh, my mom's going to love it. [laughter] That's so fun. So just And if I wanted to embroider this, I would have just embroidered this panel before we started to Exactly. And you could do the same thing if you wanted to add it to the cuff. You would just do that before you folded it, right? And center that up. And it's as simple as that. Now you've got this great little gift that you can fill with goodies for a friend or teacher gifts or well done, Craig. I like this combo with our sewing down south fabric, too. It's so cute. Such a fun line. [music] Well, thank you, Misty. You're welcome. Good job.


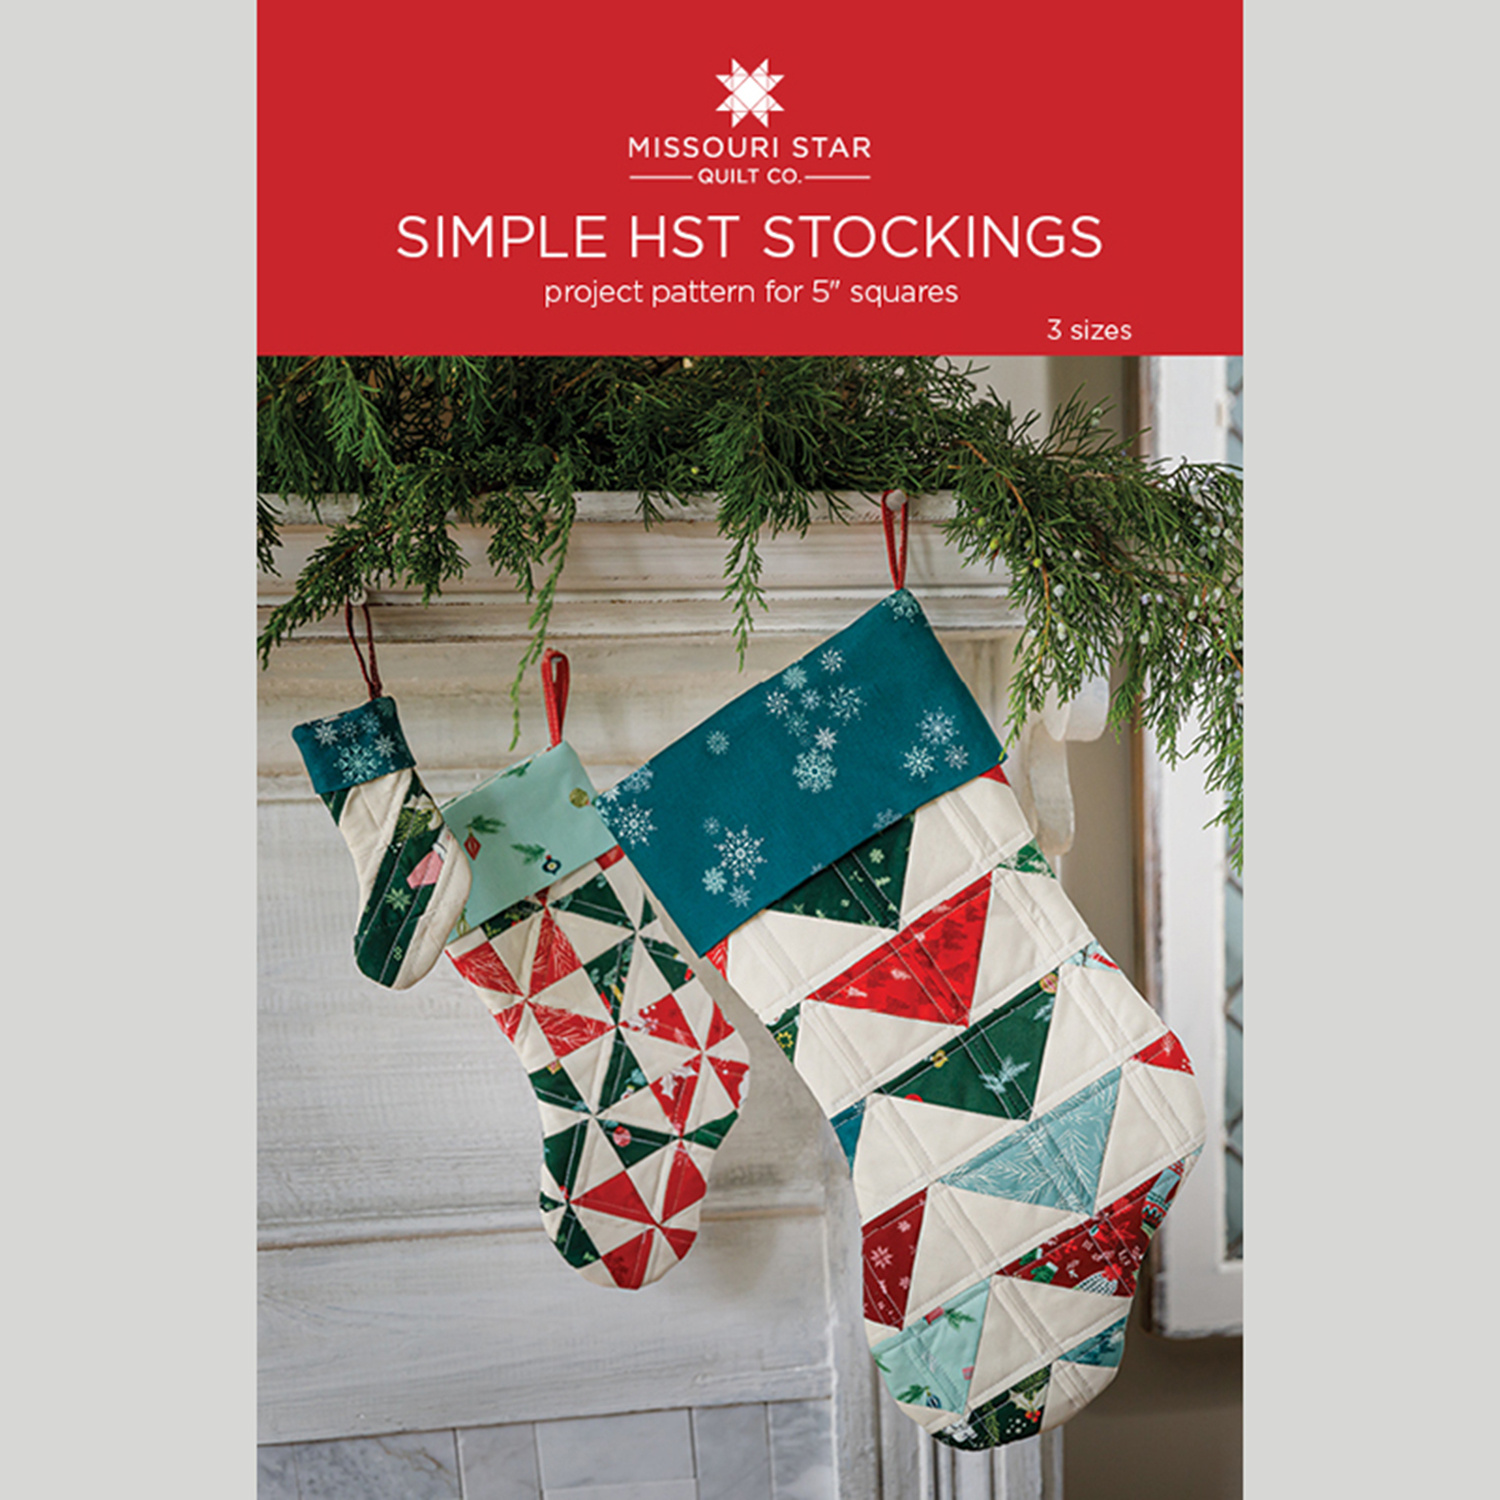 Simple HST Stockings Pattern by Missouri Star$8.50Shop →
 Digital Download - Simple HST Stockings Pattern by Missouri Star$6.95Shop →
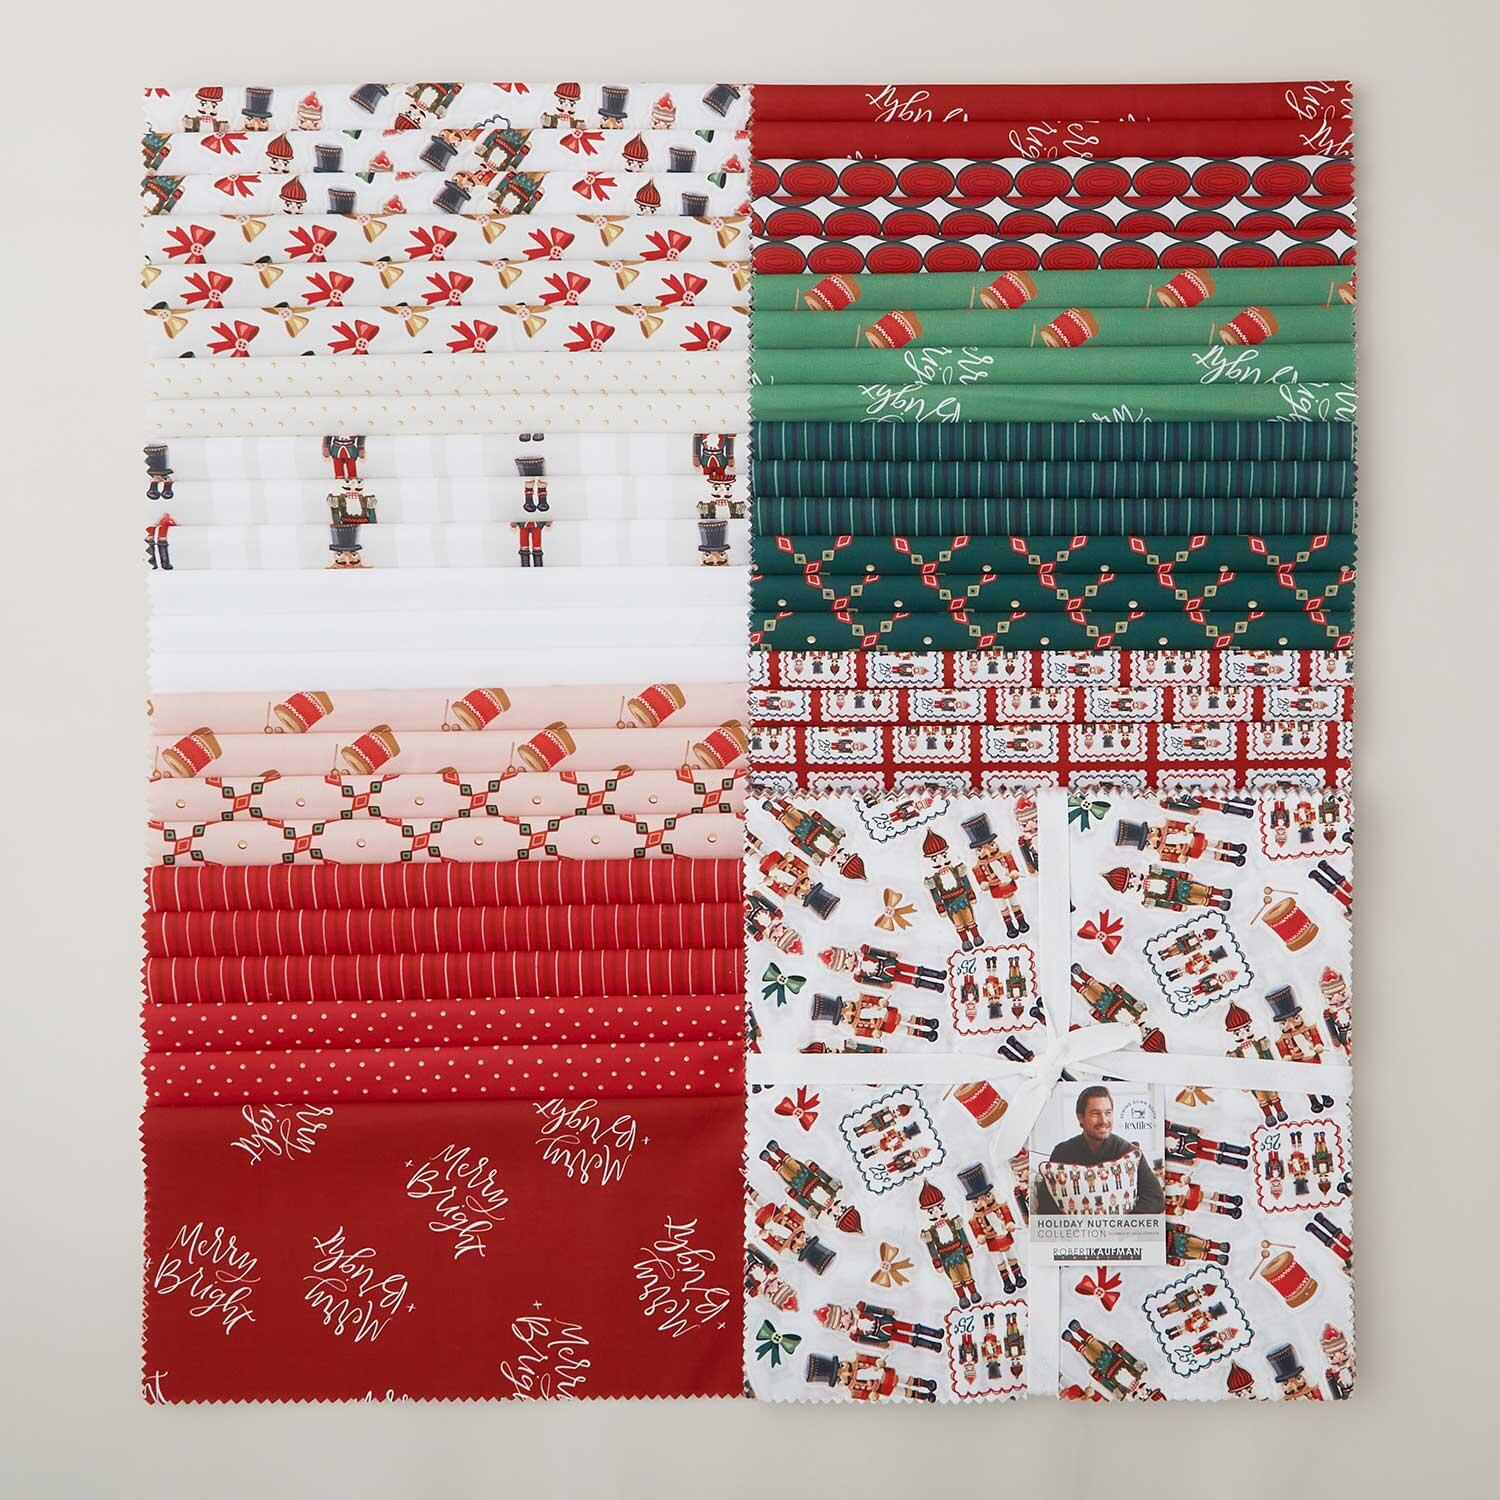 Holiday Nutcracker Collection Ten Squares$49.95Shop →
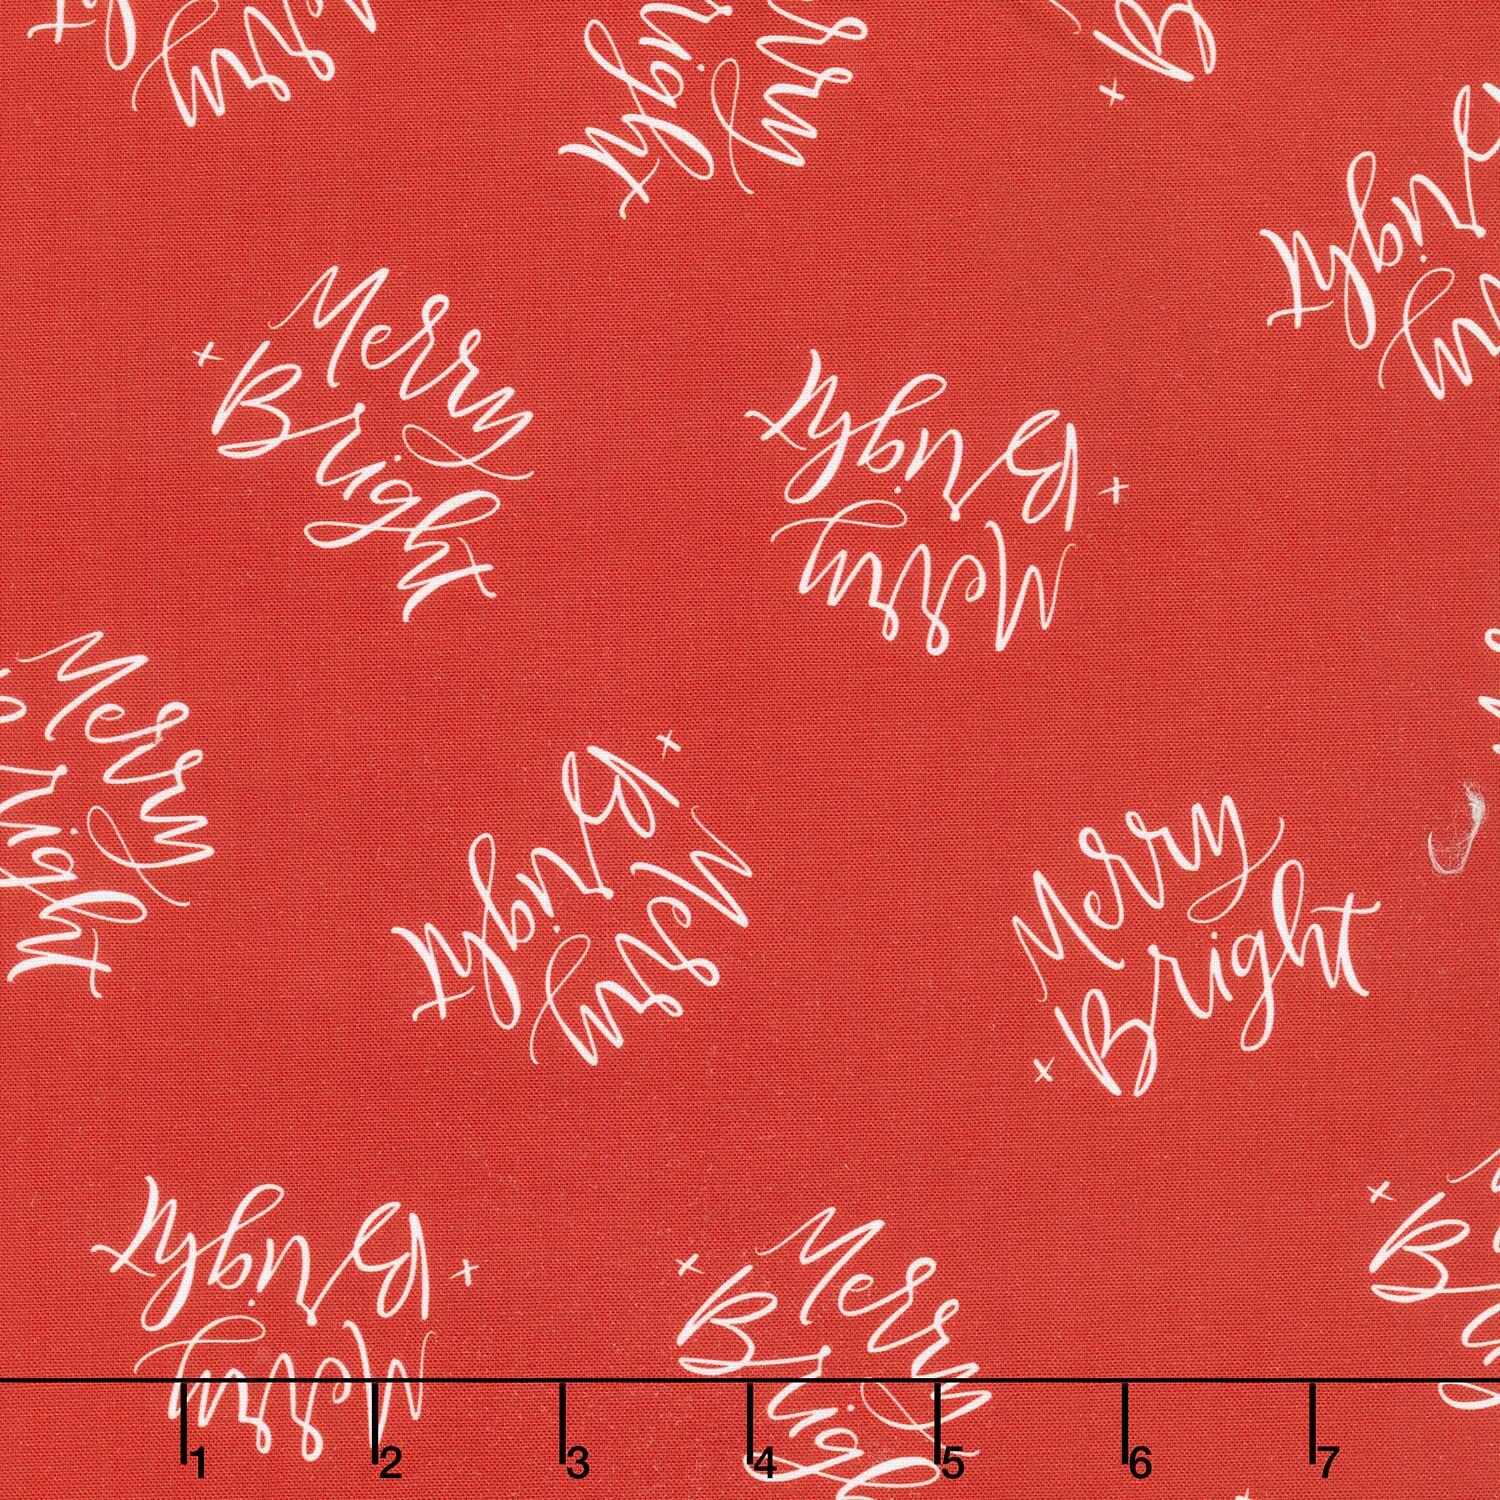 Holiday Nutcracker Collection - Merry & Bright Text Cranberry Yardage$11.96Shop →
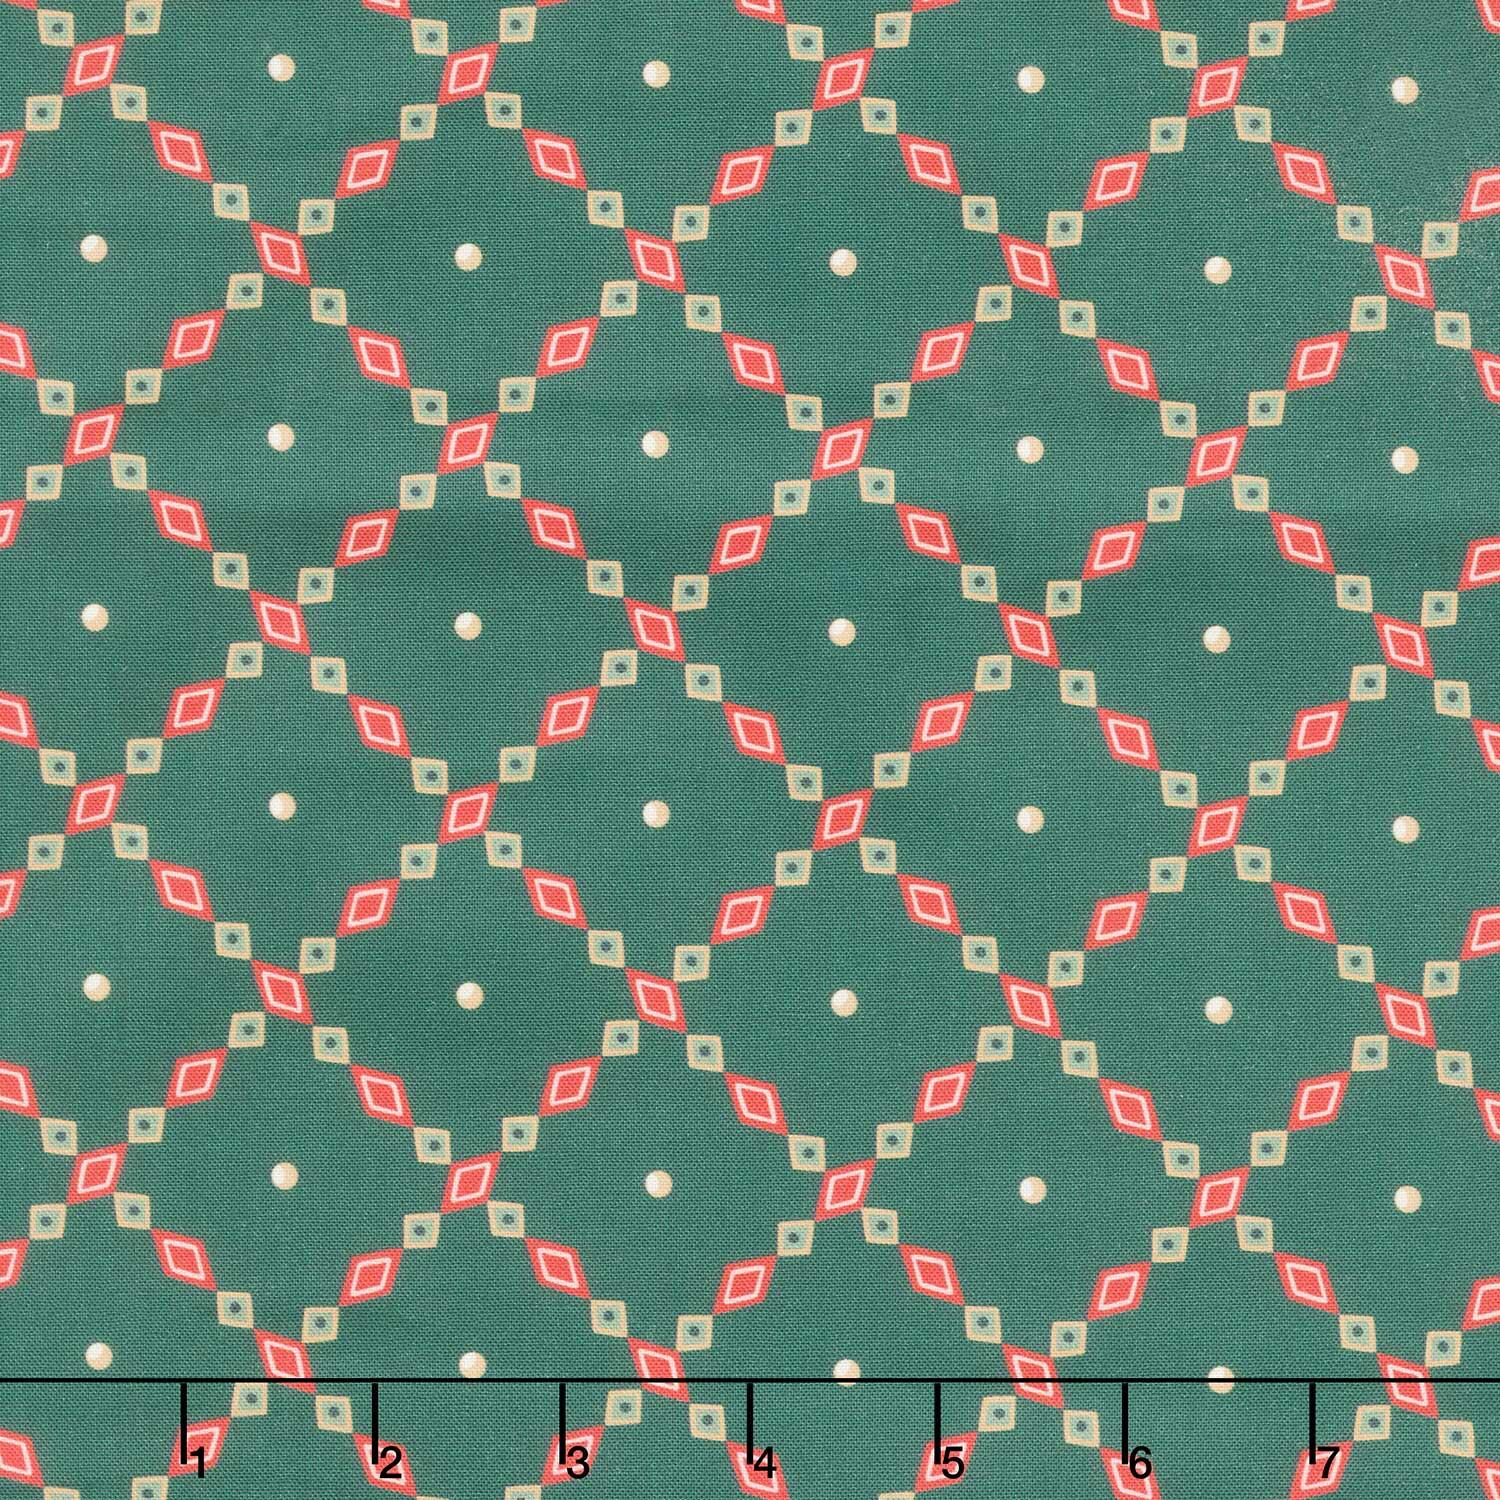 Holiday Nutcracker Collection - Lattice Evergreen Yardage$11.96Shop →
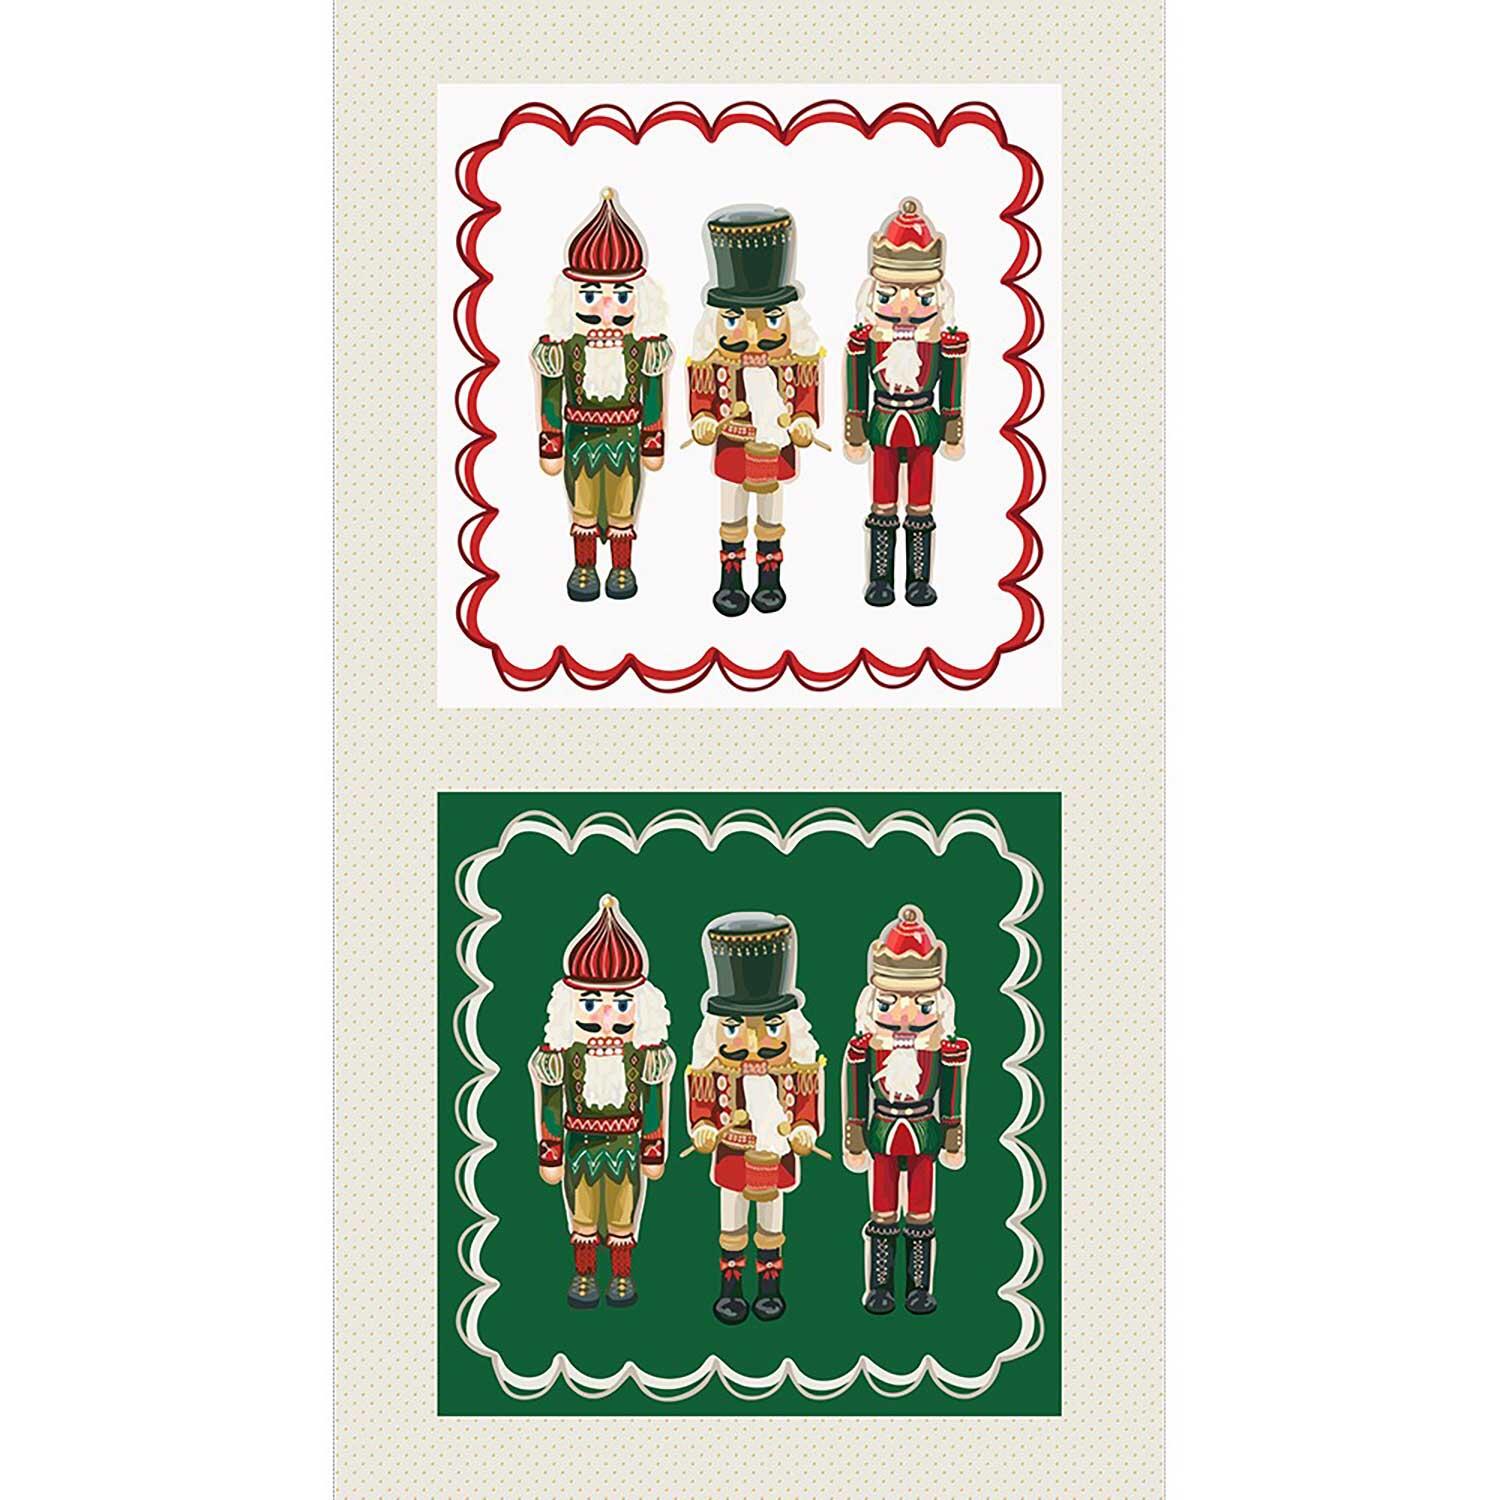 Holiday Nutcracker Collection - Nutcrackers Holiday Panel$9.30Shop →
 Missouri Star 45mm Rotary Cutter - Olga$19.95Shop →
 Missouri Star 8" Everyday Scissors - Amelia$19.95Shop →
 Missouri Star 50 WT Cotton Thread White$7.95Shop →
 Missouri Star + Oliso TG1600 ProPlus Iron$209.95Shop →
 Bernette 77 Sewing and Quilting Machine$1699.00Shop →



