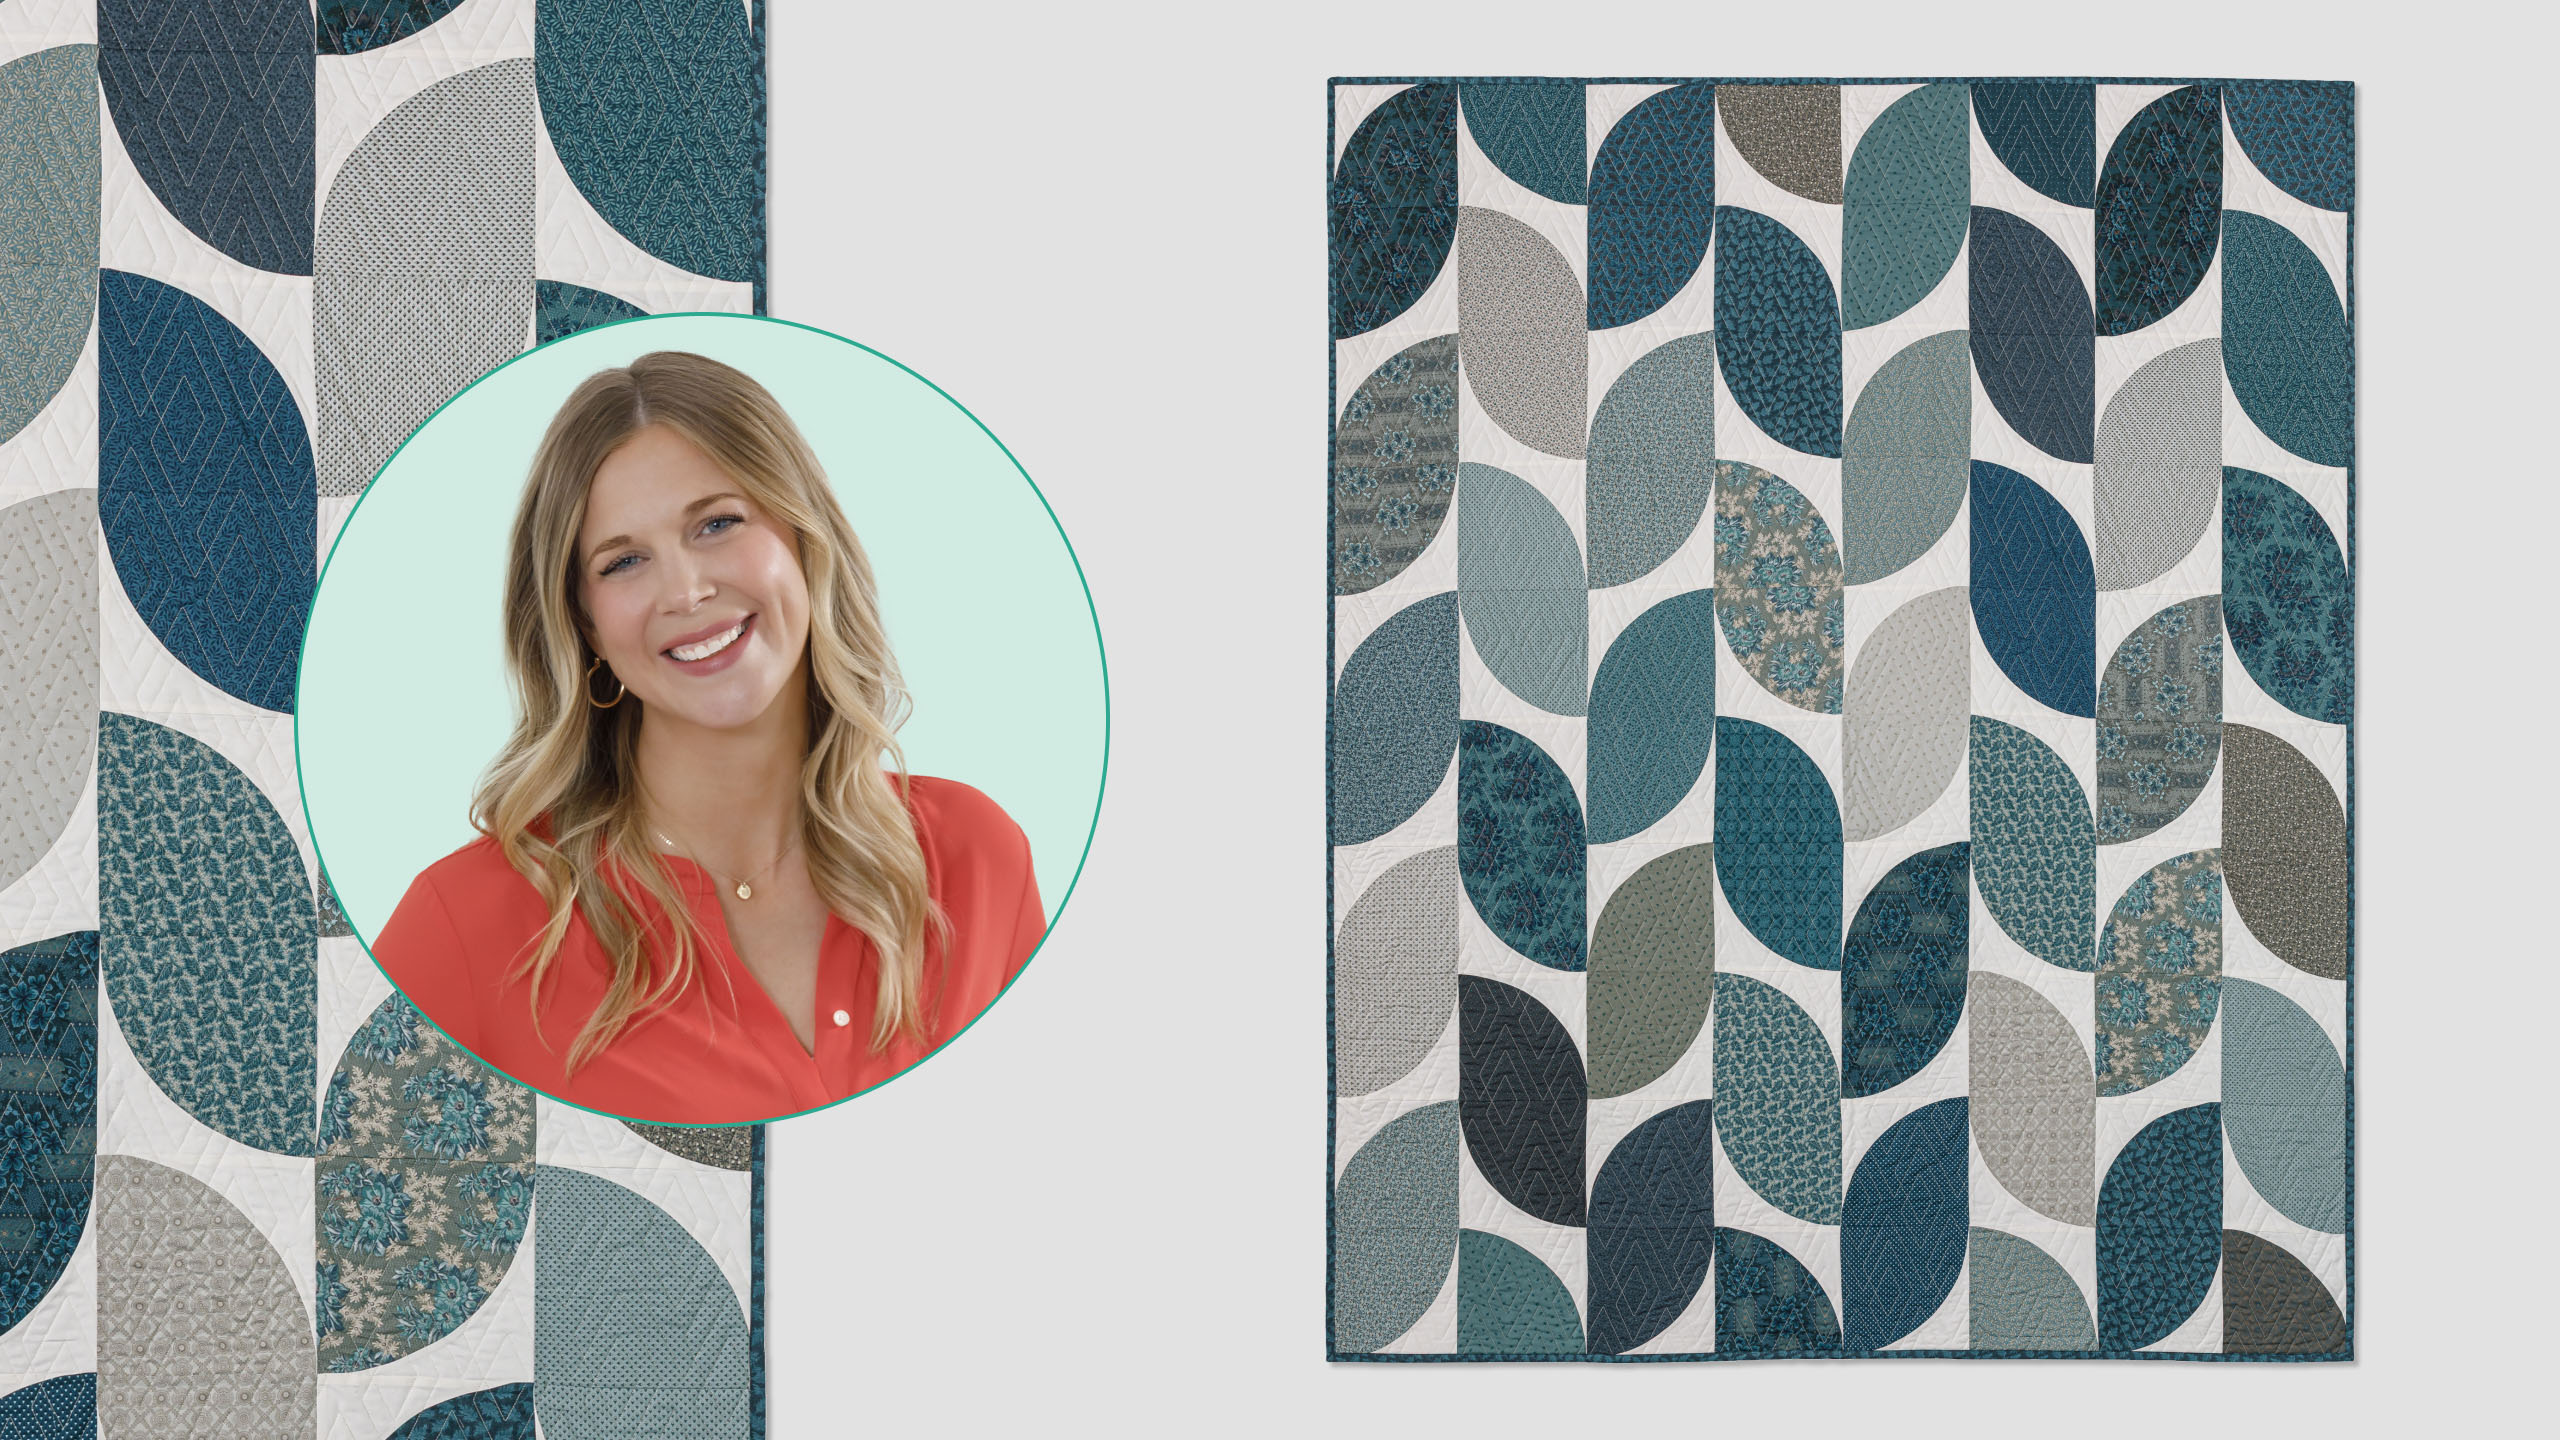
If you’re looking for a nature-inspired quilt with modern style, look no further! On the Vine features rows of marquis-shaped leaves that seem to be growing on vines. Clever placement of simple blocks made with the Missouri Star Drunkard’s Path Template is the key to creating the clean, modern look! Join Misty as she shows you how easy it is to make this contemporary quilt.
Misty Doan grew up surrounded by sewing and quilting. She loves spending time sharing tutorials each week each week, and when she’s not stitching up one of her fun sewing projects for home decor, most likely you’ll find her hanging out with her husband and three awesome kids or working on a house project.
If you’re looking for a nature-inspired quilt with modern style, look no further! On the Vine features rows of marquis-shaped leaves that seem to be growing on vines. Clever placement of simple blocks made with the Missouri Star Drunkard’s Path Template is the key to creating...
How long is the tutorial video?
The tutorial video is 00:00:00.
Are supplies listed for this tutorial?
Yes. The tutorial page includes the supplies and materials connected to this project.
Video Transcript
Hey everyone, I'm super excited to share today's quilt with you. It uses our large drunkards path template and two packages of 10-in squares. So, pick your favorite and I'll show you how to make this one. So, today we're going to be making the on the vine quilt. It's such a fun one and really the magic is all in the layout. So, to make this quilt, you're going to need two packages of 10-in squares, and I've used this beautiful Midnight Bloom collection by Maywood Studio. For your background, I used ColorWorks Snow. And you're going to need two and 2/3 yards of that. You're also going to need our Missouri Star large drunkard's path template. And that's everything you need to get started. So, let me show you how to make it. [music] So, the first thing you're going to want to do is open both of your packages of 10in squares and pair like colors together. It's the same prints because we're going to make those match up when we lay this out in the end. And so, I'm going to work in sets of two. And I have these two here. So, I'm just going to stack them up. And for our prints, we're going to use the B portion of the template to cut our large curves. And so I am just going to put the 90° square into this bottom corner of my 10-in square and then cut out gently around that curve. And so for this, this can go in your scrap bin. We don't need to use this at all, but if you wanted to make a quilt that is opposite, you could use these for your background pieces and have, you know, a solid for all of the vine portions. So, just keep that in mind. It's not completely a waste. And so, we'll set that aside for now. And here are our large curves. And so, now we're going to use the A template to cut our background pieces. So, I'll set this one aside. And I went ahead and cut my background fabric into 8 and 1/2 in strips by the width of fabric. And so now we're going to lay this on our cutting mat. We're going to do a little bit of subcutting. I'm going to cut off my salvage here to begin. And then I need to come over 9 and 1/2 in. So the strip is 8 and 1/2. I'm cutting an 8 and 1/2 by 9 and 1/2 inch rectangle. There we go. There's the first. And then I need five. That is nine and a half. There we go. And a little bit of waste. And so now from those rectangles, I can take my template and I'm going to use this 8 and 1/2 inch measurement. And just like we did with the prints, we're going to line the 90° square into this bottom corner of our rectangle. I'll hold that nice and secure. And we're going to cut out this outer curve. Looks like that one has just a little bit of overhang. So, I'll clean that up as well. And then now I can rotate my fabric and I can get another cut on the opposite side. So again, lining up that 90° angle, holding that so it's nice and secure, and cutting that curve. There we go. All right. And so then, like all drunkards paths, we have our large curve and our smaller outer curve. And now we just need to start sewing these together. And so there's a couple of different philosophies for this. I personally kind of like to just freewheel it. And so I will start by lining up this straight narrow end along this edge here. And then I'll just gently guide this around and end with this over here. But I understand that that's kind of difficult to see. So, we're going to pin one of these for you so you can really see how this looks. If you decide to pin, you could use clips or, you know, glue. I actually really like to use glue sometimes. Just a little bit goes a long way. And so, I've folded this in half to find the center of this large curve. And I've just done a little finger press. And I'm going to do the same thing with my background piece. So, I've just folded that in half. And we're just going to finger press the middle there. And so, I'm actually going to start by lining those up together. And the way that I know that I have these right is it kind of looks like a deer with antlers. That that's just the little mantra that I tell myself. Whatever works, right? And so I'm going to place a pin right there in the center. And then we can pull this end around. Line up that straight side. Place a pin. And then I usually like to do at least one more in the center here. Because this and this both have a bias edge. They kind of just gently nestle in. You want to be careful not to tug or stretch. That's where that distortion comes from. Just kind of let the fabric go where it wants. And if you feel like you need extra, we'll just keep adding pins. There is no right or wrong way. There is only your best way to get from A to B, right? We just want to be able to finish this. So now I'll pull this around. Same idea. line up that side. And I'm just going to finish getting all these pins in place on this one and my second piece. And I'll meet you back here when it's ready to stitch. All right. So, I have both of these curves pinned and ready to stitch. And so, now I'm just going to take this over to the sewing machine and we'll just sew one after the other. And if you have never done a curve before, never sewn a curve, I really want to recommend starting with this large drunkard's path block. It's a great beginner size. It's large enough that it's still very manageable. Um, and by the time you do all of these blocks for this quilt, you will be a pro. And so, the thing you need to remember is take your time, slow down, be a little gentle with yourself as you're learning something new. But I think if you're anything like me, you'll be really excited once you get to the other side and have this great new skill. And so I'm just going to begin as we normally would with a quarter inch seam. Sometimes, even though we don't really need to back stitch, because I don't want these curves to pop loose as I'm working with them, I will back stitch just to lock that in there. And so then I'm just going to slow down and take my time. I'm always going to pull that pin before I get to that point because I don't ever want to stitch over a pin. And I'll just make my way gently around this curve. And you'll just notice I'm just guiding it gently with my hand. I don't have to do anything crazy. Don't need to needle down and pivot. The thing that you want to do is just let the feed dogs do the work. Don't tug. Just take your time. All right, almost through this first one here. So now, as I approach the end, I'm actually going to use my last straight pen almost as like a stiletto hold this little end of the fabric in place as I'm feeding it under the presser foot. Just holding those layers together. I've got I can see where a tuck is going to form here. So, I'm just going to straighten this out. Put my needle down again. and keep stitching. There we go. Here is our first one. Let's go ahead and give this a press because I think you'll be so excited. When you stitch it, it still looks kind of rumply like you've done something wrong. But the thing that I love about these blocks is when you take it to the pressing mat, it just rolls back so nicely. You don't have to clip the curves. You don't have to worry about anything and you have made yourself a drunkard's path block. It is truly that simple. So, we're going to go ahead and stitch this other one and then I'll meet you back here and talk about the layout. All right. So, for every block in this quilt, you're going to need two of these matching curves like we've stitched. Now, let's take a look at the quilt behind me because I want to talk a little bit about the layout. Every other row in this is made exactly the same way. And so in those rows, all of our curves need to be facing the same way. So we're going to start with our background on the top left and the bottom right, just like this. And when it's stitched together, it looks like so. So we've just sewn that one center seam. You can see exactly how it fits fits in the quilt here. and they're all exactly the same on those rows. Now, for the opposite row, not only do you need to sew it the other direction, so you'll see this is going to rotate top right, oops, bottom left, so that it's the same and those fit in here. But these rows all start with a half block and end with a half block. So, just keep that in mind. It's the exact same idea. It's essentially this bottom curve. So the top sits in just like that. And then the bottom half block is the opposite side. So it's turned the other way. And so it's like that on every single one. And so you're going to do four rows this way and four rows this way. And just alternate between those two for a total of eight rows across. And there's 10 of these units in each row to make those blocks. And so I think this quilt is so fun. It turns out 64 by 80, so a really nice throw size. I quilted it with this beautiful quilting pattern called Diamond Squared. And here is this pretty backing. I just love that floral. It turned out so cute and I really enjoyed making it. I hope you will give it a try and I'll see you next time on At Home.

 Misty Doan
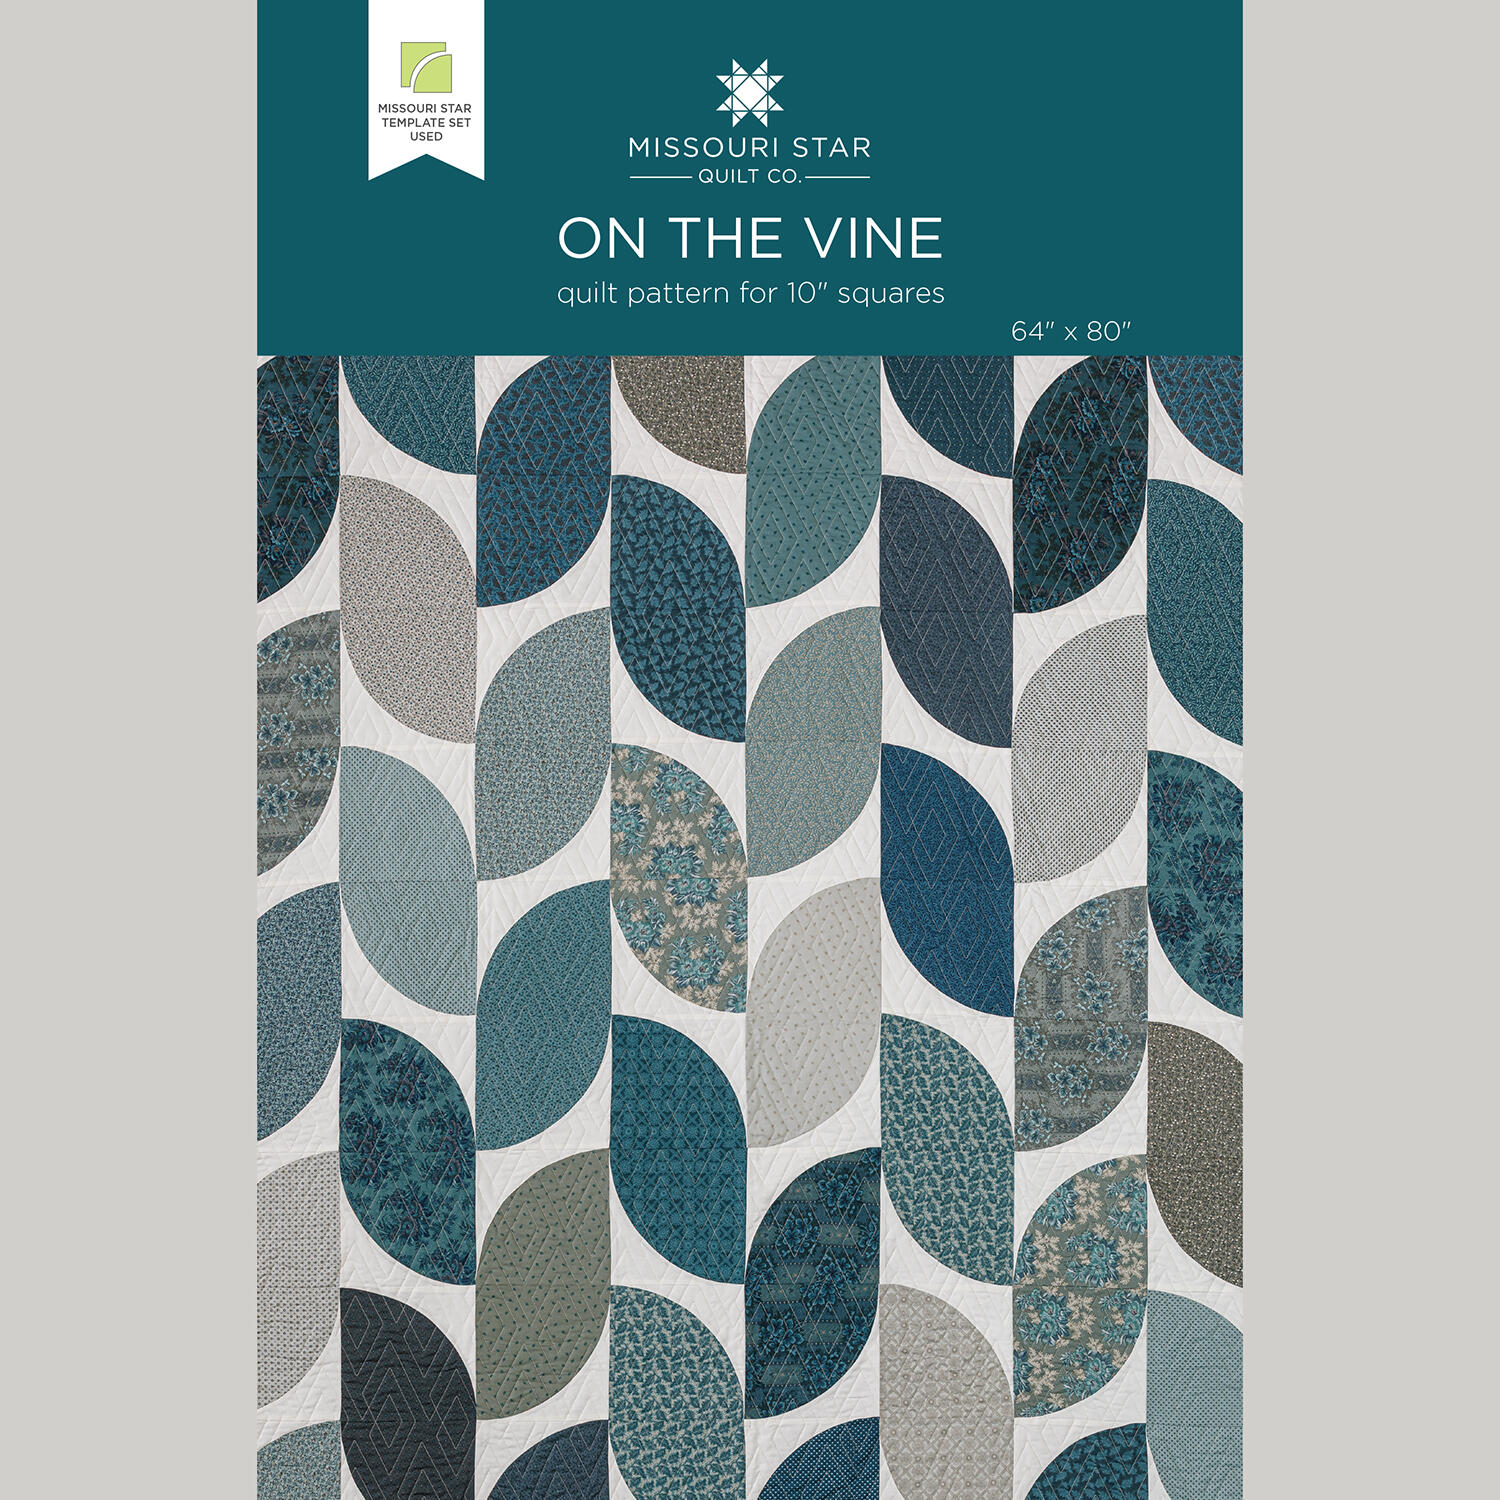 On the Vine Quilt Pattern by Missouri Star$8.50Shop →
 Digital Download - On the Vine Quilt Pattern by Missouri Star$6.95Shop →
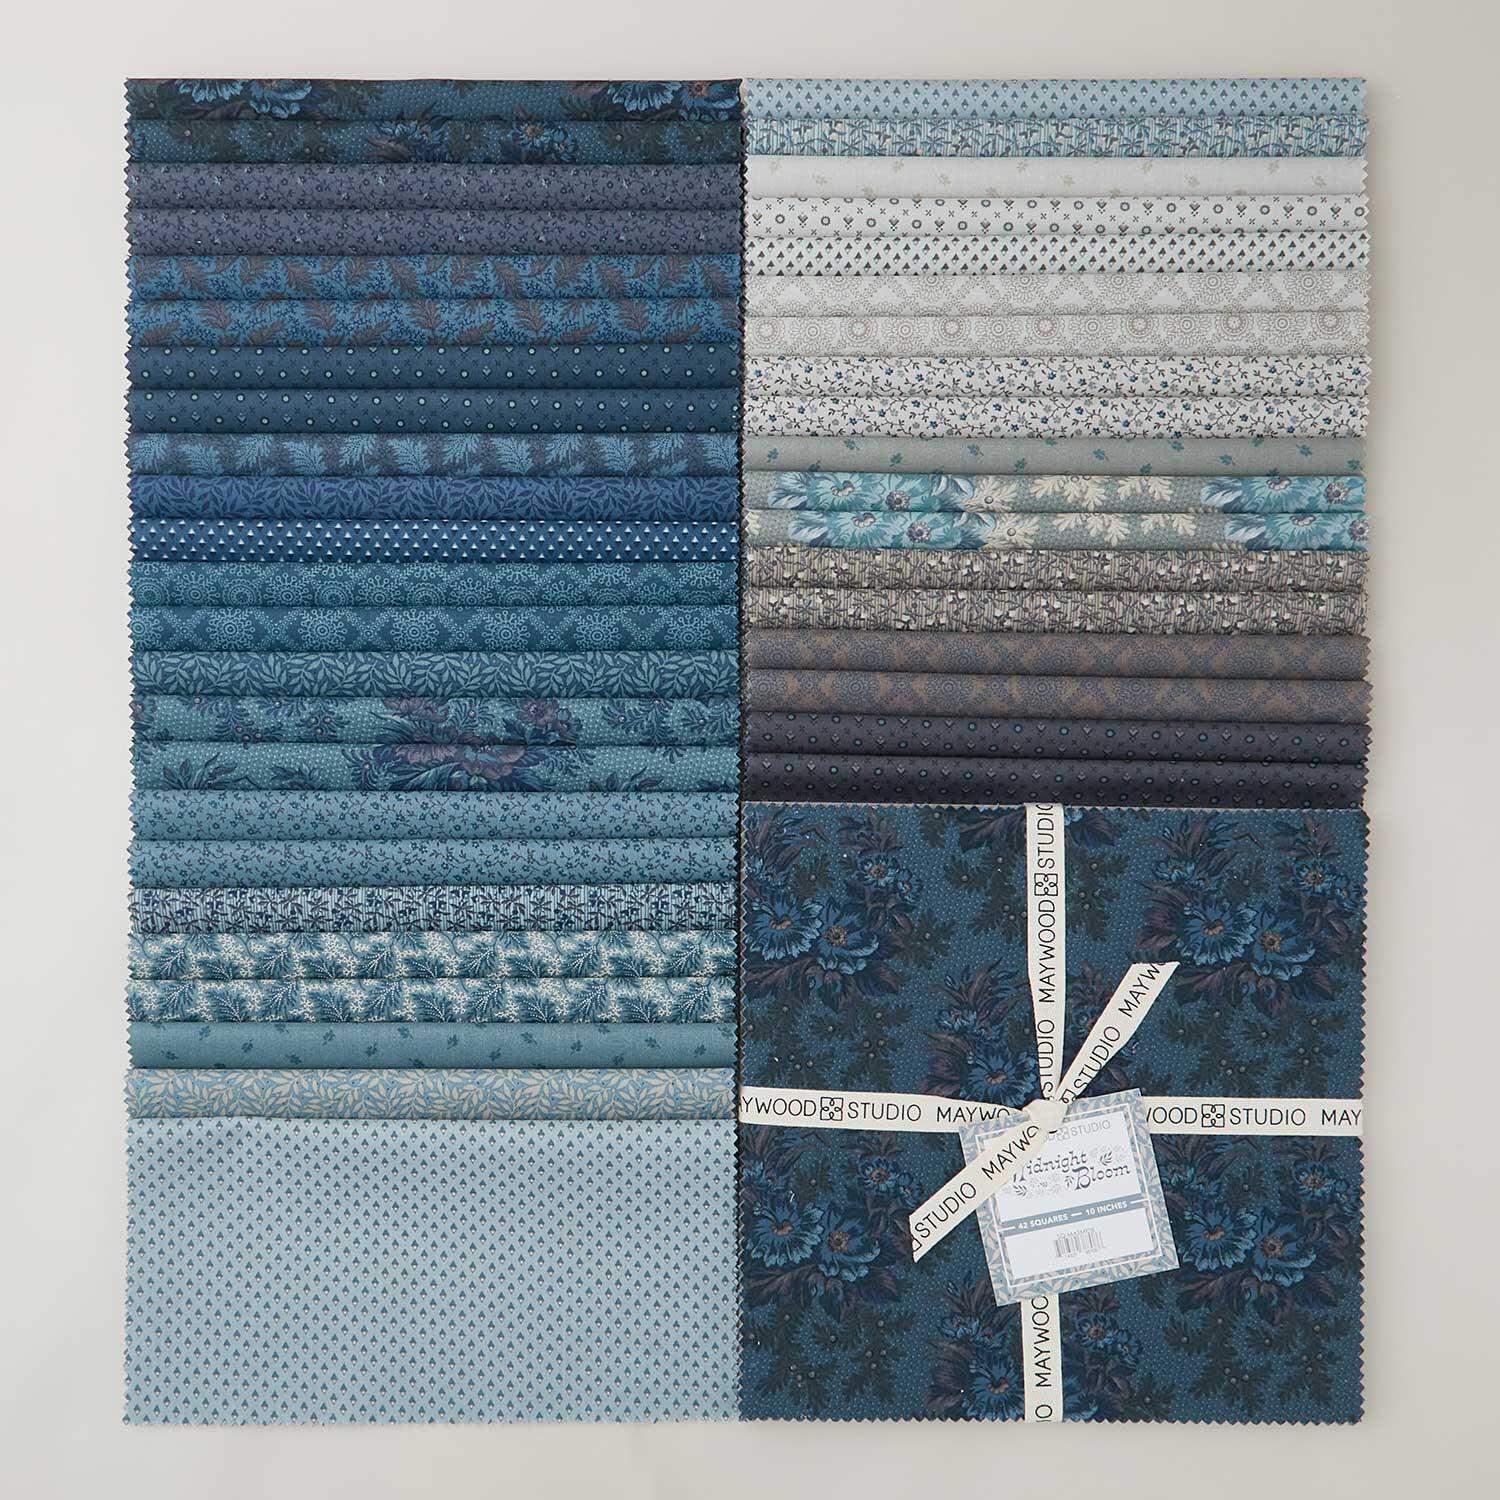 Midnight Bloom 10" Squares$45.50Shop →
 Colorworks Premium Solids - Snow Yardage$8.96Shop →
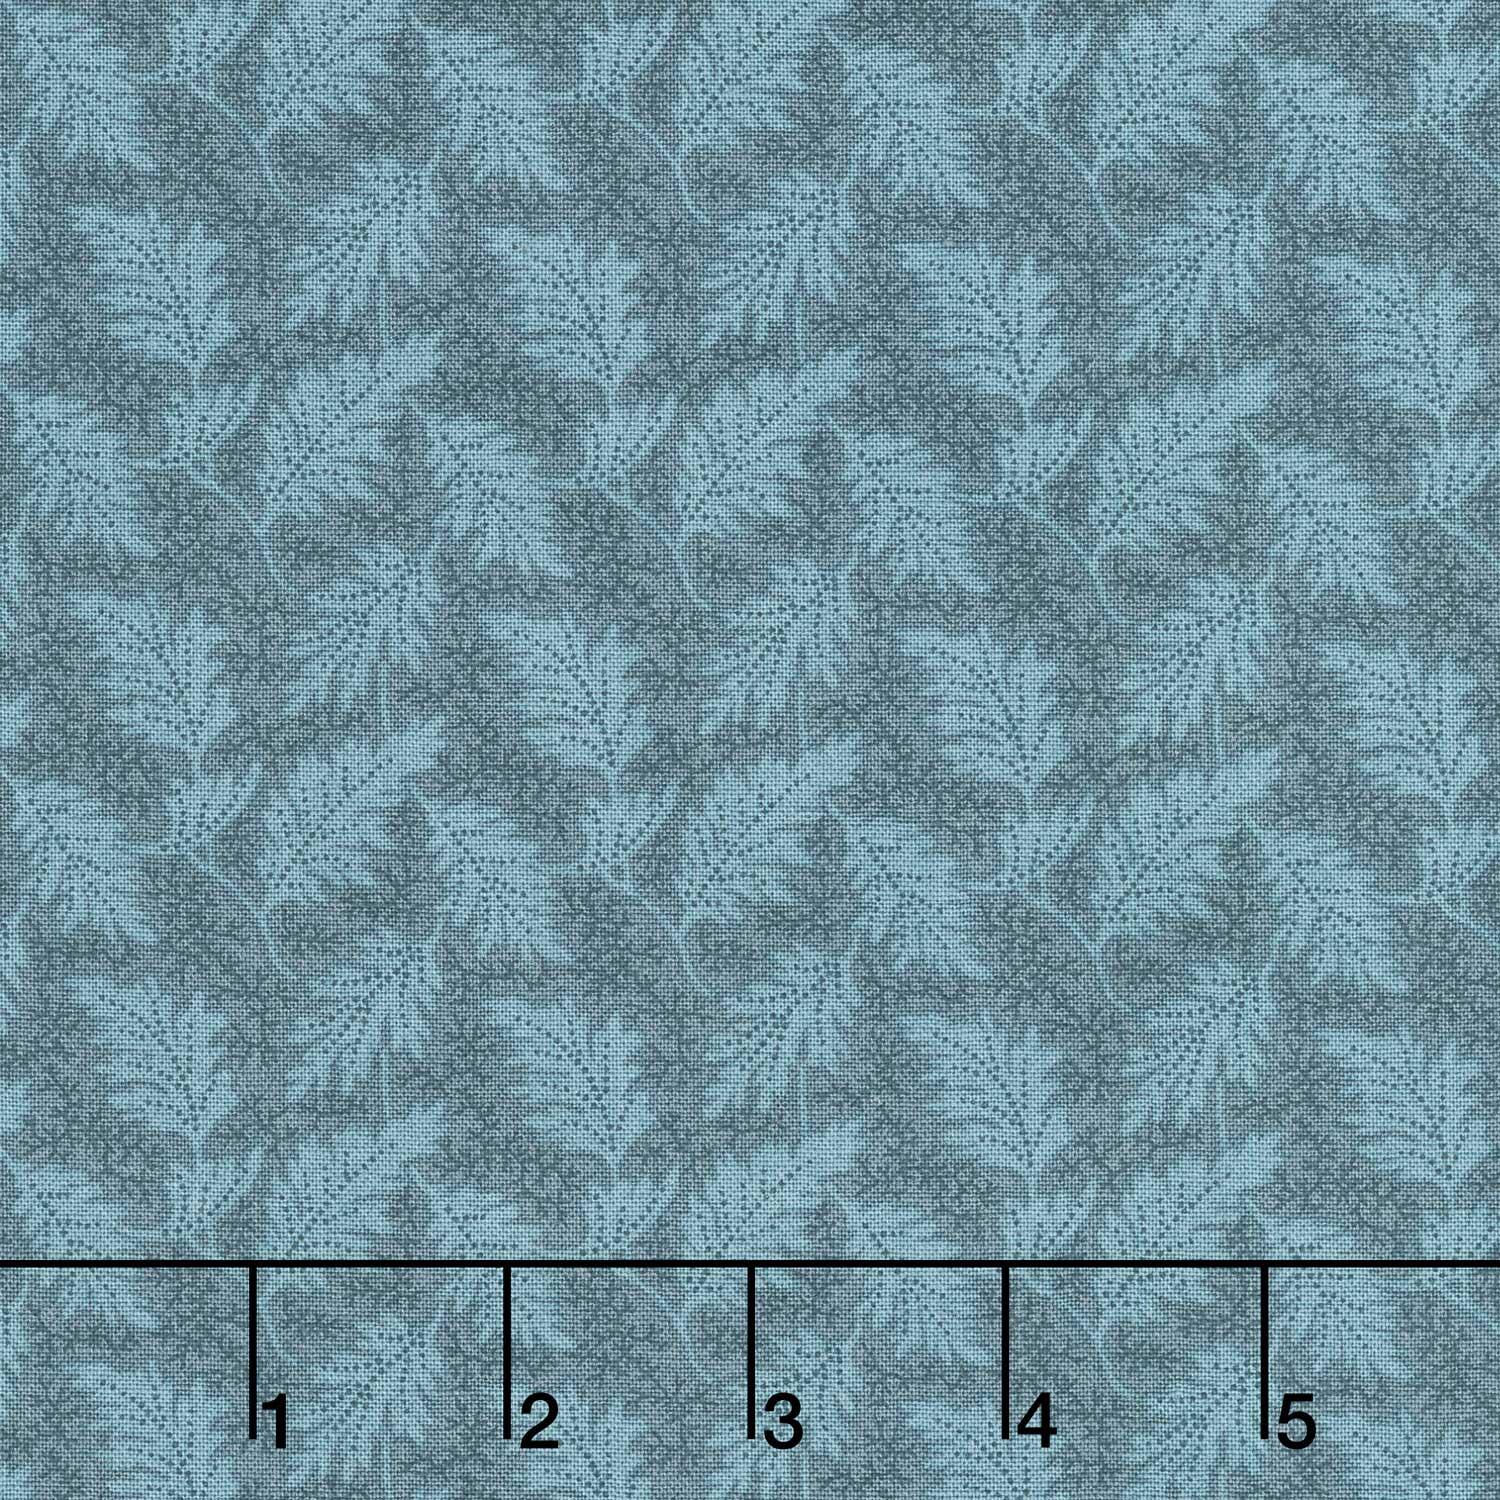 Midnight Bloom - Leaves Navy Yardage$12.48Shop →
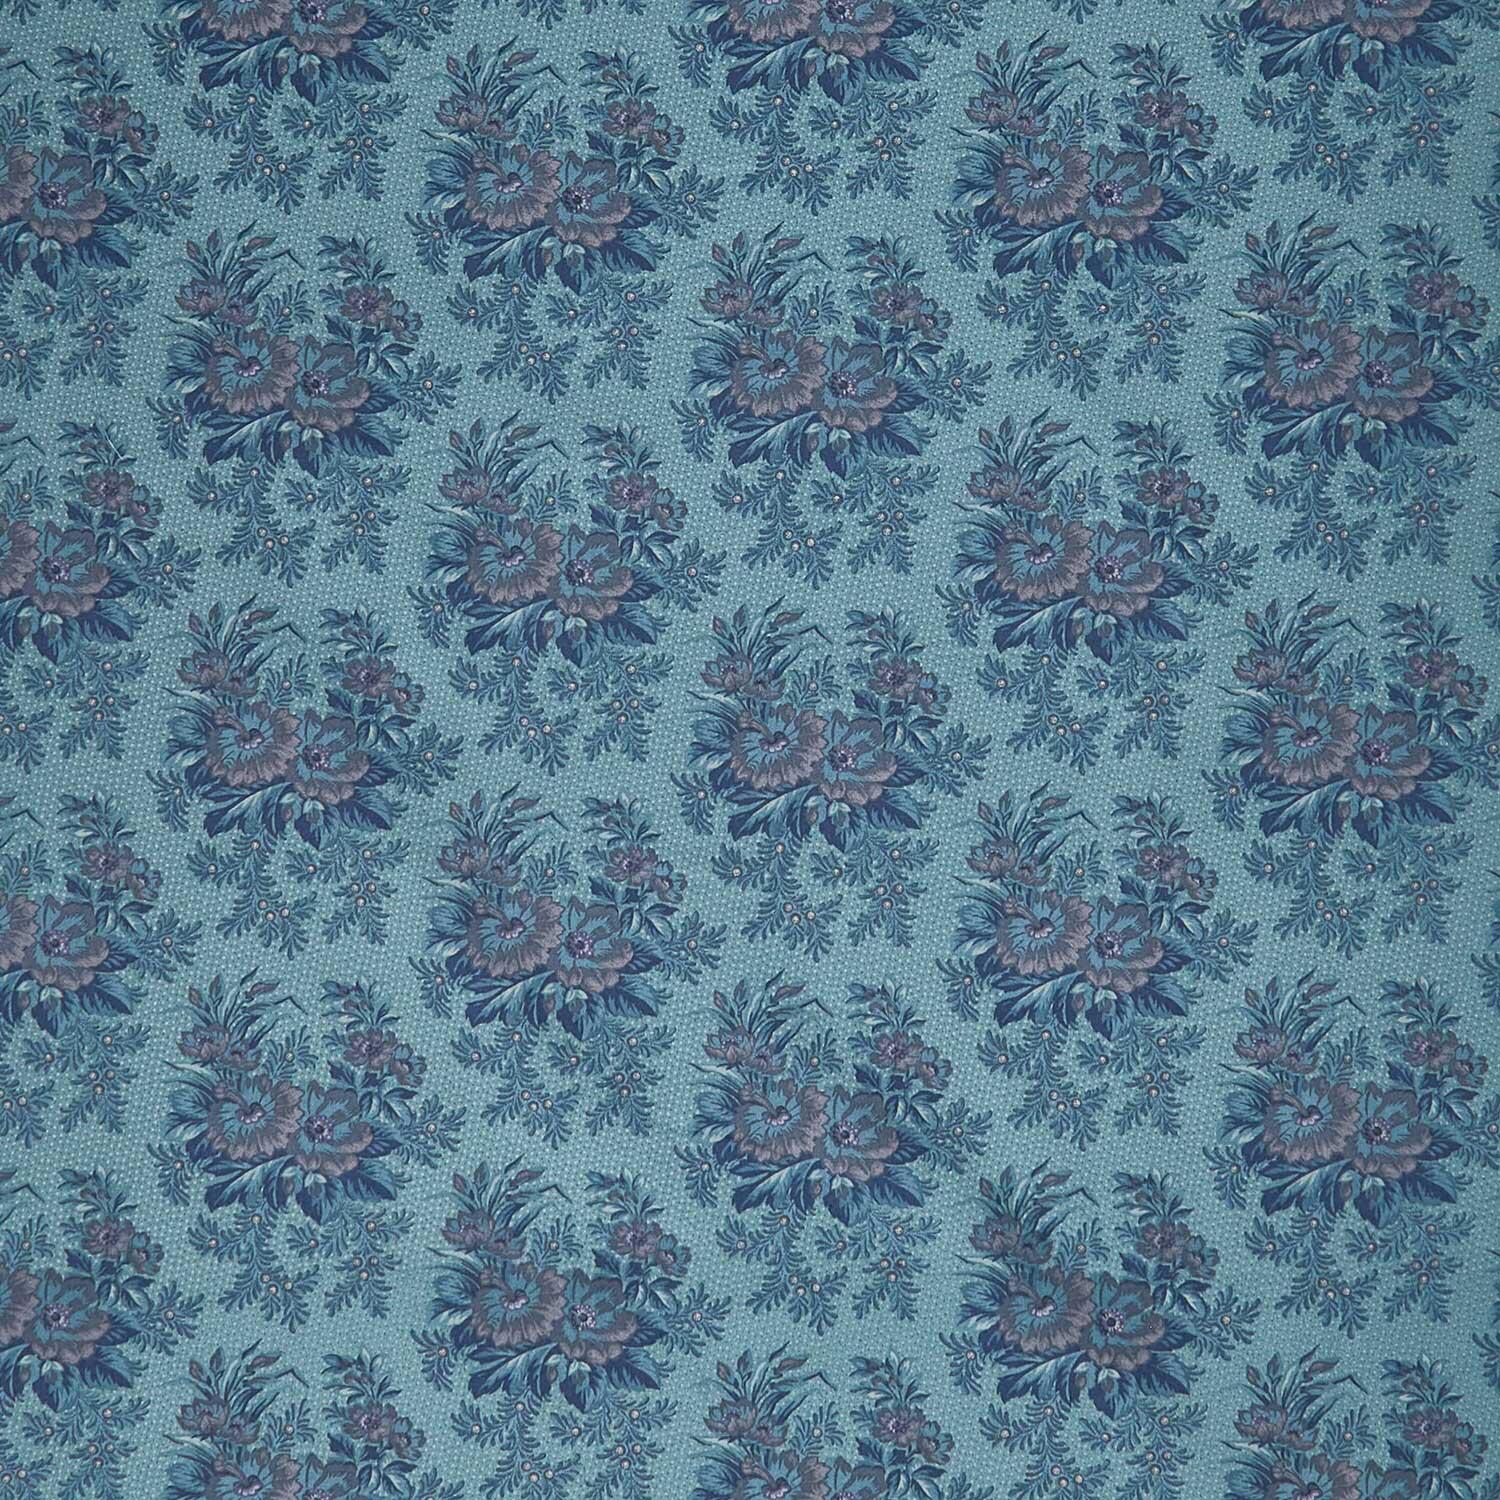 Midnight Bloom - Large Floral Clusters Teal Blue Yardage$12.48Shop →
 Missouri Star Nature's Best 100% Cotton Twin Batting - Natural$29.95Shop →
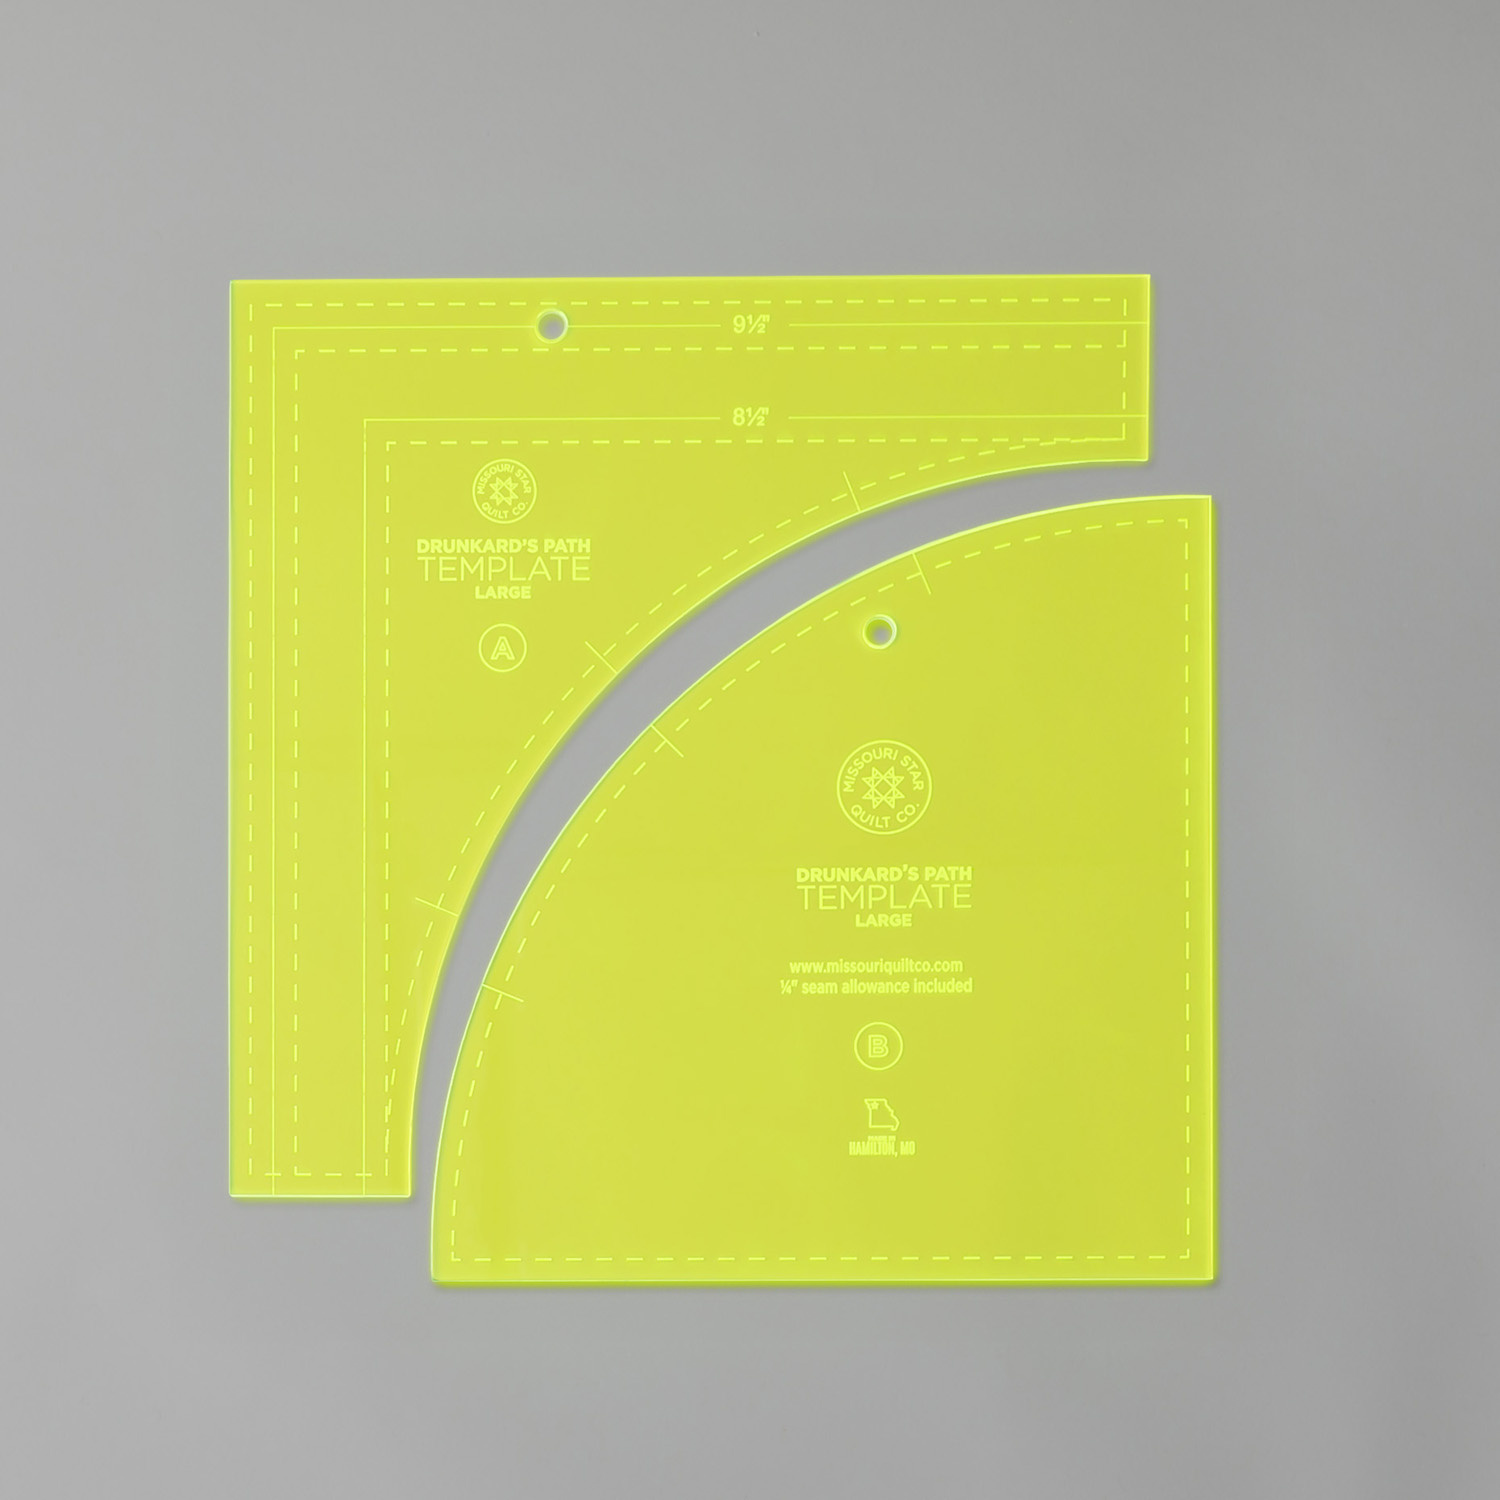 Missouri Star Drunkard's Path Circle Template Set$21.95Shop →
 Missouri Star Seam Ripper - Frida$9.95Shop →
 Missouri Star 8" Everyday Scissors - Amelia$19.95Shop →
 Missouri Star 50 WT Cotton Thread White$7.95Shop →
 Missouri Star + Oliso TG1600 ProPlus Iron$209.95Shop →
 Bernette 77 Sewing and Quilting Machine$1699.00Shop →



