Capture the beauty of opalite with this gem of a quilt! Delft Kona Cotton and Artisan Batiks – Morning Mist from Robert Kaufman Fabrics give this quilt the wonderful blue shades of iridescent opalite. Simple rectangles make up most of the quilt, and snowballed corners create diamonds sprinkled throughout. Misty shows you how easy it is to make!
Misty Doan grew up surrounded by sewing and quilting. She loves spending time sharing tutorials each week each week, and when she’s not stitching up one of her fun sewing projects for home decor, most likely you’ll find her hanging out with her husband and three awesome kids or working on a house project.
Capture the beauty of opalite with this gem of a quilt! Delft Kona Cotton and Artisan Batiks – Morning Mist from Robert Kaufman Fabrics give this quilt the wonderful blue shades of iridescent opalite. Simple rectangles make up most of the quilt, and snowballed corners create d...
How long is the tutorial video?
The tutorial video is 00:10:53.
Are supplies listed for this tutorial?
Yes. The tutorial page includes the supplies and materials connected to this project.
Video Transcript
Hey everyone, welcome to At Home. I have a super fun quilt to share with you today. It's beautiful and simple and I'm calling it opalite. Let me show you how to make it. [Music] [Music] It feels worth acknowledging that I am a major swifty and that did inspire the name of this quilt behind me. So, you know, take that with what you will. I love it. I think it turned out so good and it really is so simple to make. So, you're going to need one package of 10in squares. I use this beautiful Morning Mist by Lun Studios for Artisan Boutiques. It's just perfect. You're also going to need some accent fabric. I use this blue delfted and you need a half yard of that. For your backing, you need 3 and 1/2 yards with a horizontal seam and 5/8 of a yard for your binding. So, let's get started. All right. So, to begin, we are going to just open up our pack. And I'm just going to pull a few different colors out of here. You're going to cut the entire pack of 10in squares in half so that it measures 5 by 10. And you're going to make a bunch of rectangles. So, let me just pull some of these. I'll just stack them up. Actually, here, let's do a different print. There we go. I had two that were very similar. Okay, just move this aside for now. But just remember, you're going to cut them all in half. So, let's stack these up now just so I have a nice variety of prints. And I find four is a good number for me to to stack up. I feel confident I still get nice accurate cuts. And so I'm going to use our little 5 by 15 inch ruler now and lay it right on the edge to cut this in half. There we go. And so really the magic of this quilt are these little diamond blocks that you see. And so from your entire pack, you're going to pull a total of 40 of these little rectangle units that we're going to make into our diamonds. And then you're going to split those in half because we need to make some going in each direction. So we'll have a stack of 20 where we'll be snowballing it on the right side and 20 where we're going to snowball it on the left. So now we can just go ahead and split up our stack here. And I do want to mix it up a little bit because I want to have different prints that I'm going to put together. And so just for my mind's sake, I have four in each of these piles, but we're going to assemble them like we would our stacks of 20, right? And then from our accent fabric, we're going to cut all of that into 3 and 1/2 by 6 and 1/2 in rectangles, which I've already done here. And so then I'm going to take a few of these. I'm going to make sure they're all lined up nicely. And because I'm using a solid for this, there's no right or wrong side. I can cut them all the same because I can turn them how I need them. And so I'm just going to line up my ruler now corner to corner on this rectangle and I can cut them in half. And what I mean is since they're all solids, I can flip these over because I'm going to need some going in the other direction. But if you had a print, let me just show you what you would do. Since I cut these like this, you would also want to cut some the other direction if you were using a print for this accent because see then you couldn't actually flip them over. You can just rotate them. But that will give you both of the angles that you need. So just something to keep in mind. All right. And so now we are going to take our little squares and a marking pen. And we're going to begin by measuring up the long side in from the bottom. And I'm just going to make a little mark. I want to make sure it's going to get caught in the seam and I'm not going to see it past that. And then along this bottom edge, we're going to measure over 2 and 1/2 and make a mark. And I'm going to do that on all of these. And then I'm going to take my little accent triangle and I'm going to put the edge of my fabric right in line with those marks. And the reason I'm doing this is so that I get accurate seams for all of my blocks and my diamonds will match up. So, now that I've laid this over here, I am just going to sew a quarter inch from the edge of that blue fabric. So, let's go ahead and take it over. Put a pin in there if you want. Again, now that I'm at the machine, I'm going to make sure that I'm right on the edge of that little mark I made, both at the top and the bottom. And then we are going to sew our quarter inch seam. Okay. And so now we can take this over to the ironing board. I'm going to set that seam and roll it back. You'll see it completely covers my original little bit of fabric. And so now I can use my ruler here and just lay this along the edge, making sure everything is nice and straight. And I'll trim off the excess. There we go. And so our block is still 5x10. We've added that little accent. Since I'm going to machine quilt this, I'm not worried about this extra fabric. But if you're going to hand quilt it or you're just worried about bulk, you can come in here now that you've trimmed it and squared it up and cut off this extra so that it won't be as bulky. So either option totally fine. I just left all of mine in. And so now that we've done this direction, we're going to do the same thing on the other side. And so I'm going to flip this around so I have the straight edge. I'm going to measure up five inches. Make a mark. There we go. This one doesn't want to write for me. Let me get a different pen. There we go. It's a little dot. And then now over two and a half. And so then now we're just laying this the opposite way. You want the longest side of your triangle to be against those marks. Make sure it right lines up with that. And then we'll sew a quarter inch away from this side. So you kind of have to flip it around. So, since I didn't mention this, actually, let's talk about this a little bit. So, I have about a half an inch of overhang here and also about a half an inch over here. And so, that's kind of what I'm looking for. And I just make sure that the edge of my fabric, this long edge, is right on those marks. And so, then now we can just sew straight down this side. Beautiful. And then we'll press this one back. And I find that little halfinch overhang gives me plenty of extra to trim away every time. And I like this method of using the triangles because we have a lot less waste. from our fabric. So, there's that and that. And so, now our little diamonds are complete. And so, I can line these up. And now we can just put right sides together and sew these together. Got a little string here. Let's get rid of that. I love working with these boutiques because it feels like our fabric has already been starched. So nice to sew with. So then we are just lining these up and making sure our ends match all the way down. Okay, that looks so good. Okay, let's give it a press. And here is our little diamond block. So, you're going to have a total of one, two, three, four, five, six, seven, eight, nine, 10 top and bottom. So, 20 total of these diamond units. You can see how they'll just set in here and flip over just like that. And then in between all of these blocks are just solid 5x10 in rectangles. And so just pay attention to the diagram and lay it out, but also don't be afraid to play and move those diamonds around however you want. Super super fun. So this quilt finishes at 54x 66. I quilted it with the diamond loops pattern. I think it turned out so nice. And here is that backing. I absolutely love it. I think it turned out so pretty. And so I hope you enjoyed this tutorial on the Opalite quilt. It really is so quick and easy. Such a fun one to put together. And I will see you next time on At Home. Hey everyone, thank you so much for watching at home. We're so excited to be almost a million quilters strong here at Missouri Star. And so if you haven't already joined our family, be sure to subscribe and hit that notification bell so you can be notified of all of our future tutorials. And we'll see you soon. [Music]

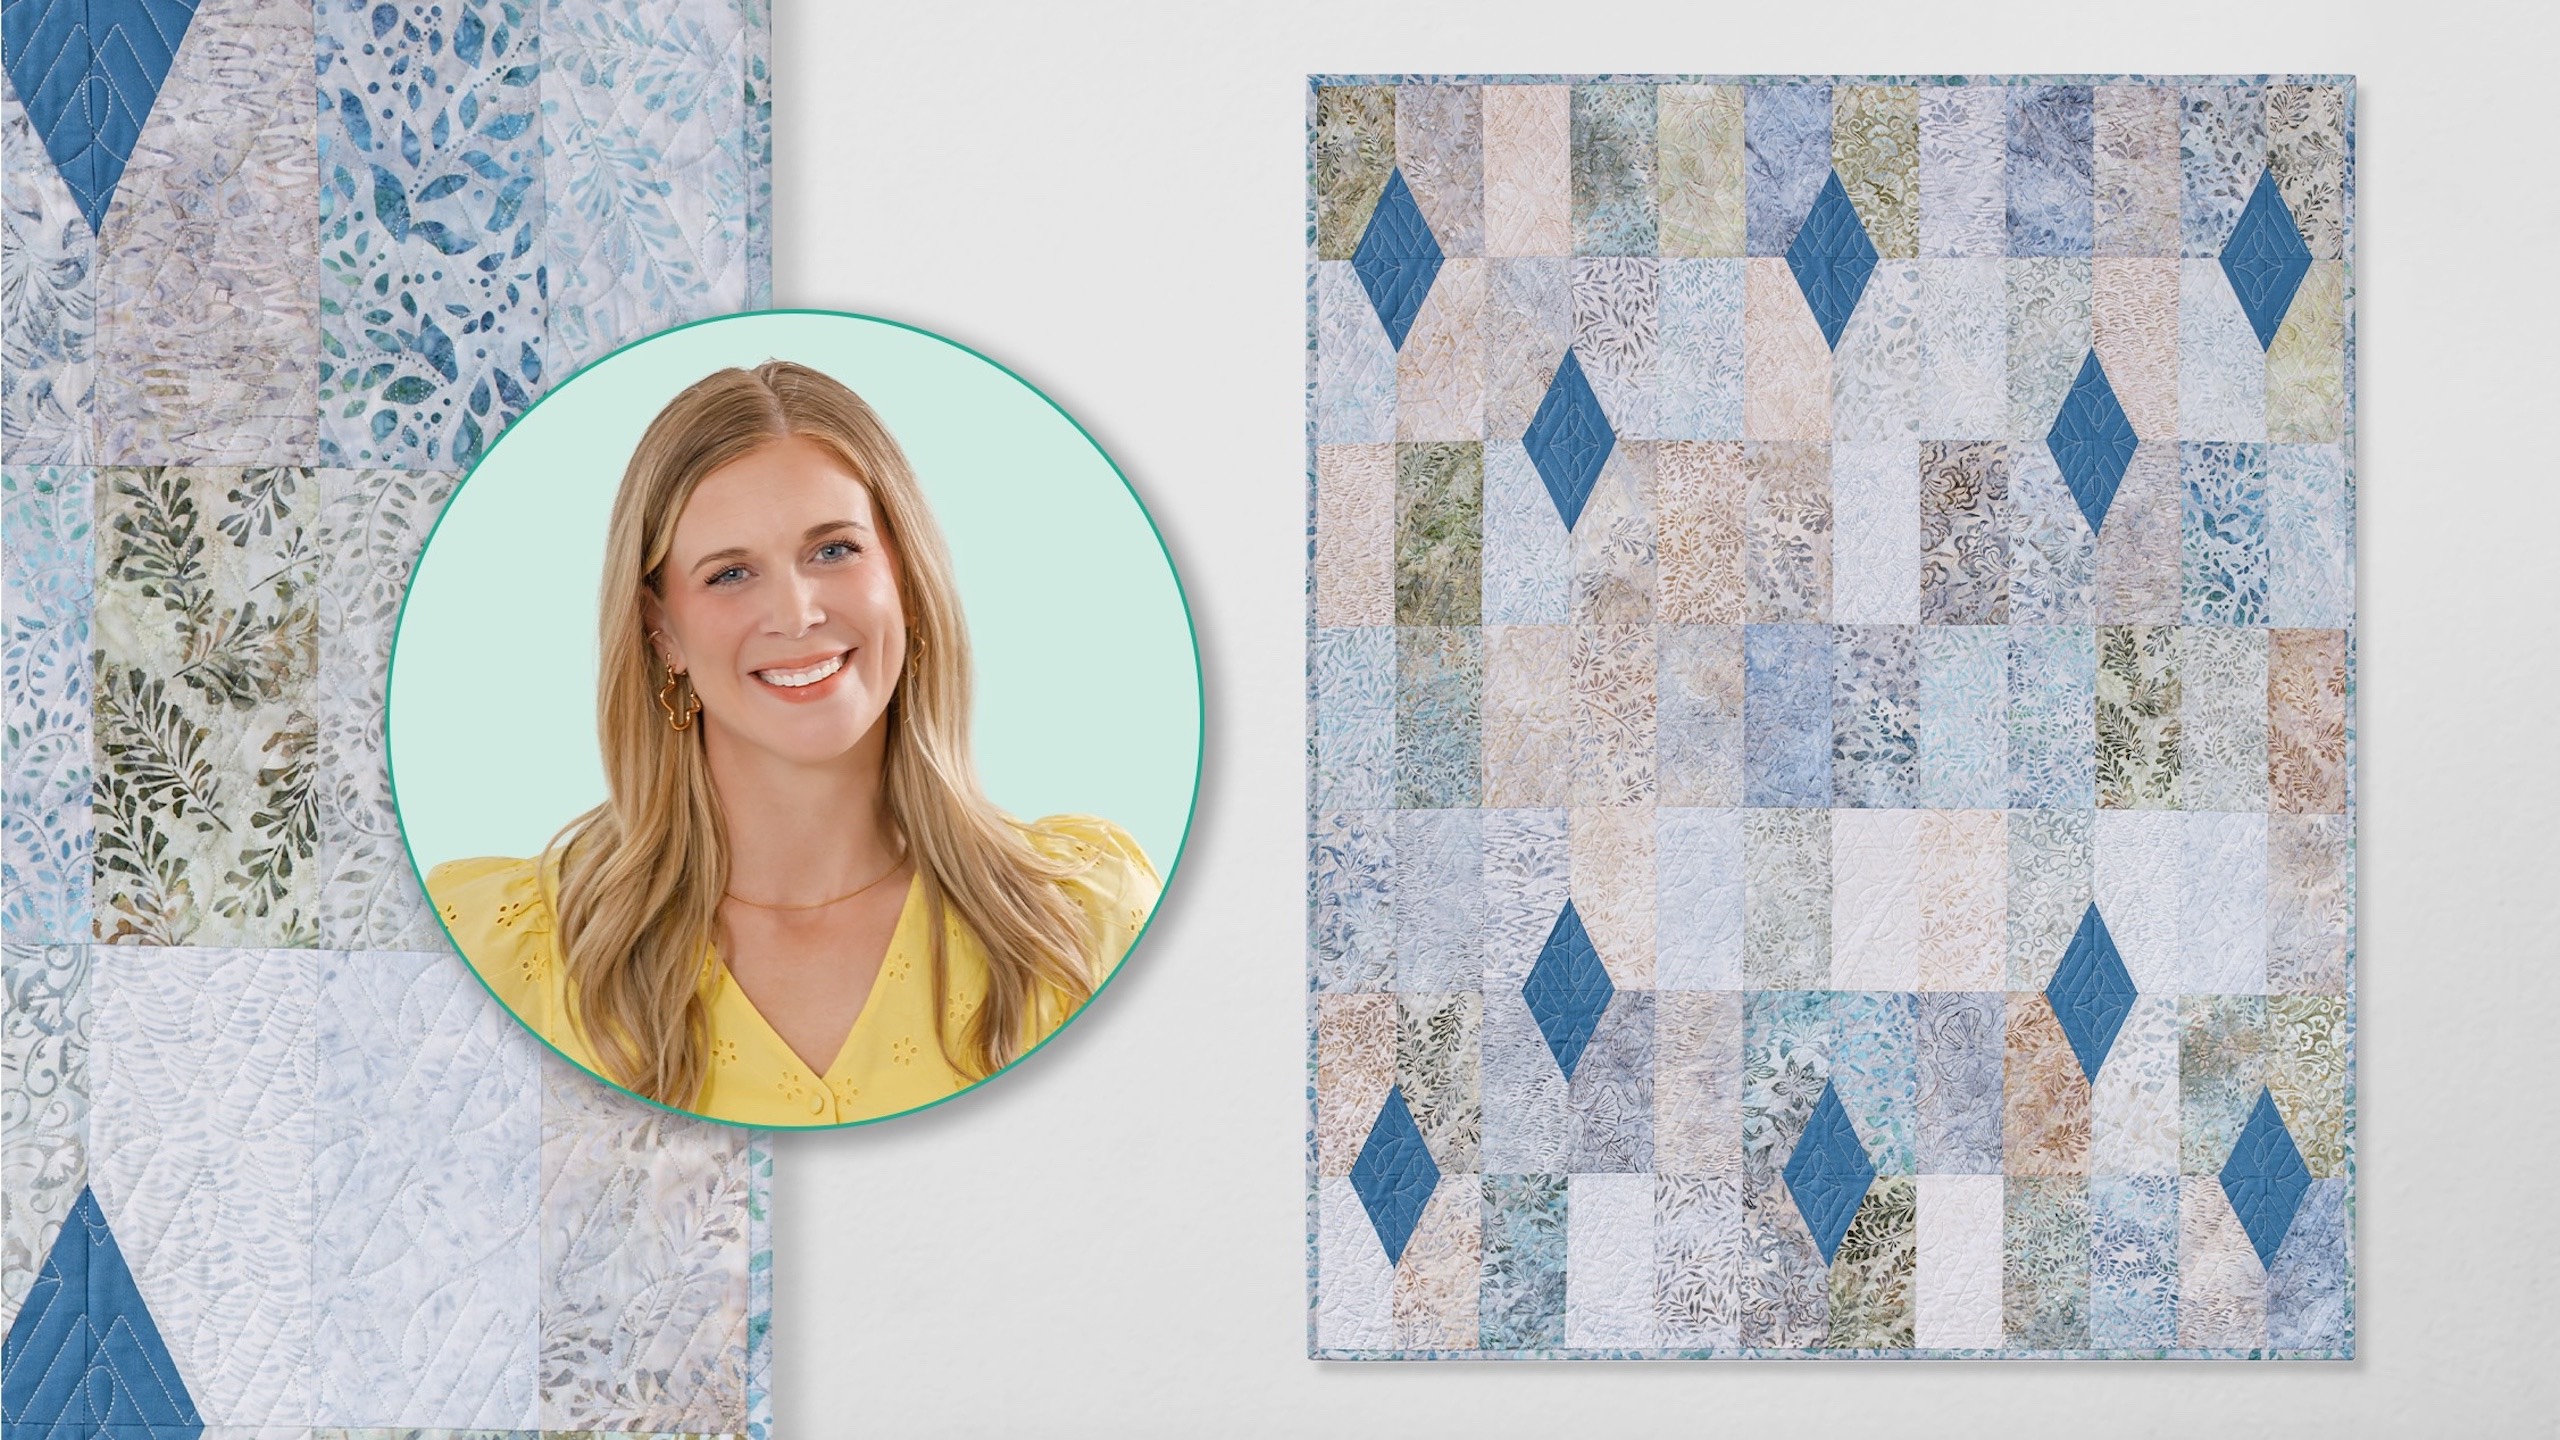
 Misty Doan
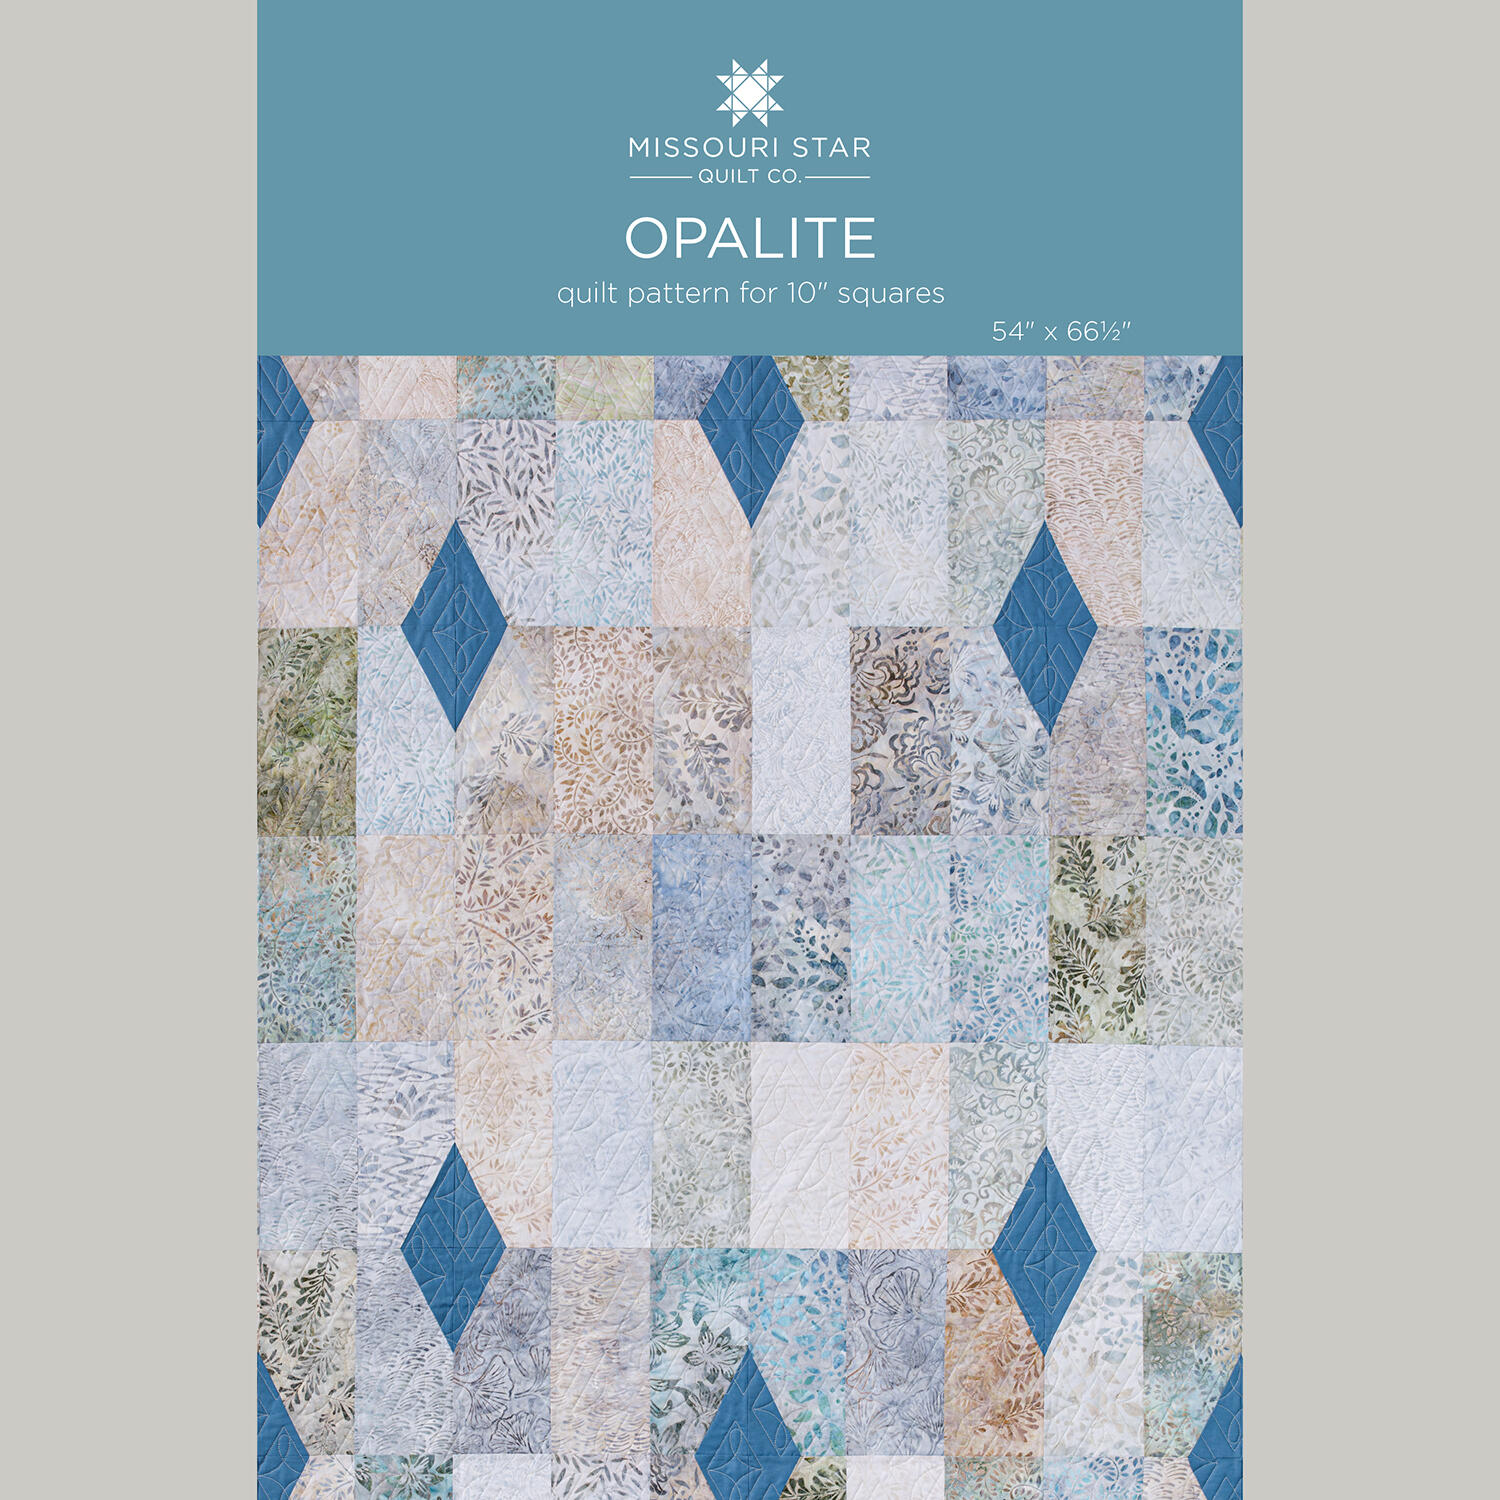 Opalite Quilt Pattern by Missouri Star$8.50Shop →
 Digital Download - Opalite Quilt Pattern by Missouri Star$6.95Shop →
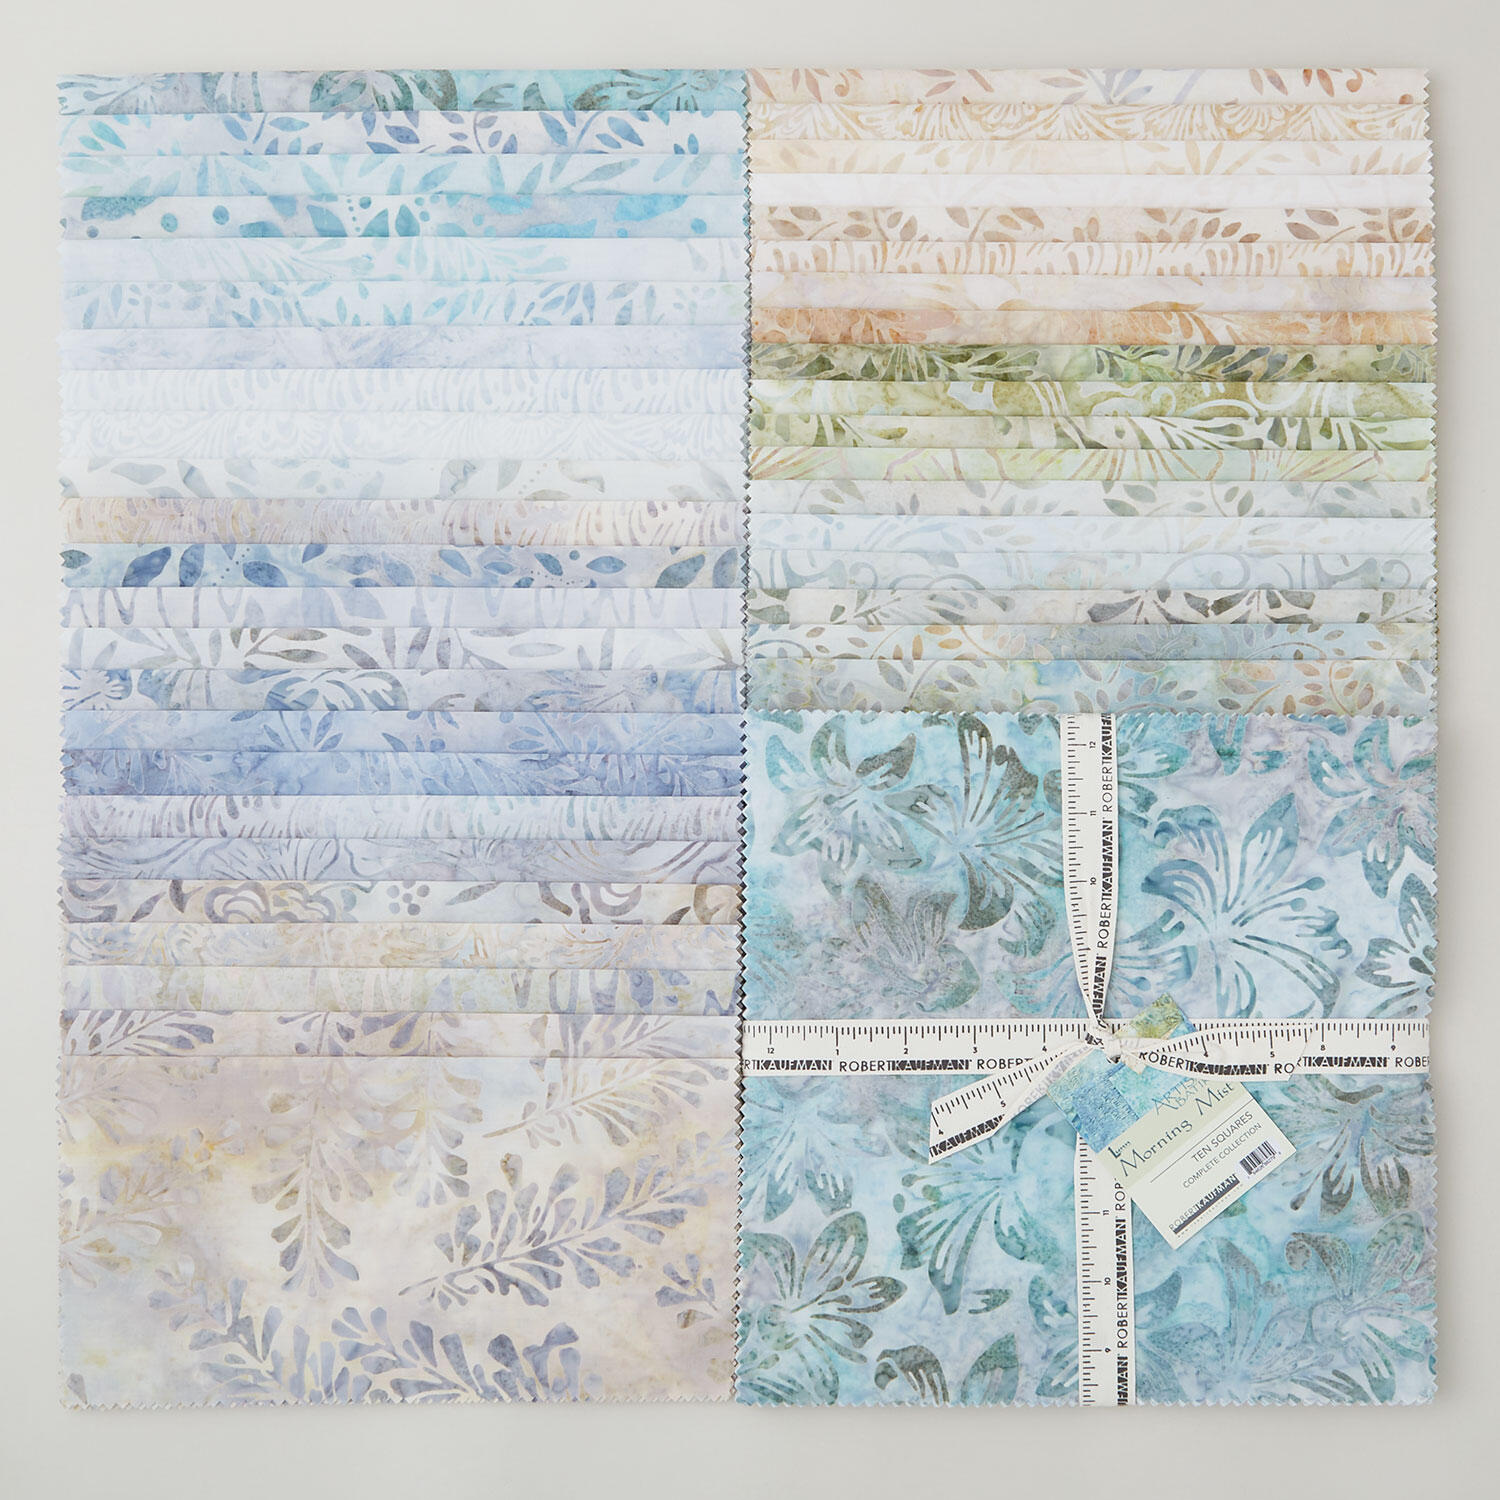 Artisan Batiks - Morning Mist Ten Squares$45.75Shop →
 Kona Cotton - Delft Yard$7.92Shop →
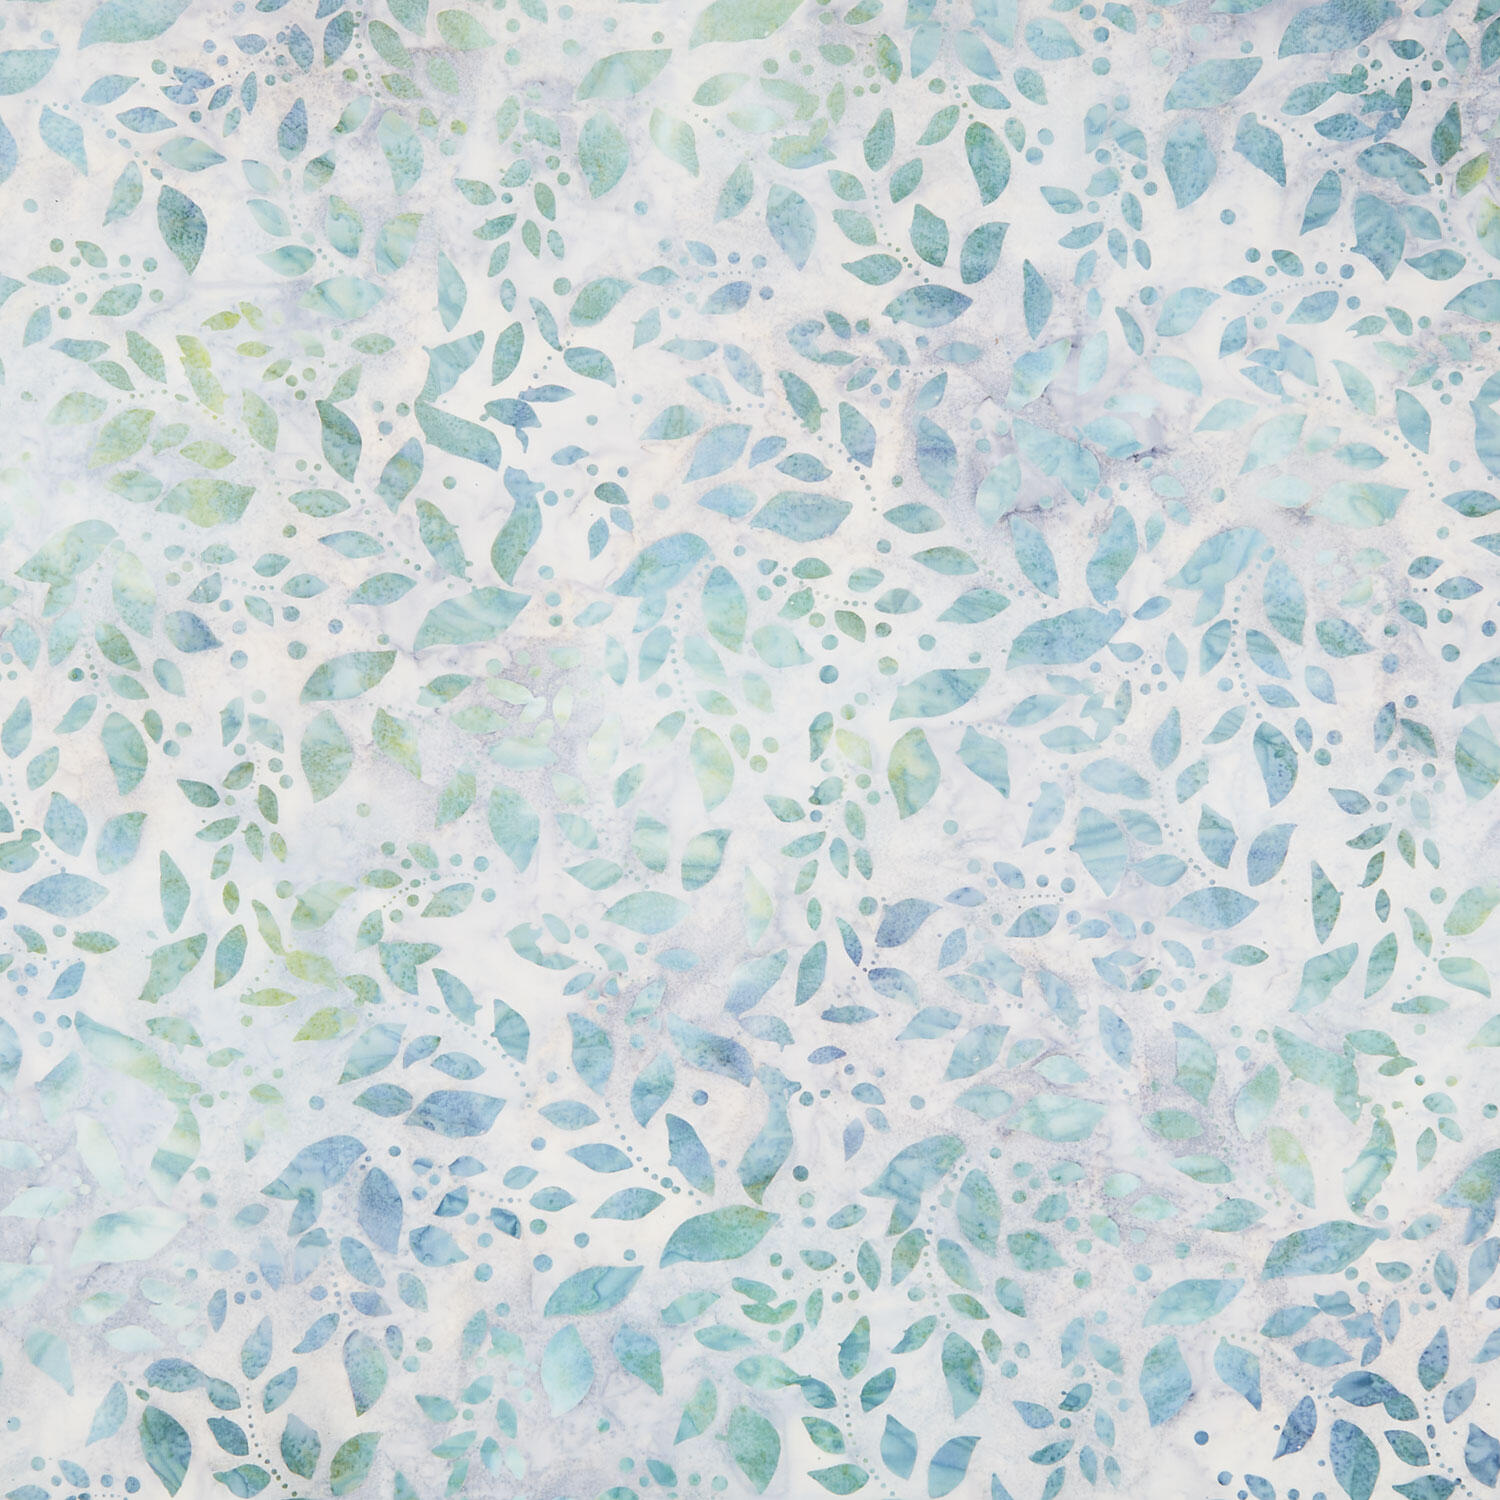 Artisan Batiks - Morning Mist Scattered Leaves Powder Yardage$12.44Shop →
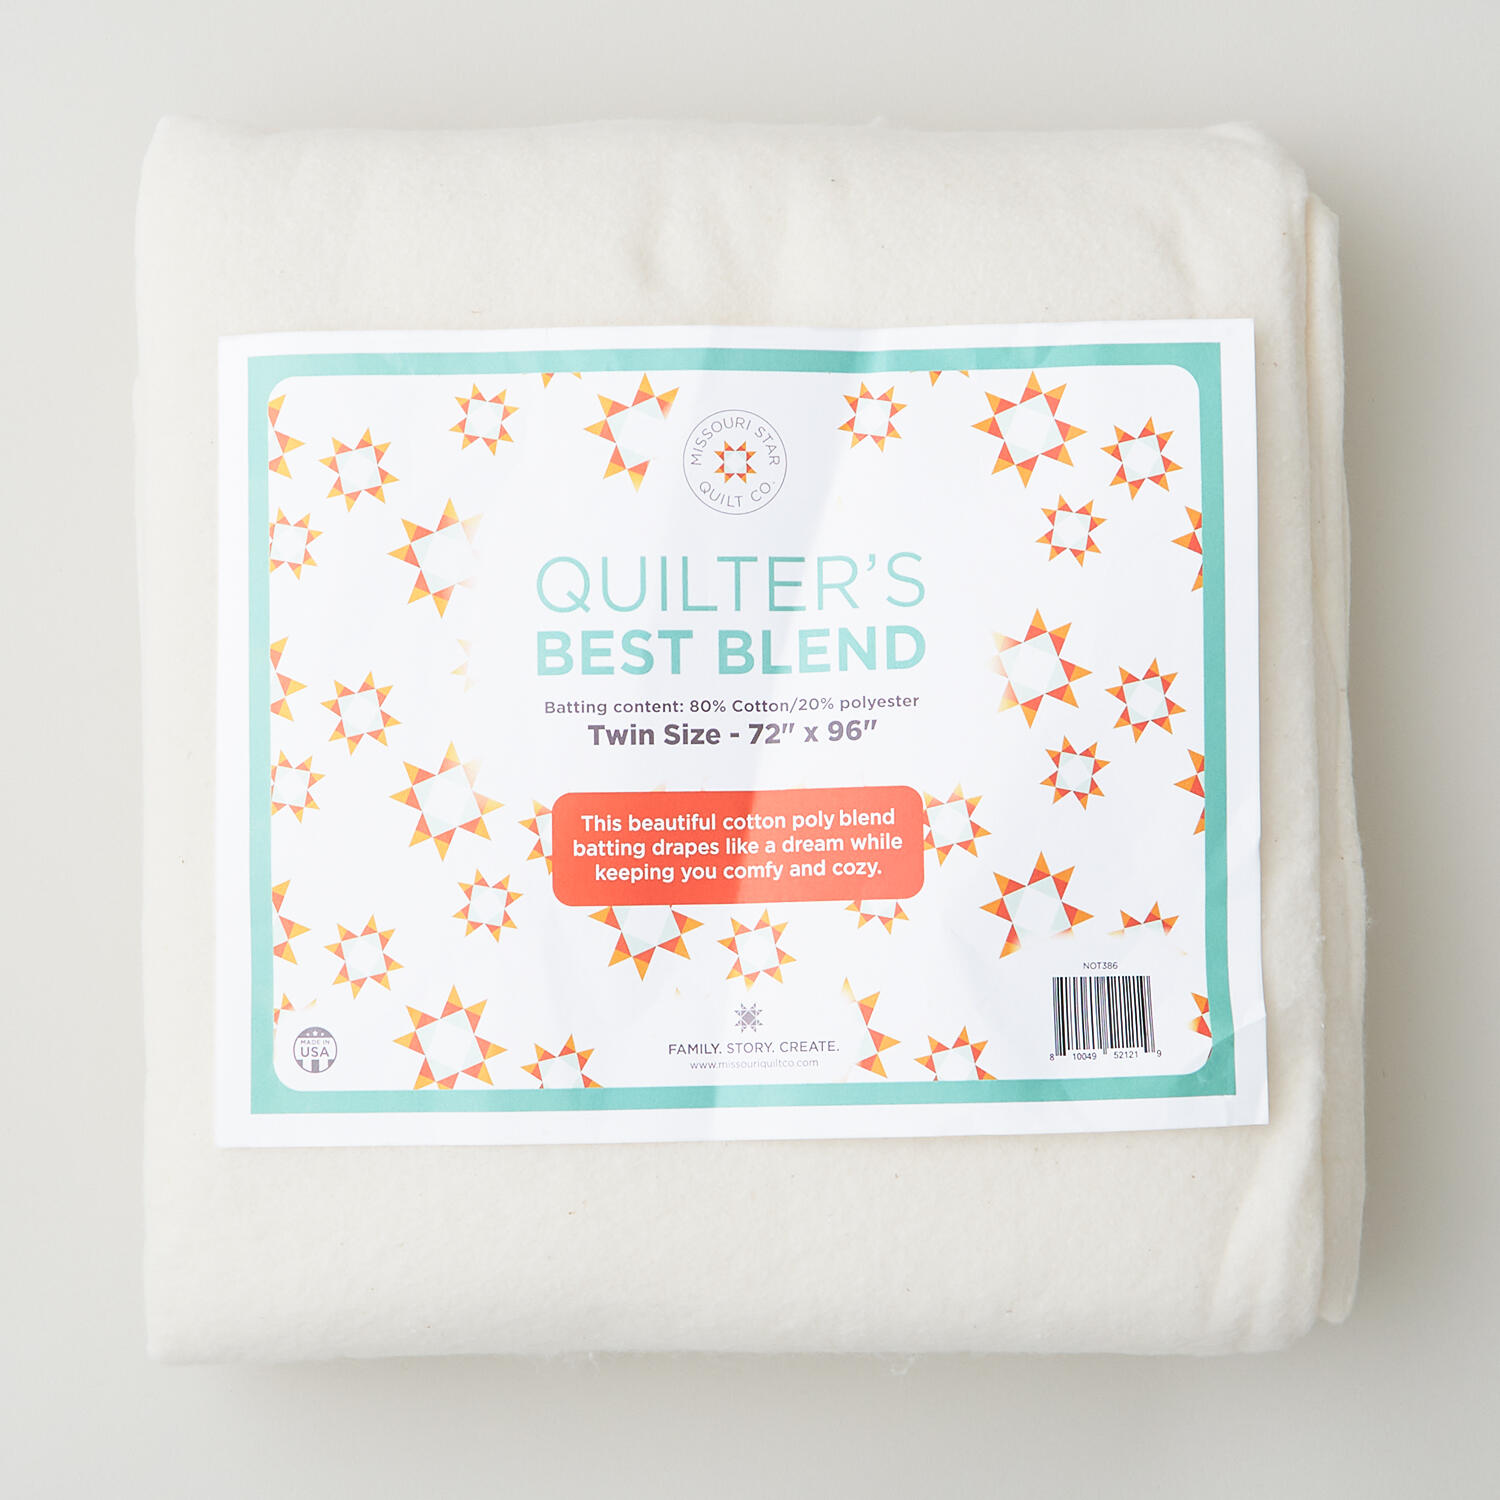 Missouri Star Quilter’s Best Blend Twin Batting$26.95Shop →
 Missouri Star 5" x 15" Ruler$19.95Shop →
 Missouri Star 45mm Rotary Cutter - Olga$19.95Shop →
 Missouri Star 8" Everyday Scissors - Amelia$19.95Shop →
 Missouri Star 50 WT Cotton Thread White$7.95Shop →
 Missouri Star + Oliso TG1600 ProPlus Iron$209.95Shop →
 Bernette 77 Sewing and Quilting Machine$1699.00Shop →
 Kona Cotton - Blue Jay Yardage$7.92Shop →



