
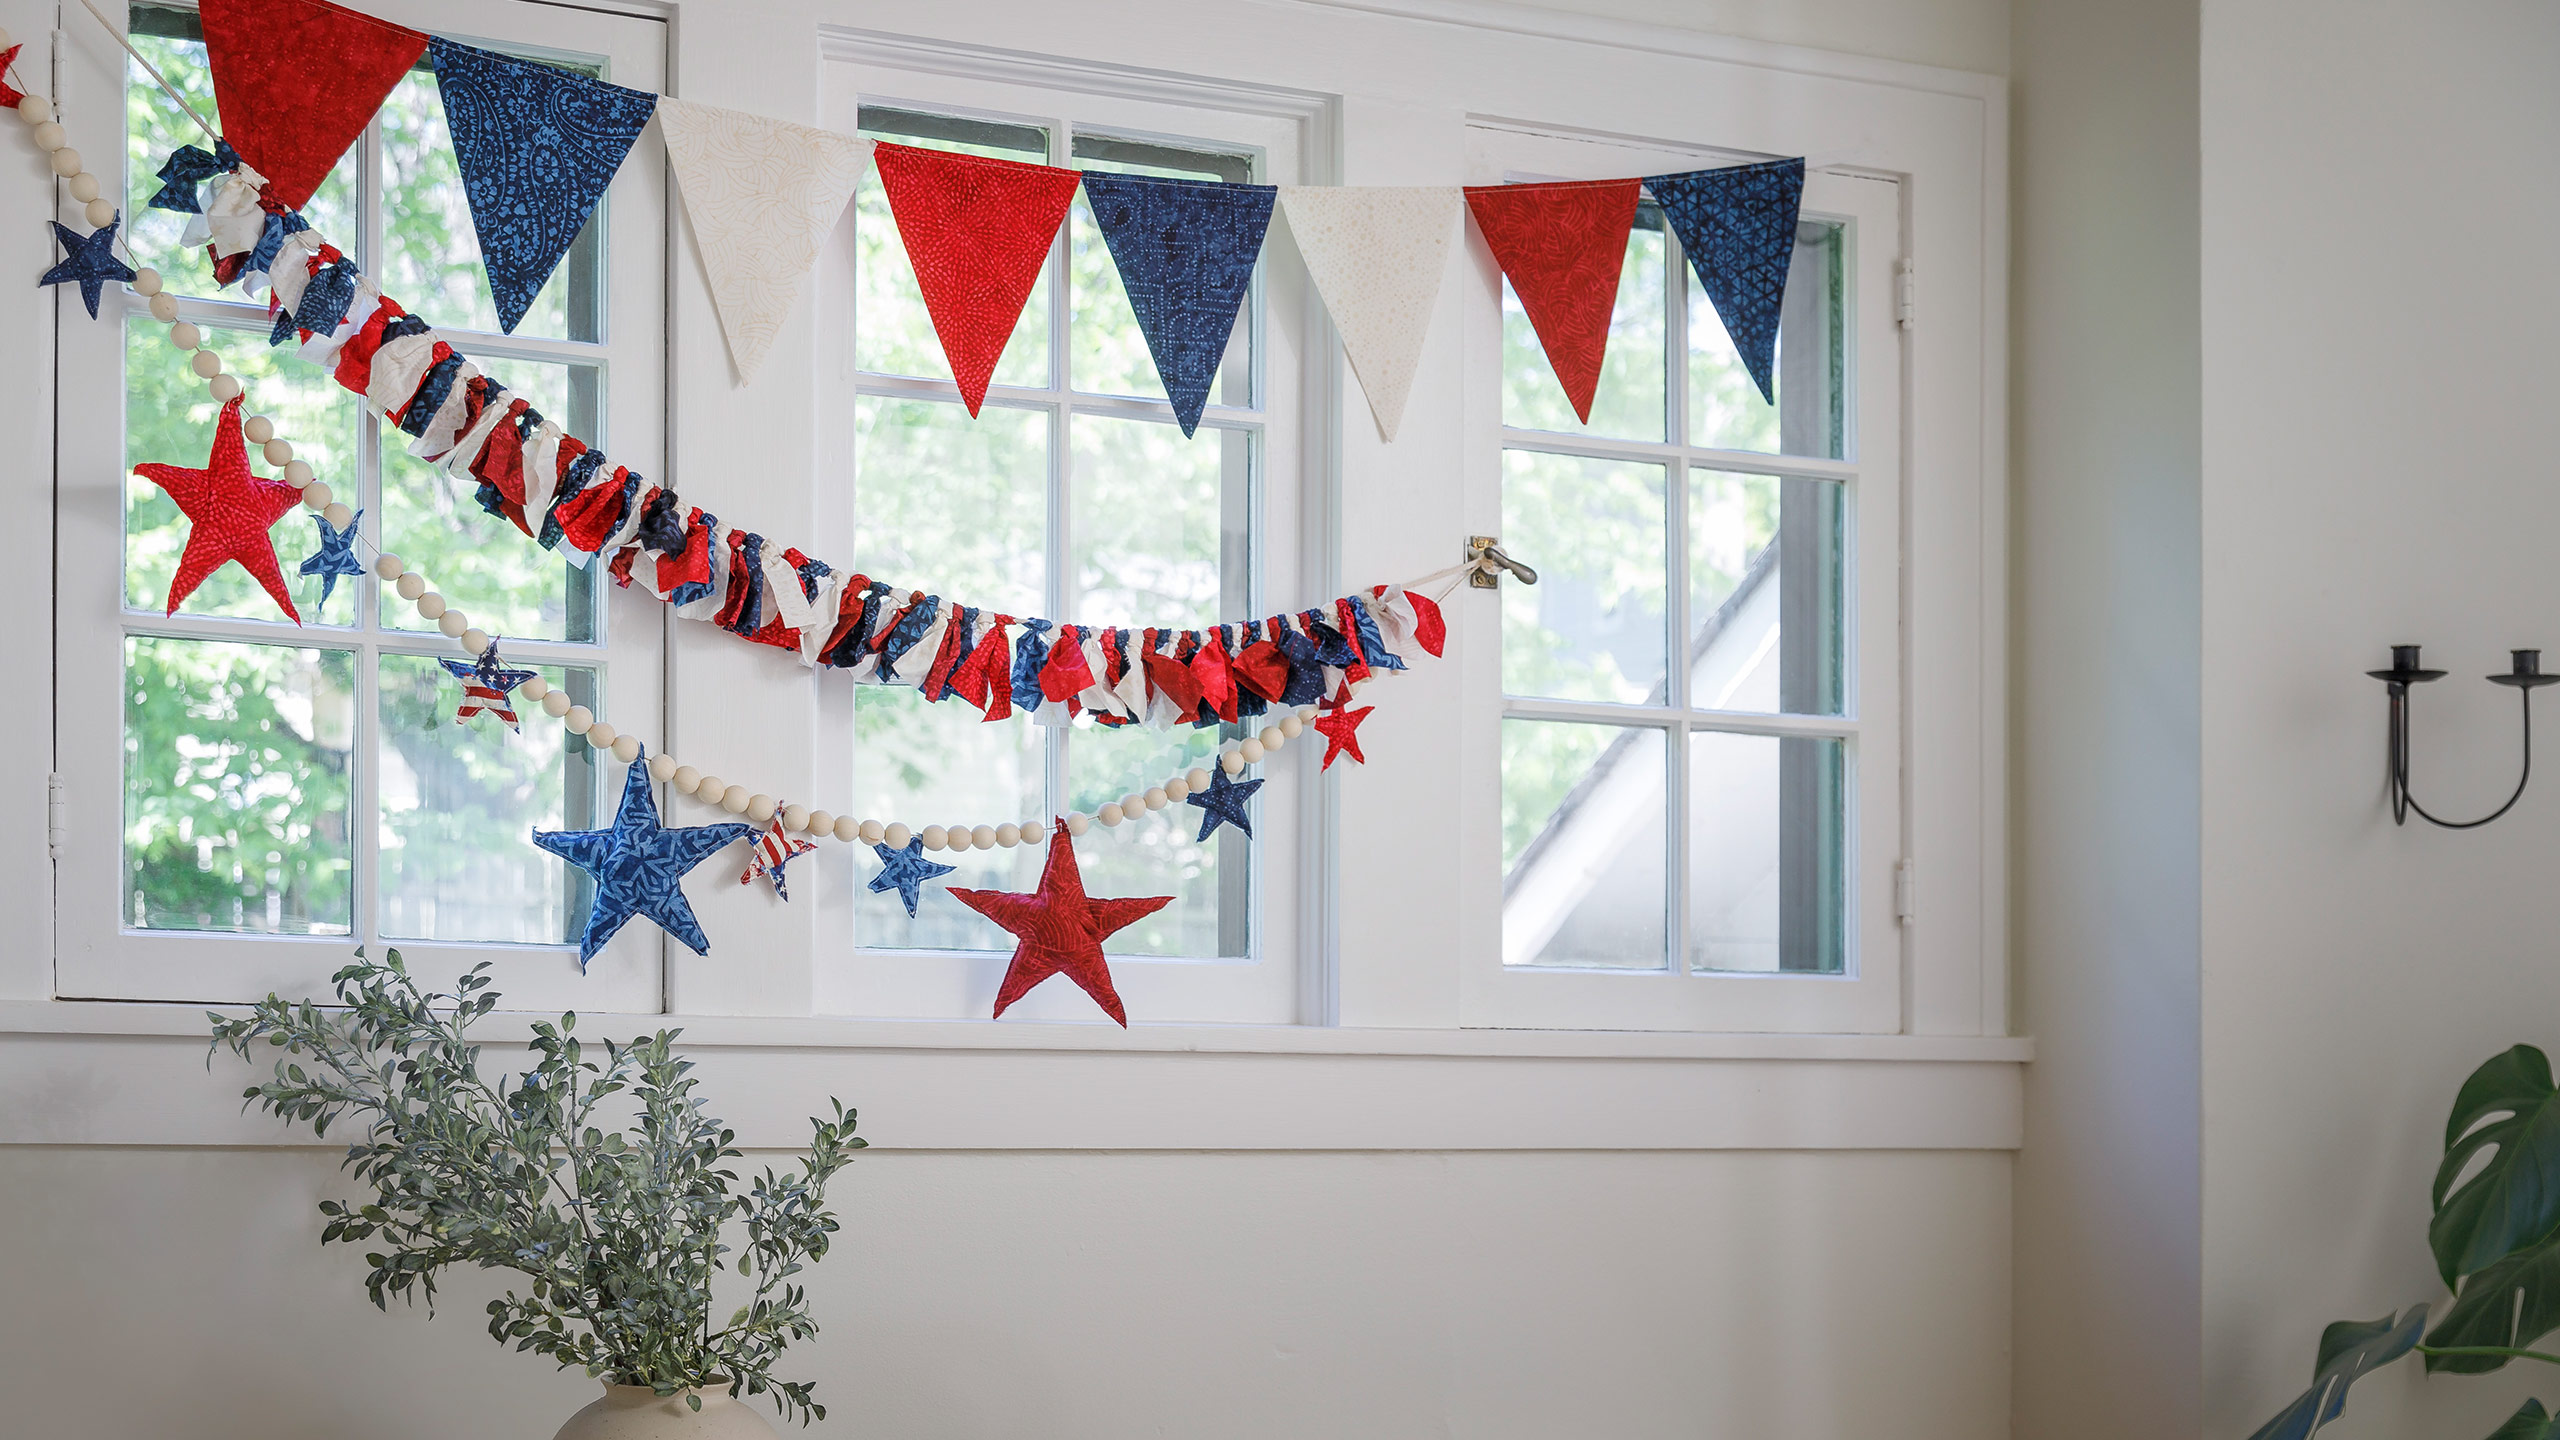
Patriotic Banners -Three Ways!
Make this Fourth of July a banner day! Show your patriotic pride with festive red, white, and blue banners. Misty demonstrates three variations of the banners, including a string of puffy stars, which you can make with the Missouri Star nesting template set. Great for decorating anytime you want to display your own star-spangled banner!

Instructor
Misty Doan
Misty Doan grew up surrounded by sewing and quilting. She loves spending time sharing tutorials each week each week, and when she’s not stitching up one of her fun sewing projects for home decor, most likely you’ll find her hanging out with her husband and three awesome kids or working on a house project.
Shop this tutorial
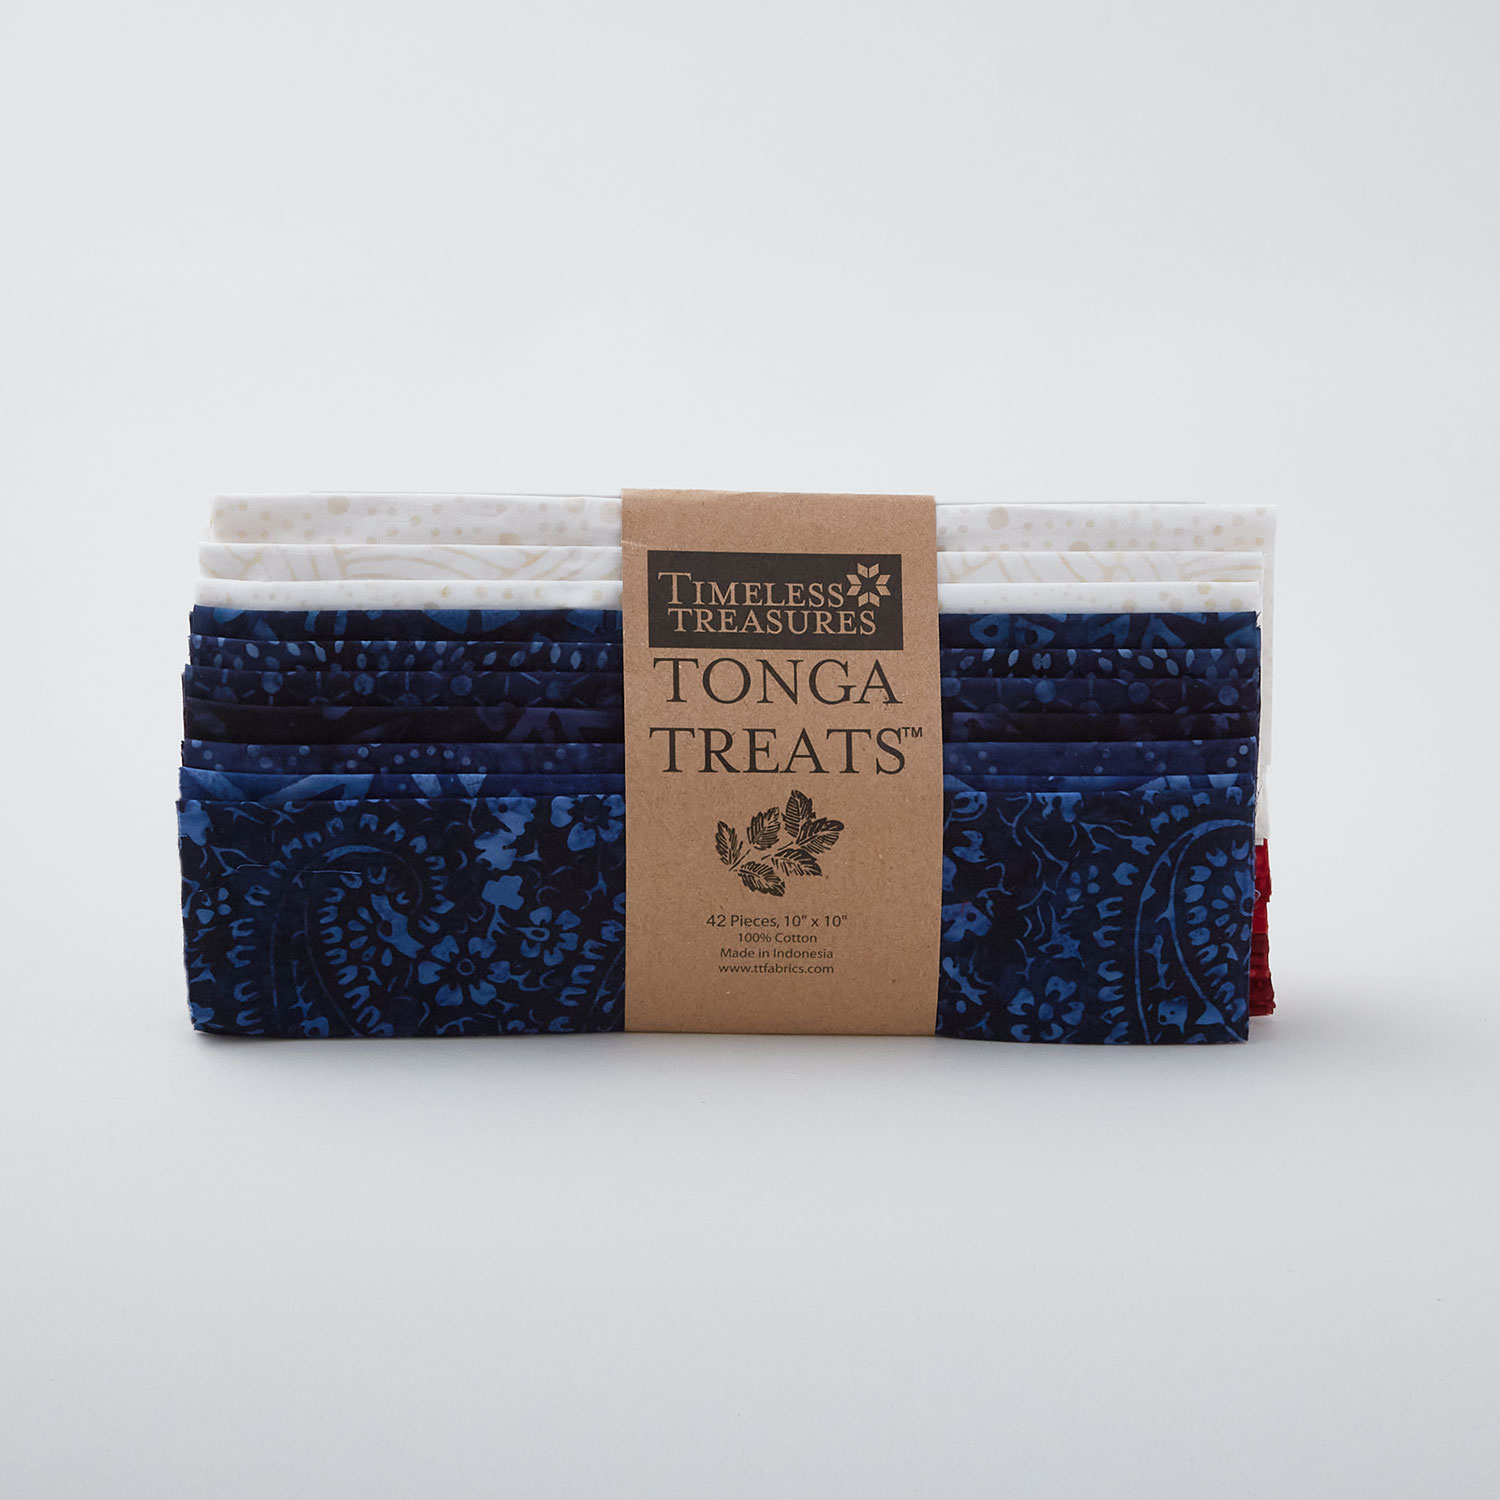 Tonga Batiks Liberty 10" Squares$42.95Shop →
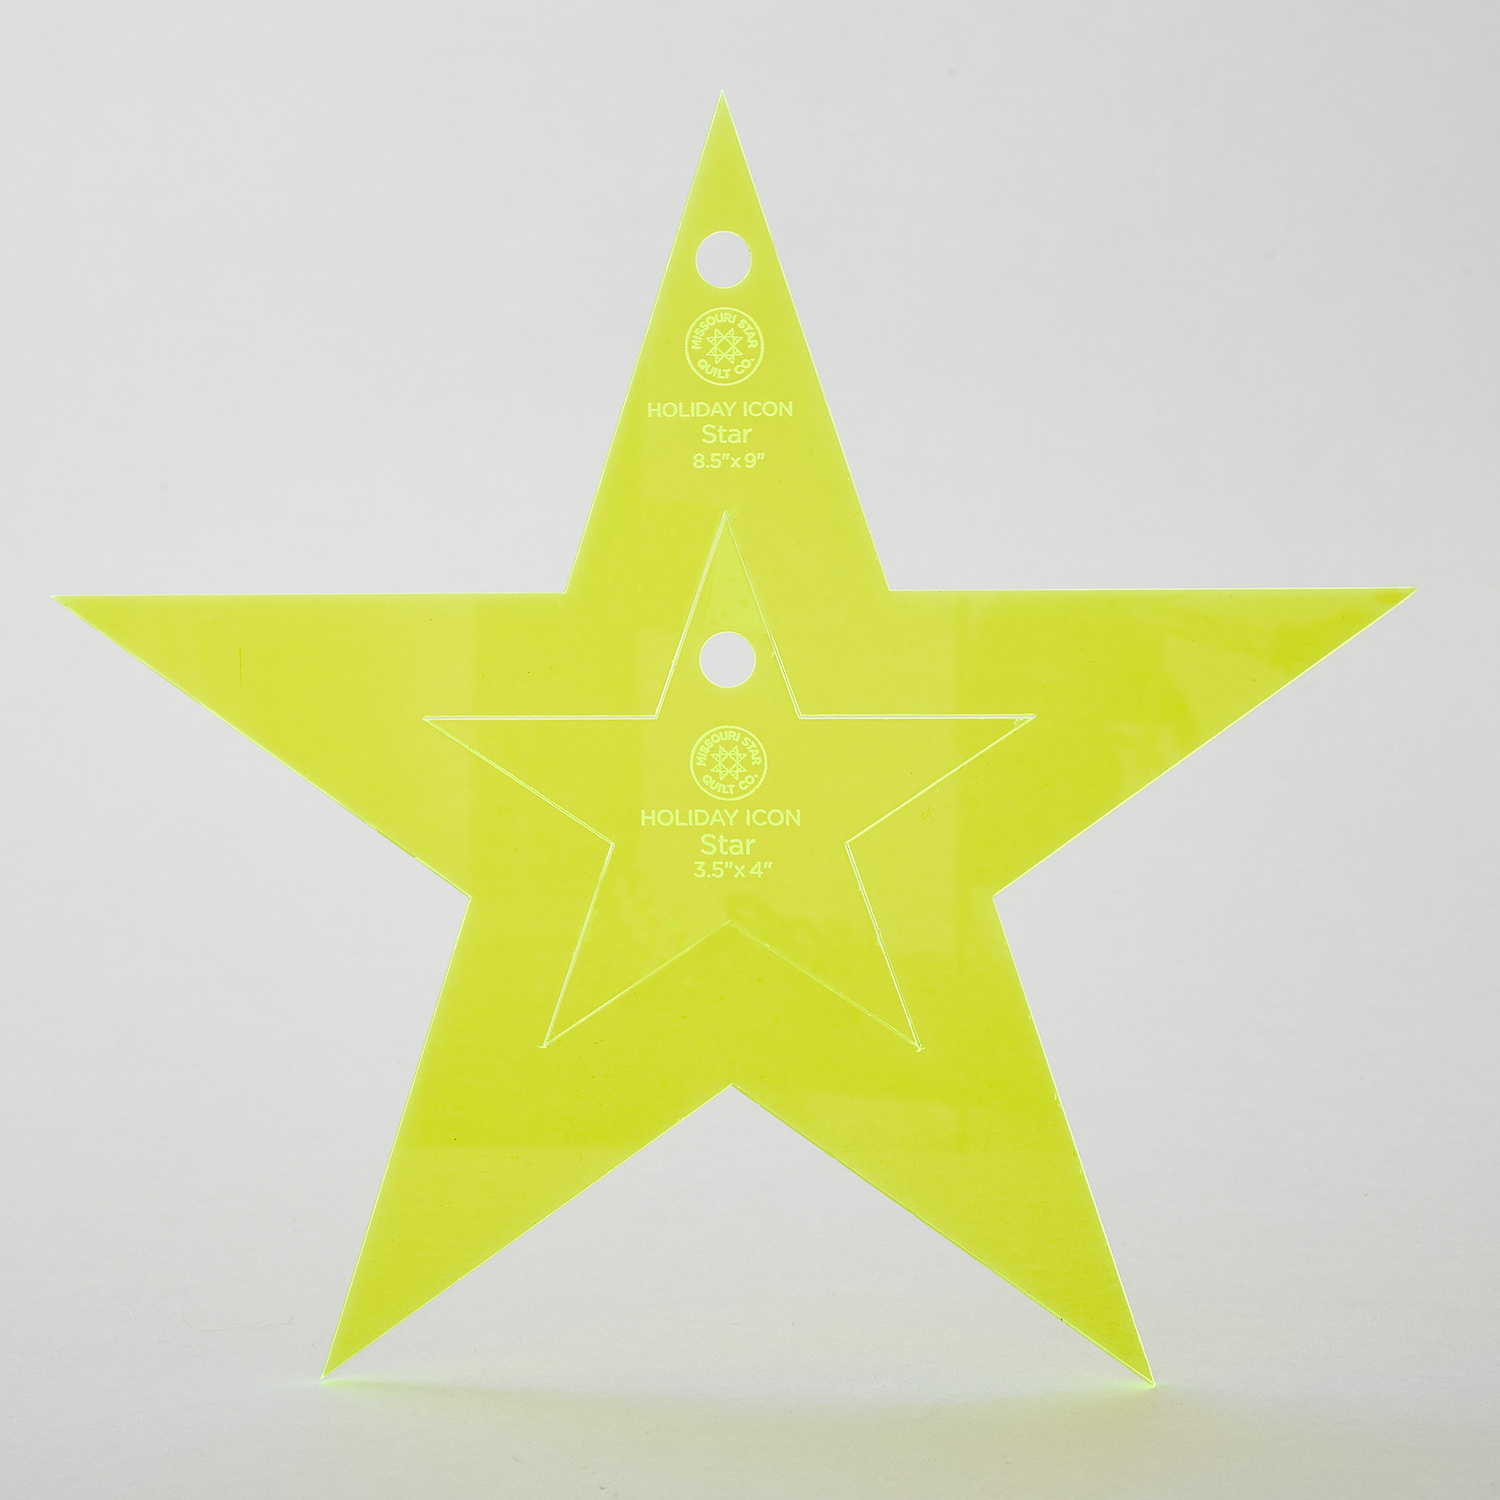 Missouri Star Nesting Star Template$12.95Shop →
 Poly-Fil Fiber 12oz$7.95Shop →
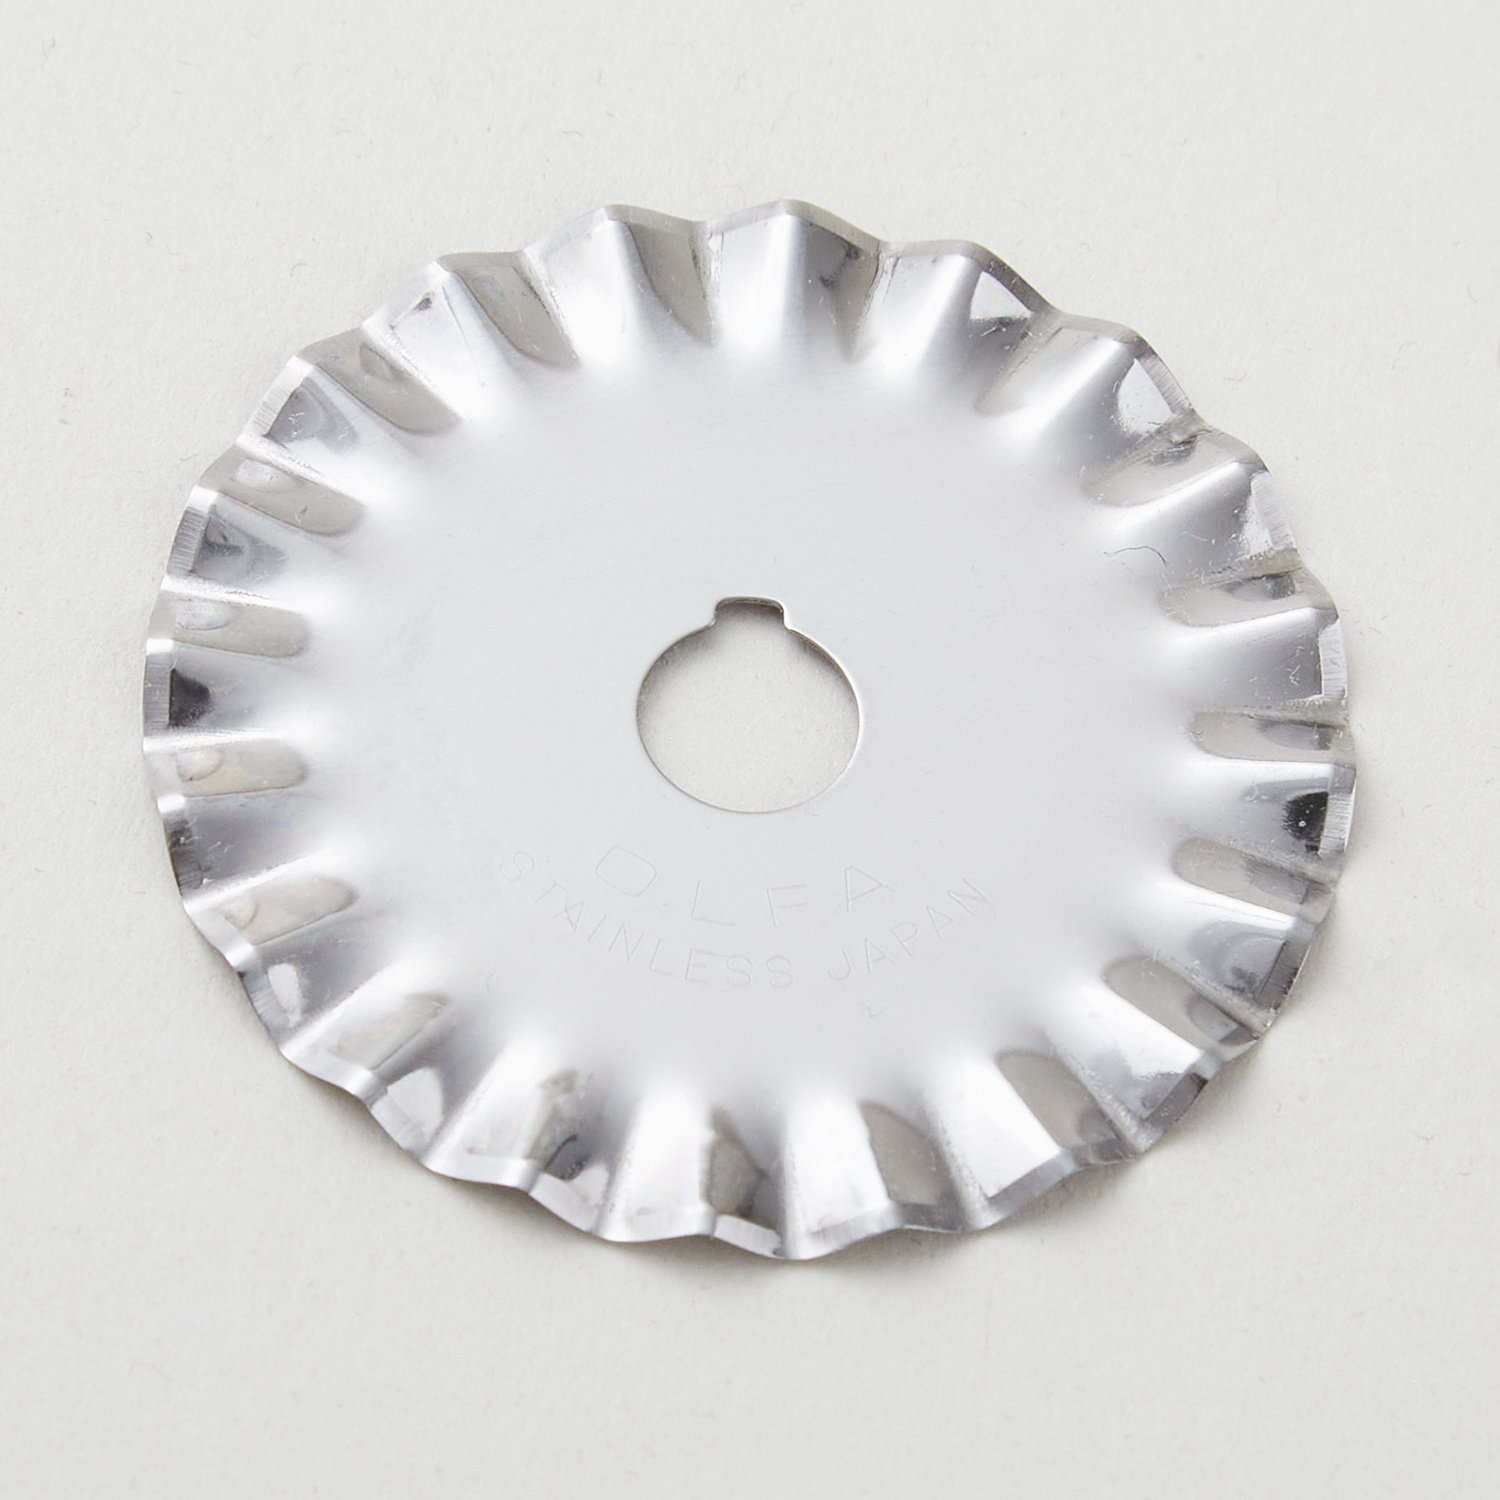 Olfa 45mm Pinking Blade$12.95Shop →
 1/2" Cotton Twill Tape - White$0.49Shop →
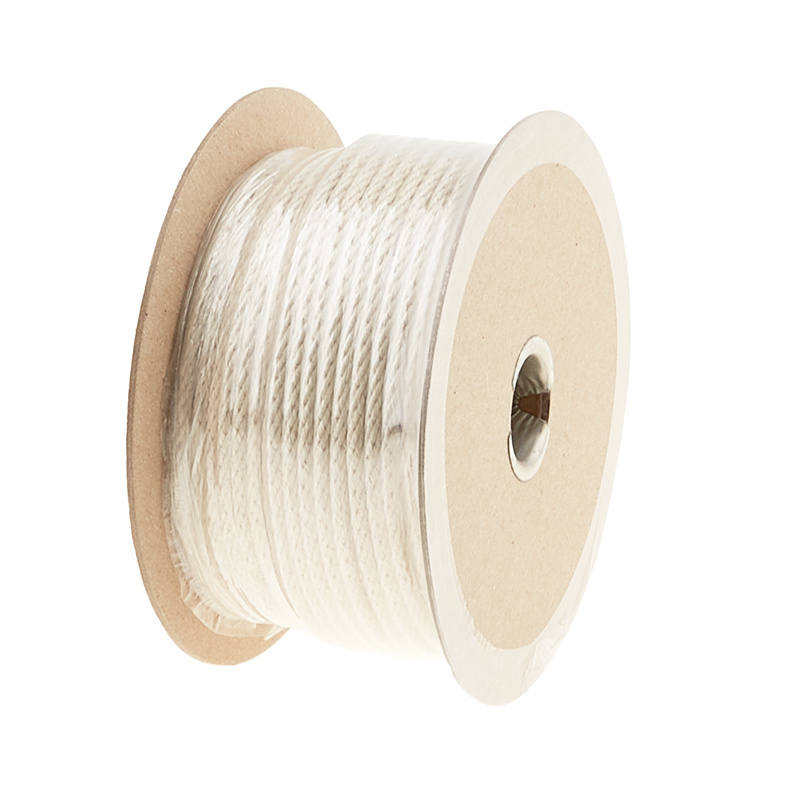 Cotton Braid Rope - 3/16" - 66.6 yard spool$39.95Shop →
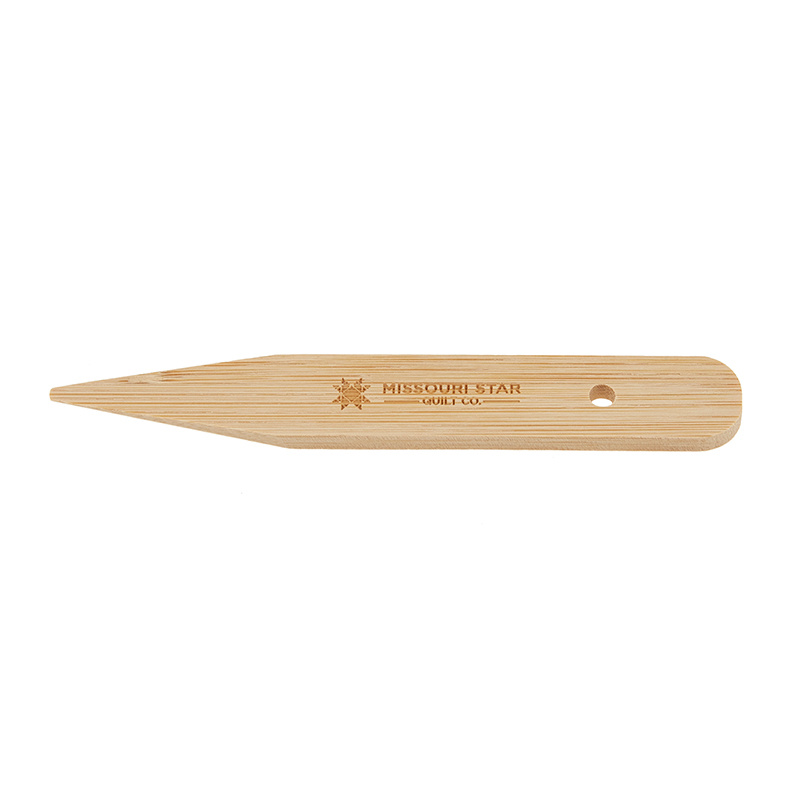 Missouri Star Bamboo Creaser Tool$2.50Shop →
 Missouri Star 45mm Rotary Cutter$19.95Shop →
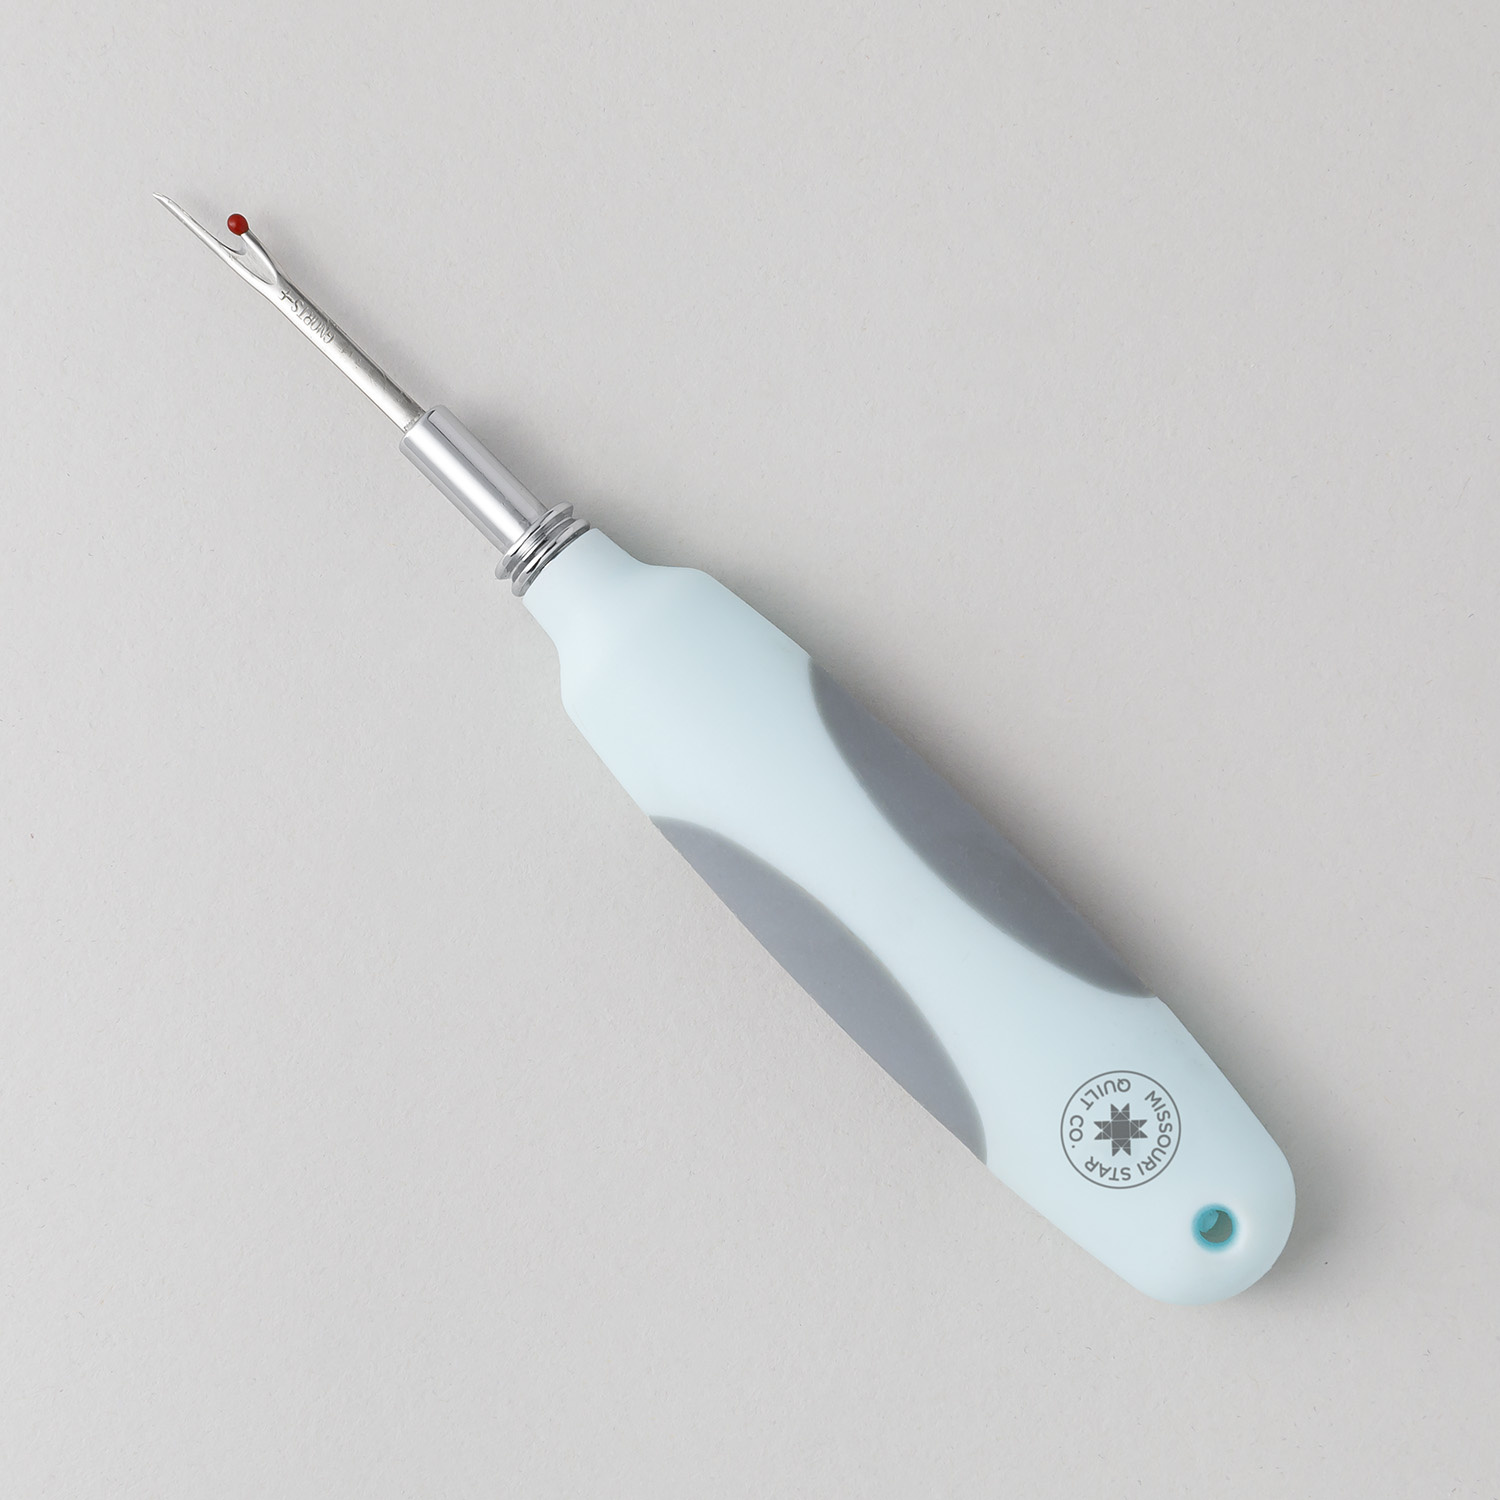 Missouri Star Seam Ripper$9.95Shop →
 Missouri Star 8" Everyday Scissors$19.95Shop →
 Missouri Star 50 WT Cotton Thread White$7.95Shop →
 Exclusive Missouri Star Jenny TG1600 ProPlus Oliso Smart Iron$199.99Shop →
 Missouri Star Wooly Betty Board - 17.25" x 25.5" Orange Border$99.95Shop →
 Bernette 77 Sewing and Quilting Machine$1499.00Shop →
Common Questions
What is covered in Patriotic Banners -Three Ways!?
Make this Fourth of July a banner day! Show your patriotic pride with festive red, white, and blue banners. Misty demonstrates three variations of the banners, including a string of puffy stars, which you can make with the Missouri Star nesting template set. Great for decorati...
How long is the tutorial video?
The tutorial video is 00:13:05.
Are supplies listed for this tutorial?
Yes. The tutorial page includes the supplies and materials connected to this project.
Is a transcript available?
Yes. A written transcript is available on the tutorial page.
Video Transcript
All right, so we have three different banners that we're going to make today. One of these you might have seen before, but I thought we would just do a refresher and we will start with that one.
So to begin with, I just grabbed some things that I had around my sewing room and my craft room. So you might have some of these handy. I use this Liberty layer cake by Tonga Boutiques. It's all red, white and blue, since I was trying to decorate for the big Fourth of July party that we have at our house. But keep in mind you can adapt these to any holiday or birthday, depending on what colors you choose or what templates you choose.
And so you'll also need for this version the star template. You might need
some twine or some twill tape or even some of the rope that we've used on other projects. Don't be afraid to try different things! So first up we are going to take our 10 inch squares and I have a few here. We're going to fold those in half diagonally just like so and we're going to sew down one side. So I'm going to sew a few of these. So we'll fold it in half and we're going to sew on one side. So let's go ahead and take this to the machine.
All right, so we're just going to stitch down this one side. And if you're making a bunch of these for your banner, you can just feed one in, one after the other, just chain piece these. Here we go. I'm just going to make a few because I have some already done. Let me grab my scissors and this little turning tool can be quite handy for this project. So we are just going to flip this now, right sides out, and you can use the little point of this turner to press this point all the way out. Then we want to center the seam so that it lines up with this other opposite point, so that's what we're looking for. We'll go ahead and turn all of these and then we can take them to the ironing board and give them a good press.
There we go. If you don't have this turning tool you can use a chopstick or a knitting needle, whatever you have that will do the trick. There we go. All right now let's take this over to the ironing board. So again you're just going to kind of eyeball you want this point to line up with your seam, and we can just press that so it lays nice and flat. All right there we go.
Okay so now I have a few more of these done and you are going to take a piece of twill tape or ribbon or yarn, whatever you decide to use, whatever the length is that you want your banner to stretch. Then we are just going to… oh I actually forgot to fold these back. So you can press those back at the iron to or just finger press, but you want to fold those down and so I like to leave about 6 or eight inches as the tail. So I can pin this back, and then we're just going to lay this right along here and fold this over and top stitch so that this lays flat. You'll catch this inside here and so I actually like to stitch it for from the top side, just so I make sure that this looks nice
and smooth. Then I'll just feed one after the other at the machine. So let's
bring these over here.
So again I'm just going to make sure that this is all laying smoothly under this edge. And I can put it right under the needle. I'm going to go ahead and back stitch at the beginning and then zoom down, get to the end there and I want my next color to match up right with it. I'm going to go ahead and just press this since I'm sitting here and I can just to make it a little easier on myself to have that nice crisp line. So we'll fold this here, slide it up to meet my red, and continue stitching. And one more because why not? Okay there you go. You can see how quick and easy this method comes together.
So let me show you banner number two. So for banner number two, that's this one that you see hanging here. You'll notice I added some of these wood craft beads. We don't carry those here at Missouri Star, but you can pick those up from any craft store or online. And again I paired a couple of
10 inch squares and I used our star templates to trace one big star and a
couple of small stars onto my squares. Then we can cut those out. Let's go
ahead and cut out the big one. And this is where I was saying you could use any of the templates we have. We have Easter eggs and bunnies and you know, Christmas trees and hearts, all kinds of fun shapes that would make an adorable banner. So don't let the stars limit you. There's a ton of options for you and they'll be so cute depending on what fabric you choose!
So we'll just cut this out really quick. You probably could use a rotary cutter on this big one if you wanted to. There we go. Just a couple more cuts here, all right, there we go. So now I'm just going to go ahead and flip this so that any of my markings are going to be towards the inside. I don't want those to show. We are going to go ahead and stitch around this leaving about a 2 inch opening along one of the legs. I don't like it to be in any of the inside or outside points. We are going to stuff this with a little bit of Polyfil.
So let's just go ahead and stitch all the way around and then we'll come back here and fill it up. All right, there we go. So for this I decided that I wanted to have the raw edges as part of it. If that's going to bother you,
you could use pinking shears to pink those edges or you could sew this and turn it right sides out, so just keep that in mind. You don't have to finish it this way. And so then we're just going to take a little bit of our Polyfil. Remember, less is more! We are just going to open this up and stuff it inside. Again this is where this little tool can come in really handy to help shove it in there and fill up all the little edges. We can just push that down into one of the points. But this is a great project. If you have them all stitched up, you can sit and fill them while you're watching a show. When it finishes up they look like this. They turn out super cute.
So then I just used some twine and I just fed five beads on and then a star, and then five beads and a little star, and I just spaced them out exactly how I wanted. I just tacked these in place with some thread. So you could hand stitch them in place, you could honestly even hot glue them in place and they'll look super cute. I just love how this one turned out and again you can make it for any holiday. You don't have to use the stars.
So let's go on to this last one, the quick and easy rag tie. So last, but not least, I have this great simple rag tie banner. This is a great one to bring in the kids or grandkids. Anybody can make this, even your spouses, whoever you want to rope into doing this with you! It's just a really quick one and you can use any fabric that your heart desires. I made these for my daughter's curtains one year. We just hung a rag banner across the top of the curtains and a fabric that she loved and it was so cute.
So either way, I just cut a piece of rope the length that I wanted and then I took some of my 10-inch squares and I cut them into 2 inch by 10 inch strips. So you have no waste! You could also, if you have jelly rolls, you could just use that width too and it would be fine. We are just going to fold these in half and find the middle and we are going to put our rope over and just do a slip knot to pull these through, just like so. And you don't have to worry about them being too perfect - that's just part of the fun. When it all comes together it looks so cute! So we'll just add one after the other and you just press them close and keep adding your colors. It is that simple!
This is one that as you can see when you combine with some of these others, it looks so great layered up. And sometimes the variety is what gives us the most interest! So it is as easy as that. Super, super simple. So let me just show you one more time, really close here, how I'm doing this so that you can get it. I'm going to use a different fabric. So we just have our 2x10 inch strip. We're going to fold that in half. I like to just kind of feed my finger through the middle there then we're going to lay that under the rope, find that loop and push the two ends through and then tug, just like so. And then you slide it up to meet the other ones. Super, super simple and easy.
I just wanted to give you three quick ideas to decorate for holidays or parties, whatever you have going on. And it's really fun to layer them all up together. I love the variety! I hope you enjoyed this tutorial and I'll see you next time on At Home!



