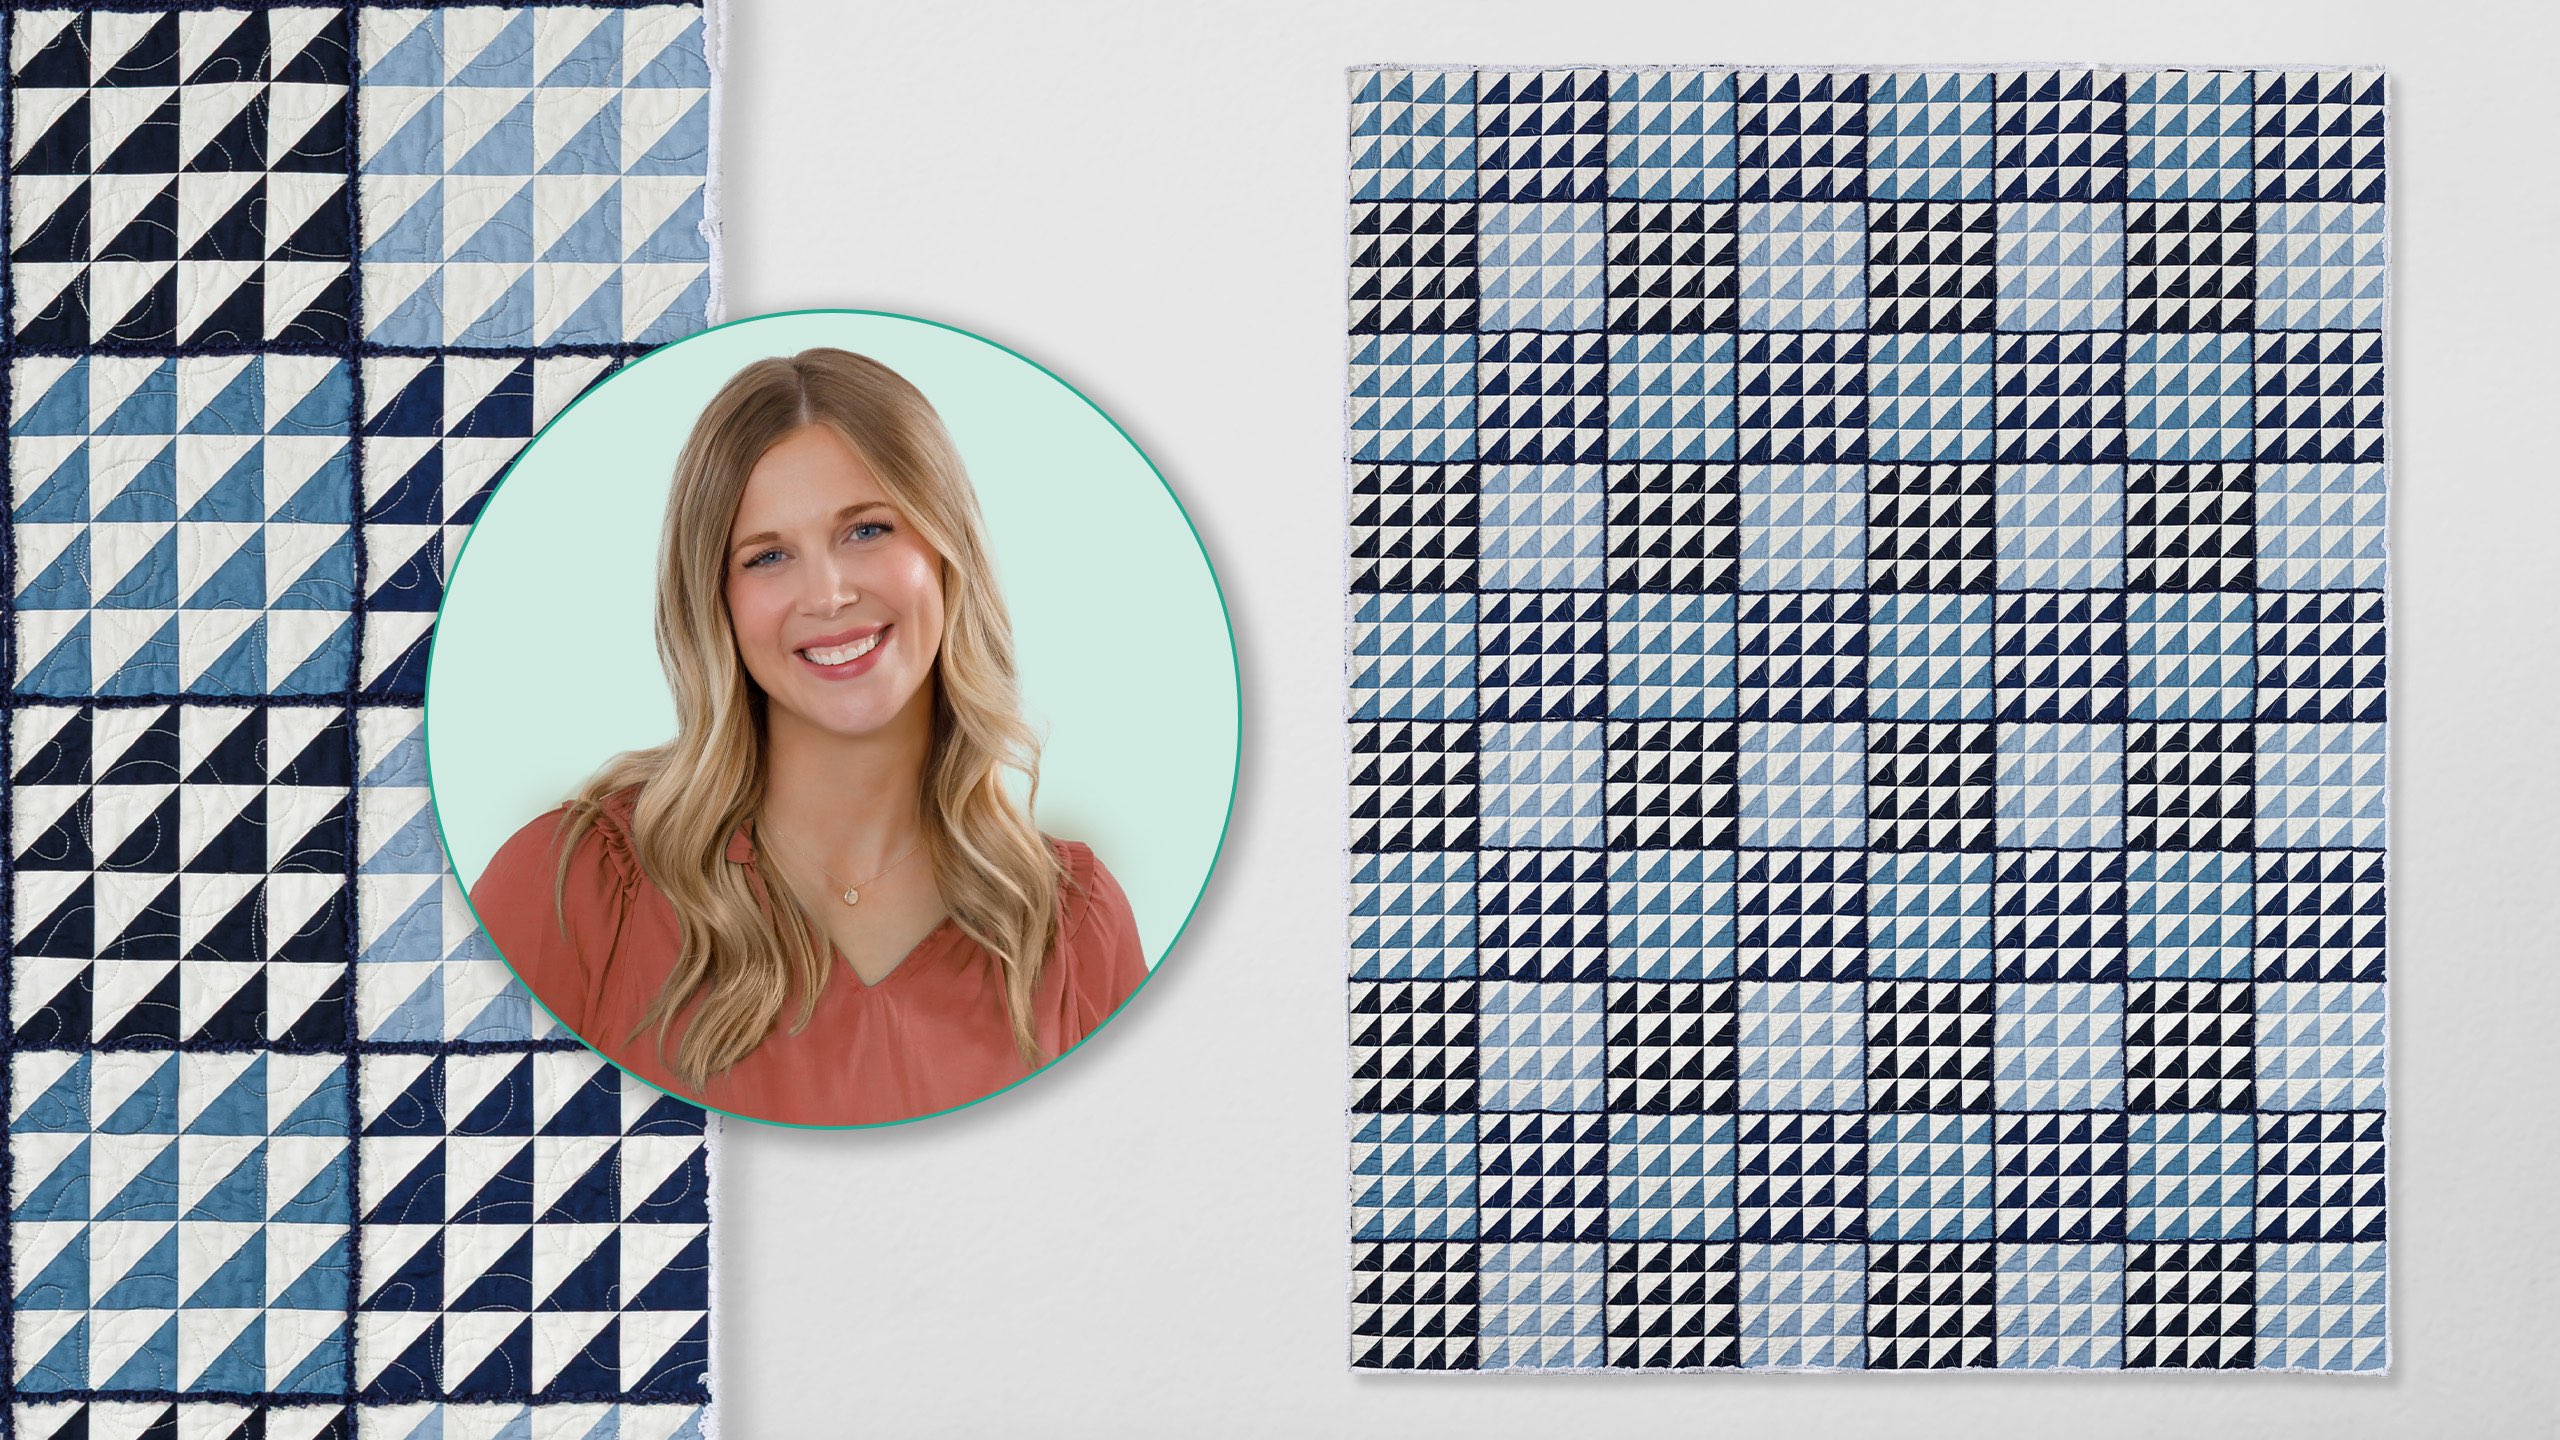
It's okay to cheat a little! Misty makes a quilt using whole cloth, or a "cheater" print, to get the look of a pieced quilt with a fraction of the work! The yardage, from the Perfect Points II collection by Whistler Studios, is printed with piecework designs, but no piecing is needed! Strips of Chenille-it Blooming Bias Trim create the look of quilted blocks, and Cuddle ® minky on the back provides ultra-softness!
Misty Doan grew up surrounded by sewing and quilting. She loves spending time sharing tutorials each week each week, and when she’s not stitching up one of her fun sewing projects for home decor, most likely you’ll find her hanging out with her husband and three awesome kids or working on a house project.
What is covered in Perfect Points Wholecloth Quilt?
It's okay to cheat a little! Misty makes a quilt using whole cloth, or a "cheater" print, to get the look of a pieced quilt with a fraction of the work! The yardage, from the Perfect Points II collection by Whistler Studios, is printed with piecework designs, but no piecing is...
How long is the tutorial video?
The tutorial video is 00:10:05.
Are supplies listed for this tutorial?
Yes. The tutorial page includes the supplies and materials connected to this project.
Video Transcript
Hey everyone, welcome to At Home. I am super excited about today's projects. I have some great last minute gift ideas to share with you using Windham's perfect points collection. So, if you are not familiar, our friends over at Windom Fabrics have a wonderful collection that they call perfect points. and it is a collection of cheater prints that are made up and inspired by some of our most well-loved quilt patterns. And so essentially what it is is it's allowing us the opportunity to make whole cloth quilts. And so if you're not sure what a cheater print is, well, it's what you see behind me and on the vest that I'm wearing here. It looks like we've worked really hard to do all of this piecing, but the fabric is just printed to look that way. So, it saves us a little bit of time and it's a great option for these last minute gifts. So, today I'm going to be making a cute little throw. So, grab this great free pattern from our friends over at Windom. It has all kinds of wonderful resources, no matter what size project you want to make. I'm just going to make a lap size. And for that, you're going to need a yard and 3/4s of whatever print you choose for the front. For the backing, I use this great navy cuddle. You'll need 2 and 3/4 yards for that. And I'm also going to do a little bit of embellishing with some chenille. Chanelit comes in two different sizes. I grabbed the wider option in the white and the narrower in the navy. But look at how cute these are. This is more of a large throw size in this print and this cute little baby throw as well. So, let's go ahead and dive right into making this. So, the first thing you want to do is select whichever print you're choosing to be the top of your quilt, and we're going to sandwich that together with our batting and our backing, and we're going to go ahead and quilt that. So, that's what I've done here. I used the uh ginger snap pan with some navy thread, and I think it turned out super cute. And so, then next, you just want to trim it. And I use the print on the fabric as the guideline for my cutting. And so, let me grab a ruler here. And you'll notice that I just measured over 2 and 1/2 in from this marked line and that's where I trimmed. And I just did that consistently around the whole thing. I just found the measurement that made sense based on what I had so that it would be consistent on the whole project. And so once you have the whole thing trimmed and ready to go, if you want to bind it with chenille it like I've done here, the next step is we are going to go ahead and zigzag around these outside edges. If you have a serger, of course you could use that, but everybody doesn't have access to that. So let's just go ahead and zigzag this edge. And that's just going to help secure it so we don't have any of the batting or fabric fraying along the edge. So, let's take it to the machine here. And when when you're working with a whole quilt top like this, you want to keep as much of the bulk of the project on the table as possible. And so, I have just set my machine to a nice wide stitch. So, it's about five wide and 2.0 long. And now, I am just going to run down this long edge. And I will back stitch a little bit at the beginning just to secure it. And then basically what I want is when the needle's hitting on this outside edge, I want it to be just off the edge that I've trimmed on my fabric. And I'm just going to zoom all the way down this side. So I will just let the machine do the work and just gently guide this. and then I'll meet you back here when I have this zigzagged all the way around. All right, I have now zigzagged all the way around the outside edge of my quilt. And like I said, that's just going to secure everything nicely so we won't have any fraying or anything like that that we're dealing with. And so now we're going to use our chenille it. Let me see here. I had a glue stick. There it is. Now, I do find a glue stick to be really handy when you're working with this just because it helps secure it into place. And so, I am going to open up my chenille it now. And I'm just going to place one little dot of glue on this outside corner to get it started. There we go. And then I'm just going to run this all the way down the length of this one side. trim it with my scissors here to match. So, just get this as straight as I can without pulling it too tight. And then I'll trim. And then I can come back through here. And I'll just place a couple more dots of glue. Of course, you could pin it if you want, but I like that this just prevents anything from getting in the way. And you don't need a ton. Just enough spots to keep it secure. There we go. And last one down here. And because this is all going to fray in the end, I'm not worried if this is cut exactly straight or anything like that. It's all going to work out in the end. And so then now I'm going to switch my machine back to a straight stitch. And I am just going to eyeball and stitch right down the middle probably no more than a quarter inch away from that outside edge just to secure it. And then once we wash this, it's going to fray all up and look super cute. So let's take this to the machine and we'll sew right down the center. All right, I am going to go ahead and just back stitch just to secure that. And then we'll just zoom on down. Again, you want to manage the bulk of your quilt so you're it's not pulling against your needle. That's kind of the trickiest part about this. Okay. Now, just like I did on this front side, you would do the exact same thing on the back side. And if you are feeling confident, to be quite honest, you could glue or pin both of those in place at the same time and catch them with one stitch. For me, I get a little nervous if I can't see what I'm working with on the back side. And so, I just choose to do one at a time, but it absolutely can work. You just want to go slow and take your time and make sure everything is staying straight. And so just like I did there, you would just line it up on the back side and you will sandwich both the front and the back with that chenille. And that's what creates this really cute little kind of rag edge on the quilt, which is I just think a fun different way to, you know, do our binding. And for a baby quilt, so fun. We know babies love texture. So I love that. Now, let's talk about the embellishment in the middle of the quilt here. It's all done in the exact same way. And if you are doing this chenille at binding method, you can kind of do it in any any order because they don't really overlap one another. It all just frays in the end. And so, same idea. We take our skinnier strips and you just decide how frequently you want to add that detail. I'd probably, you know, do one, skip a couple, add another. It's just fun. It's fun to have some texture. But if you don't want to do the chenilleit binding, I would do all of that first. Any of the embellishment that you see in the middle like you see here or on this baby quilt. So you'll notice I actually put just a traditional binding on this. So I did all of that chenille at first so that it's caught in that bound edge and it just turns out so nice. Just a couple more little tips and tricks. The first time I sewed this down, I was so worried about everything being perfectly straight. The more I've played with it, the more I realized that it is so forgiving. So, just enjoy the process. Enjoy the texture that it's going to give you. And so, we there you can get like a special chenille brush, which is what I have here. But basically, an old toothbrush or something will do the trick. And so, if you don't want to throw it in the washing machine, you can just use this to start roughing up the edge. But let's go ahead and look at the quilt behind me because you'll notice once this has been washed, which this has, the washing machine does all the work for you. And it just gives you that wonderful texture that you're looking for. I absolutely love how it turns out. So, I hope you guys enjoyed this. Sometimes it's nice to just have a great little cloth project that we can make. And since I expect you guys will ask, this best pattern is in our block magazine volume 12 issue 4. So, if you want to make one, me and Teresa Coats got to work together on that. It was super fun. So, I hope you guys have a merry Christmas and enjoy this quick and cozy little project. Have a wonderful holiday season and I'll see you next time on At Home. Hey everyone, thank you so much for watching at home. We're so excited to be almost a million quilters strong here at Missouri Star. And so, if you haven't already joined our family, be sure to subscribe and hit that notification bell so you can be notified of all of our future tutorials. and we'll see you soon.


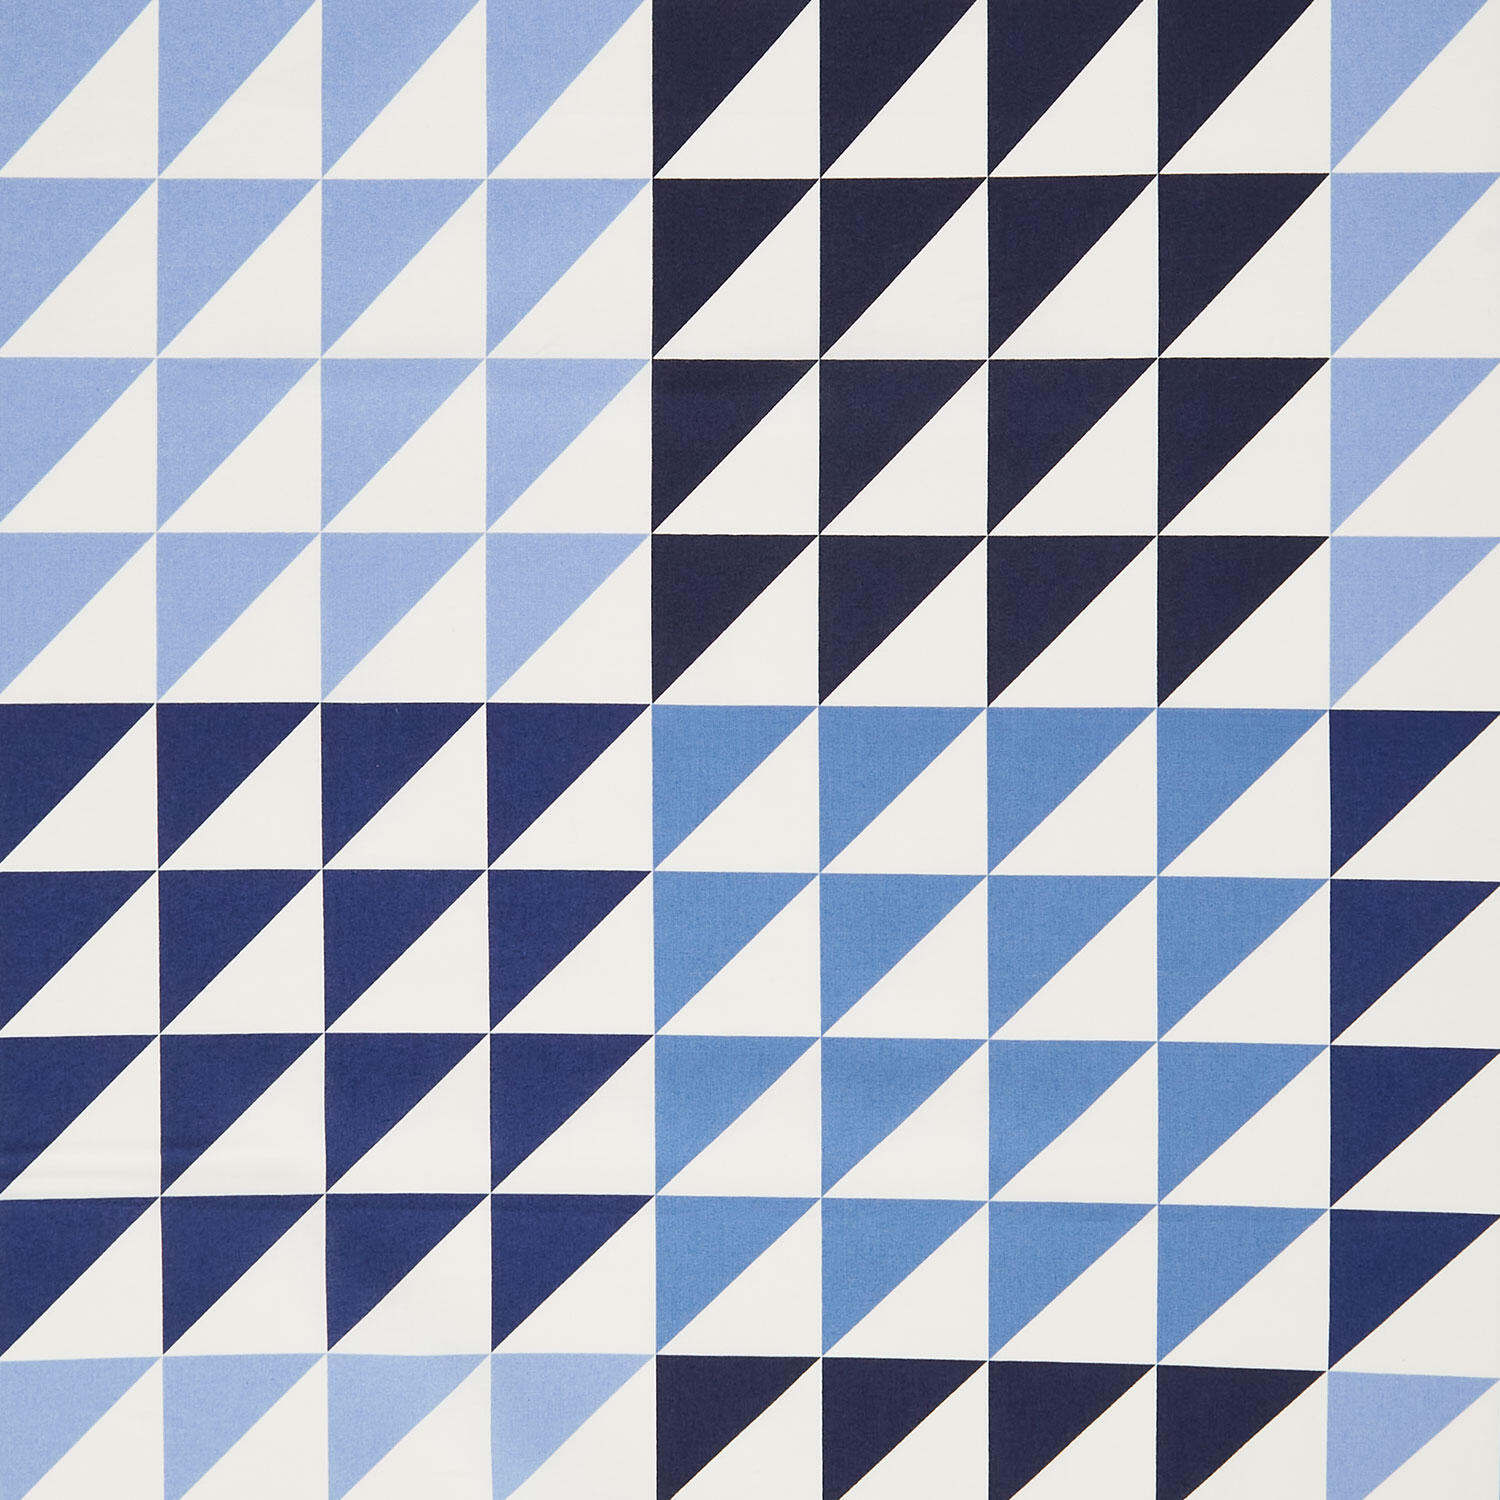 Perfect Points II - Half Square Triangle Blues Yardage$10.84Shop →
 Cuddle® Extra Wide - Navy 90" Minky Yardage$20.90Shop →
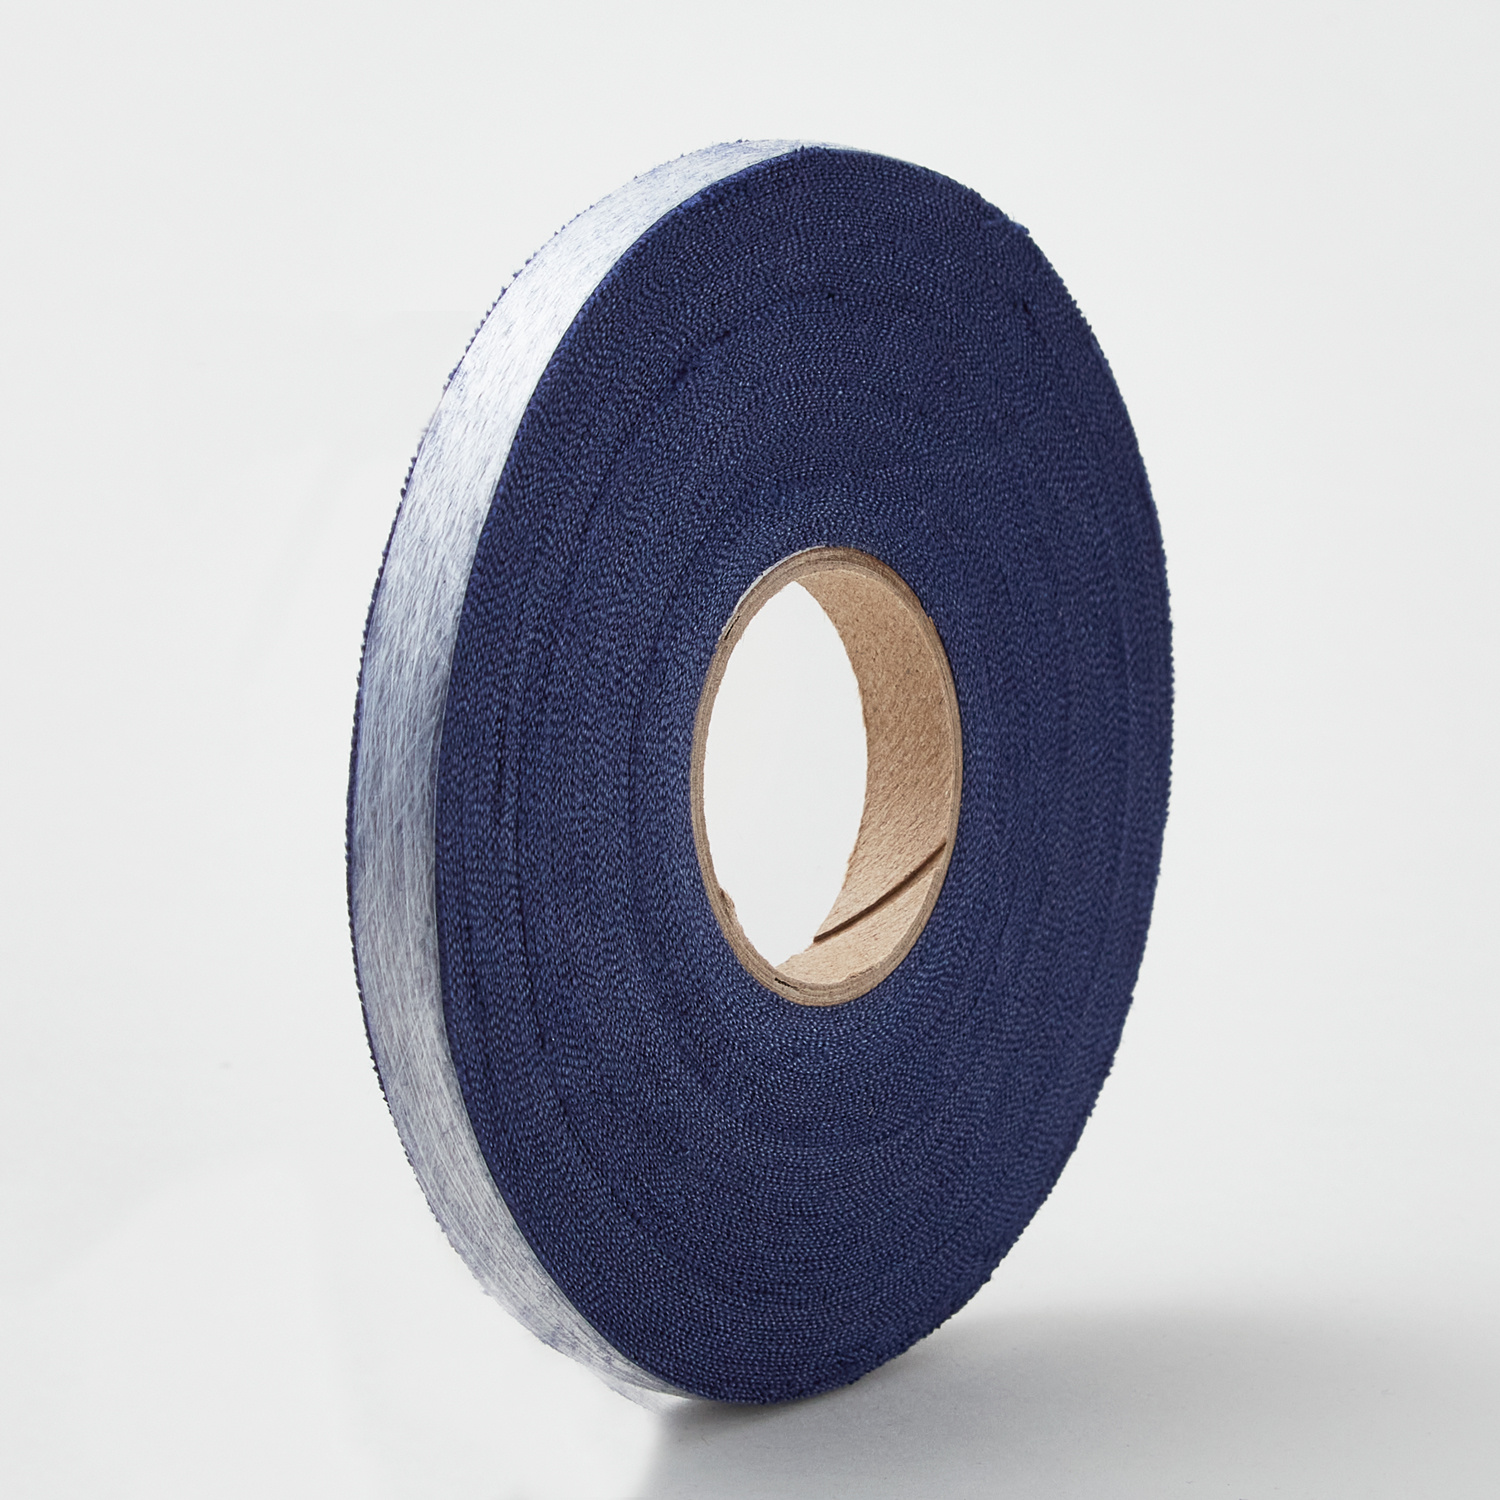 Chenille-It Blooming Bias Sew & Wash Trim - 3/8" Navy$15.25Shop →
 Chenille-It Blooming Bias Sew & Wash Trim - 5/8" White$19.95Shop →
 Colorworks Premium Solids - Navy Yardage$8.12Shop →
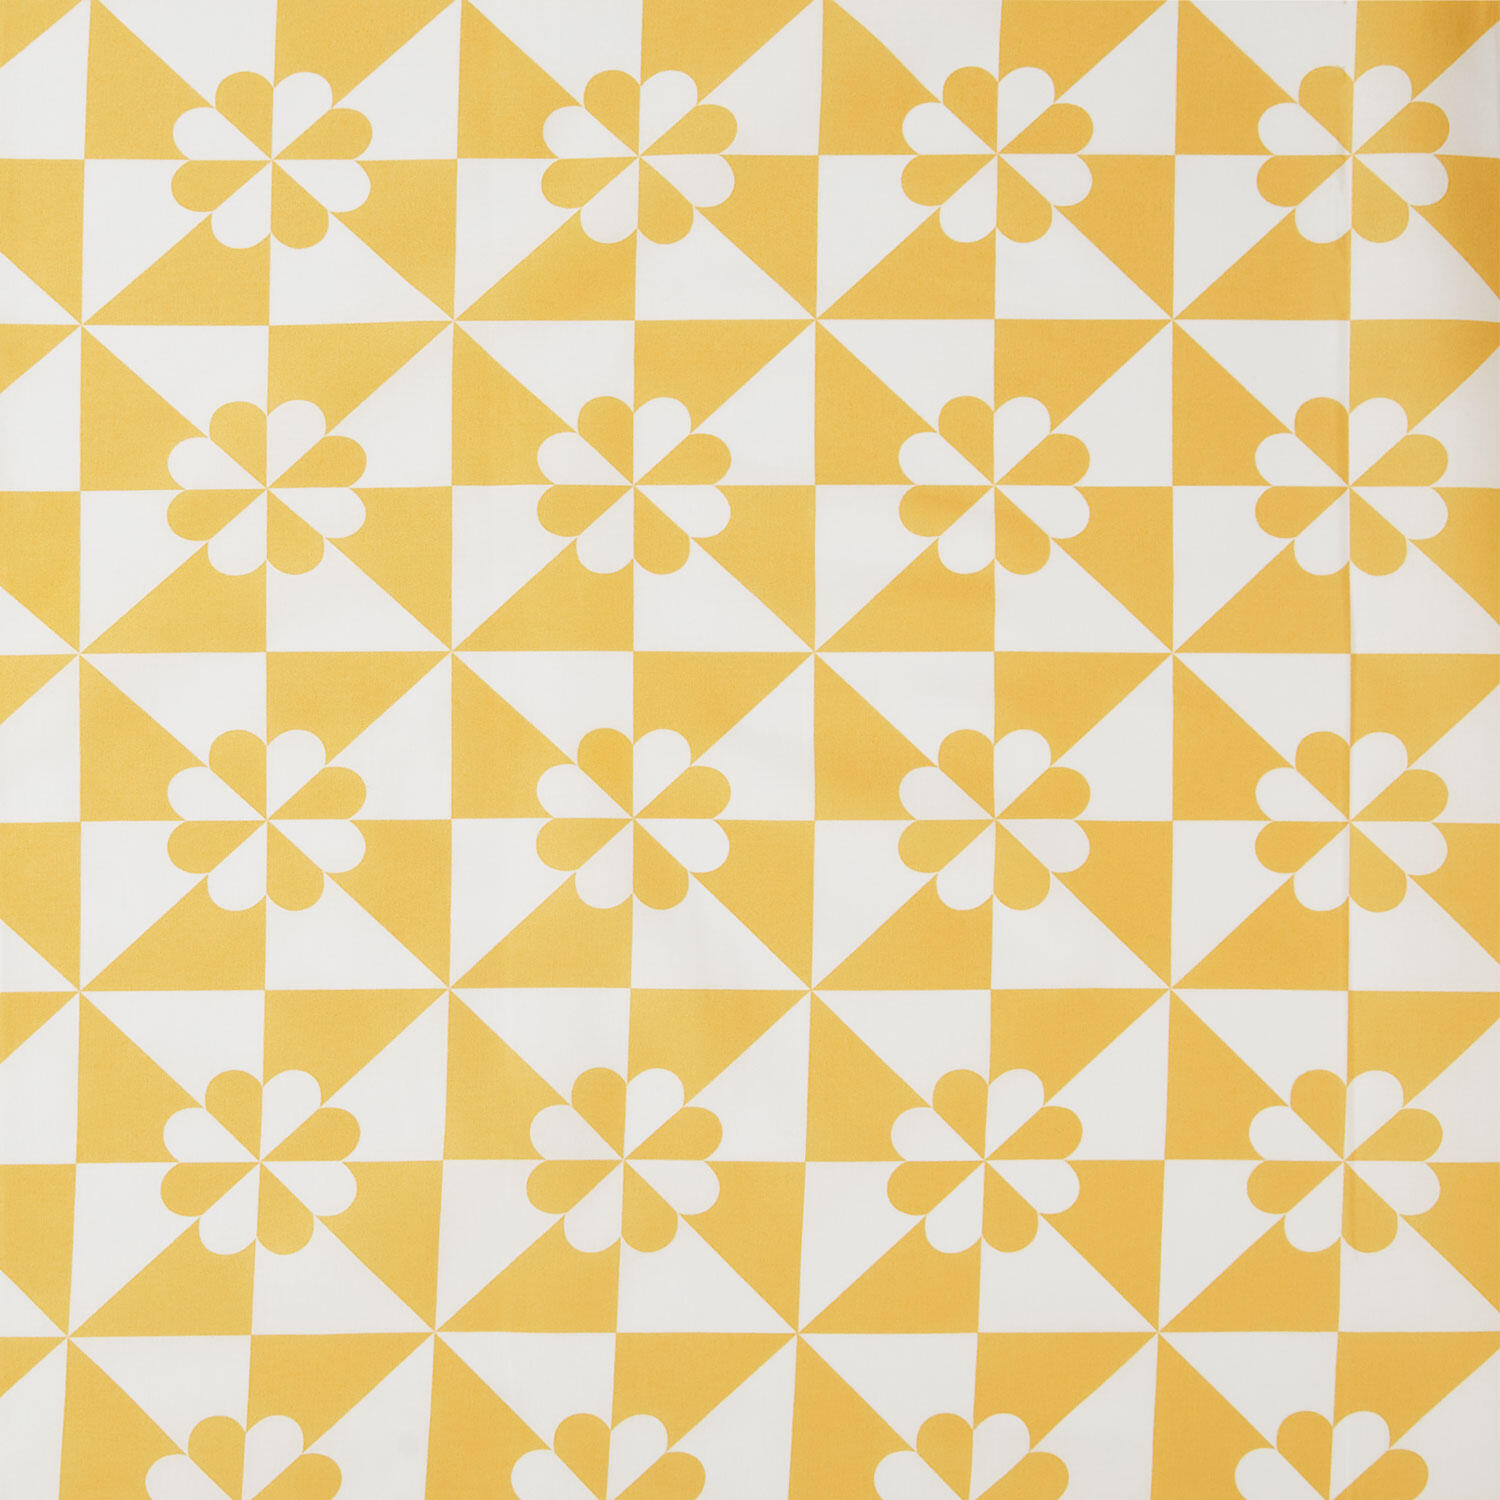 Perfect Points II - Hearts and Gizzards Yellow Yardage$10.84Shop →
 Cuddle® Solids - Hot Pink 60" Minky Yardage$15.35Shop →
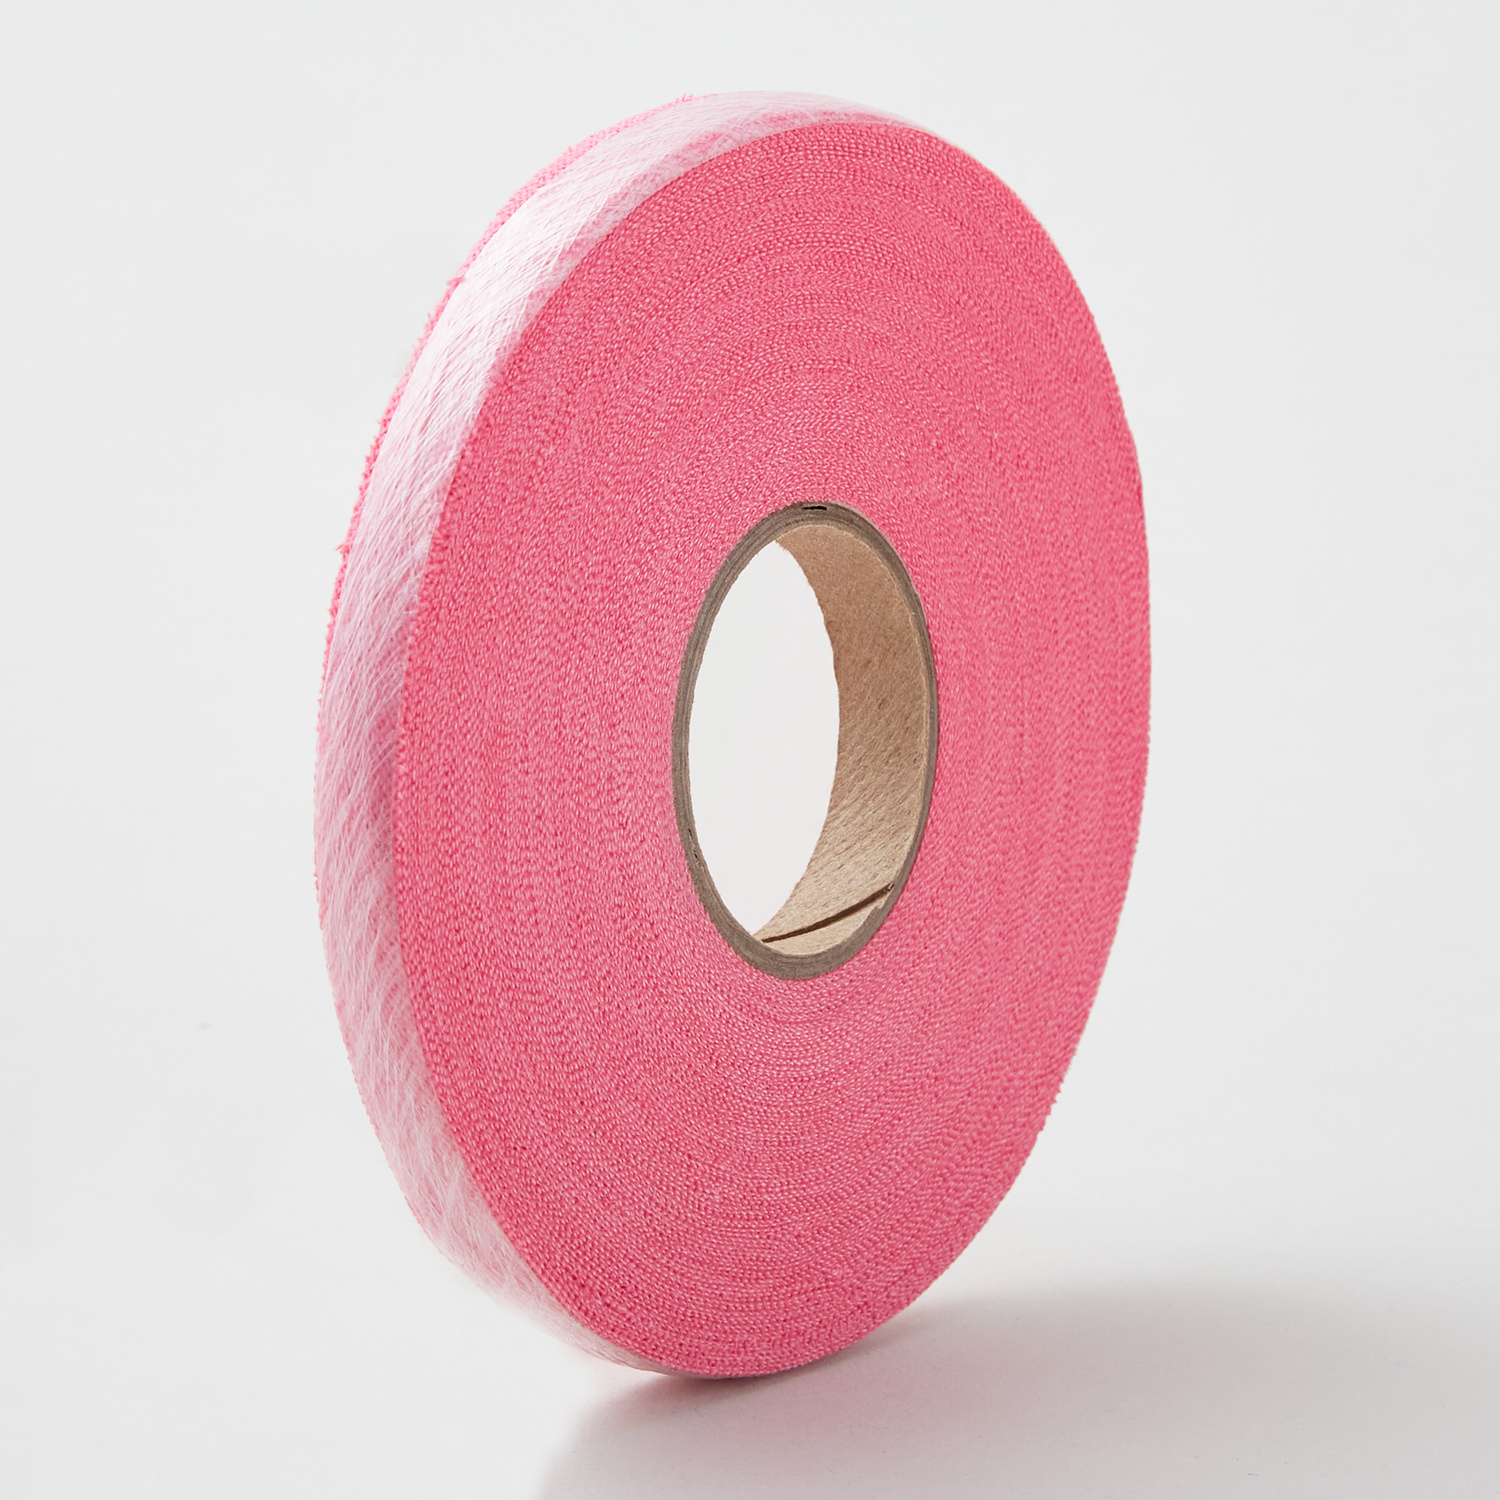 Chenille-It Blooming Bias Sew & Wash Trim - 3/8" Hot Pink$15.25Shop →
 Colorworks Premium Solids - Sunflower Yardage$8.12Shop →
 Colorworks Premium Solids - Daffodil Yardage$8.12Shop →
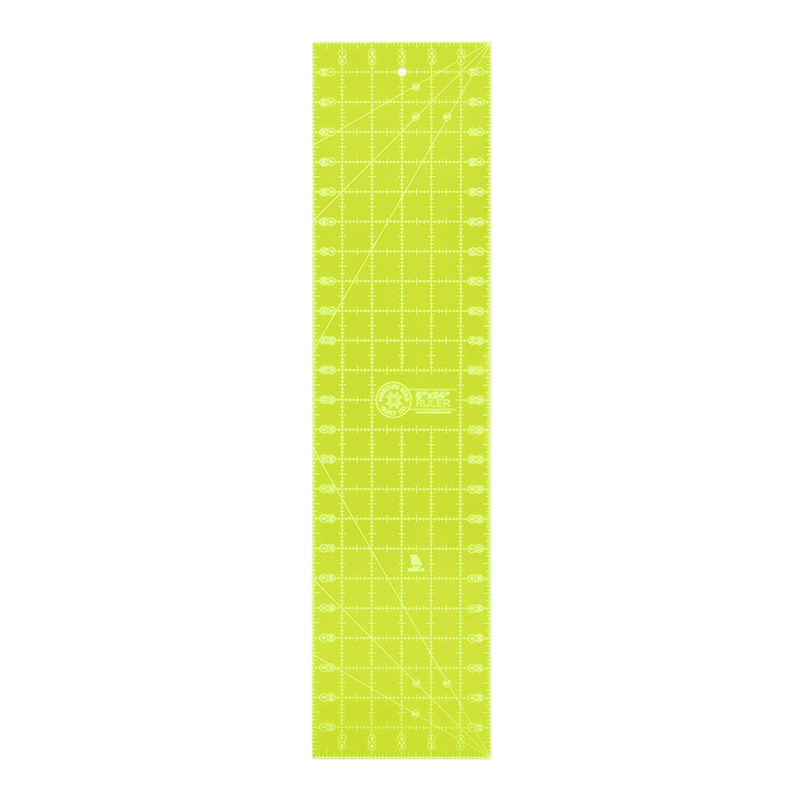 Missouri Star 6" X 24" Ruler$29.95Shop →
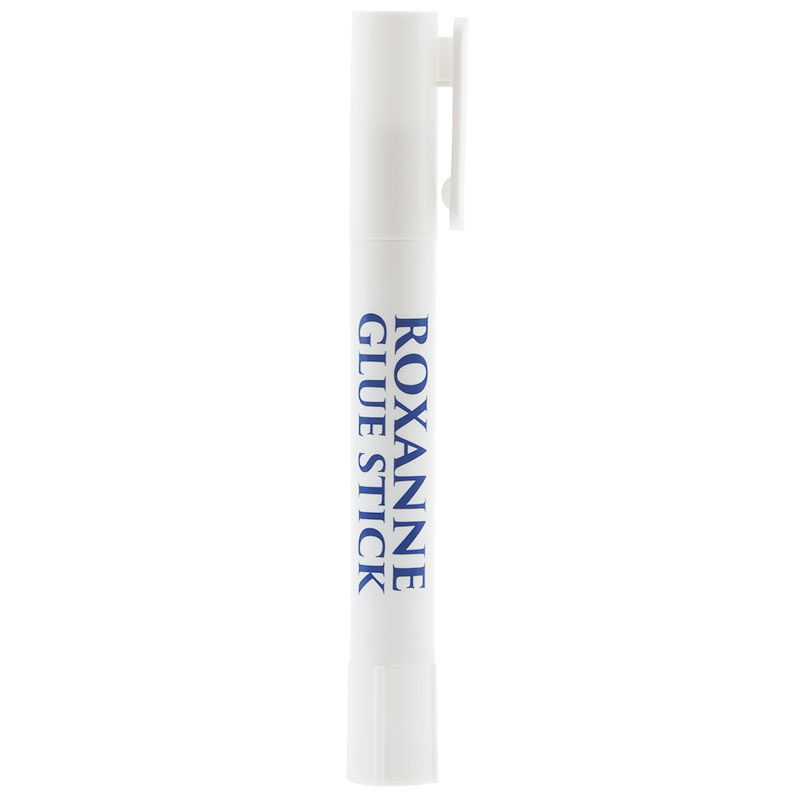 Roxanne Glue Stick$7.75Shop →
 Missouri Star 45mm Rotary Cutter - Olga$19.95Shop →
 Missouri Star 8" Everyday Scissors - Amelia$19.95Shop →
 Missouri Star 50 WT Cotton Thread White$7.95Shop →
 Missouri Star + Oliso TG1600 ProPlus Iron$209.95Shop →
 Missouri Star Wooly Betty Board - 17.25" x 25.5" Orange Border$99.95Shop →
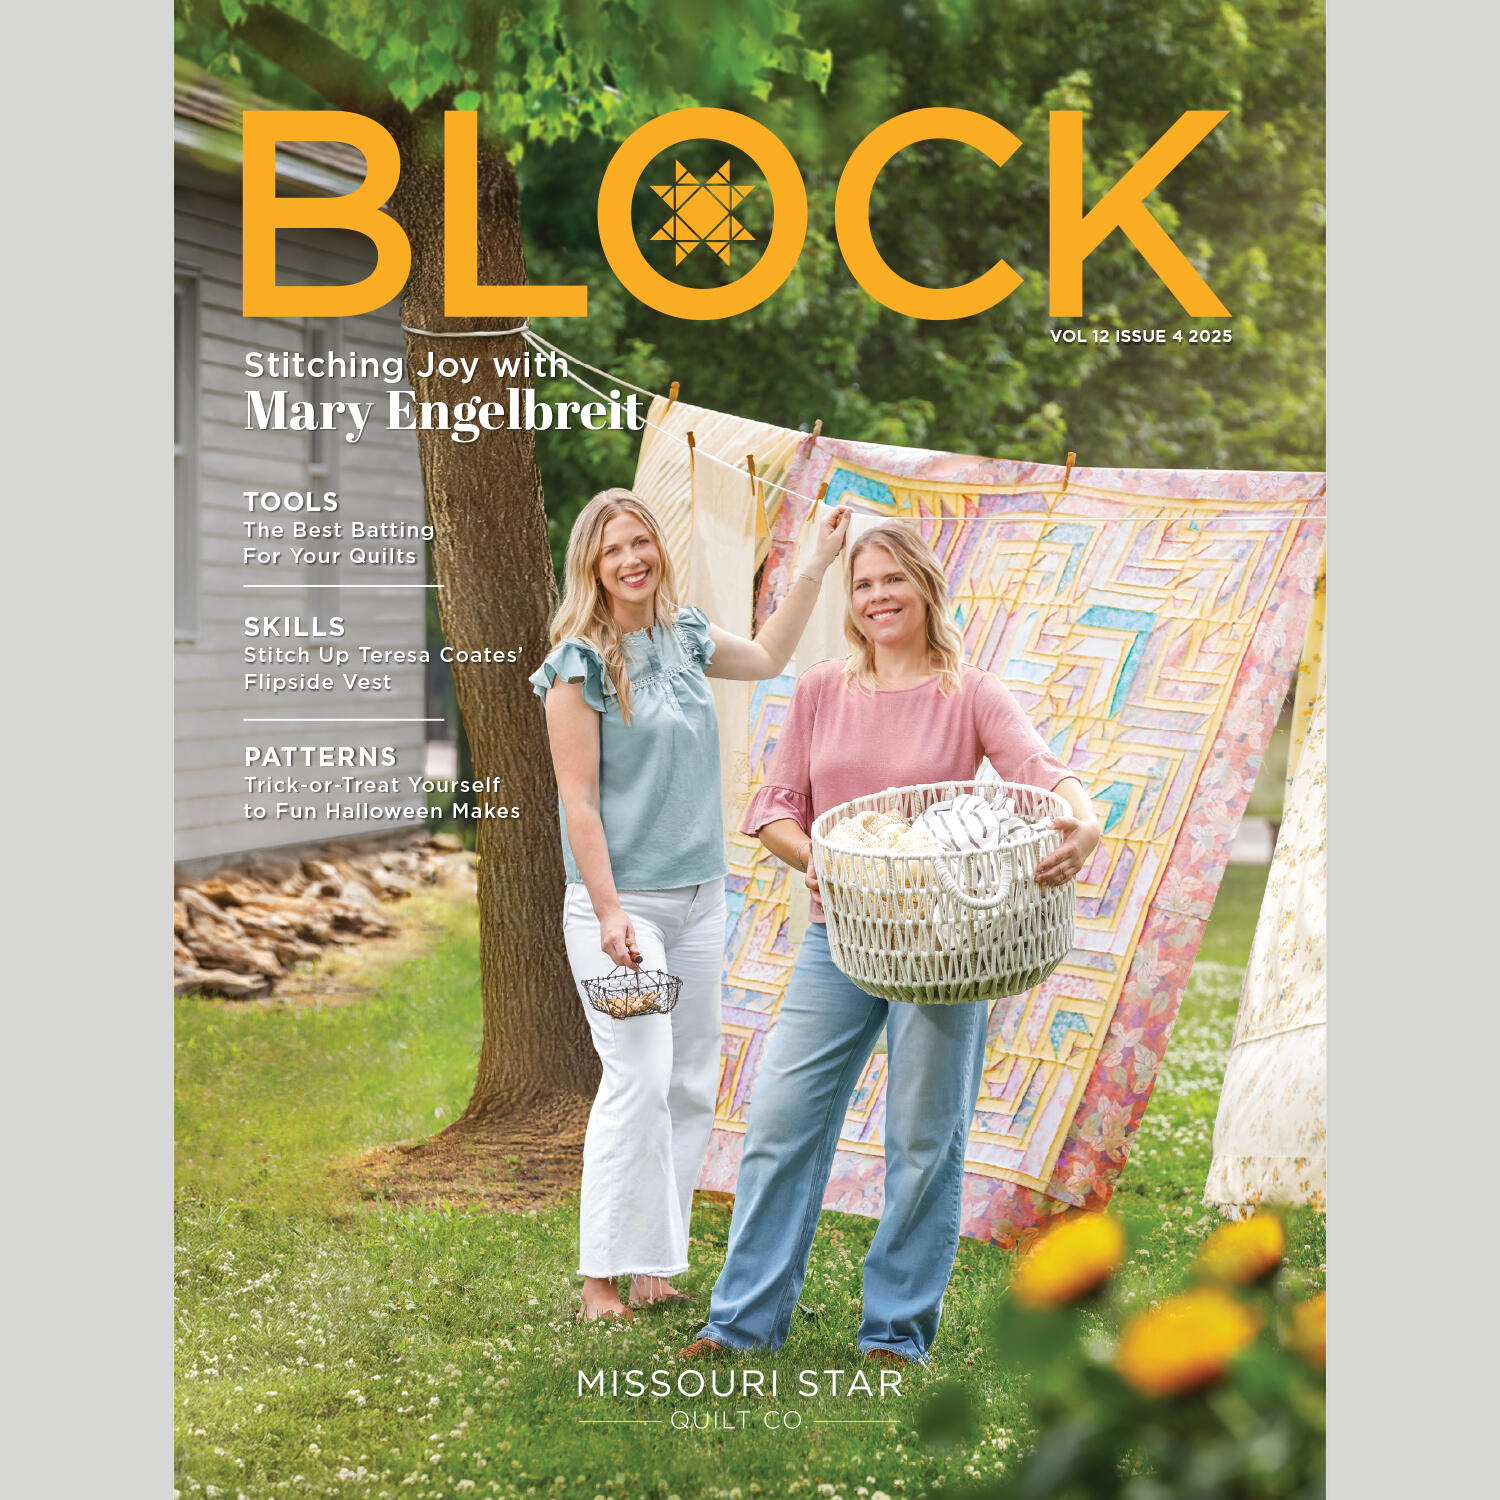 BLOCK Magazine 2025 Volume 12 Issue 4$7.99Shop →


