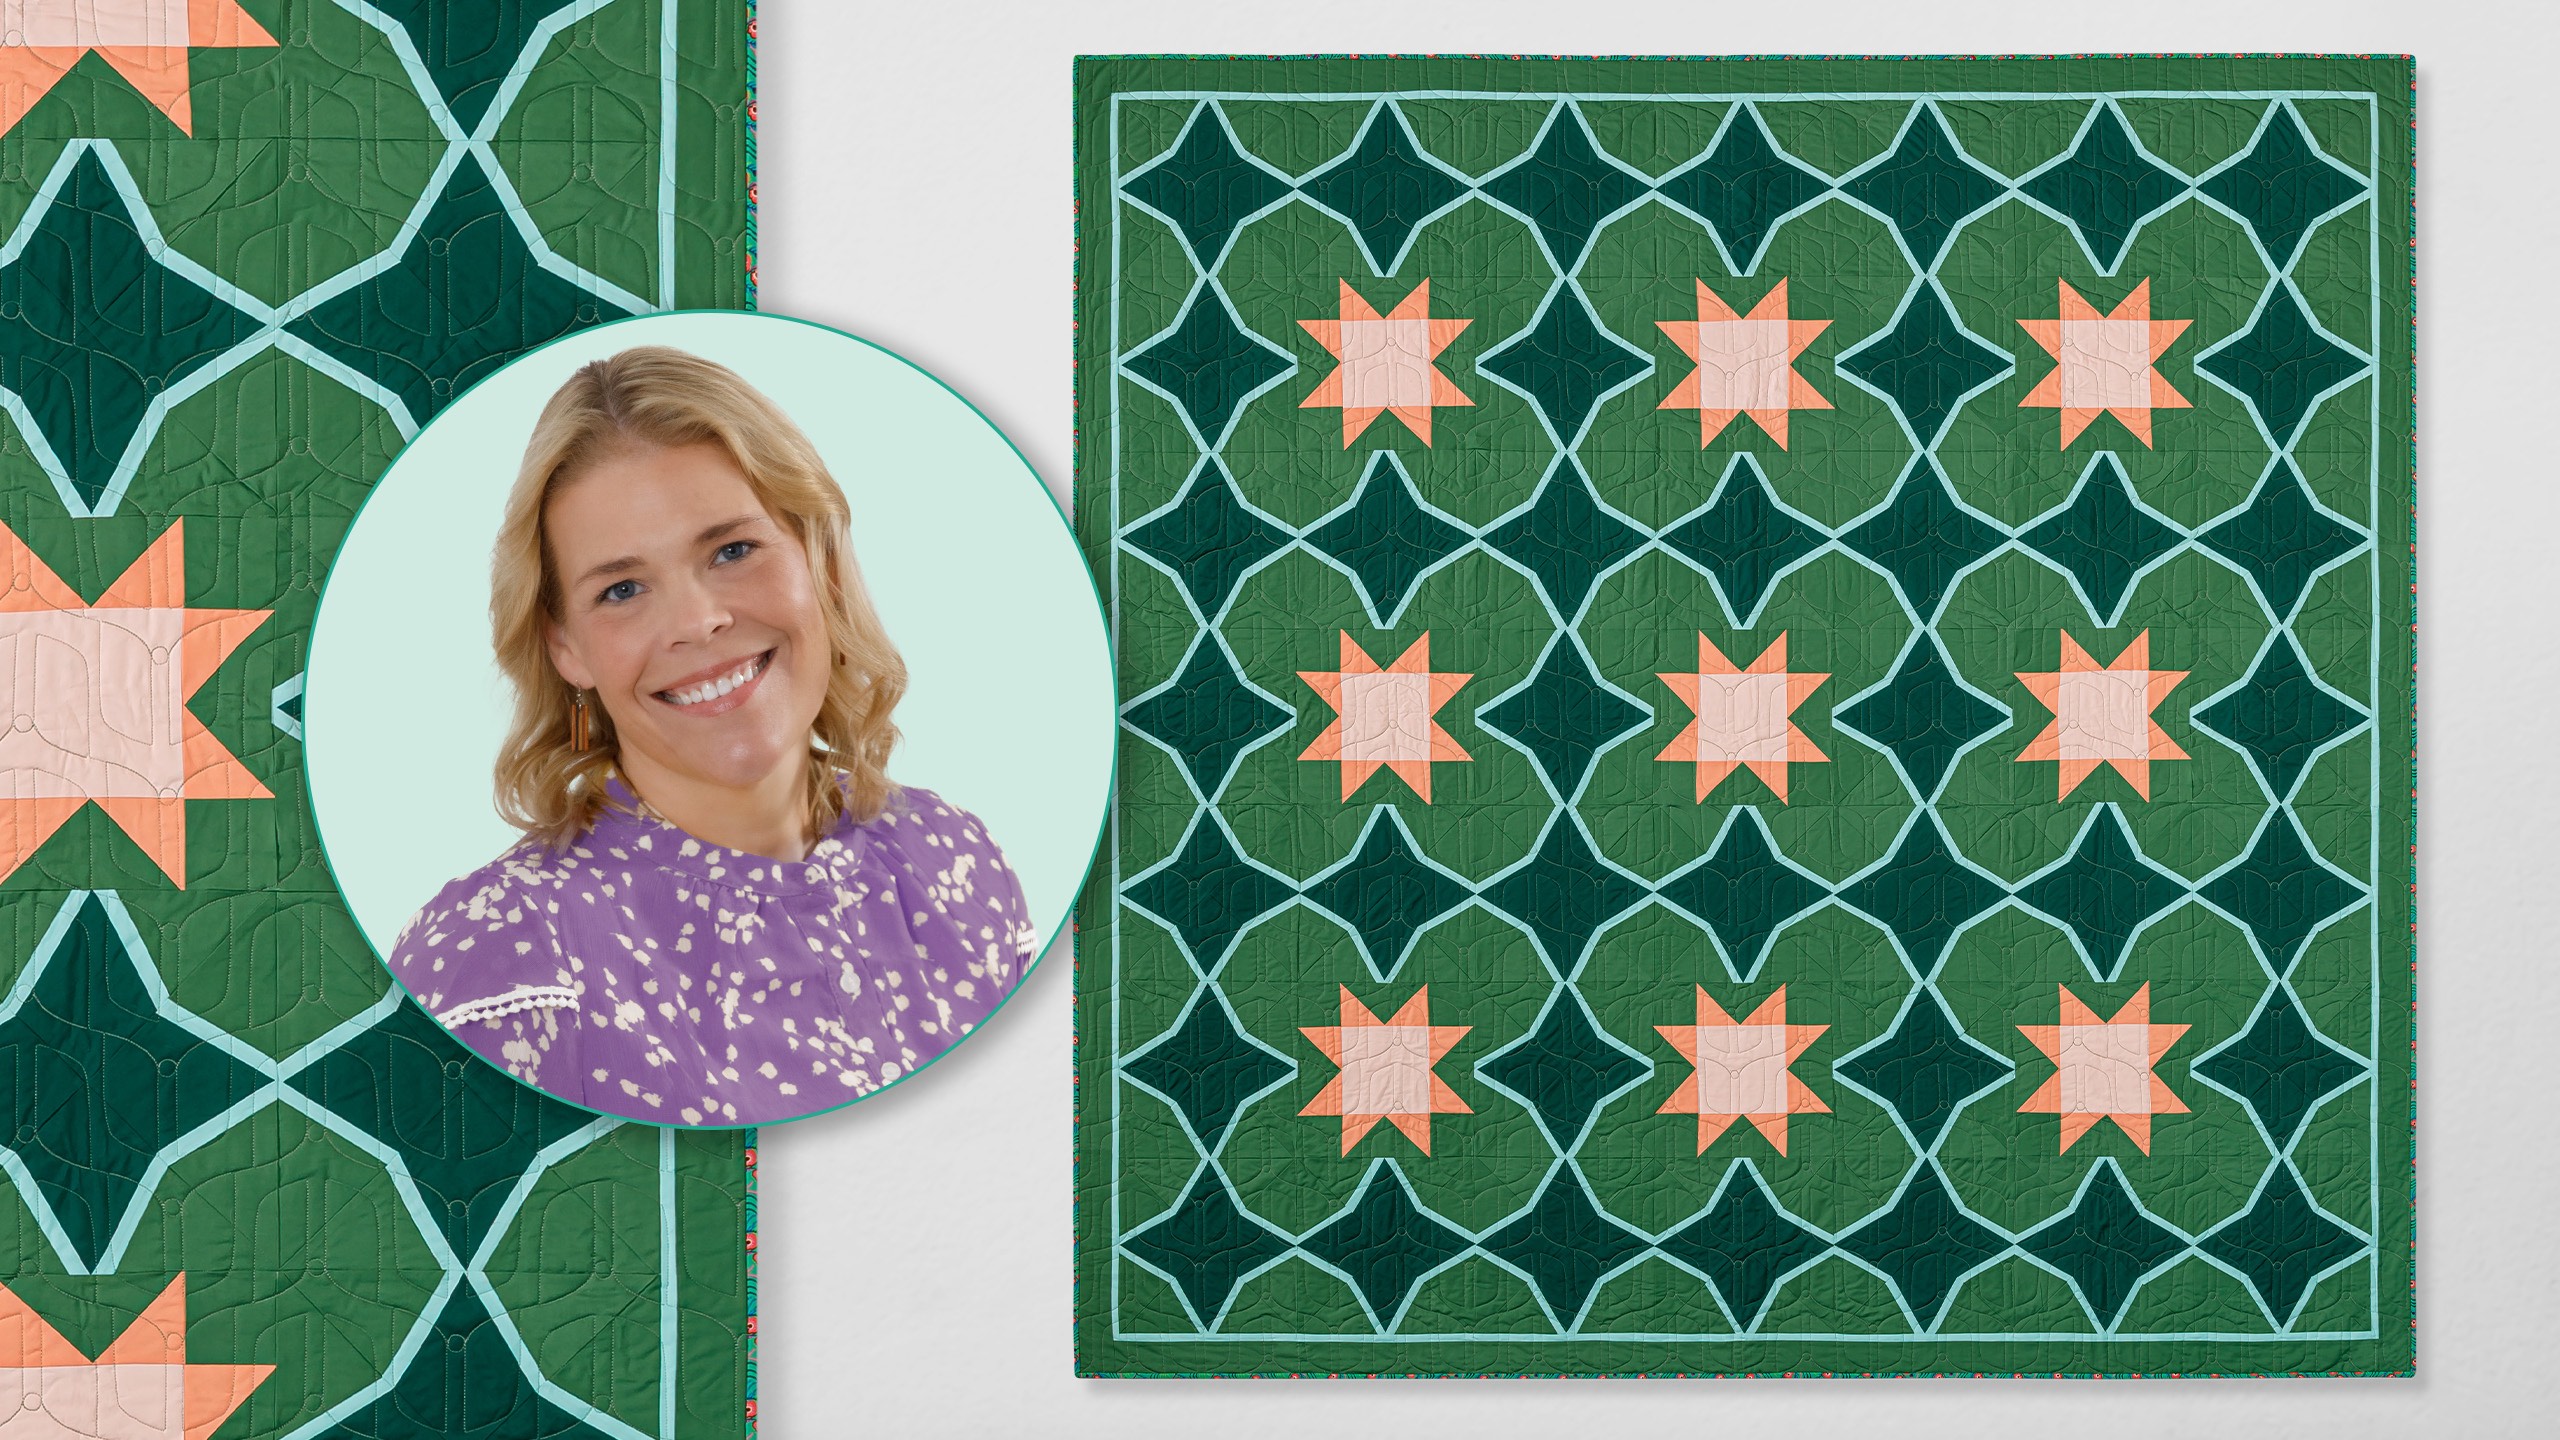
This week, Natalie's playing with one of our all-time favorite shapes! In the Periwinkle Playtime quilt, she walks you through creating a roomy modern bed quilt using the Missouri Star Periwinkle Template. She pairs beautiful green diamond shapes outlined in thin icy blue against Kona Cotton's Color of the Year, Wander (a gorgeous medium green!), then brings in pops of orange with classic Missouri Star blocks.
Natalie is the host of Quilting 101, Embroidery 101 and the Creative Strategist and Editor of Block Magazine at Missouri Star Quilt Company. She was taught how to sew by her mom, of course, and began quilting when she grew up.
This week, Natalie's playing with one of our all-time favorite shapes! In the Periwinkle Playtime quilt, she walks you through creating a roomy modern bed quilt using the Missouri Star Periwinkle Template. She pairs beautiful green diamond shapes outlined in thin icy blue agai...
How long is the tutorial video?
The tutorial video is 00:24:24.
Are supplies listed for this tutorial?
Yes. The tutorial page includes the supplies and materials connected to this project.
Video Transcript
Hi everybody. I'm Natalie with Missouri Star Quilt Company and I am so excited about today's project. I'm calling it Periwinkle Playtime and it's a lot of fun to make. So, let's get started. [music] So, this quilt is a lot of fun. You're going to be making two blocks. We have our periwinkle block here that I've bordered with a real skinny strip. So, that's fun. And then we also have some sawtooth star blocks that kind of accent the fun little shapes that we make with our periwinkle. So I think you're going to enjoy it. Let me tell you what you need. So we're going to need some yardage. Um we used Kona's wander for our main background print. So for that you'll need 3 and 7/8 yards. You'll need a darker green for the centers. That is 3 and 1/8. You'll need a teal for your accent or whatever colors you want. 1 and 78 yards of that one. A darker peach is 3/4s of a yard. Your lighter peach is a half a yard. And then for your backing, you'll need eight and a/4 yards with a vertical seam. Or if you use a 108, you'll need two and 3/4 yards. You'll also need your small periwinkle template and the small periwinkle leg template. We use them both. And a marking tool. And then you're good to go. So, let's get started. So, like I said before, this quilt uses two blocks. We've got our periwinkle that's bordered and then we also have our sawtooth star. So, we're going to start with our sawtooth star. So, you are going to need to cut from your yardage a 6 and 1/2 in strip that's going to be subcut into 6 and 1/2 in squares. And that makes up your center. So, I will cut one square of that. Actually, um yeah, this will be this will take just a second. We'll get this cut and set it aside. So, I'm going to do a six and a half. I'm going to flip that one around and line it up on my mat. Just keeping that right in that 6 and 1/2 inch. Cutting off the salvage. Okay, so the center is done. That was really quick. All right. Then you're going to need a 3 and 1/2 in strip to make your squares that go in the corners and then also this little um flying geese block that makes our star legs. Now the pattern tells you you can cut a 6 and 1/2 and then subcut it. You can do either or. But we're going to need four of those and we will need four squares for our corners and some rectangles. And I'm just going to keep my strip folded in half so I can cut two at once. Makes things go a little bit quicker. cutting off my salvage first and then cutting a 3 and 1/2 inch square. You'll need four of those for each block. And then you'll need four 3 and 1/2 by 6 and 1/2 in rectangles as well. And I've got those ready to go here. And then you will also need a 3 and 1/2 in strip of the darker peach for your star legs. And you will need um one, two, three, four, five, six, seven, eight of those. Sometimes the numbers do not just stay magically in my brain. [laughter] I have to count. That is okay. We're all human. All right. So, we're cutting eight 3 and 1/2 in squares. And then we will go ahead and get started. I've got a bunch of these cut already, so I don't have to cut all of them. But what we're going to do first is Oh, I am going to need that guy. We're going to go ahead and draw the line on the back of our darker peach because that is how we're going to make our star legs. We'll grab one of our 3 and 1/2x 6 and 1/2 in rectangles. And we're going to be basically snowballing both corners. Um, so we'll just draw that line cuz it's a little bit bigger. If you're comfortable eyeballing it, go for it. If you like to press a line or use your seam tape, you can do do this however you want, but you're going to be sewing right on that line from corner to corner. And we'll put them on both squares. This is also one of those opportunities where if you like to save your little bit of extra, you can sew a half inch away and keep that triangle for some other project. But that is entirely up to you. All right, so we're going to lay this down. And because I think because I'm right-handed, I always like to start with my right side. We're going to sew on the line and then we will trim it and press it back. All righty. So, I use my ruler. I line it up giving myself a little bit like a quarter inch seam allowance. Trim this off. Now I'm going to set my seam and then press that piece back. And you'll see we've made our first little star leg. Now this next piece is going to overlap the point at the top and go in the opposite direction. So, we've got our seam going um top right to bottom left on this one from where I'm standing. And this crosses over to create that little quarter inch seam allowance. So, we can keep our points there. We'll sew on the line from corner to corner. And you will do this for all four of your rectangles. All right, we'll trim that off, leaving a quarter inch seam allowance. And then we're going to go ahead and set the seam and roll back our star leg. Keeping trying to keep everything still in square. And once you've made four of those, your your block is ready to assemble. So we'll start with our middle. Then we're going to line up our little star legs around the center with all of our points facing in. Just like that. And then into our corners go those cute little 3 and 1/2 in squares that we cut. Just like so. So now we've got our whole block laid out. All we're going to do now is sew it together. And your block will look just like this. It should be about 12 and 1/2 in finished. And we're going to make nine of them for this quilt. So that part should go pretty quick. Now let's work on our periwinkle. All righty. So let's make our bordered periwinkle block. The finished block looks just like this. So we are going to start with some cuts of fabric. We'll start with a 5- in cut of our Kona wander. We also need a 5 in of our darker green for the centers. And then a 1 in strip of our accent fabric. Don't be afraid of 1 in. It's not that scary. You just have a little bit less to work with and you might want to slow down a bit. Okay. So, we are going to now cut our periwinkle middles and our star periwinkle legs, not star legs. Um, and so I'm going to go ahead and leave my fabric folded. And we'll start with our centers. For each periwinkle block, we'll need four of these. So you can keep your fabric folded if you want to and cut all four at once. I would try to go close to that fold. And what we're going to do is line up one of your uh flat edges of the top with the side of your periwinkle. So you'll see here you've got about a/ quart of an inch. So, if you wanted to make this a little smaller or if they're not exactly perfect, don't worry about it. There's no stress because we're using the template as our guide here. So, I'm going to go ahead and cut that straight across. Then, I'm going to flip this around and cut this way and that way. And then after I've got these cut, I'm going to go ahead and trim off that little notch at the end, which I like to trim it off, but you don't have to. So that's just a personal preference thing. All right. So we need a bunch of these four per block. And as you go along, you're just going to then continue to um rotate it around. So you can see how it now lines up with the other side. And then as you cut that, you can go ahead and flip it and rotate it, you know, so that you can make good use of your fabric as you're cutting with your tool. So that is pretty easy, pretty self-explanatory. You'll see when you get there. I know that's not really that's not really what you want to hear, but [snorts] um it really is simple. All right, so this lighter green, we're going to cut our leg templates. Oh, I'm having trouble getting that off. There we go. And this one is interesting. So, I noticed as I cut that depending on how you how you shape or which side you use to cut. So, if you cut with your long side, you don't need quite 5 in. But if you cut with the shorter side, you definitely need all five. So again, that's just something to keep in mind as you're going along. If you feel like you don't have enough room, maybe turn it the other way and see if that fits. All right. So that's just a just an experiment thing. Ultimately, because we're using the template, it doesn't really matter which line you use for your um the side line because they're all going to come out the same. And we're also using solid fabrics. So, if you were using a print, you would want to mirror image these, which is basically easily done just by keeping your fabric folded right or wrong sides together. You'll automatically get mirrored pieces. Um, but with solids, we don't have to worry too much about that. You'll be able to use whichever side you have. They're all the same. Okay. So, I'm going to go ahead and cut this out. Again, I'm cutting all the way off the edge and ignoring that little notch until I get done with the I'm going to flip this around and not not go. Sometimes I can move move my body from side to side and not have to turn my fabric. But if I find myself cutting back towards myself, then that's a good time to spin your fabric around and cut from a different direction. We don't want to injure ourselves. This is supposed to be about joy, and emergency room trips don't usually bring joy. Okay. So, as you continue, you'll just line that up with the previous cut and go down your strip, cutting all of your little leg pieces. And then typically when I get to the fold, I can usually get one more cut here. Yep. Just like that. So, you just have a little bit of waste, not too much. And that can go in your crumb bin or in your trash. I don't judge. [snorts] All right. So, now we'll stack up our periwinkle middles and our legs. And it's time to start our assembly. So, we are going to be bordering each of these center pieces with one of our 1-in pieces. So, what you could do if you wanted to, you could cut these down. You need approximately 5 and 1/2 in in per piece. But, I like to strip piece all of mine. and it saves me a lot of cutting. And I just line them up as I go through the sewing machine. So, we'll do two so that you can see how that works. I'm lining this up right along this edge. And um and then I will put another one in the machine underneath my strip. And also, you can sew on top of the strip if you like or on the bottom. It's whatever you feel most comfortable with. These are short little pieces, so they don't get too wonky as you go along. Nothing to worry about here. You will want to make sure that your seams are fairly consistent because um with this being an inch, it's a little bit trickier to match up and have perfect points. So, if you take a look at my quilt, you'll notice that my points are not perfect. I'm not too worried about it, but it is a little bit trickier. So, you'll want to try really hard to get very consistent seams. All righty. Okay. Now, I'm going to put my next piece on here. I like to give myself at least an inch in between each of my periwinkle pieces. That gives me the angles that I need to um to make sure that I cover the next uh the next piecing fabric. So, don't butt them up right next to each other or you won't have enough fabric. All righty. So, now I'm going to go ahead. Typically, if I fold this back, I know then that I can cut in between these two this direction and I'll I will have plenty of fabric to continue. I'm going to cut that direction. And then we're going to go ahead and take this piece. And first first we're going to press. Then we're going to piece the other side cuz this is going to have that crisscross at the base. And you want your fabric pressed back. Now, if you wanted to, if you're living on the edge, you could finger press these because it is pretty small. But, um, I like the precision of the iron for this. Okay. So, I'm gonna go ahead and lay these down and get ready to piece them. I want to show you this though, how it lines up. So, I'm going to start with my piece because this is wonky. I'm going to make sure I have plenty of room to trim it square. And I'm going to stitch all the way over. You want to overlap the the piece that you just added, that little 1in piece of teal. And then I will line my next one up about another inch, leaving an inch. And just continue to piece all the way down the strip. Okay. All right. [snorts] This is one of those quilts that I feel like is really fun because it is kind of improvish in that we're we have some things to worry about as far as precision, but mostly you just don't mostly it it's going to get squared up and you're going to be just fine. All righty. Let me take these and cut them apart. Again, I'm going to fold that back to make sure. Just making sure that I'm cutting the right direction here. Um, and I want to go along the top edge. That's the part that I'm the most worried about. This bottom part is going to get trimmed off later. So, I'm not too worried about that being perfect. So, now what we'll do is press this back. Set your seam and press it back. This is where you want to press, not iron, because you don't want to stretch out that little 1-in strip. You want to try and keep it in shape as much as possible. All righty. So, what we'll do next, let me grab a little square. This is the part where we get to add our leg piece. But to do that, you want to make sure that this um this is trimmed off first. So, all we're going to do is stick the square right up in the corner of our periwinkle top. And usually, like when I'm looking at it, I'd call the the fat end the top because to me, that's where it lines up. So, when I say that, now you know what I'm talking about. So, we're just going to trim off the edges so that the trim or the accent piece, the little strip that we put in between is all squared up and ready to go. Okay, we're going to ignore the bottom for now. Let me do that on this one as well, just so we have a little bit of repetition because you'll need four of these for each block. Okay. [snorts] And your floor will be absolutely littered with tiny pieces of green and blue. It's very fun. Okay. So, now it's time to add our legs. And you'll notice that they have a little notch on one side. That little notch is always going to go towards the middle of the base. So you'll line these up. That's why you need those mirror images. And then what we'll do is we're going to chain piece these. So you put on a whole bunch at the same time. But as you as you look at it, you'll notice you want that to line up. So for that to happen, you're going to need to offset it just a little bit by the width of your seam allowance. And so I try to keep it kind of pulled down at a quarter of an inch right there. And I've been trying to use a scant quarter of an inch. So keep that in mind. It shouldn't need to hang over very much. So that's what you'll be looking for. And as long as you line them all up pretty consistently, you'll be just fine. So we're going to line this up, leaving a little quarter inch peak out at the top. And remembering it's not a quarter inch from the base of this fabric. It's where a quarter of an inch is going to happen. So as you're as you put this under the machine, your quarter of an inch should be where the fabric meets and where the thread and the needle come through. If that uh that helps. Maybe it's a little bit of a different way to think about it. All right, let's go ahead and stitch this on. You're going to repeat this on the other side as well. adding both legs. You don't have to press in between because there's no uh crossing seams. Okay. So, now that we've got our legs sewn on both sides, we can cut that apart. We're going to go ahead and press it. And the idea here is that our top the tops are already ready to go. So, we're not going to square anything yet. And I know this looks a little messy down here at the bottom, but what we'll do is we're going to put all four of these together. We're going to piece together um two of these just like so. And I'm going to go ahead and do that real quick. I like to line up my little 1-in piece to try and keep that straight. These are the points that you're worried about. The rest of it doesn't matter too much at this point. That's where we're at. So I will stitch both of these. [snorts] We'll do the same with these two. Lining up our little blue accent. Okay. Now, oh, I'm not going to press these yet. I'm just going to open this up. And what we're going to do now is put these two together. matching our again just the little accent strips. That's the part that we're focused on. Uh nesting seams and trying to make those little tiny 1-in accent strips match up. Then we'll get to our finish. And it's easier than it looks. Okay, now we're going to go ahead and press our block and get it ready for squaring up. I do like to set my seams. [snorts] If you're a person who likes to use starch, you might want to use it just because there's a little bit of stretch in these, a little bit of bias. Not a big deal. Just be careful. All right. So, this is our block and it is quite a bit larger than our other 12 and 1/2 in star blocks. So, we need to square this down. And that's where you don't have to worry about squaring these ahead of time. We're just going to square it up at the end. All righty. Easiest thing to use is a 12 and 1/2 in square ruler. And most of us have these in our stash already. It also, this block also already comes with these beautiful 45° angle lines. So, you're going to line those up. So, just like this. And I just eyeball it. We're going to trim off this excess. Come from this side. And there you go. You've got a perfect 12 and 1/2 in square periwinkle block. And now we're ready to assemble them. We've got a couple of different rows here. So every other row is a complete periwinkle row and has one, two, three, four, five, six, seven, seven periwinkle blocks. So you'll make 40 of these and then nine of your stars. So you have a periwinkle block and then a periwinkle and star block. Another periwinkle, sorry, these are rows, not blocks. Periwinkle row and then a row of stars and periwinkles and so on down the quilt. This quilt is quite large. It's 90 in square. Um, and I went ahead and put a 1 inch inner border. Figured since I already had all those strips cut, it was really fun to go ahead and keep using it and stay on theme. We've got a three and a half inch outer border. And then I used this really lovely Anna Maria textiles backing. I just think it's so pretty and it kind of goes along with all the colors. My machine quilting pattern is called Migrade and I just used sort of a light green thread to kind of blend with the background. I think it turned out really great and I hope you have fun being creative and trying something a little bit out of the box. So, uh, I hope you enjoyed this tutorial on Periwinkle Playtime from the Missouri Star Quilt Company. Bye. Hi everybody. I hope you enjoyed today's video. We're trying super hard to get to a million subscribers. So, if you enjoyed it and you want to see more, [music] just hit subscribe and share with your friends and encourage them to do the same. And I will see you next Friday with a brand new tutorial.

 Natalie Doan
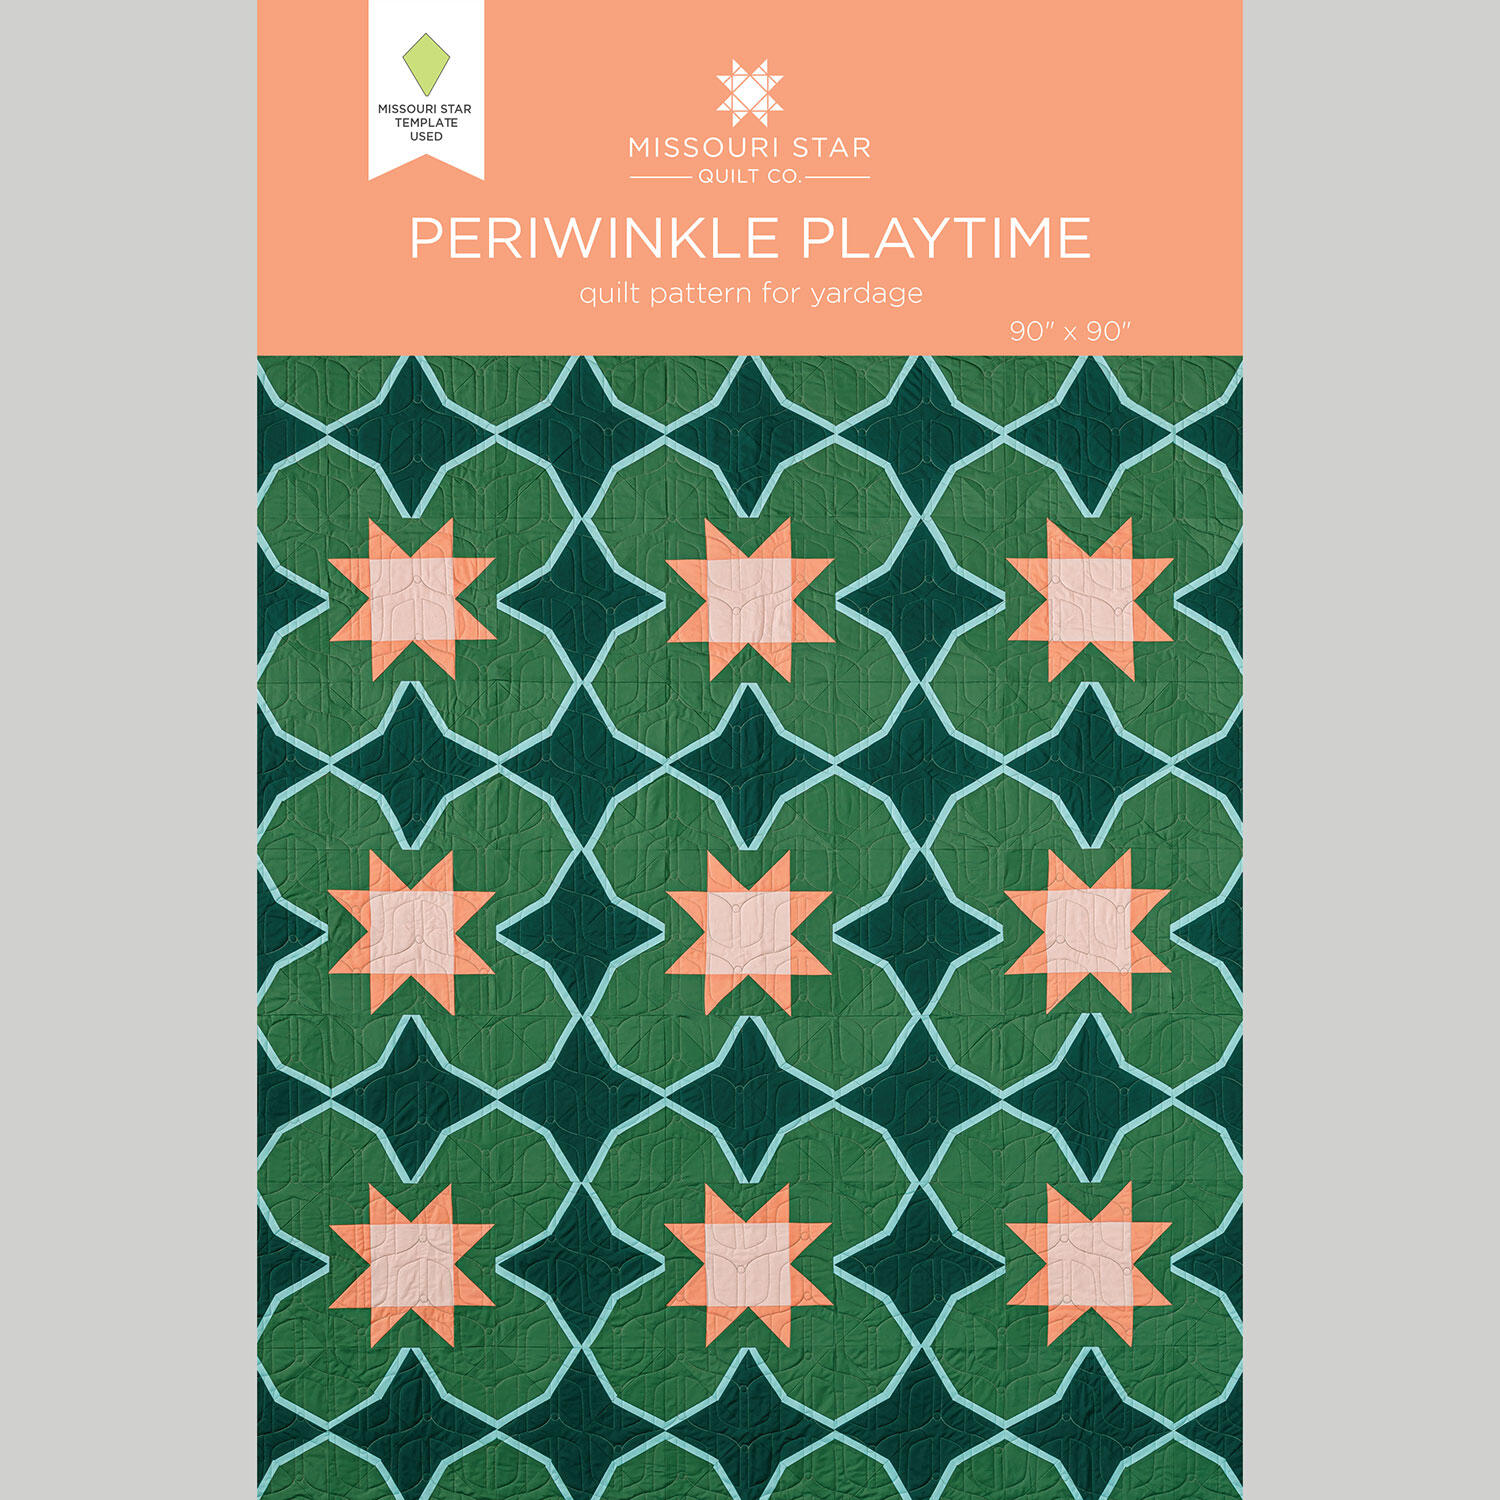 Periwinkle Playtime Quilt Pattern by Missouri Star$8.50Shop →
 Digital Download - Periwinkle Playtime Quilt Pattern by Missouri Star$6.95Shop →
 Kona Cotton - Color of the Year 2026 - Wander Yardage$8.48Shop →
 Kona Cotton - Aloha Yardage$8.48Shop →
 Kona Cotton - Kelly Yardage$8.48Shop →
 Kona Cotton - Creamsicle Yardage$8.48Shop →
 Kona Cotton - Bellini Yardage$8.48Shop →
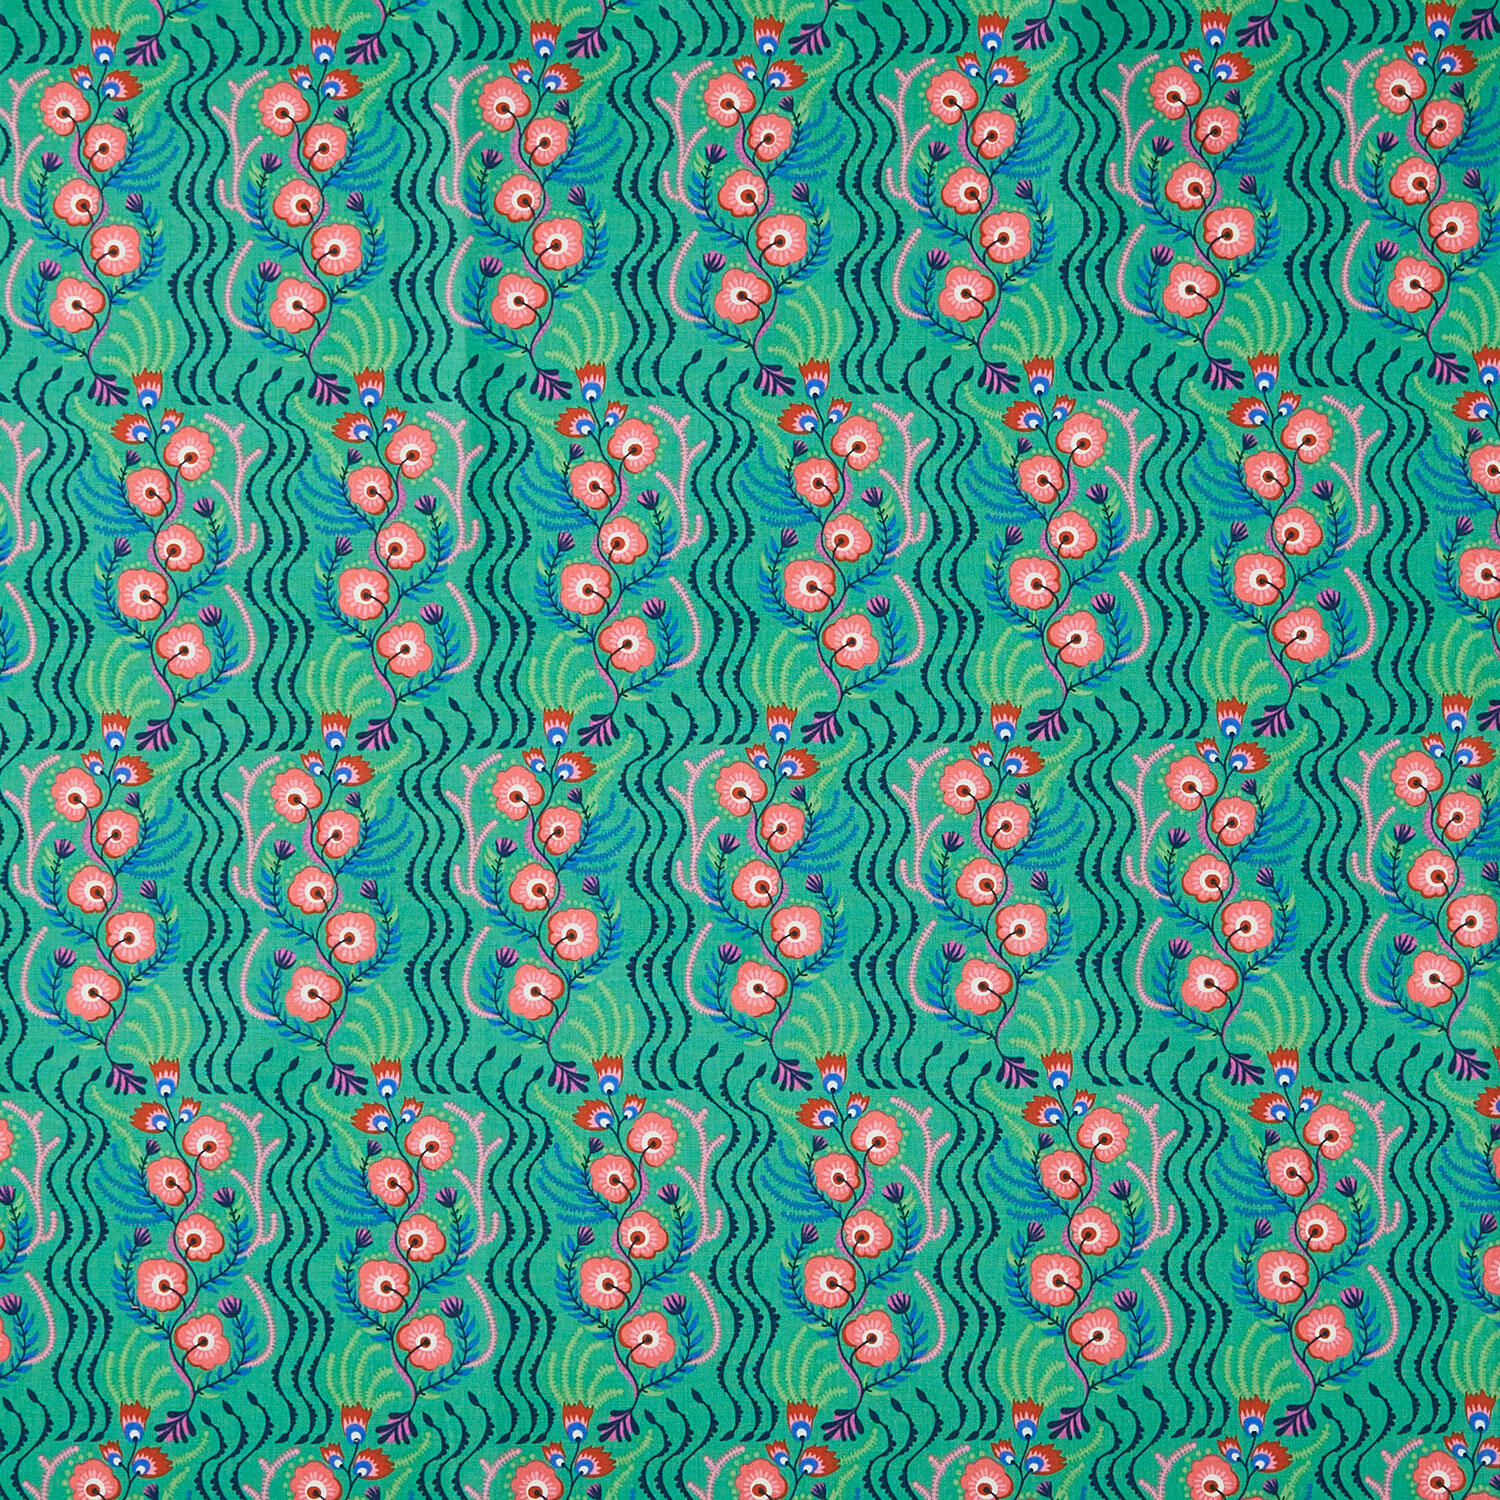 Allegory - Tambourine Jade Yardage$13.40Shop →
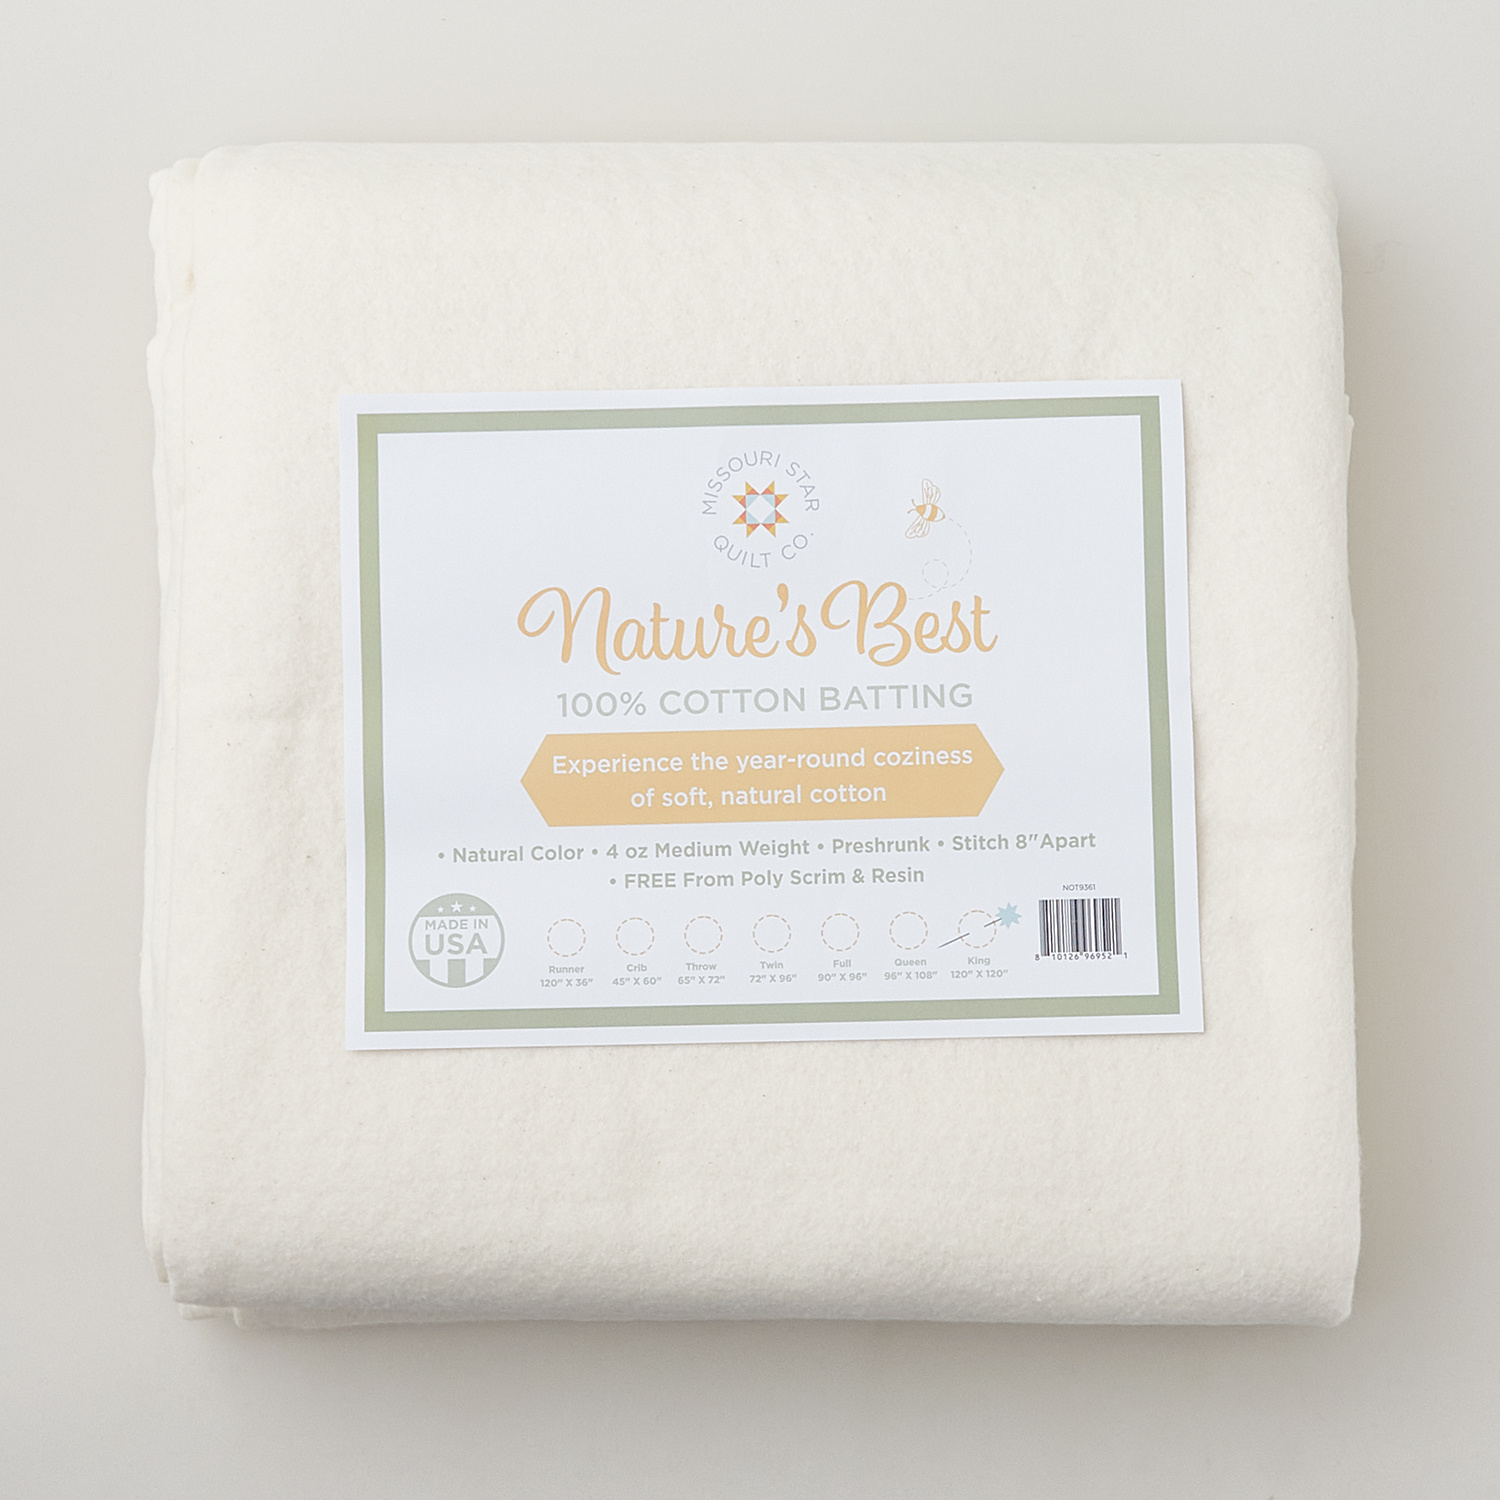 Missouri Star Nature's Best 100% Cotton King Batting - Natural$54.95Shop →
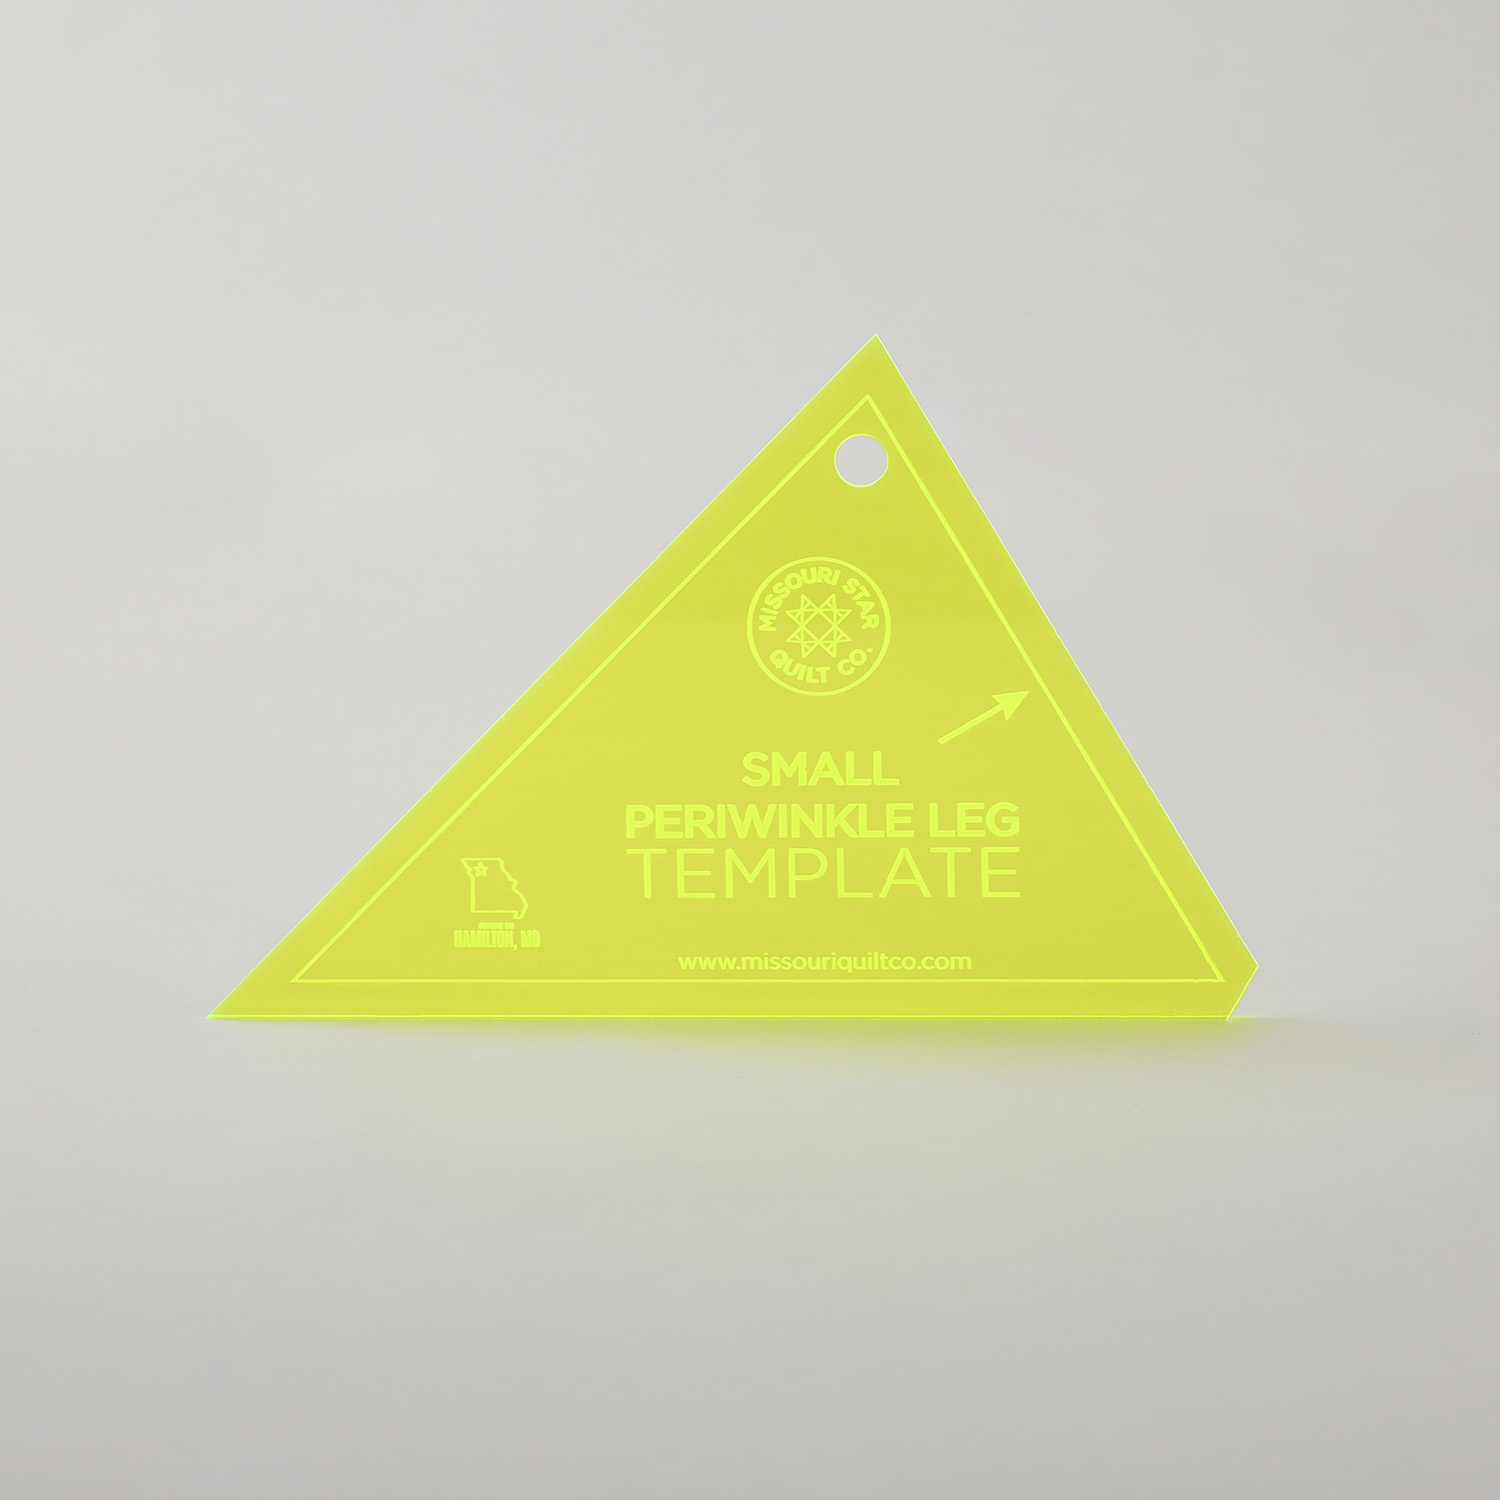 Missouri Star Small Periwinkle Leg Template$7.95Shop →
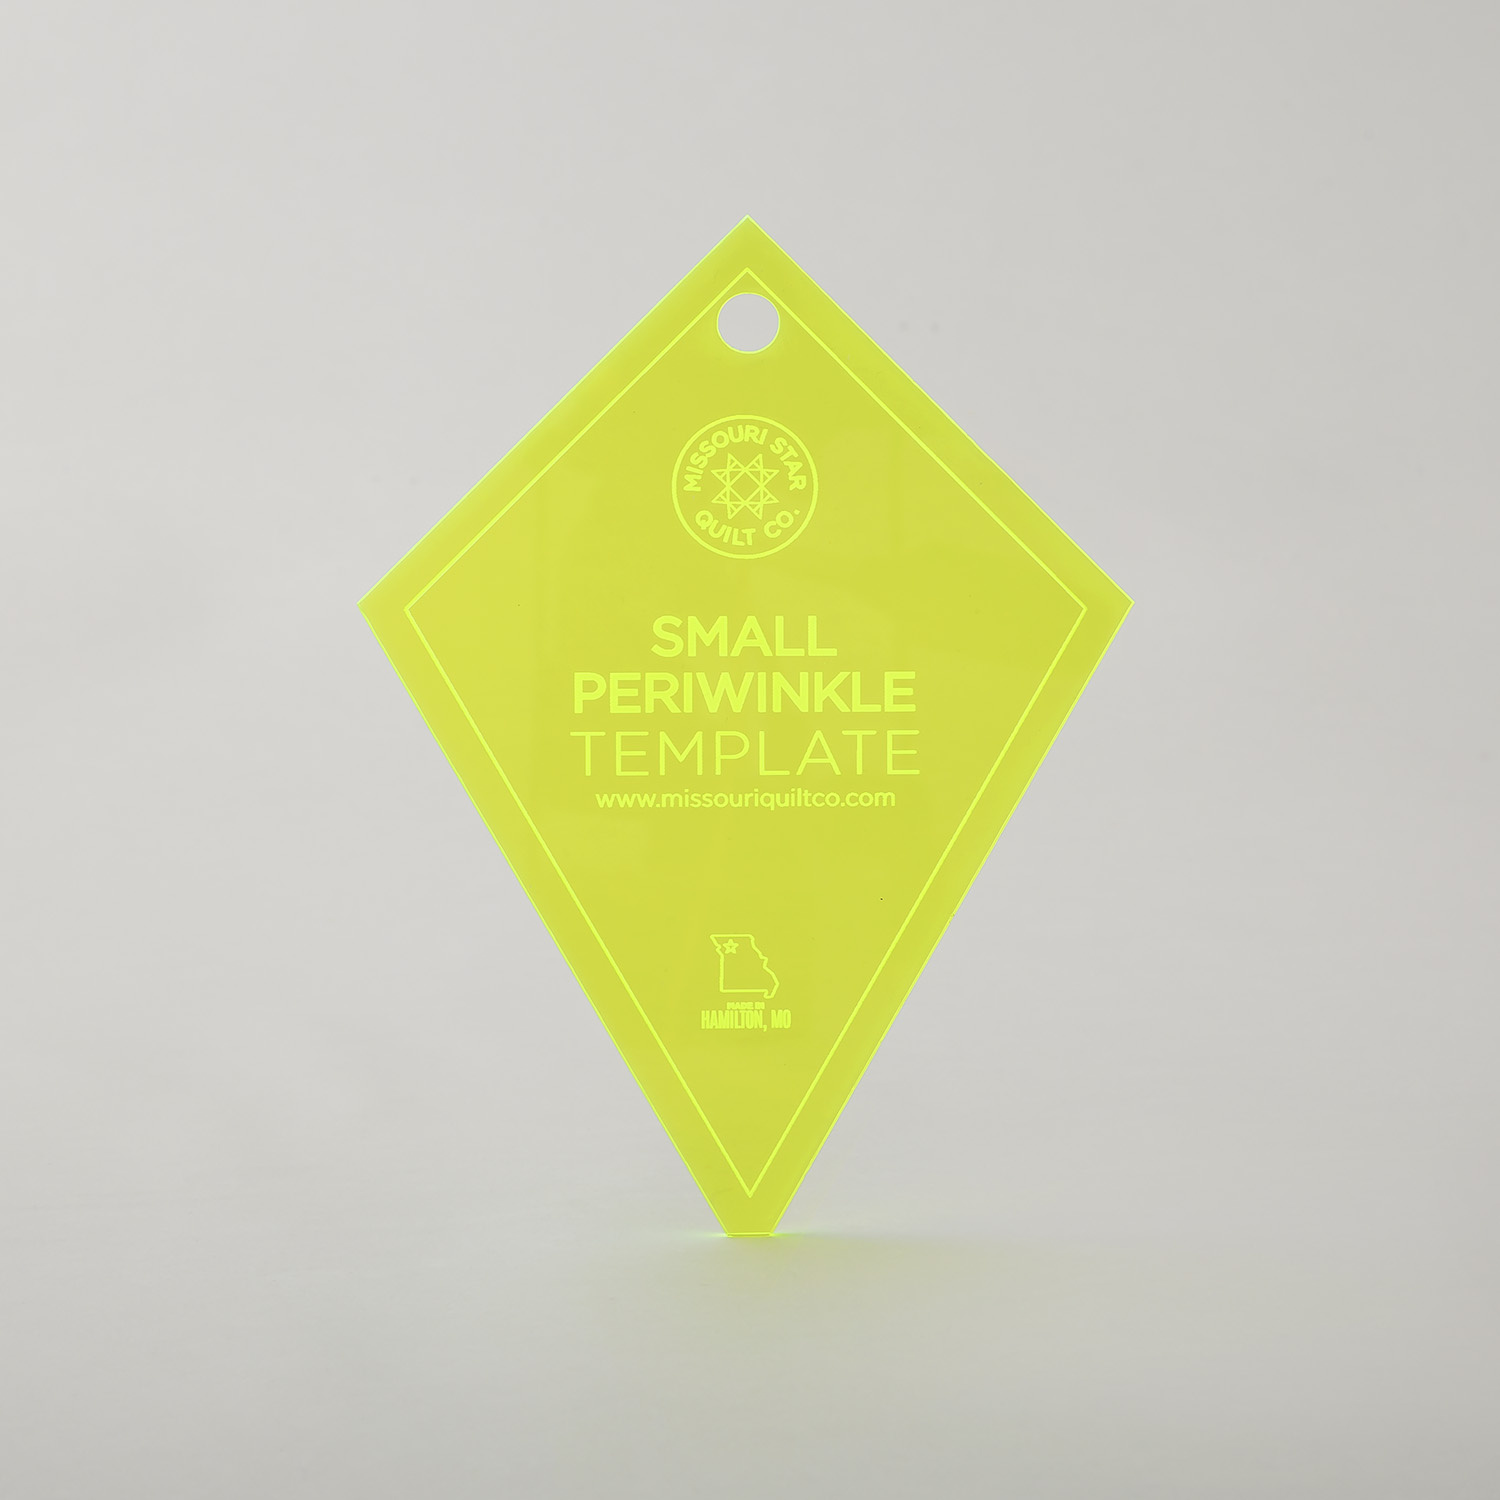 Missouri Star Small Periwinkle (Wacky Web) Template for 5" Charm Packs$8.95Shop →
 Missouri Star 5" x 15" Ruler$19.95Shop →
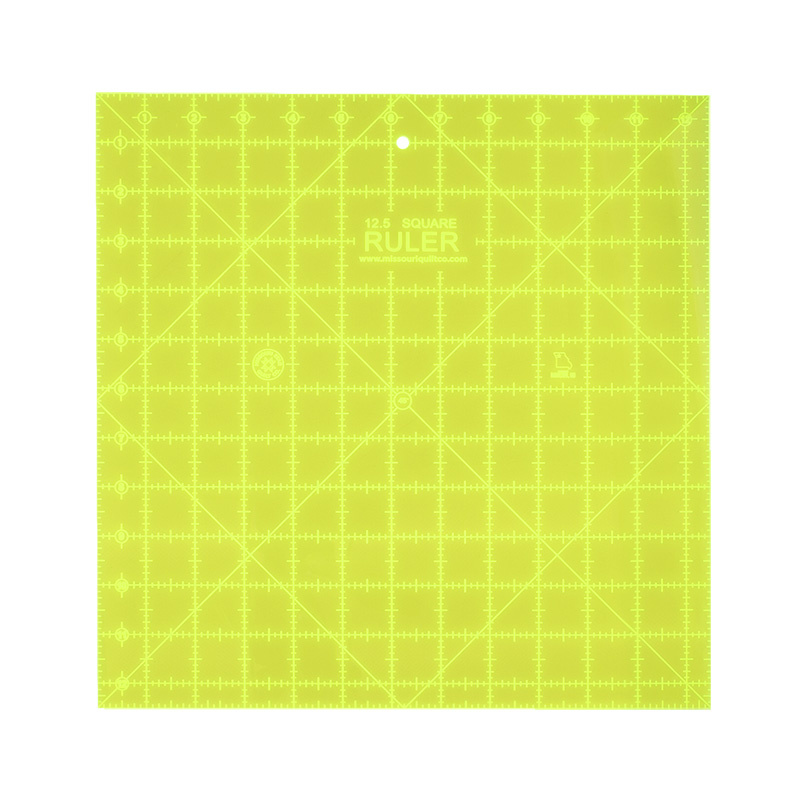 Missouri Star Square Ruler$29.95Shop →
 Bernette 77 Sewing and Quilting Machine$1699.00Shop →
 Missouri Star 50 WT Cotton Thread White$7.95Shop →
 Missouri Star 45mm Rotary Cutter - Olga$19.95Shop →


